Homebuilding Verdict
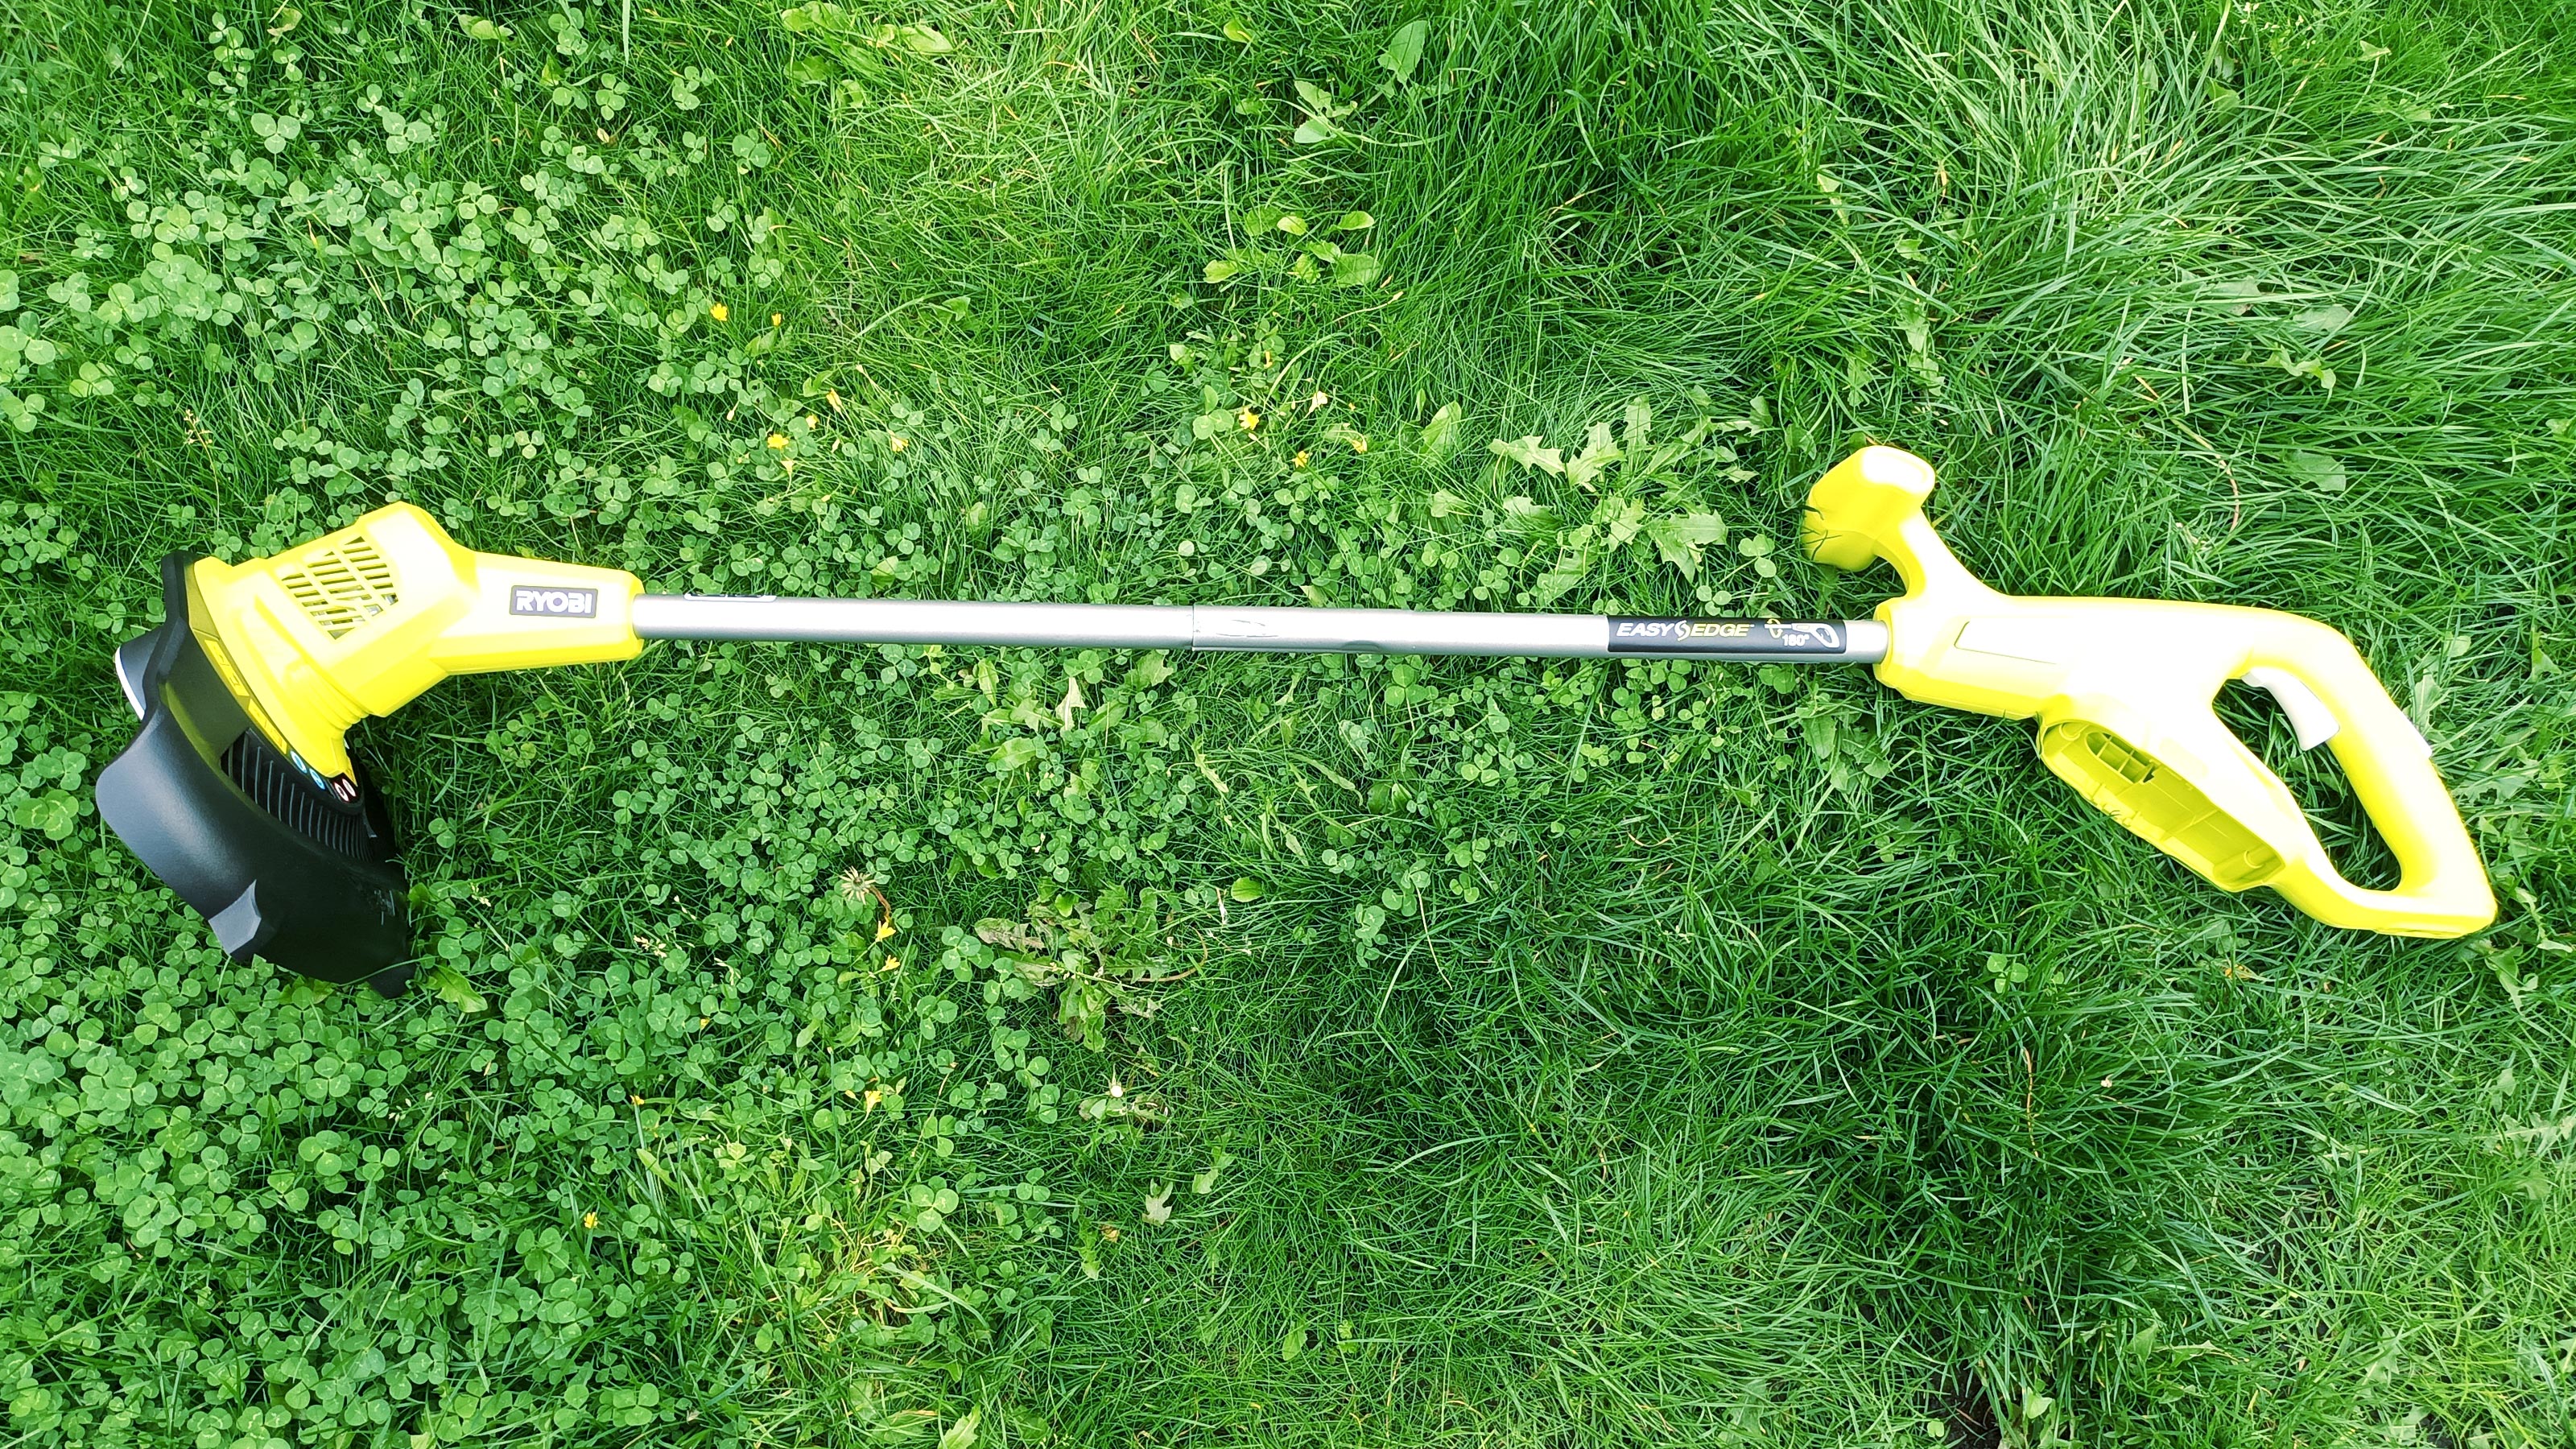
The Ryobi grass trimmer is a great choice for the occasional gardener who wants to keep their small to mid sized suburban garden looking trim and fresh. It's competitively priced — especially if you have a Ryobi battery and charger already — easy to maneouvre, tackles grass and weeds with ease, has decent battery life and a couple of neat features for a better finish.
Pros
- +
Cordless
- +
Decent battery life
- +
Lightweight
- +
Easy to manoeuvre
- +
Two handle design
Cons
- -
Not easy to assemble
You can trust Homebuilding & Renovating.
The Ryobi 18V ONE+ Cordless Grass Trimmer is the ideal tool when it’s time to get rid of that annoying long grass and weeds around the edges of your lawn. Your lawnmower won’t reach and no-one wants to get down on their hands and knees and do it with a pair of shears.
After a dry summer, my grass quickly recovered after a few weeks of rain, and started to look lush and green again. It was time for a trim but I decided to leave it for a few more weeks until it got to around six inches to give the Ryobi a bit more of a challenge. To up the ante I waited until the grass was damp and also decided to tackle the weeds in the patio, path and up against the side of the house.
Here I share my thoughts and reveal why the Ryobi 18V ONE+ Cordless Grass Trimmer could be one of the best cordless strimmers to keep your lawn edges looking fine and paths and patios weed free.
First impressions of the Ryobi ONE+ Cordless Grass Trimmer
Type: Cordless Power: 18V Battery type: Li-ion Battery life: 24-60 mins Charge time: 80 mins Cutting line: 1.6 mm
Cutting path: 25 cm Line feed system: Auto Weight: 1.7.kg (with battery) Noise level: 90 dBA Model No: OLT1825M
A knock at the door and there is the Ryobi cordless grass strimmer I had been waiting for. The packaging was a little smaller than expected, measuring 16 x23 x 71cm, but in retrospect I’m not quite sure what I was expecting.
What was really noticeable was how lightweight the packaging was, which meant that the trimmer itself was going to be even lighter. Looking at the specs the Ryobi weighs a mere 1.3kg without a battery (that’s little more than a bag of sugar). With a battery the weight goes up to 1.7kg, which isn’t even two bags of sugar.
Elsewhere the resplendent lime green box was solid and adorned with images and icons giving me an insight into its specs and how I could use the trimmer before I even got it out of the box.
A quick search of the packaging revealed that it was – as we were hoping – recyclable. But with some careful cutting of the packing tape we decided it was sturdy enough to keep and use for storing when not in use.
Conversely, it wasn’t so simple getting the battery out of its shrink wrap plastic packaging. But at least it had the decency to be recyclable.

Getting the Ryobi ready for action
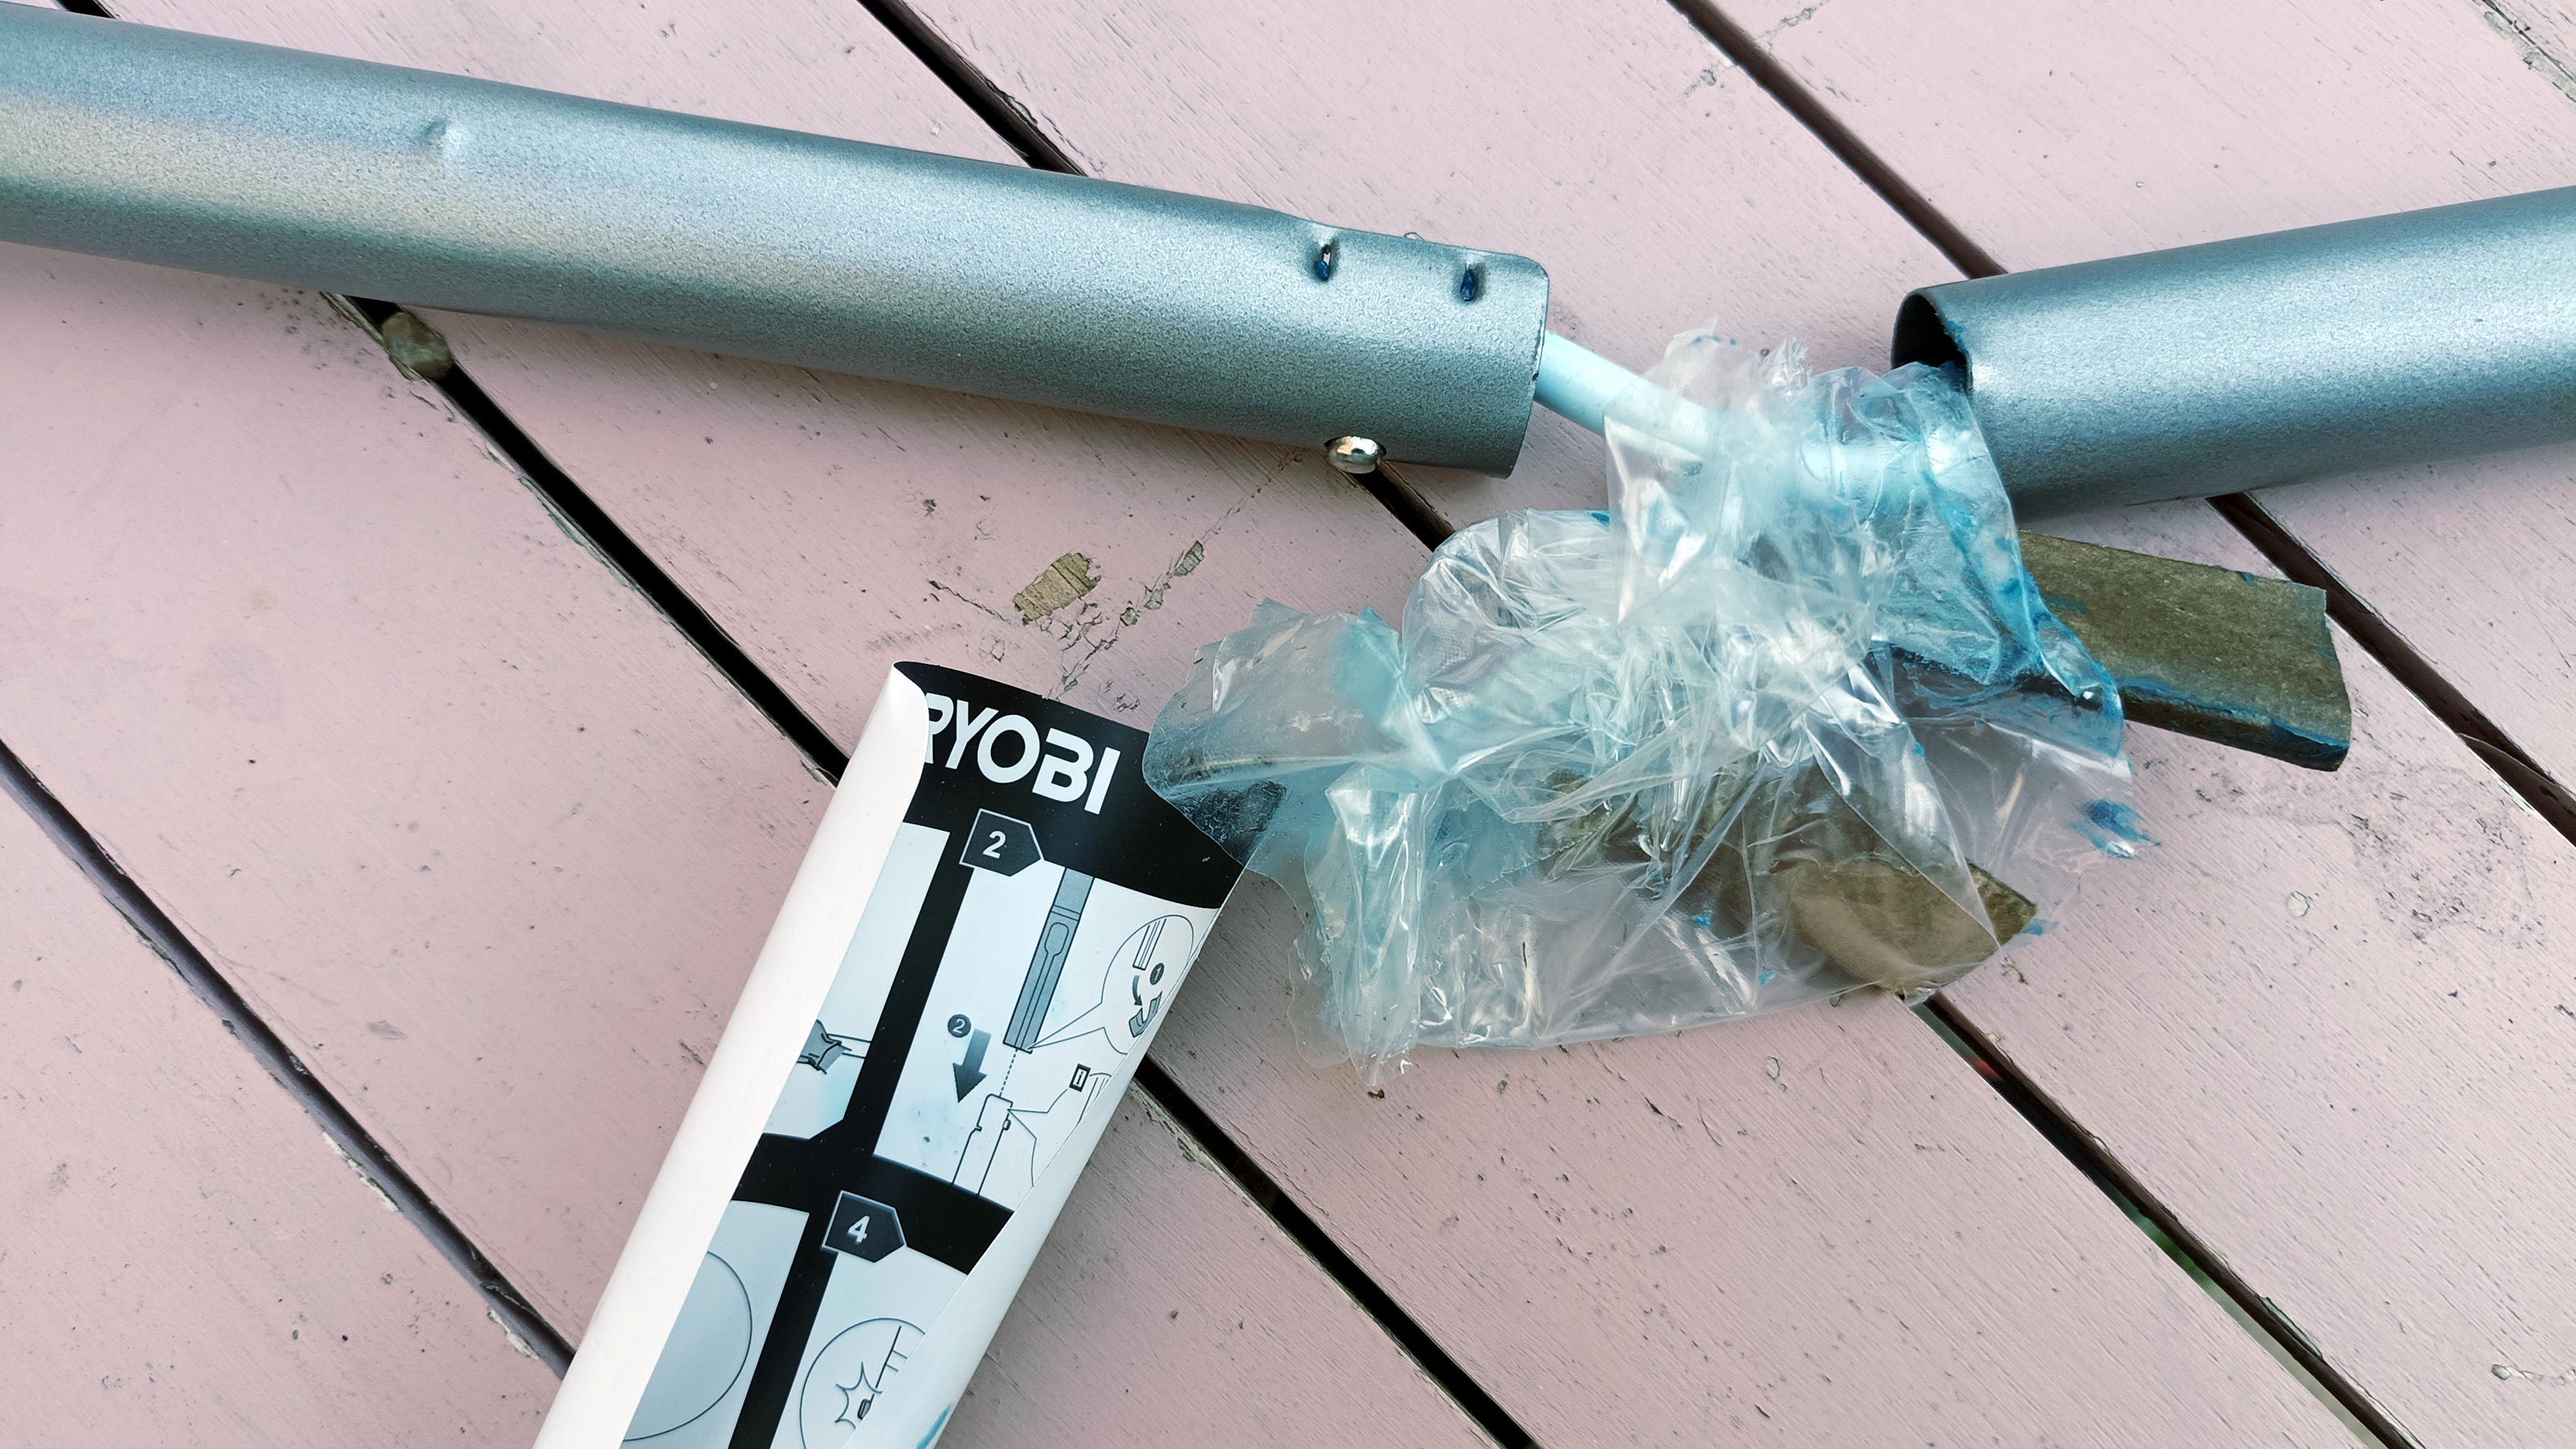
The Ryobi comes in three parts, the strimmer makes up two parts and the trimmer guard is the other part. It looked easy, but proved to be a little more strenuous than we thought. It was simply a matter of sliding the pole of the top half into the pole of the bottom half of the trimmer.
It took a few attempts, but the instruction booklet displayed a muscle icon, so we gave a vigorous push to finally get the two parts together. Should have definitely been easier than it was.
The trimmer still wasn’t ready to go though. Now it was time to screw in the trimmer line guard. This wasn’t difficult, but you need a screwdriver and five minutes to fit it. I was a little disappointed that the trimmer wasn't ready to go straight out of the box.
Charging and connecting the battery
The Ryobi trimmer is part of its 18V ONE+ System that allows consumers to invest in a single battery and use it in over 100 different Ryobi tools. This is great if you already own a Ryobi tool or are looking to invest in another in the range.
But perhaps what is better than the single battery is the universal charger. If you have more than one battery, you can charge one while the other is in use.
Another plus point is that if you already own a charger and battery, you can buy the bare model — just the mower — for around 30-40% less than the Starter Kit that includes both the charger and battery.
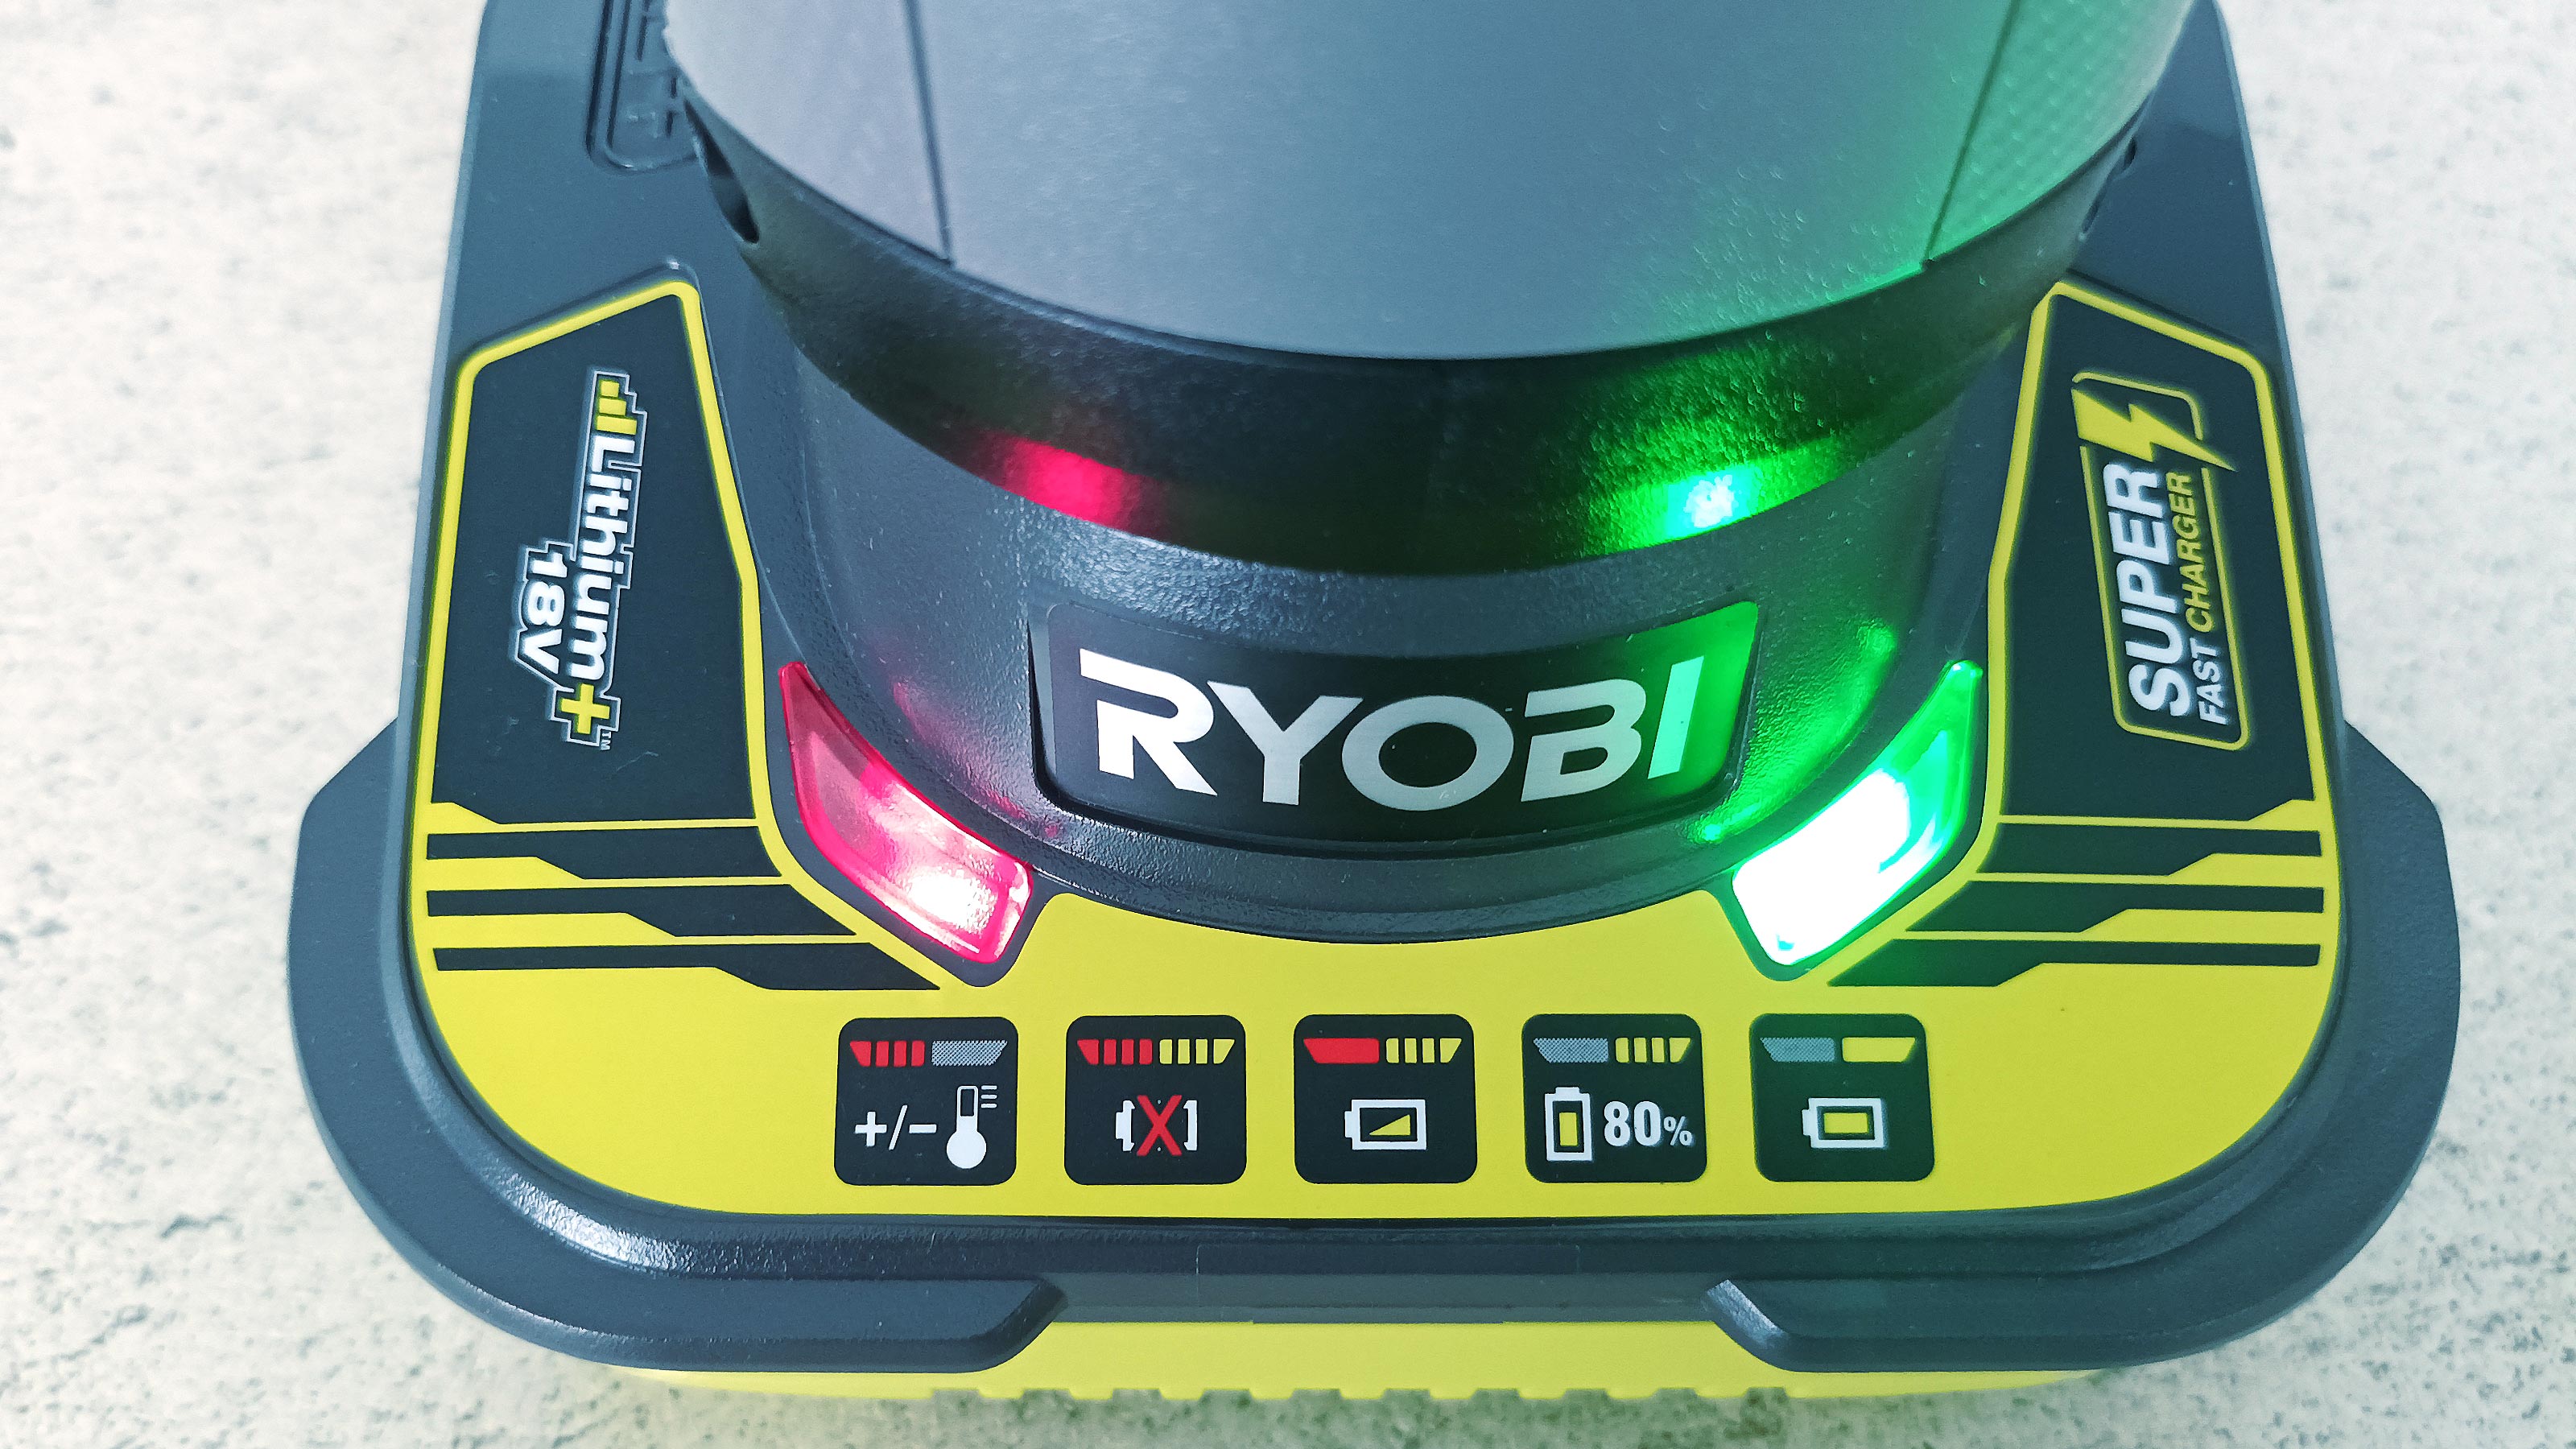
The charger had Super Fast Charger emblazoned on the side, so I was expecting to get my 5.0Ah battery charged in no time at all. The official battery charge time is quoted at 80 minutes. So I was expecting the flashing green charging light to stop — and the four bars on the battery to go green — in 80 minutes. But, I was pleasantly surprised that 12 minutes before the official quoted charging time I saw all four bars go green.
With the battery at full capacity it was just a matter of clicking it into place. Unlike getting it out of the packaging the battery slipped in with a satisfying click. Ryobi rates a 5.0Ah battery at 60 minutes on a full charge. After 30 minutes of trimming we were still left with three bars on the battery. You can tap the button on the battery and the bars light up to keep you updated.
After another couple of trimming sessions the trimmer was still in action and we still had two bars showing. So an hour is the least you can get out of a fully charged battery. You can use lesser batteries such as the 4.0Ah battery or even the 2.0Ah battery. But you will be cutting down on run time so best stick with the 5.0Ah battery.
Giving the Ryobi a run out
The Ryobi is undoubtedly lightweight – weighing in at 1.7kg - but it's a trimmer that you will struggle to use one handed. It doesn’t have the balance and it is a little too heavy for single handed long time use.
And for that very reason the main handle has a second grab handle integrated into it. This instantly transforms the feel and operation of the trimmer. It's really easy to manoeuvre, it's nicely balanced and easy to swing from side to side whatever you are tackling.
To kick the Ryobi into life — like most trimmers — it’s a two button process for safety reasons. A subtle button sits on top of the handle and fits neatly into the palm of the hand. Push down and hit the start trigger and the Ryobi bursts into life. It’s not quiet, but most trimmers aren’t, so you know you are ready to go.
There’s definitely an art to using a trimmer and the Ryobi manual recommends using a three step process so you gently ease your way down a level at a time until you get the length you want.
The 25cm cutting path and 1.6mm line are perfect for most suburban gardens. The Ryobi feels quite aggressive, but eases its way through thick wet grass. My lawn edges were freshly trimmed in literally a few minutes.
The Easy Edge feature allows you to move the cutting head to give your lawn straight neat edges. It springs into action with a simple push of a button and an easy turn of the cutting head. But be careful as the line can start tearing into your turf if you stray offline.
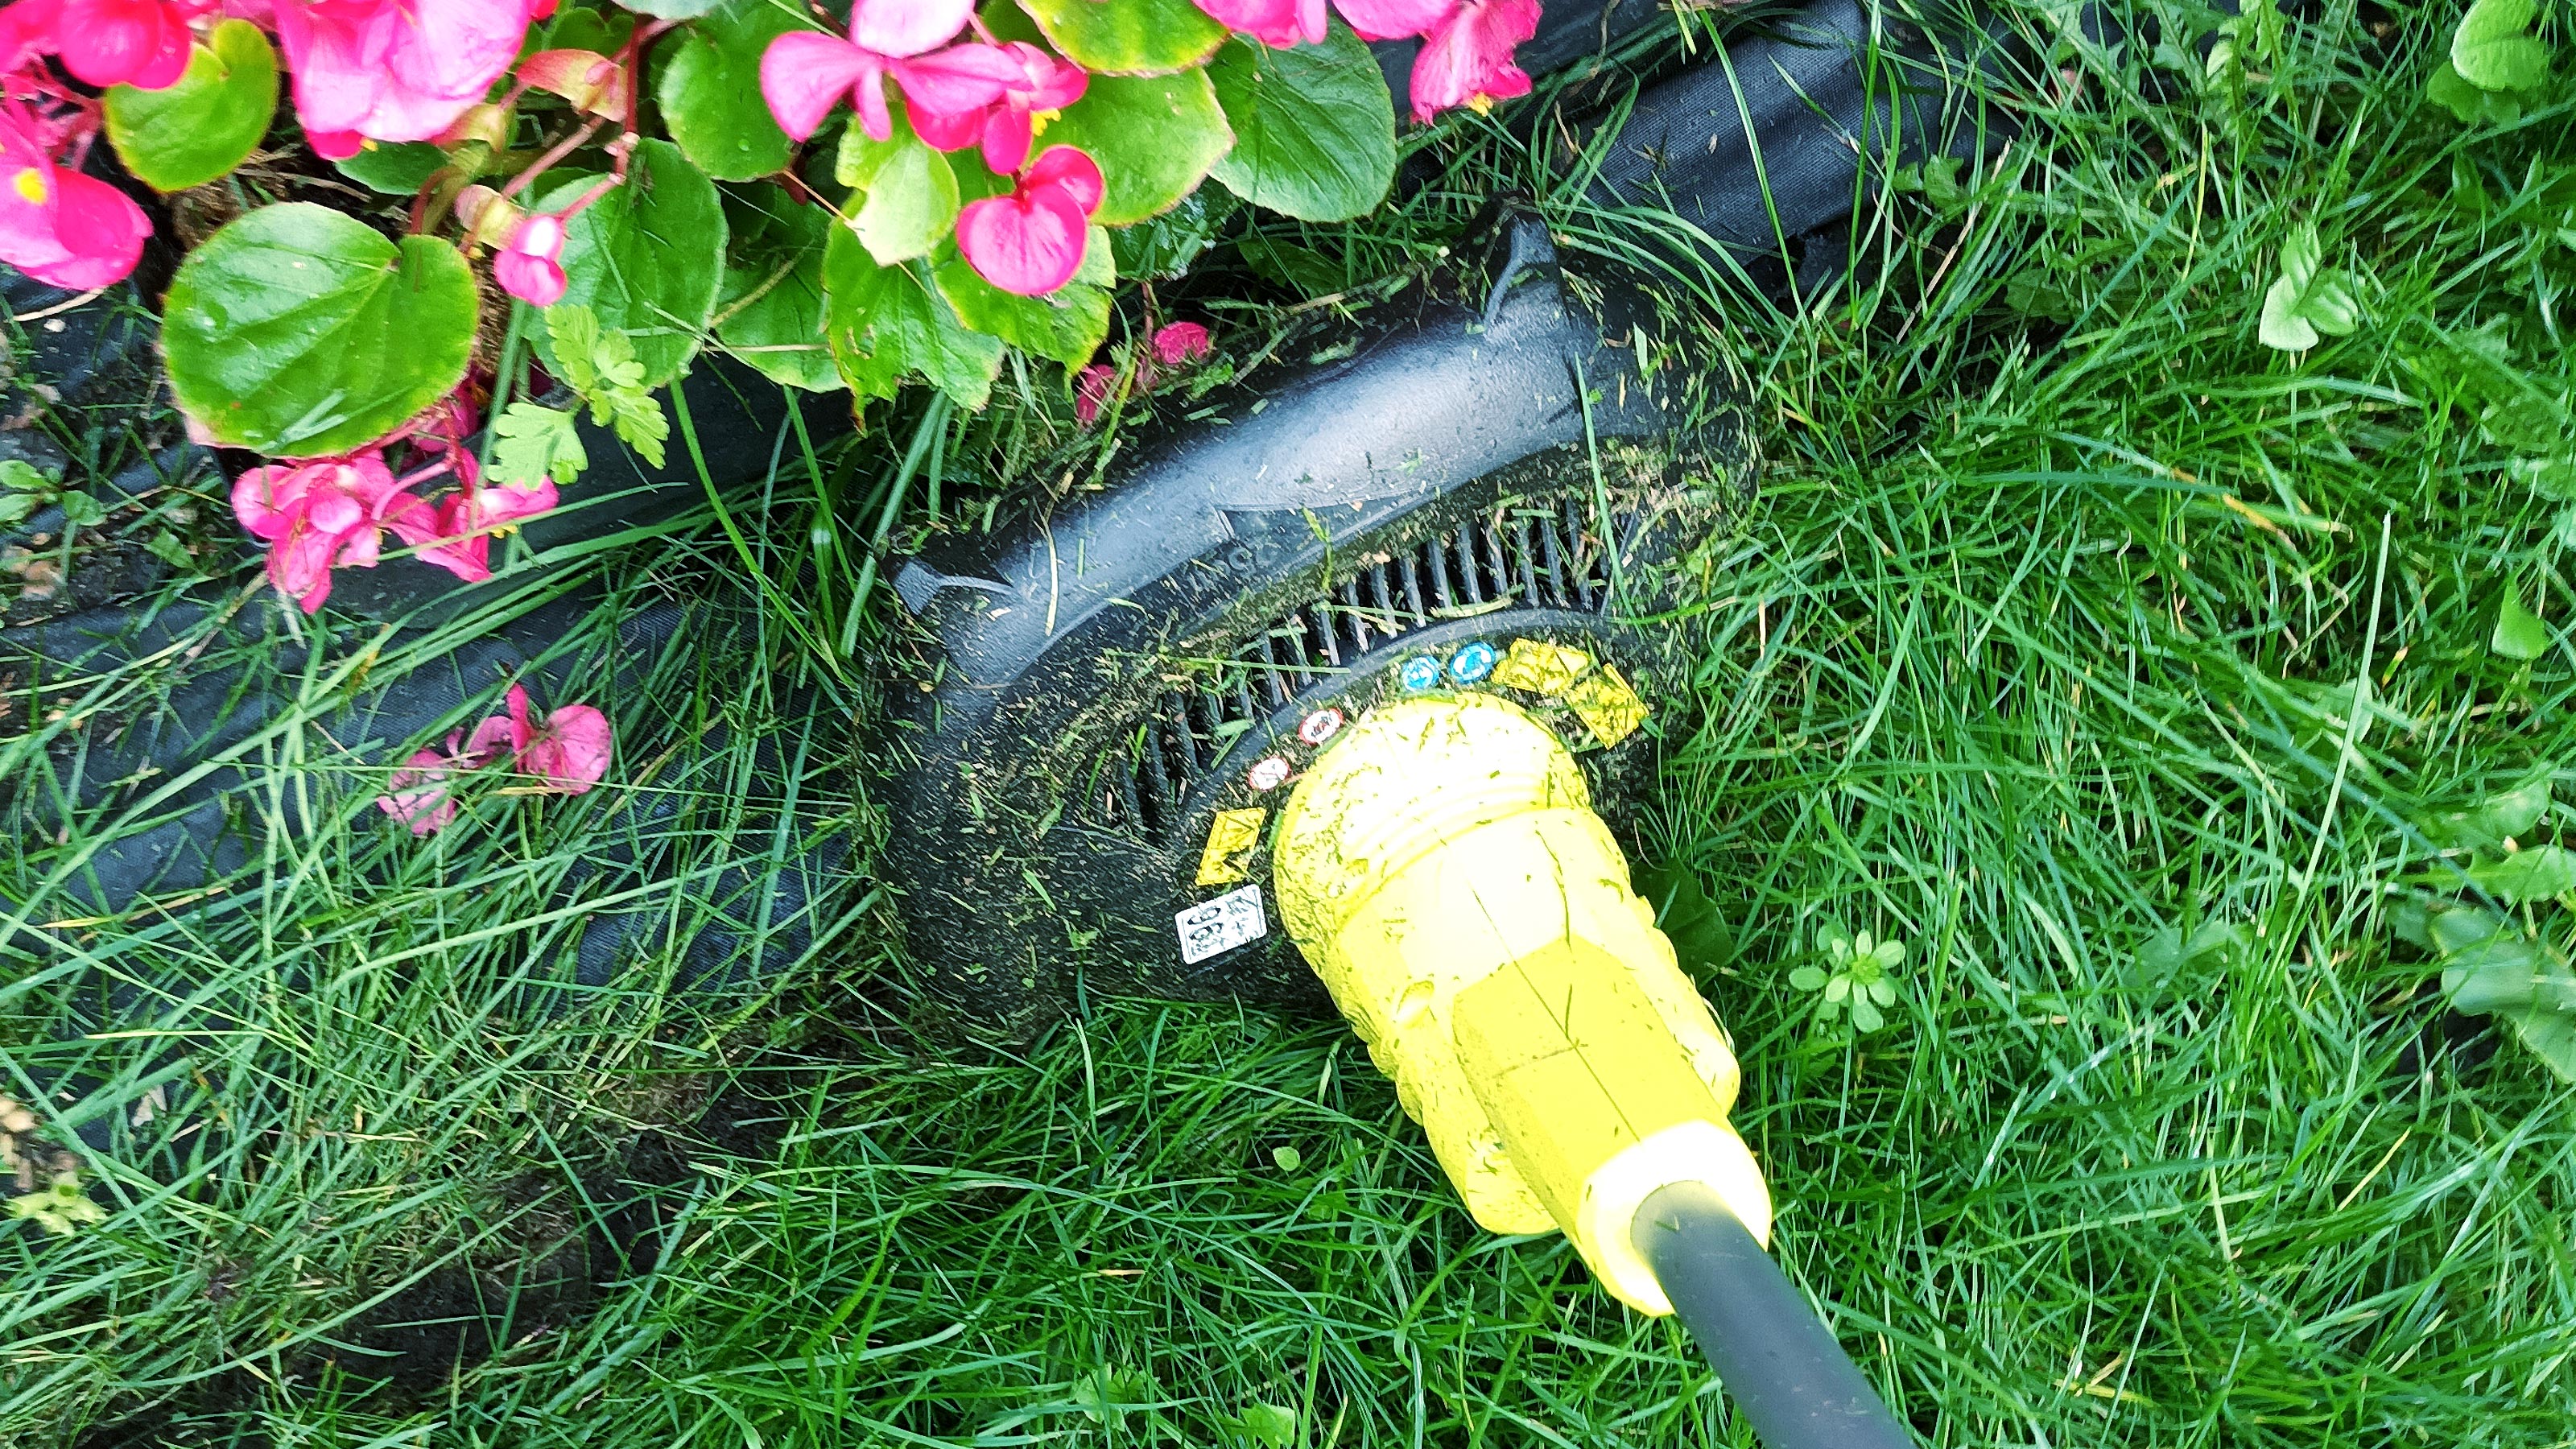
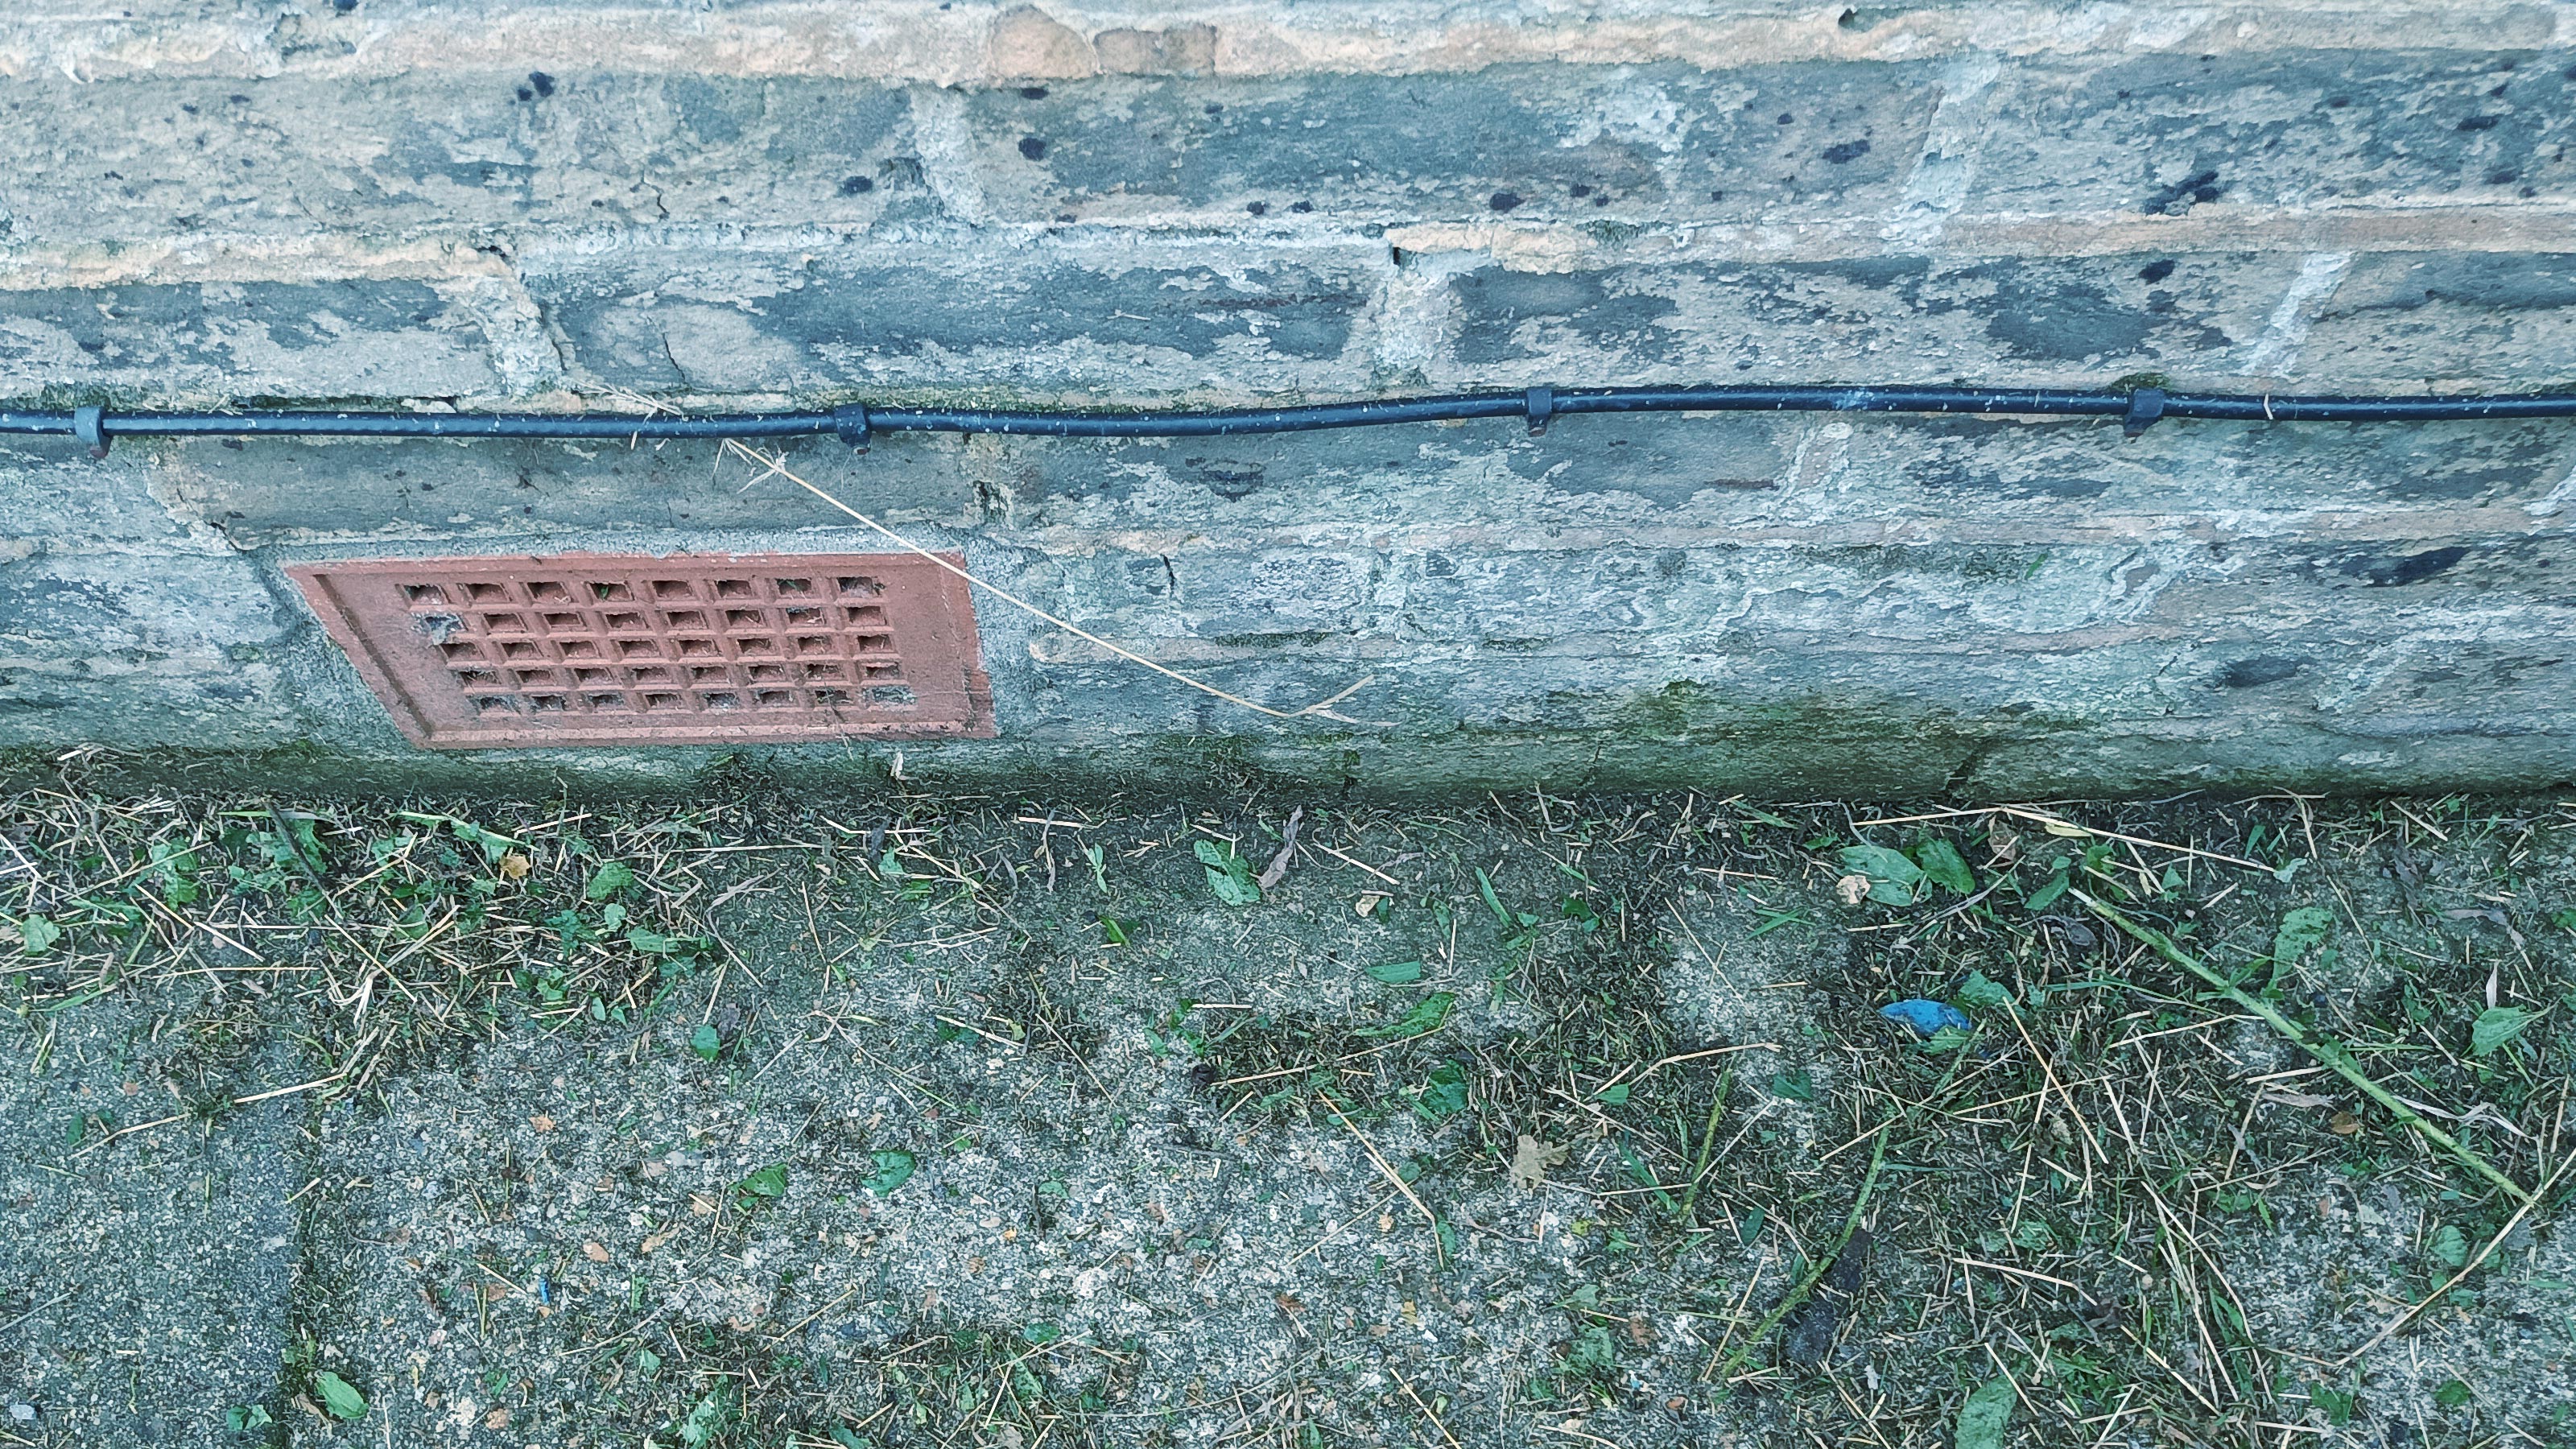
Finally, it was time to take the Ryobi for a run up against a brick wall and across the patio and path to give the weeds and stray grass a go. This proved to be a bit more of an obstacle.
On occasions the cutting line would completely disappear and need to be fed manually. But on the plus side it was easy to feed through and did a good job of cutting through the weeds and grass.
Another neat little feature was the blade on the edge of the cutting head. This made sure that the cutting line was always trimmed to the right length. Though after a few minutes of cutting it would get clogged with grass and need a quick clean out.
Cleaning is key to keeping the trimmer in tip top condition. As we mentioned before, the trimmer is quite aggressive, so the grass gets all over the bottom. Clean it straight away with a stiff brush and you will have a trimmer that will keep doing its job well.
About our review — and reviewer
Steven Jenkins is Homebuilding & Renovating's Content Editor, specialising in DIY content. He has over 20 years of experience as an editor, writer, and reviewer, and is at his happiest giving the lowdown on how to achieve your DIY dreams and make your home and garden the best it can be.
Currently residing in sunny Bournemouth, he lives in a Victorian semi and is part-way through a long renovation — of both house and garden. The latter includes a suburban lawn that is slowly recovering from years of kids' playtime and finally getting the love and attention it deserves.
We are not given any compensation by Ryobi for our reviews, but may be allowed to keep the product for long term testing meaning we can test it over a greater length of time, and update this review if required.
Steve Jenkins is a freelance content creator with over two decades of experience working in digital and print and was previously the DIY content editor for Homebuilding & Renovating.
He is a keen DIYer with over 20 years of experience in transforming and renovating the many homes he has lived in. He specialises in painting and decorating, but has a wide range of skills gleaned from working in the building trade for around 10 years and spending time at night school learning how to plaster and plumb.
He has fitted kitchens, tiled bathrooms and kitchens, laid many floors, built partition walls, plastered walls, plumbed in bathrooms, worked on loft conversions and much more. And when he's not sure how to tackle a DIY project he has a wide network of friends – including plumbers, gas engineers, tilers, carpenters, painters and decorators, electricians and builders – in the trade to call upon.
