Homebuilding Verdict
This Makita slide compound mitre saw's features and price leave it clearly aimed at the professional market, and I’d expect it to be most at home in the hands of carpenters and framers. But it’s a heavy, large machine with a big footprint and that doesn’t make it terribly portable as a battery tool. As a rail slider, the advantage of being able to place it against a wall is also somewhat lost outside of a workshop. Whilst its capabilities allow it to cut just about anything you’d want, it just feels a little like Makita have jumped on the battery bandwagon with this format of saw and I’m not entirely sure why.
Pros
- +
Shadow light makes lining up cuts simple
- +
Dust collection is pretty good
- +
Rail-forward design allows the rear of the machine to be placed close to a wall
- +
Bluetooth connectivity to compatible dust extractors
Cons
- -
Accuracy out of the box isn’t perfect
- -
It’s heavy and not the easiest to move around
- -
Blade change feels like it’s designed for people with more than two hands
You can trust Homebuilding & Renovating.
A mitre saw is used for making precise crosscuts and mitre cuts in wood and other materials. It is called a "compound" saw because it can both rotate around its base (to make mitre cuts) and tilt on its blade (to make bevel cuts).
A sliding compound mitre saw has the added feature of a sliding mechanism that allows the blade to move back and forth, typically along a rail. This allows you to make wider crosscuts and mitre cuts than would otherwise be possible.
Sliding compound mitre saws are commonly used in woodworking and carpentry for tasks such as framing, trim work, and cabinetry. They are also useful for making angled cuts in skirting, architrave, moulding and other decorative elements.
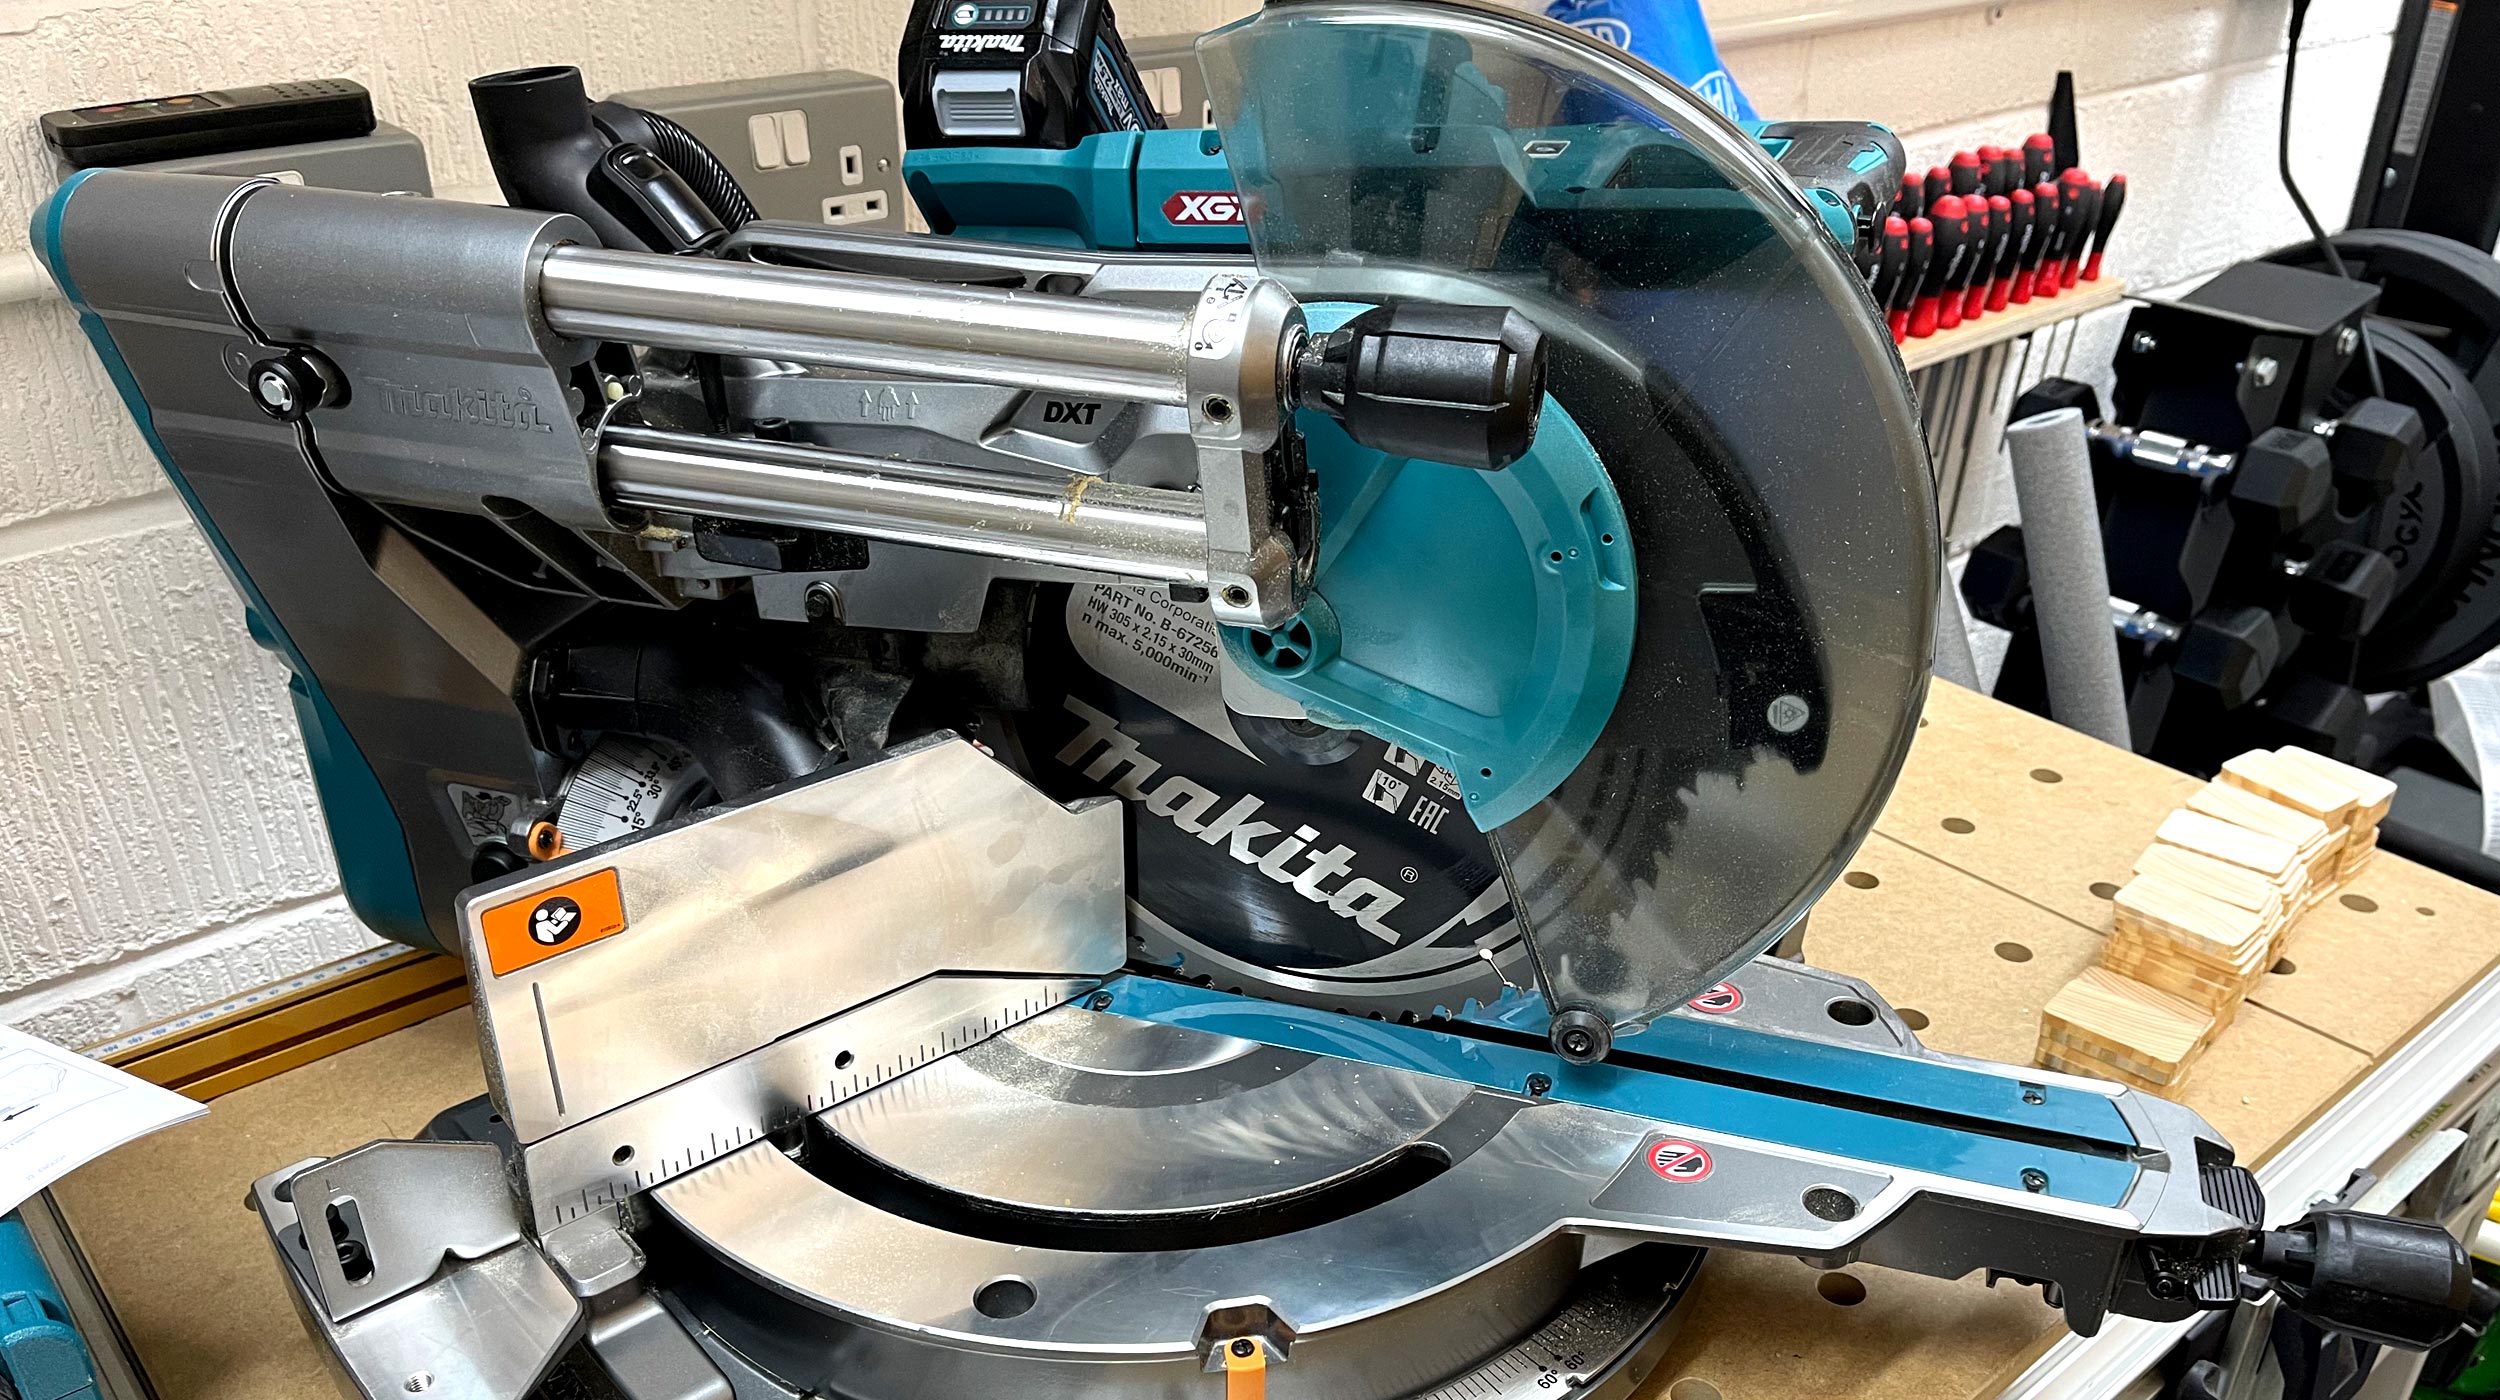
The Makita brushless slide compound mitre saw is definitely no lightweight
Model: Makita LS003GD202 40Vmax Brushless Slide Compound Mitre Saw XGT
Type: Cordless
Battery: 40Vmax XGT Lithium-Ion battery
Blade diameter: 305mm
Bore diameter: 30mm
No load speed: 3600 rpm
Max bevel range: Right 48° – Left 48°
Max mitre range: Right 60° – Left 60°
Noise sound pressure: 91 dB(A)
Noise sound power: 100 dB(A)
Dimensions: 898 mm x 690 mm x 725 mm
Net weight: 30.5 – 31.1 kg
Standard warranty: 3 Years
The LS003GD202 is a large-size 305mm sliding compound mite saw powered by 40Vmax XGT Li-Ion batteries and equipped with a brushless motor that provides consistently smooth cutting. But that 305mm blade and up to 382mm crosscut capacity comes at a cost – the saw weighs a hefty 31.1 kg with a battery installed. And, with overall dimensions of 898 mm x 690 mm x 725 mm (L x W x H), despite it being battery powered, it isn’t exactly the easiest saw to move around.
The saw can be bench mounted using bolt holes provided in the tool’s base. The handle can be locked in the lowered position by a stopper pin, and there is also a stopper pin for the slide lock. Simply pulling and turning these 90° is enough to release the locks.
Adjusting the mitre angle is simply a case of rotating the grip counter-clockwise and then pressing down the lock lever while moving from side to side to your desired angle. Adjusting the bevel angle is equally straightforward – rotate the knob on the slide pole counter-clockwise, pull and raise the latch lever and tilt the carriage to the left or right as required. Rotate clockwise to secure the positions.
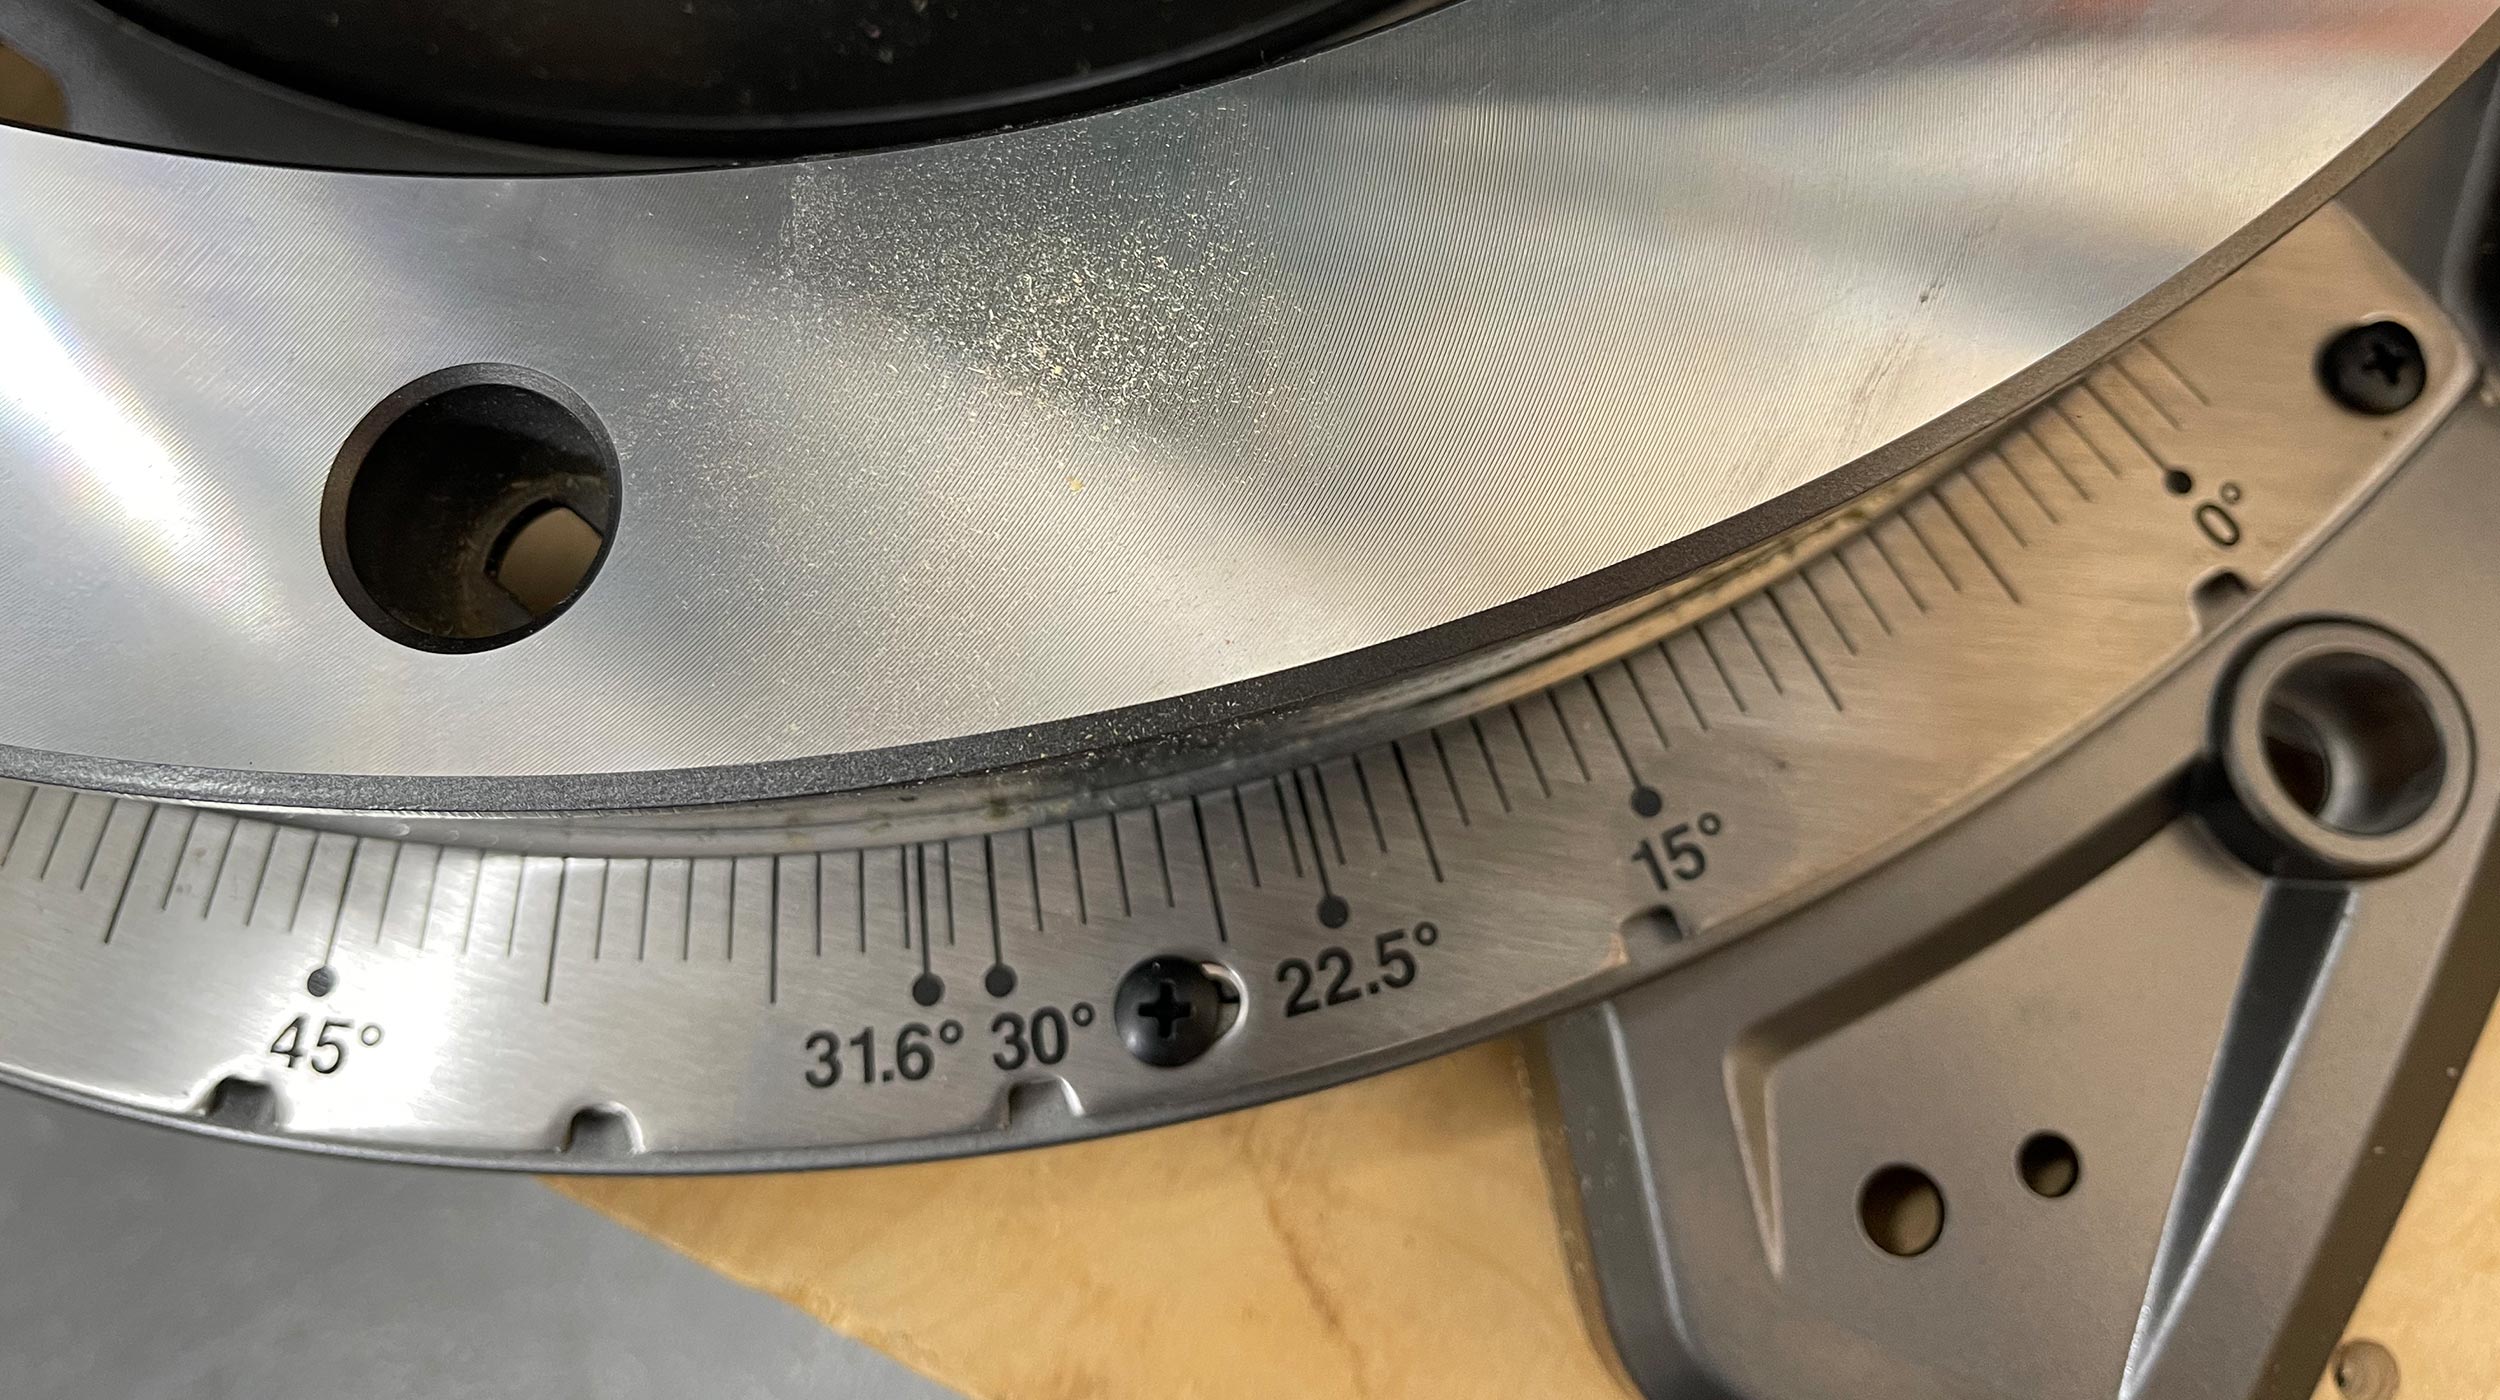
There are positive stops for the mitre angle at 0°, 15°, 22.5°, 31.6°, 45°, and 60° both to the right and the left. There are also positive stops for the bevel angle at 22.5° and 33.9° both to the right and left. The blade can also be tilted beyond 45° by sliding the releasing lever for 48° bevel angle. Past a certain angle though, and the fence must be removed to tilt the saw.
Blade changing is not as easy as we'd hoped
Makita LS003GD202 40Vmax Brushless Slide Compound Mitre Saw XGT
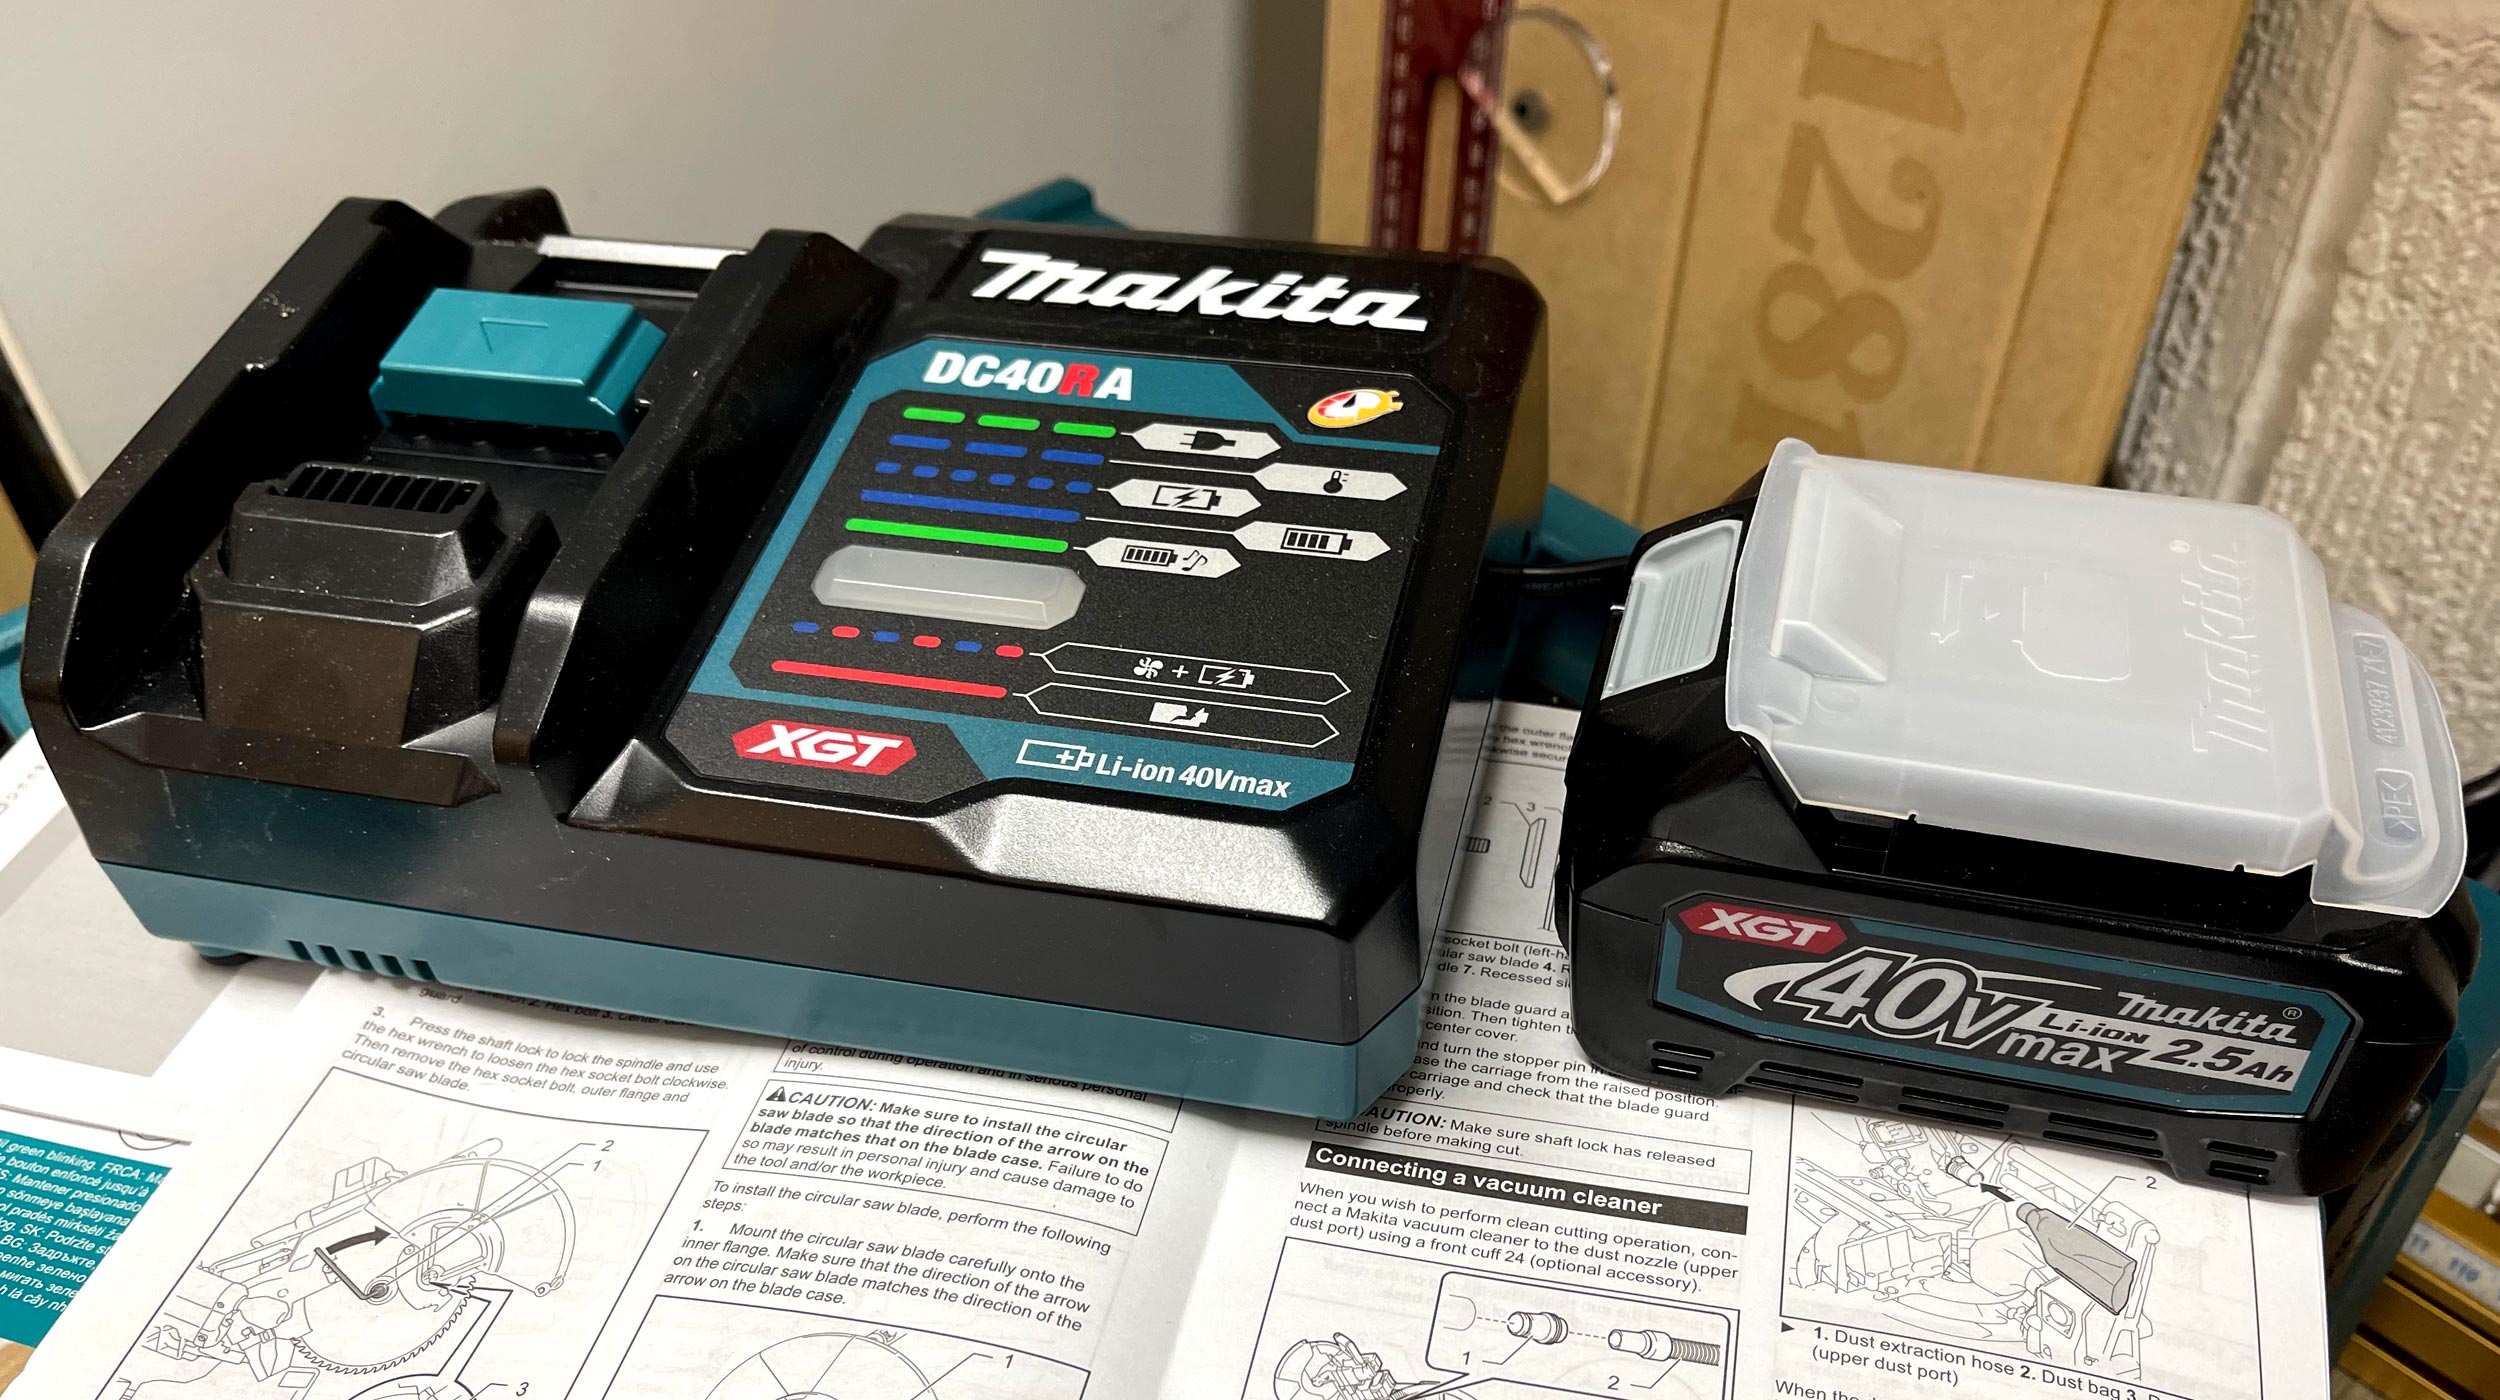
2 x 2.5Ah Makita BL4025 XGT 40v Max Li-Ion Battery
Makita DC40RA Fast Battery Charger
TCT Saw Blade
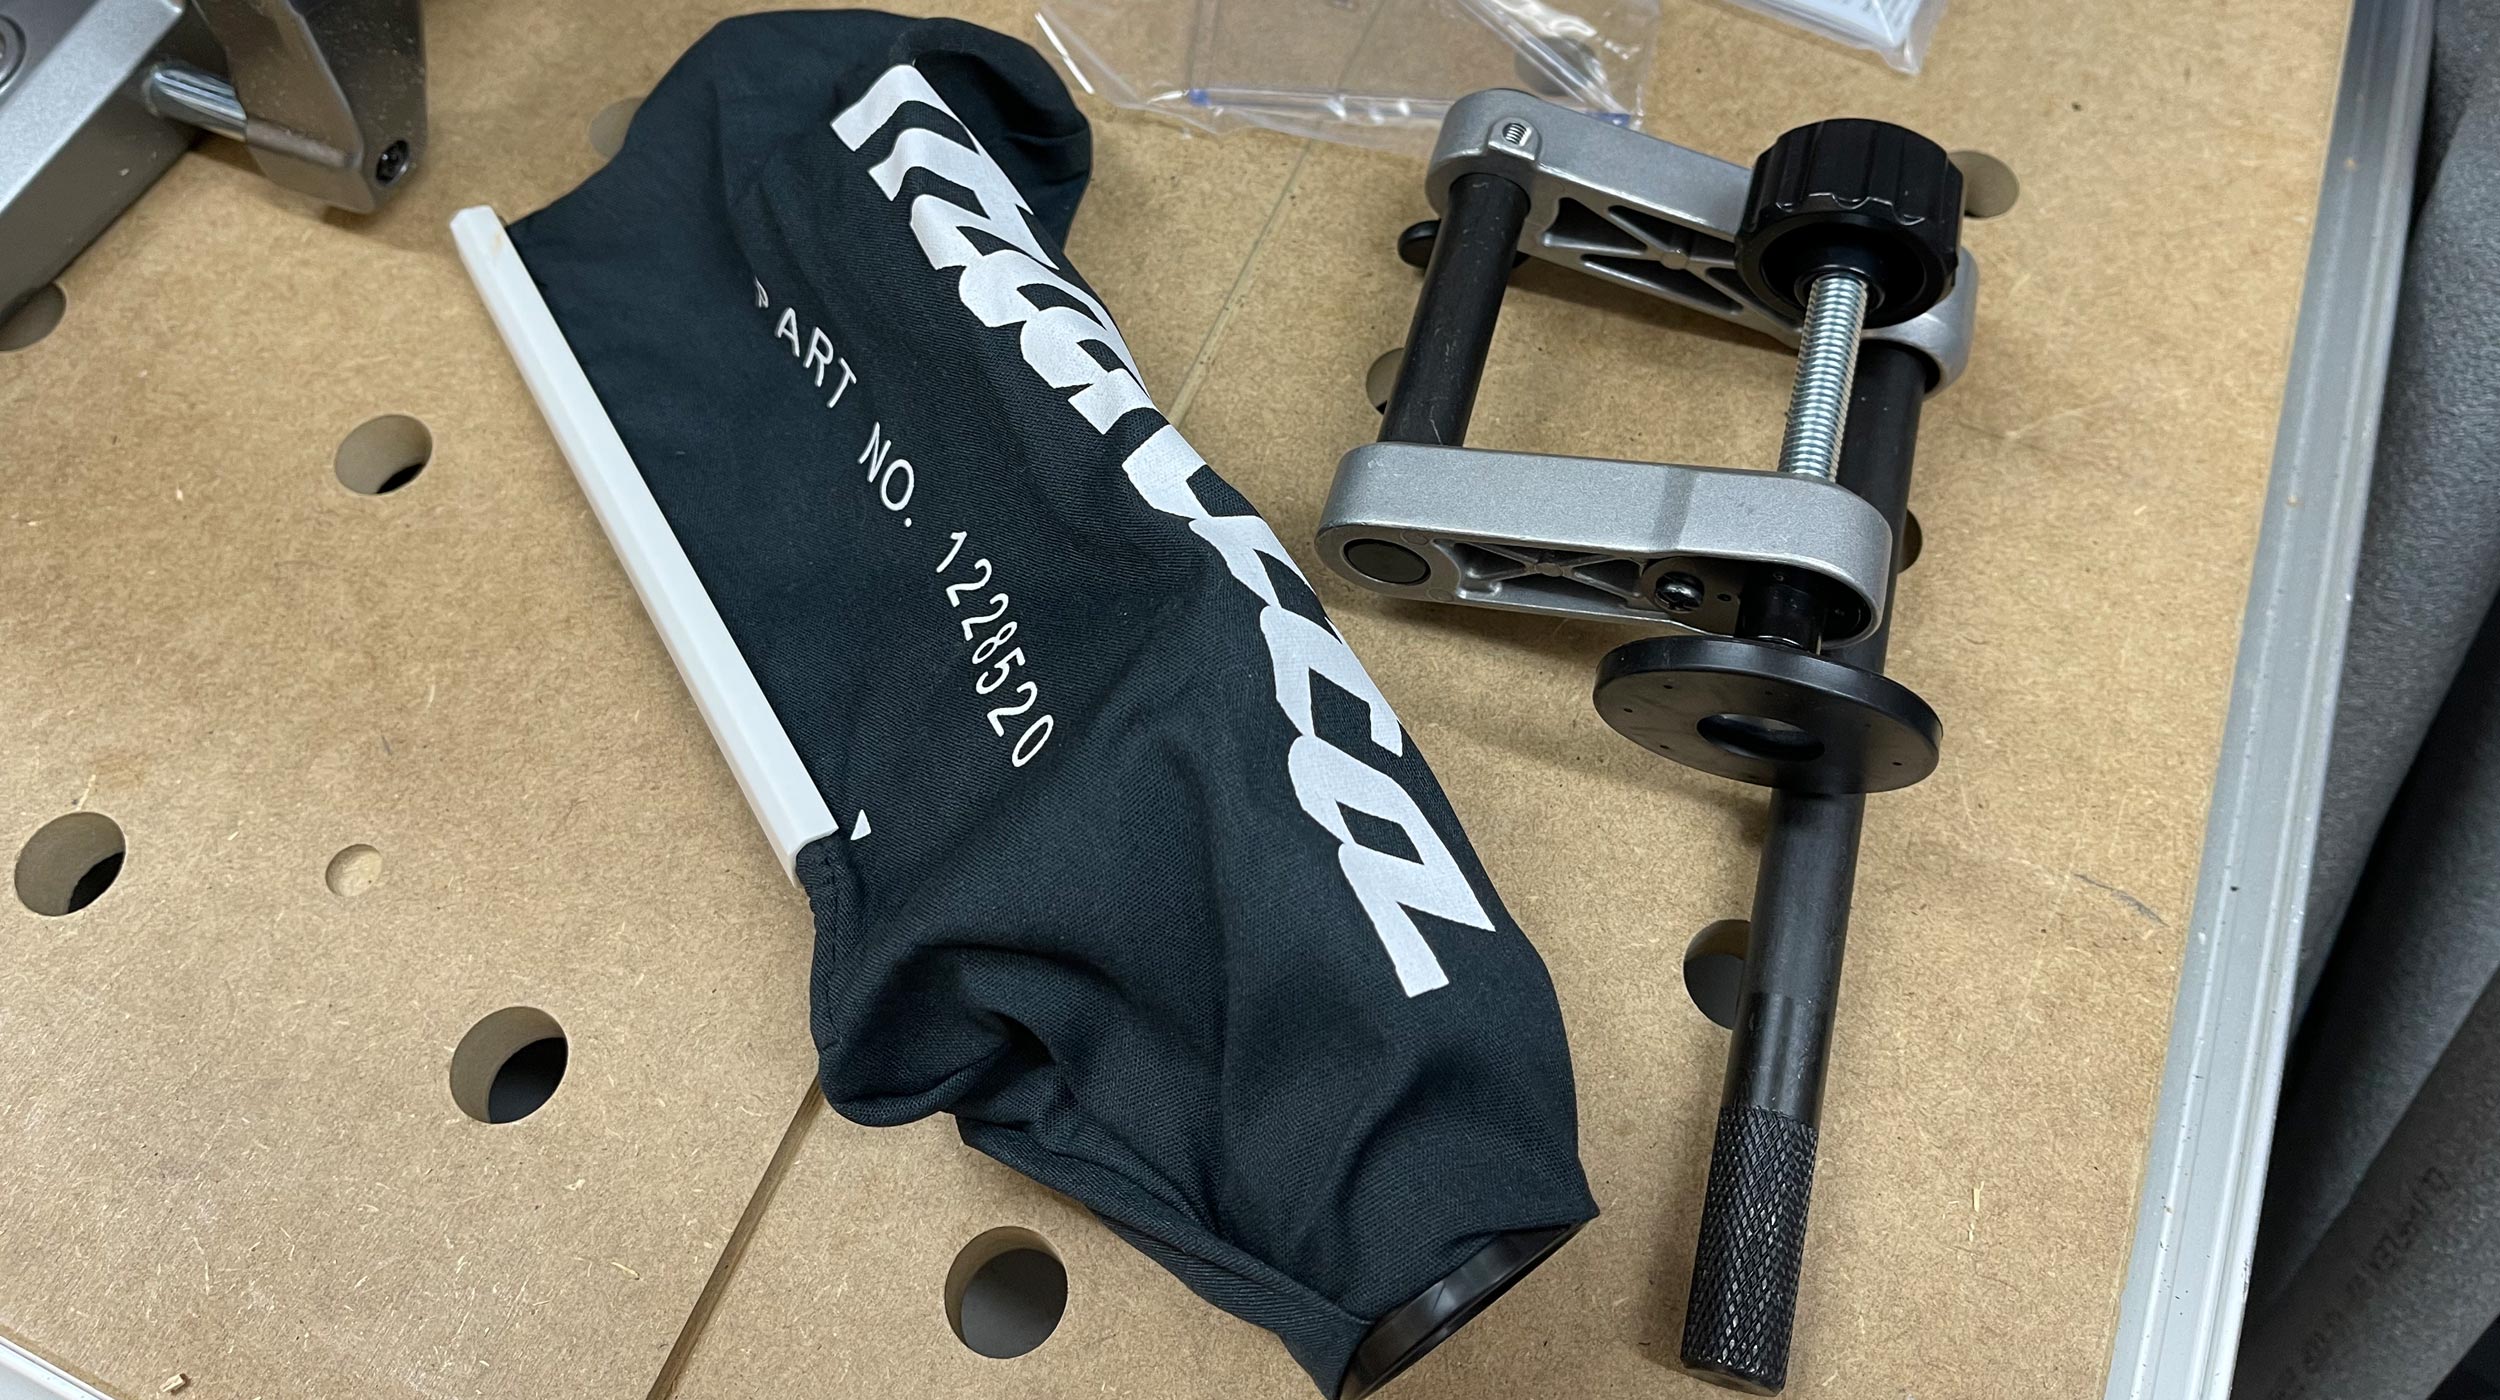
Dust Bag
Vice Assembly
Wireless Unit
Hex Wrench
The handle is a horizontal D-type, with a lock-off button and a switch trigger. Some people love a horizontal handle whilst others prefer a vertical arrangement. Personally, I’ve always found the vertical arrangement to be more natural. Be careful though to position yourself to reduce any stress and sideways pressure on the handle as this can cause deflection of the blade and inaccurate cuts.
The saw is also equipped with an LED lamp that casts a light over the circular saw blade and a shadow onto the workpiece. Pressing the lamp button on the handle turns the light on, and as the blade gets closer to the workpiece, the line becomes darker and thinner highlighting where the blade will enter the material. This can be done whilst the blade is at a stop allowing you to position and secure your material and then make your cut.
Changing the blade could be easier and it feels like you need more than two hands to do it successfully. There’s a hex wrench stored in the handle of the sliding mechanism. You lock the carriage in the raised position, then use the hex wrench to loosen the bolt holding the cover.
You can then move it out of the way, and then while pressing the shaft lock, you can use the hex wrench to loosen and remove the bolt that holds the flange and blade in place. The manual gives full instructions and a few warnings to ensure you are installing the blade in the correct way.

How good are the vertical vise and dust extractor?
The saw comes with a dust bag but can also be connected to a dust extractor. The saw has a wireless activation function. Connecting a supported extractor allows it to start along with the switch operation of the tool.
There is a vertical vise included in the package and a horizontal vise is available as an accessory. These allow material to be secured firmly against the base or against the fence. The vertical vise was adequate but uses a clamping screw. A quick-release mechanism would have been more practical.
Set up the sub base fences for instant accuracy
To hold long pieces, sub bases are provided on both sides of the tool. Loosening screws allows them to be extended on rails to an appropriate length but there isn’t a massive amount of travel.
Out of the box, the fences on the sub bases were positioned forward of the main saw fence, which could cause inaccuracy when cutting material of different lengths. It’s only necessary for your material to touch the main saw fence, so I’d recommend setting the sub base fences slightly back from the main fence to ensure the accuracy of your cuts isn’t affected.
A stopper arm allows the lower limit position of the circular saw blade to be easily adjusted. This allows the saw to be used to make grooving or trenching cuts. These type of cuts are often used for cutting dadoes or for producing joints for connecting workpieces.
The manual is pretty good and covers everything you would expect as well as giving useful examples and instructions for cutting crown and cove mouldings.
Well-made, sturdy and almost spot on out of the box
In use, the saw felt well-made and sturdy; I’m sure helped by its weight, which lends a solid feel. The various controls on the saw are straightforward if not exactly intuitive and I could see that you’d quickly become used to them.
The cut in all materials was smooth and had little tear out. With bevels to 48° left and right, mitres to 60° left and right, an ability to cut up to 120mm deep and up to 382mm wide, you’re going to be able to make all the cuts you’re likely to need.
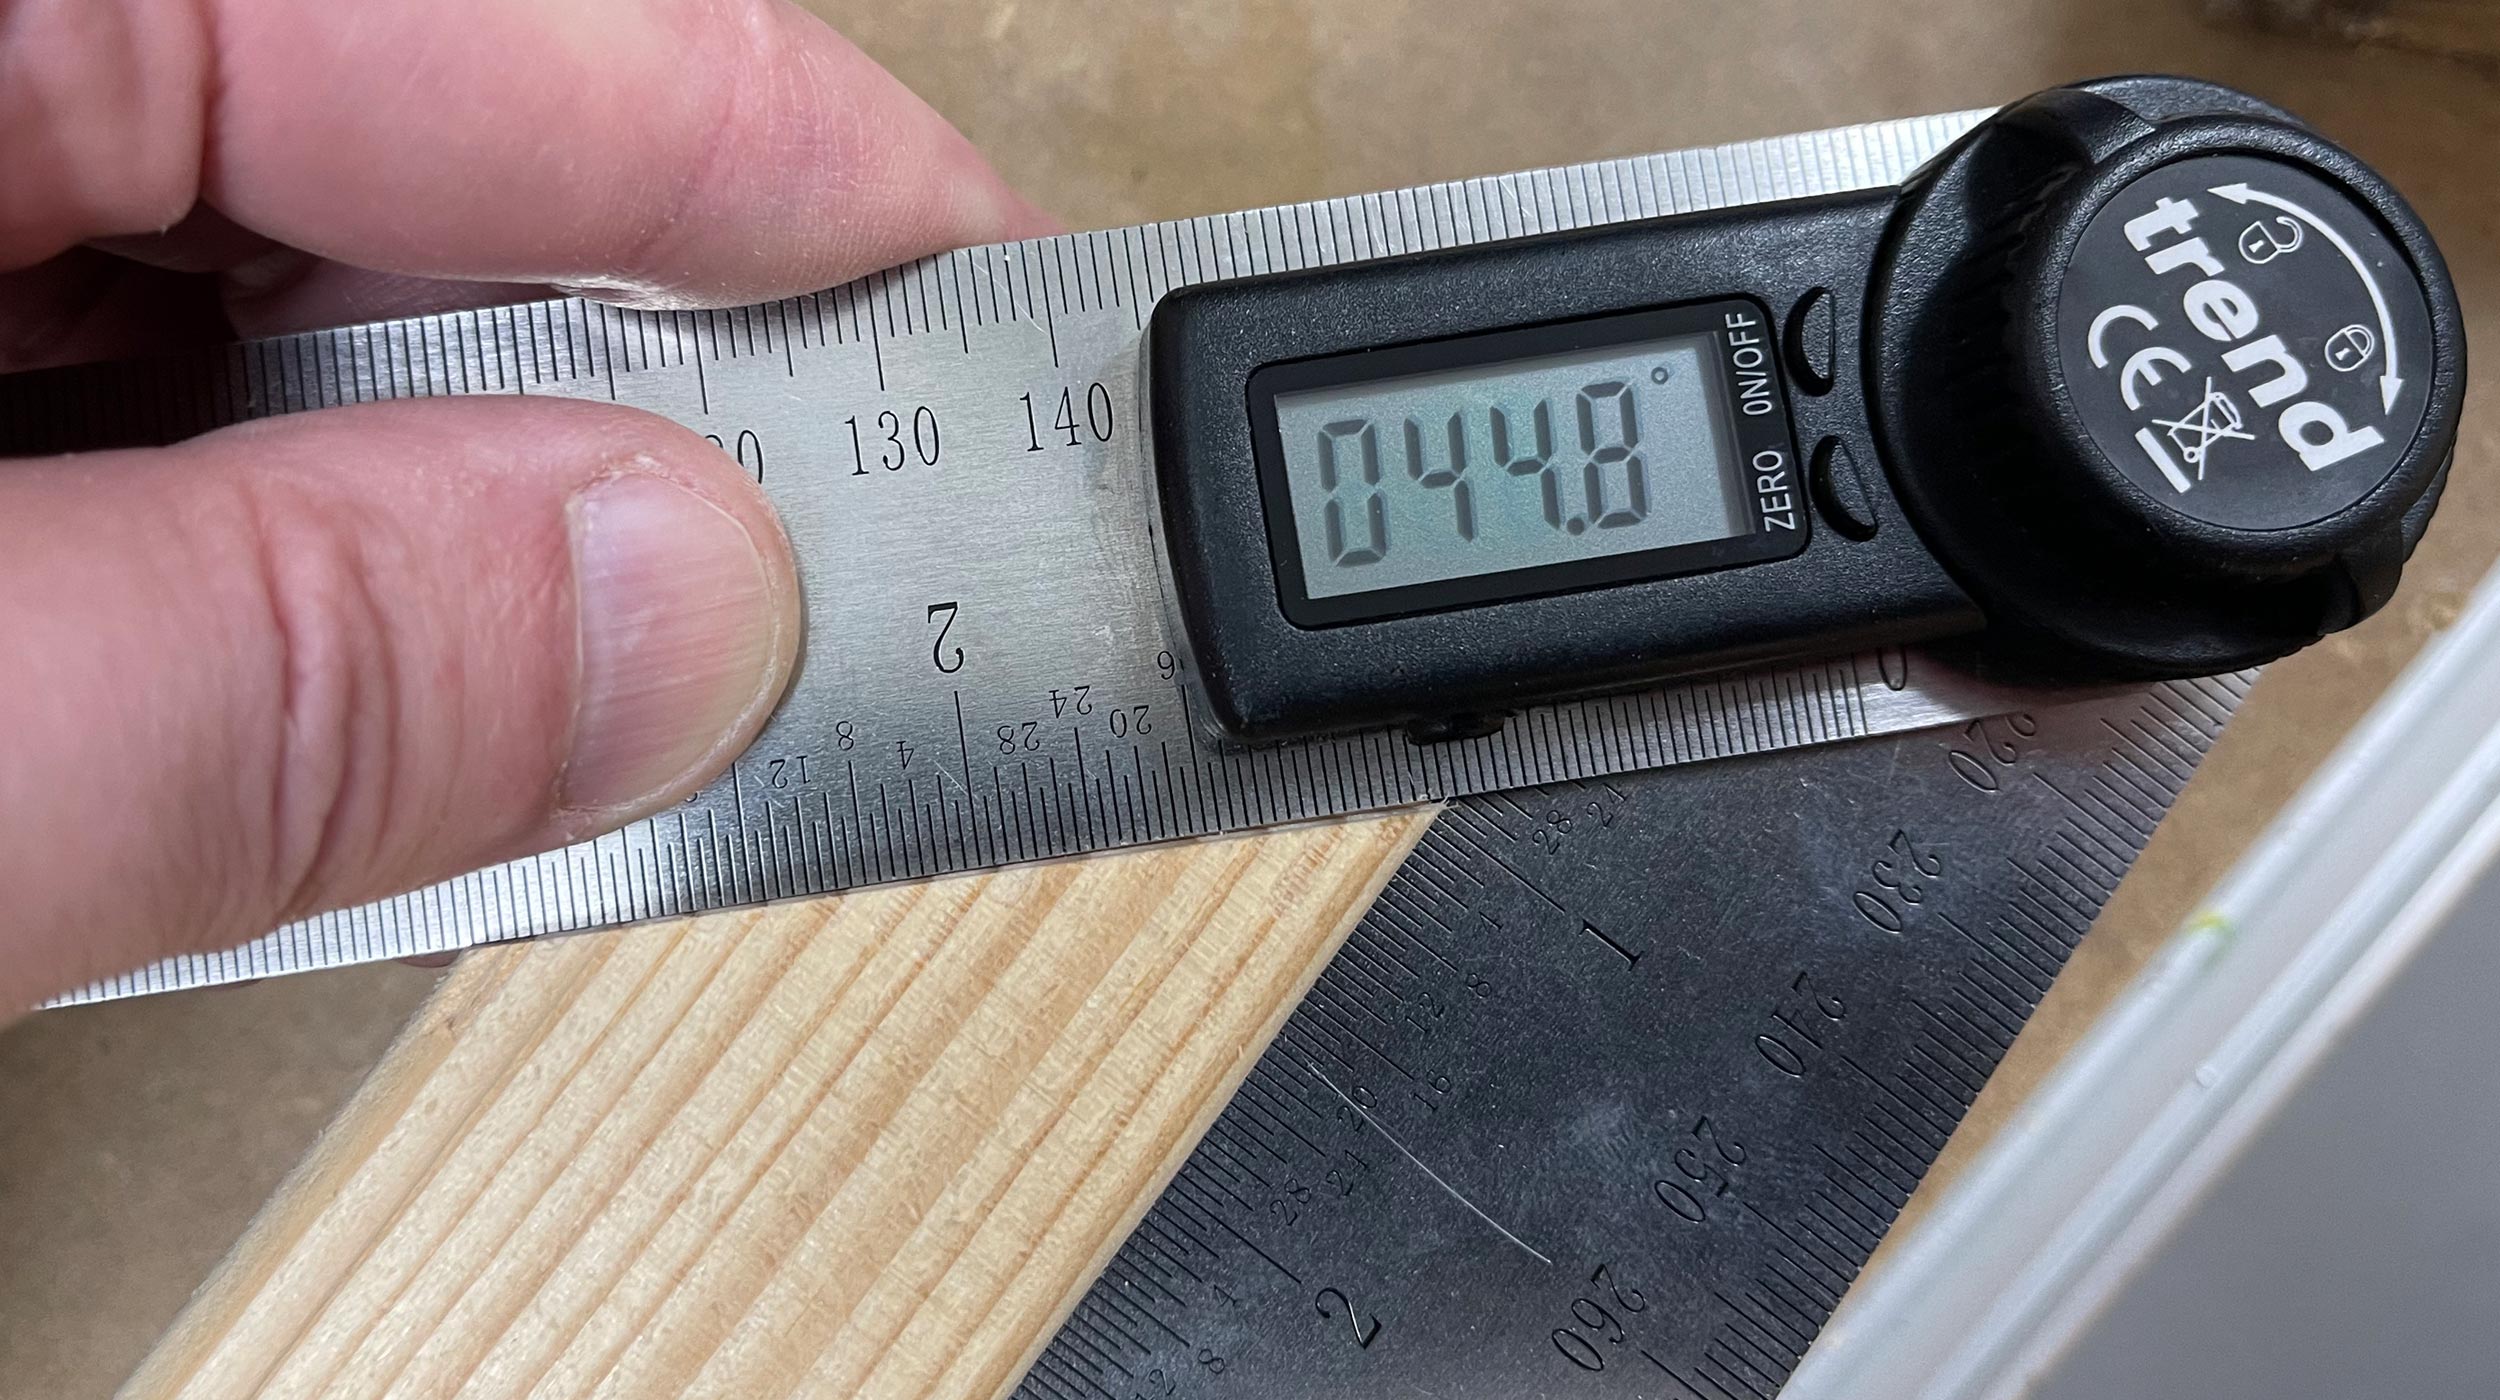
Accuracy out of the box was reasonable if not perfect. Mitre cuts at 45°, 90° and 135° produced a maximum error of 0.2° and bevel cuts at 45° produced similar results. There are various adjusting bolts on the saw to dial in the accuracy. As mentioned, the sub base fences were forward of the main fence and I’d like them to have been slightly behind instead, but the bed of the mitre saw was as flat as anything I have seen before.
Battery life was good. Starting and stopping the saw fully in between, I was able to make 64 cuts in 63mm x 38mm CLS timber (often used for creating partition walls) before the speed of the blade noticeably changed, and a further 6 cuts before it stopped.
It then took just over 42 minutes to fully recharge the battery. Given the usage profile for a saw such as this, the two batteries supplied should keep you working throughout the day assuming there is power for the charger.
About our review — and reviewer
Garry is an independent product tester, bringing decades of skill and experience in multiple trades to the art of authentic, real-world reviews. A technology geek, tool addict, and soon-to-be Passivhaus self-builder, he lives with his family in Worcestershire.
We are not given any compensation by Makita for our reviews, but may be allowed to keep the product for long term testing meaning we can test it over a greater length of time, and update this review if required.
Garry is an independent product tester, bringing decades of skill and experience in multiple trades to the art of authentic, real-world reviews. A technology geek, power tool addict, and soon-to-be Passivhaus self builder, he lives with his family in Worcestershire. He also has a passion for sustainability and plotfinding.
