Window Repair Guide: What’s Involved and How Much Does it Cost?

Original windows are a great asset to any older home and as they are typically far superior to modern alternatives. As such, window repair efforts should be made before considering replacement.
Budget will obviously make an impact on such window repair decisions but it’s a common misconception that repairing windows will be expensive, not to mention a lot of hassle.
Repairing rot and solving foggy panes are surprisingly simple to fix – although a job best left to professionals. However, before you call someone to replace throughout, read up on common problems and find advice on how they can be fixed below.
How Much Does it Cost to Repair a Window?
Although this varies vastly depending on the condition and size of the windows, as well as the complexity of the work necessary, expect to pay around £500 per window on a straightforward renovation with replaced cords, weights and locks, plus draught-proofing.
Companies can only charge 5% VAT on refurbishments and draught-proofing works due to a government scheme concerning renovation and energy saving works. Any new joinery, hardware and glazing is set at 20%.
Bear in mind that replacing the entire window could set you back around £1,750 per window. A well-refurbished and maintained timber window can last 100 years so it’s worth weighing up all the options.
Check with the contractor in advance whether the price includes making good to internal plaster and decorations and externally to render, etc. When it comes to timber windows, the opening should also be lined with a strip of damp-proofing material, too.
Bring your dream home to life with expert advice, how to guides and design inspiration. Sign up for our newsletter and get two free tickets to a Homebuilding & Renovating Show near you.
Will Repairing/Replacing Windows Add Value to A Home?
As double-glazing is expected in most modern homes and as homeowners are looking at increased energy-efficiency when buying, improving windows in a dated home is generally a wise decision.
In a period property, you will need to be sensitive when restoring frames and replacing single panes while in a modern modern home investing in timber from PVCu for instance, will naturally make a home more desirable.
(MORE: How to Add Value to Your Home: 20 Top Tips)
Do I Need Planning Permission to Replace Windows?
Planning permission is not normally required to replace windows, unless buildings are listed or located in Conservation Areas (where it applies to the ‘principal elevation’, usually the one facing the road).
However, replacement windows installed after April 2002 should have Building Regulations approval. The exception is where you’re just replacing the glass, not the whole window.
When replacing old windows with new, there are several considerations to make relating to areas such as thermal performance, safety, ventilation and means of escape. In most cases, using FENSA registered installer means new windows will comply without involving local authority building control as they ‘self certify’ the installation.
Building Regs’ consent will also be needed for structural alterations, such as widening an existing opening and fitting a new lintel. Compliance with ventilation requirements (i.e. trickle vents in frames).
The Building Regs define new windows and doors as ‘controlled fittings’ (Part L1B) which must meet maximum permitted heat loss standards based on either a ‘C’ Window Energy Rating (WER) or a minimum whole window U value of 1.6W/m²K. Replacement windows also need to comply with requirements for ventilation, e.g. with trickle vents in window frames and opening lights.
Means of escape
At least one window per floor should be large enough to allow escape from fire, too. The minimum opening area of 0.33m², with width and height no less than 450mm, so shouldn’t pose a problem.
Safety & Ventilation
Safety glass is required for windows where the bottom of the glazing is within 800mm of floor level. Minimum size requirements. For newly formed window openings to habitable rooms there are minimum size requirements equivalent to at least 1/20th of the room’s floor area.
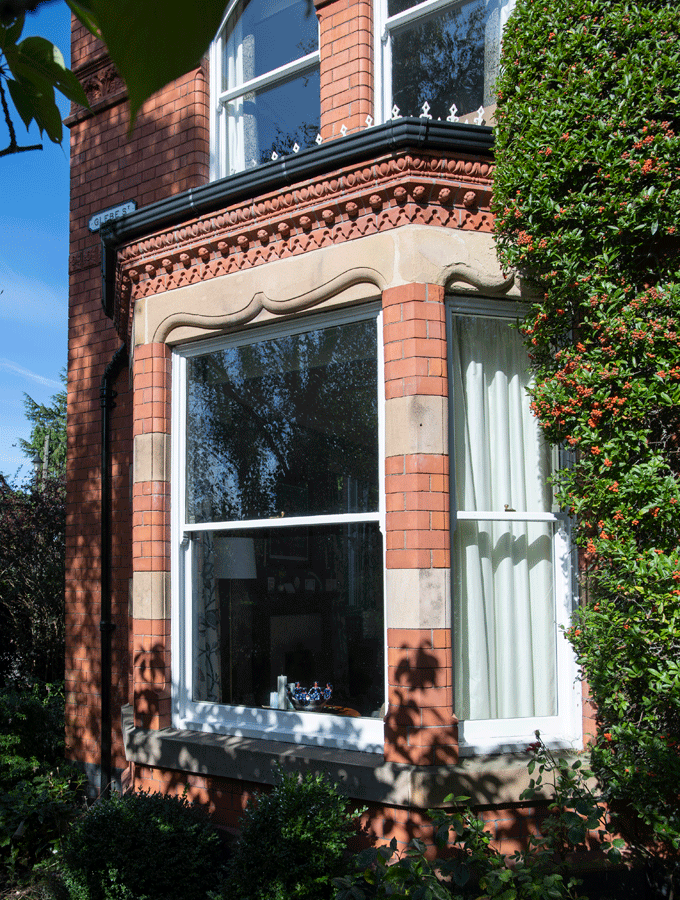
As late as the 1960s, lead-based paints were widely used so old layers might be lurking under later coats of modern gloss. Take precautions when rubbing down as only a potential risk if lead compounds are ingested or inhaled.
How to Fix Rotten Wooden Windows
Soft, decaying wood, flaking paint and sticking windows are all signs of rot in timber windows.
Water penetration and pooling distorts the timber causing this particular problems; normally the result of a lack of maintenance or where corner joints have worked loose.
To test for rot, check to see if the wood is soft and spongy. A good way is to dig away with a screwdriver. If rot is present a specialist will need to be called to help.
How to Restore and Rebuild Frames
- Cut out small areas of rot and fill with putty or filler
- Cut away large areas of damaged wood, treat the sound wood with preservative fluid, and graft new sections of timber into place. Inserting preservative tablets into holes drilled in the frame can also help; these release a preservative into the timber
- Apply a primer and undercoat followed by two topcoats of exterior paint as a finish
- Cracked or loose glazing putty must be renewed, too
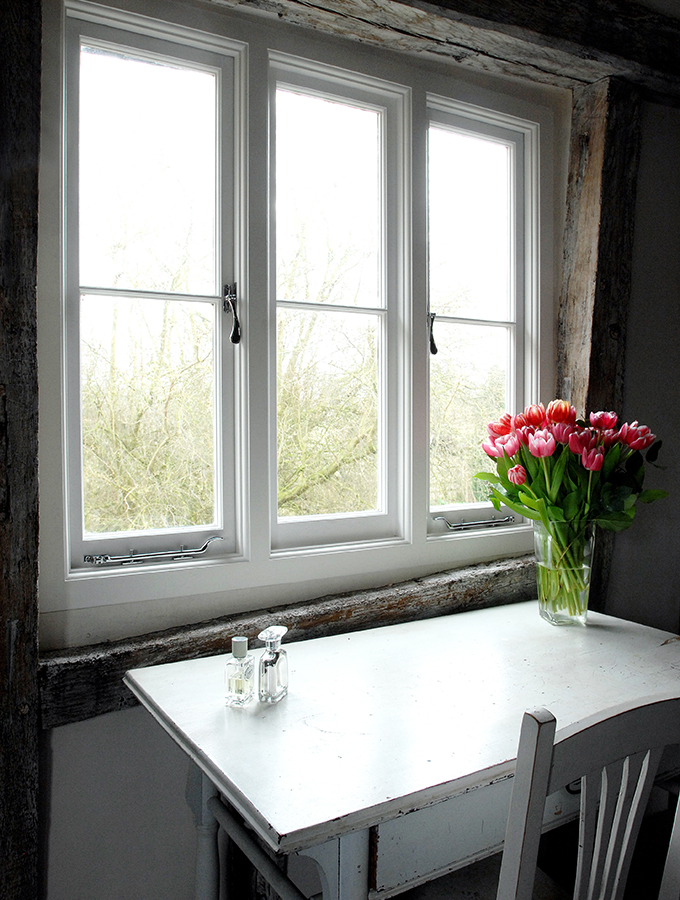
Cills are a notorious weak point. They can often be repaired by cutting the rotten face back to sound wood and then planting in a new piece of seasoned wood, using glue and non-ferrous screws.
It’s important to ensure that there’s a clear drip groove on the underside of the outer cill, in order to disperse rainwater safely away from the wall. The drip grooves on old cills can sometimes become blocked with paint; water can soak through the wall below as a result.
Loose joints are another common problem. The simplest form of repair is to strengthen the corner of a window with an angle bracket made from non-corroding brass or stainless steel. The bracket can be secured in place and concealed once any decay has been cut out and filled.
Alternatively, simply re-glue loose joints. This normally requires taking the windows out and clamping the glued frames in a workbench. Where larger areas of timber are defective, they can be cut out and new matching sections to frames, rails, stiles and glazing bars scarfed in.
Repairing Windows That Have Foggy Panes
One of the most common defects encountered with double glazing is their tendency to ‘mist/fog up’. Sometimes this can happen within a surprisingly short period of time after installation.
Foggy panes are caused by the erosion of the edge seals, which become permeable. Condensation then forms inside the sealed unit cavity between the inner and outer panes. Even a tiny pinhole in the seal around the edge of the sealed unit can allow water vapour to penetrate the inner space between the glass panes.
Unfortunately, once a sealed unit has started to mist, there’s not a lot that can be done other than replacement (although short-term fixes sometimes work).
Take out and replace either the glazed sealed unit itself or, more typically, to take out the whole window.
- Before cutting out the old windows, it’s important to check whether there’s a suitable lintel supporting the masonry above. If not, temporary support will be required
- If the old glass can’t be easily removed without damaging it or cutting, it’s a good idea to cover both sides with clingfilm to reduce the risk of small shards flying of
Refurbishing Sash Windows
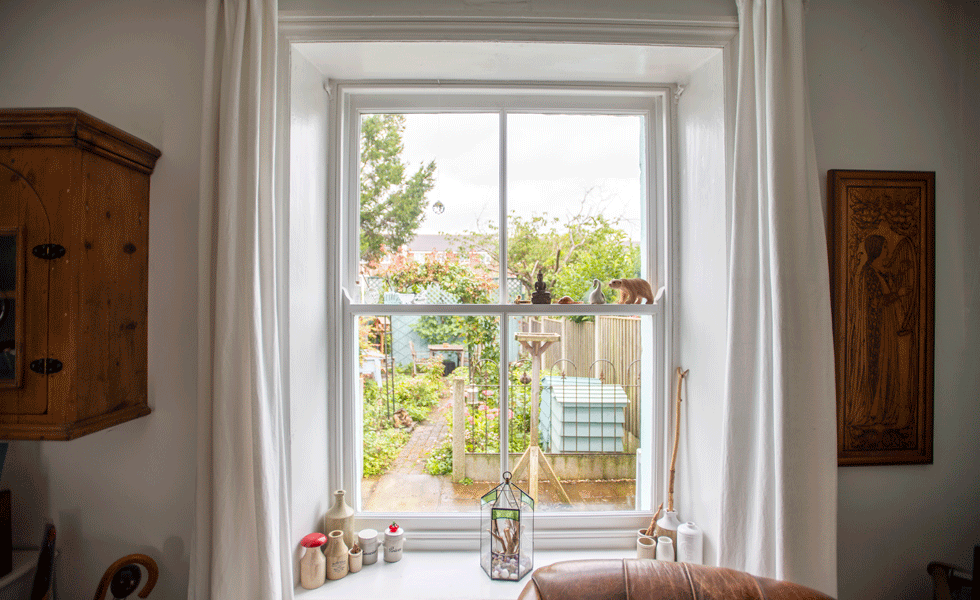
Sashes are heavy and prone to jamming and sticking, or they may slide down uncontrollably.
Sash windows are fairly straightforward to overhaul. Common problems such as broken sash cords and jammed pulleys are obvious and easily fixed, but other defects are less obvious.
- Where the original 2mm-thin glass has been replaced with modern thicker glass (which must be a minimum of 3mm), the counterbalancing iron or lead weights in the side boxes will need to be adjusted
- The timber beading to the frames that holds the sashes in alignment can also break or work loose, and it is common for old windows to have been ‘painted closed’
To overhaul sashes you really need to remove them from their frames. This can be done from the interior by carefully prising off the nailed timber beading.
- Sash cords are fairly easy to replace
- Lubricate pulleys
- Prise off, dismantle and rub down beading
- Plane off distorted wood, followed by lubricating the sides with candle wax, and oiling the pulleys
- Strip any paint from the sash channels in the frame (usually best done by burning off) and protect with linseed oil. Take care not to leave burn marks and perhaps use chemical strippers near glass to avoid cracking
- Refixing beading with brass screws rather than nails is a better solution
Tackling Damp and Draughts While Repairing Windows
An obvious sign is rain and draughts entering through gaps in and around the windows. Condensation forming on windows or reveals internally and dripping down – sometimes mould is evident, too – are also clues. Externally, obvious gaps between frames and surrounding reveals/jambs may be visible.
Improved room ventilation and extractor fans to expel moist air relieve condensation. It’s common for the sides of the walls around window frames (the reveals) to suffer from damp and mould due to cold bridging, as the masonry surrounds act as a pathway between the cold outdoor and warm indoor air.
How to Draughtproof Timber Windows
- Gaps between the frames and surrounding masonry wall reveals need to be sealed with a suitable silicone mastic, or larger gaps pointed up in a weak mortar
- Install special insulated plastic ‘cavity closers’ to prevent cold bridging when refitting windows
- Draughtproofing windows can be enormously cost-effective. While fitting good-quality internal secondary glazing is a great way to stop draughts, minimise heat loss and increase sound insulation
(MORE: Insulating Old Homes)
Dealing with Defective Lintels & Structural Movement
Any opening in a wall is a weak point and older solid walled buildings can suffer problems where hidden wooden lintels have become rotten. Clues to this can include cracking over window openings externally to the brickwork to brick arches, stonework or render. Cracking to internal plasterwork can develop where internal timber lintels are defective.
Lack of support to the outer leaf during replacement window installation works can cause movement in more modern cavity wall properties. This can lead to stepped cracking to the external masonry above a window opening.
Timber was the traditional material for lintels spanning openings above doors and windows. Even in older solid-walled buildings where the outer face of the wall has a brick arch or stone lintel a secondary timber beam can be sitting behind it, often plastered over.
Even where an old timber lintel has started to rot, it may not automatically need replacing. The important thing is to expose it and allow it to dry out. This often requires the removal of cement renders or impervious modern paints that are trapping damp.
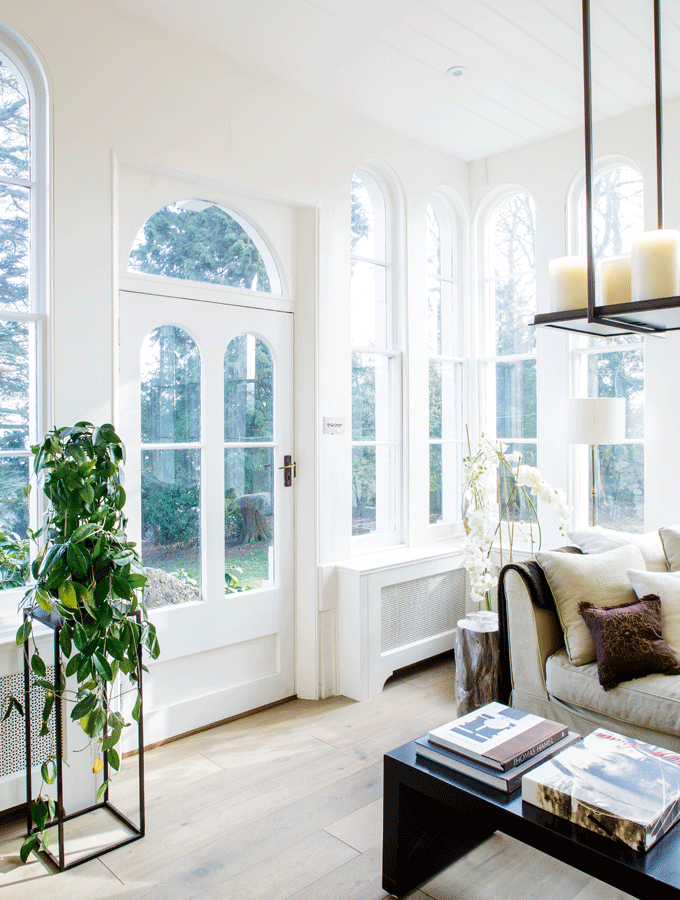
When it comes to more modern buildings, it’s important that the contractors carry out checks before removing old windows.
Many properties built between the 1940s and 1970s have no lintels over window openings. The original frames were designed to support the walls above but replacement windows aren’t designed to support such loadings.
If there is no lintel, suitable temporary support must be provided and a new lintel inserted, with guidance from a structural engineer. (Hence the requirement for Building Regulations consent when old windows are replaced with new windows).
Where existing windows have already been replaced in cavity walls without lintels, stepped hairline cracking to the wall above the opening is very common. To fix this, the opening needs to be stabilised, and where necessary, a new lintel inserted to support the weight of the outer cavity.
A similar but more serious problem can occur with bay windows, particularly to 1930s houses. The original windows often had discreet integral columns supporting heavy loadings from roofs. So it’s again important that replacement windows are designed to provide sufficient structural support.
Advice on Rebuilding Windows in Older Buildings
Ripping out original windows in historic buildings can be a sure-fire way of diminishing both their character and market value, as well as possibly contravening planning laws.
A good alternative can be to overhaul and retain them. Perhaps incorporating double-glazed units in the form of secondary glazing that opens to the inside. This will provide superior sound-deadening qualities than conventional double glazing alone.
Existing window frames can have new super-thin double-glazed pane units fitted to replace single-glazed units. This usually suits casements, however, rather than sliding sashes as the extra weight can cause problems with counterbalancing.
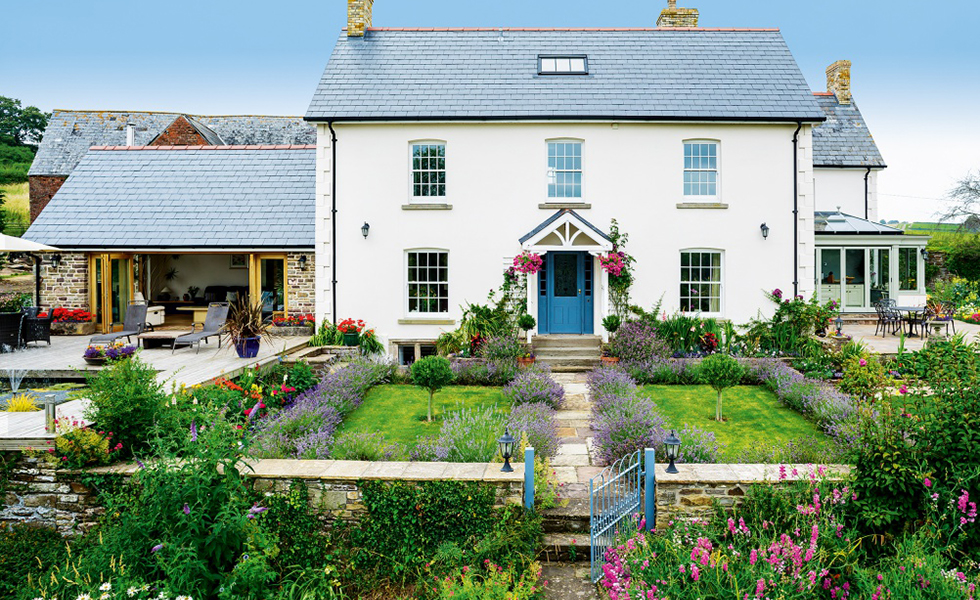
You may also need to use a router to enlarge the glazing rebates to accommodate thicker glass. And bear in mind that conservation officers generally resist the loss of original glass.
There is, however, one scenario where replacement can actually be welcome in historic properties, and that’s where inappropriate replacements have already been installed. That said, listed building consent is still required for listed homes, even if you’re hoping to do the decent thing and rectify past wrongs.
Whichever way you look at it – internally or externally – taking out and replacing old windows is going to cause damage to the surrounding walls, meaning you’ll need to ‘make good’ once new windows go in. How extensive the repair will depend on how significantly you are changing the size of the aperture, the exterior cladding you have and the style of the new windows.
Old buildings tend to move in tune with seasonal changes to ground conditions. Therefore replacement windows need to tolerate this without distorting. Timber windows are better suited to this task rather than aluminium or PVCu.

A widely believed misconception is that a great way to reduce energy bills is to fit double glazing and cut heat loss from your property. But the fact is, windows tend to only leak around 10% of a typical home’s total heat loss, compared to 35% through the walls.
The Energy Saving Trust found that it can take over 50 years for the cost of installing new windows to be paid in reduced bills. One thing the salesmen don’t stress either, is that much of this improvement is simply down to draught-proofing, thanks to snugly fitted new frames.
Another common misconception is that PVCu windows last forever and are maintenance free. Time can cause a number of problems such as defective handles, damaged seals and the glass misting up.
Plus, anything made of PVCu on the exterior of the house will eventually succumb to the effects of UV light. As they become brittle faded or yellow, it’s not unusual for them to need replacement within 25 to 30 years.
Repairing Corroded Metal Windows
Signs of corroded metal frames include rusted frames, which may have warped or become distorted. Cracked glass, leaded lights with loose cames and small glazing panes that have buckled are also symptoms.
The most serious issue that can afflict iron or steel windows is rust. As the metal corrodes it expands, causing distortion which can eventually lead to the glass cracking. But even windows that appear to be beyond repair can often be successfully overhauled.
How to Fix Corrosion in Metal Windows
- Where rust only affects the surface, it can simply be cleaned off with a wire brush. (Take precautions as red lead was a commonly used primer)
- Cut out corroded sections of old wrought iron windows and weld in new replacement sections
- Repairs to cast iron are more difficult as it’s almost impossible to weld; it may instead require ‘cold-metal stitching’
- Remove all the rust and apply a good-quality zinc primer before painting
- Old metal windows may have also acquired multiple coats of paint which, once stripped, can greatly improve their functionality
- Where old leaded lights have become loose and draughty, fitting secondary glazing internally can sometimes provide an effective solution. In more severe cases, the entire leaded light may need to be removed and professionally rebuilt wholly or partially using new lead
Chartered surveyor Ian Rock MRICS is a director is Rightsurvey.co.uk and the author of eight popular Haynes House Manuals, including the Home Extension Manual, the Self Build Manual and Period Property Manual.
Ian is also the founder of Zennor Consultants. In addition to providing house surveys, Zennor Consultants provide professional guidance on property refurbishment and maintenance as well as advising on the design and construction of home extensions and loft conversions, including planning and Building Regulations compliance.
Ian has recently added a 100m2 extension to his home; he designed and project managed the build and completed much of the interior fit-out on a DIY basis.

