Renovating Old Floors
Whilst original floors might be a beautiful and sought-after feature in period homes, they can also be problematic. The key to repairing and renovating an old floor is all about what lies beneath

When renovating a period property you are likely to find yourself faced with floors that are less than ideal in terms of our modern expectations. They can be uneven, damp or cold — or often all three.
Happily, whether you wish to restore your old floors to their former glory, or plan on replacing them with something entirely new, there is a solution out there.
Your first task when taking on the job of renovating old floors is to investigate the subfloor.
Assessing the Subfloor
In the case of original timber floorboards, you might well discover that the timber joists that form their underlying structure have begun to rot, whilst little thought is likely to have been given to insulation.
It was very common for quarry tiles and parquet, as well as flagstones, to be laid on nothing more than earth, ash or sand. While this in itself is not a huge problem, it makes for a very cold floor underfoot as there is rarely any insulation and, in the case of parquet, can mean damp can sometimes come up through the floor, particularly if a covering such as a thick rug is laid over it.
The thing about these floors is that they were designed to be ‘breathable’ and to absorb and evaporate moisture from the whole surface area with no damage to the materials used.
Problems here only generally occur when they are covered over with a non-breathable material, or an unsuitable insulation is laid beneath them for warmth.
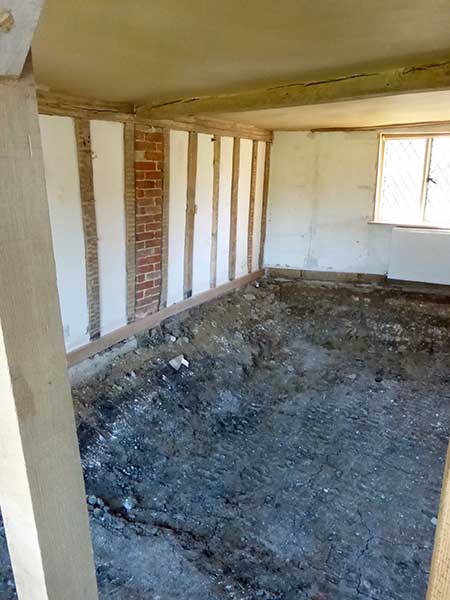
One solution is to take up the tiles, stone or parquet or timber and dig out the floor to a level that will allow for insulation, a damp-proof membrane, concrete and your new floor covering. The problem is that the majority of insulation materials for solid floors rely on an impervious damp-proof membrane to keep the insulation dry.
Bring your dream home to life with expert advice, how to guides and design inspiration. Sign up for our newsletter and get two free tickets to a Homebuilding & Renovating Show near you.
The insulation materials used also need to be able to withstand the weight of the concrete slab or screed being laid on top of them, limiting the choices of insulation to those which are basically impervious to air and moisture, which will disrupt the moisture balance in quarry tiles and flagstones or any other original permeable materials you might find yourself with, such as brick.
Taking up your floor and relaying it on a concrete sub-floor with a damp-proof membrane can cause salts within the old floor to come to the surface and these, in turn, can absorb moisture from the air and result in a damp floor. Of course, you could just cover them with a floating engineered wood floor and keep your fingers crossed, but you’re likely to run into problems with damp in the future.
Tile, Stone and Parquet Floors
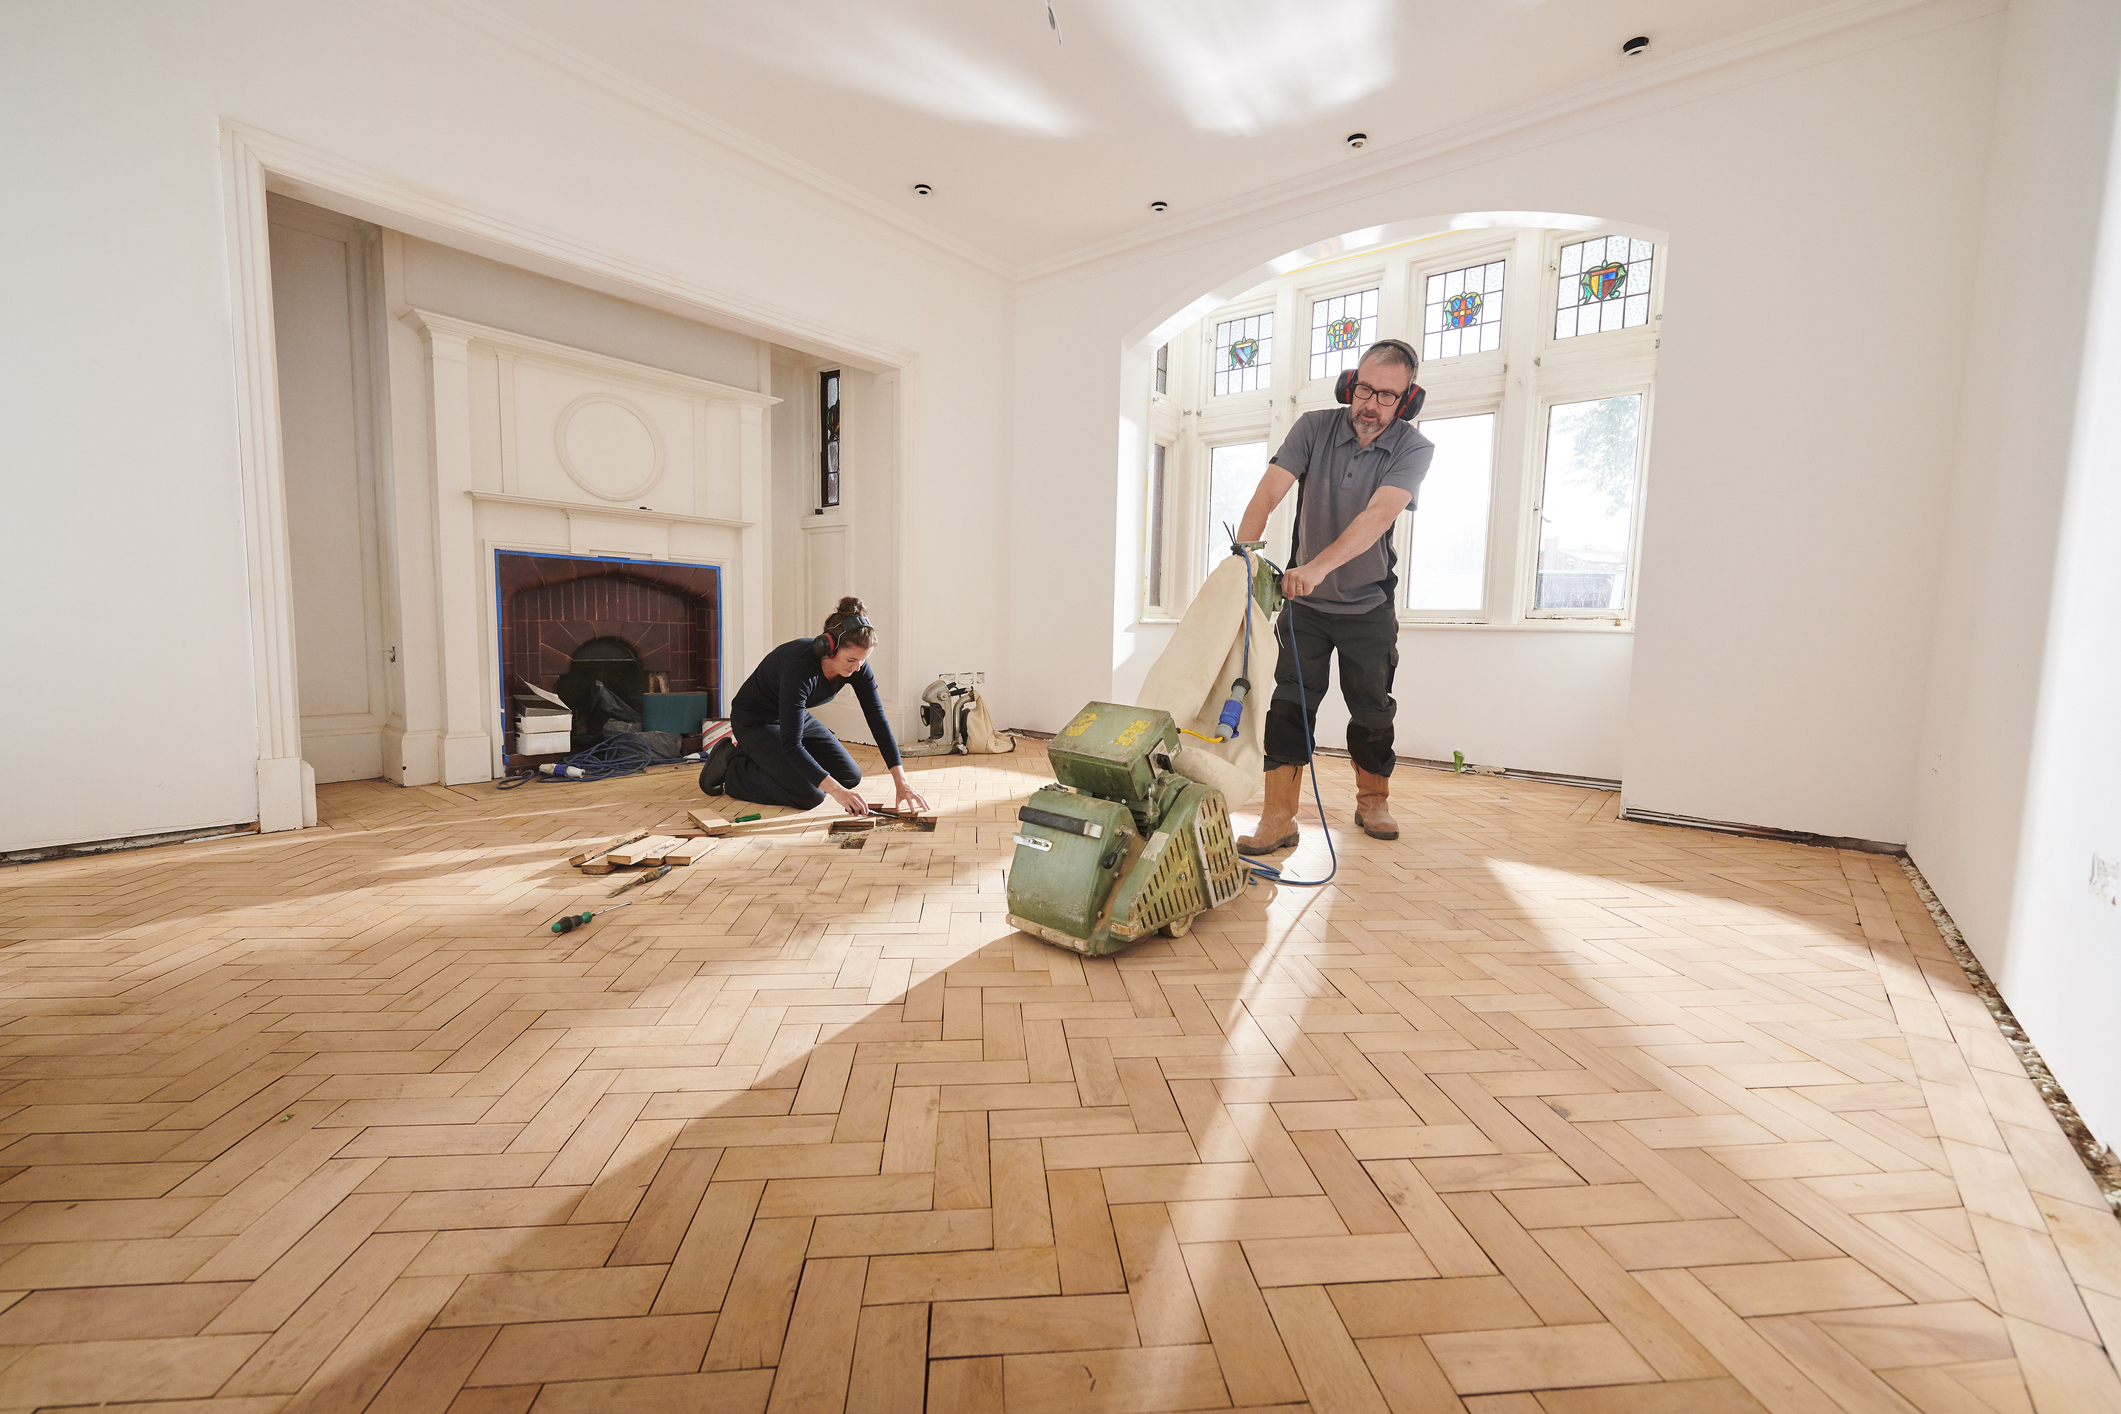
In the case of tiles, flagstones or parquet that has a base of earth, ash or similar you have several options.
One is to leave well alone and just accept that old houses come with old floors — and then invest in some warm and cosy slippers. However, for most people, a resolution more in-keeping with our modern expectations of comfort is required.
If you are keen to retain the original floor finish, one solution is to carefully take up the tiles, stone or parquet before digging out the floor beneath to a level that will allow for insulation, a damp-proof membrane, concrete and, finally, the old floor covering.
Great care will need to be taken when removing the old covering — the likelihood is that there is only one way it will all fit back together again, so keeping track of which tile or parquet block went where is vital.
Secondly, the majority of modern insulation materials for solid floors rely on an impervious damp-proof membrane to keep the insulation dry. Using these will throw the moisture balance of materials such as quarry tiles, brick, flagstones and even parquet, out of kilter. This means that damp could become an issue where it was before kept under control.
Insulating Old Floors
There are now methods for insulating under these old floor coverings in ways that won’t interfere with their breathability.
There is a range of relatively new materials that have the ability to absorb and emit moisture, something many standard modern systems fail to do. These materials can also be laid successfully with underfloor heating.
One such product is Limecrete. Another product of interest for those considering this job is GLAPOR recycled foam glass from Ty Mwar.
What is Limecrete?
“Limecrete floors provide a middle ground between modern concrete floors, with damp proof membranes and truly traditional vernacular floor construction,” explains Historic Building Consultant Peter Hayes. “Limecrete floors are made up of aerated aggregate mixed with a hydraulic lime binder. The lack of fine material in the sub-base resists the passage of ground moisture through it. The ‘honeycomb’ structure of floor aggregate also provides good insulation.
Depending on the aggregate used, limecrete floors can be thinner than modern floor slabs, meaning removal of less soil from a site and reducing the potential for disruption or undermining of the wall’s substructure.”
Adding insulation and a membrane beneath old floors is a disruptive job which, if you are living within the project, will cause upheaval. However, it is well worth it in the end.
The floor will need to be dug up to the required depth before the ground is levelled and compacted. A breathable membrane is then laid, before the insulating materials. If you are fitting underfloor heating, this will be fitted before the new flooring is laid or the original put back into place.
Repairing Wood Floors
In the case of timber floor structures, the most common underlying problems relate to rotten timber joists.
If only smaller areas of timber are damaged it is usually easy enough to repair them like-for-like, but if the entire area is badly damaged it is well-worth considering a complete replacement. You might well decide to do this yourself, but a skilled joiner or floor specialist will be able to help.
An alternative to a timber replacement is a steel i-beam system, such as Fastslab from CDI. This is a steel web hybrid system that spans from wall to wall and won’t rot over time.
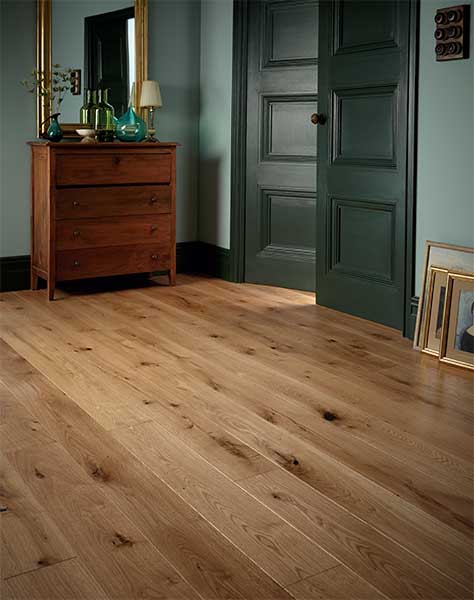
“Problems with damp can occur when people take up a timber floor and fill in the void below before putting a concrete slab over the top,” explains CDI’s Director Paul Larnach. “We replicate the existing timber floor joist system with Fastslab, maintaining the void to allow proper airflow.”
When it comes to the floor joists on the first floor, it pays to ensure that they are reinforced. “A product such as Lewis Deck is perfect for reinforcing timber first floors, although it is used on ground floors too,” explains Paul. It is made up of steel dovetailed sheets, 16mm in height. These fit together over the existing or replacement joists, before concrete or a free-flowing screen is laid on top.
“It strengthens the existing floor and also has really good acoustic properties — so there is no sound transference between storeys.”
Renovating Timber Floorboards
In the case of timber floorboards in need of some TLC, there are plenty of specialist floor renovation companies out there. It is also a job many people choose to take on themselves.
The work involves making gaps good, sorting out squeaks and scratches, and varnishing.
Professionals will charge in the region of £20-35/m², meaning a typical 16m² dining room might cost in the region of £400.
If you are a confident DIYer, you should be able to do this for around £150.
If you are planning on laying a floating floor – an engineered wood floor, for example – it will simply be a case of rectifying any squeaks and screwing down any loose boards before laying underlay and your new floor.
If it is tiles you are after and have a suspended timber floor then you can simply take up the boards and screw plyboard to the existing floor joists to get a nice level floor to tile on.
In the case of parquet flooring, sanding and finishing can be carried out fairly easily. If sections are badly damaged or loose, they can be taken up and replaced with new before the whole thing is varnished or sealed.
Restoring Quarry Tiles and Flagstones
Often laid on nothing but earth, sand or ash, part of the beauty of these tiles is that any moisture that comes up through them can simply evaporate into the air.
Traditionally they were usually treated with boiled linseed oil to make them more resistant to stains. Over time, however, this wears off and they become porous once more.
If you plan on keeping the tiles, sealing them with a modern sealant can be a bad idea — moisture will become trapped beneath them and try to find another way out, often up the walls. Try breathable stains like Tile Doctor and some of the Lithofin products.
If you find the tiles are badly stained or covered in adhesive or paint, they can be cleaned using a mixture of natural stone cleaner and water.
Paint can be removed using something like Nitromors or a similar recommended paint stripper, but be sure to treat them with boiled linseed oil after they have been cleaned.
Uneven Floors
Uneven floors can make laying a new floor covering, or relaying an existing flooring material, incredibly hard — floor tiles can crack, new timber floors will bounce and creak and carpet will sag and wrinkle. Thankfully there are ways to level them out.
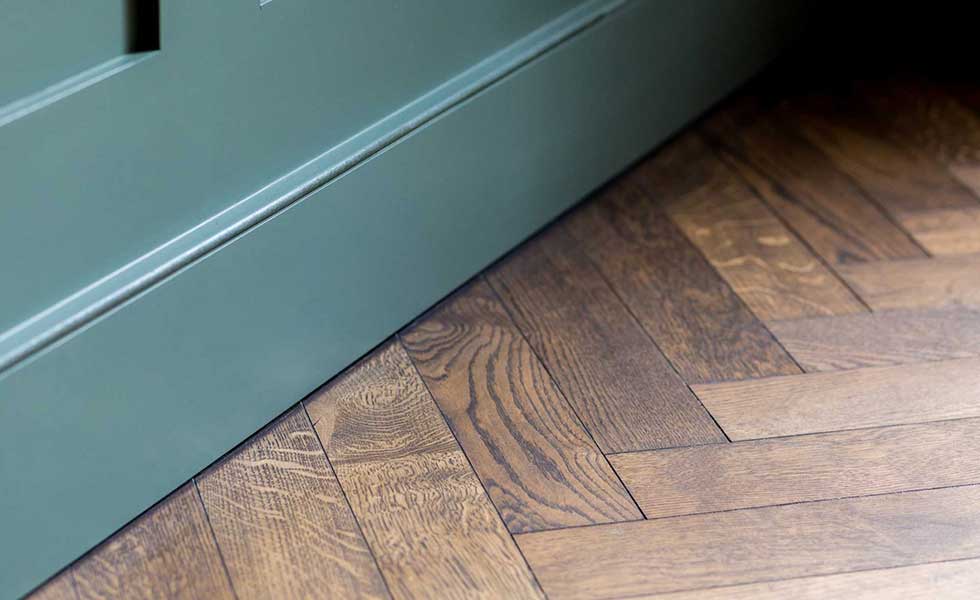
The best method of preparing a floor for its new or restored finish will depend on many factors, including how uneven the floor is, the type of covering it is to receive and the quality of the existing floor.
There are a huge number of bagged materials available for preparing a floor. Some are powders to which water needs to be added whilst others are supplied with a bottle of liquid to be used instead of water. The latter tend to be more flexible and stick better to poor substrates.
For very thin applications the materials can be applied with a trowel but are self-smoothing. For thicker sections there are materials that are truly self-levelling, minimising or eliminating the need for trowelling.
In some cases it is possible to fix sheet materials to an uneven floor. These include ply, chipboard, gypsum or cement fibreboards or tile backer boards.
Natasha was Homebuilding & Renovating’s Associate Content Editor and was a member of the Homebuilding team for over two decades. In her role on Homebuilding & Renovating she imparted her knowledge on a wide range of renovation topics, from window condensation to renovating bathrooms, to removing walls and adding an extension. She continues to write for Homebuilding on these topics, and more. An experienced journalist and renovation expert, she also writes for a number of other homes titles, including Homes & Gardens and Ideal Homes. Over the years Natasha has renovated and carried out a side extension to a Victorian terrace. She is currently living in the rural Edwardian cottage she renovated and extended on a largely DIY basis, living on site for the duration of the project.

