Plastering Walls: Options for Plastering New and Existing Walls
Plastering walls is an integral part of any house build or renovation - it leaves a smooth, robust finish you can admire for years to come. Here are the best plastering options for your project
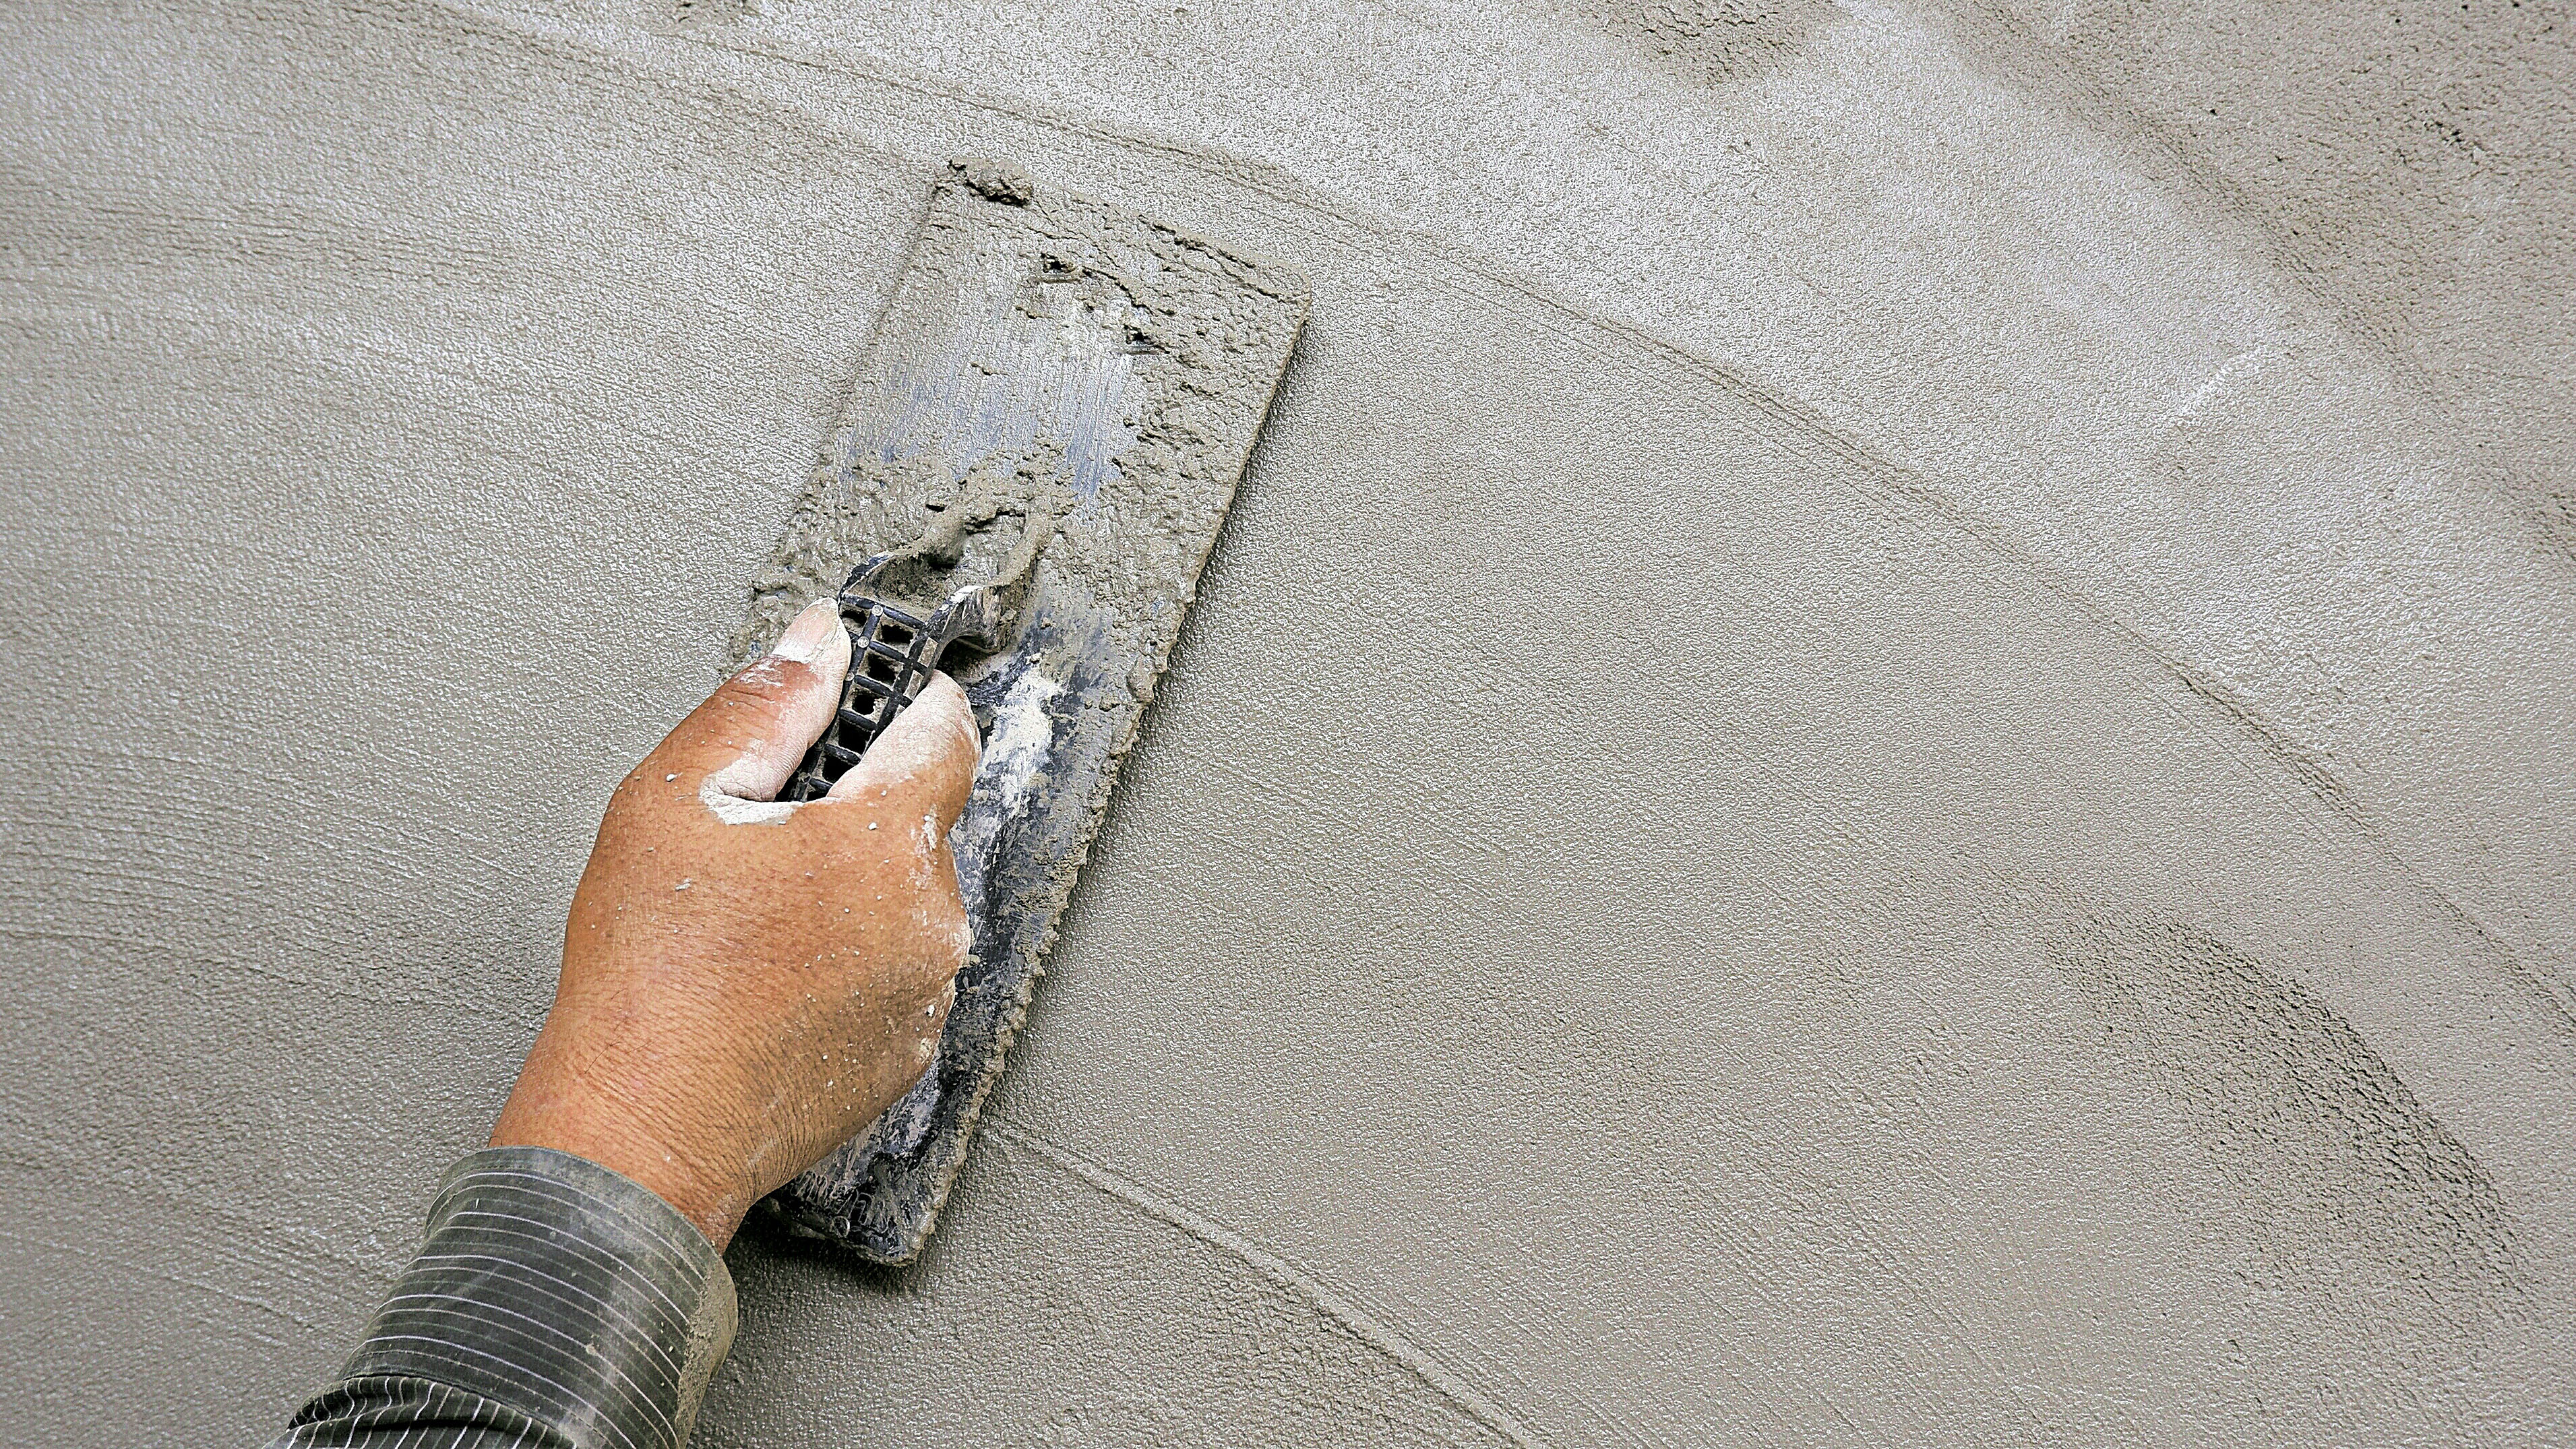
Plastering walls is a skilled job that requires a meticulous application. By applying plaster, you will give your walls a strong, smooth, durable finish. Not only that, but a well-plastered room will help to keep old walls in good condition, provide the perfect base for paint and help with soundproofing.
The type of wall and surface you are plastering will determine the plaster you need and the application route you take. Plastering a new wall or over plasterboard will be different from plastering straight onto old brickwork or an existing wall.
You can do any small plastering jobs or ‘patching up’ on a DIY basis, but whole walls and rooms are often best left to the professionals. However, that’s not to say you can’t save money by preparing the area and cleaning up old brickwork yourself.
Here’s what to use depending on if you are plastering walls in a self build or during a renovation project.
(MORE: What DIY to Leave to the Professionals)
Plastering Walls in a New Build
Plastering walls in a new house or extension requires a different approach to a renovation project. In the case of new builds, you can apply plaster directly to plasterboard.
How to apply plaster to a new wall:
- Firstly, plasterboard screw heads should be countersunk and filled with the joint between the boards taped
- Metal angle beads should be used to ensure a crisp finish around external corners
- Apply a layer of plaster - all blockwork walls to be plastered should receive one coat of sand and cement render, known as a scratch coat
- This should be left to set and then scratched, using a float with nails in it, in a swirling fashion to provide a stable key for the next coat, which is applied when the first scratch coat is still green but before it has dried out completely
- These two coats should be used to ‘dub’ out and fill any indentations or undulations in the wall
- At this point, the plasterer should judge if the render has set sufficiently and the topcoat plaster skim finish is applied. This should be smooth and not show any trowel marks or undulations as it is, essentially, the finished surface of the walls and ceilings in your new home
For even more advice, information and inspiration delivered straight to your door, subscribe to Homebuilding & Renovating magazine.
Many new homes are not actually plastered at all. It is usually internal walls or stud walls but sometimes the inner faces of exterior walls are simply lined with plasterboard before being painted or papered over - no plaster skim coat.
Of course, the main reason for this is cost, so there’s no need to employ a plasterer. Instead, the screw holes are filled, the joints between the boards covered with paper tape (scrim) and then a jointing compound, and you’re good to go. It is known as tape and jointing.
While this method is cheaper than plastering, care needs to be taken - if plasterboard gets too wet it becomes weak, and it is easy to damage the paper surface of the plasterboard if you’re not careful.
Plasterboard is also very absorbent, so it should be sealed with a diluted PVA solution or a product such as Gyproc Drywall Sealer first before painting.
(MORE: How to Skim a Plasterboard Wall)
Plastering Walls in Your Existing Home or During a Renovation Project
When plastering walls during a renovation there is often the need for more prep work to ensure the older walls are plaster-ready.
Get the room ready:
- Before your plasterer starts, it helps if you can clear the room out, cover carpets and cover anything that can’t be taken out of the room
- Your plasterer will need access to a water supply, so aim to provide a route to the water source that doesn’t involve traipsing plaster and mess through your entire house
- Remove old skirting boards before plastering - most plasterers will find it easier to plaster down to an inch or two above the floor than to skim down to the top of skirting. However, if you want to keep your skirting boards in place then most plasterers should be able to skim down to the existing skirting boards, although this is time consuming
Prep your walls
If you want your plasterer to apply a fresh skim coat to old plaster walls, you will need to prepare your walls.
- Any damaged and crumbling old plaster will need to come off the walls before the brickwork beneath is cleaned
- Scrape away any old pieces of wallpaper and apply an adhesive, such as a diluted solution of PVA. Alternatively, use a product such as Blue Grit, an adhesive containing small sand-like granules that stick to the wall and provides an excellent base for a new plaster coat
- Add a plaster primer such as Thistle Bond that you simply paint directly on to walls. Once dry, your plasterer can apply a skim coat directly
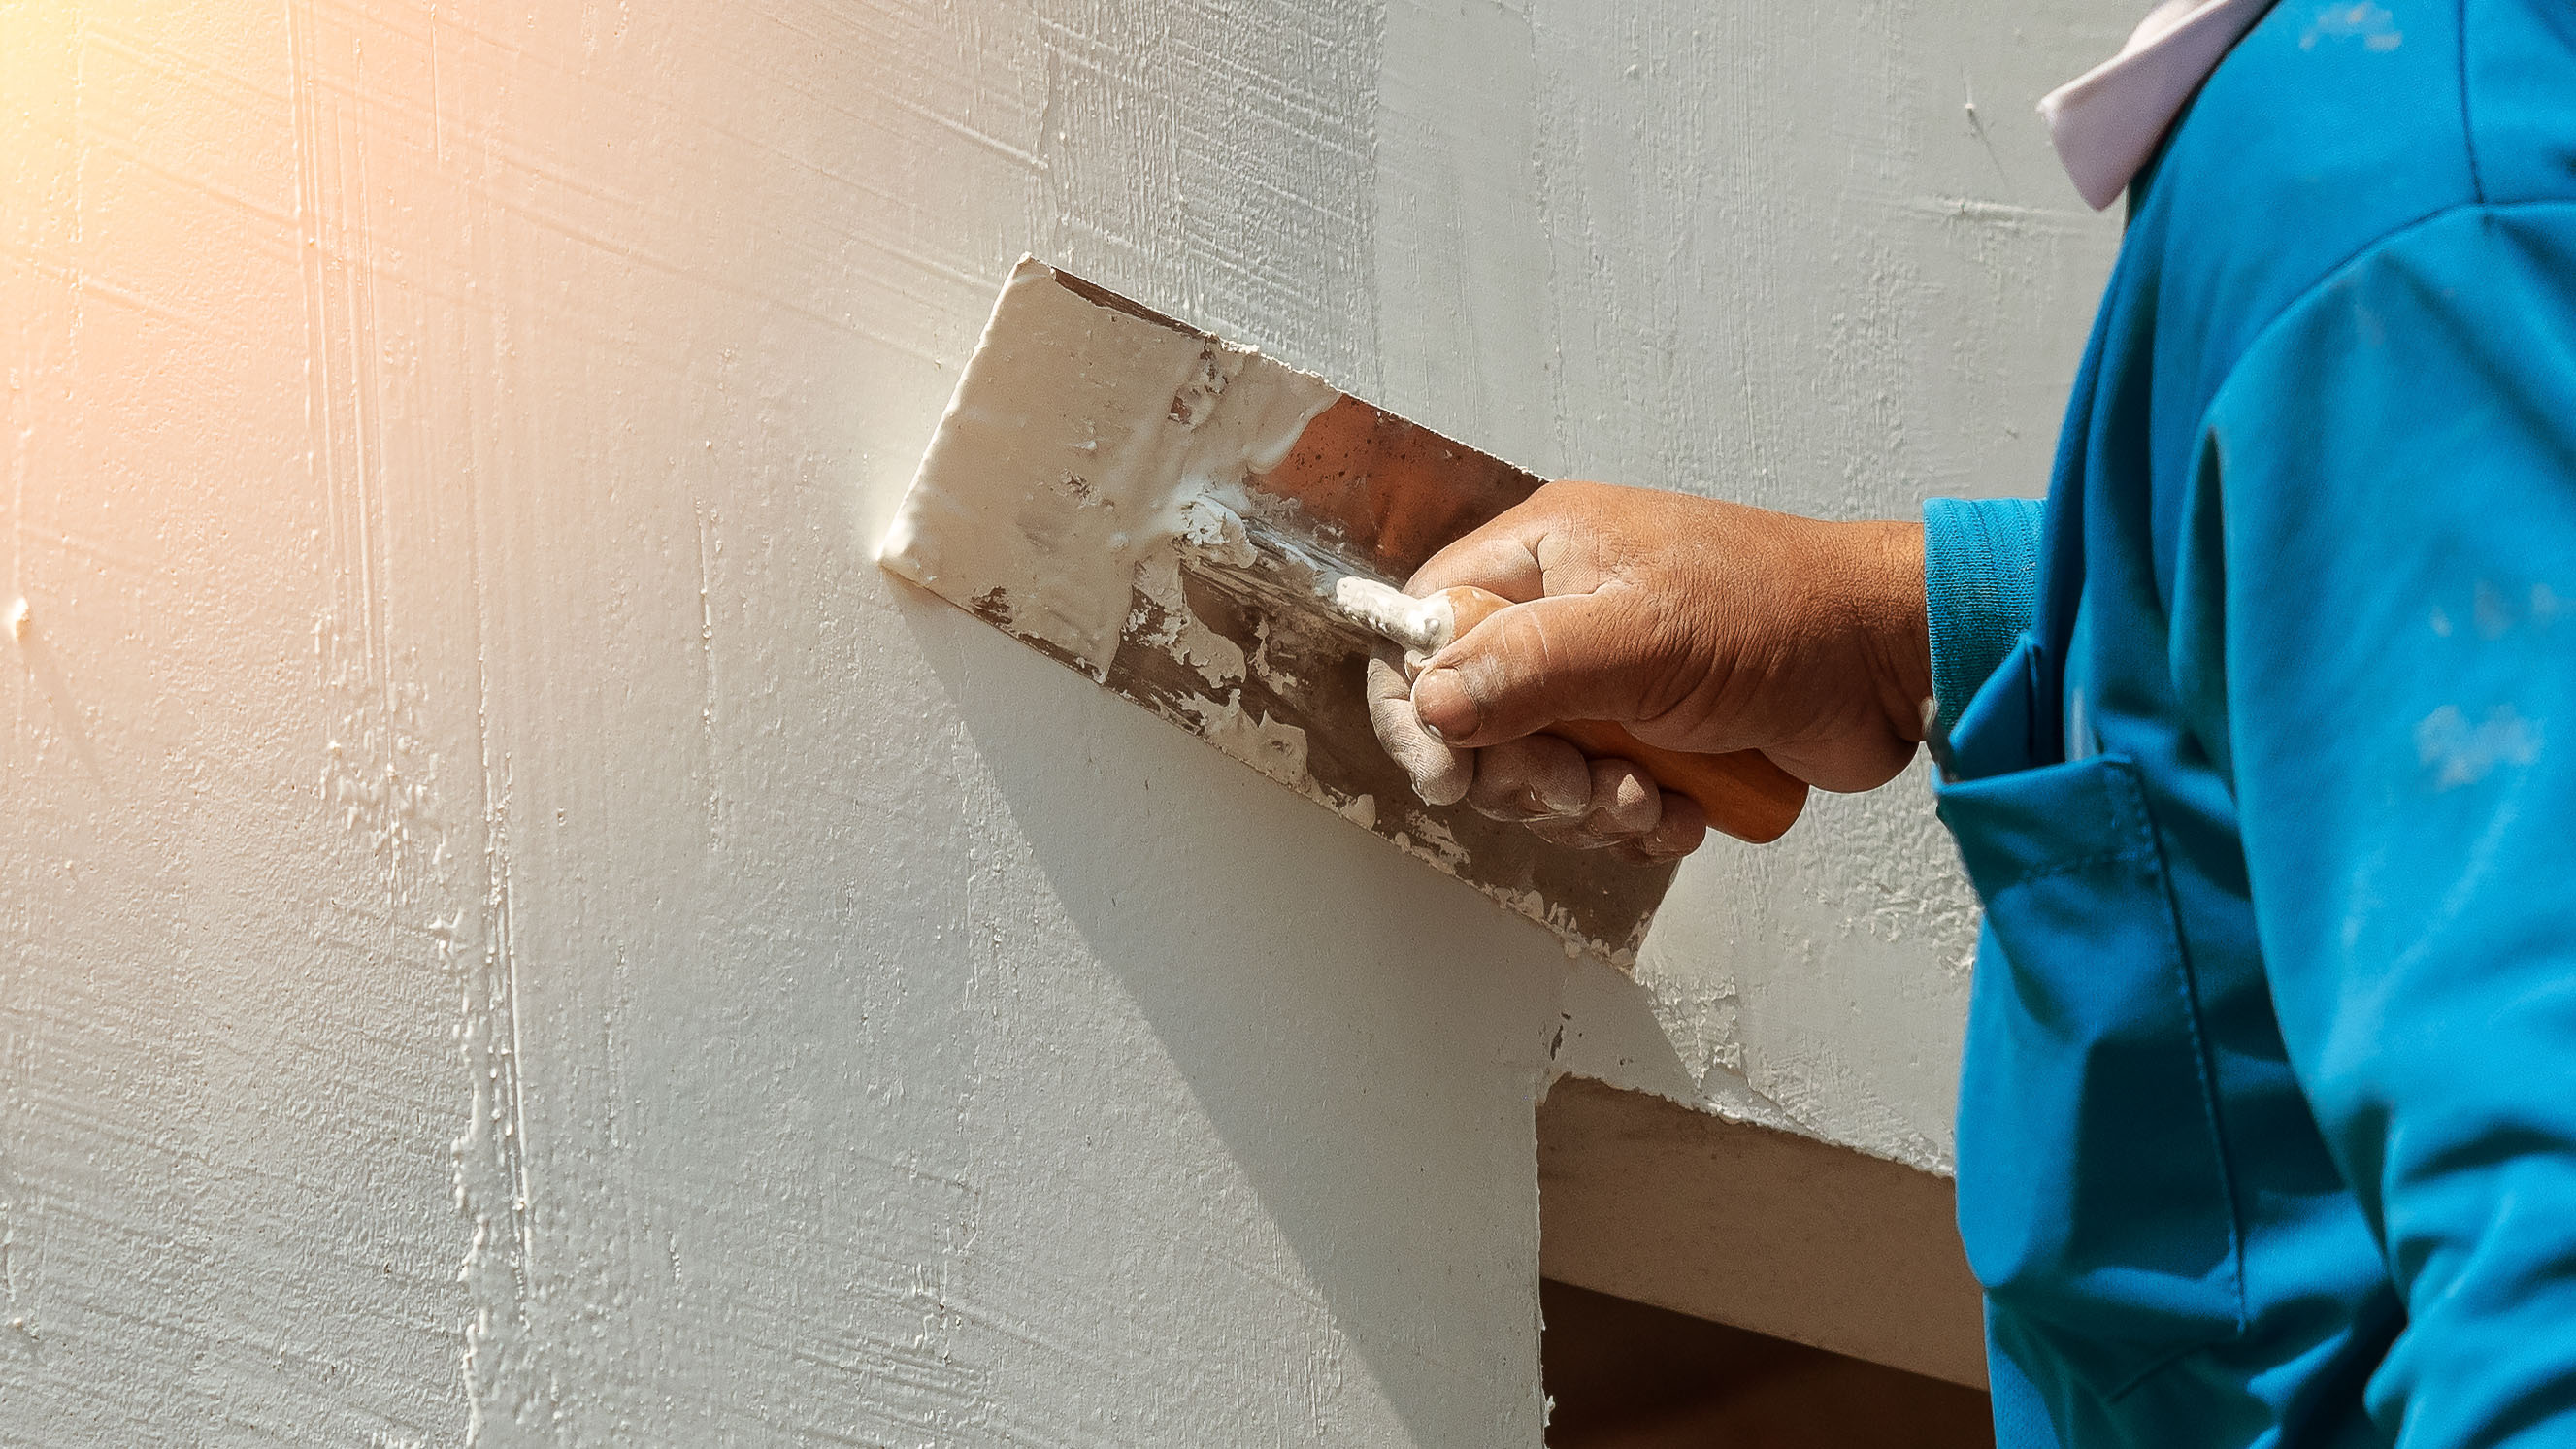
Is it Possible to Plaster Straight onto a Brick Wall?
Although uncommon these days, it is sometimes still necessary to plaster directly to old brickwork or blocks. This is commonly done on small areas of wall where sections of old plaster have come away and is often done as a ‘patching in’ job, rather than over an entire wall.
The condition of these walls must be assessed and rectified where necessary — crumbling old brickwork will not take a new coat of plaster. Here’s what you need to do before you plastering can start:
- The surface of the old brickwork will need brushing down using a wire brush
- Then add a layer of bonding, or browning, a render like substance, to bring it up to the same thickness as the old plasterwork
- Then a plasterer can skim the entire surface
(MORE: How to Patch Plaster)
If you have old painted walls that you would like to have skimmed, you should first sand and clean them off.
Coating them with a weak PVA solution, Blue Grit or similar will help the new skim coat to adhere nicely to the walls.
Wet Plastering
Before the invention of plasterboard, plastering was more laborious and expensive. Plastering directly to bare brickwork or blocks, known as ‘wet plastering’, is still favoured by some for its superior soundproofing.
A cement render or gypsum backing (known as a scratch coat) is first trowelled directly onto blockwork before this is finished with a thin skim coat.
The downsides of wet plastering are that it takes much longer to dry than a skim coat on plasterboard, plus it can be prone to cracking.
Save Time and Money by Plastering Over Plasterboard
When renovating it’s often simpler to plaster over plasterboard than bare brickwork as it only needs a skim coat — it is generally the cheapest option. In addition, fixing plasterboard to bare walls by screwing it to timber battens means a layer of insulation can be added if required.
In other instances, plasterboard can be ‘dabbed’ to the bare wall. This is where small sheets of plasterboard are stuck to the wall using ‘dabs’ of adhesive.
By cutting sheets of plasterboard to fit yourself, you will save your plasterer time and money when it comes to doing the job. A handsaw or jigsaw does the job.
You could even fix the plasterboard to the wall yourself. The easiest way to do this is to screw it directly to the timber battens you have fixed to the wall and ceilings — use plasterboard screws and ensure the screw heads are sunk below the surface of the boards.
The joints between the boards will need to be covered with scrim and mesh tape before the plasterer skims.
(MORE: How to Plasterboard a Ceiling)
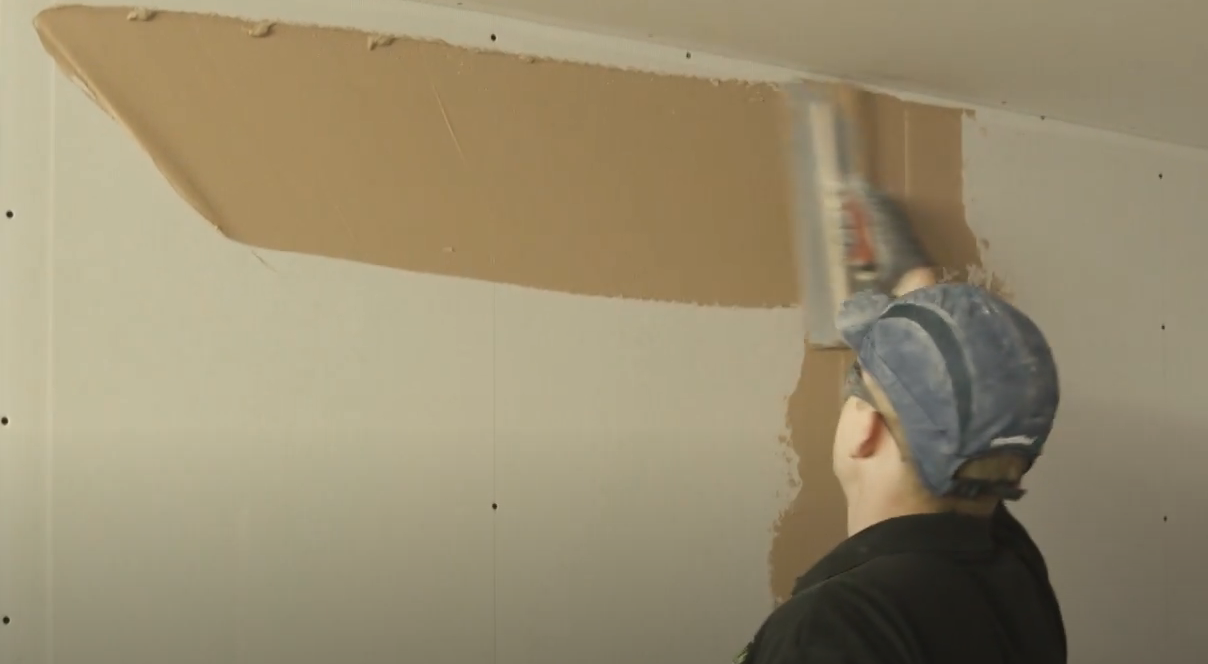
How Much Does Plastering a Wall Cost?
Although plasterers’ rates will vary depending on where in the country you are and who you speak to, you can expect to pay from around £135 per day.
Ensuring your walls are plaster-ready will save you money when it comes to paying your plasterer.
Whilst most plasterers are quite happy to remove old plaster or to fix new plasterboard, this will all add to the time they spend on the job and increase their final bill.
Make sure you find out how many days your plaster will be on site or agree on a fixed price for the job.
Anything from £450-£800 to plaster a medium-sized room, including removing old plaster if needs be, fixing plasterboard and skimming, is reasonable.
Get the Homebuilding & Renovating Newsletter
Bring your dream home to life with expert advice, how to guides and design inspiration. Sign up for our newsletter and get two free tickets to a Homebuilding & Renovating Show near you.
Natasha was Homebuilding & Renovating’s Associate Content Editor and was a member of the Homebuilding team for over two decades. In her role on Homebuilding & Renovating she imparted her knowledge on a wide range of renovation topics, from window condensation to renovating bathrooms, to removing walls and adding an extension. She continues to write for Homebuilding on these topics, and more. An experienced journalist and renovation expert, she also writes for a number of other homes titles, including Homes & Gardens and Ideal Homes. Over the years Natasha has renovated and carried out a side extension to a Victorian terrace. She is currently living in the rural Edwardian cottage she renovated and extended on a largely DIY basis, living on site for the duration of the project.

