Blogger reveals how she refurbished her fireplace with £50 vintage insert and surround
Interior designer gives her fireplace a make-over with a secondhand Georgian insert, matt tiles and arched mirror
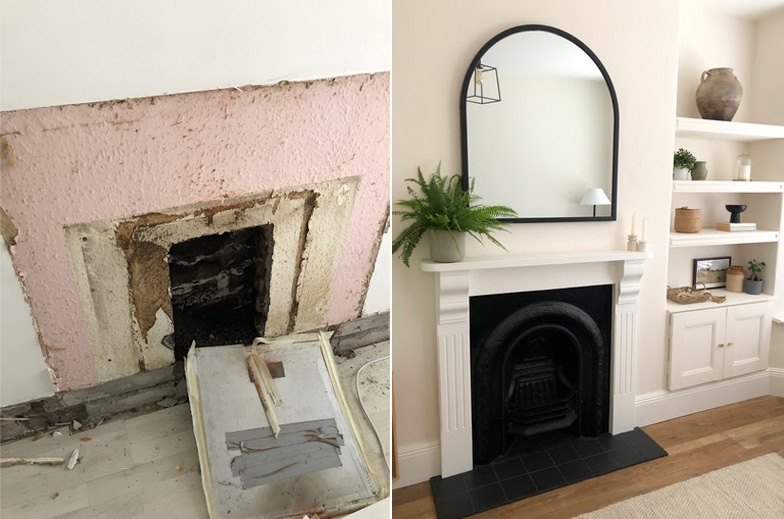
An interior design blogger has shown how she redesigned her living room by refurbishing her fireplace to restore its period features, all on a strict budget.
Nicole Sage set out to transform the living room of her new house by bringing the fireplace back to its former glory, and has provided some insight into how she did it.
Nicole explained that the fireplace had been removed by the previous owners and replaced with a plastic sheet to cover the hole. She was eager to restore the fireplace, but keeping costs low was a top priority as she also planned to renovate the entire property.
From sourcing the fireplace insert and pared back surround to installing the hearth slate, Nicole provides plenty of advice for those looking for fireplace ideas.
Sourcing a vintage fireplace insert
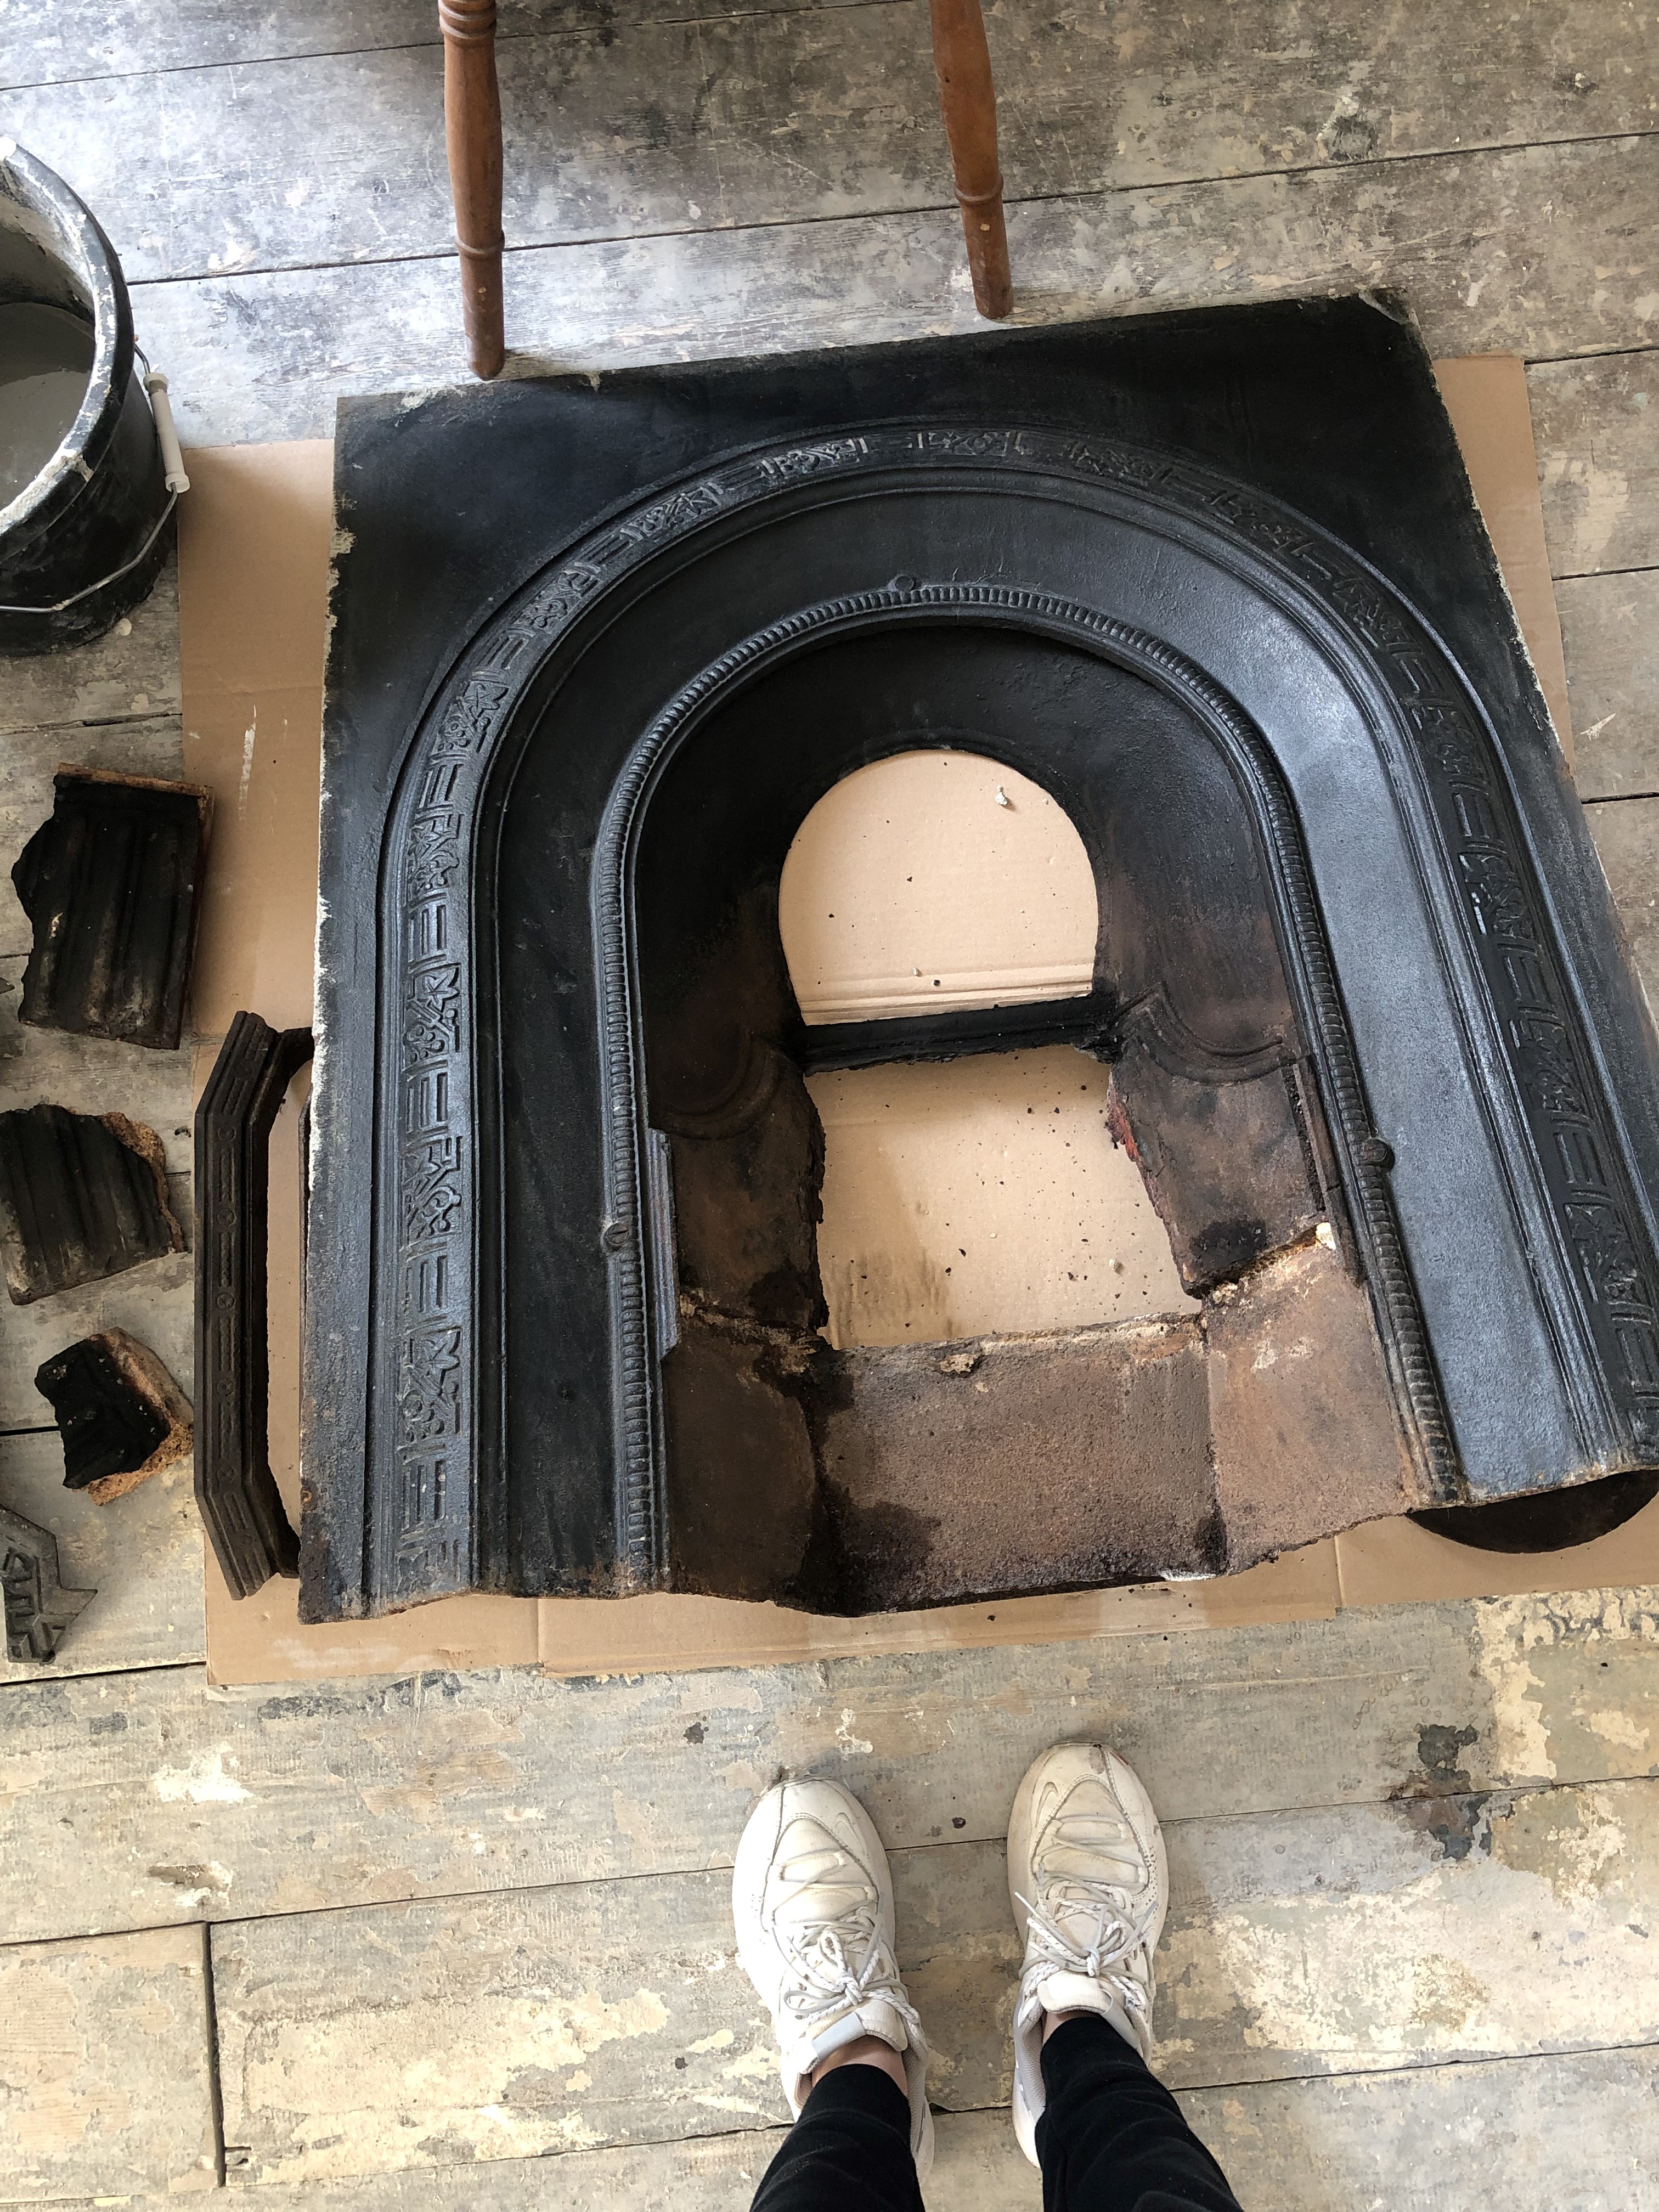
To achieve her ideal fireplace, Nicole turned to secondhand shopping for her fireplace insert and fireplace surround.
In her Sleek Chic blog , Nicole explains how she searched websites such as Vinted, eBay, as well as looking in charity shops to find the perfect insert style and size for the room. Eventually, she found one on Facebook Marketplace.
Nicole said, “It must have been weeks, but finally the perfect fireplace came up. It was a Georgian cast iron fireplace with a pine surround. It needed a bit of work, but it only set us back £50, such a bargain!”
Get the Homebuilding & Renovating Newsletter
Bring your dream home to life with expert advice, how to guides and design inspiration. Sign up for our newsletter and get two free tickets to a Homebuilding & Renovating Show near you.
Nicole said being persistent helped her find exactly what she wanted when looking on these platforms. She added that those wanting to complete similar projects should check the platforms regularly as new items are added daily. She also said not to be afraid to negotiate on price, taking into account how much work is needed to restore an item before agreeing a final price.
To restore the insert itself, always use a specialist stove paint that can withstand high temperatures. A spray paint like is ideal for something like an insert as this can be applied outdoors on newspaper and give a smooth, flawless finish. If necessary, apply some rust inhibitor before painting too, " explains Homebuilding & Renovating website editor Amy Willis, who has restored fireplaces in the past. Amazon has plenty of options for this, including Hammerite's high heat spray paint in matt black.
Fitting the fireplace insert into the existing hole
Nicole ran into difficulties when installing the fireplace insert when she found it was too large to fit the existing hole. And this is likely to be a common problem when using secondhand inserts, usually where the grate area does not have enough space to sit inside the hole.
To fix this problem required excavating brickwork to make more room, Nicole explained. If doing this yourself on your own project, make sure you read our section below on opening up a fireplace before starting work as there may be structural considerations. Nicole was not making any structural changes for her project not was the fireplace going to be a working fireplace.
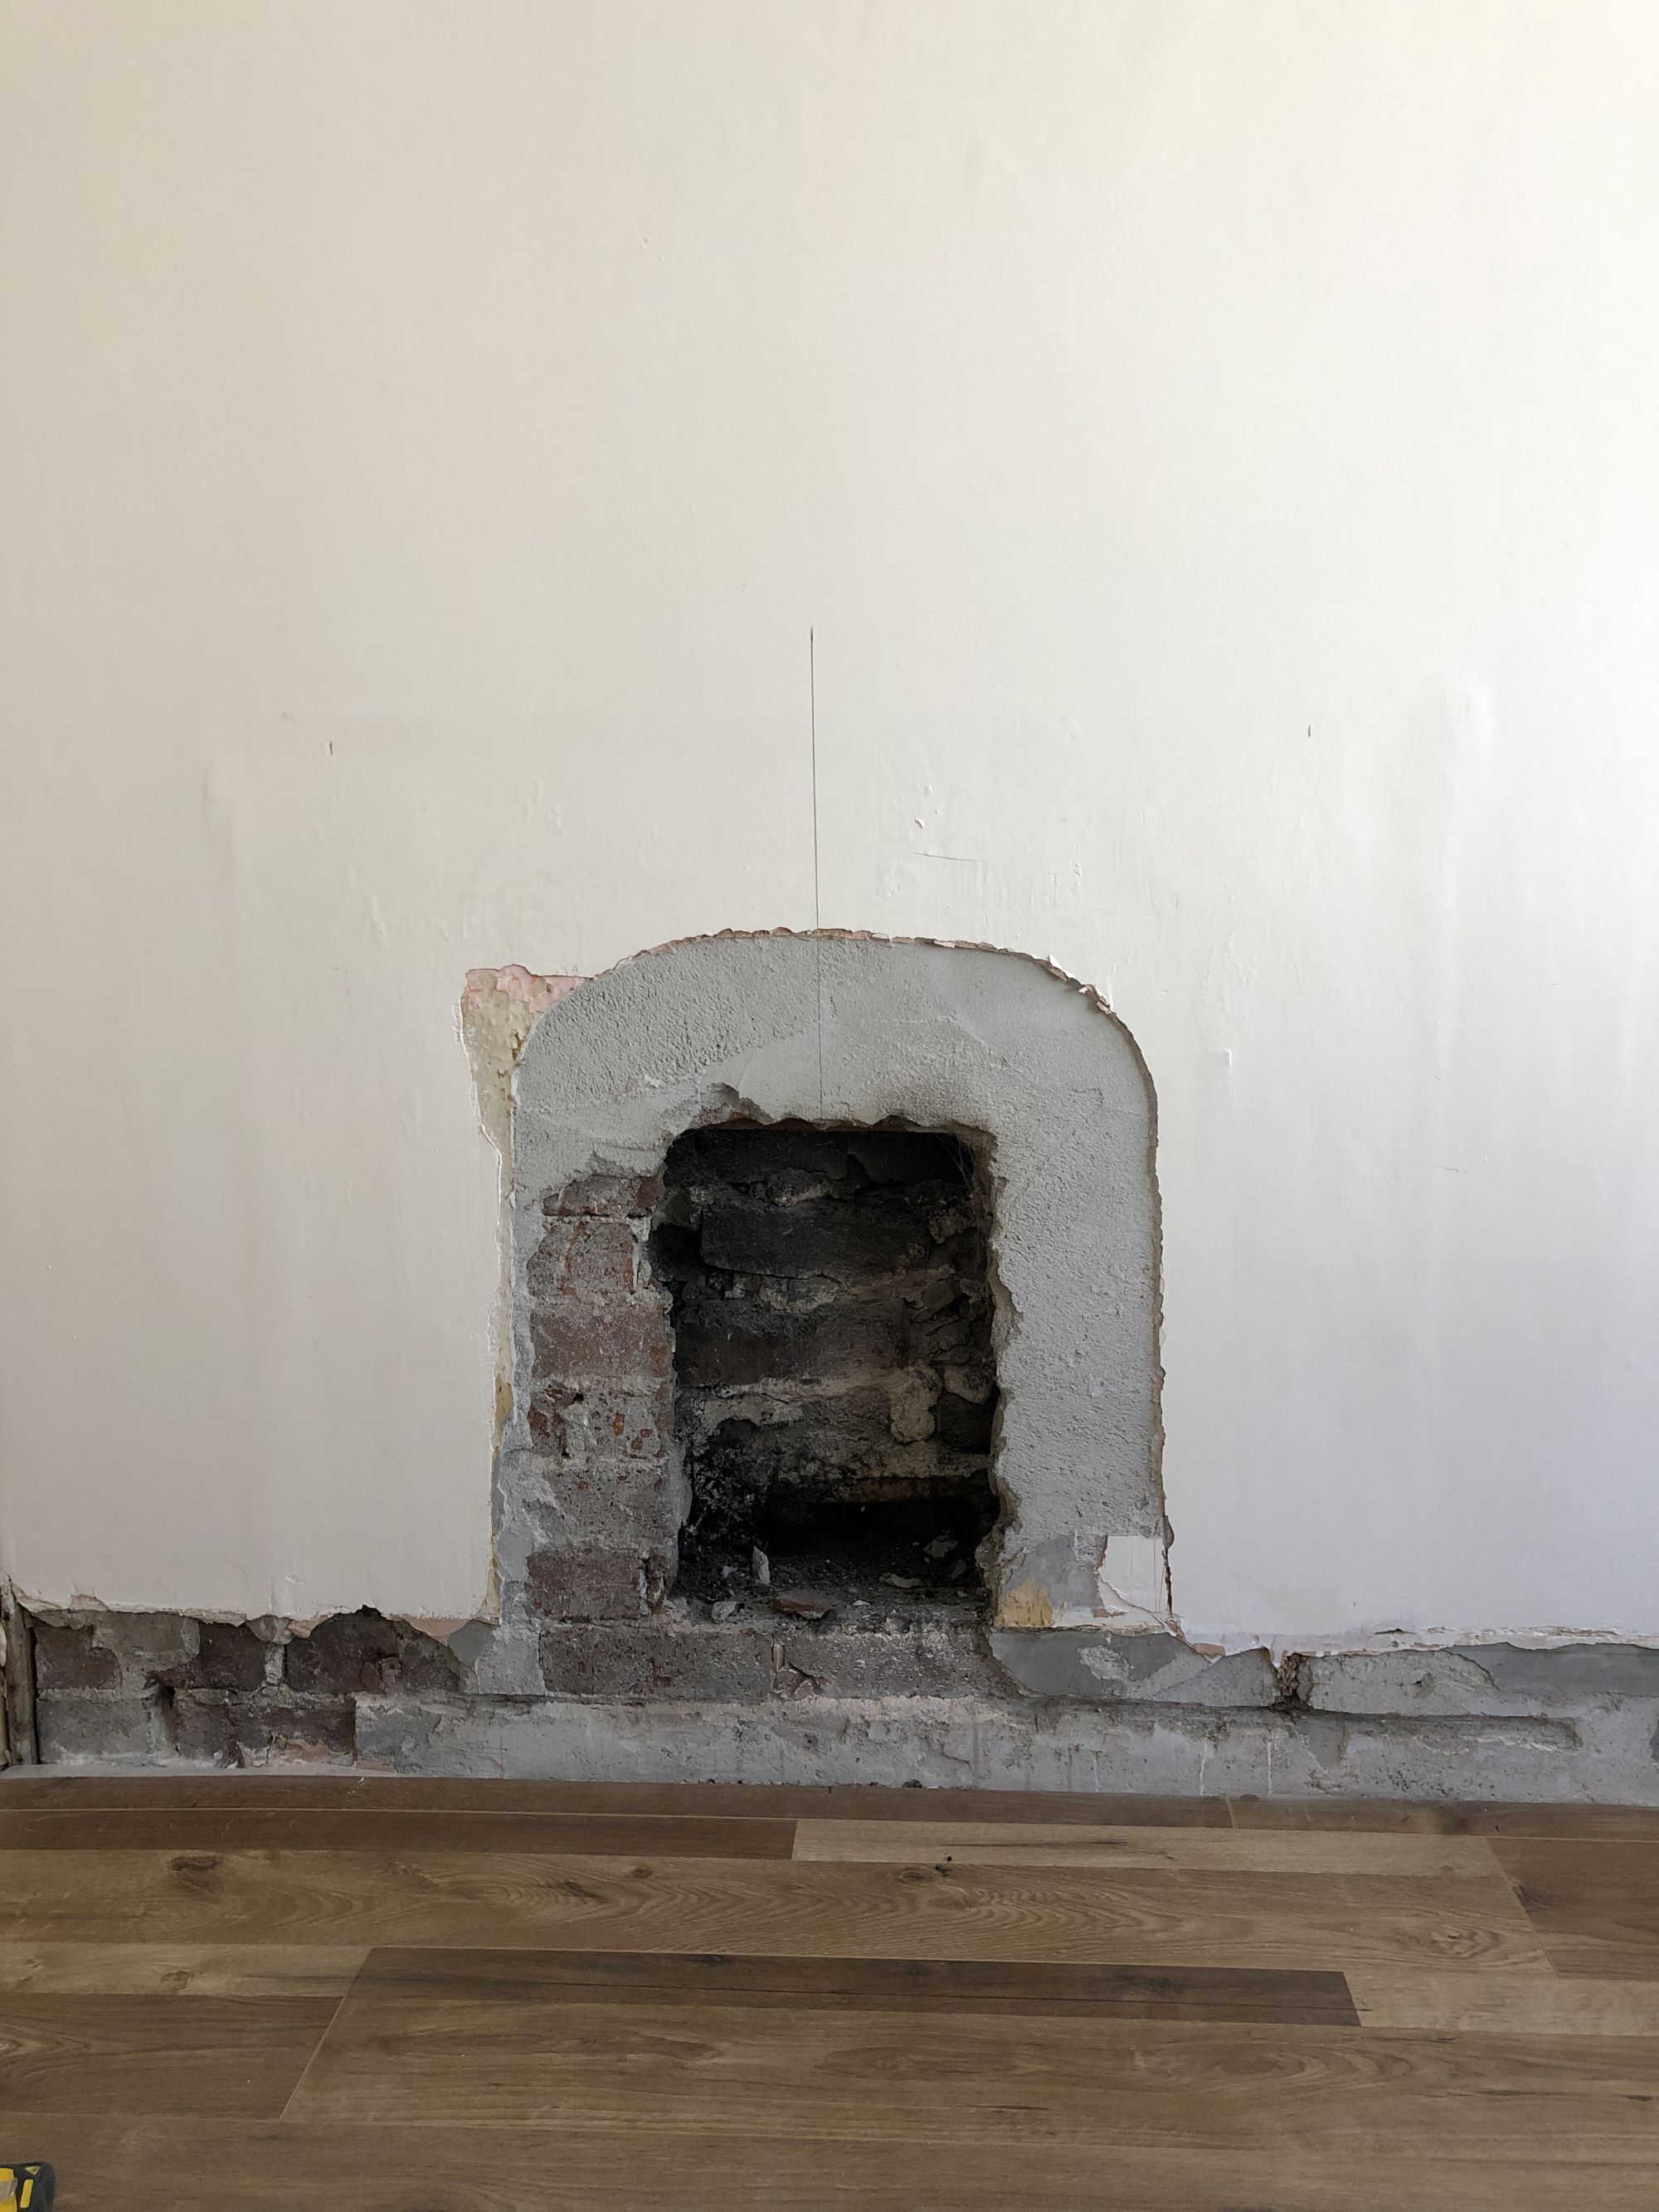
To determine the size of the hole, Nicole lined the fireplace up against the wall and marked it out, making sure it was correct placed to the center of the chimney breast.
To cut the hole, Nicole removed the insert and set it aside before using a grinder along with a hammer and bolster to remove the bricks. "This can be messy work with red brick dust going everywhere, particularly when using a grinder on brick, so make sure you add dust sheets and use appropriate PPE for yourself," adds Amy Willis.
Matt tiles for an authentic period feel
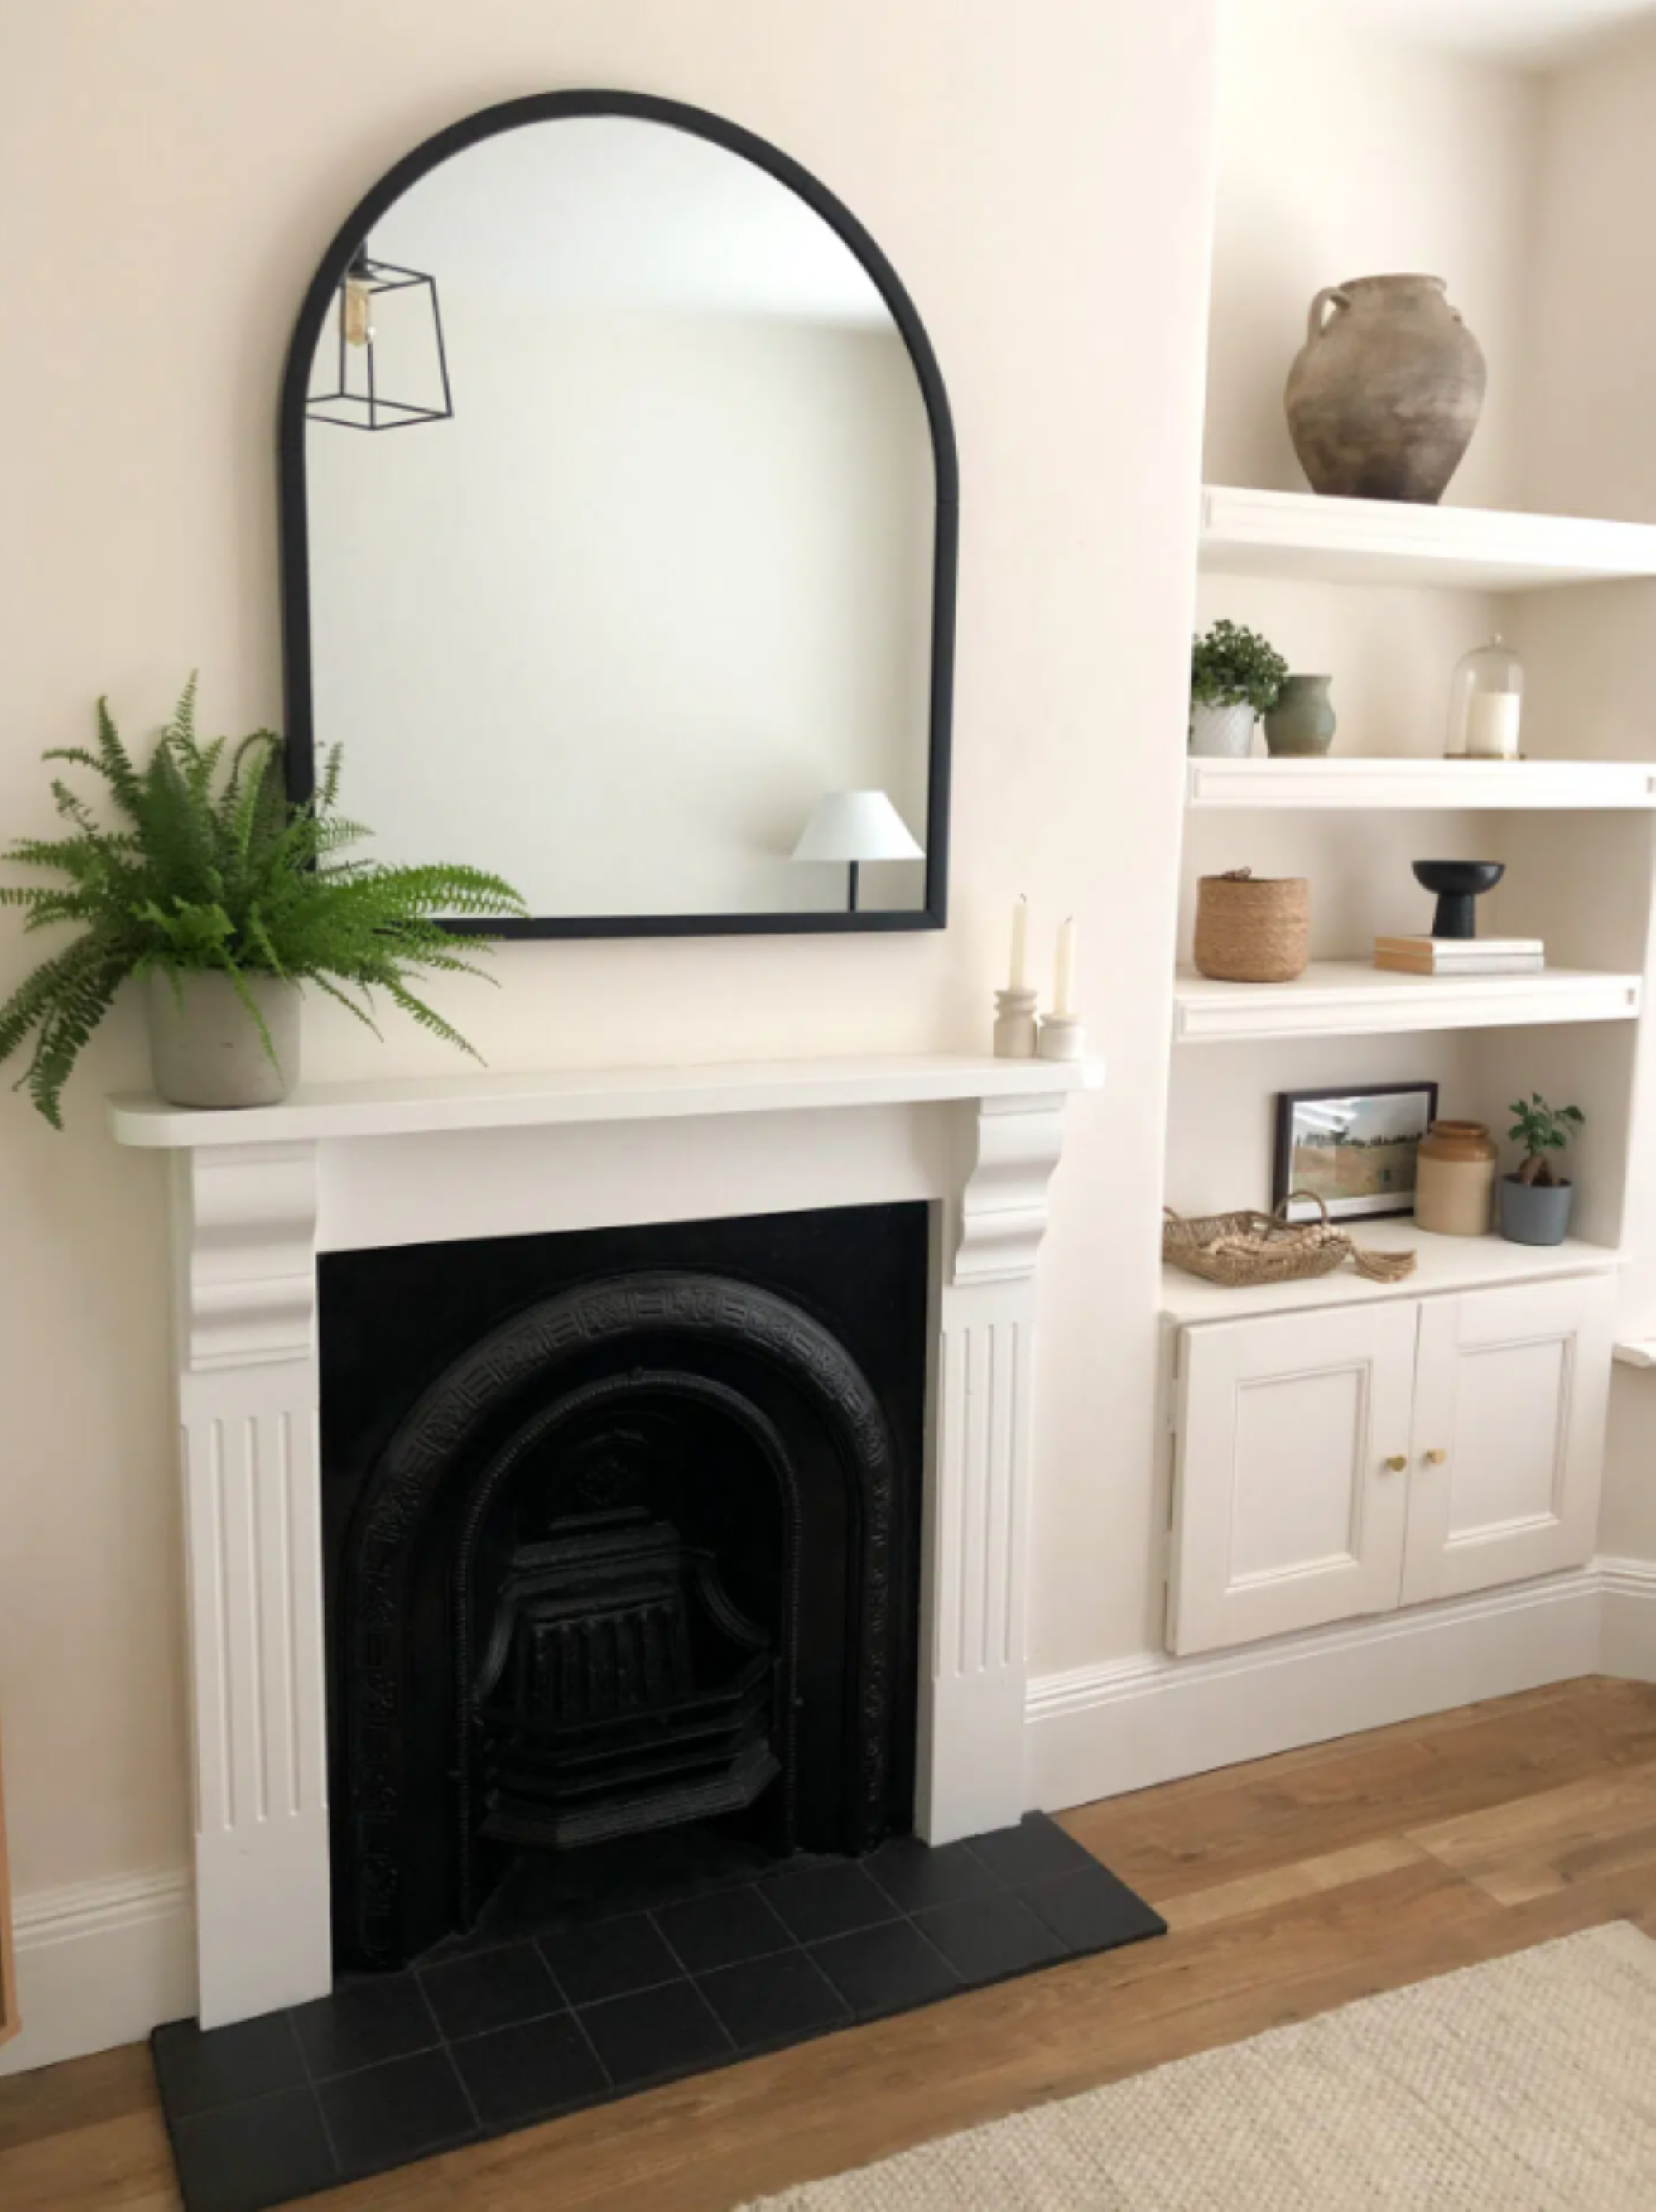
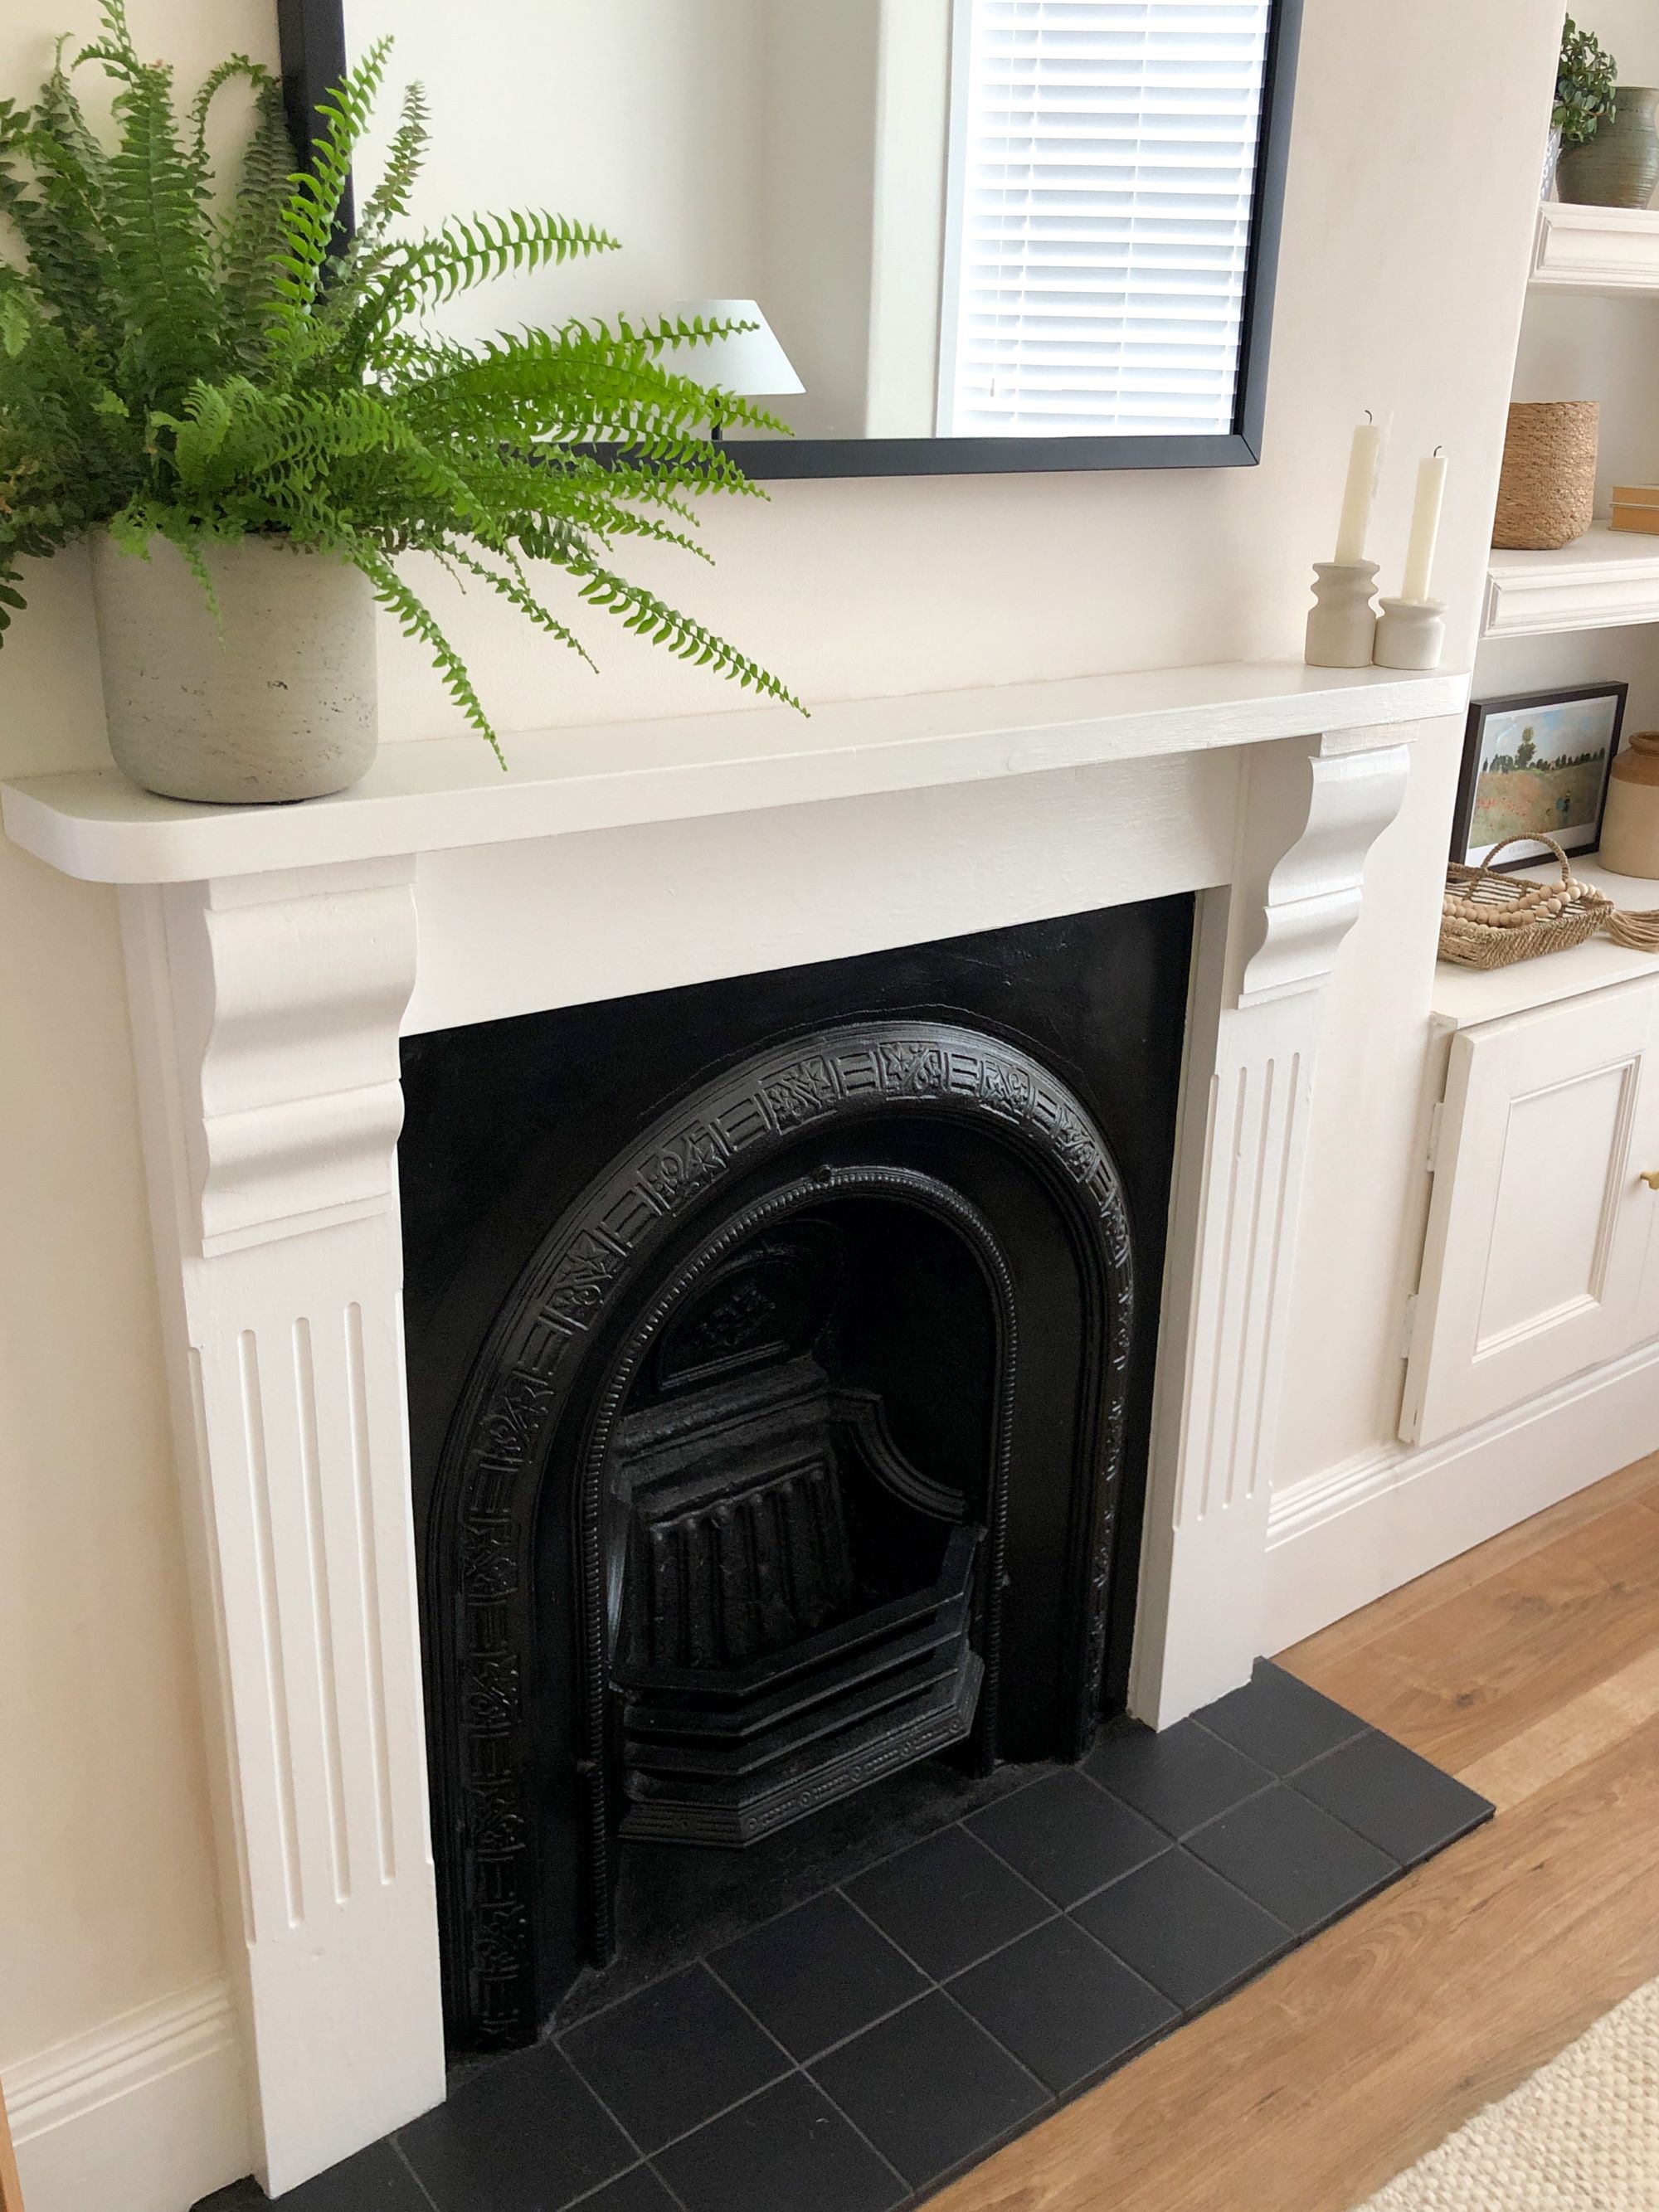
Once the hole was cut to size, the first step was to install a tiled hearth. Nicole chose matt black hearth tiles that matched the fireplace's colour, giving the fireplace a more authentic period feel.
Slate was a popular material for Victorian and Georgian style fireplace hearths, the area around the fireplace, due to its durability and heat resistance as well as availability. This protected the floor as well as reducing the fire risk from any sparks.
Sometimes additional decorative tiles were inset around the cast iron fireplace insert too, often polished and carved with intricate patterns and designs to add a touch of elegance. Tiles also added an element of insulation to push heat into the room rather than allowing it to escape through the walls.
A pared-back painted wood fire surround
Nicole was clever with her purchase as it also included a pine fire surround that was the right size for her chimney breast and the room.
Nicole cleaned and sanded down the wood before painting it white satin to match the skirting boards (You can read about sanding wood by hand, painting wood and painting skirting boards in our handy DIY guides). The surround was then fitted into place and secured with screws.
"To ensure a seamless finish, we used caulk to seal any exposed edges", she added.
"In smaller homes, period styling was pared back compared to some of the larger more affluent houses. There was a lot of poverty so simple slate hearths and painted wood fire surrounds in small terraced Victorian homes rather than hugely elaborate designs would be true to the period," explains Homebuilding & Renovating's Amy Willis.
"For smaller projects you can also buy secondhand period fireplace inserts with a top shelf already integrated into the cast iron design. This removes the need for a separate fireplace surround to be built if one is not available."
Nicole finished the look of her fireplace with an arched mirror above. The black accent around the mirror complements the modern décor scheme and helps to create the illusion of a larger room.
How to open up a fireplace yourself
If you're considering opening up a fireplace there are a number of elements you must consider.
Several aspects must be taken into account before installing your fireplace, including inspecting the chimney, selecting the desired size and type of fireplace, choosing appropriate materials, and installing a carbon monoxide detector.
It is crucial to prioritise safety and comply with Building Regulations throughout the process as mishandling this could be dangerous. While Nicole's project was not designed to be a working fireplace, if you plan to use your fireplace, or if you need to add or change a structural element such as a lintel, you will need to appoint a building inspector, who will see if project meets fire safety regulations.
"If you are planning to use your fireplace rather than it being a decorative feature, it can be cheaper instructing a HEFTAs registered installer instead," explains Amy Willis. "These installers know the regulations inside out, know what to do when installing and can sign off the work themselves."

News Editor Joseph has previously written for Today’s Media and Chambers & Partners, focusing on news for conveyancers and industry professionals. Joseph has just started his own self build project, building his own home on his family’s farm with planning permission for a timber frame, three-bedroom house in a one-acre field. The foundation work has already begun and he hopes to have the home built in the next year. Prior to this he renovated his family's home as well as doing several DIY projects, including installing a shower, building sheds, and livestock fences and shelters for the farm’s animals. Outside of homebuilding, Joseph loves rugby and has written for Rugby World, the world’s largest rugby magazine.
