These clever media wall ideas deliver on style and practicality
Start planning your ideal night in with our top media wall ideas, with decor inspiration and practical tips for wiring, layouts and more
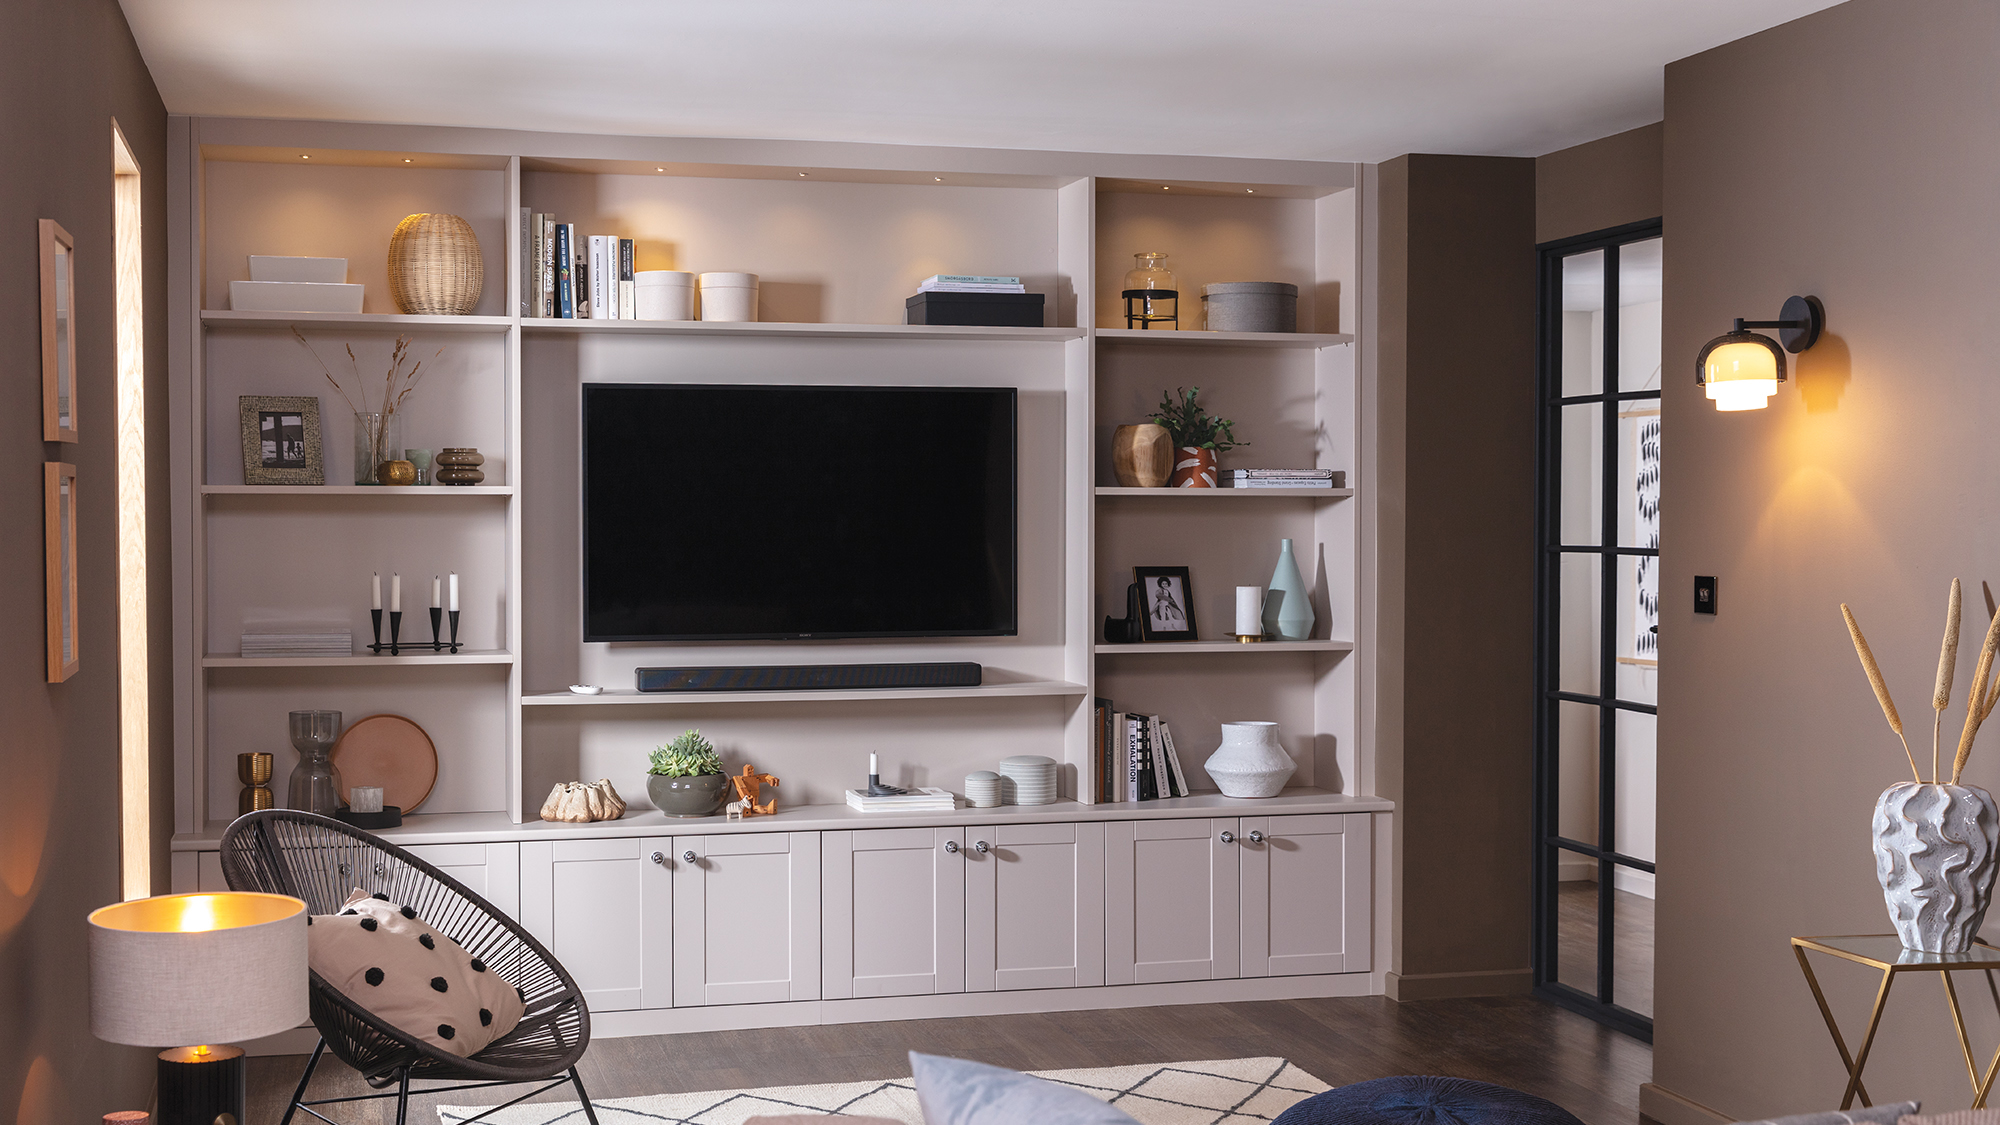
Designing a living room with media wall ideas in mind will create a space filled with purpose and style. All too often homeowners simply plonk a TV in the corner of their newly-designed space and all of the hard work is diminished through lack of consideration.
Good living room ideas should consider all of the different aspects that make a room interesting and welcoming, but that shouldn't negate why and how we use living rooms. Cosying up on the sofa to watch a beloved box set or to snuggle down with a film is a special treat and should be thought of as such.
Find out how to create the perfect media wall in your living room that looks stylish and provides great storage for books, games consoles, BluRays and wires that comes with a snug room in the 21st century.
Is a media wall a good idea?
Planning and building a media wall is a great idea if your living room or snug's main purpose will be to watch TV or used for gaming. Rather than denying their existence, lean into the size of a good TV, the equipment that a good sound system needs and the accessories that games consoles demand.
And, if you don't like the look of any of these things on display, a media wall can feature built-in doors or other ways of concealing tech when not in use.
There are a few rules that might be helpful to follow when building a media wall:
- The ideal distance between TV and seating area is double the size of the screen. So if you're using a 45-inch TV, position your sofa 90 inches away.
- Freestanding speakers will give a better level of sound quality compared with a sound bar but will take up more space (especially when a subwoofer is introduced).
- Try to position your TV at eye level when you're sitting, not high on the wall. This is a mistake that make people make and end up with a sore neck and distorted picture.
- Futureproof the media wall by ensuring there is more than enough sockets and ethernet points for what you need. Technologies change quickly and you won't have another chance once the wall is installed and decorated.
1. Choose what you want to house in your media wall
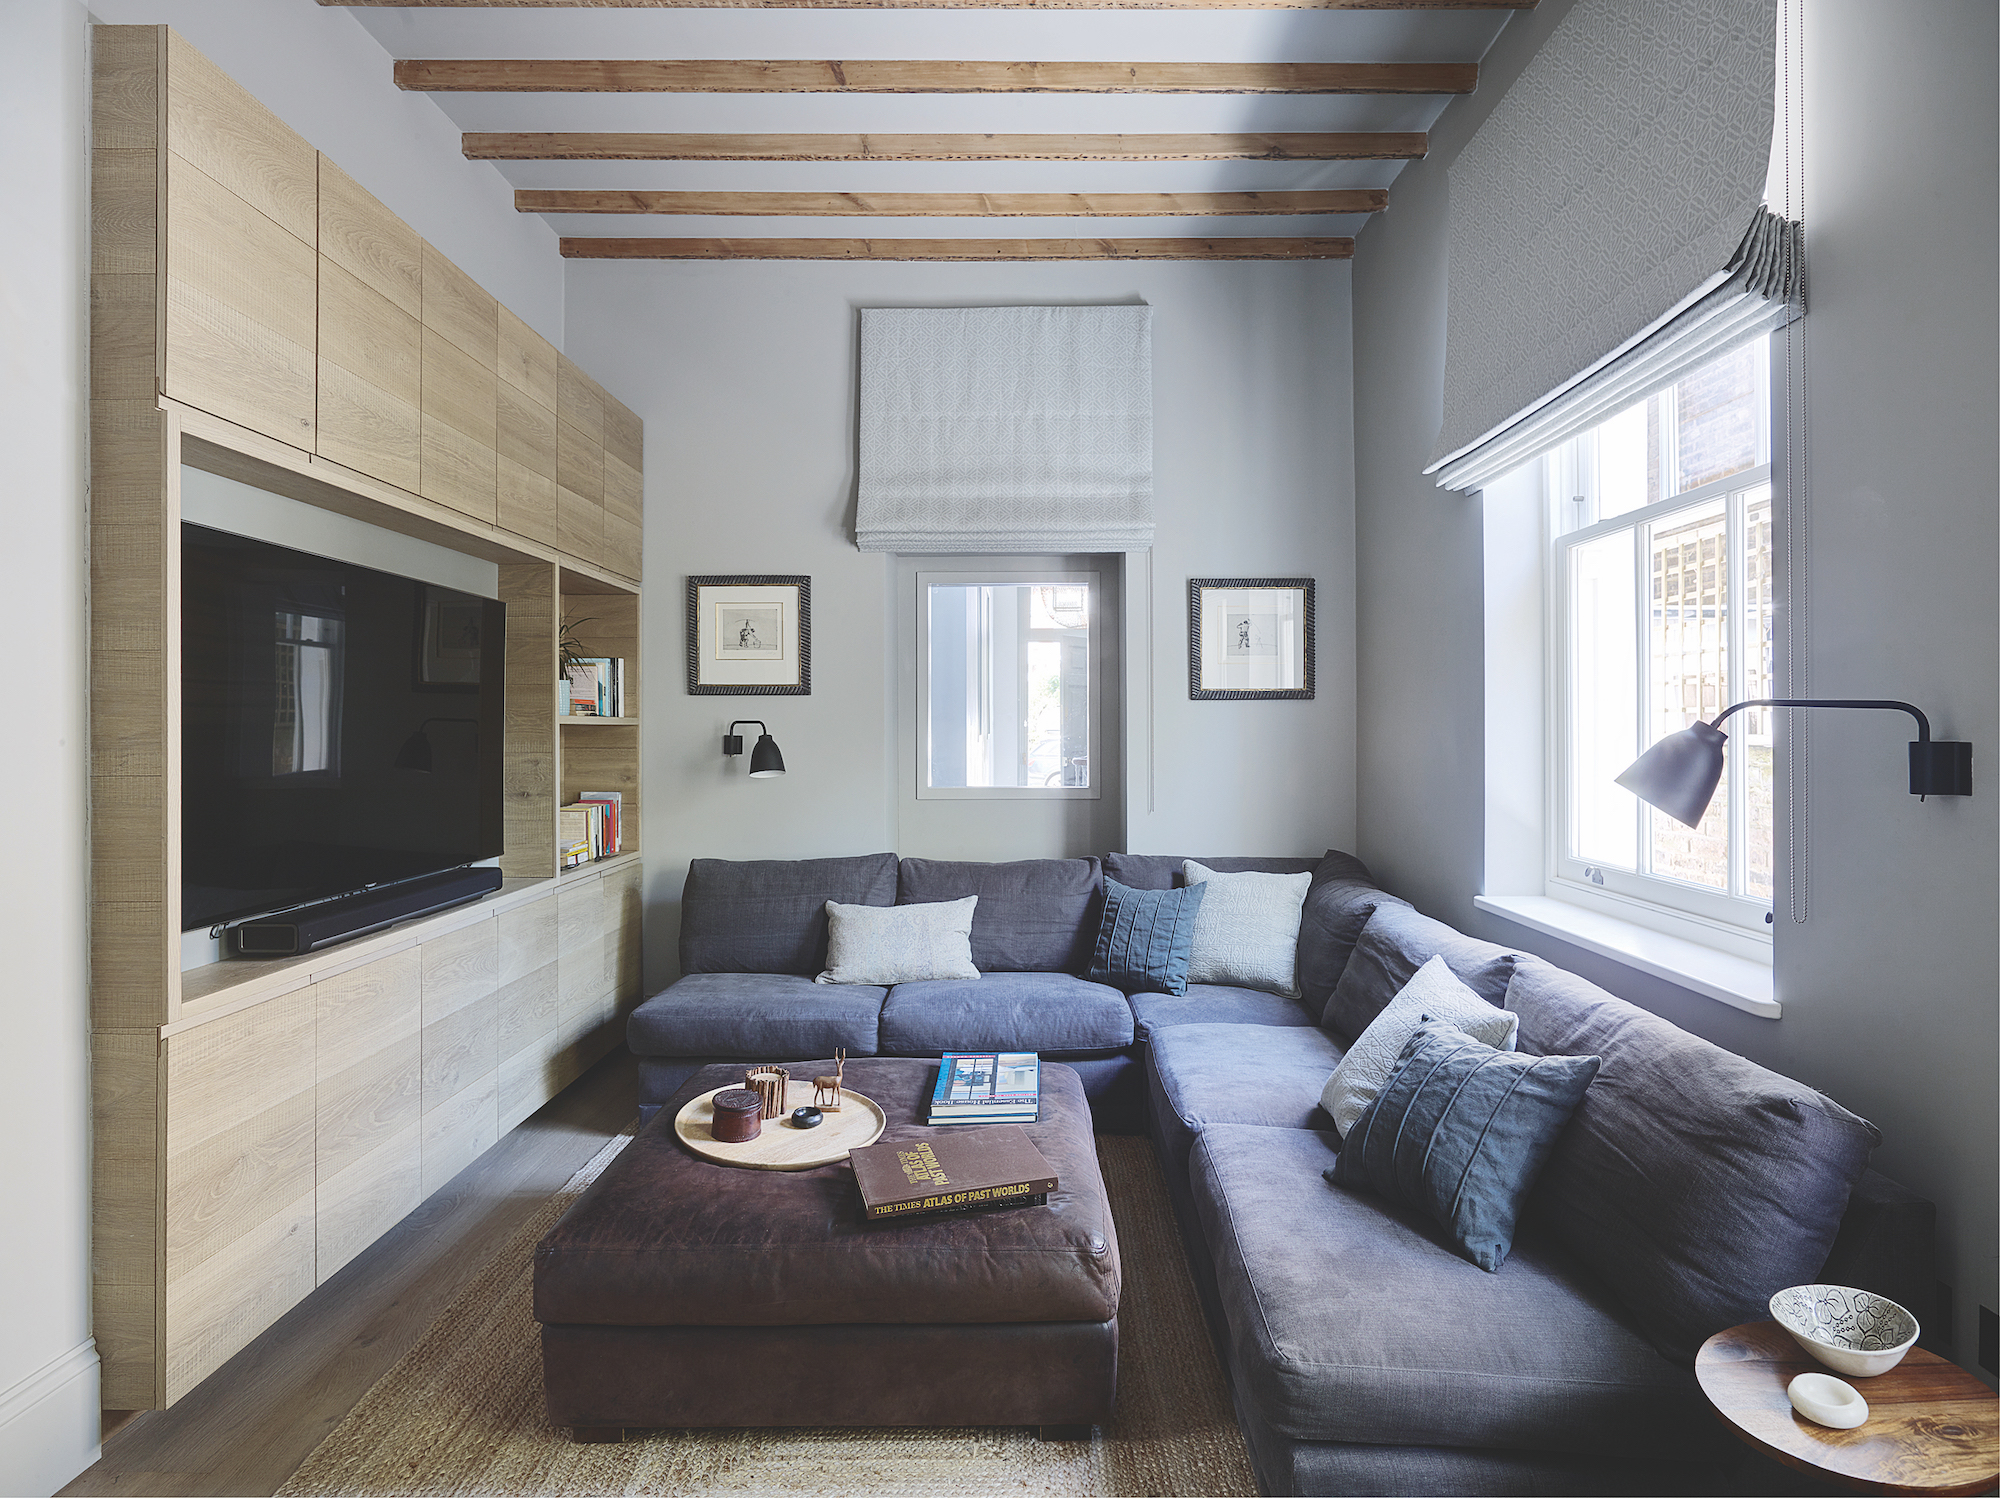
In order to get the layout of your wall right, first set out what will be included and what cables will be required.
A simple timber backing to your media wall, with a clear roadmap for all of the wires, will help conceal them. Alternatively, you can ask your electrician to chase wiring into the wall. This tends to be a better option if your media wall will be in a new extension or new self build house and can be planned in advance, rather than retrofitted into an existing space.
Think about Sky boxes, DVD/BluRay collections, subwoofers, freestanding speakers, consoles and WiFi router extensions.
In addition to a number of sockets and an aerial point, for a full set up consider HDMI sockets and at least one ethernet port (with Cat 6 wiring) too. Your electrician or smart home tech installer should be able to aid on this front.
While many devices, smart TVs and consoles can be easily run on WiFi, a wired network will help ensure you won't experience buffering when watching a film or gaming, particularly if other members of the family are using devices throughout the home.
2. Plan your layout around the media wall
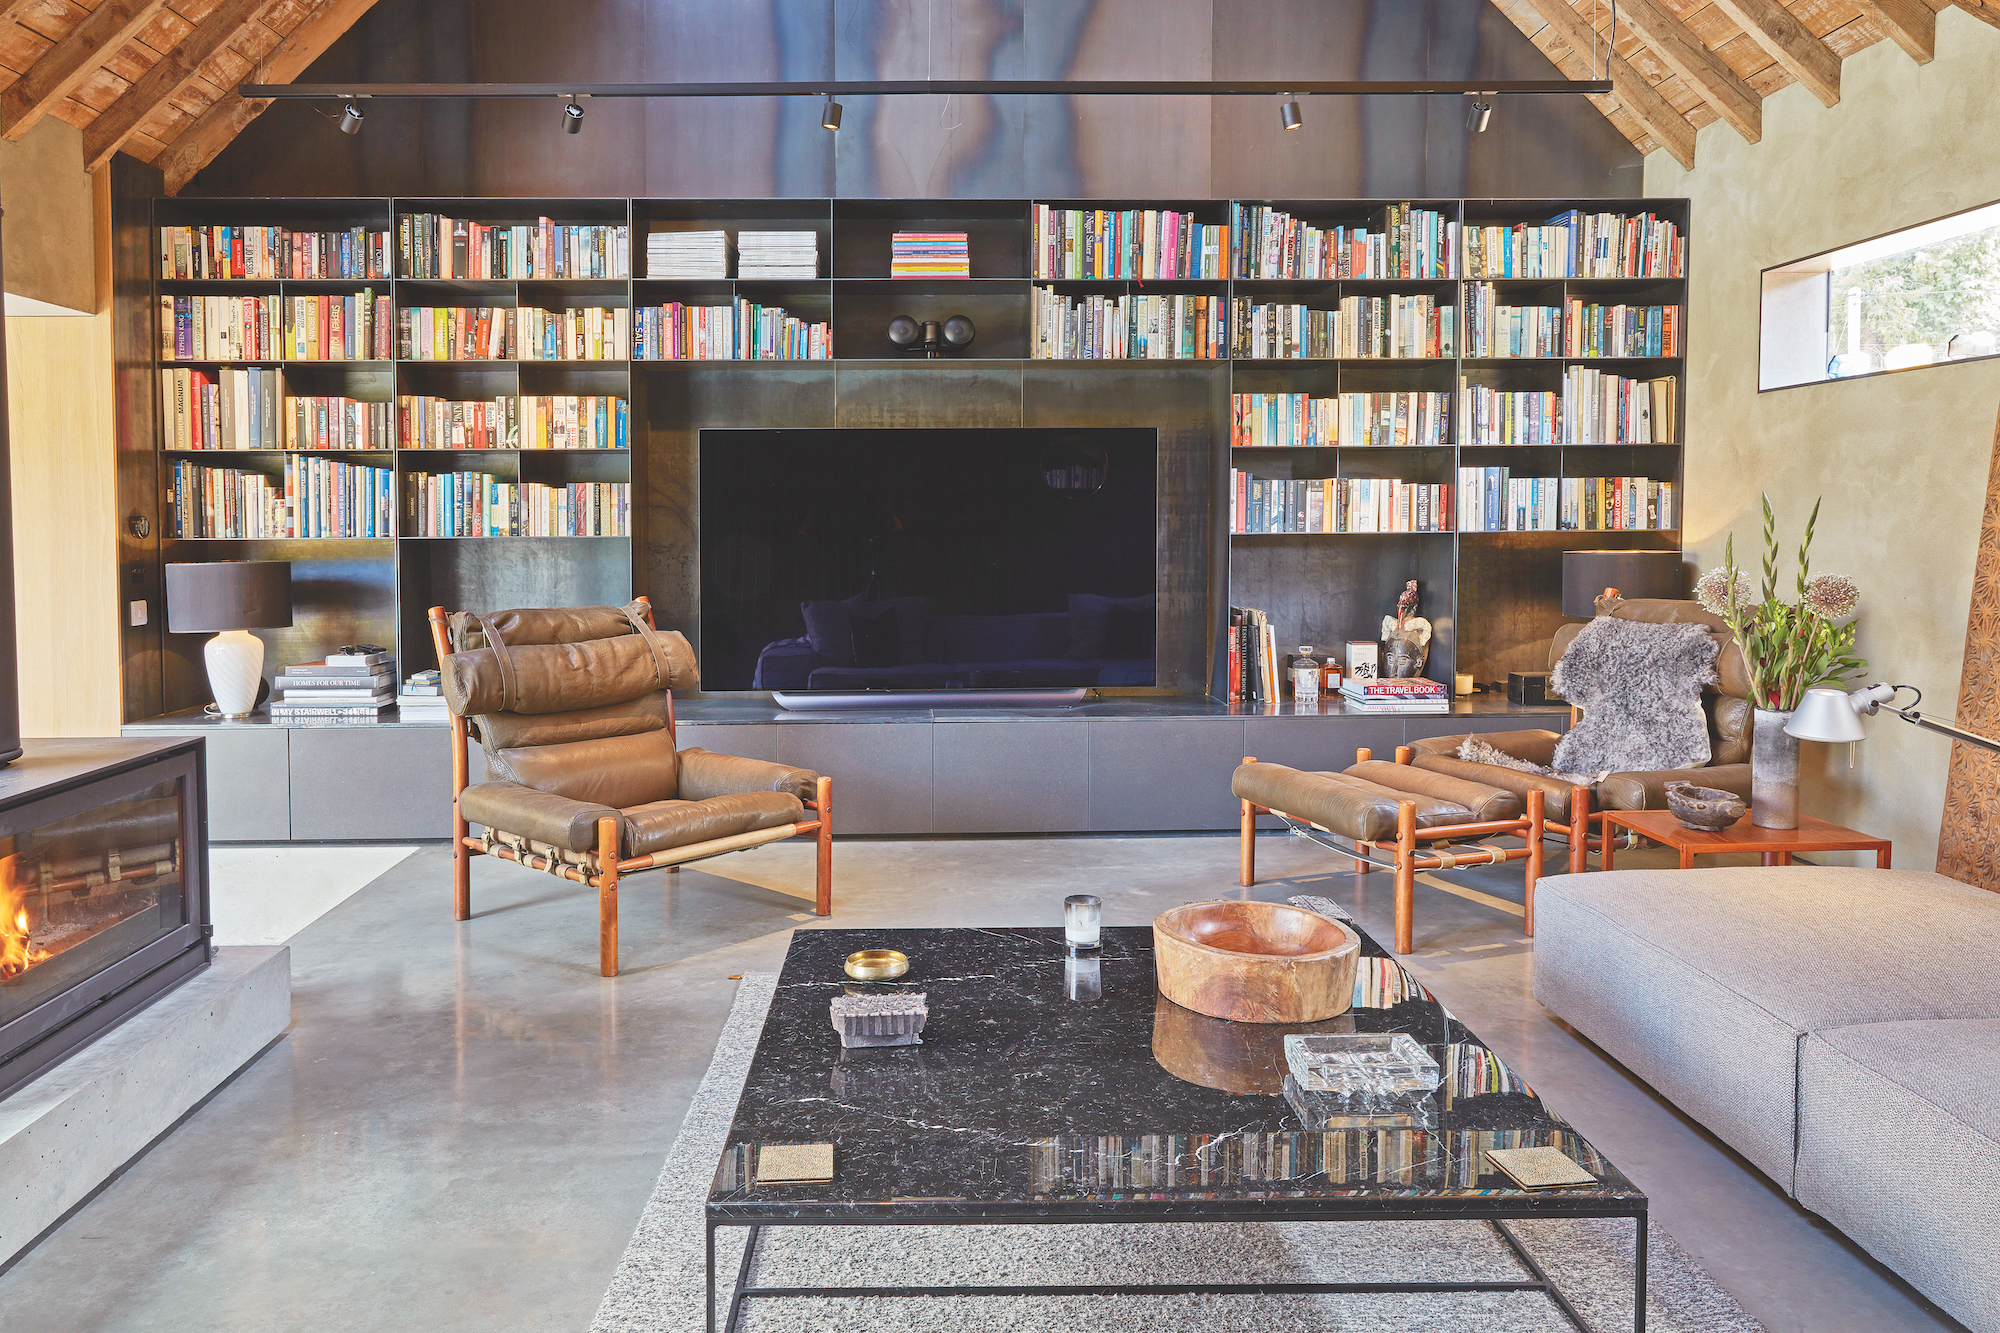
Planning where to place seating and other key items in relation to your media wall is key when playing around with living room layout ideas. Living rooms are often multifunctional and while your media wall may well be the focus of the room, consider other 'break out' seating areas which could be used as more sociable spaces when guests visit.
This could be as simple as organising small chairs in front of the wall for use when entertaining visitors but that can be moved when watching TV.
Or, take note from this stylish living room which utilises a l-shape sofa to create two points of focus. One for when watching a show (out of shot), and the other towards the woodburing stove for a cosy night in.
3. Go for a built-in design
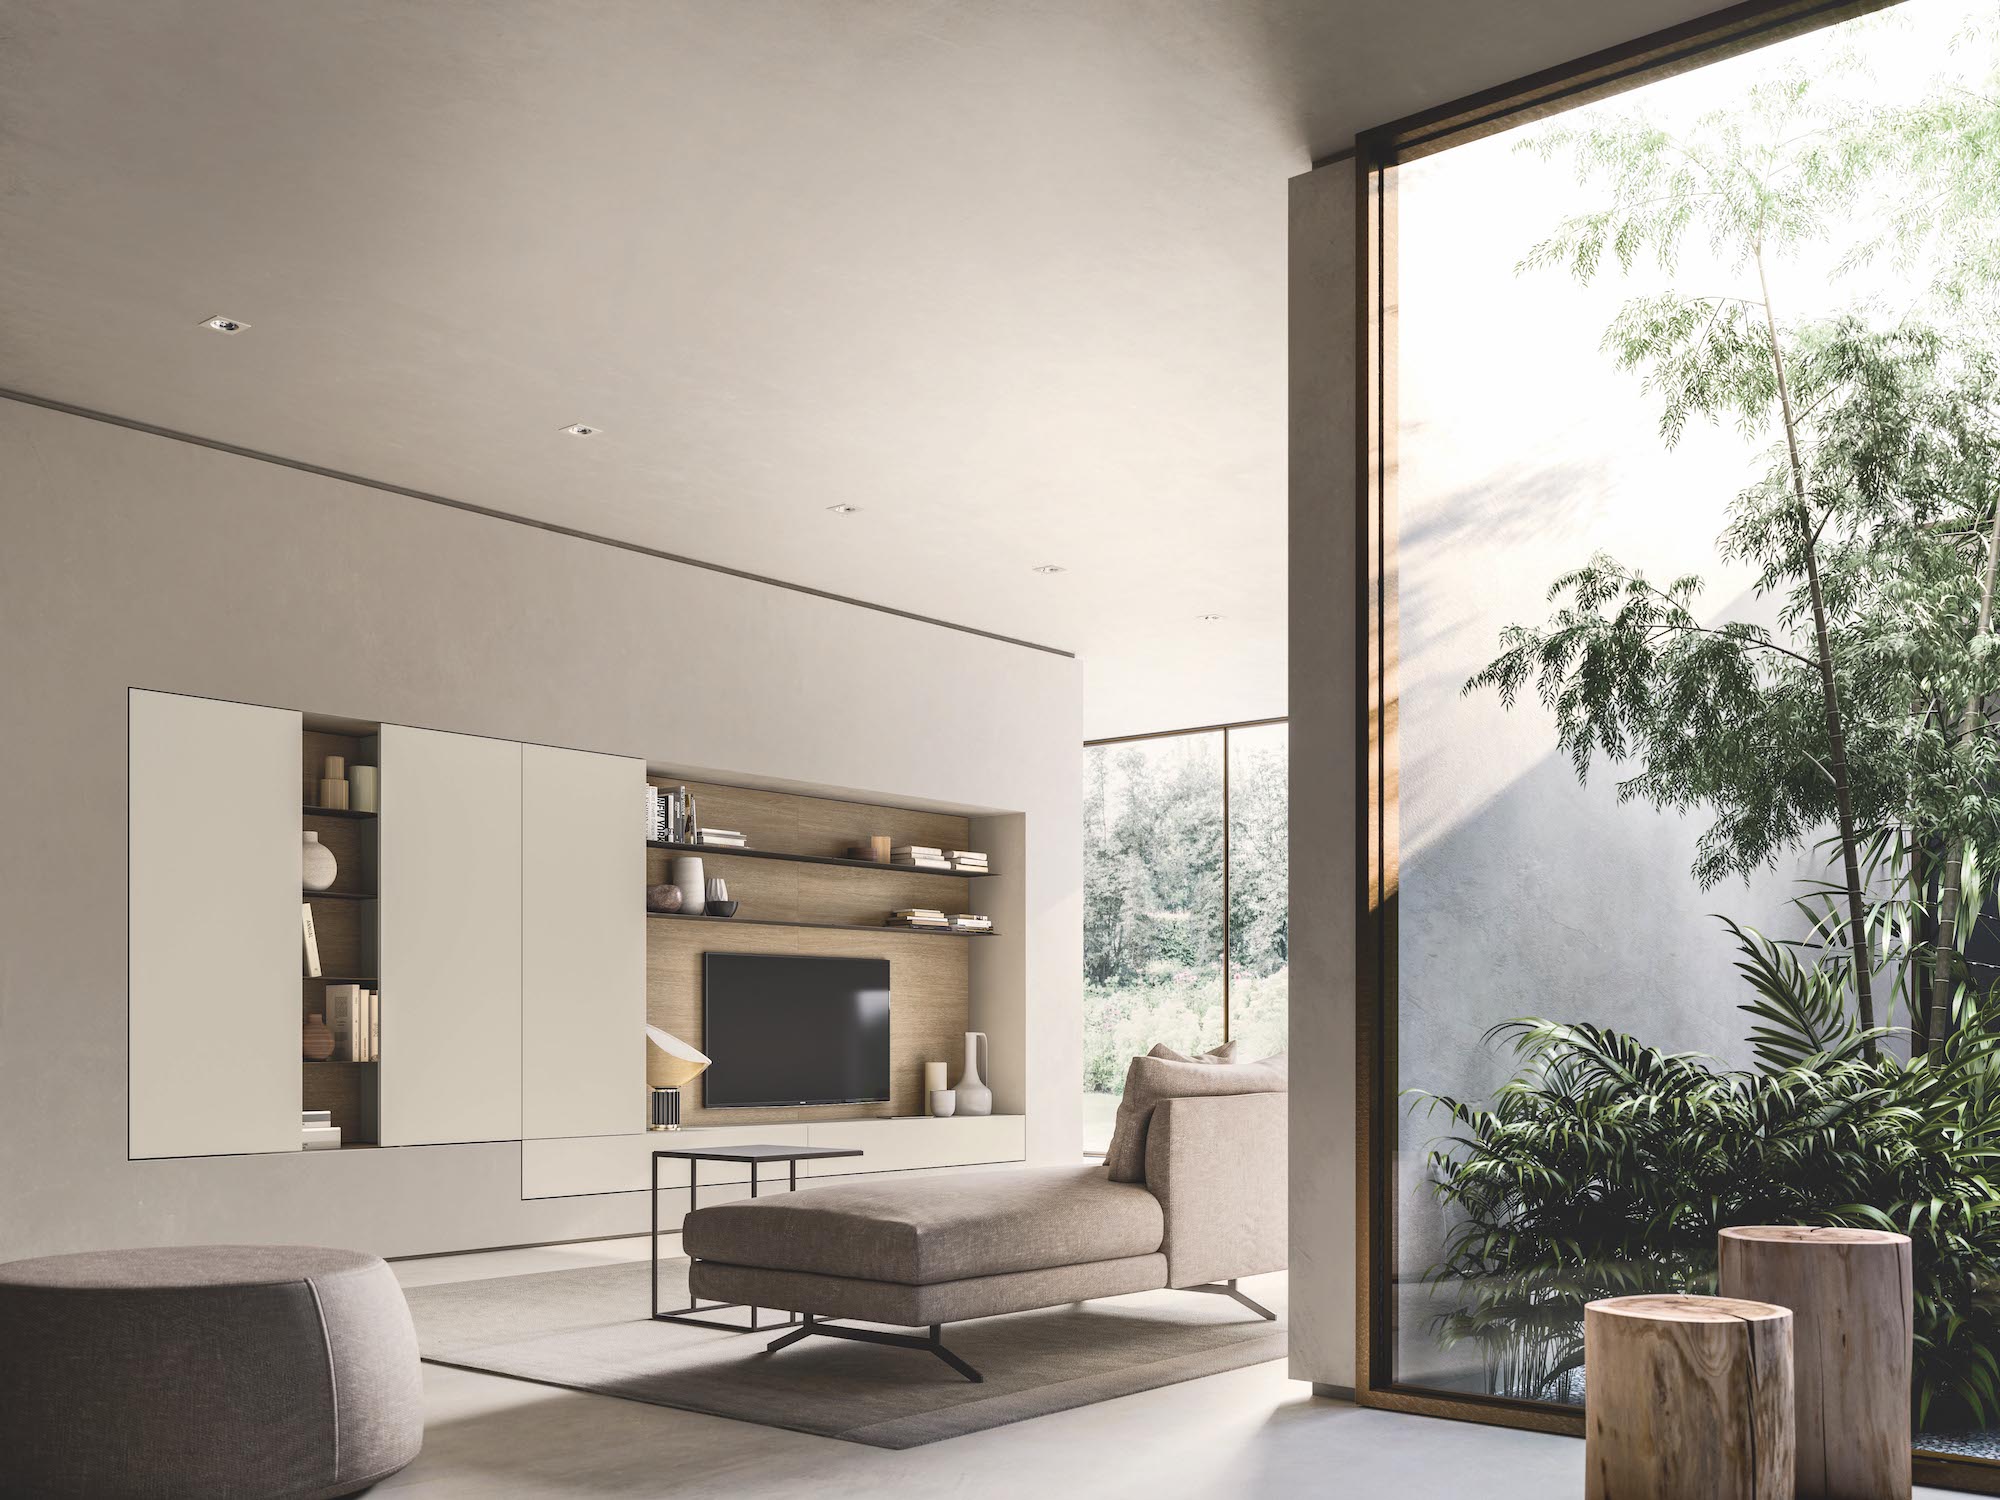
A built-in media wall with doors can be the best of both worlds if you don't want to always be looking at screens and boxes. Sliding or bifolding doors are great for opening when in use, even just partially to show off treasured objects on shelving.
If you do opt for a wall-to-wall built-in design, consider that ventilation will need to be accounted for. When in use, consoles and TV boxes get hot and need to cool down utilising their fans — so allow enough air flow through the units to keep these in top condition.
Access to the back of the TV and to the various elements of a built-in media wall will also need to be addressed for repairs and updates. Technology is not forever and not infallible, so you don't want to have to remove plasterboard or joinery if something goes wrong.
4. Play around with open shelving and closed storage
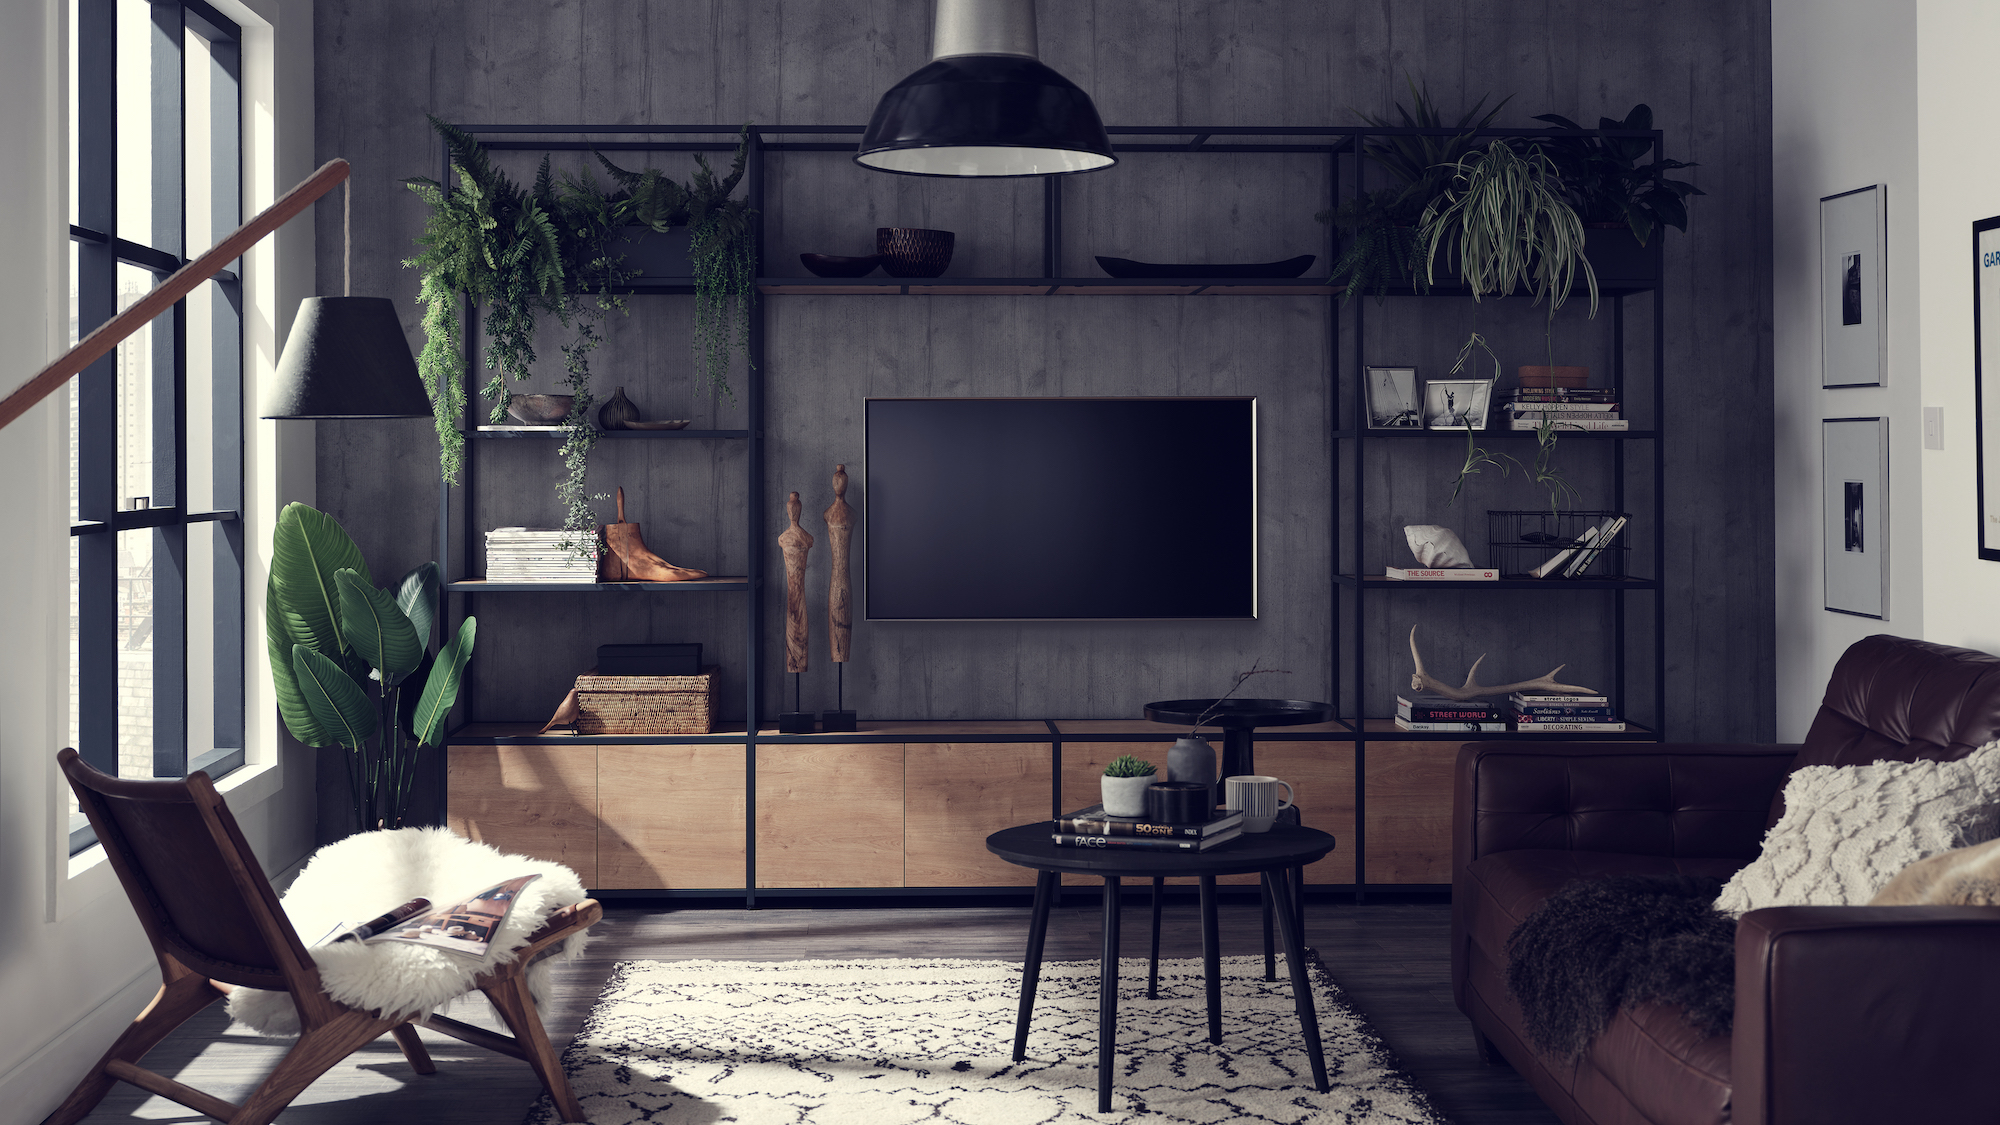
For smaller living room ideas that you don't want to feel crammed in or claustrophobic, open shelving might be the way to go. You can still utilise closed storage for wires and boxes, but books, plants and personal objects around the TV can be introduced on opening shelving. When the TV is not in use, shelving and displayed wares will become a focal point in their own right.
If you're worried about sound echoing with too many hard surfaces around the TV or sound system, include a couple of acoustic panels either on the opposite wall, or behind the TV. There are some incredible designs – including those that look like slatted wood panelling – that will dampen sounds and provide the atmosphere you might be looking for in snug room ideas.
5. Disguise the TV as artwork in a stylish media wall
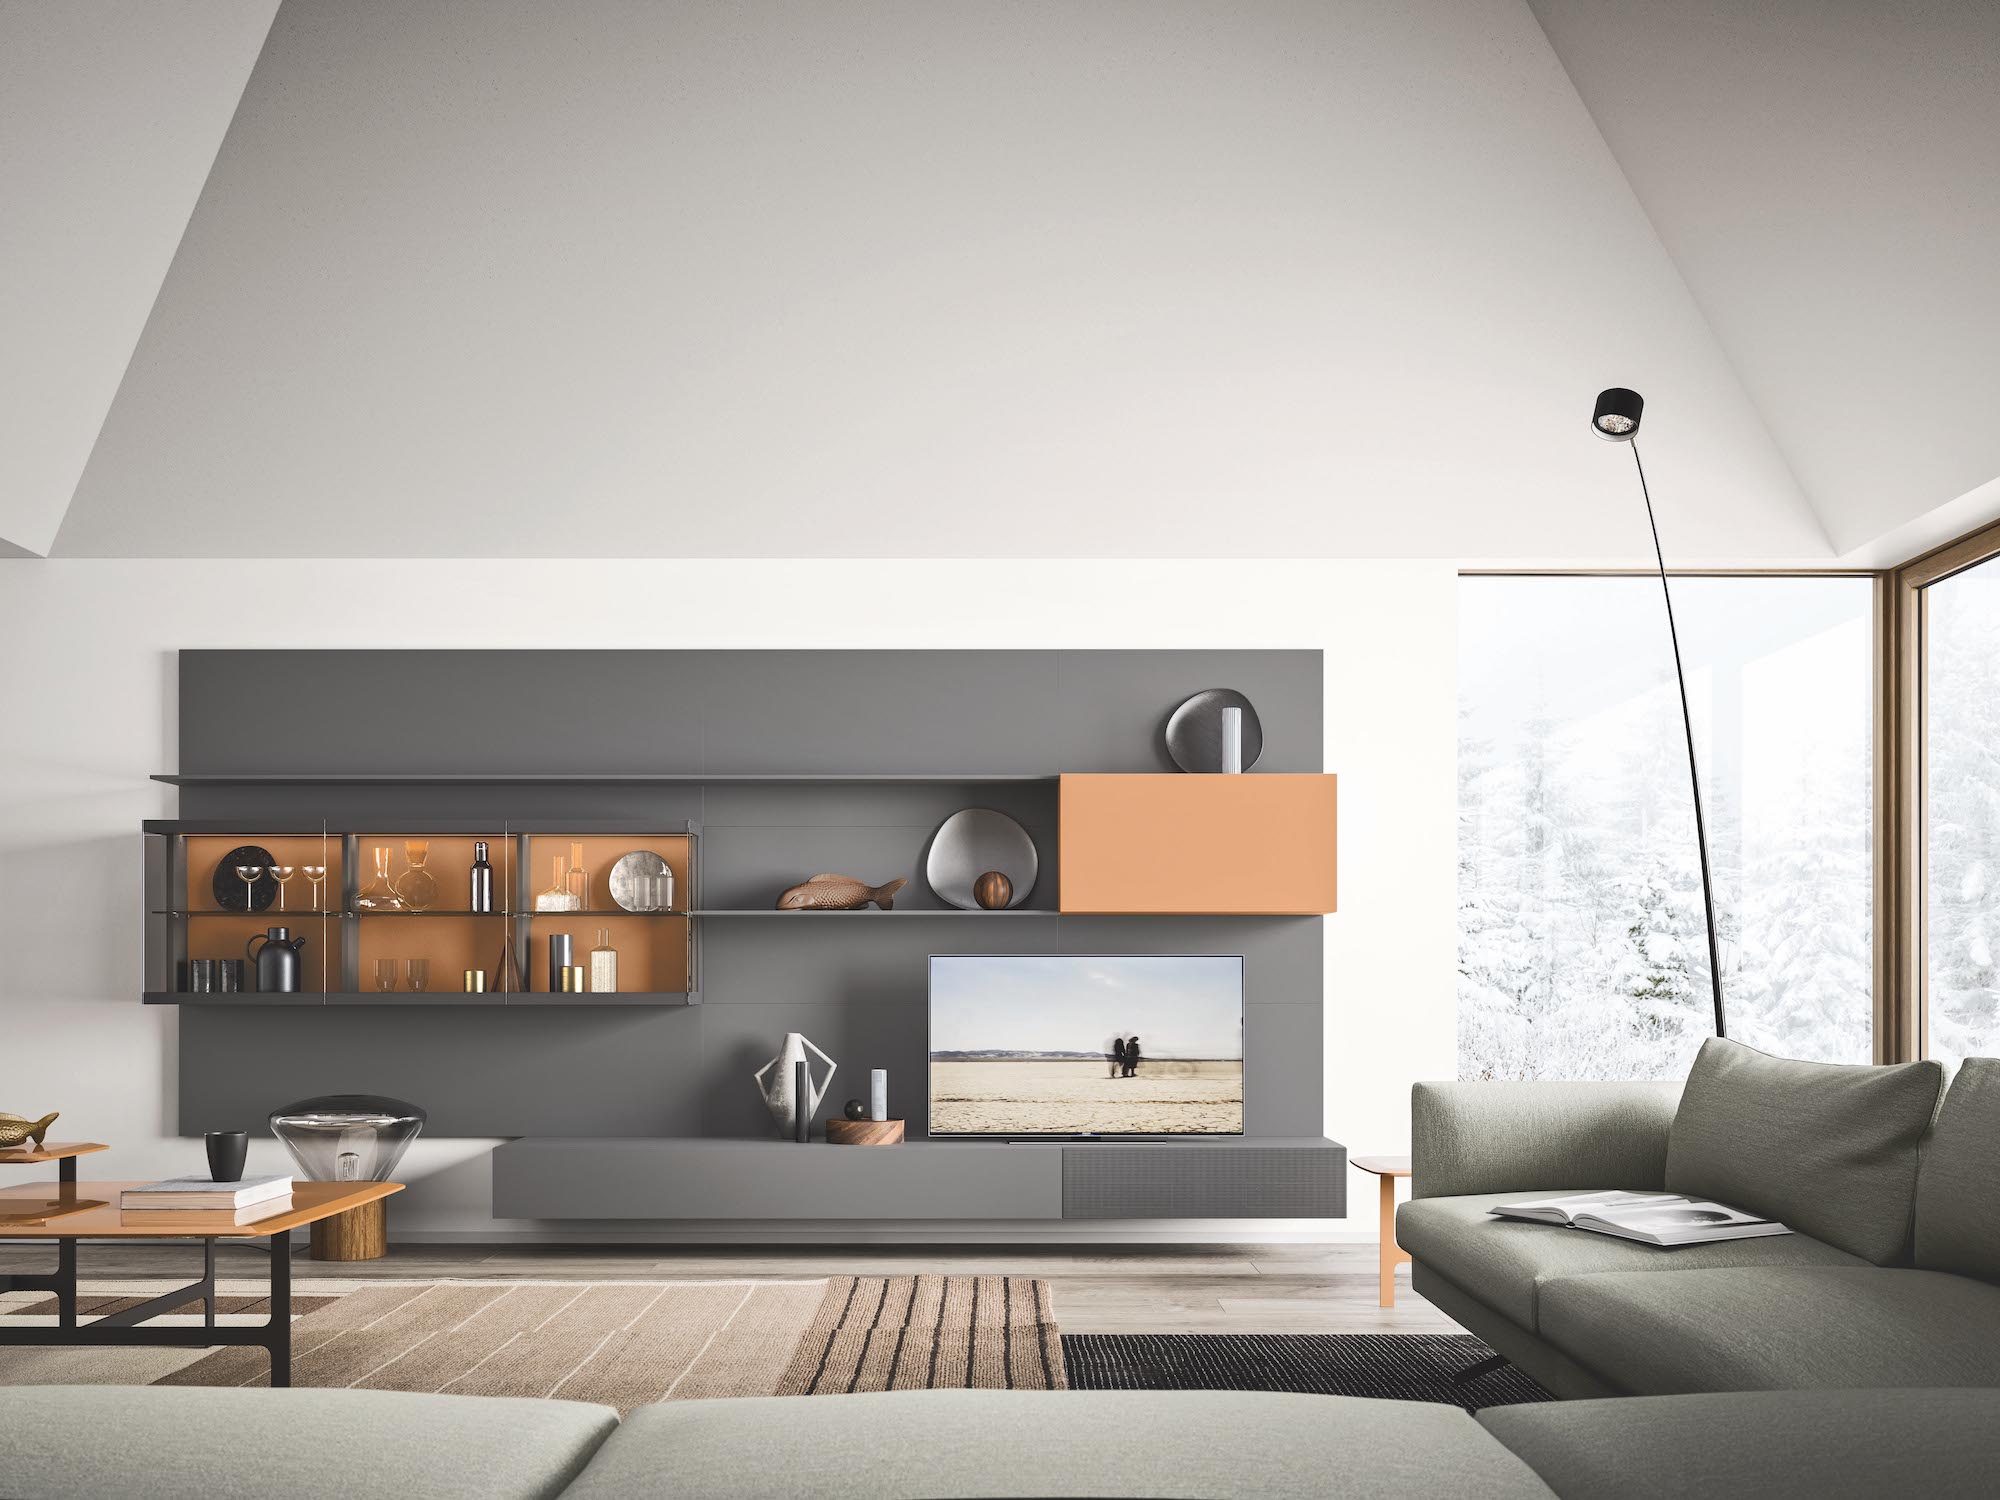
For a media wall that can be disguised as feature artwork hide all of the boxes and wires in closed storage, but have a cutting-edge TV on display that can present as artwork.
Rather than a black void in the centre of a wall, these TVs (like Samsung's frame from John Lewis) can feature customised bezels for a more personal touch and show stunning photography and paintings when turned off.
Even just adding a ChromeCast can help present beautiful vistas and masterpieces from around the world on a slide show.
6. Build a DIY media wall
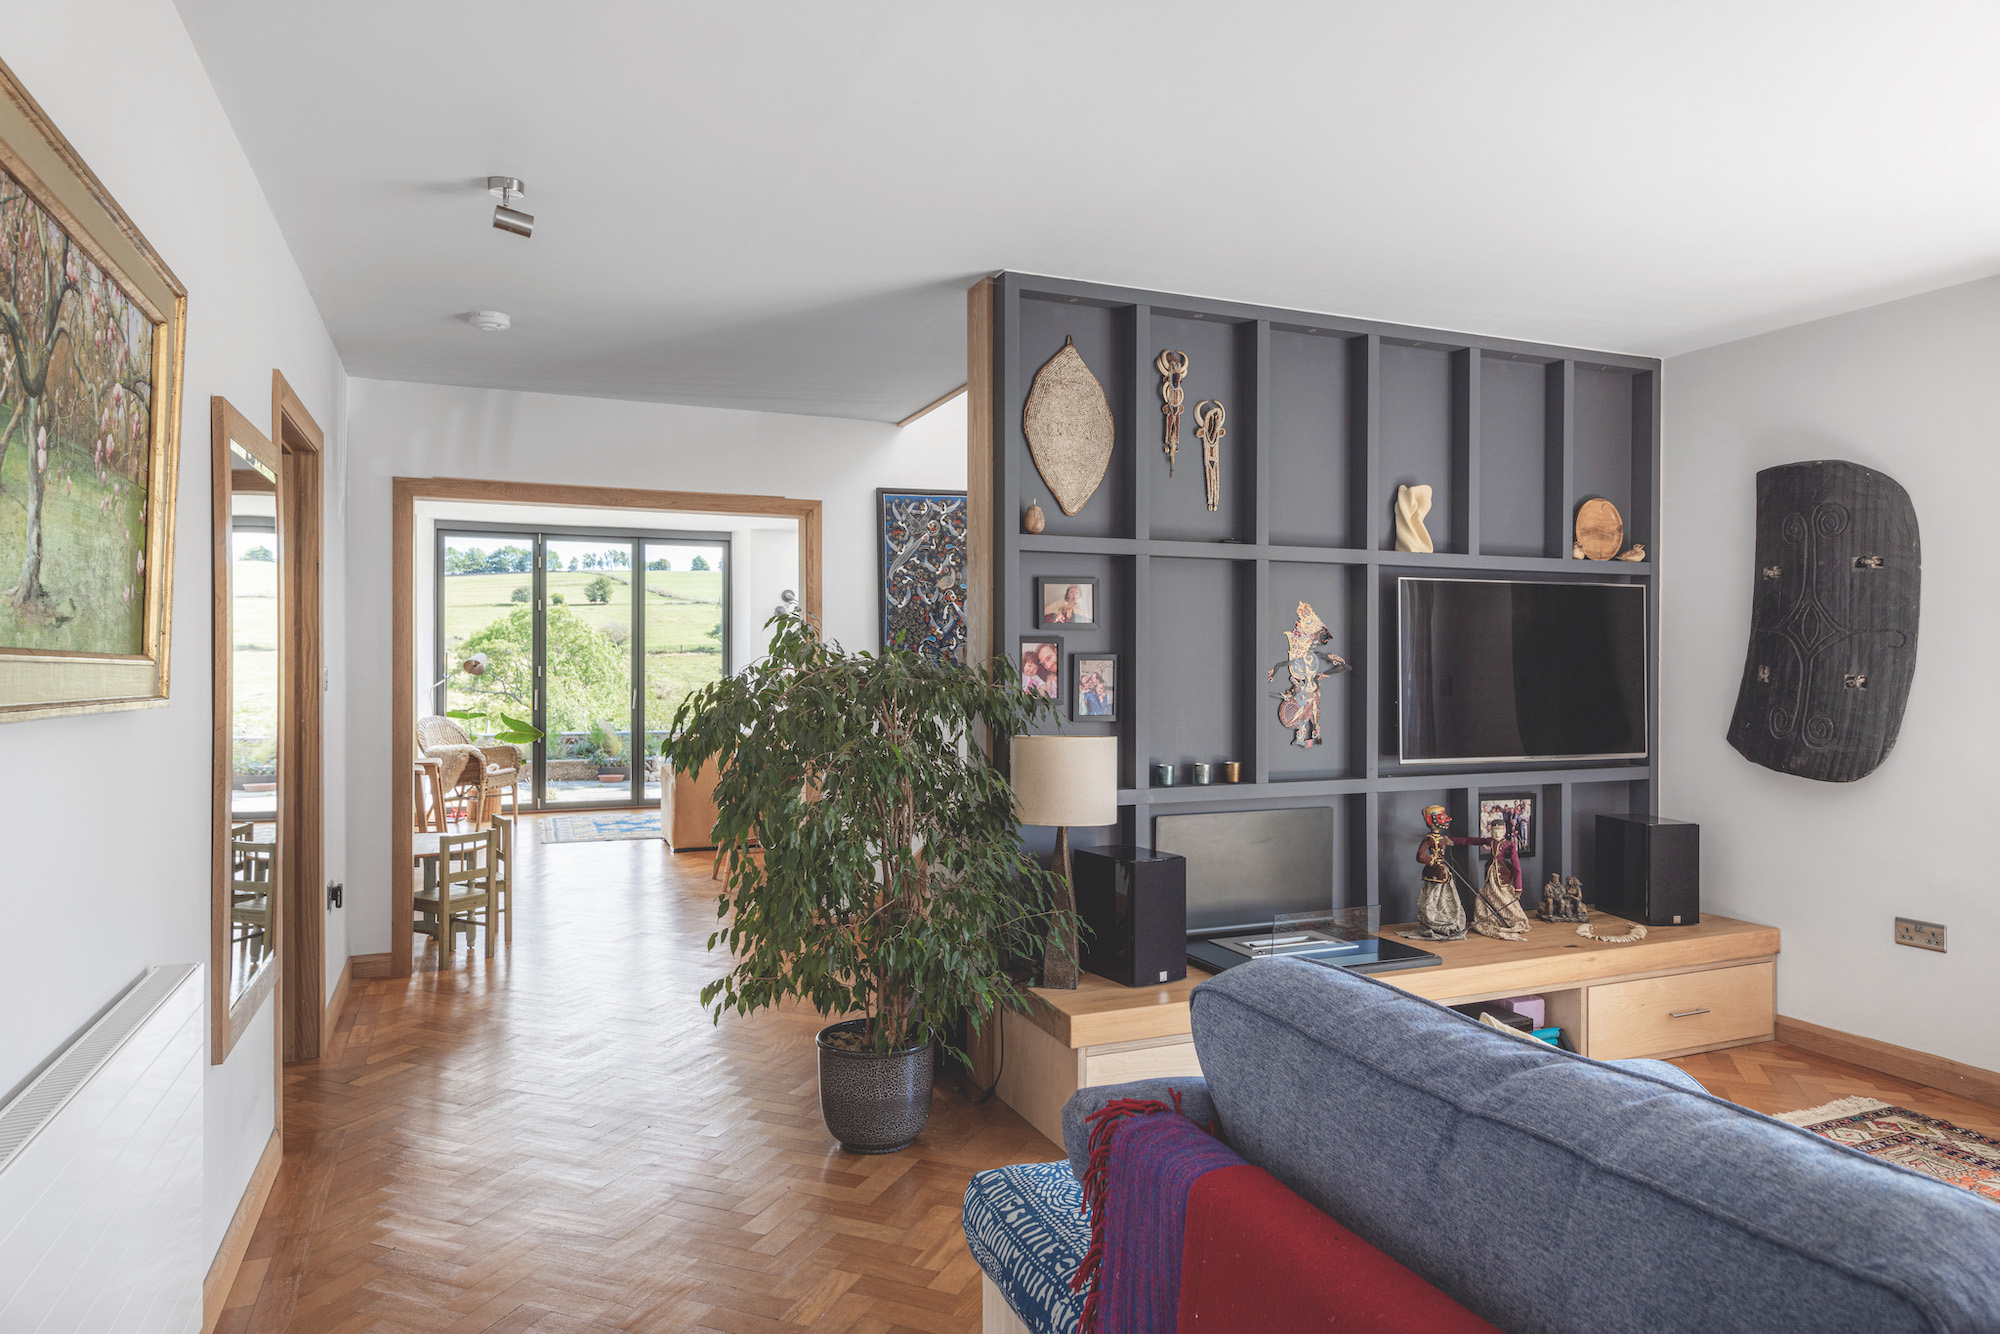
To build a DIY media wall you will need to have the hard wiring infrastructure established by an electrician, even if this is a simple set up of a couple of sockets and an aerial point.
One of the easiest ways to build a media wall is to follow the example above. A simple plasterboard partition has been finished with MDF panelling to create the separate zones while an off-the-shelf unit sits below.
The best material for a media wall will depend on your budget and style. Plasterboard is possible the most common material as it is sturdy and can hide all kinds of wiring and other unsightly elements that go on behind the scenes.
MDF is also a great option and can suit more modest budget over other timbers, but might to give the smooth finish of plasterboard.
Get the Homebuilding & Renovating Newsletter
Bring your dream home to life with expert advice, how to guides and design inspiration. Sign up for our newsletter and get two free tickets to a Homebuilding & Renovating Show near you.
Amy is an interiors and renovation journalist. She is the former Assistant Editor of Homebuilding & Renovating, where she worked between 2018 and 2023. She has also been an editor for Independent Advisor, where she looked after homes content, including topics such as solar panels.
She has an interest in sustainable building methods and always has her eye on the latest design ideas. Amy has also interviewed countless self builders, renovators and extenders about their experiences.
She has renovated a mid-century home, together with her partner, on a DIY basis, undertaking tasks from fitting a kitchen to laying flooring. She is currently embarking on an energy-efficient overhaul of a 1800s cottage in Somerset.

