Before and After: A Dated 60s Bungalow Given a Contemporary Makeover
Mike and Ruth Vernam took a dormer bungalow, untouched since it was built in the 1970s, and transformed it into a modern home full of light and open plan spaces
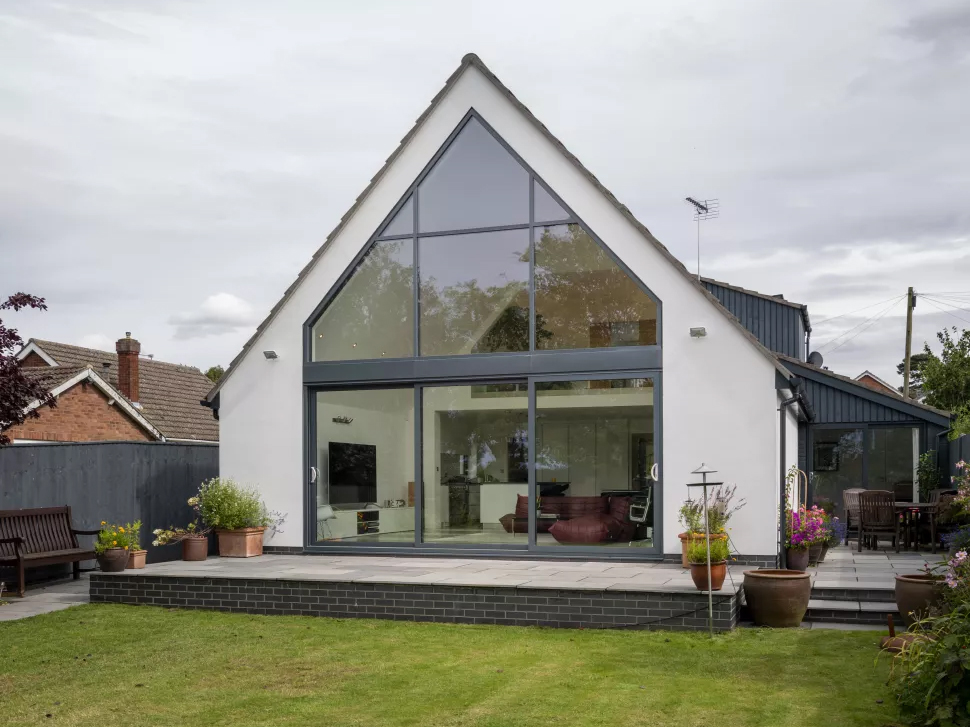
Mike and Ruth Vernam are no strangers to the world of self build and renovation, having previously built their own five-bedroom home some 19 years ago. However, once their three children had flown the nest, it was time to downsize and take on their next challenge: a 1970 bungalow renovation and extension.
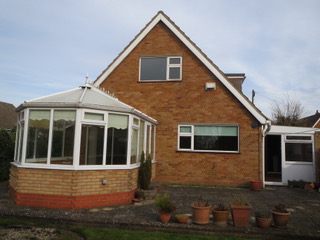
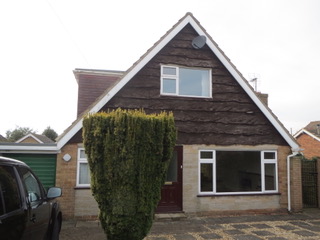
The property Mike and Ruth bought was a typical bungalow of its time, complete with bricks in an unattractive shade of dull yellow, waney-edged timber cladding and coloured bathroom suites. “I had this idea of the space that I wanted to live in,” begins Mike. “We’d looked at several houses but when we saw this one in a local estate agents and had a look round, it just worked."
(MORE: Our Expert Guide on How to Extend a Bungalow)
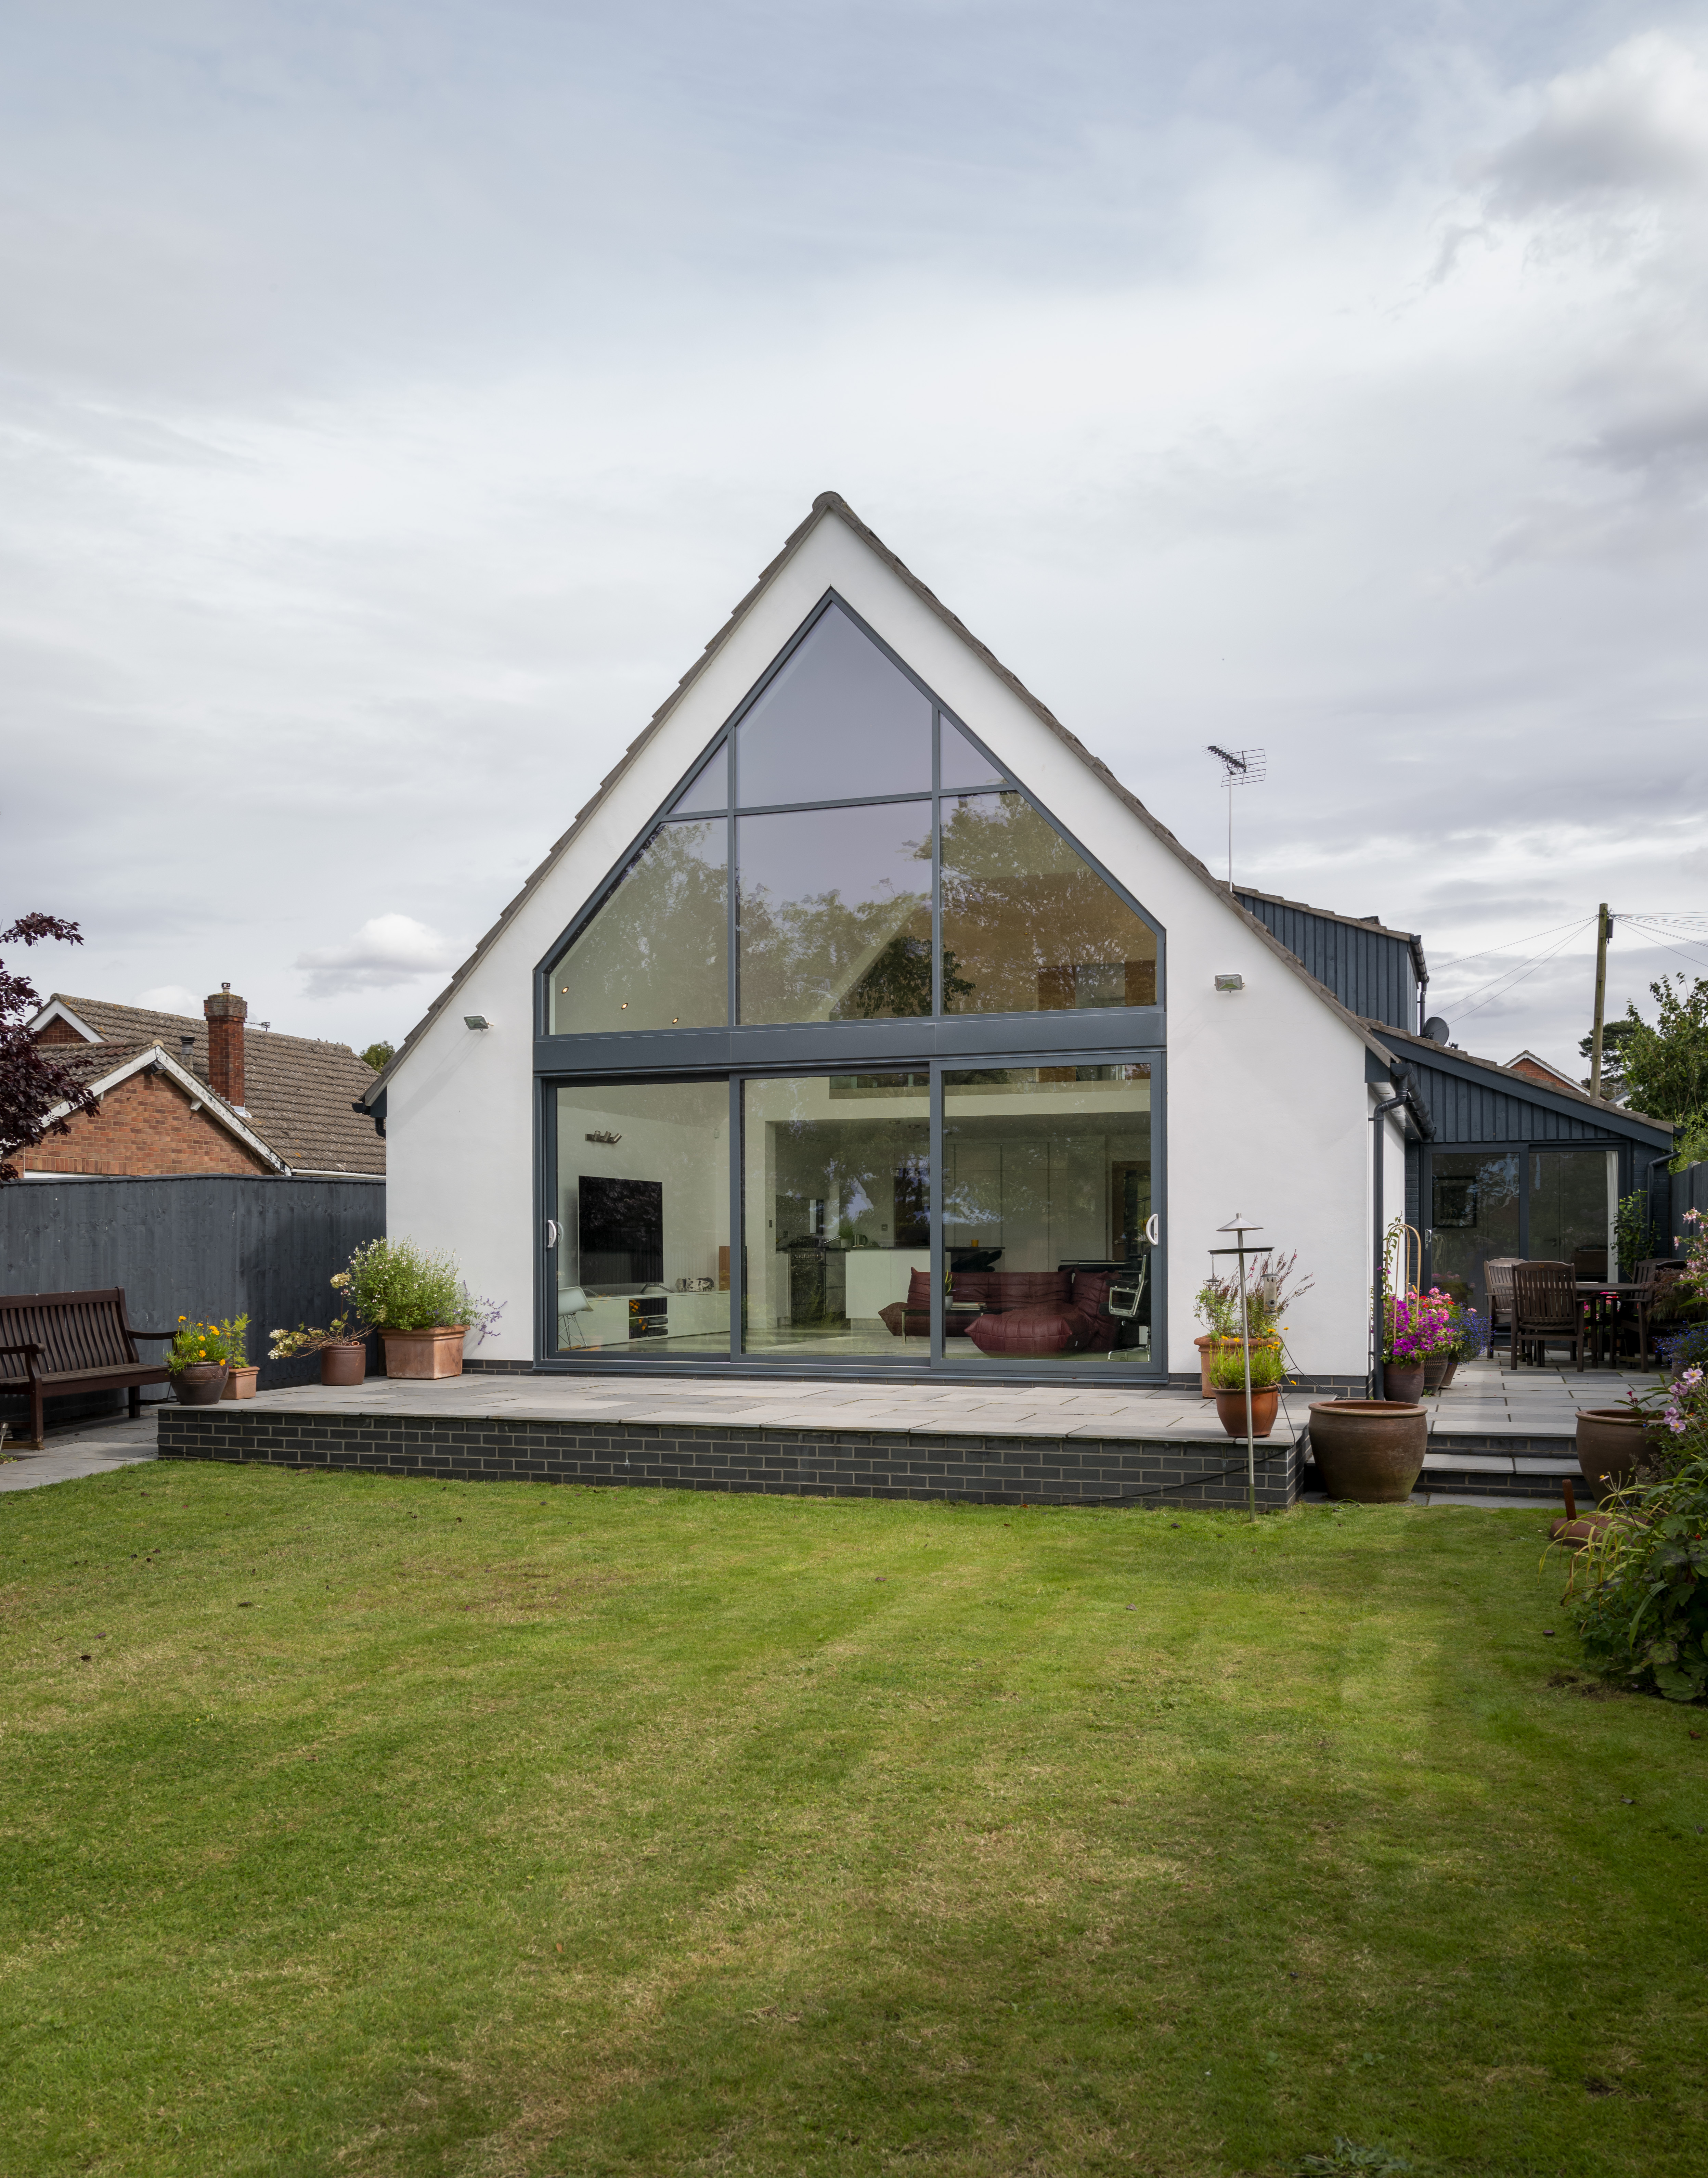

Homeowners Mike and Ruth Vernam
Project Bungalow extension and renovation
Location Lincolnshire
Build Time Aug 2015 - June 2018
Size 200m2
House cost £165,000 (April 2015)
Build Cost £120,000
Value £300,000
The couple began by assessing the potential renovation project. “We wanted a 1970s house as they tend to have sound floor construction and a good damp-proof course (DPC),” Mike explains. “However, it turns out that neither the ground floor construction nor the DPC in this house were actually that sound. We ended up taking the floor up and put additional insulation and a new damp-proof membrane.”
Mike and Ruth sold their old house and, using a combination of the equity, a loan and a mortgage, bought the bungalow, along with a small house round the corner to live in while building an extension and sell on once they had moved in.
This meant they could take their time with the project — a good thing, as they were keen to do most of the work on a DIY basis.
They began by removing the old conservatory and building foundations for the extension that has now been constructed at the rear of the house. The concrete for the rear foundations had to be brought round to the back using wheelbarrows.
Remodelling the Layout

When it came to the existing layout, there were two bedrooms and a relatively recently constructed en suite in the roof space. “That was the most awful box just sticking out of the side of the roof,” says Mike. “We completely rebuilt it as it was so poorly constructed.” A small third bedroom was sited on the ground floor along with another bathroom, a long, narrow living/dining room, kitchen and conservatory.
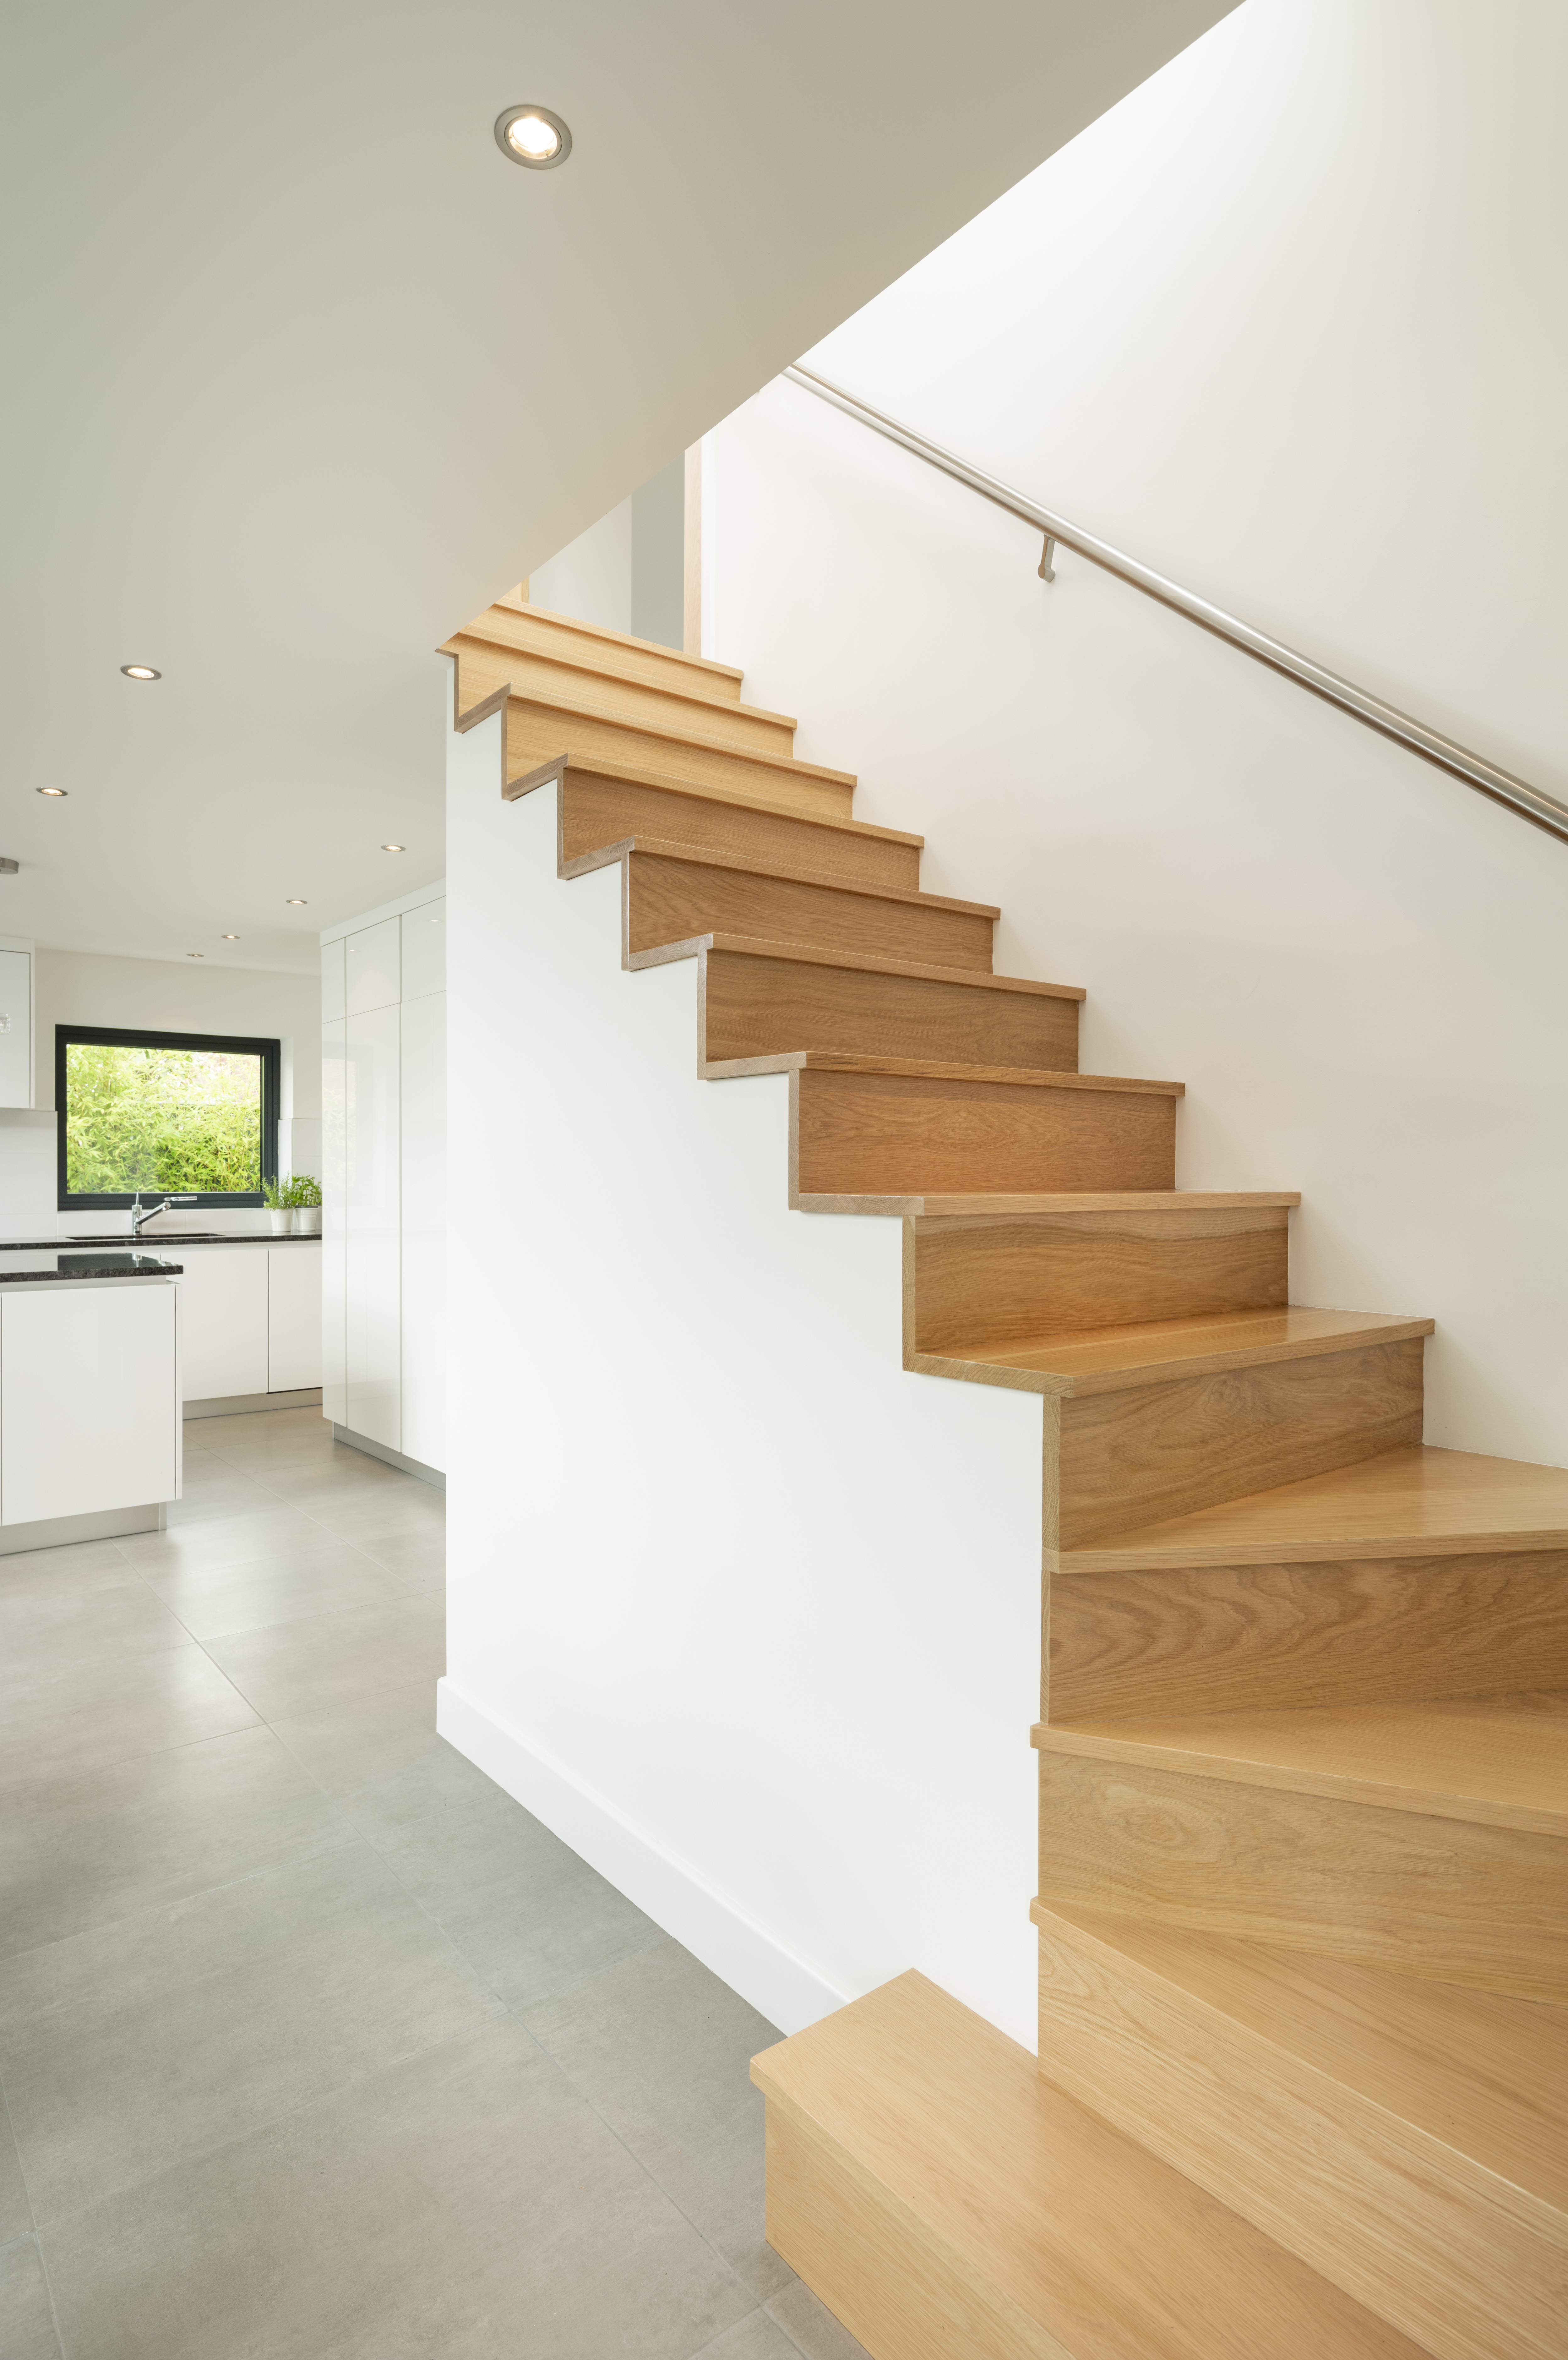
“It was a typical seventies house,” he says. “The original staircase cut the long, narrow reception space in two, and was flanked by two enormous concrete planters that were attached to the floor!”
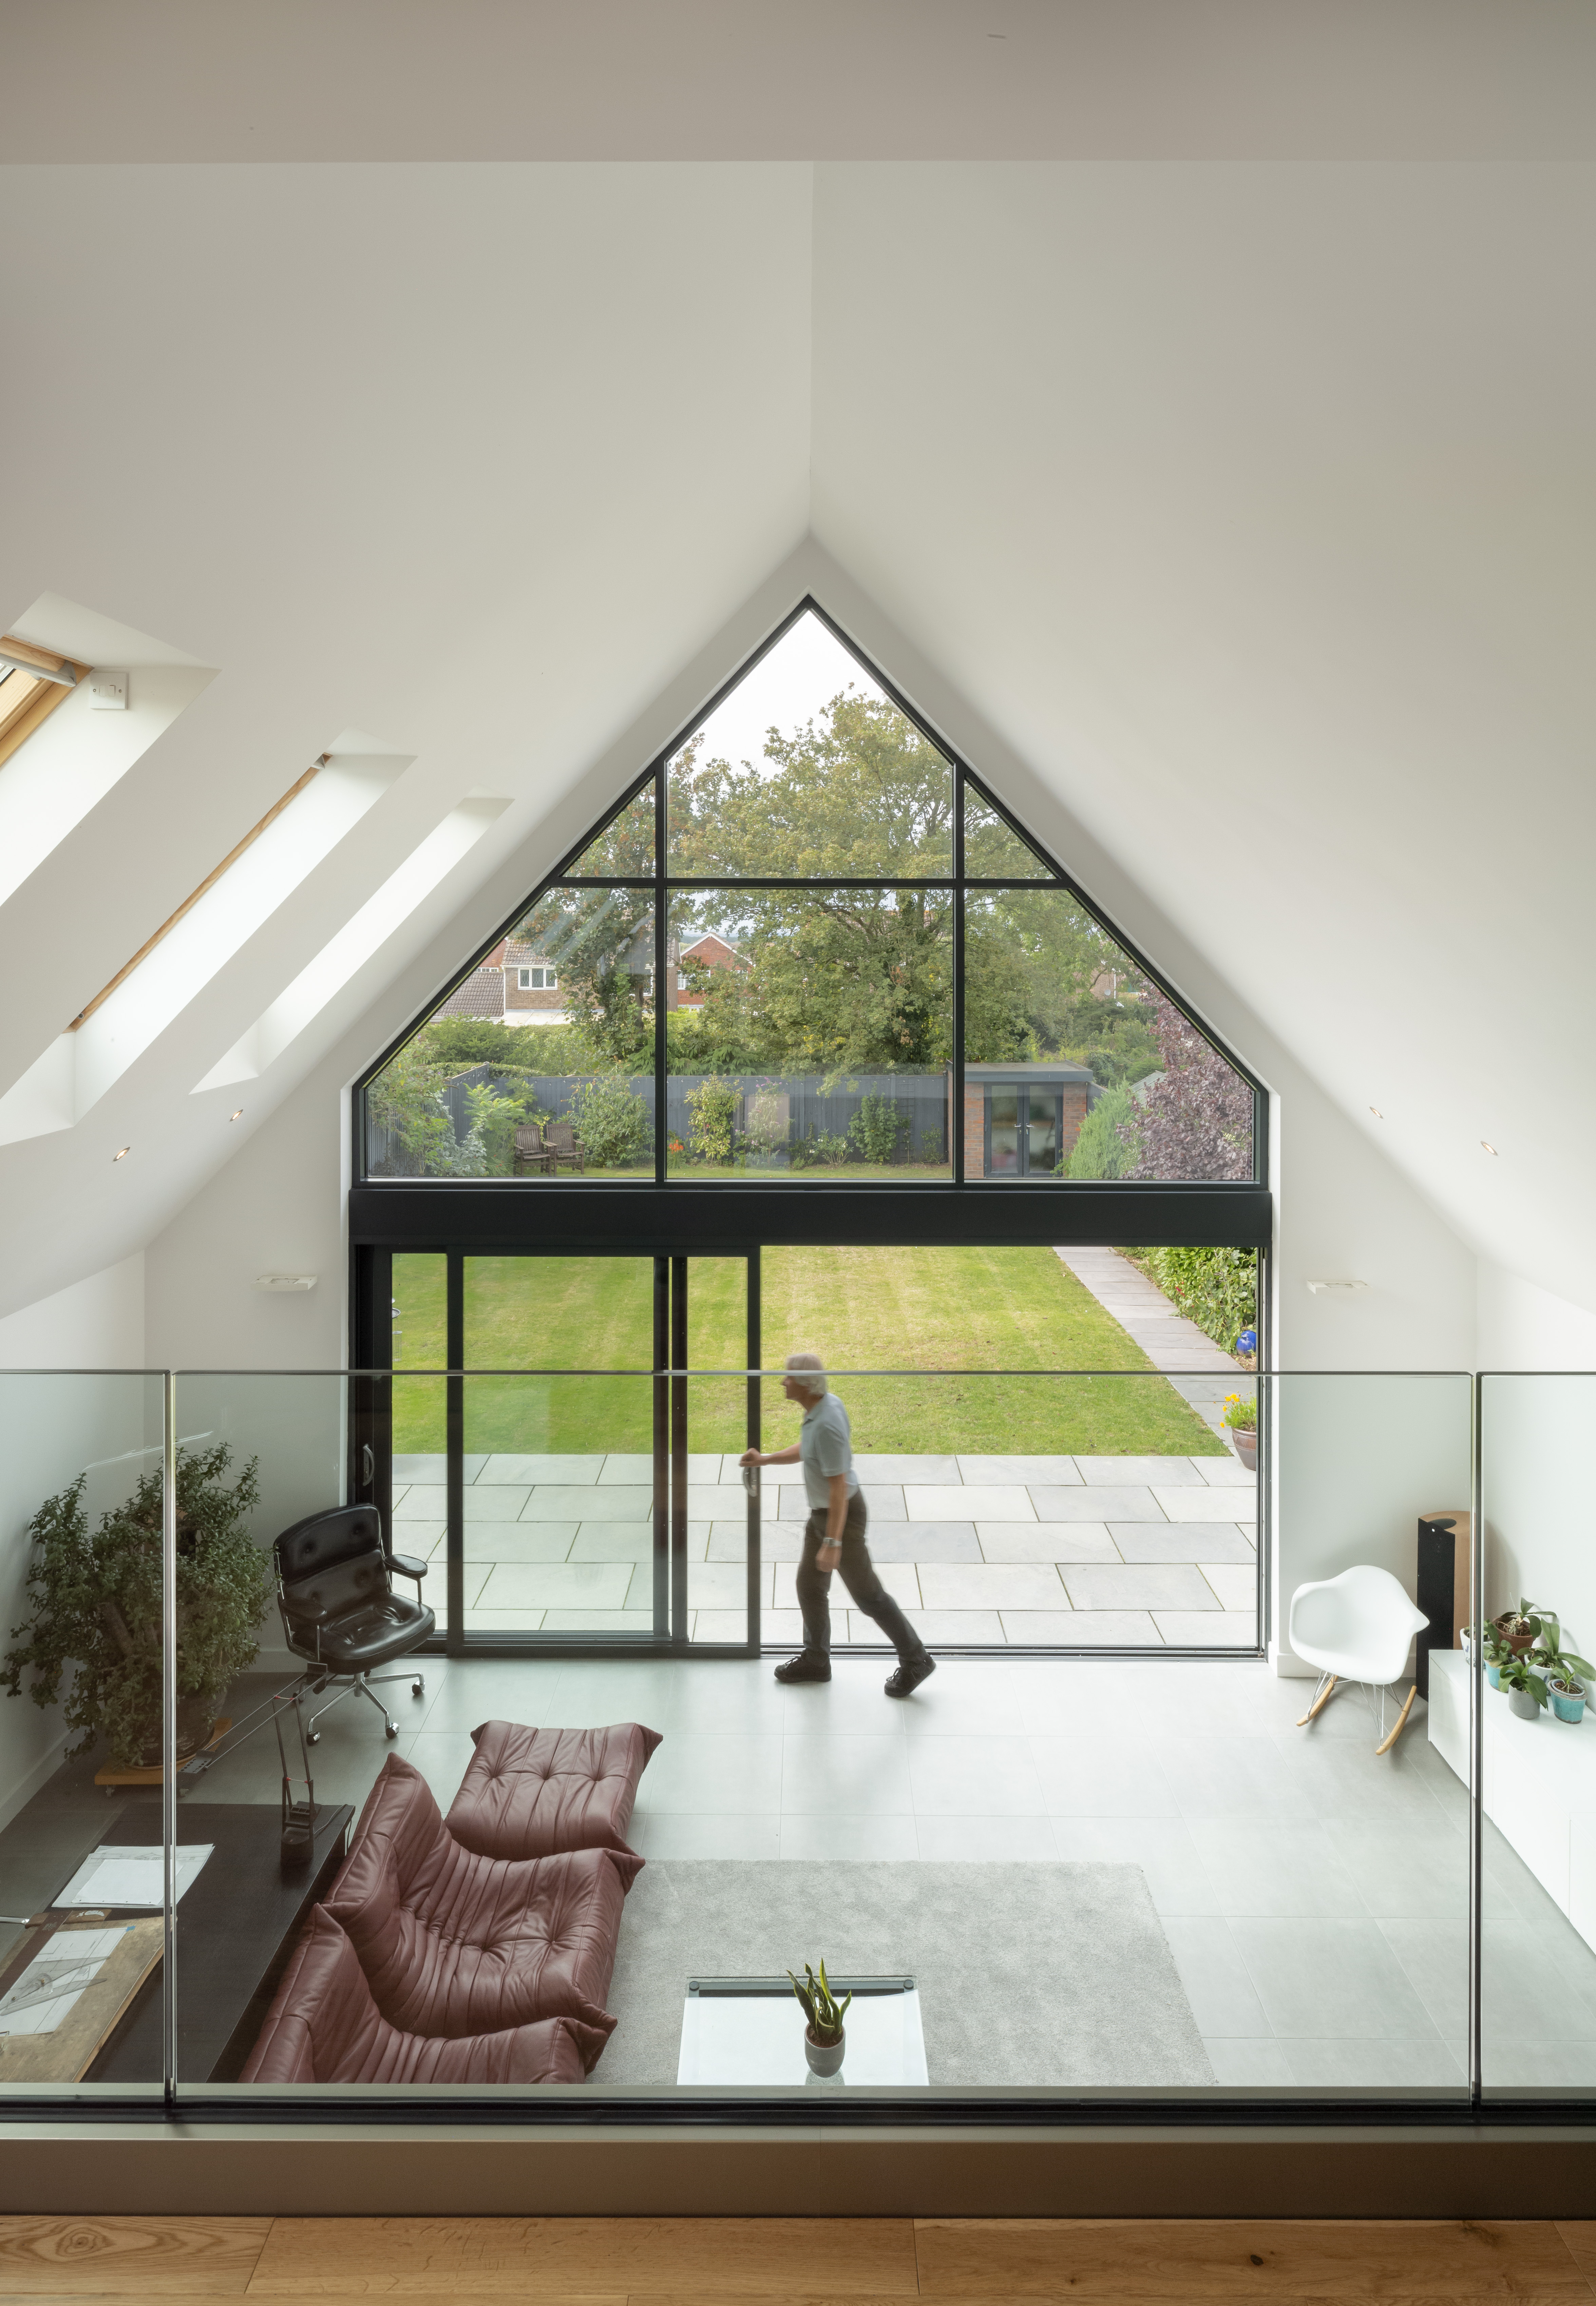
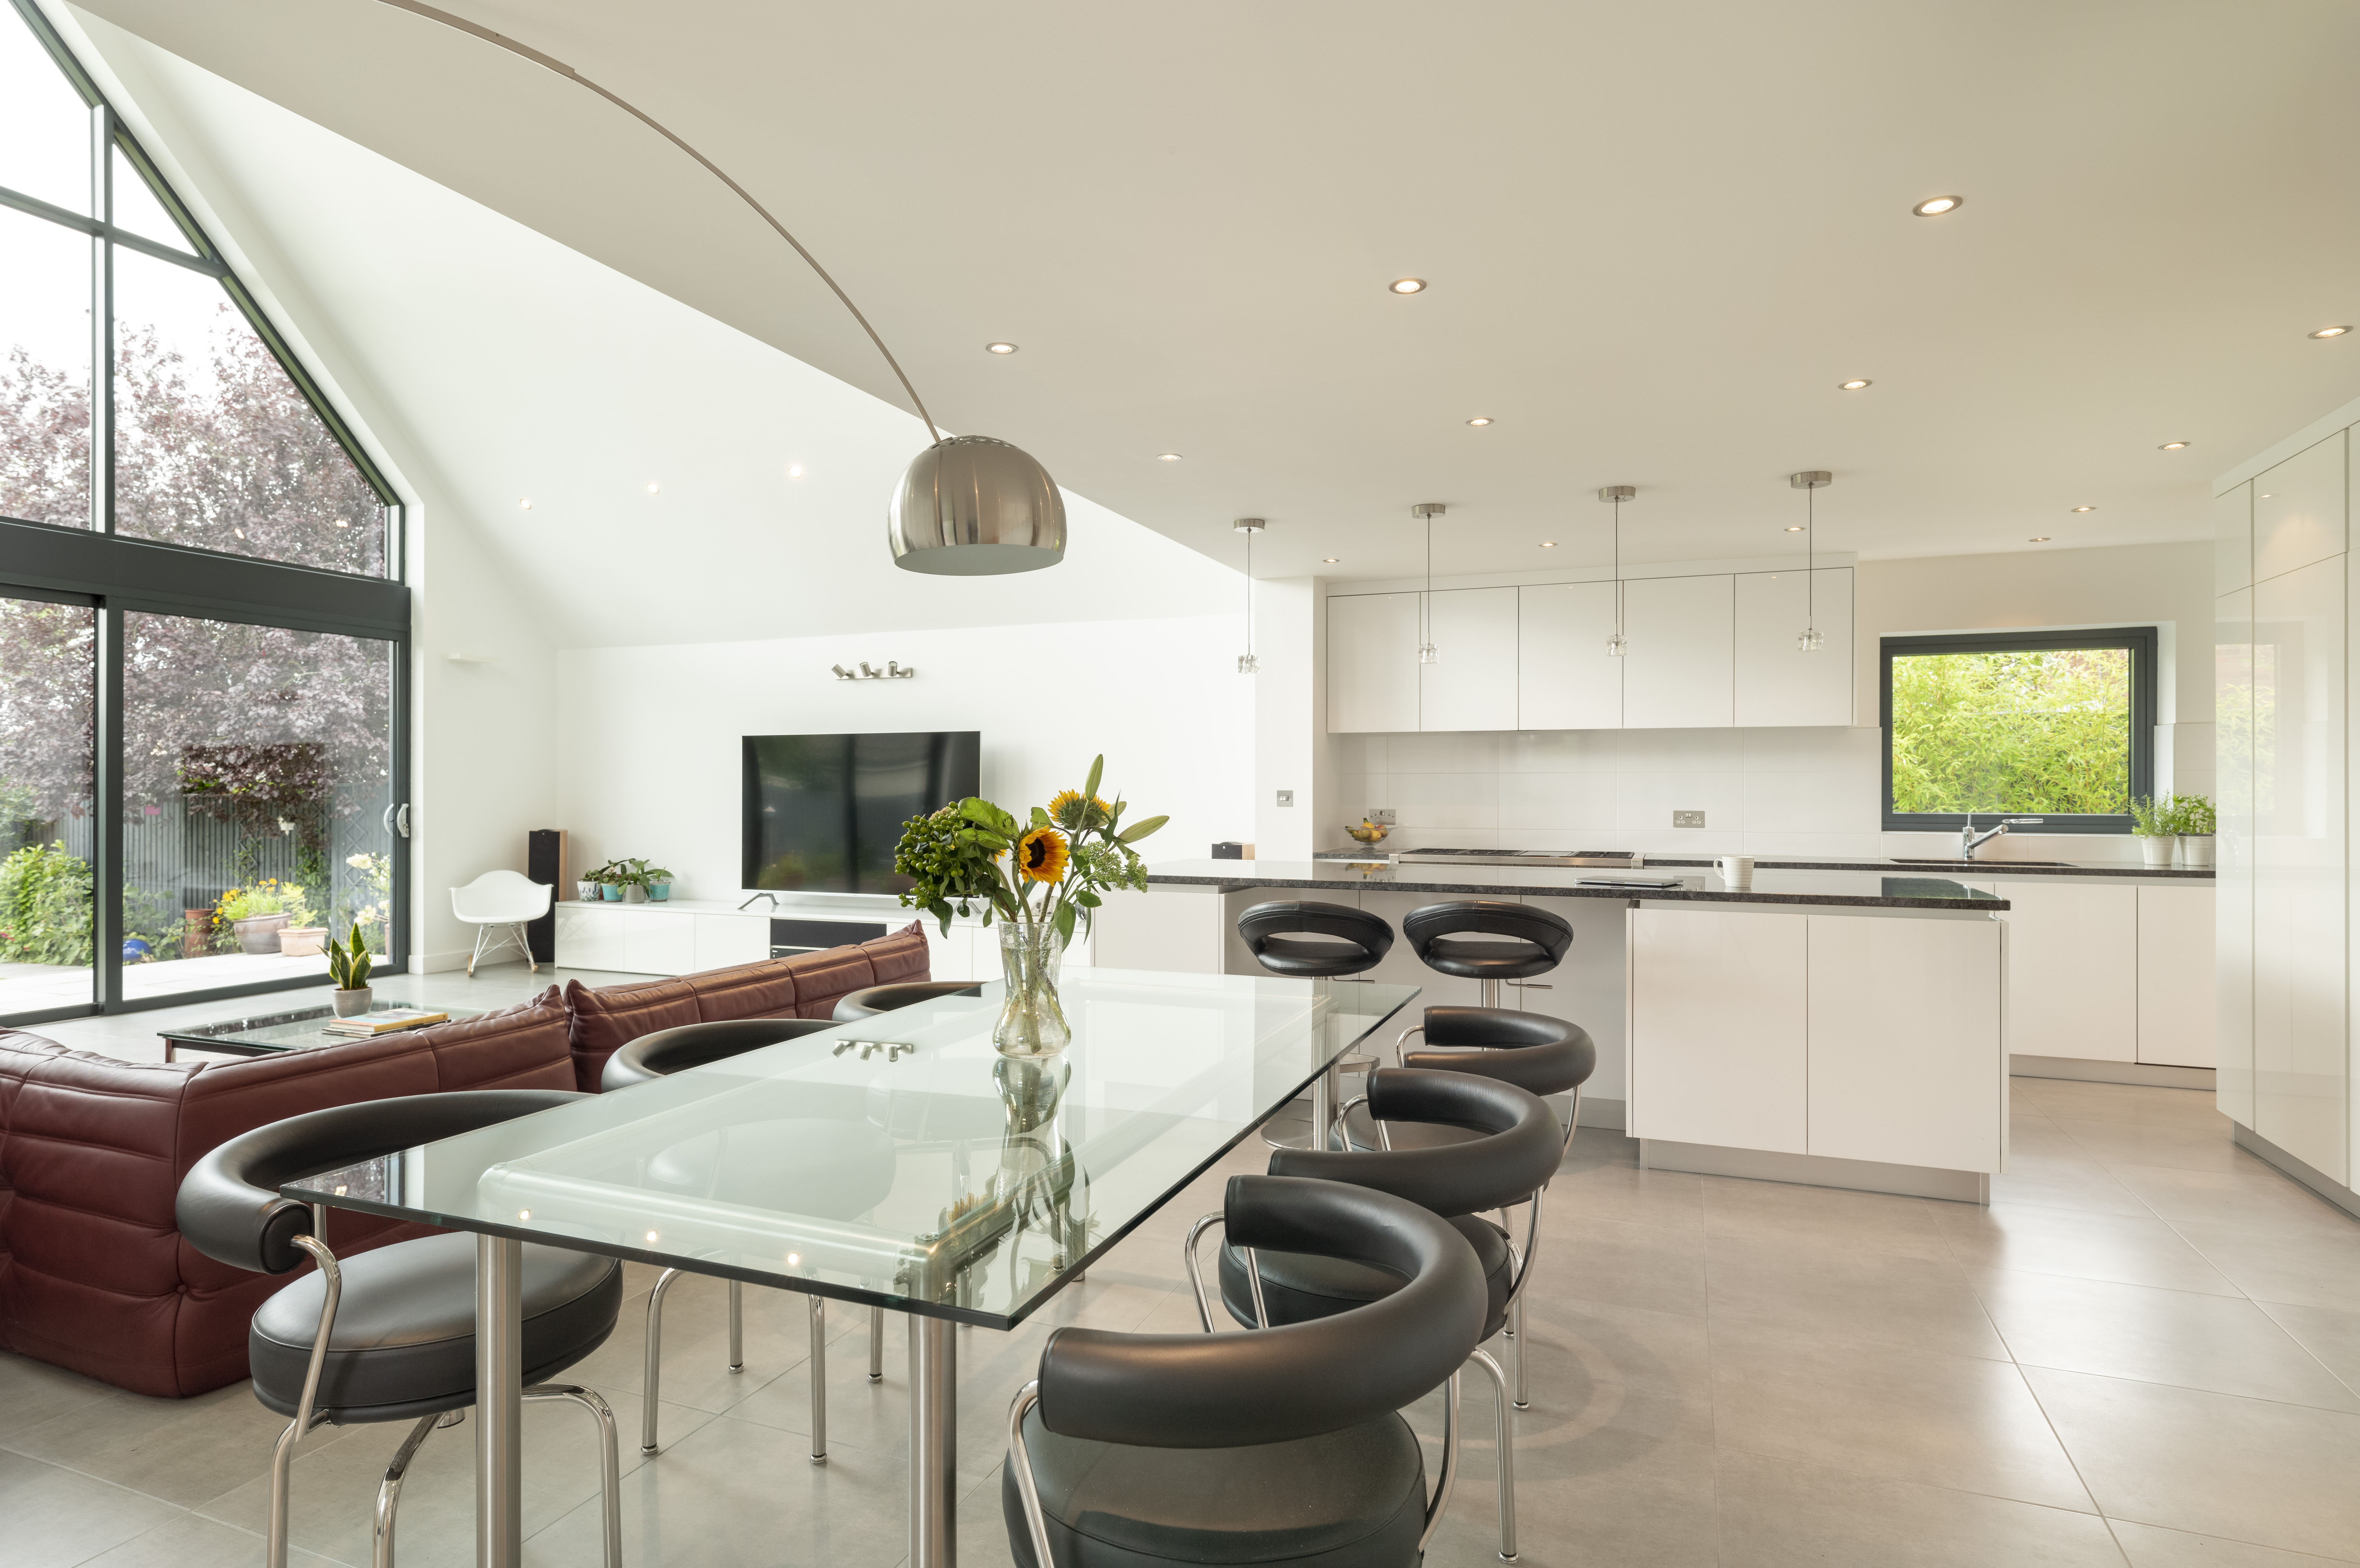
Mike and Ruth took inspiration for the house from the areas of their previous house that they had enjoyed. This meant extending the house to create a sociable open plan living space on the ground floor, where Mike’s office could be part of the action, and large windows in order to ensure the new layout was full of light.
(MORE: Before and After Transformations of Remodelled Bungalows)

“I like to be able to work while everything goes on around me,” says Mike, an architectural technician. “Sometimes I work well into the night and having my desk here means I am still part of the action.”
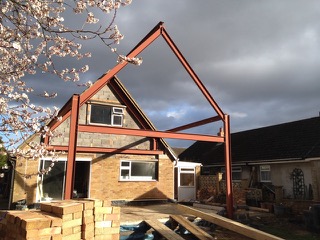
To create the voluminous double-height space that now forms most of the ground floor and encompasses the living space, kitchen-diner and office space, a new 8 x 6m extension was constructed, by Mike, using a huge steel A-frame and blockwork.
“The A-frame sits on the outer leaf of the original bungalow,” explains Mike. “Then there are three huge steel beams that run back to another steel frame that runs around the glazed doors and gable end.”
(MORE: Things You Need to Know Before Your Renovate)
Extending the Bungalow
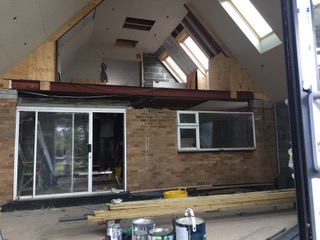
Although Mike had removed the outer leaf of the old rear wall in order for the new steelwork to go in, the rest of the wall remained in place until the extension was weathertight.
“One of our best days was when the gable was in place, just waiting for the last piece of glass. There was a delay in it being delivered but we were so looking forward to the old end wall of the house coming out that we asked the suppliers to put in piece of temporary plywood.
The next day, Ruth and I started at 8am and finished at 7.30pm — we took the whole end wall of the house down and cleared it all up, and then we sat and had a bottle of champagne, just looking at the lovely big space we had created.”
The steel beam, that now runs where the old wall once was, is attached to another steel and supports the mezzanine that overlooks the ground floor. At the front of the house, the garage has been extended and the flat roof replaced with a more attractive pitched roof. A small porch has also been created, where a new wide front door makes a statement.
A Modern New Home
Mike was able to increase the first floor space by altering the roof structure, so it now comprises the master bedroom, partially re-built en suite and a study space with views of the ground floor below.
“The purlins were in the middle of the span of the roof, and the walls for the bedrooms came straight down, which only gave us rooms of about 3m wide upstairs,” he explains. “I took the purlins out and built a whole new roof structure inside the existing one. I pushed the side walls out and made structural studding down both sides which acts as an enormous purlin from front to back. This made the bedrooms half as wide again and longer — so a nice big space."
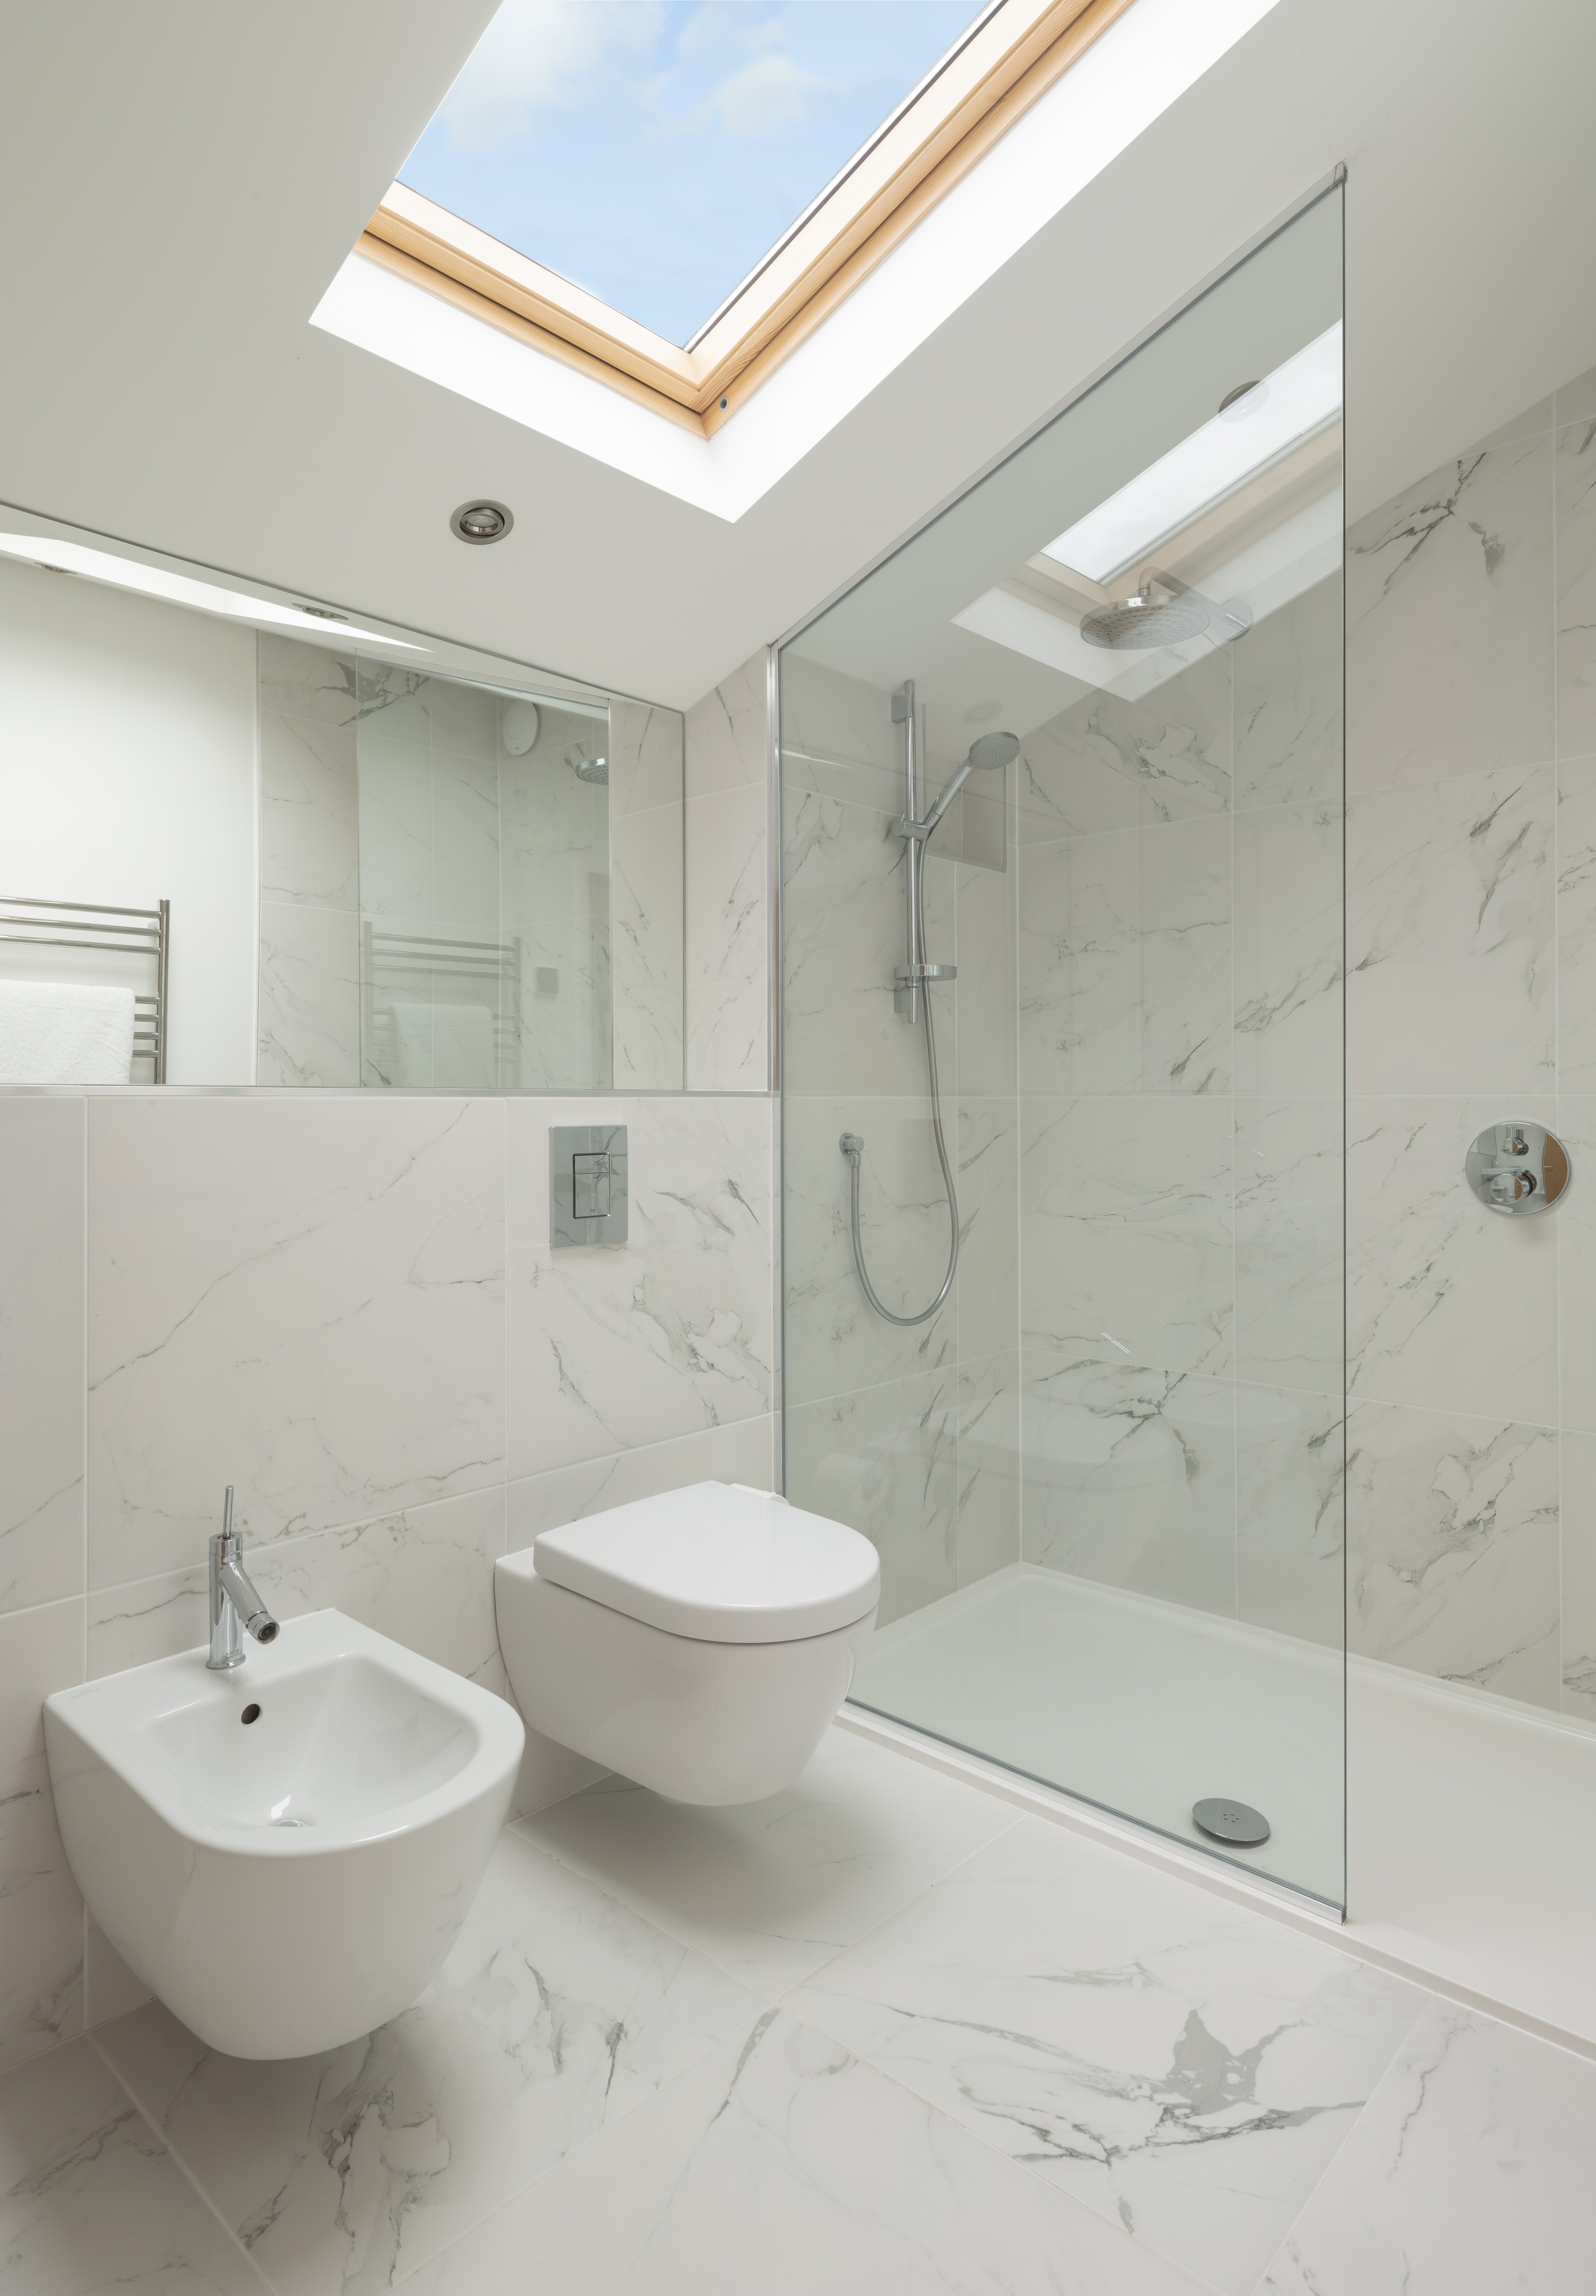
“We’re very happy here," Mike concludes. "It suits our lifestyle and even when it is chucking it down with rain there is a lovely light in the house. And in summer, our electric Velux windows and sliding doors all open up and we get a flow of fresh air all around.
“I was quite daunted about the amount of work but it became a labour of love and I really enjoyed it. In fact I enjoyed it so much that I’m thinking of doing it again.”
Get the Homebuilding & Renovating Newsletter
Bring your dream home to life with expert advice, how to guides and design inspiration. Sign up for our newsletter and get two free tickets to a Homebuilding & Renovating Show near you.
Natasha was Homebuilding & Renovating’s Associate Content Editor and was a member of the Homebuilding team for over two decades. In her role on Homebuilding & Renovating she imparted her knowledge on a wide range of renovation topics, from window condensation to renovating bathrooms, to removing walls and adding an extension. She continues to write for Homebuilding on these topics, and more. An experienced journalist and renovation expert, she also writes for a number of other homes titles, including Homes & Gardens and Ideal Homes. Over the years Natasha has renovated and carried out a side extension to a Victorian terrace. She is currently living in the rural Edwardian cottage she renovated and extended on a largely DIY basis, living on site for the duration of the project.

