Renovating a Staircase: How to Give Your Stairs a New Lease of Life
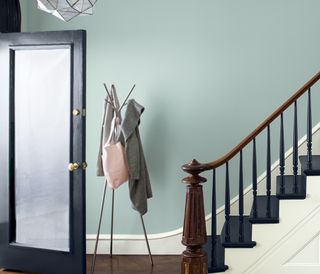
Renovating a staircase can unleash the original charm and character of a house — here, we explain how to restore an old staircase sensitively
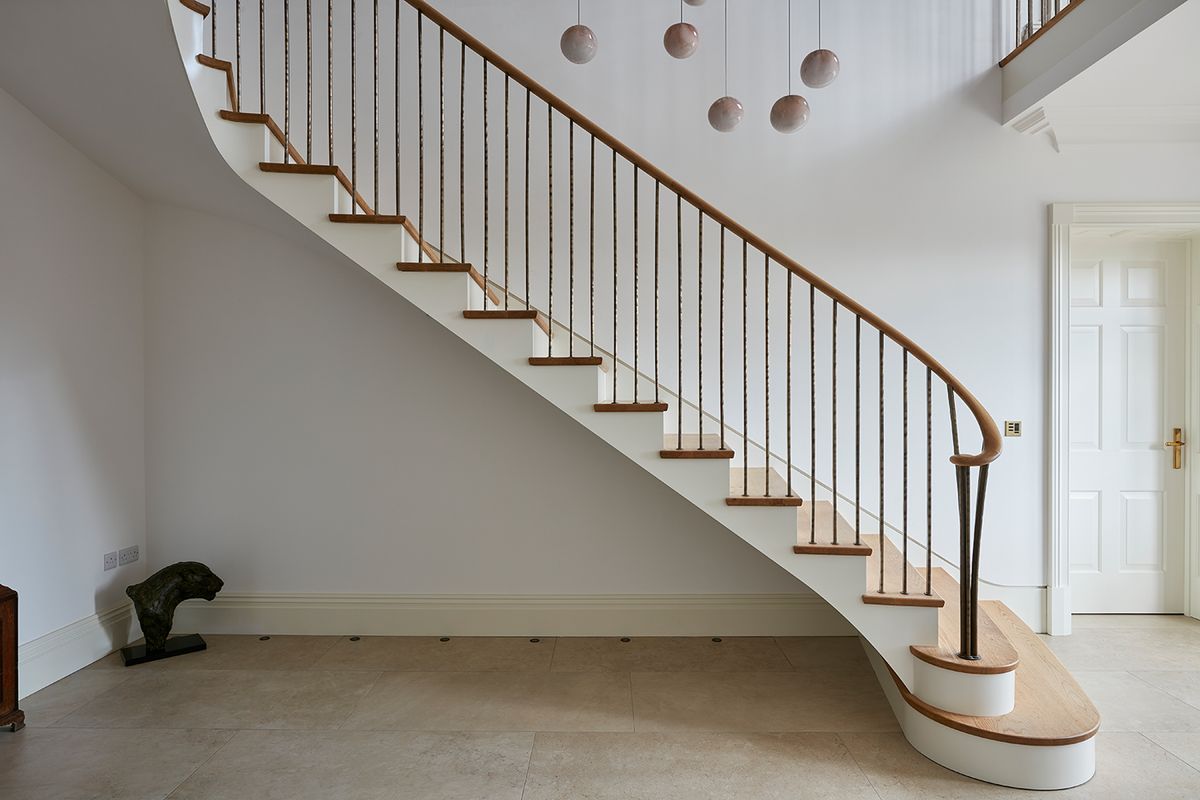
Renovating a staircase is something that many people modernising period properties will have to take on. As with any original feature, it is always better to repair rather than replace and, thankfully, in the case of staircases, issues brought on by old age are rarely structural.
One of the other main advantages of renovating a staircase rather than buying a new staircase design is that a replacement will need to conform with Building Regulations which can throw up all sorts of complications.
The most common problems with old staircases include worn treads, broken or loose banisters and spindles, noisy creaks, unsympathetic ‘updates' and missing parts, such as stair rods and brackets.

Building Regulations for Renovating a Staircase
When it comes to renovating a staircase, the regulations are different to those associated with new staircases, where Building Regulations require they have:
- a maximum pitch of 42°
- a minimum 2,000mm of clear headroom above the pitch line
- a minimum going (tread width) of 220mm
- a maximum rise (vertical aspect of each stair) of 220mm
In addition, no opening, either in the stair construction or between balusters, can be greater than 100mm. As a result, it may be difficult to accommodate a staircase of modern construction in a space occupied by the existing staircase.
Renovating Damaged Stair Treads
Damaged stair treads are a very common problem — but, thankfully, also an easy one to put right.
Many old staircases were made from separate treads and risers making them fairly straightforward to disassemble. In the case of tread repairs, it is a good idea to remove the tread in question where possible to carry this work out.
The damaged area of stair tread can then be carefully cut away and a new piece of softwood spliced in. It is also a good idea to fix little timber bearers underneath the patched areas, to provide extra support.
The new tread will then need to be shaped and sanded — and any screw holes filled.
Commonly, the ‘nosing’ or front edge of the tread will become so worn over time that it splits. In this case, it can usually be easily removed by sawing or chiselling across the width of the stair. A joiner or stairpart specialist can then create a new section to take its place.
The surface of your new tread might require a little shaping – to avoid unnecessary ridges — prior to re-fitting. The ideal tool for this is a sharp spokeshave and careful working should give a close perimeter fit to enable effective gluing.
If you use screws, these should be countersunk below the surface to allow for filling and painting. Alternatively, use short connecting timber dowels to add strength.
Renovating a Creaking Staircase
Creaking staircases are not only irritating (and a tiny bit creepy) but can also be a tell-tale sign that the timbers within are rubbing together.
In order to identify where the creak is originating it will help if you are able to access the underside of the staircase. If there is an obvious gap between the timbers then a simply screwing the gap back together may suffice.
Sometimes, staircase creaks will be coming from the junction between the tread and riser. In this case, use a thin strip of wood, shaped to taper at one end, and glue it so that it fills the gap — hammer into place and do not use the staircase until the glue has fully set.
Renovating Stair Spindles
Splits in timber balusters or spindles are common on old staircases. In most cases, it is easy to remove individual spindles requiring repair. Spindles were usually nailed into the handrail and baserail, or slotted firmly into fillets of wood.
Superficial cracks and splits are usually not hard to deal with — you can simply use a strong adhesive to bring the split together, clamping it until it is fully set.
Where splits are very wide or the spindle has completely snapped and cannot be glued back together, a replacement spindle will be necessary.
There is a huge range of spindles in all kinds of styles designed to mimic period designs. These can be bought either from staircase specialist or DIY warehouses. If an exact match cannot be found, a skilled joiner or woodturner will be your best option.
An off-the-shelf baluster will probably need to be trimmed to fit your staircase, but do make sure that any carved sections in the design match up to the existing spindles before trimming and setting in place.
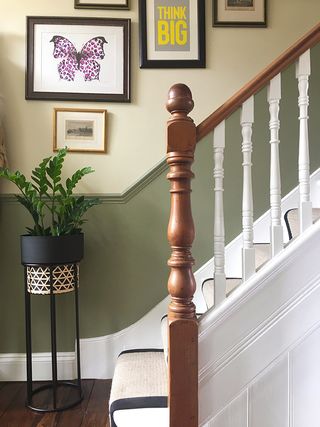
Renovating Loose Handrail or and Newel Posts
Handrails and newel posts are the part of the staircase that tend to get pulled and swung on the most and can come loose over time.
If they look structurally sound, then it is usually enough to check the screws or fixings that are holding them in place before tightening or adding new fixings.
Get the Homebuilding & Renovating Newsletter
Bring your dream home to life with expert advice, how to guides and design inspiration. Sign up for our newsletter and get two free tickets to a Homebuilding & Renovating Show near you.
Natasha was Homebuilding & Renovating’s Associate Content Editor and was a member of the Homebuilding team for over two decades. In her role on Homebuilding & Renovating she imparted her knowledge on a wide range of renovation topics, from window condensation to renovating bathrooms, to removing walls and adding an extension. She continues to write for Homebuilding on these topics, and more. An experienced journalist and renovation expert, she also writes for a number of other homes titles, including Homes & Gardens and Ideal Homes. Over the years Natasha has renovated and carried out a side extension to a Victorian terrace. She is currently living in the rural Edwardian cottage she renovated and extended on a largely DIY basis, living on site for the duration of the project.


