Learn how to lay decking to give your outdoor space a new lease of life
Get expert insight on how to lay decking in this easy-to-follow step-by-step guide
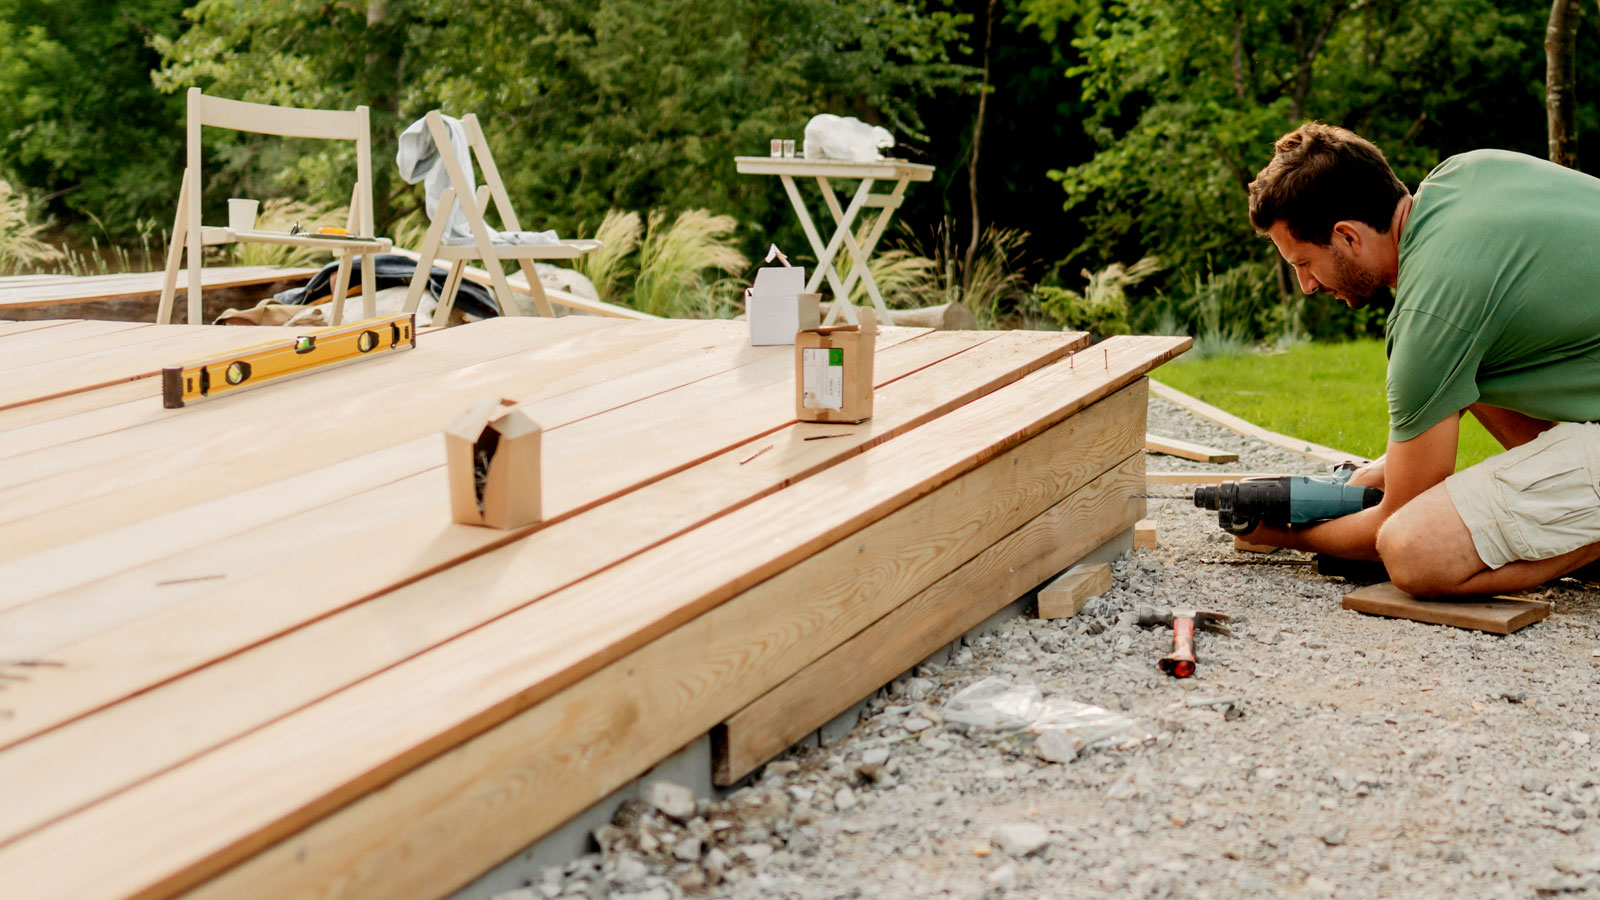
Knowing how to lay decking means you can make some serious savings on labour costs. If you’re a regular DIYer, a straightforward deck is an achievable, low-cost project. You just need to make sure that you have the right tools to get the job done.
Planning your garden decking ideas is part of the process. Work out where you want your decking to go and how much material you will need to finish the deck. Double-check measurements to ensure you are ready to build your deck.
Here we guide you through the steps you need to take to build a smart-looking deck.
Tools and materials to lay decking
Creating a decked area can be quite heavy in its use of materials. For example, this 4.5 x 3.3m deck project took:
- 48 linear metres of wood
- 36 deck boards
- 800 screws
As a rough guide, materials for a similar project will cost around £1000 upwards. Plus, think about the costs of tools if you don't already own them.
Tools you'll need to lay decking
- Tape measure
- Drill
- Jigsaw (like this Worx 550W Jigsaw from Amazon)
- Hammer
- Nail gun (optional)
- Spirit level (like this Stabila 70 Single Plumb Box Section Spirit Level Set from Amazon)
- Screwdrivers
- Battery drill/ screwdriver
- Workbench (like this WORX Pegasus WX051 Versatile Multi Function Folding Work Table & Sawhorse from Amazon)
- Gloves
- Mitre saw
Materials you'll need for laying deck
- Weed control fabric
- Wood for framework
- 50mm number-8 decking screws
- 100mm nails or nail gun ‘clips’
- Wood preserver
- 25mm x 50mm wood for stakes
- Decking
- Slabs
Best wood for decking

Thomas Oldham has spent the past four years using his expertise of working in the engineering and construction industry for over a decade to develop the UK Construction Blog - a leading online platform dedicated to empowering individuals and businesses in the construction industry.
There’s a lot to choose from when it comes to decking, offering different costs and durability. At the budget of the market, you’ll find softwood, as Thomas Oldham, co-founder of UK Construction Blog, shares, “Treated softwood is the most affordable option, typically starting at around £1350 for a small deck.” He adds, “While it’s easy to find and cost-effective, it does require regular maintenance.”
For a longer-lasting wood, you need to consider hardwood, but it will be more expensive, as Oldham explains, “Hardwood, such as oak or teak, offers a more premium look and is more durable, with prices starting at £1,950 for a small deck.” An alternative to wood is composite decking, like this Tuda Grass Direct Composite WPC Decking from Amazon. Oldham says, “It’s durable with minimal upkeep.” He adds, “It comes with a higher price tag, but it requires less maintenance and will last longer.”
Which you choose will depend on your budget, continues Oldham, “For those on a tight budget, softwood is the most economical choice, but if you’re aiming for longevity and low maintenance, hardwood or composite are better investments in the long term.”
Steps to lay decking
1. Decide deck location
Work out where you want to build the deck and compress any loose soil with a thumper or a heavy roller.
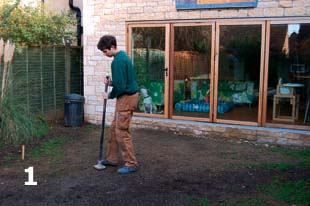
2. Install weed membrane
Lay weed-control fabric over the whole site to stop unwanted greenery from poking through and ruining the finished appearance of your decking.
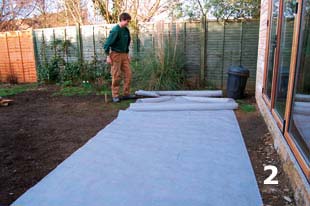
3. Lay foundations
Lay concrete slabs at the corner and centre points of the space you want to deck. The slabs provide a solid, load-spreading foundation for the deck and keep the wooden frame clear of damp ground. Put a straight piece of wood on top of the slabs and check for level. Get the level as close as you can now by adding more slabs, if necessary.
Other options for this foundation part of the job include concreting pressure-treated wooden posts in the ground at regular intervals to support the frame. This is particularly useful for creating a level deck on a sloping site. Dedicated deck blocks that are slotted to take the joists of the frame are also available.
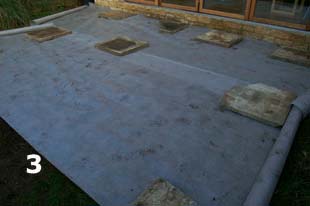
4. Build box frame
Make up a simple box frame that will allow the decking to overhang by the thickness of a board at each edge (around 32mm, but check the thickness of the boards you are using).
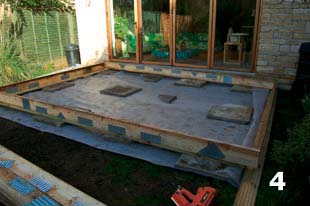
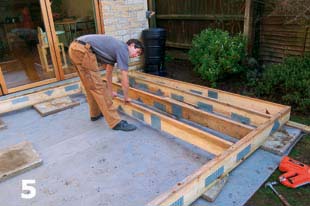
5. Lay joists
Lay the joists inside the frame so that they have 400mm gaps between them.
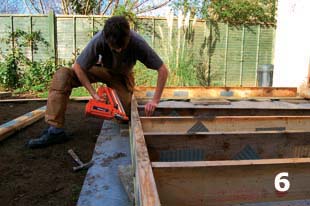
6. Nail joists
Nail the joists in place. A nail gun (like this Erbauer 18V Li-ion EXT Cordless Nail gun from B&Q) comes in very handy for this part of the job. Most tool hire outlets stock them if you don't own or want to invest in one.
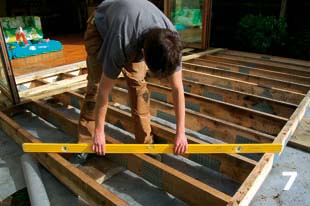
7. Level deck frame
Once the main frame is built, check it for level. If the frame needs lifting by a small amount to make it level, sections of slate or even floor tile can be inserted where necessary.
8. Steady deck frame
Make up some 600mm pointed stakes from 25mm x 50mm timber. Treat these with a couple of coats of wood preserver and hammer them in at eight inside corners around the frame. Screw through the stakes into the frame to prevent the structure moving around.
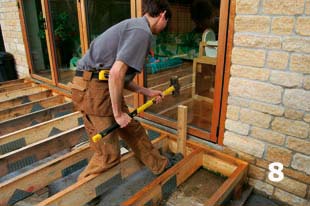
9. Fit noggins
Now measure, cut, and fit noggins staggered along the centre line of the frame. These provide extra strength.
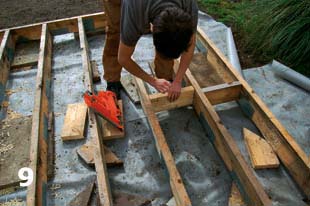
10. Add mitre cuts
For this project, we decided to run the outside edges at 90 degrees to the main decking planks that were to run parallel with the back of the house. To get this attractive effect to work well, you’ll need to mitre the point where the decking planks meet. A manual mitre saw (like this Stanley Clamping Mitre Box and Saw from Amazon) is cheap and easy to use.
Lay the planks roughly in position before you cut them and then put a pencil line across the plank in the direction you want the mitre to be. Set the saw to 45 degrees and make sure it is pointing in the same direction as the pencil line; insert the plank and cut. Repeat for the adjoining plank.
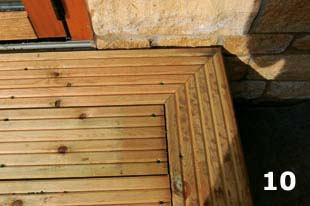
11. Fix decking planks
11. With the inner corners mitred, you can now start to lay the decking planks. Fix the planks 5mm apart with two screws at each joist.
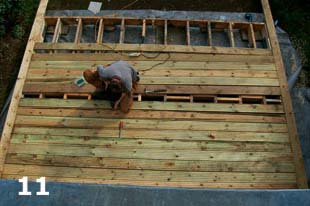
12. Sort outside corners
Once the decking planks are fixed, mitre the outside corners using the method described in step 10. Plane and sand a rounded edge on the outer corners.
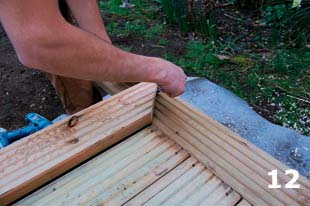
13. Fix plank fronts
Fix a decking plank to the front, back (if seen) and sides of the frame. The face of this plank should fit flush with the edge of the outer panels.
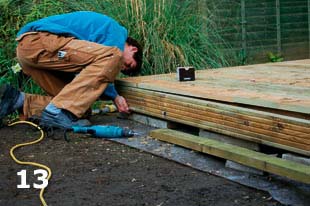
14. Add steps (if needed)
If there’s a big drop off the deck onto the garden, you can easily add a step. Make up a framework wide enough to take two decking planks. If you want to face the vertical part of the step with decking, reduce the width of the frame by the thickness of the deck plank you are using.
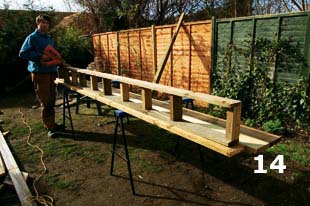
15. Level and fix frame
Level and fix the frame all round the deck.
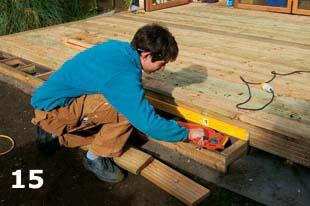
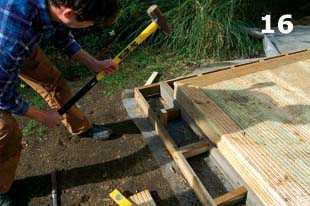
16. Install stakes
Make up stakes (see step 8) and hammer in place. Screw through to the frame to secure the framework.
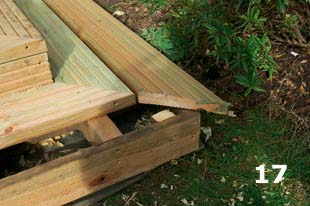
17. Finish up
Mitre and lay the decking planks for the steps and fix in place with two screws at every joist. Finally, screw decking panels to the front face of the step to create a neat finish.
With a new deck in place, you need to think about how to finish it and look after it. Check out our best decking paints and painting decking guides to give a deck the finish it deserves. To keep it looking good, check out our decking maintenance tips.
Get the Homebuilding & Renovating Newsletter
Bring your dream home to life with expert advice, how to guides and design inspiration. Sign up for our newsletter and get two free tickets to a Homebuilding & Renovating Show near you.
Ben is a writer and a keen DIYer, and has undertaken a multiple of tasks from installing loft insulation, tiling, painting windows to fitting garden fences and reviving period fireplaces. He has also converted his loft on a DIY basis.
