How to Build a Roof: A Step-by-step Guide
This step-by-step guide shows how to build a roof including installing underlay and battens and finishing the roof with tiles, verge units and ridge system

Want to learn how to build a roof in order to keep costs under control on your self build project? While it's not a job for a DIY novice, it could be done by a more seasoned DIYer.
This step-by-step guide demonstrates how to build a gable to gable (also know as an up-and-over or duo pitch) metric roofing system. Either read the steps below or watch the how-to video featuring Mat Woodyatt, Training Manager at Redland Roofing.
Tools You Will Need to Build a Roof
- Tape measure
- Chalk line
- Claw hammer
- Cordless drill
- Scissors or cutting pliers
How to Build a Roof: Video Guide
How to Build a Roof: Step by Step Guide
Taking on any DIY task that is beyond your capability can not only be dangerous but can also cost you more money in the long run. If this task is not within your skillset, then it should be left to the professionals.
Step 1: Installing the Low Level Ventilation System
There are a number of ways to ventilate a roof, but here we demonstrate the installation of a combination of low level (installed at the eaves) and high level (installed at the ridge) ventilation.
A rafter roll is laid across the eaves and is designed to guide fresh air into the roof and to allow it to circulate around the roof space to prevent damp.
(MORE: What causes damp?)
Make sure the rafter roll comes out above any pre-installed insulation - if not, the insulation will block the airflow and you’ll get condensation.
Bring your dream home to life with expert advice, how to guides and design inspiration. Sign up for our newsletter and get two free tickets to a Homebuilding & Renovating Show near you.
To install, simply tack it to the rafters, starting on the left hand side and working your way across. Avoid too much draping of the rafter roll, but don’t pull it too tight as you will lose the corrugated shape that channels the air flow.
Step 2: Installing the Underlay Support Tray
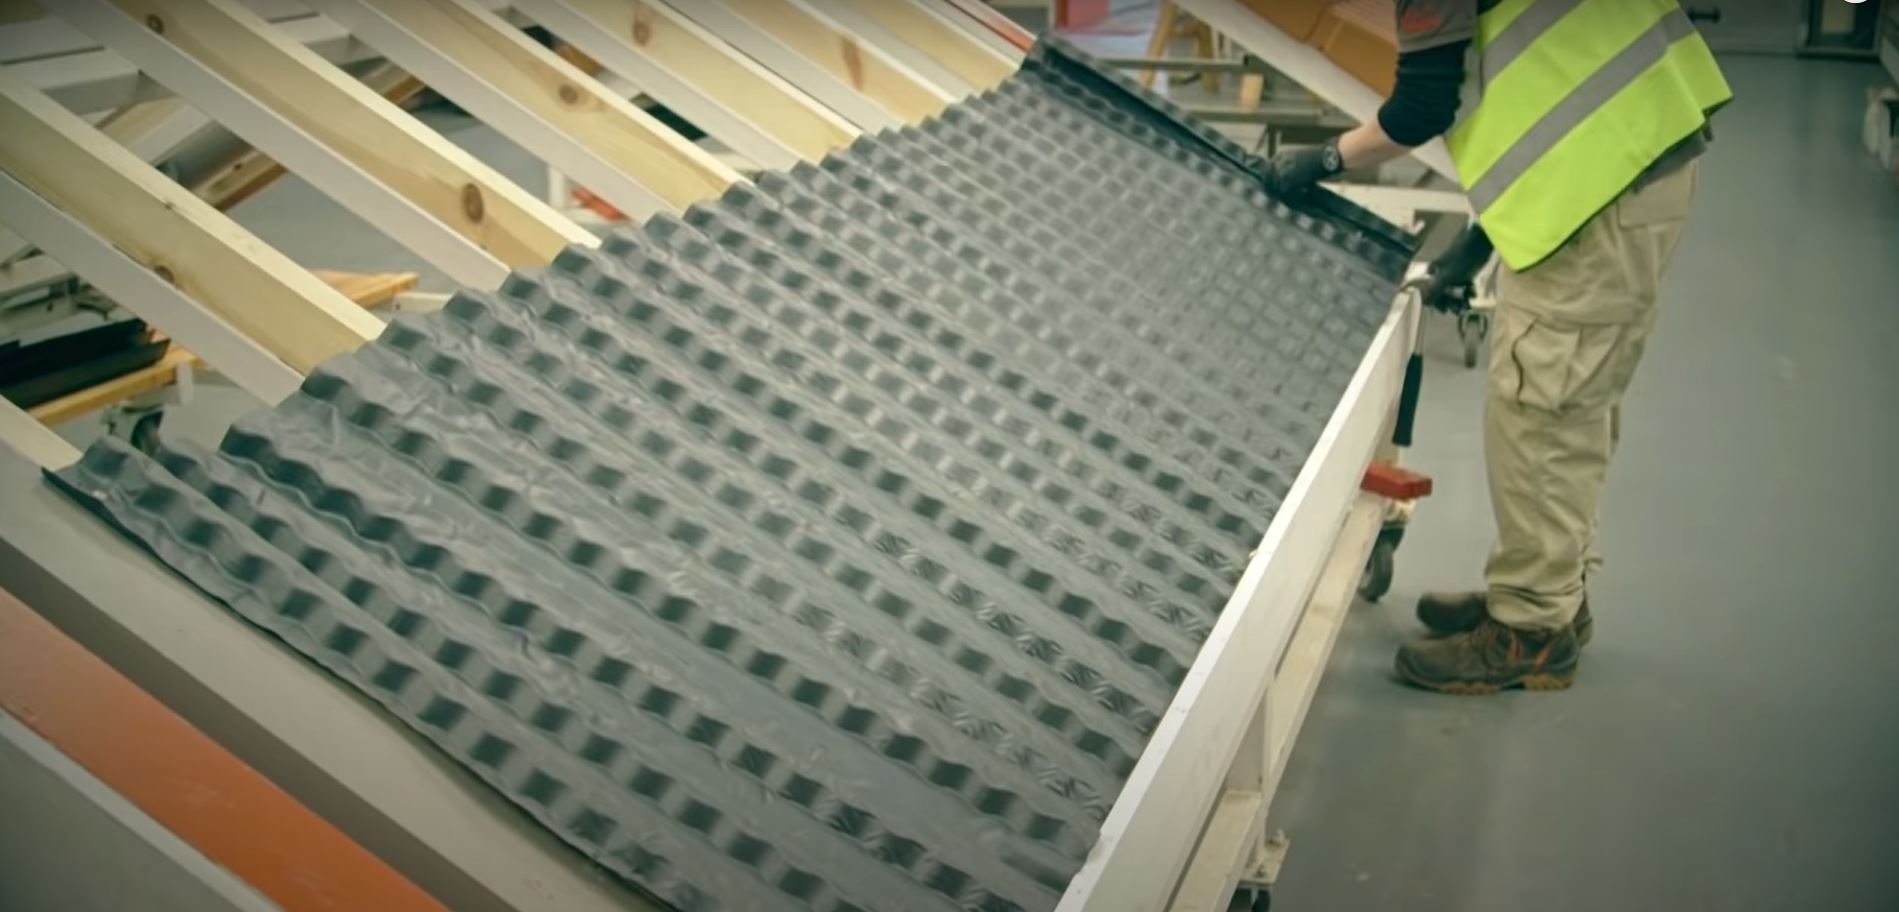
This is the second part of the low level ventilation system. It features an integrated grille to allow air to permeate while preventing debris from entering the roofspace. It’ll also prevent the underlay from sagging into the roof cavity, allowing moisture to enter and causing damp.
To install, position the tray flush against the edge of the bargeboard and make sure the lugs are positioned centrally over the fascia board to allow for secure fixing. Interlock the next tray and repeat across the width of the roof. Trim the final tray to size if necessary.
Step 3: Installing the Underlay
Once the ventilation system is installed, you can move on to the underlay.
Make sure your chosen underlay system meets the Building Regulations requirements for your project.
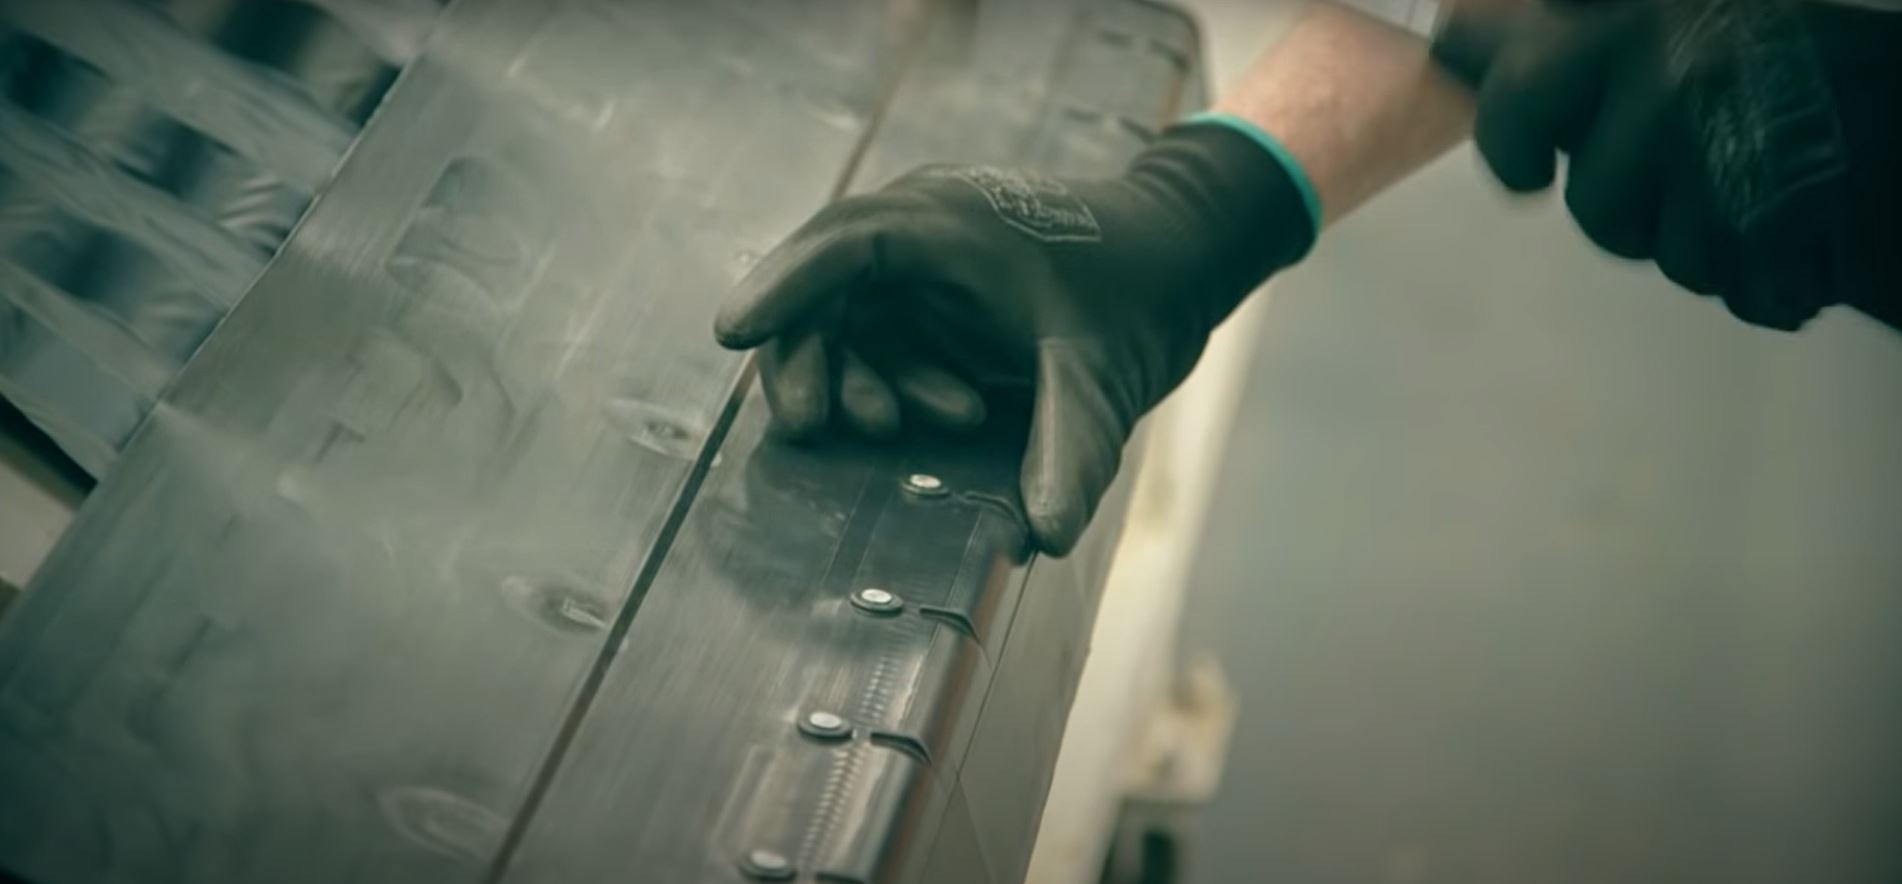
Place a batten along the length of the roof at the top of your underlay support tray and roll your underlay over the top. The batten will prevent the underlay from dropping in between the rafters and can simply slide out after the underlay has been installed.
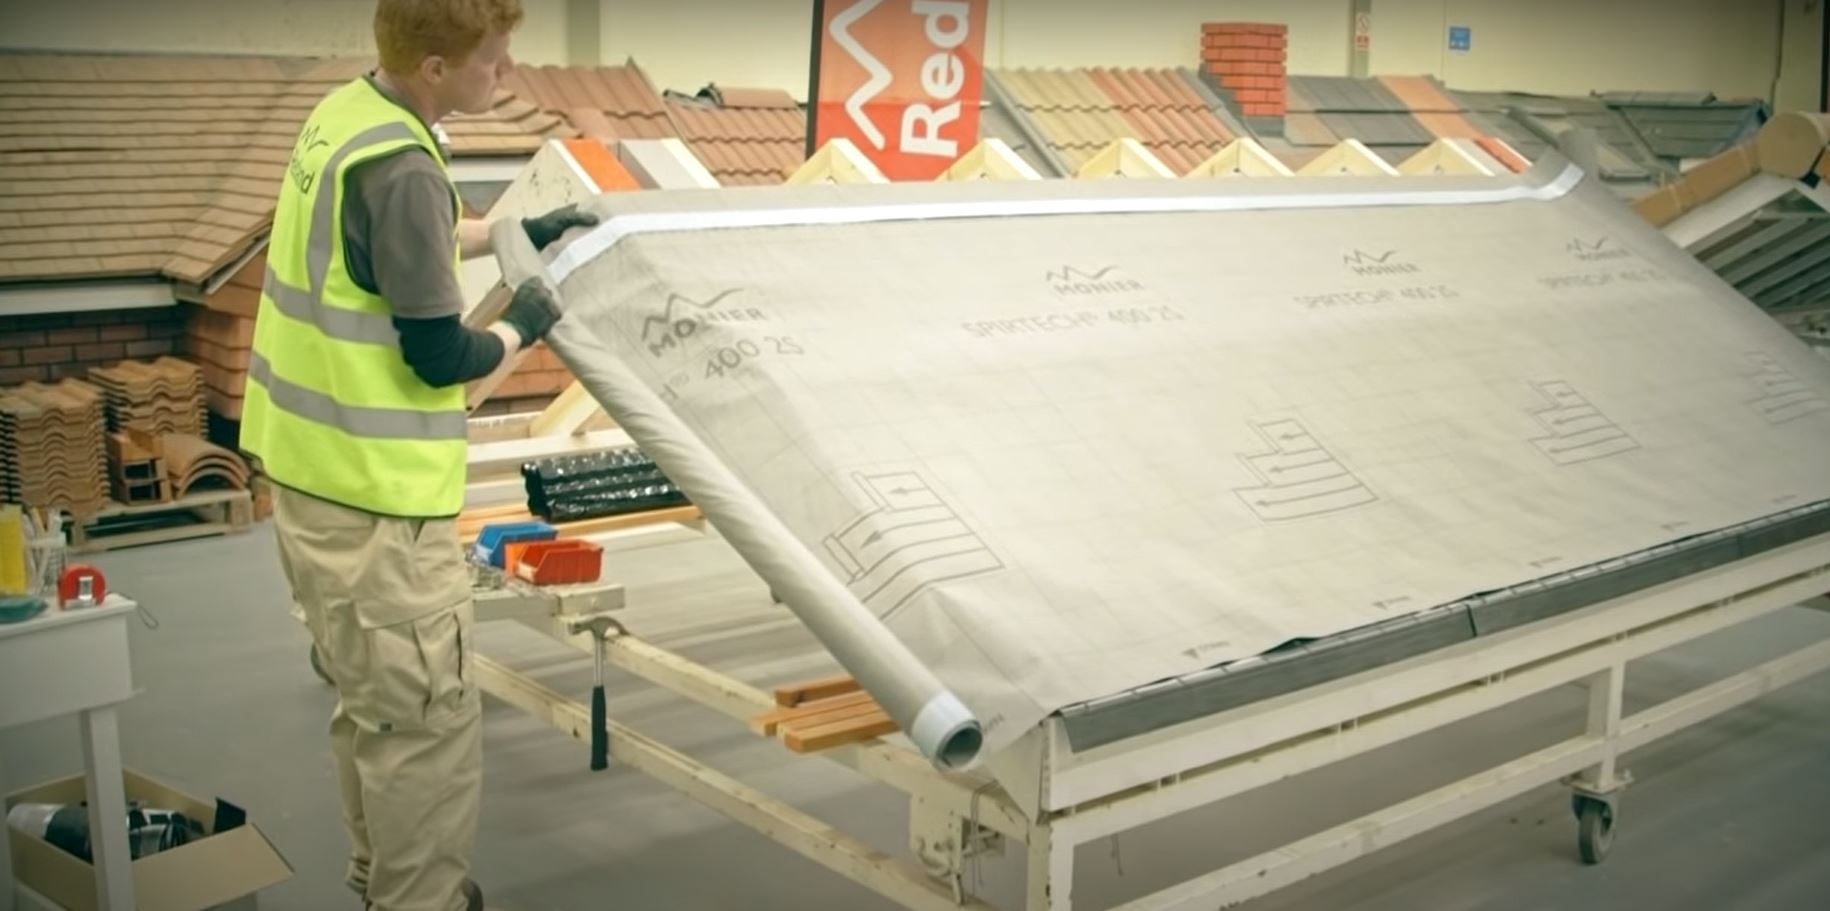
Start on the right hand side of the roof and tack the underlay into place. Roll the underlay across, ensuring that there is some slack in the system (a nominal 10mm drape between the rafters will allow liquid to flow away from the rafters, thus avoiding rot and frost damage).
Depending on your ventilation system, you may need to leave a gap at the ridge of the roof to allow air to circulate effectively.
Step 4: Measuring for Battens and Roof Tiles
You need to determine the first fix point on the roof for your tiles - that’s where the top of your first batten will sit.
Find the hanging length of your tile (ask your supplier if you don’t have this information to hand). Subtract the length of the tile that will overhang the roof (to allow any off-flowing liquid on the roof to flow into the gutter). The result of that calculation is your first fix point where the top of your first batten will sit.
Next, you need to determine your top fix point - this may well be taken from your ridge system of choice (check manufacturer’s guidance). In the video example, this is 45mm down from the apex of the roof.
Then measure between the top and first fix points to determine the space where you need to fit your battens. You should also make a note of the minimum and maximum gauge/batten spacing for the tile to prevent the roof tile from failing.
Calculating how many courses of tiles you will need
Divide the distance between first and top battens by the maximum gauge for the tile and the result (you may need to round up) will tell you how many courses of tiles you need.
To double check the gauge sits between the minimum and maximum requirements, divide the length between the top and first fix points by the number of courses (determined by the previous calculation). This should be somewhere between the minimum and maximum requirements.
Repeat the process on the other side of the roof.
Mark out the fix points on the left and right sides of the roof and use the chalk line to ensure a straight line across the roof. This will be the guide for where the top of each batten should sit.
Step 5: Installing the Battens
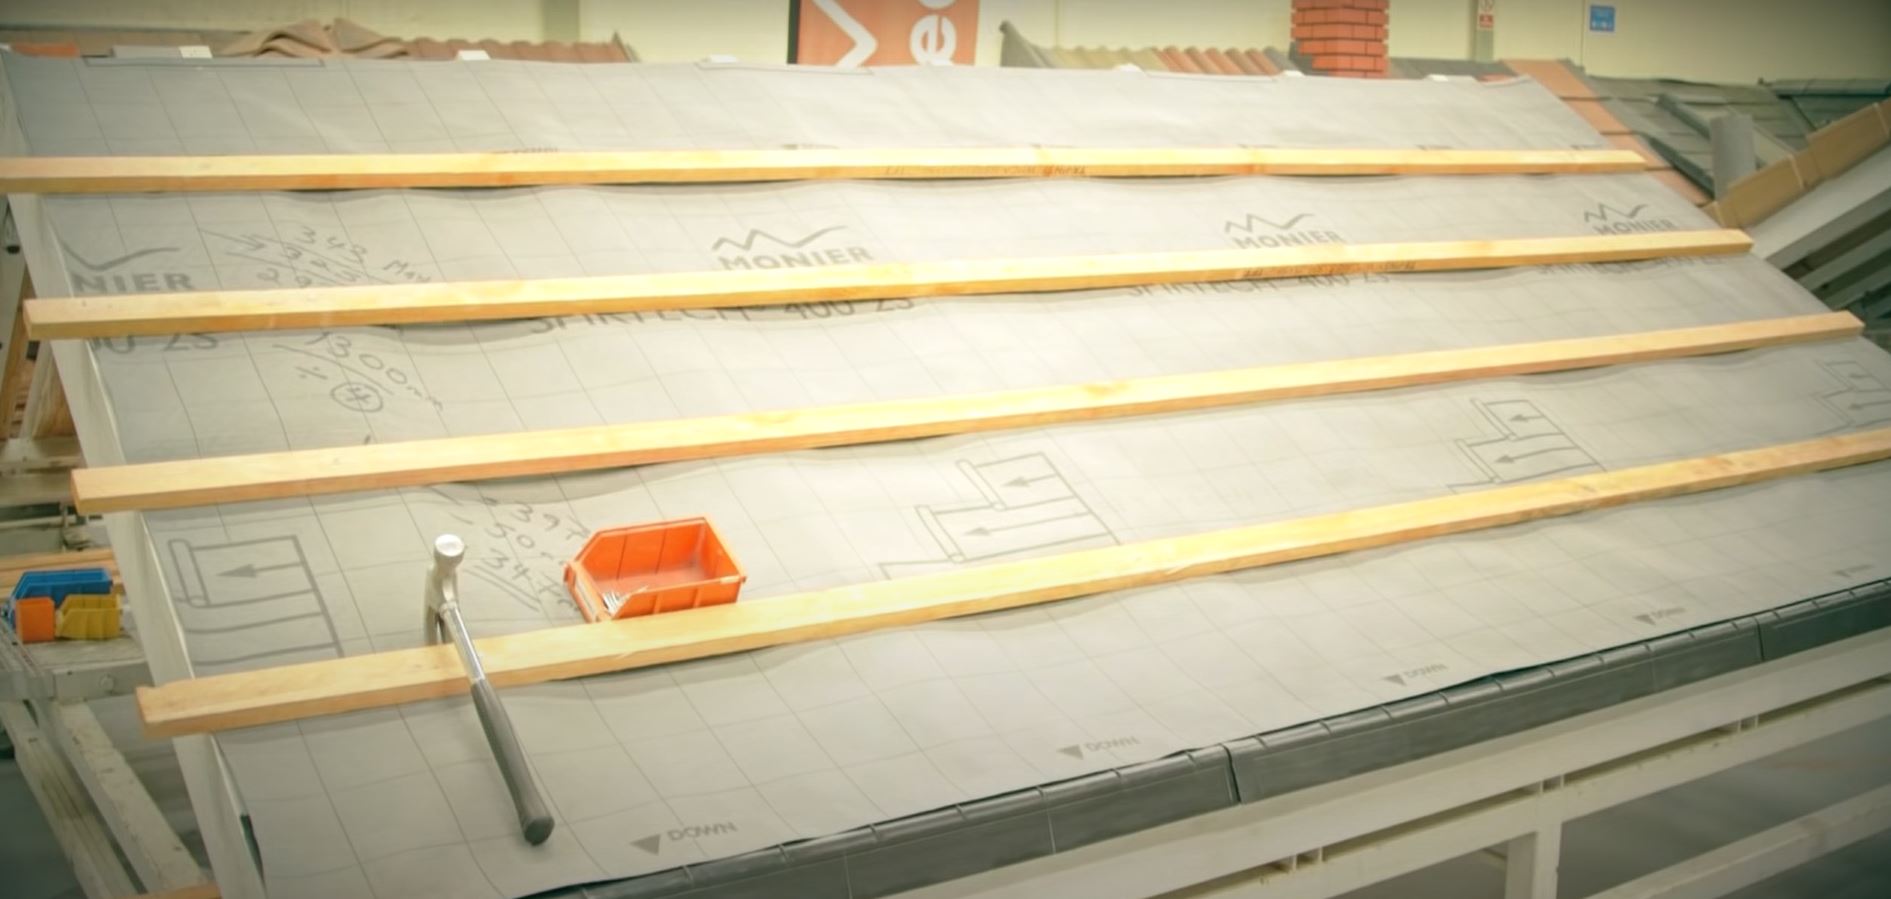
You may need to leave an overhang on one side to install a verge system so make sure this is considered before you start fixing
Make sure you use the right size timber battens for your roof tiles (do check with your supplier if you are unsure). Line up the top of the batten with your chalk line and fix with a nail to every rafter across the length of the roof.
Start at the first fix point and repeat, but leave off the final batten for the time being (this will need to be installed after your ridge batten and over your ridge batten straps.
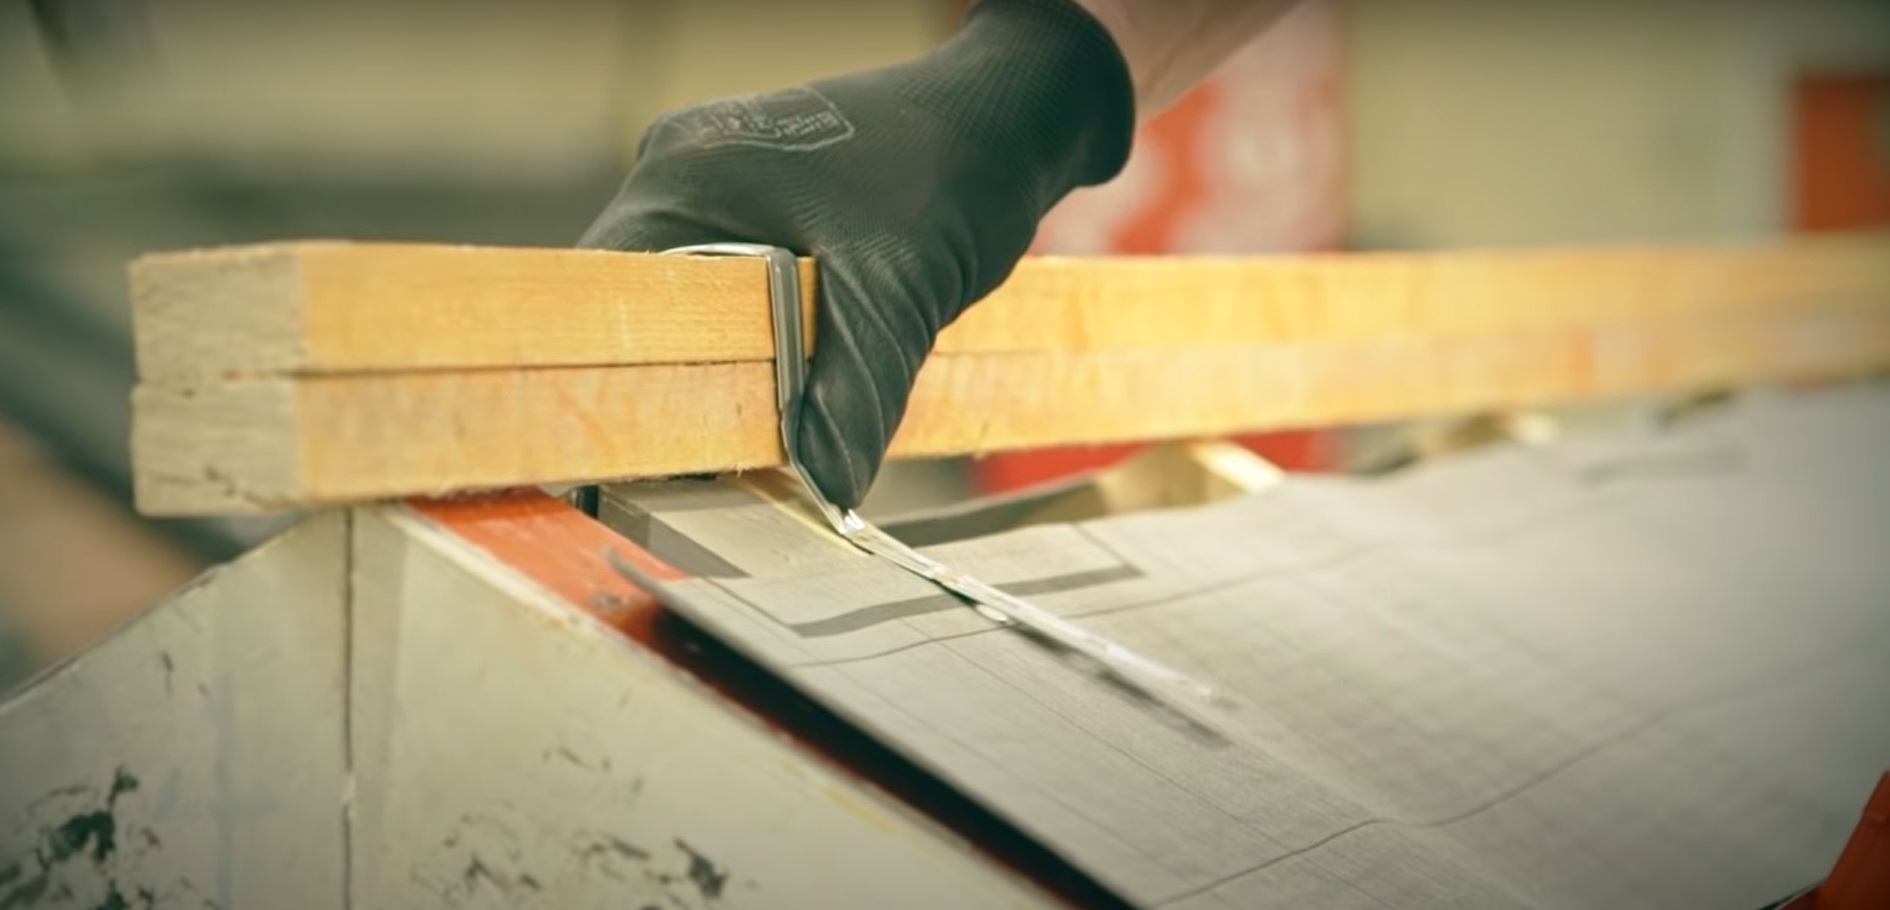
Next, it’s time for batten straps for the top batten. Fold them into shape away from the roof rather than shaping them over the batten at the ridge for the best fit.
Check with your supplier for the height needed for your ridge batten. Fix the ridge batten in place with your batten strap and repeat along the length of the roof, fixing to the rafters as you go.
Then fix your top batten over the batten straps to hold the ridge secure. This is a crucial step to avoid serious roof failure.
Step 6: Laying the Tiles
Lay your first course of tiles in its entirety across the roof. May sure you have a minimum of one fixing (nail or clip) per tile and two fixings per tile around the perimeters. Tile from right to left (based on the interlock of the tile).
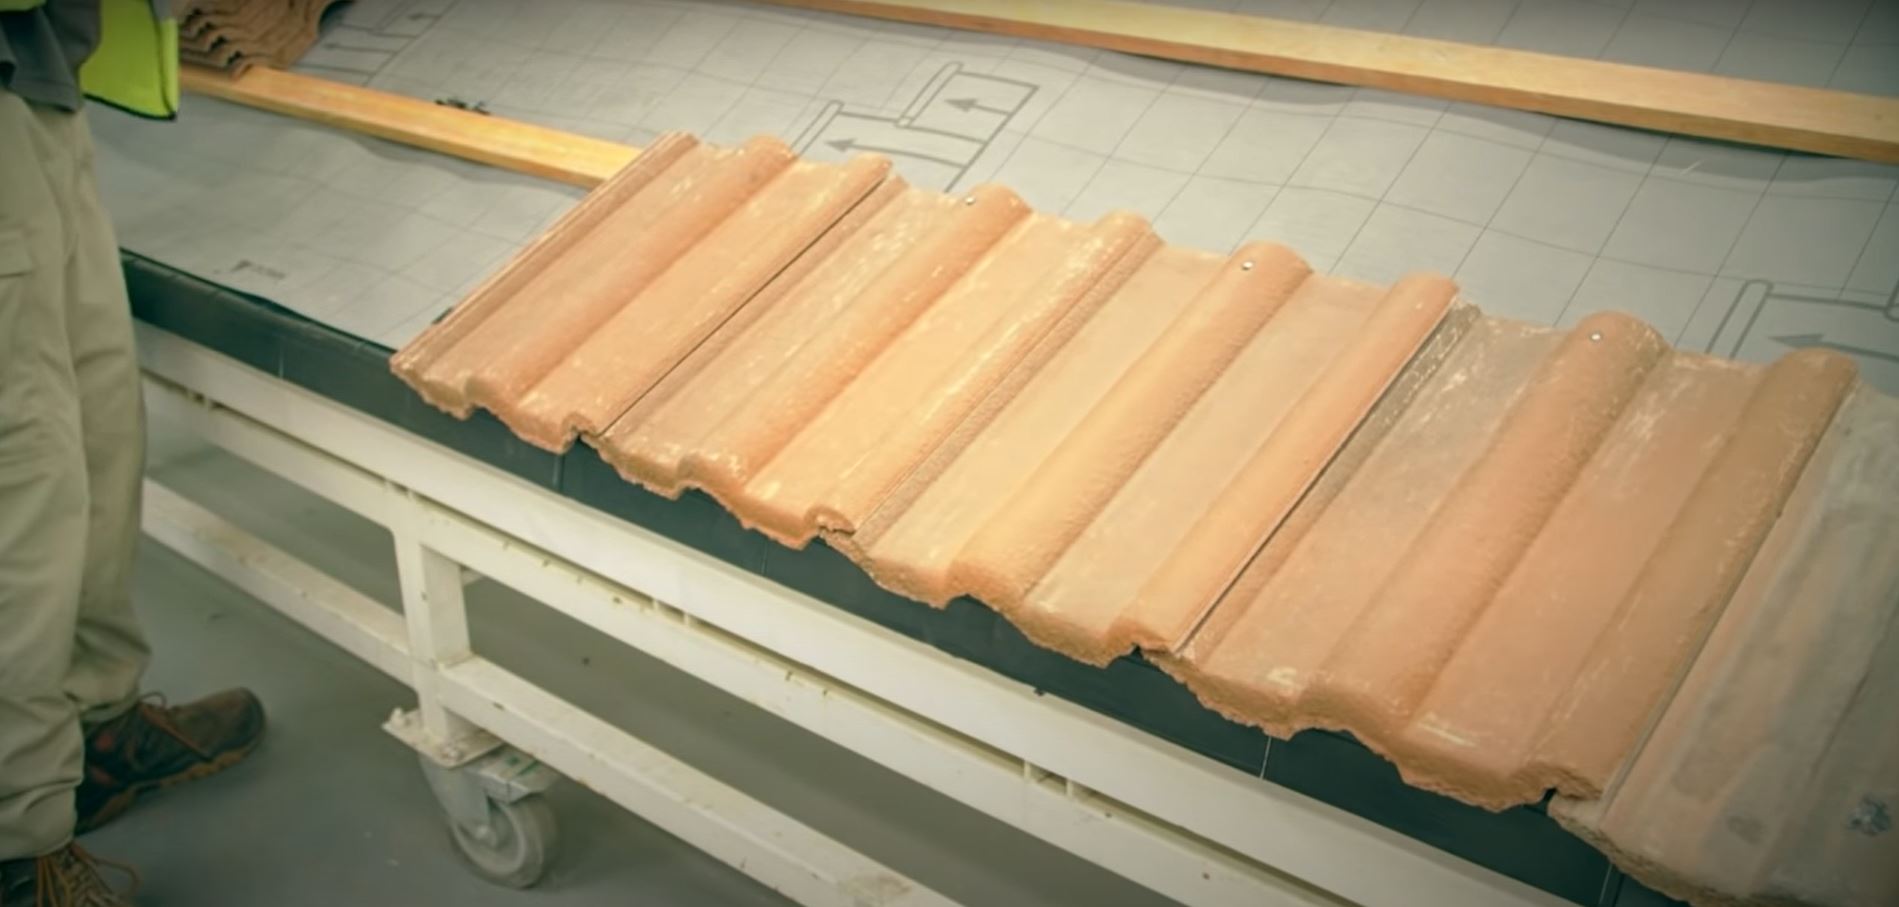
Install your eaves to ridge closure system. This is installed over the edge of the tile and is simply screwed into the bargeboard or fixed with a clip to the top of the fascia.
Finish off by installing the verge units as per the manufacturer’s instructions
Step 7: Installing the Roof Ridge
Lay your breathable ridge membrane in a straight lines across the ridge batten, fixing under the verge system and one end of the roof, before rolling out.
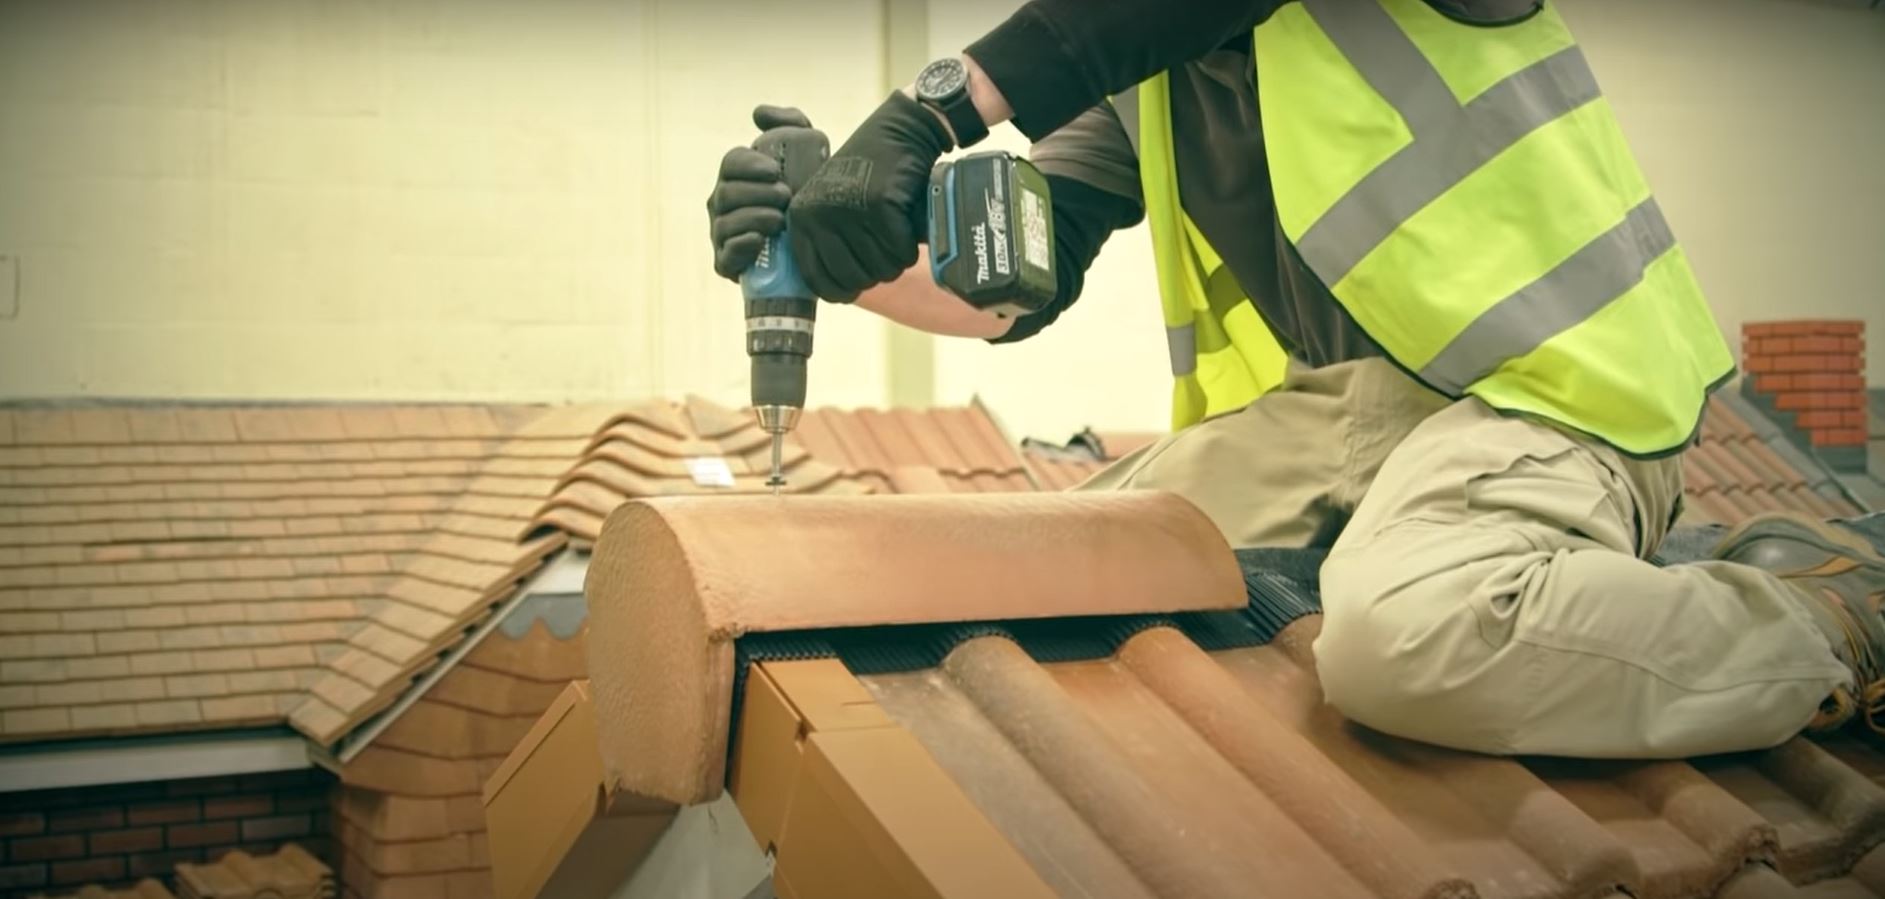
Once secured all the way along the ridge, it’s time to screw the ridge tiles to the ridge batten.
Between the ridge tiles, install a ridge-to-ridge seal to offer a mechanical fix and extra strength to the ridge.
