What is architrave, where is it used and why do you need it?
Exactly what is architrave, aside from an incredibly common feature in most houses? If you, like many others, are confused by the term and its purpose, we are here to explain all
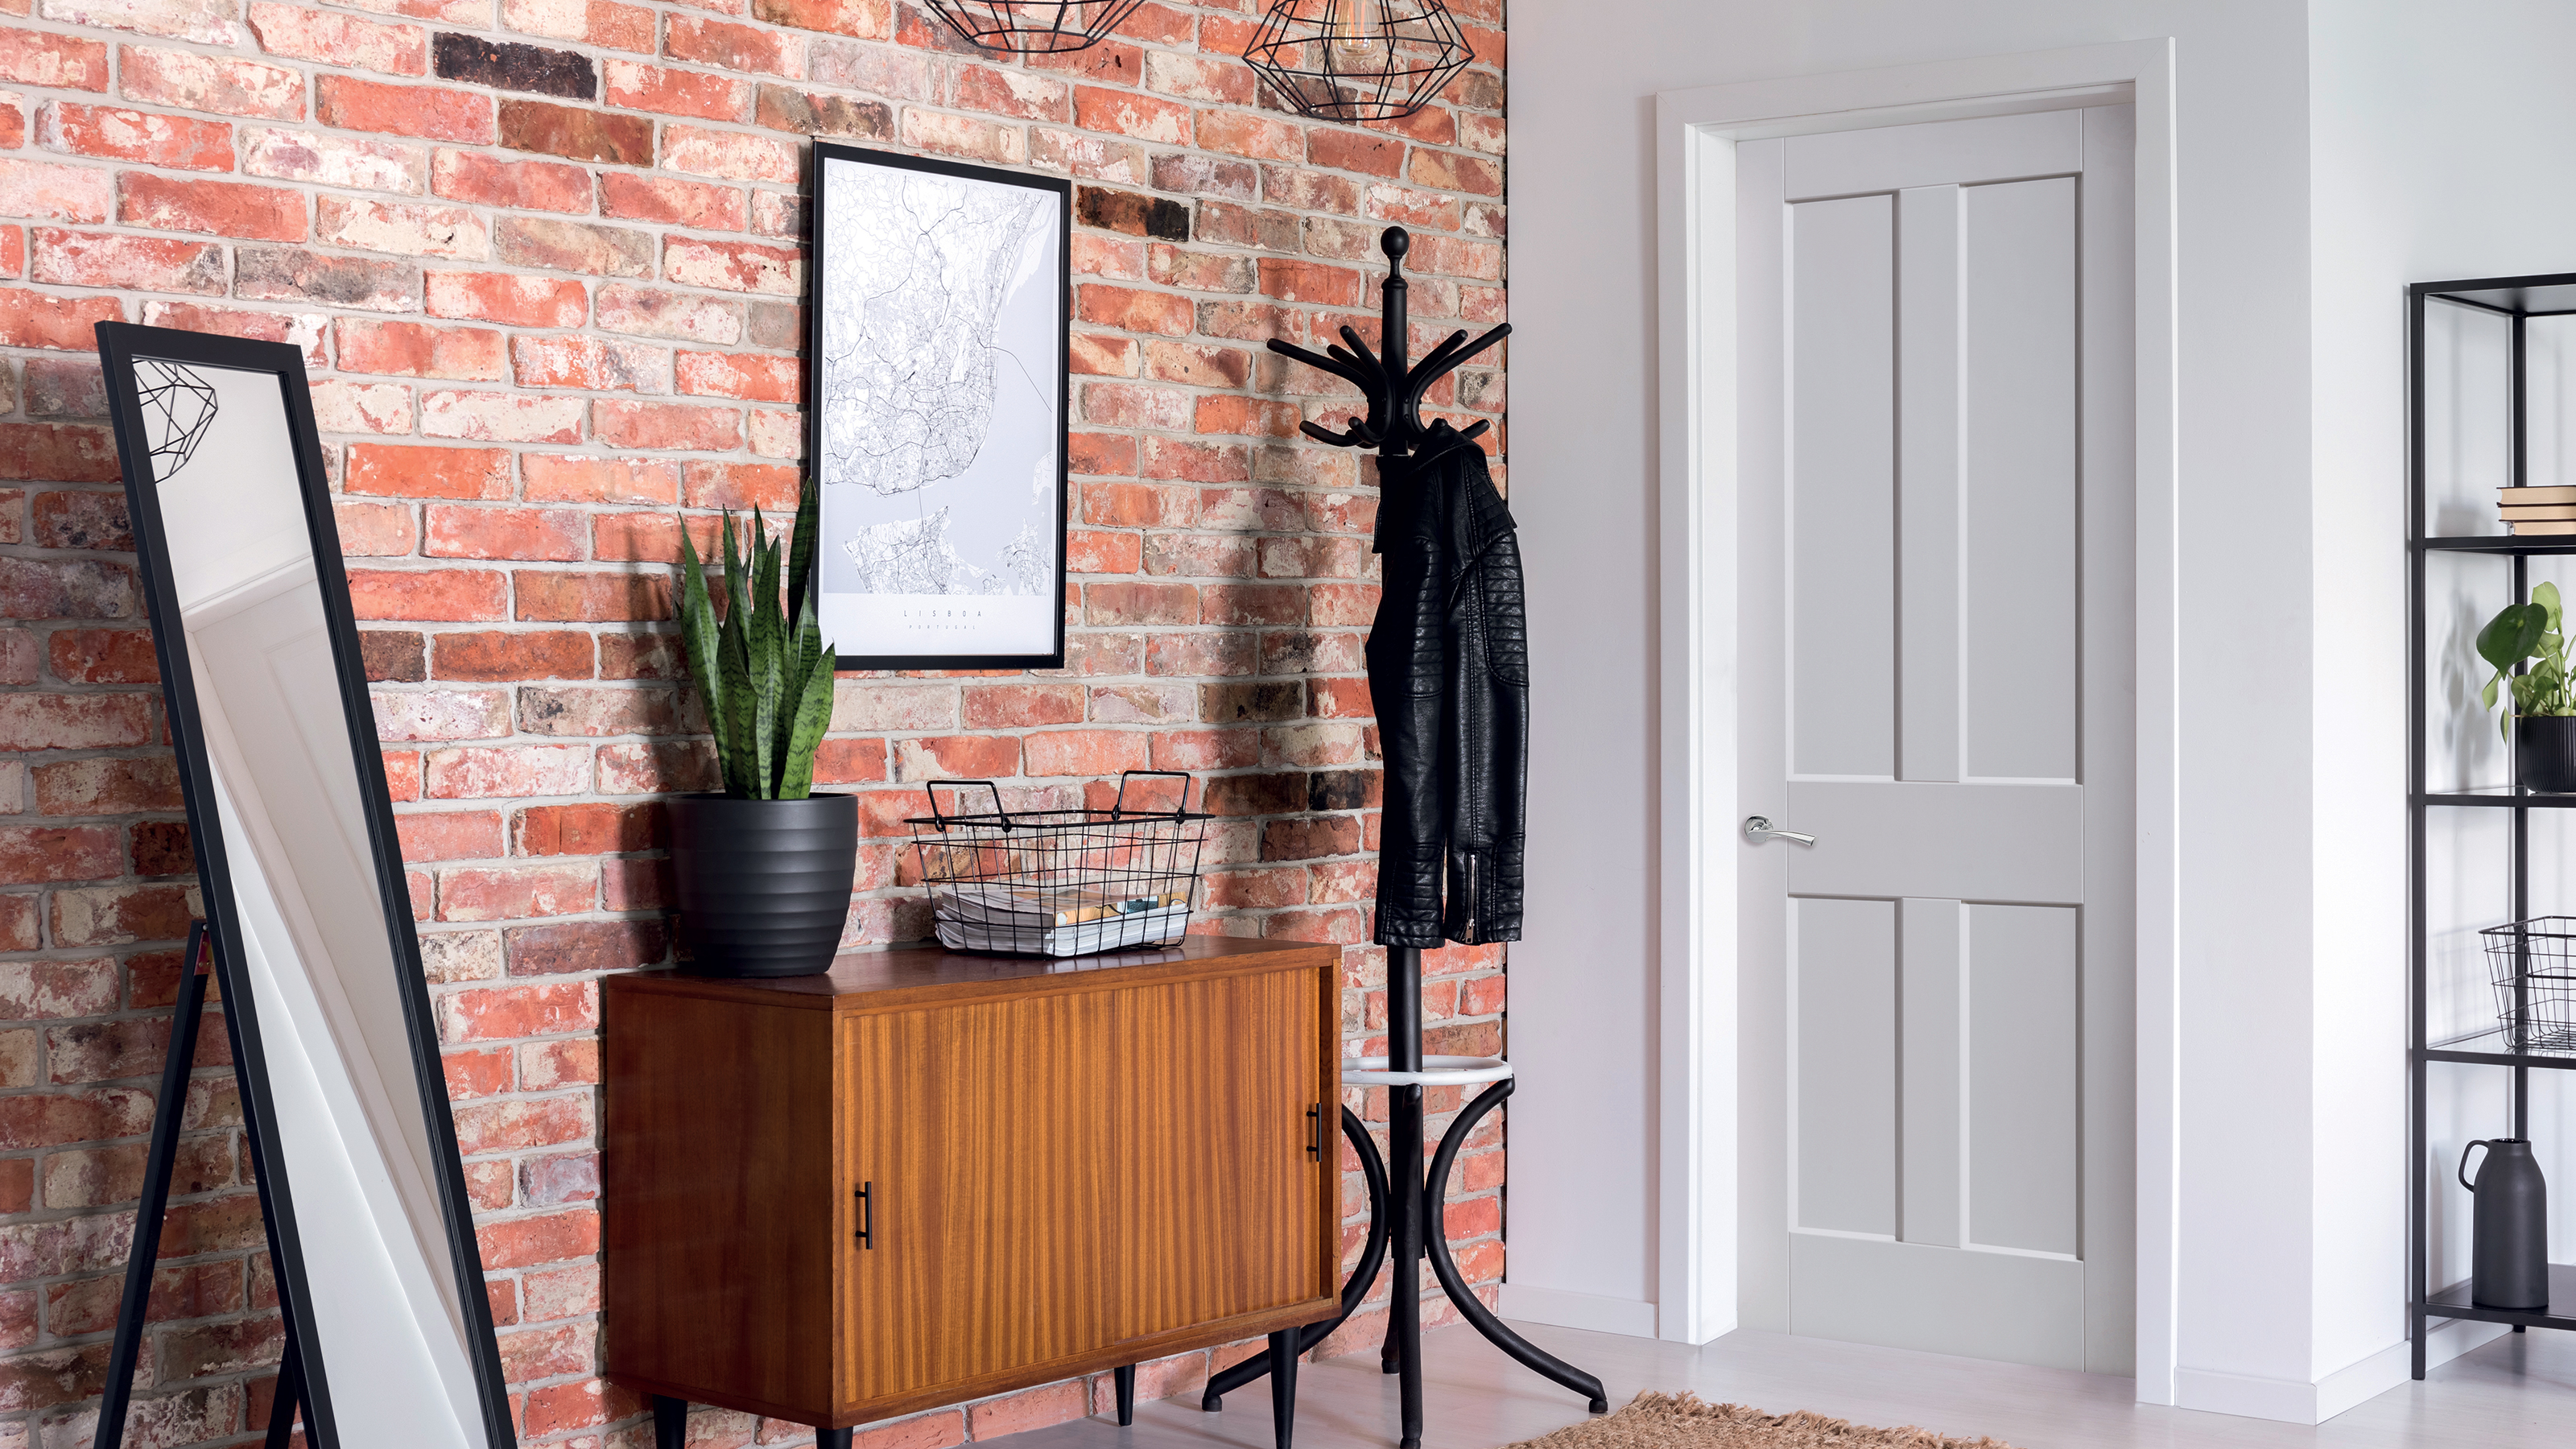
Just what is architrave? We might all be familiar with the term and probably walk past it in our homes every day, but it is amazing how many of us would struggle to identify it if asked. Do you know what it is used for and why we need it? If not, then don't worry — our handy guide is here to change that.
Architrave falls into the category of 'mouldings' — decorative sections or strips that are used to conceal the junctions between surfaces, such as walls and ceilings or floors, in a more visually pleasing way.
Here, we take a look at the purpose of architrave, how to use it in your home and the various options available, so that you can be sure no matter what style of house you have, your finishing touches will do it justice.
What is architrave and where does it go?
As we mentioned before, architrave is a form of interior moulding — those little timber (or plaster) strips or sections that cover up the otherwise messy joins between surfaces.
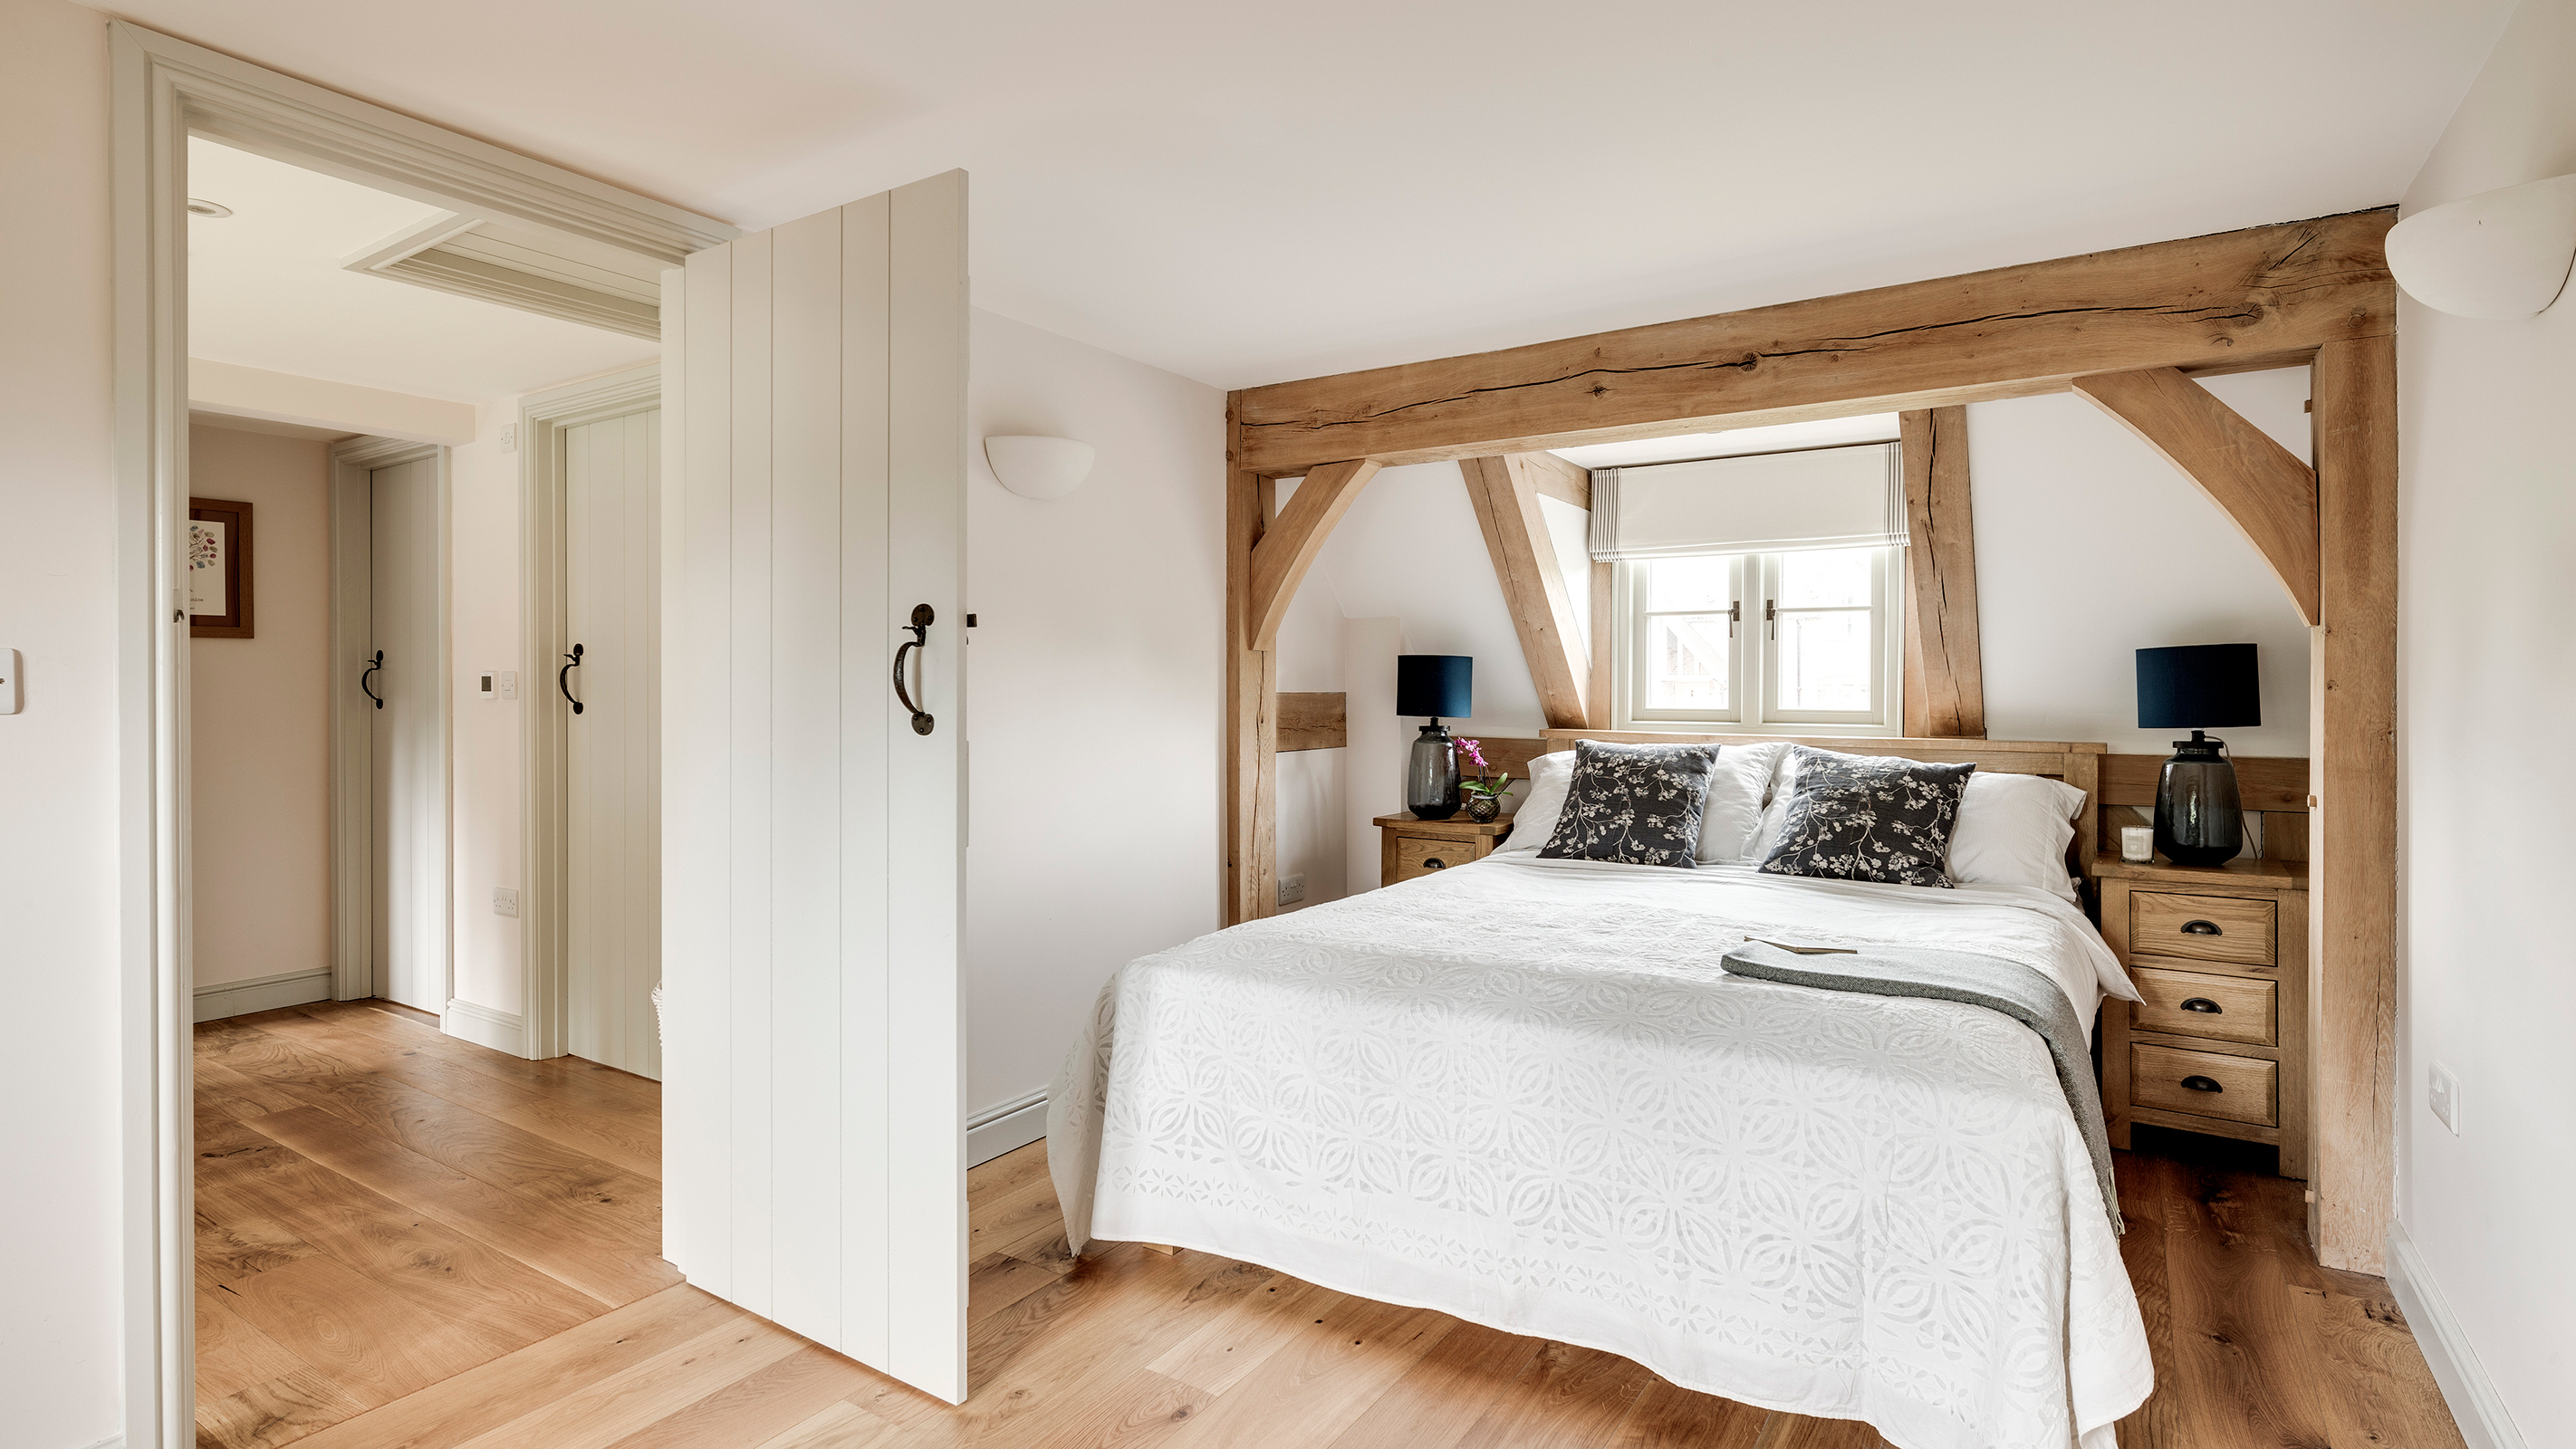
In the case of architrave, this is the strip of material (usually timber) that covers the join between door frames and the walls. Not only does it hide the join, it will also conceal future movement or shrinkage that may occur between the wall and the casing within the door surround.
Architrave is used for internal doors, external doors and also around windows and built-in cupboards — and can even be used to smarten up loft hatches.
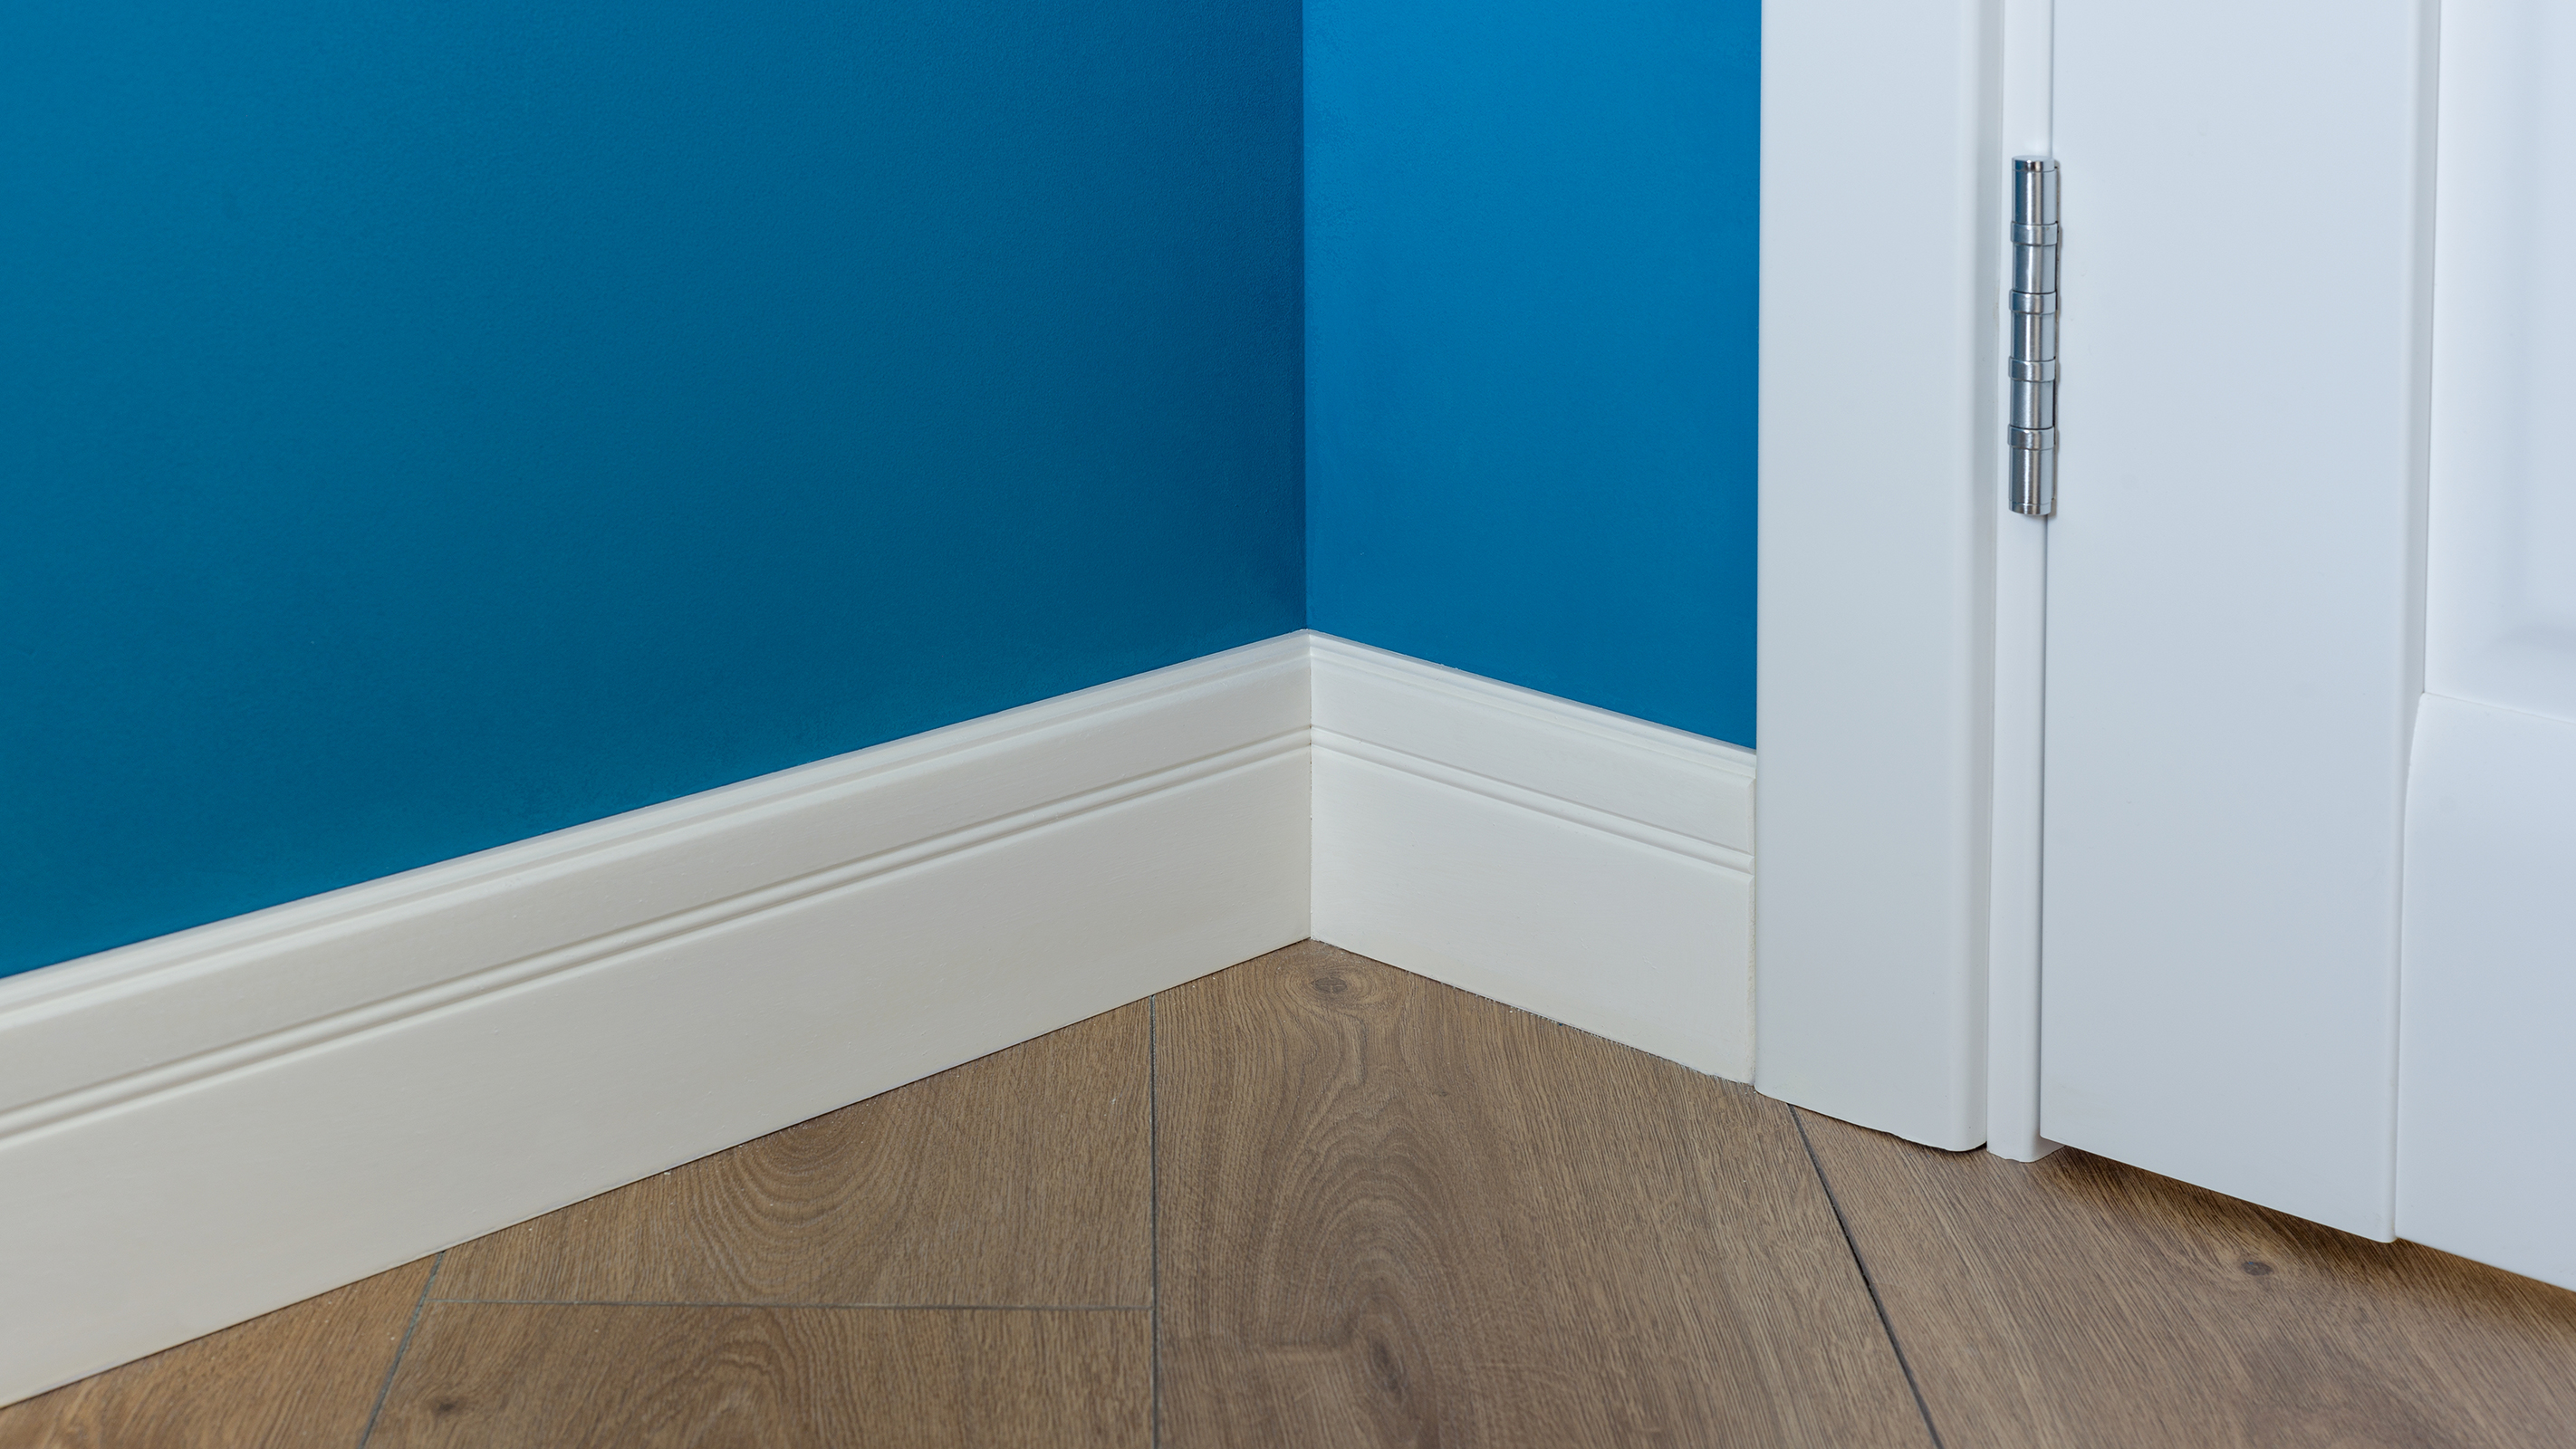
Other examples of interior mouldings include skirting boards that conceal the junction between wall and floor, and cornice, the plaster mouldings that deal with the point at which the ceiling and wall meet.
Bring your dream home to life with expert advice, how to guides and design inspiration. Sign up for our newsletter and get two free tickets to a Homebuilding & Renovating Show near you.
Do all doors need architrave?
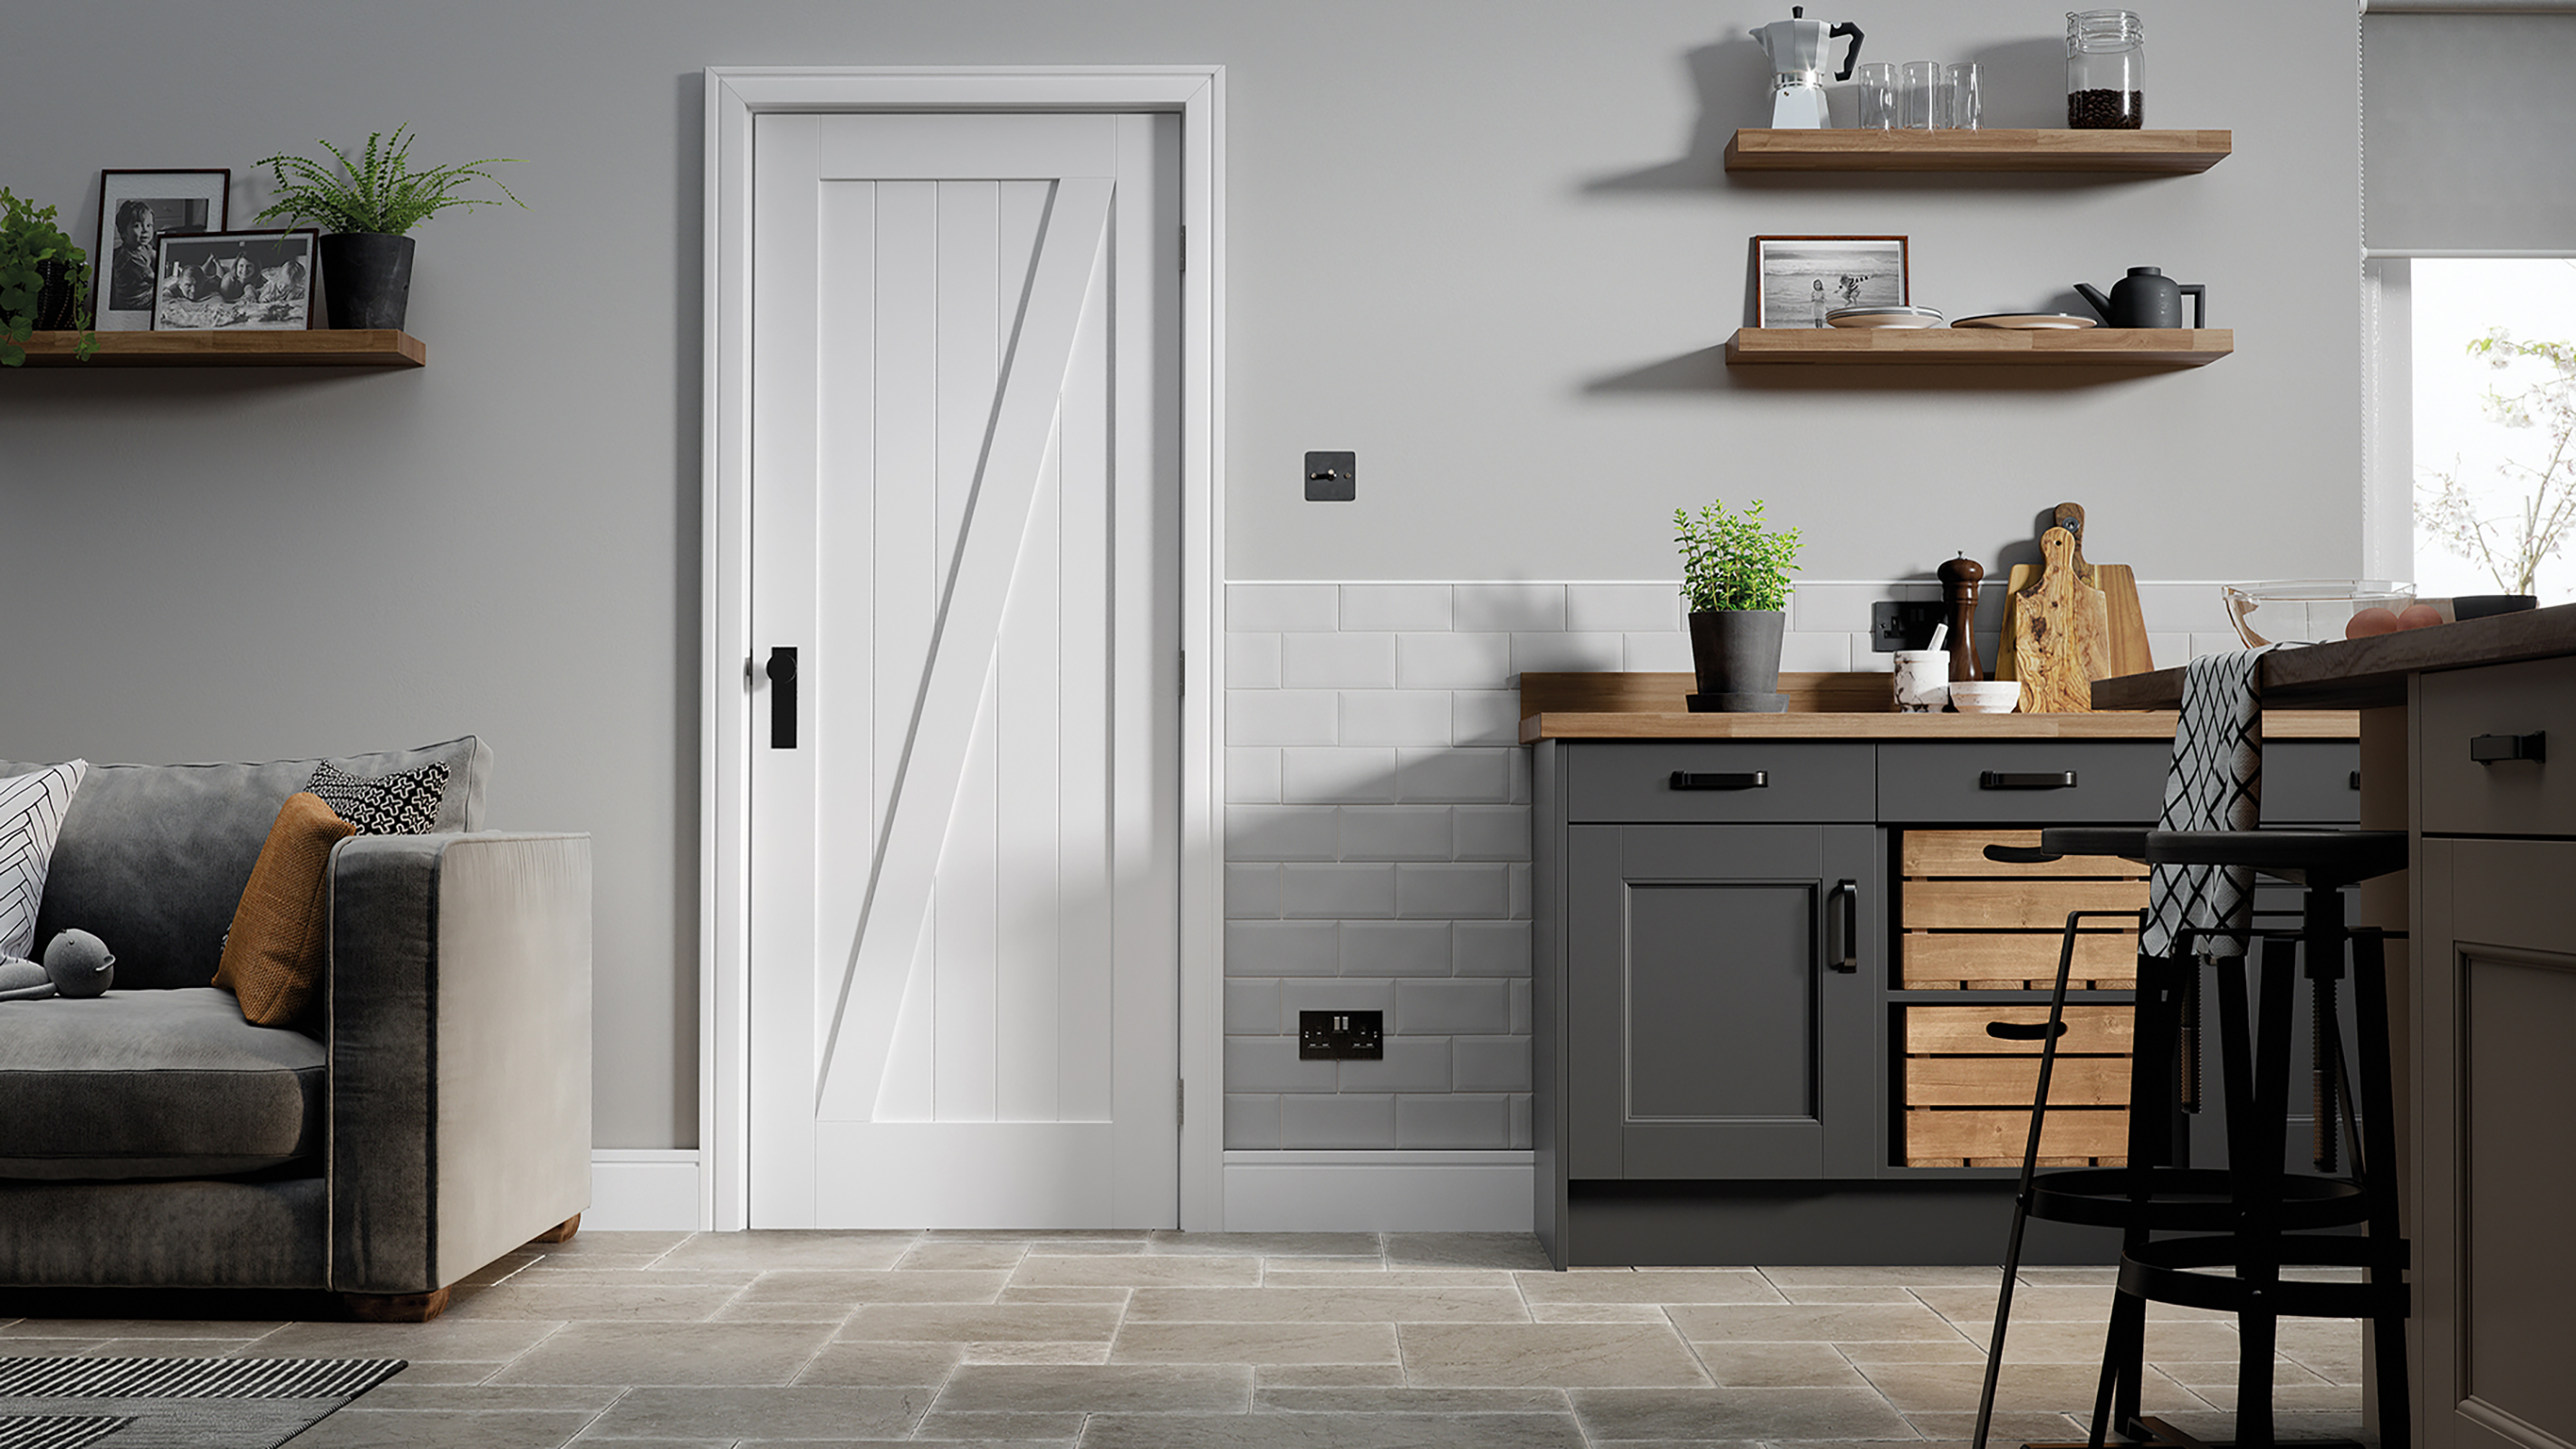
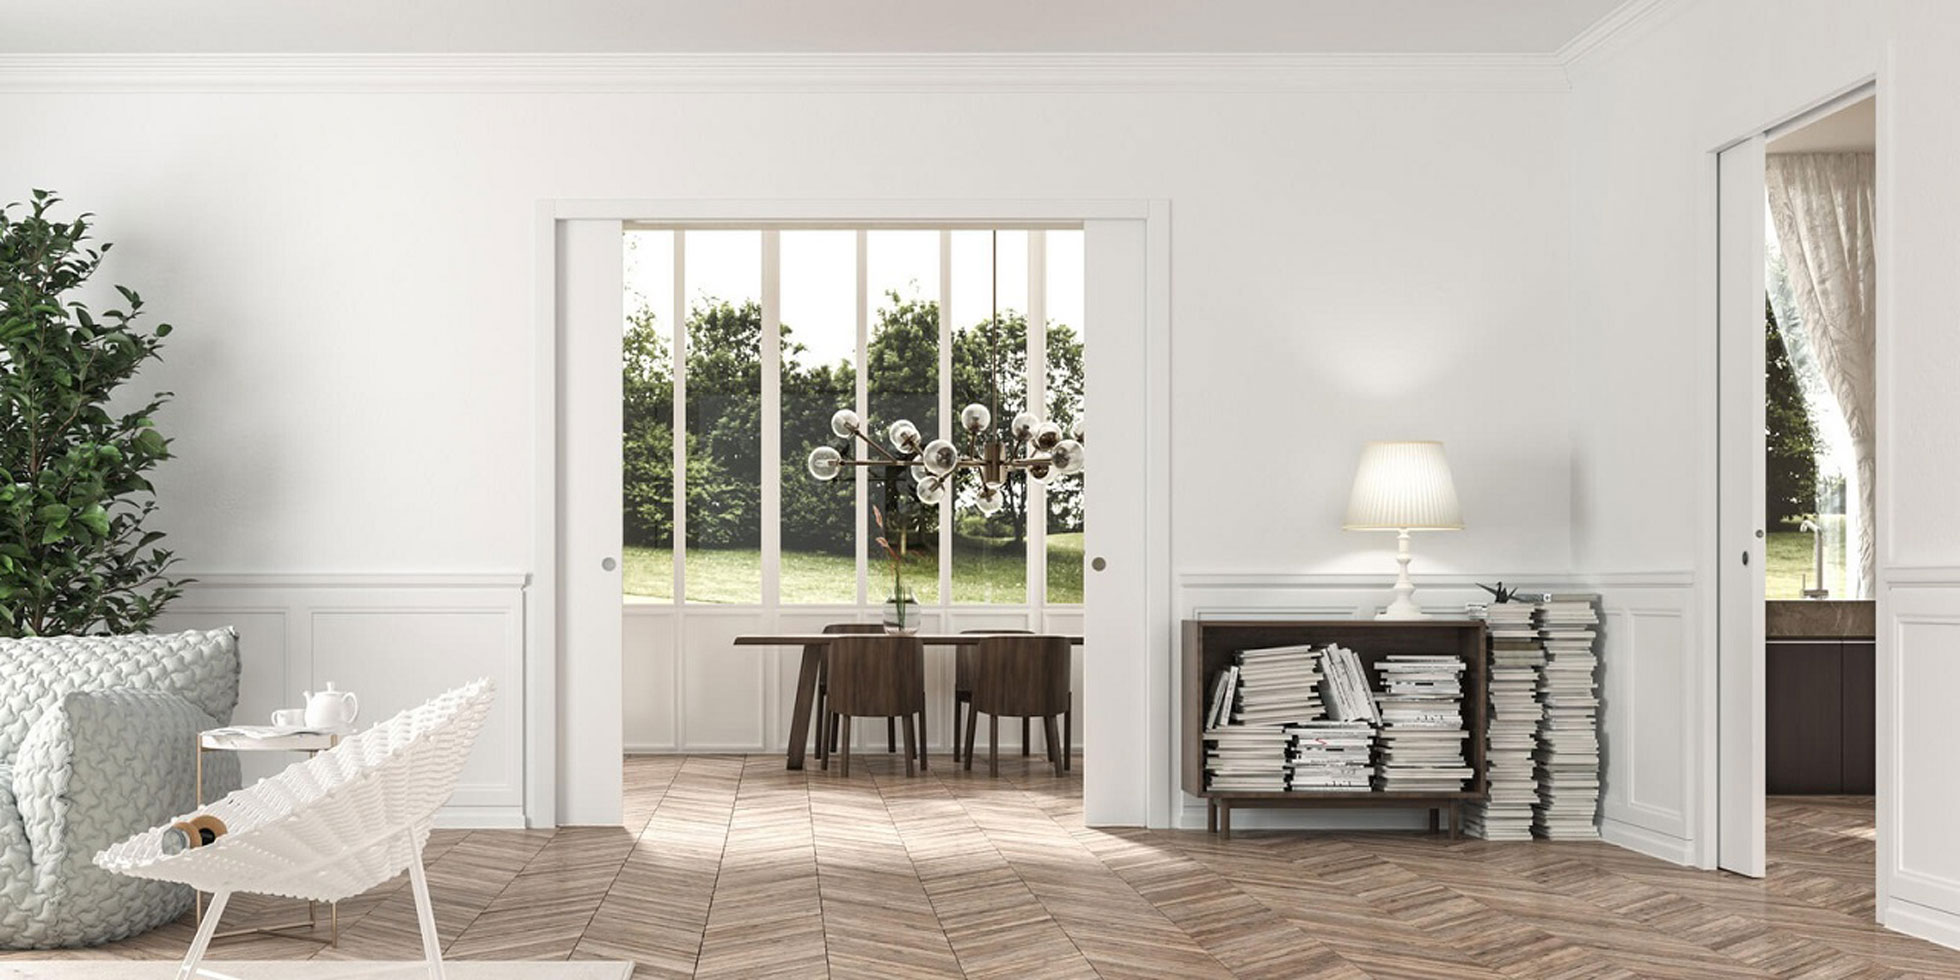
No, there are some styles of door that don't need to be fitted with architrave and often these are contemporary in design.
If you have been looking into how to choose pocket doors, for example, which slide into cassettes within the wall, you may have found that some often don't need finishing off with architrave, although they most certainly can be if you would prefer — Eclisse, for example, supply some of their pocket doors with frames that require architrave.
Likewise, some other types of sliding door can be designed to be used without an architrave — barn-style sliding doors slide on a track above the door opening, which can be just a crisp opening within the wall finished with corner beading and plaster.
What is the difference between a door frame and architrave?
Don't confuse the door frame with architrave — they are two quite different things. A door frame is the section that sits within the door opening and supports it — it consists of the door lining, jambs and so on.
The architrave, on the other hand, sits between the wall and the frame.
How is architrave fitted?
Architrave is pretty straightforward to fit and is a job that could be carried out on a DIY basis.
Lengths of architrave are readily available to buy from DIY warehouses. Begin by measuring the sections for the head and sides, remembering that architrave is joined with mitre cuts, so you will need to account for the longer edge when measuring up.
You will need a mitre box to make mitre cuts, and a tenon or fine-tooth saw — make sure the cuts are angled in opposite directions. This is much the same as when cutting skirting boards.
Start by fixing the head section into place — grab adhesive is usually used for this. The side pieces can then be fixed in the same way. Nails can then be countersunk at intervals, before filling the holes left and sanding. Any gaps can be filled with caulk before painting.
Architrave is usually fitted before the skirting boards — these can then be run up to the architrave.
What are architrave blocks?
Architrave blocks are not a necessity but are often used just to add a decorative flourish. They are fitted where the architrave head (the horizontal section) meets the the legs (the long vertical sections running down the sides of the door) at the corners either side of the top of the door.
Architrave blocks tend to be a little thicker and wider than the architrave itself, and come in a range of designs, from minimalist to decorative. They are particularly useful where highly detailed profiles have been used as these can be tricky to cut for mitring. They are also useful in period homes where walls don't quite line up.
What architrave styles are available?
There are many styles of architrave available to buy and the profile you choose should reflect the overall interior scheme you are aiming for.
Renovators or owners of period homes might like to select a design that either matches or complements any existing original features or mouldings, such as skirting or cornice — or aim to tie it in with their dado rail ideas. There is usually a good selection of period style architrave available from DIY warehouses.
If it is a more pared-back, modern look you are after, you should look for simple profiles with crisp edges — opting for a slimline design and painting it the same colour as your walls will make it all but invisible.
Architrave is available made from hardwood, softwood or MDF and painting it is much the same as when painting skirting boards.
Natasha was Homebuilding & Renovating’s Associate Content Editor and was a member of the Homebuilding team for over two decades. In her role on Homebuilding & Renovating she imparted her knowledge on a wide range of renovation topics, from window condensation to renovating bathrooms, to removing walls and adding an extension. She continues to write for Homebuilding on these topics, and more. An experienced journalist and renovation expert, she also writes for a number of other homes titles, including Homes & Gardens and Ideal Homes. Over the years Natasha has renovated and carried out a side extension to a Victorian terrace. She is currently living in the rural Edwardian cottage she renovated and extended on a largely DIY basis, living on site for the duration of the project.

