What is a shadow gap? How to use this design feature in your project
Want to know the answer to what is a shadow gap? We reveal how this minimalist design feature can be incorporated into your latest home design project

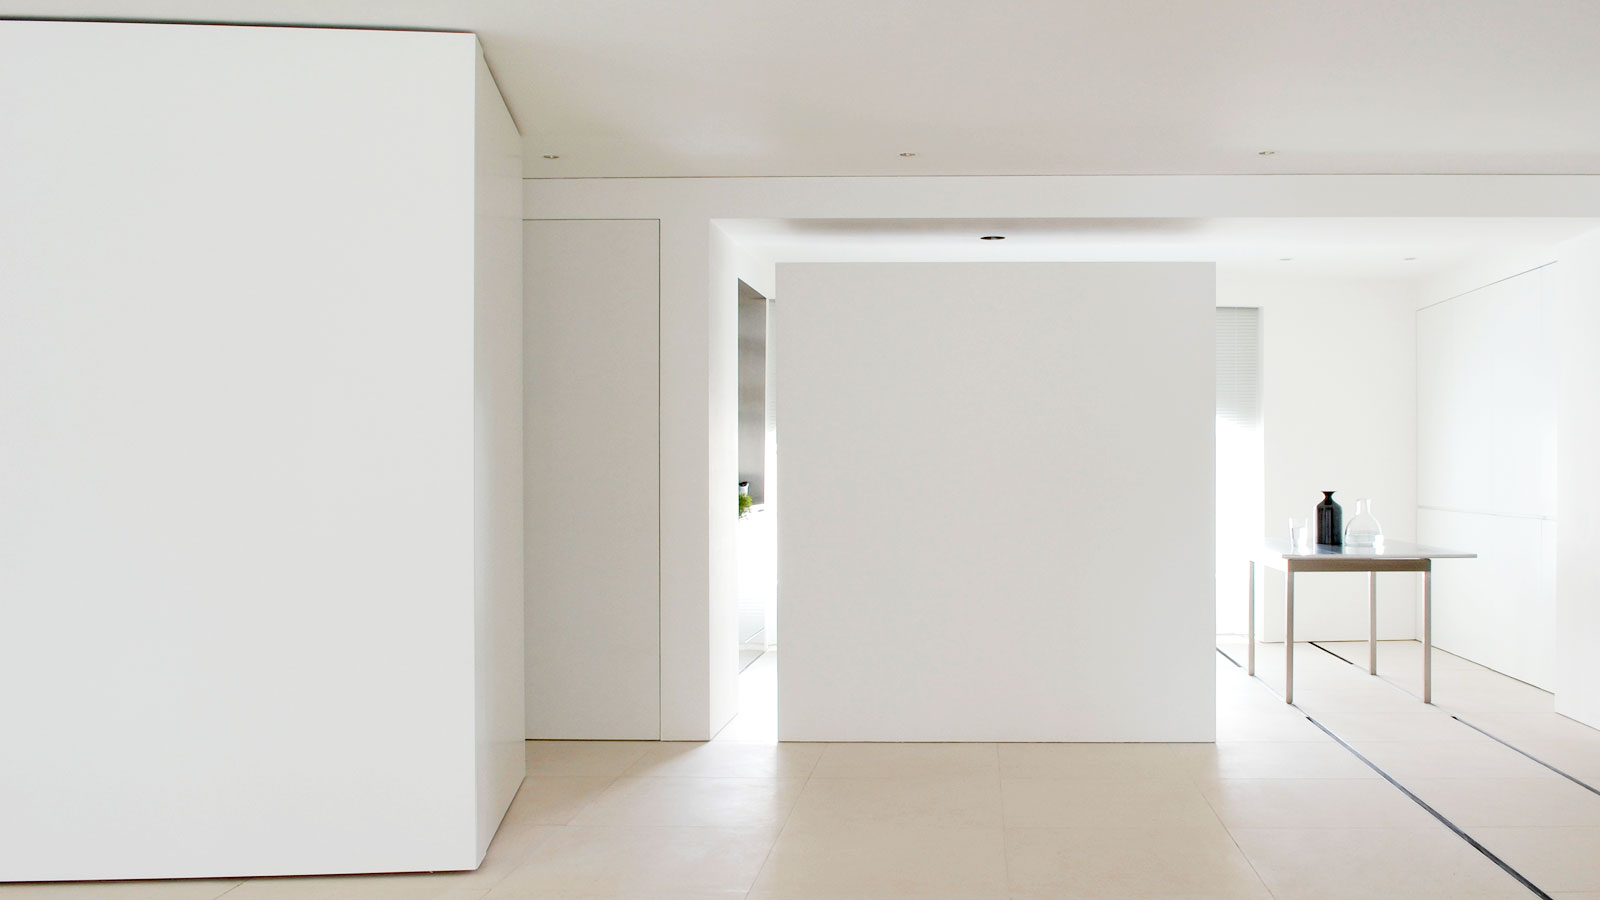
What is a shadow gap? There’s a clue in the name, in simple terms it's a gap or recess that creates a shadow. But there is so much more to discover about it. It can be used throughout the home to create different design aesthetics that work perfectly in a modern minimalist space.
Not only does it look good, but it has practical uses as well. If you want you can say goodbye to painting skirting boards. Introducing a shadow gap will negate the need for them altogether. And this is only just one of its many uses.
Here we look at where else you can use a shadow gap, what sizes work well and how to install one.
What is a shadow gap?
A shadow gap is an interior design feature where two surfaces – commonly a wall and a floor – don’t meet. The depth of the gap creates a shadow that adds a pleasing and attractive characteristic.
Typically used in minimalist styled homes it is often a replacement for skirting boards or cornices. But shadow gaps are not exclusive to walls and floors. The design feature is also used around doors and windows to replace architraves. On a more practical level a shadow gap also allows for the natural expansion and contraction of a floor.

Where is a shadow gap used?
A shadow gap is not specific to a certain area in a home. It can be used across a host of different scenarios to add contemporary minimalist style. Here we look at the popular options for a shadow gap.
Walls and floors
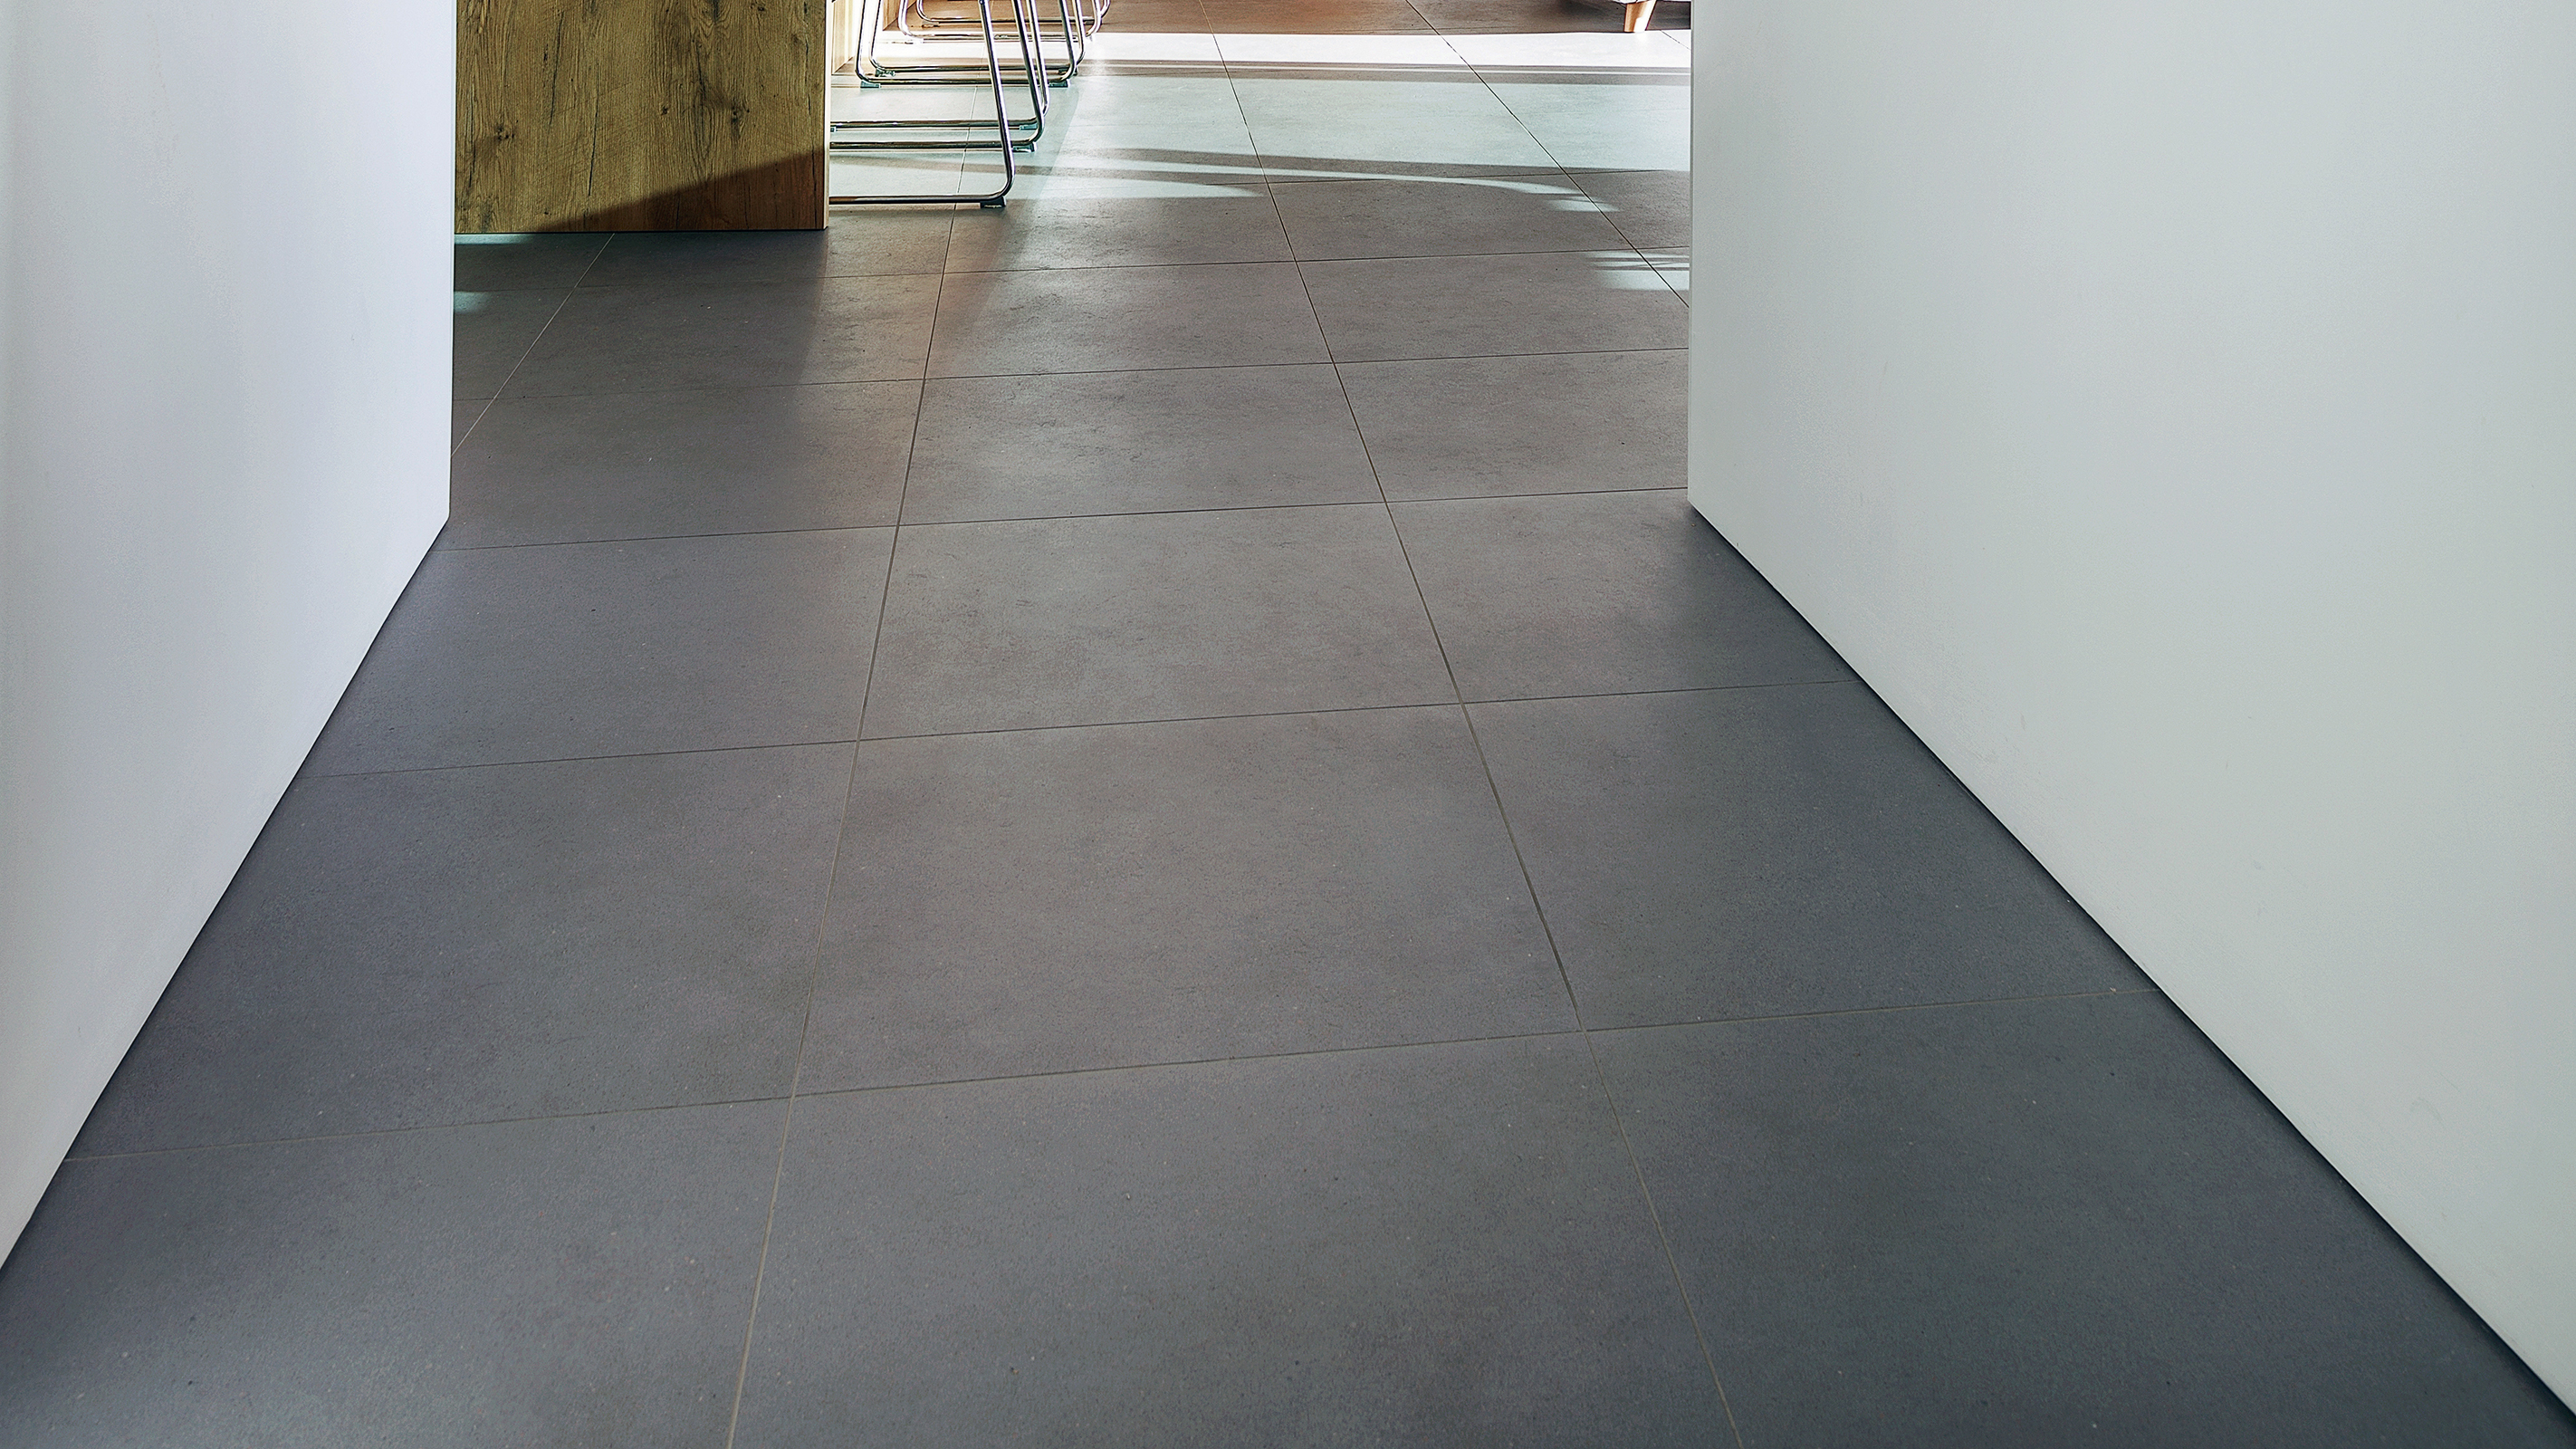
A popular choice for a shadow gap. When creating a wall, typically with plasterboard or plaster, a gap is left at the bottom. But instead of a typical expansion gap at the bottom of a wall – that's covered with skirting boards - a more engineered gap is created to generate the shadow that gives a shadow gap its design kudos.
Skirting boards
While a shadow gap is often an alternative to skirting boards, they can still be used with a shadow gap to create a neat design feature. This is achieved by adding skirting boards that lie flush with the wall and have a recess between the board and wall to create a shadow gap.
Door frames
Door frames – and window frames to a lesser extent – adopt the same principle.The door frame sits flush with the wall and leaves a gap around the frame to create the shadow gap.
Ceilings and stairs
Elsewhere, ceilings and stairs are other popular options. The ceiling typically sits on a specialist shadow gap trim that is connected to the wall and ceiling, leaving a gap. This gives the impression of a suspended or floating ceiling.
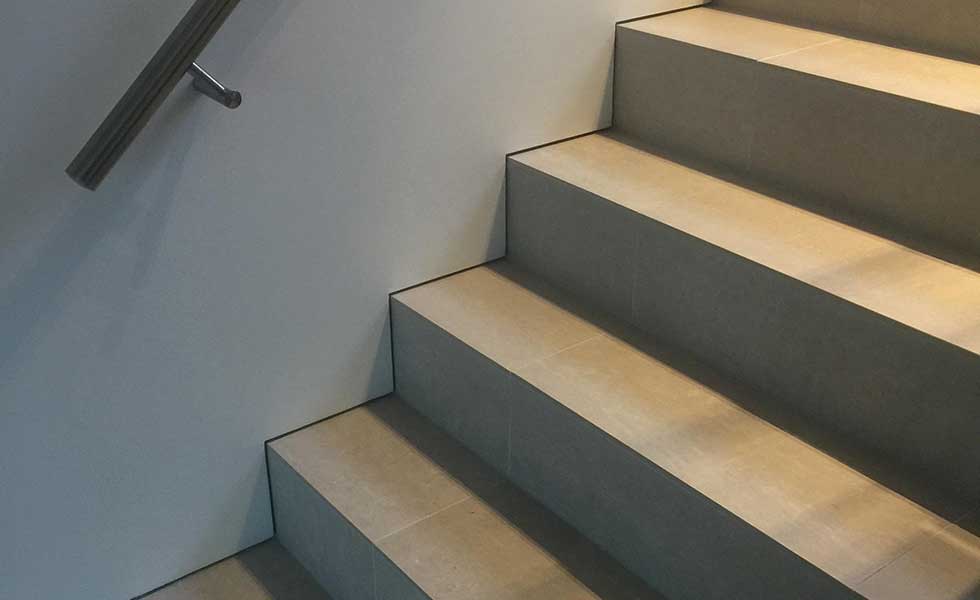
On stairs, the wall string (the part that's connected to the wall and the stairs) has a small gap between the treads and risers again creating a smart shadow gap.
Bathrooms
Bathrooms can adopt a similar stance with tiles, especially if you have smooth newly plastered walls to work. You simply fit the tile trim as normal 20-30mm above the flooring. The tiles are then laid along the edge of the trim.
You will need to let the trim dry before you do any tiling. And, it's a good idea to prop up the trim with the right size wooden battens until the tile adhesive is dry. As there will be a lot of weight being placed on the shadow gap trim.
How wide should a shadow gap be?
A shadow gap should be big enough to create a decent shadow. Common sizes are 15-30mm, but you can make as large as you want, but it will need more work from the installer to get a decent finish. Make the recess too small and it will just look like a mistake and there will be no shadow and be more difficult to keep clean.
It's common to use shadow gap trim or beading to help create an even sized gap, especially where walls meet floors. Shadow gap trim or bead is typically U-shaped or L-shaped with one side fitting into the plaster or wall and the other sides creating the recess. There are a lot of choices but common sizes range from 10mm-30mm.
How to install a shadow gap?

Installing a shadow gap is not a job for the average DIYer, especially if you want to get a good finish. But if you have plastering skills then you can tackle the job yourself. Here we look at the steps to install a shadow gap between floor and wall with plasterboard.
1. Measure and mark
Measure where you want the shadow gap to go, i.e. 20mm above the floor, and use a spirit level and pencil to draw a line across the width of all walls. Now use a multi tool to cut back the plasterboard at the marked line. Note you need the bead/trim to be the same depth as the plasterboard to avoid extra trimming work.
2. Fix the beading
Now fix the beading to the wall with screws and adhesive or plaster and leave to dry. Next plaster over the beading and plasterboard edges to create a smooth finish. Spray with a fine mist of water when applying the plaster to help achieve this.
3. Finish up
Leave the plaster to dry as per the manufacturer's instructions and then using a fine sandpaper grade, smooth out any unwanted ridges. Clean up and paint the plaster to match your decor or paint the recess black to accentuate the gap.
Alternatively, if no plasterboard has been put up, you can install the trim/bead first and then fix the plasterboard up to the bead.
Where can I get shadow gap trim/beading?
It’s often difficult to find shadow gap trim or beading in your local hardware store. Ask when you’re paying a visit to see if they have any in stock, you might get lucky. If not you will need to look online to find what you need. Try the Profile Store for a selection of metal and uPVC beads and trim.
Shadow gaps add ambience and style to a modern contemporary home. Check out our 12 stunning minimalist living room ideas, 22 modern kitchen design ideas and best modern hallway ideas to complement your interior design vision.
Get the Homebuilding & Renovating Newsletter
Bring your dream home to life with expert advice, how to guides and design inspiration. Sign up for our newsletter and get two free tickets to a Homebuilding & Renovating Show near you.
Steve Jenkins is a freelance content creator with over two decades of experience working in digital and print and was previously the DIY content editor for Homebuilding & Renovating.
He is a keen DIYer with over 20 years of experience in transforming and renovating the many homes he has lived in. He specialises in painting and decorating, but has a wide range of skills gleaned from working in the building trade for around 10 years and spending time at night school learning how to plaster and plumb.
He has fitted kitchens, tiled bathrooms and kitchens, laid many floors, built partition walls, plastered walls, plumbed in bathrooms, worked on loft conversions and much more. And when he's not sure how to tackle a DIY project he has a wide network of friends – including plumbers, gas engineers, tilers, carpenters, painters and decorators, electricians and builders – in the trade to call upon.

