Wallpapering new plaster: Pro tips for the perfect prep
When wallpapering new plaster it is essential to seal the surface before you start to stop unwanted issues. Here we tell you what you need and how to do it

You might think it's easy when it comes to wallpapering new plaster and it can be as long as you get your preparation right. New plaster will soak up any moisture really quickly meaning that you will find it really difficult to slide or move wallpaper into position.
You might already know how to wallpaper, but never encountered new plaster before in the process. To solve this problem you need to size the plaster, which is the name used to seal new plaster. There are a few options you can use to size/seal the plaster, which we reveal here.
Wallpapering new plaster: How long before I can wallpaper?
New plaster needs to dry completely before you can think about wallpapering, but plaster isn’t a quick-drying material. Drying times can vary greatly depending on conditions, but in ideal conditions – warm weather – it can be dry in two or three days on skimmed plasterboard walls. But it can take up to two weeks or longer on plastered walls and ceilings.
To make sure that the plaster is dry and ready for wallpapering leave it for two weeks. Ventilating a room, i.e. leaving a window open, in the warm summer months will help speed up the drying process.
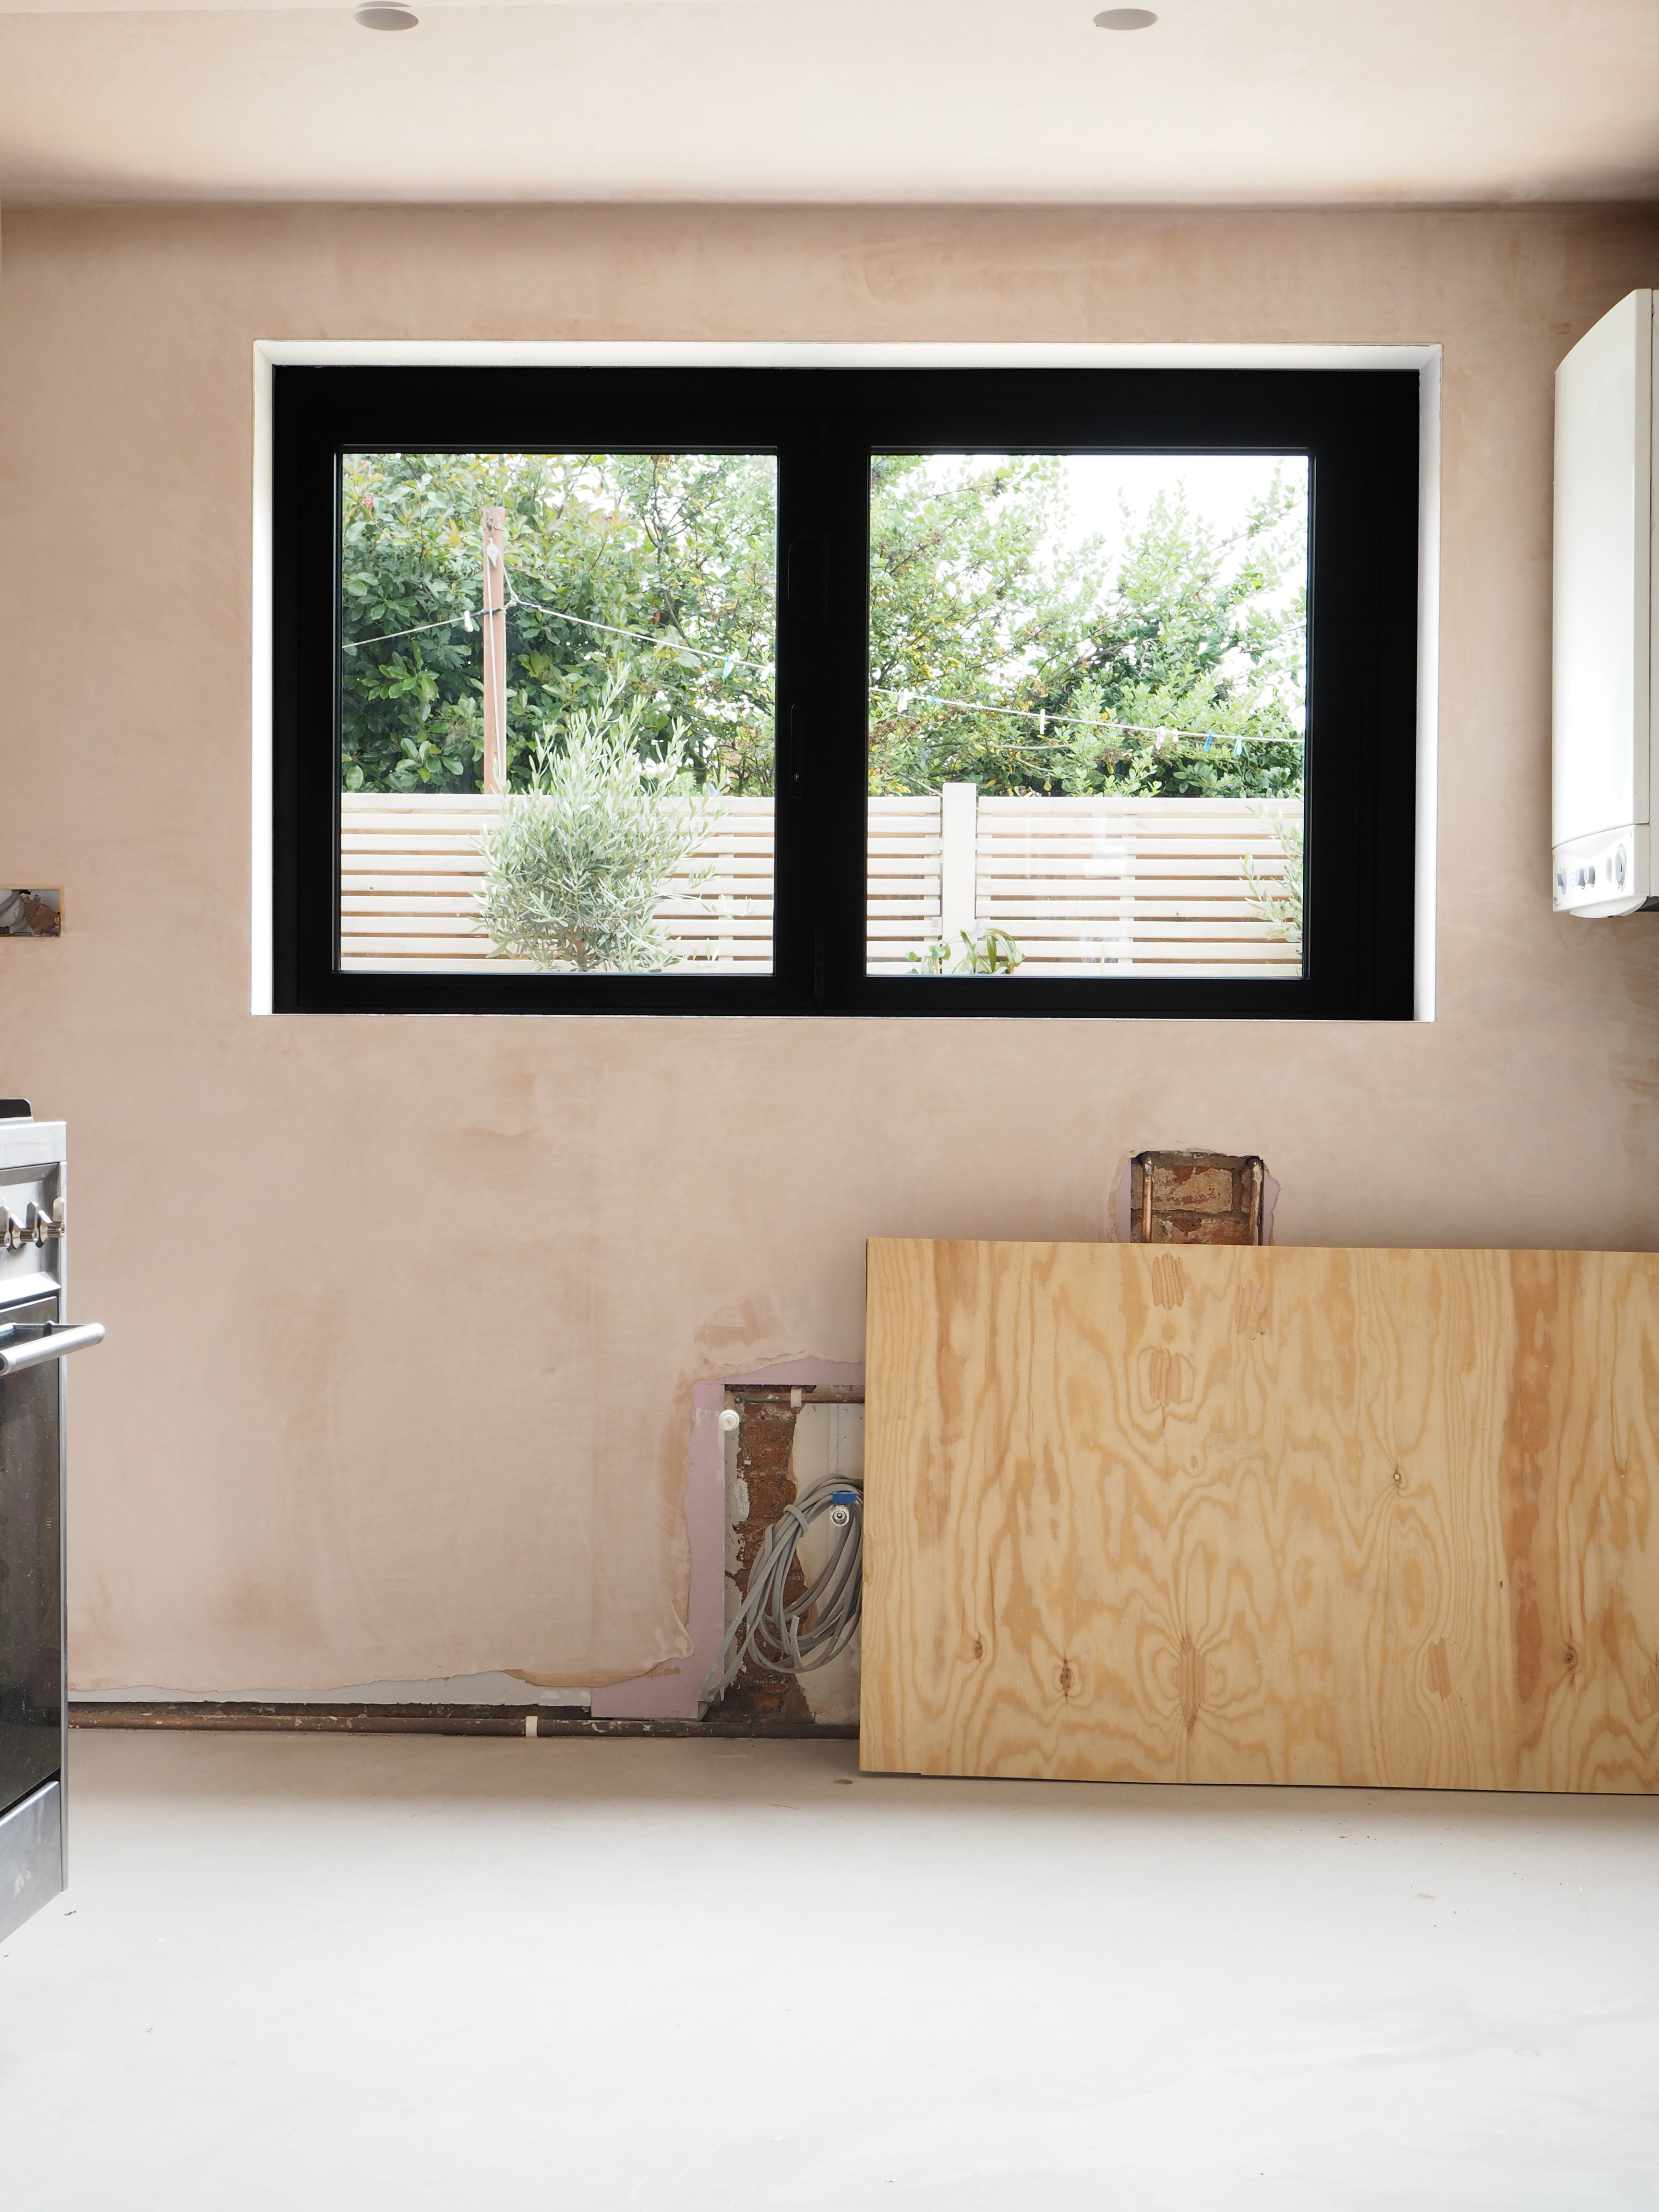
How do you know the plaster is dry? One simple indicator is the colour. If the plaster is patchy this means it's not fully dry. When the darker patches disappear and the plaster becomes the same light pinky colour everywhere the plaster is dry.
If you try to hang wallpaper before the plaster is fully dry you may get areas where it lifts off the plaster meaning it hasn’t stuck properly. You can rescue the wallpaper but it is much better to simply let the dry plaster properly.

What Is sizing and how long after sizing can I wallpaper?
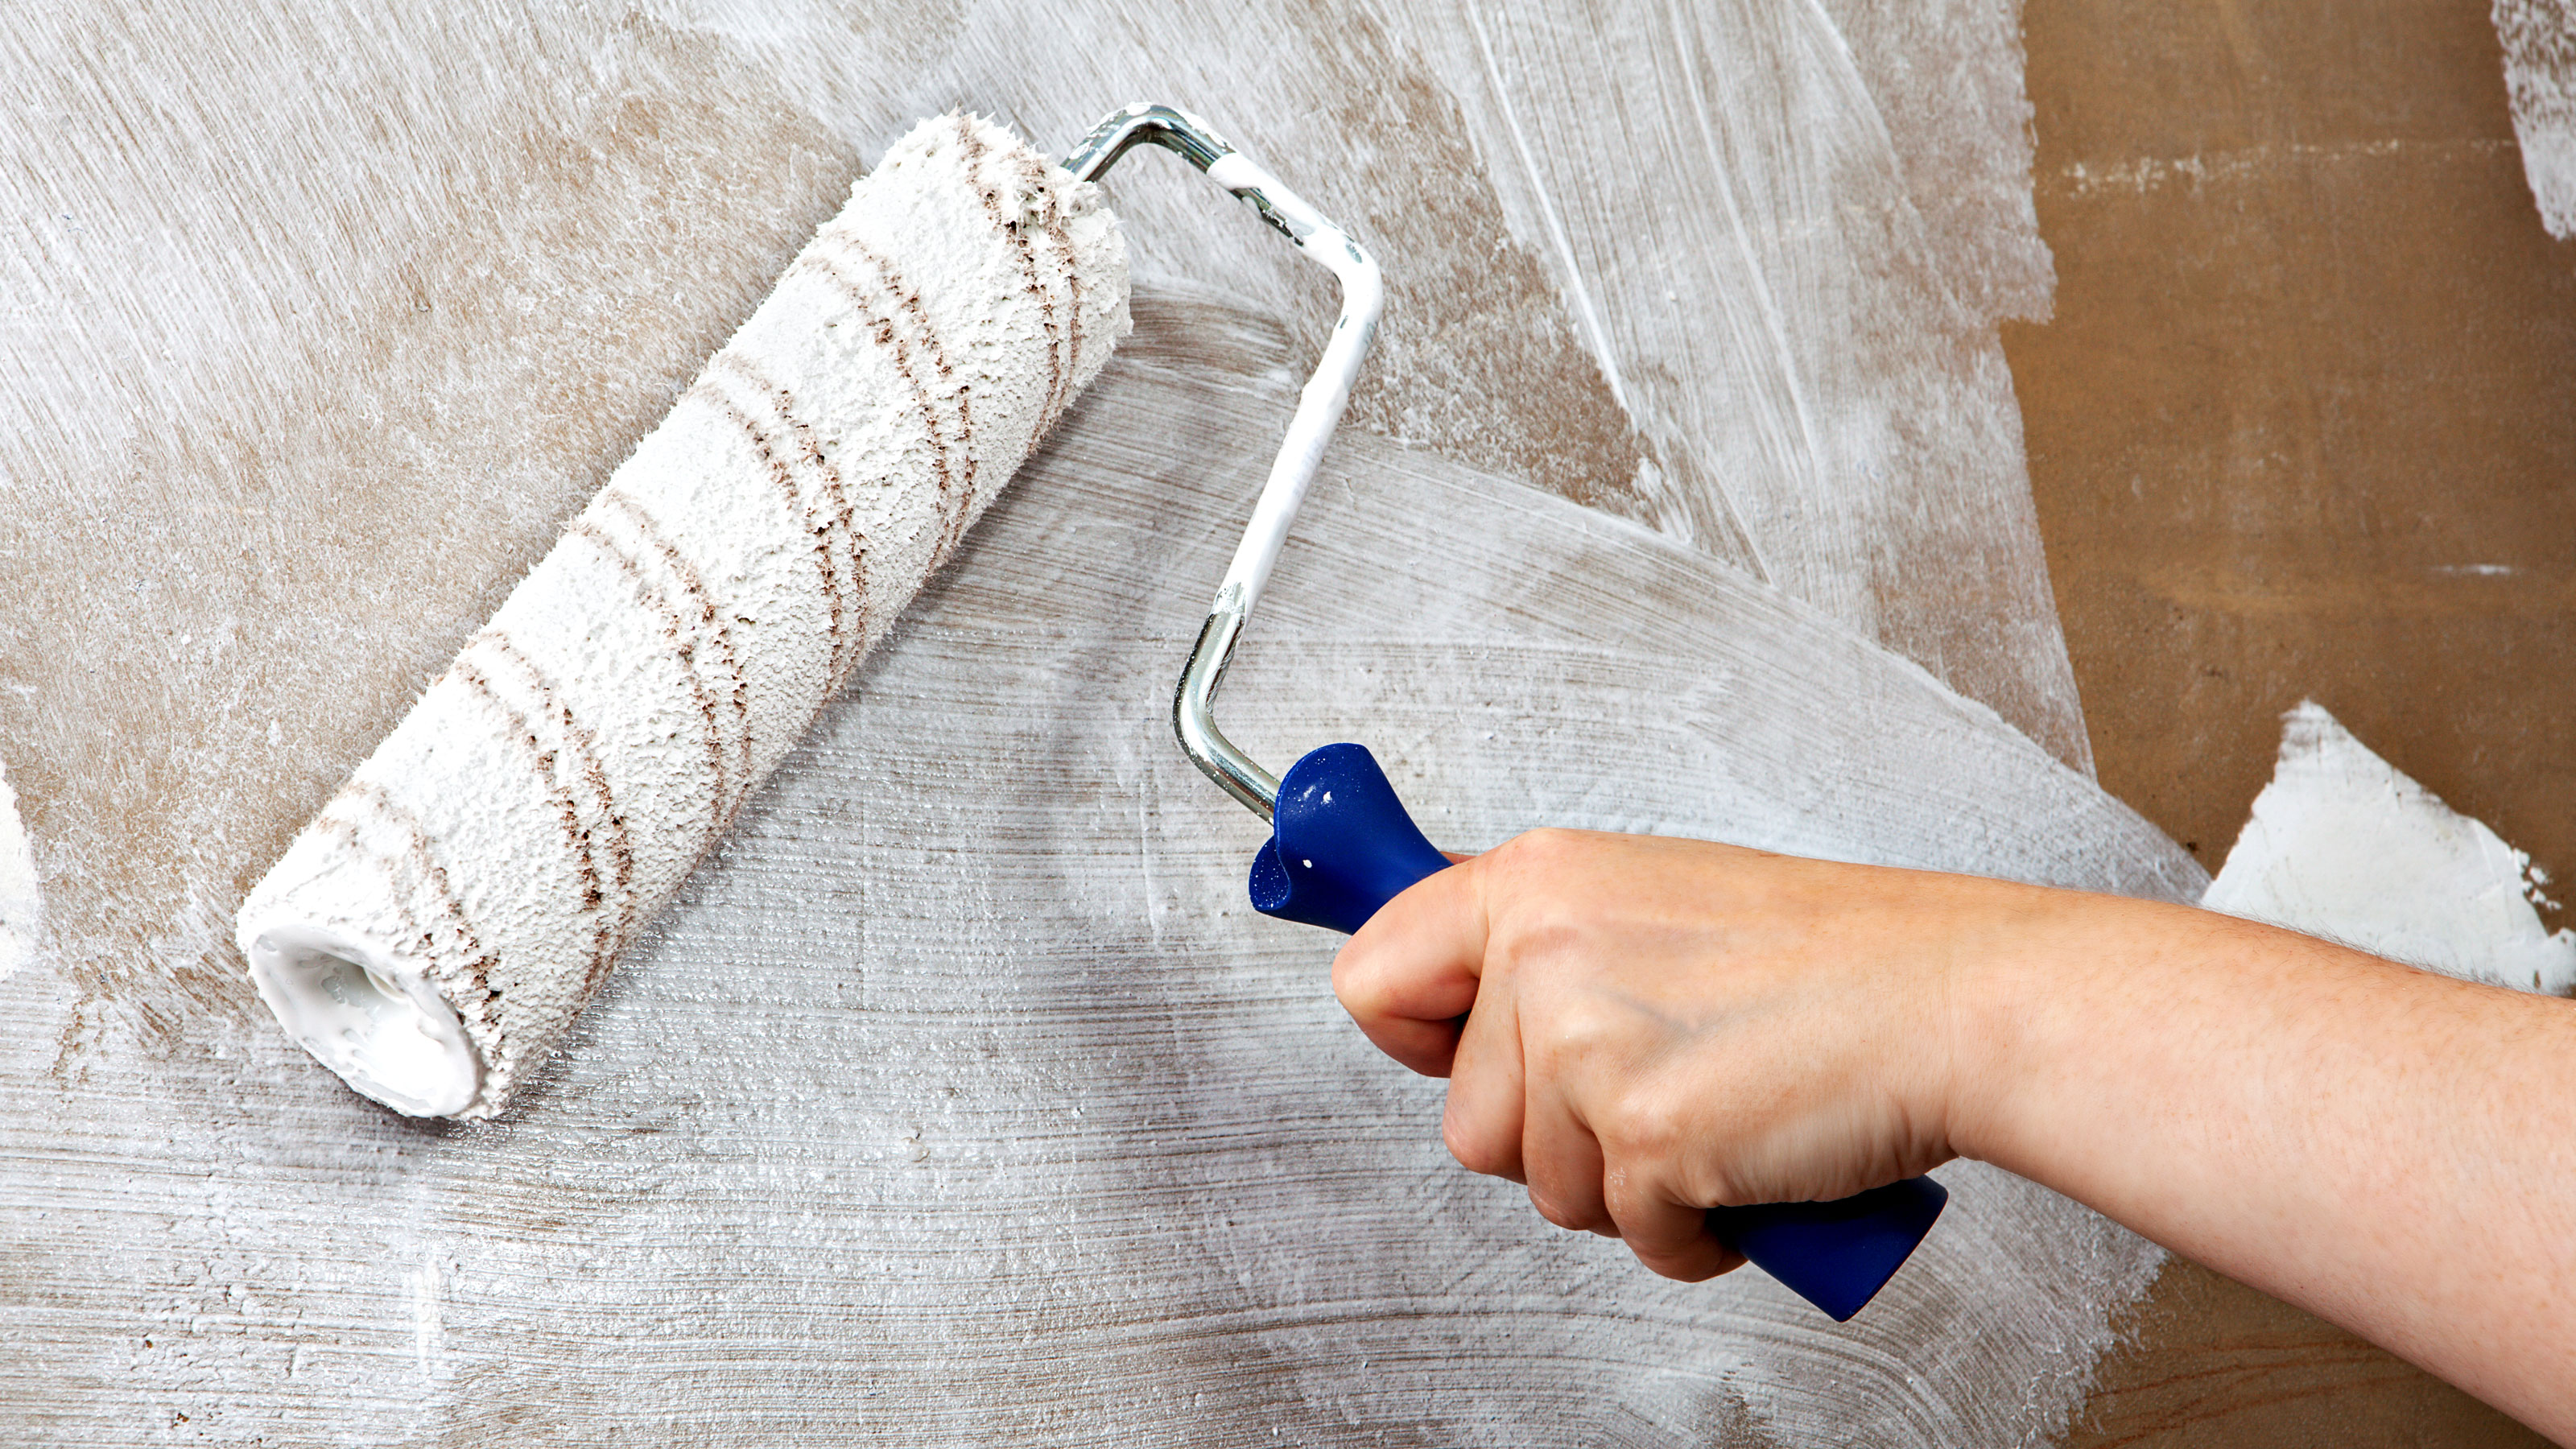
Sizing is the process of sealing new plaster, and is another term for priming or sealing. New plaster soaks up liquid, which makes it very difficult to put up wallpaper without treating the plaster. If you paste wallpaper and try to put it up without sizing/sealing, the wallpaper will almost instantly stick and stay in position, making it very difficult to move into position.
To make sure that this doesn’t happen you need to apply size directly to the wall. There are a few options that you can use to size the new plaster:
- You can dilute wallpaper paste and apply by adding a couple of extra litres of water to the recommended mix solution. For example, a typical mix for normal wallpaper and lining paper is 7 litres per sachet;
- Alternatively, you can use a wall sealer such as Solvite Wall Sealer;
- Or you can apply a mist coat which is a method used when painting new plaster. All of these will help seal the plaster ready for wallpapering.
Whatever method you use you will need to leave for two or three hours before you either need to apply another coat – which you rarely need to do – or you can start wallpapering. If you are using diluted wallpaper paste it is best to put up any wallpaper within a day or two.
What is the best way to wallpaper new plaster?
1. Do your prep
As we mentioned before the new plaster needs to be completely dry, but it also needs to be smooth. Before doing any work lay down dust sheets, cover skirting boards with painters tape to protect them and cover any furniture. Now get a sander – or sandpaper – and give the plaster a quick rub down to remove any imperfections.
Brush down the plaster to remove any dust and vacuum so that there is as little dust as possible before you get started.
2. Mix up your size
Mix up your wallpaper paste as instructed and add a few extra litres of water to thin down. If using a wall sealer mix up as instructed and if using a mist coat water down your white emulsion with the ratio of 7 parts paint and 3 parts water.
The sizing mix won't be any good for putting up wallpaper so make sure that you know how to dispose of wallpaper paste properly when you have finished with it.
3. Apply and seal
Start in a top corner using a 4-inch brush. Do one wall at a time going around all the edges and corners to create a border. When done get a paint tray and fill with your size and use a 9-inch roller to apply on the rest of the walls.
Use a paint roller extension pole to make it easy to reach the higher areas such as the top of the wall and ceiling.
Get the Homebuilding & Renovating Newsletter
Bring your dream home to life with expert advice, how to guides and design inspiration. Sign up for our newsletter and get two free tickets to a Homebuilding & Renovating Show near you.
Steve Jenkins is a freelance content creator with over two decades of experience working in digital and print and was previously the DIY content editor for Homebuilding & Renovating.
He is a keen DIYer with over 20 years of experience in transforming and renovating the many homes he has lived in. He specialises in painting and decorating, but has a wide range of skills gleaned from working in the building trade for around 10 years and spending time at night school learning how to plaster and plumb.
He has fitted kitchens, tiled bathrooms and kitchens, laid many floors, built partition walls, plastered walls, plumbed in bathrooms, worked on loft conversions and much more. And when he's not sure how to tackle a DIY project he has a wide network of friends – including plumbers, gas engineers, tilers, carpenters, painters and decorators, electricians and builders – in the trade to call upon.

