Wallpapering a chimney breast: Pro tips for a smooth finish
There is an art to wallpapering a chimney breast and in this guide we give you the techniques you need to know

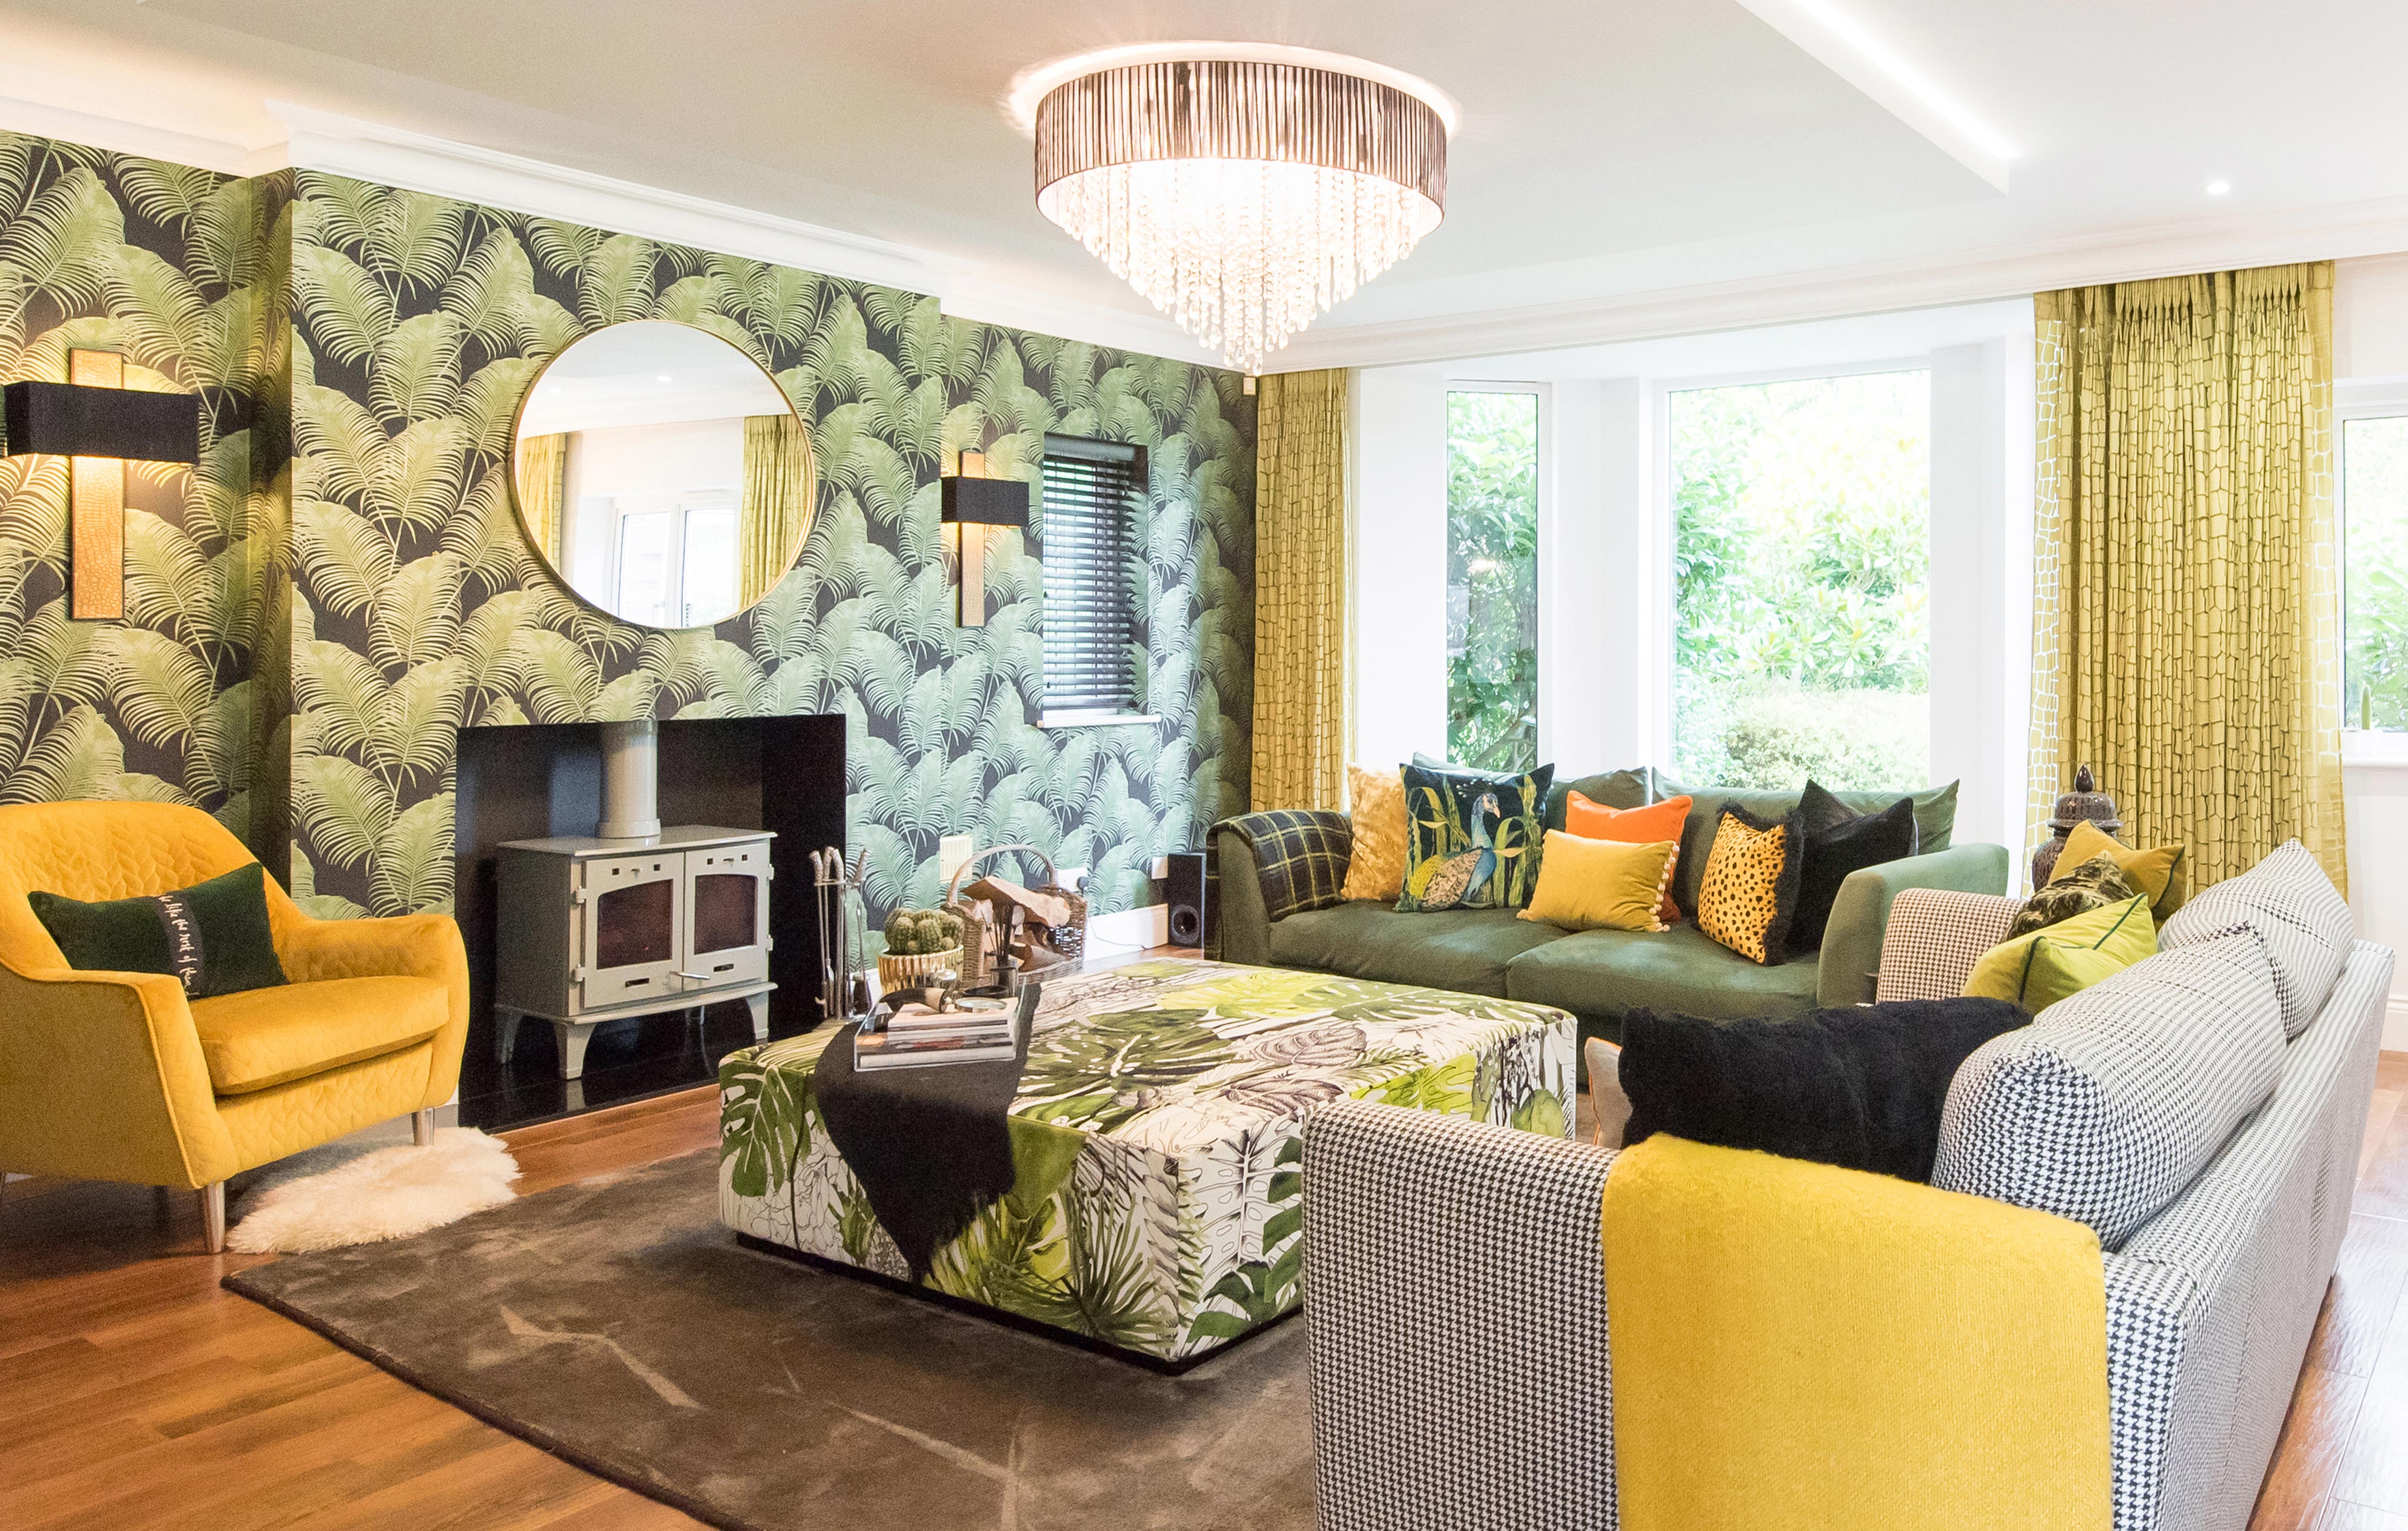
Wallpapering a chimney breast may seem like a straightforward DIY job, but it does need a little know-how to get it right, especially if you are using patterned wallpaper. The key to getting the best finish is planning ahead and placement of your first drop. Get this right and the rest of the job falls neatly into place.
If you know how to wallpaper a flat wall then you will already know a lot of the techniques needed to wallpaper a chimney breast. You will not need any additional tools, just the same ones as for regular wall wallpapering.
Here we take a closer look at the two common options to choose your starting point and show you how to get good clean corners.
Wallpapering a chimney breast: the tools you’ll need
- Wallpaper paste
- Wallpaper paste brush
- Wallpaper hanging brush
- Wallpaper scissors
- Tape measure
- Step ladder
- Spirit level
- Dust sheets
- Pasting table
Plan ahead before wallpapering a chimney breast
There are effectively two different approaches to wallpapering a chimney breast. Which one you use will depend on the size of your chimney breast and wallpaper. So before you start putting up wallpaper you need to plan which technique to use.
The first step is to measure the centre point of your chimney breast and mark with a straight vertical line using a spirit level and pencil. Now get your roll of wallpaper and place one edge on the line and mark where the other end of the roll sits. If the remaining chimney breast wall is less than the width of the roll measure to see if the roll will cover the remaining wall and chimney breast depth. If so, you are good to go with this method.
If the previous method leaves a small gap on the chimney breast edge i.e. less than four inches then you need to try this next method. Place your roll in the centre of the centre line you marked. Now mark each edge of the roll and measure out left and right the roll width to see where the wallpaper will hang.
You want a decent width on the edge of the chimney breast – at least six inches. Make sure the roll will cover this edge and the depth of the chimney.
It is worth noting that chimney breasts are different widths and depths, but one of the above methods should work on most if not all chimney breasts.
How to hang wallpaper on a chimney breast
Make sure you have all you tools and equipment to hand before you start.
1. Empty area and prep the wall
Clear the room so you have enough room for a step ladder and pasting table. If you have any furniture left in the room, cover with dust sheets and the floor. If needed, fill any cracks with a suitable interior filler like PolyCell Quick Drying Polyfilla found at B&Q. Leave to dry and rub down with 120 grit sandpaper.
If hanging wallpaper onto a newly plastered chimney breast you will need to seal the wall before you start. Check out our Wallpapering new plaster guide for more tips. Now mix up your wallpaper paste so it's ready for use.
2. Hang the first strip
Now measure up the length of your drop and add six inches. Measure again to make sure you have the right measurement. If using patterned wallpaper, hold up against the wall and move up and down until you are satisfied that you have the part of the pattern you want in the right position.
Now cut your strip of wallpaper and apply the wallpaper paste evenly across the strip. Fold over the bottom of the wallpaper to around halfway up the strip. Now place the top of the strip at the top of the wall with a slight overlap onto the ceiling.
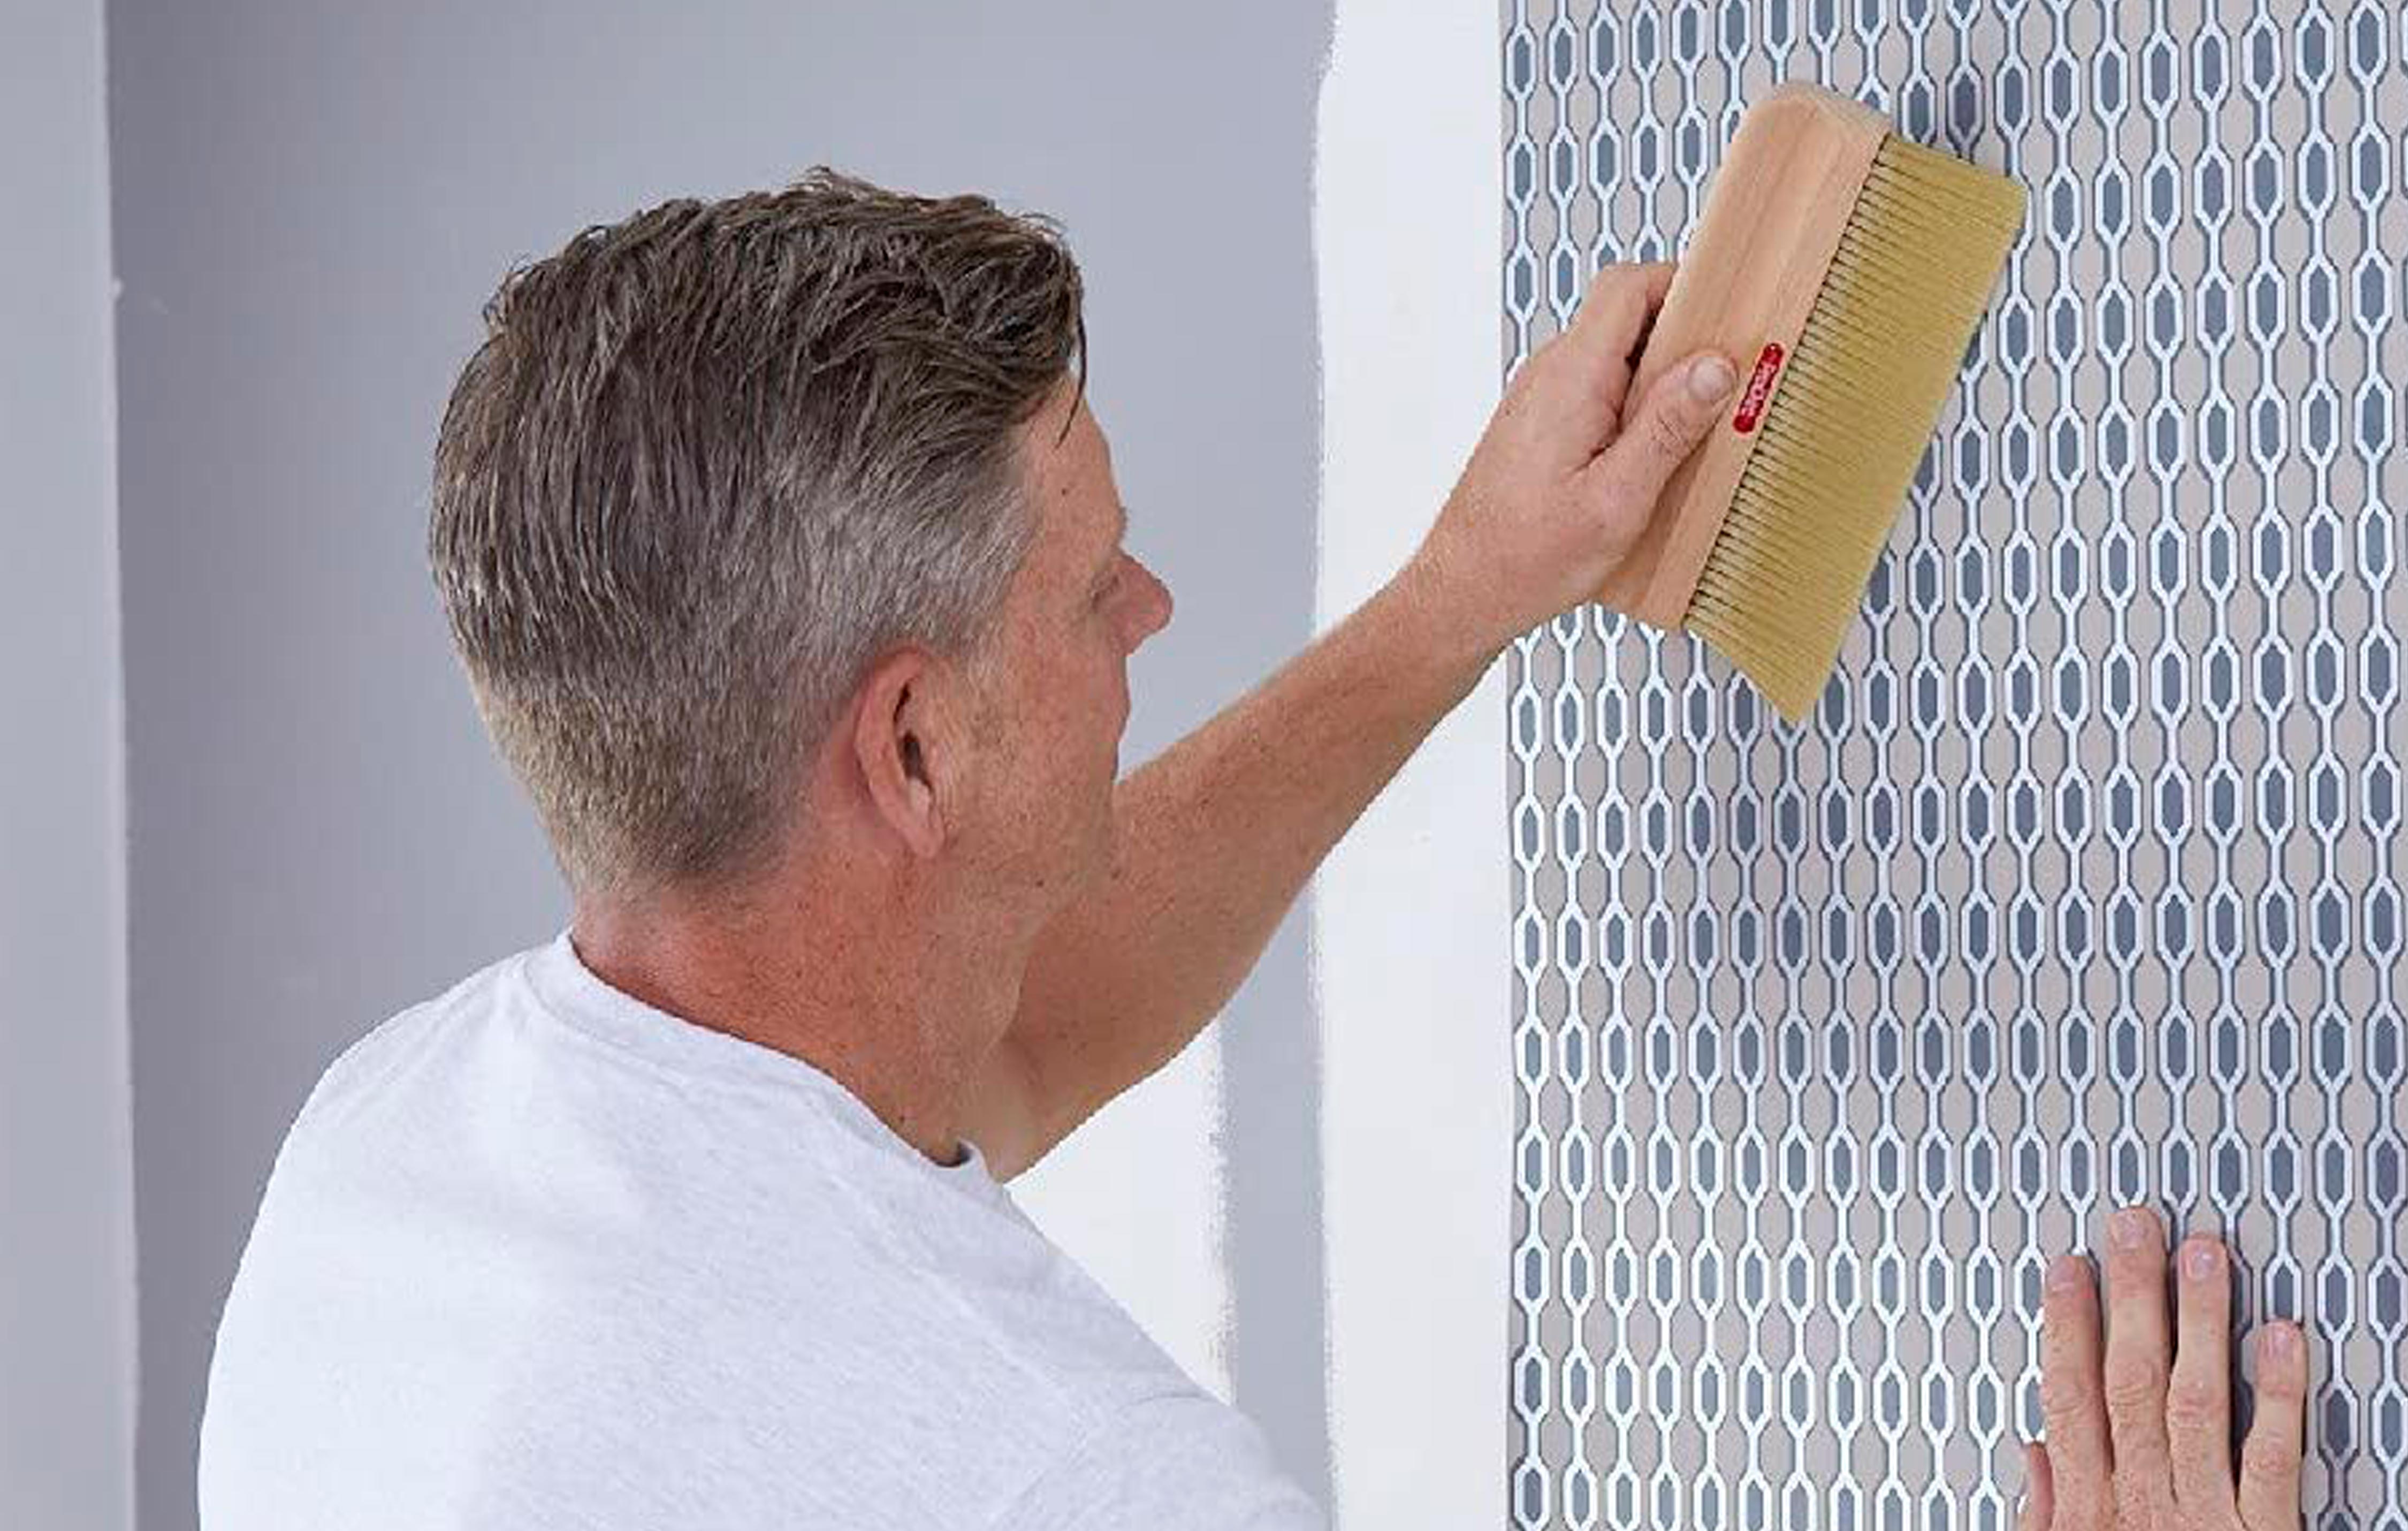
Guide the wallpaper into position using the marks you put up before you started. Now get a wallpaper hanging brush like the ProDec 9 inch Paperhanging Brush from Amazon, start in the middle and brush down and outwards to get rid of air bubbles.
Now use the back of a pair or wallpaper scissors to push the wallpaper into the wall where it meets the ceiling. Now gently pull off and cut along the mark you just made. Now get your wallpaper hanging brush and push the paper onto the wall. Do the same at the bottom. Wipe off any excess paste with a damp cloth. Use a seam roller to make sure the seams are stuck down properly. Repeat for other full drops and hang.
3. Hang around the corner
Measure up, cut paste the strip to go around the corner of the chimney breast. Hang as you would a normal strip, leaving an overlap at the top and butting up to the seams. Brush down with a wallpaper hanging brush. Now push in the wallpaper at the top and note where the edge of the wall is and cut into the corner, so you can bend the paper around the corner.
Gently pull the wallpaper around the corner and brush down onto the wall. Check that the wallpaper is still butted up to the seam. If not, pull up the wallpaper so it is back in its original position, adjust and start again.
Once done, use the wallpaper scissors to mark and cut the overlap at the top. Now go down the entire strip, lining up the seams and brush into position. Now cut the overlap at the bottom.
Once the drop has been brushed into place, there is typically an overlap onto the wall. Mark from top to bottom with the back of scissors, gently pull off the wallpaper at the top and cut, continue down in sections until you reach the bottom and brush the wallpaper into place to finish. Wipe off any excess paste with a damp cloth and leave to dry.

What is the best way to remove wallpaper?
If your chimney breast has been previously papered you will need to remove the old wallpaper before putting up the new. There are several options for removing wallpaper. You can take the more manual route where you score the wall and soak with water.
The alternative is to use an electric wallpaper steamer like the WAGNER SteamForce Plus at Amazon. This method involves less elbow grease and is typically quicker, so we would recommend this option. For a more in-depth look at the process make sure to check out our removing wallpaper guide.
Get the Homebuilding & Renovating Newsletter
Bring your dream home to life with expert advice, how to guides and design inspiration. Sign up for our newsletter and get two free tickets to a Homebuilding & Renovating Show near you.
Steve Jenkins is a freelance content creator with over two decades of experience working in digital and print and was previously the DIY content editor for Homebuilding & Renovating.
He is a keen DIYer with over 20 years of experience in transforming and renovating the many homes he has lived in. He specialises in painting and decorating, but has a wide range of skills gleaned from working in the building trade for around 10 years and spending time at night school learning how to plaster and plumb.
He has fitted kitchens, tiled bathrooms and kitchens, laid many floors, built partition walls, plastered walls, plumbed in bathrooms, worked on loft conversions and much more. And when he's not sure how to tackle a DIY project he has a wide network of friends – including plumbers, gas engineers, tilers, carpenters, painters and decorators, electricians and builders – in the trade to call upon.

