Vinyl Wrap for Kitchen Cupboards: How to Get the Best Finish
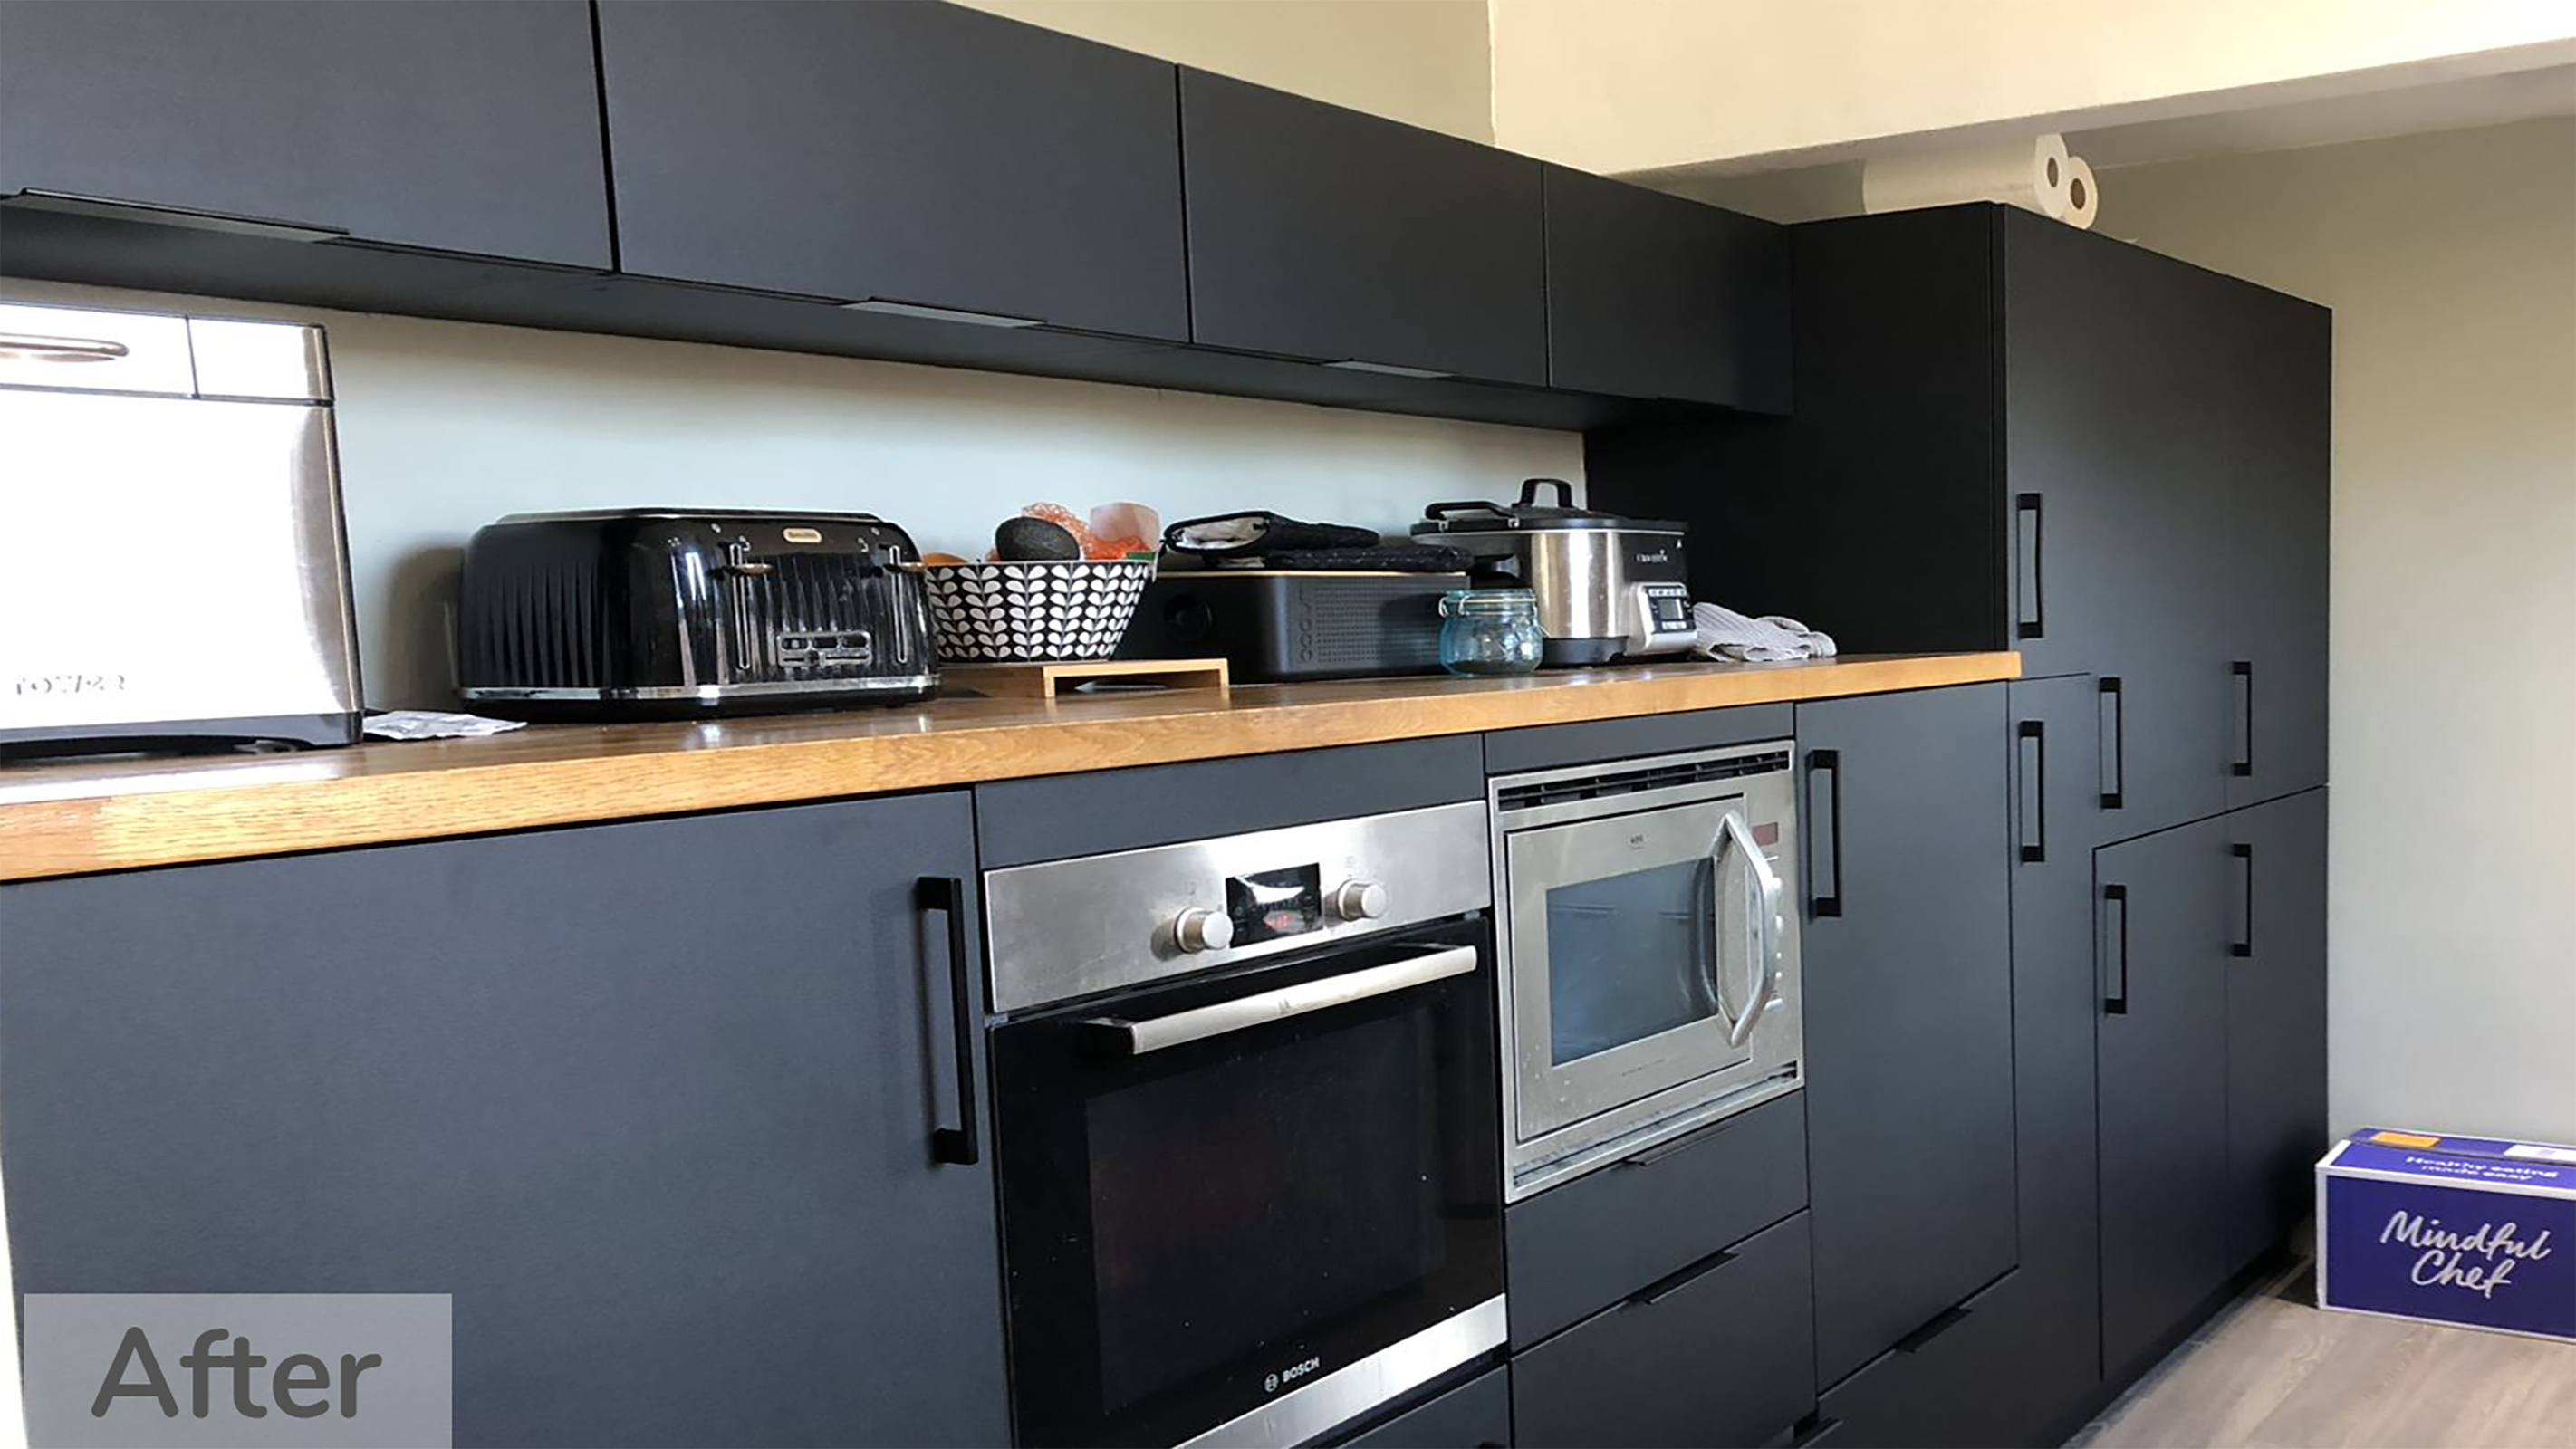
Using vinyl wrap for kitchen cupboards is a great way to completely transform the room without breaking the bank or enduring months of disruption
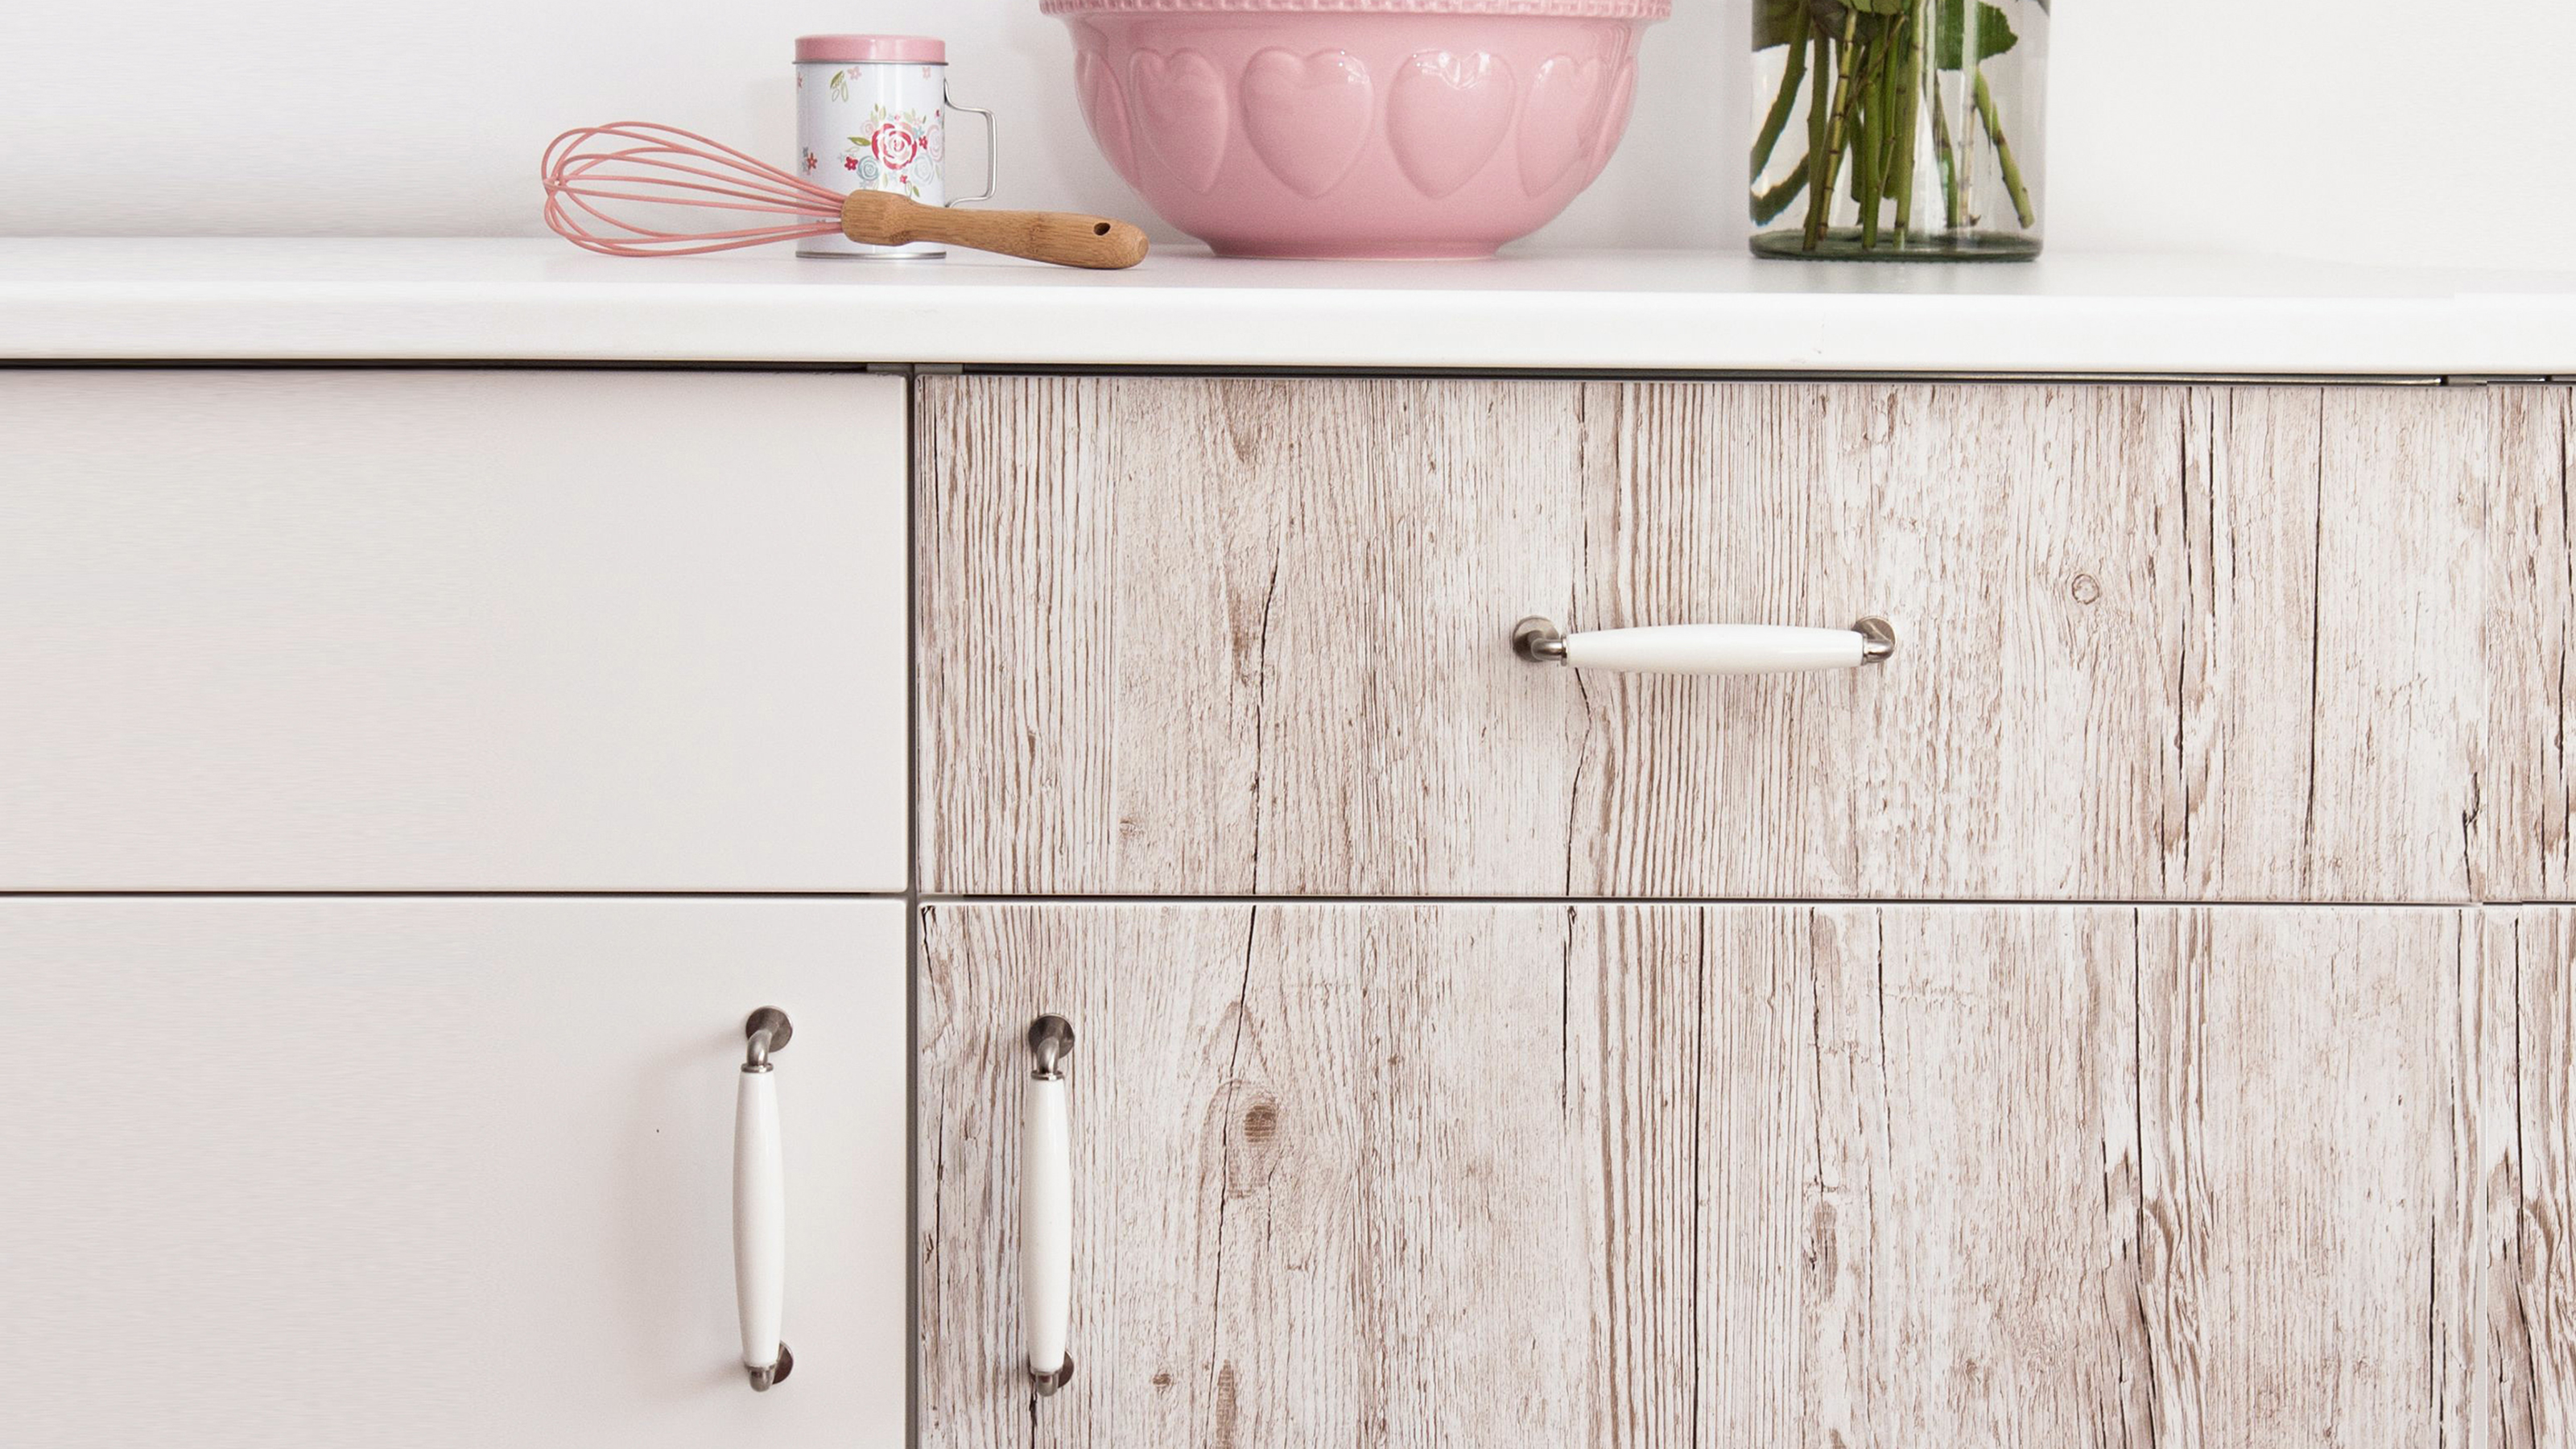
If you want a quick way to update your kitchen, vinyl wrap for kitchen cupboards could be just the thing you've been after.
This is an ideal solution for anyone interested in cheap kitchen ideas, particularly as not only is it a project that can, potentially, be carried out on a DIY basis, but is also far cheaper and quicker than many of the other kitchen update alternatives.
When you consider that, even at the lower end of the price scale, the average new kitchen costs from £8,000, this is still a considerable outlay, so it makes sense to explore ways to improve on what you've got rather than rip it out and start again.
This is also a great option if you are looking for a temporary solution to a inherited kitchen while you wait for renovation work to get underway.
In this guide we explain what vinyl wrap is, the different types available and how to get the best finish when using it to makeover your kitchen cabinets.
What is Vinyl Wrap for Kitchen Cupboards?
Vinyl wrap for kitchen cupboards comes supplied in rolls or as sheets. It is designed to be stuck over your existing cabinets to give them a totally new look (great for those looking to undertake a kitchen makeover on a budget), and is suitable for all designs, from unit fronts with grooves, such as Shaker style, to flush designs.
There are two main types of vinyl kitchen wrap: adhesive or heat activated. The most popular option is adhesive, which basically acts like a great big sticker, and this is certainly the easiest choice for those hoping to carry out DIY kitchen wrapping.
In terms of styles, vinyl wrap comes in hundreds of colours, finishes and textures, from high gloss, to matt and wood, stone or metal effect.
Vinyl wrap is not just suitable for covering units — it can be used for a whole host of other clever kitchen ideas. Everything from the fronts of cupboards and drawers, to plinths, larder units, kitchen islands and even worktops can be covered.
This is also a great solution for those after quick kitchen splashback ideas.
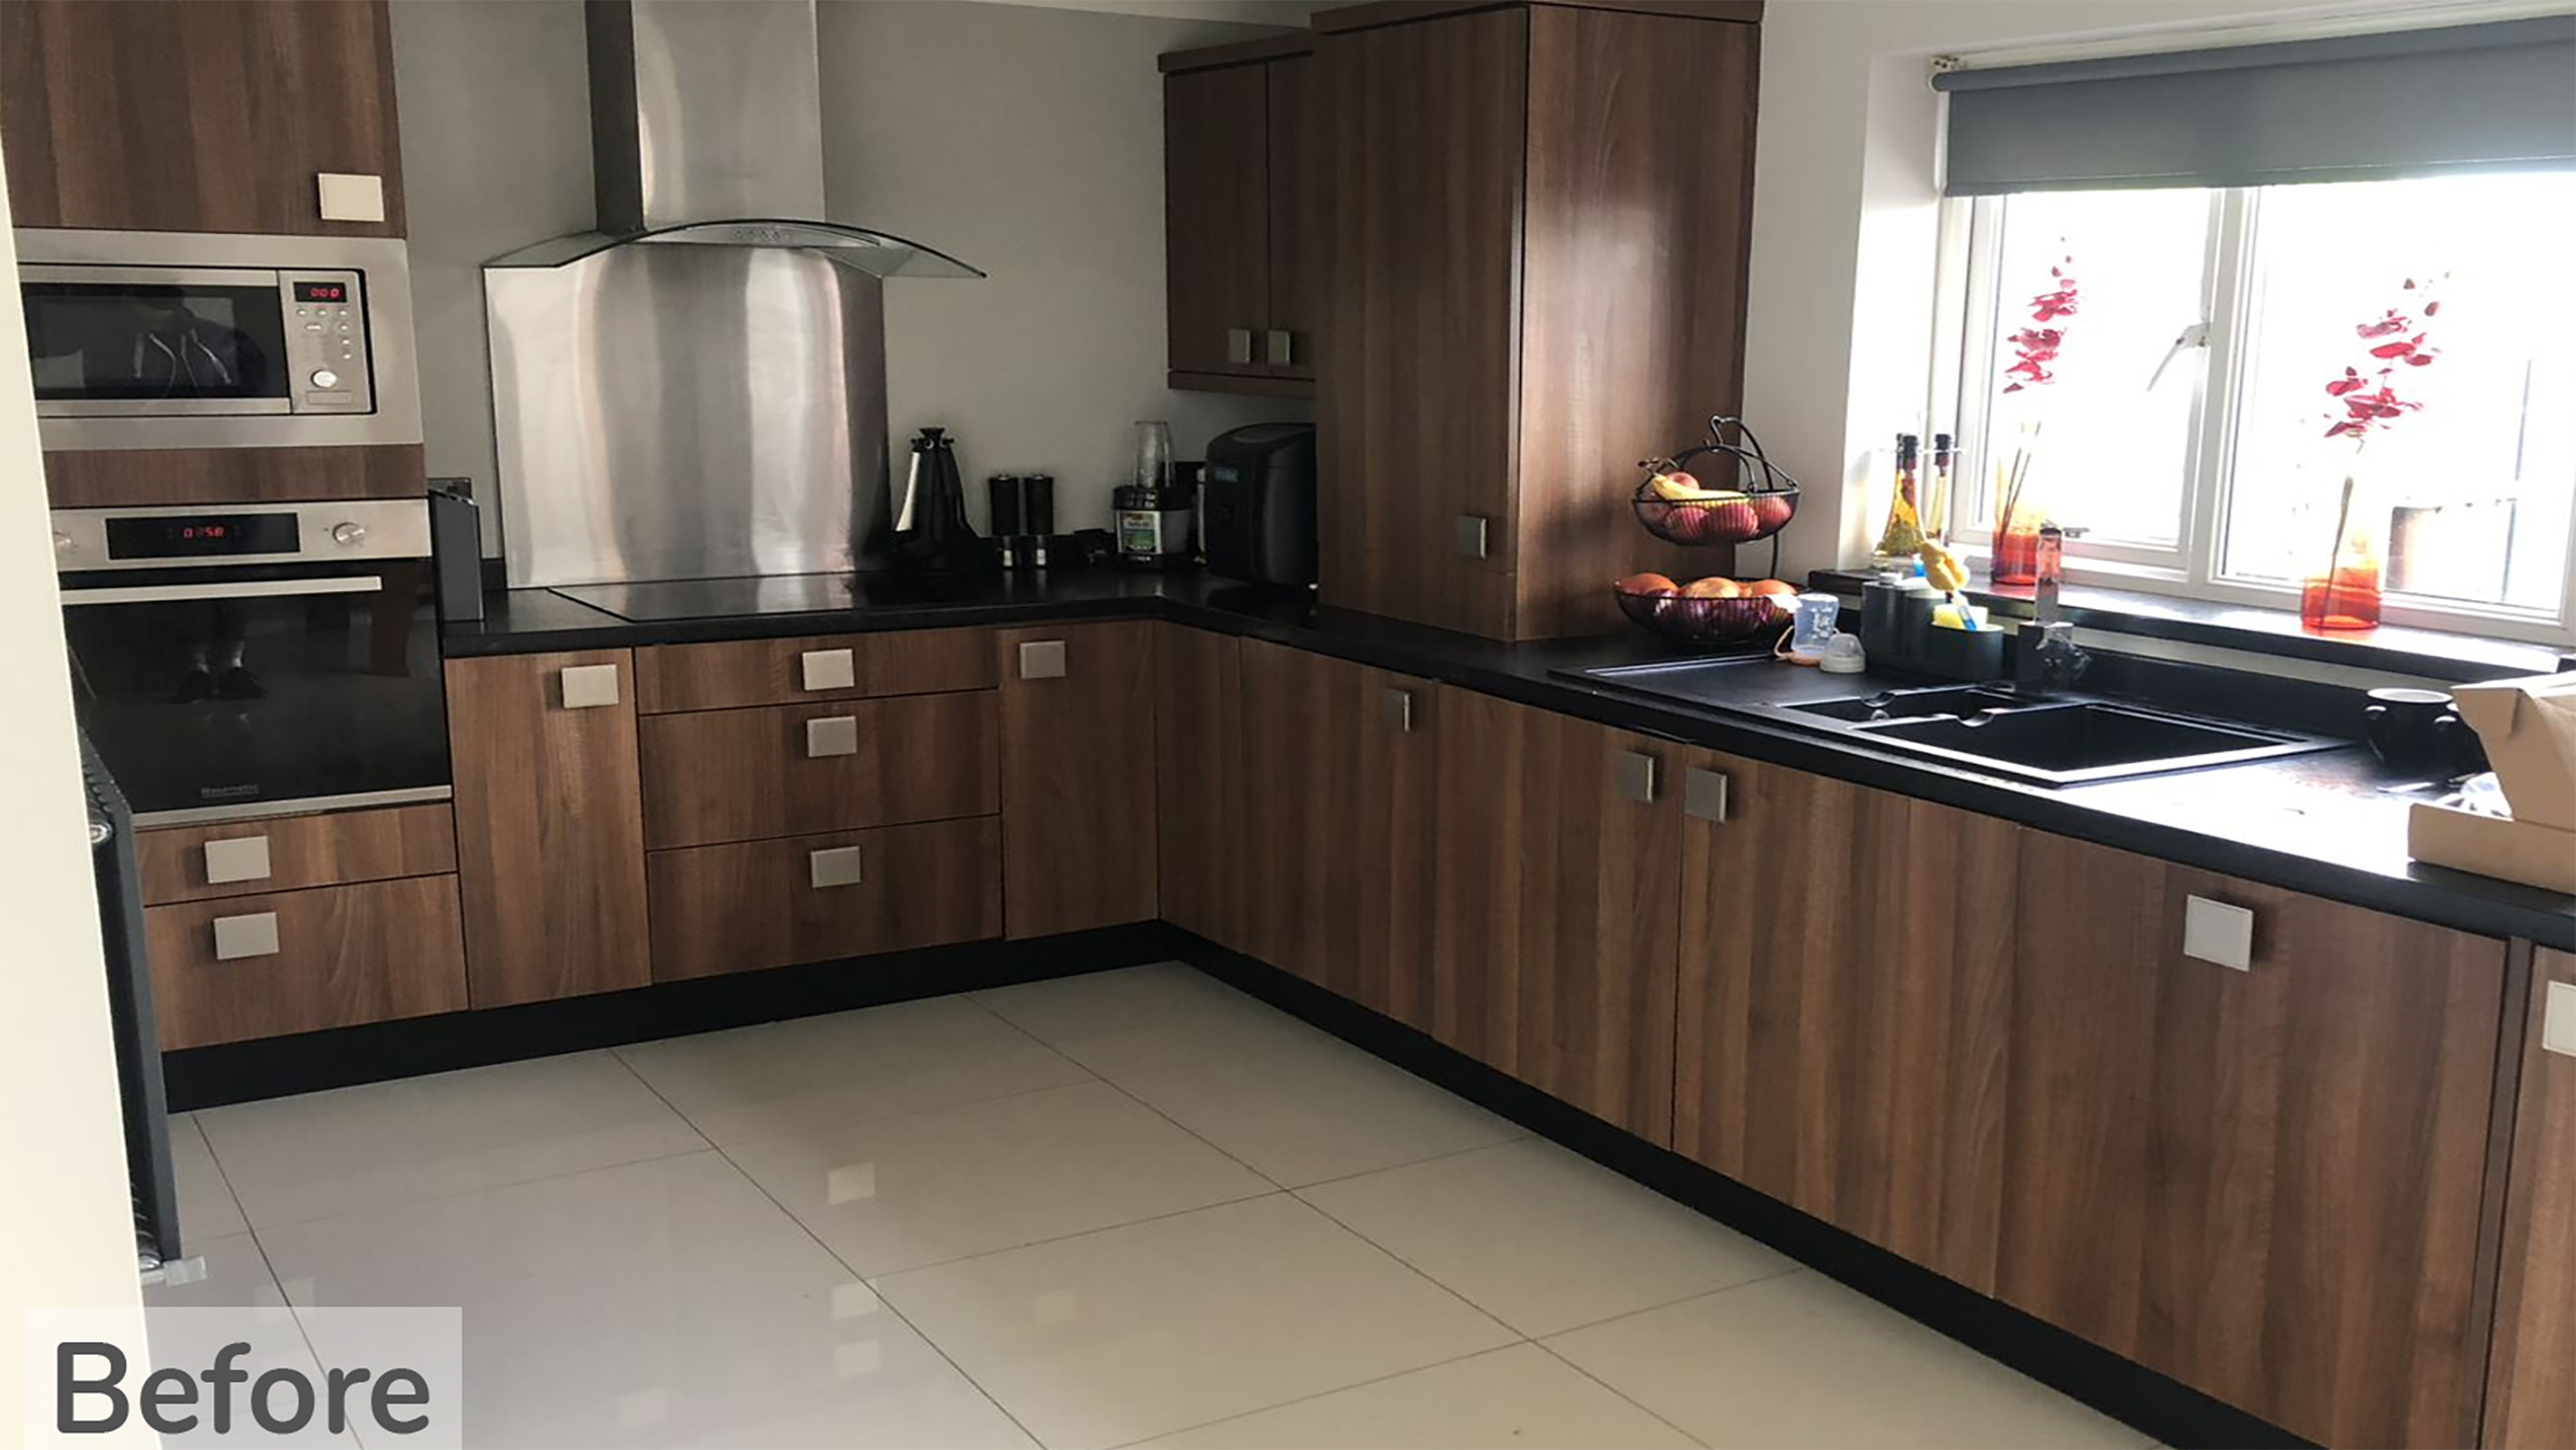
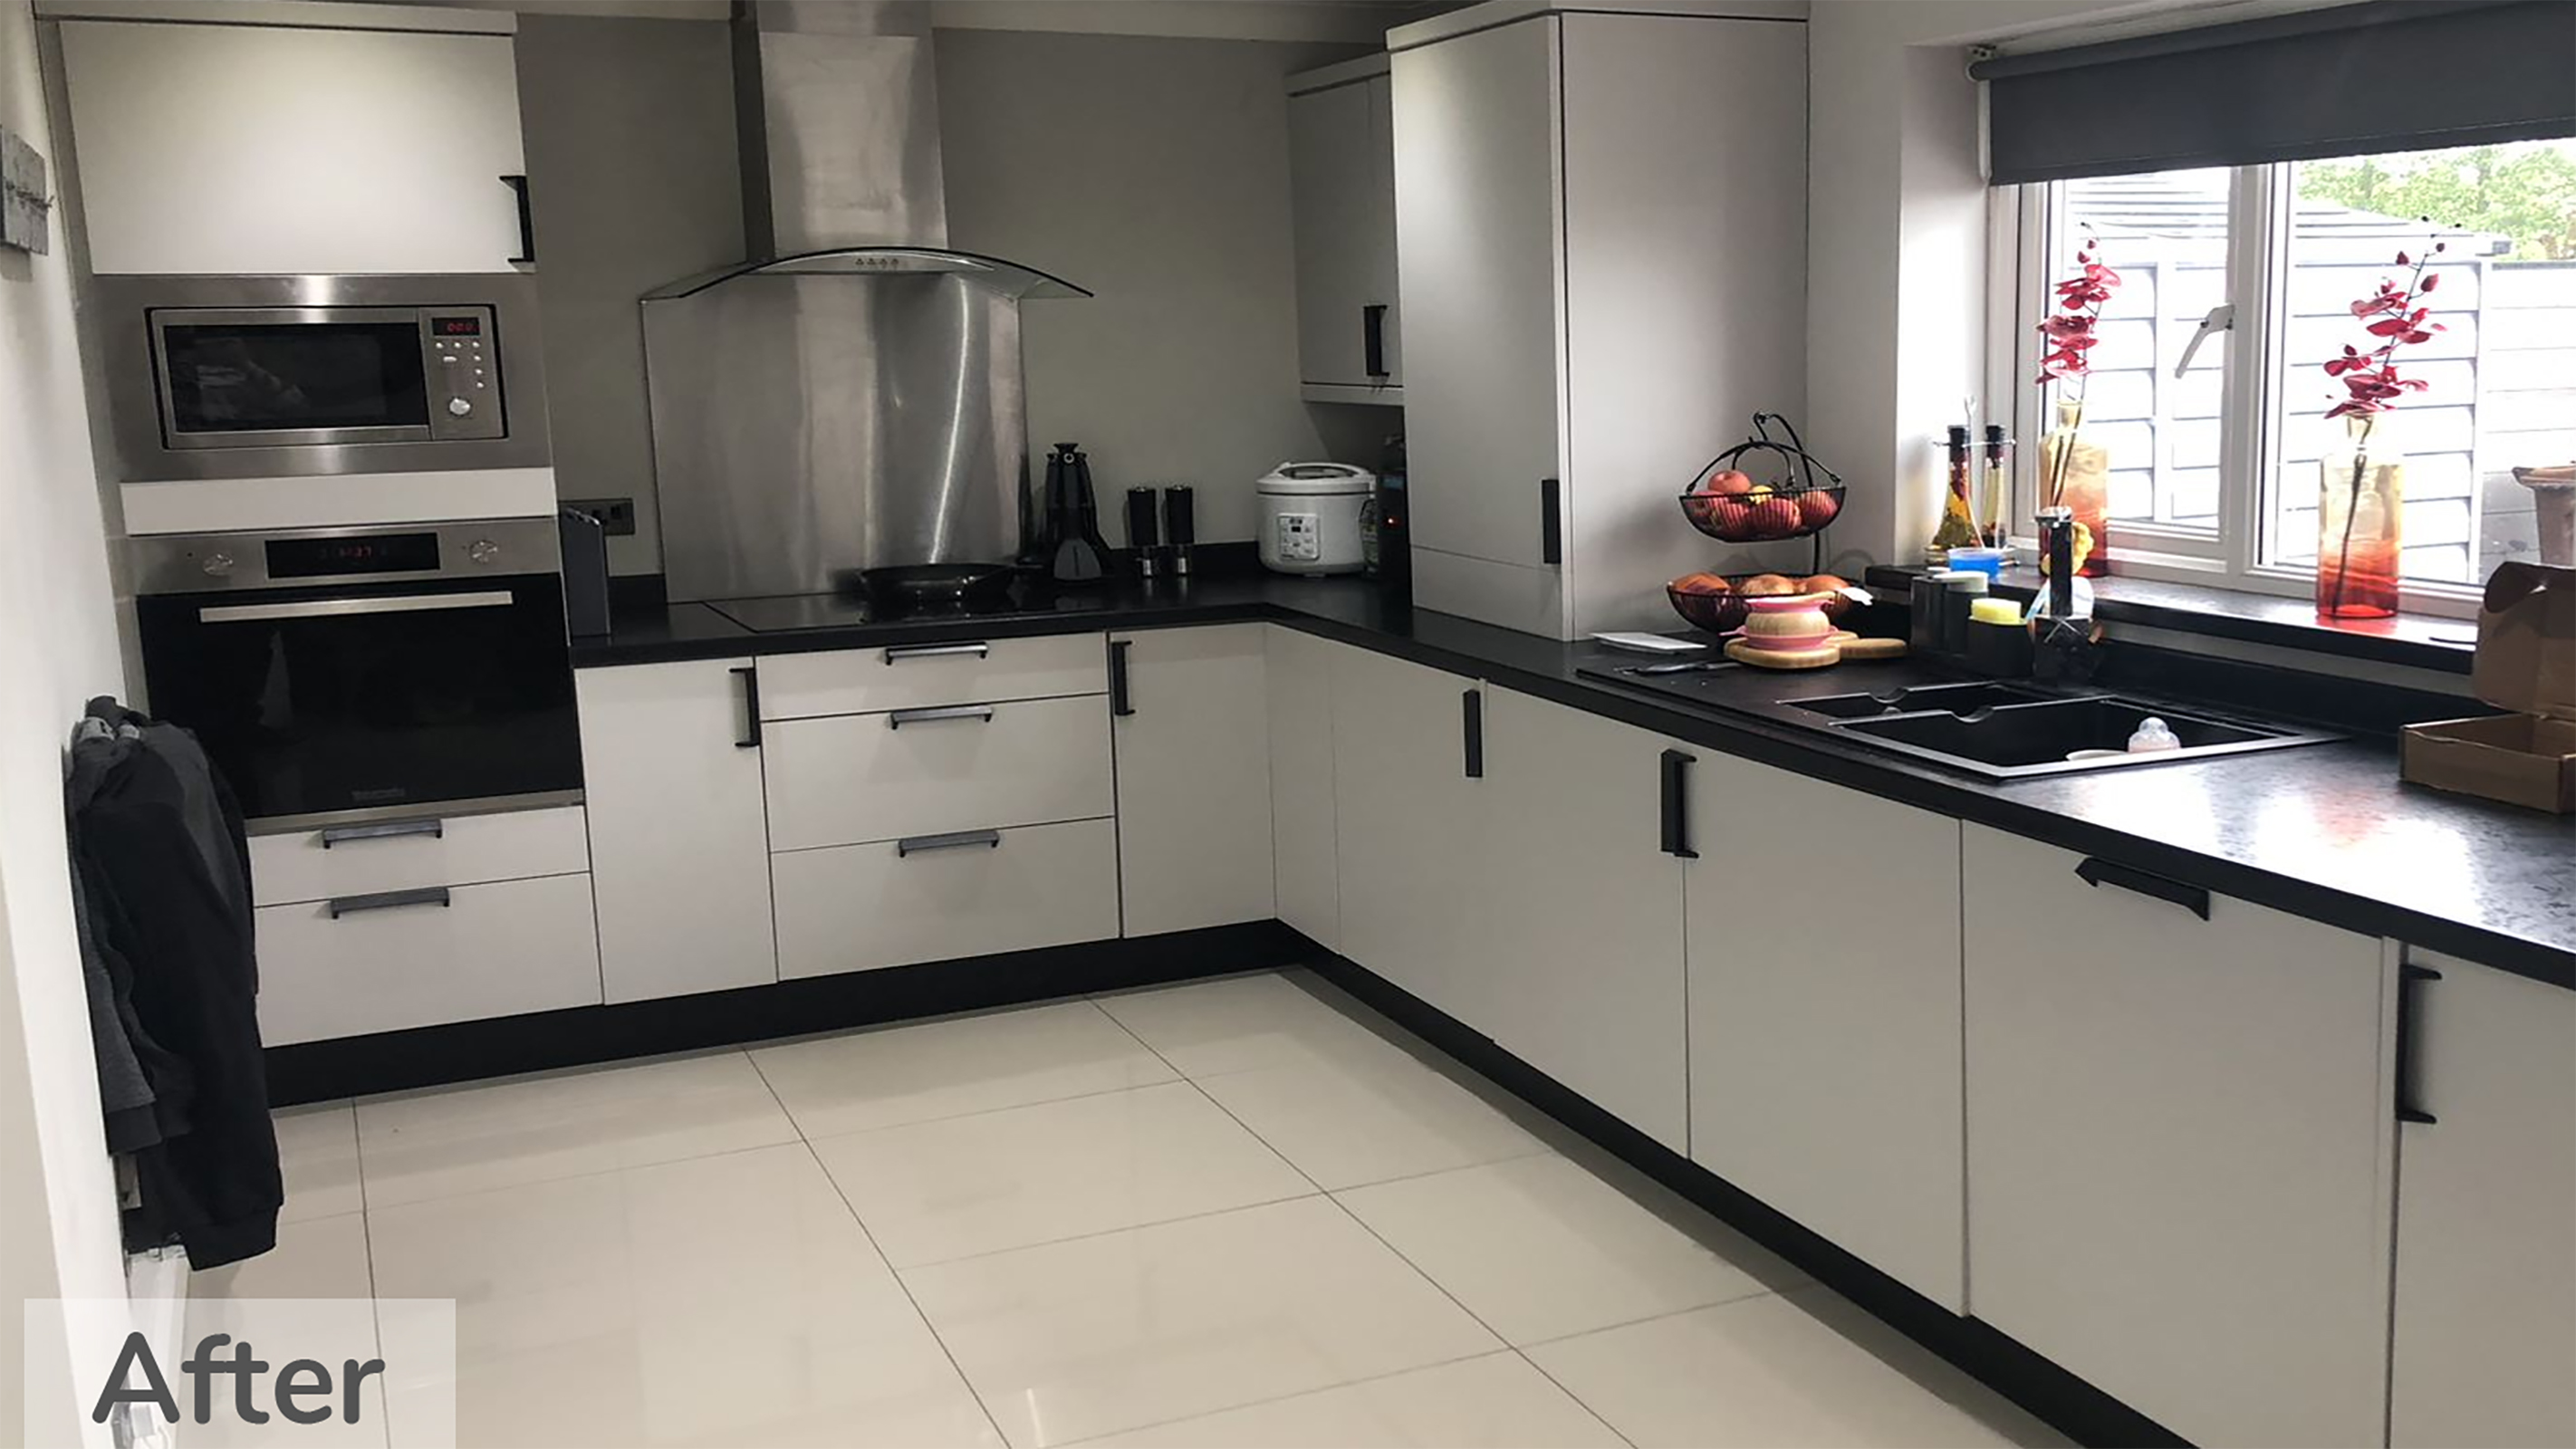
How Do You Wrap Kitchen Cabinets in Vinyl?
If you are carrying out a kitchen renovation and choose adhesive vinyl wrap for your kitchen units, you could consider applying it on a DIY basis. Bear in mind though that you will need to exercise care and patience if you want to avoid creases and air bubbles — this is not a job to be rushed.
Many people choose to hand the job over to the professionals to ensure a perfect, long-lasting finish.
You will first have to ensure your units or worktops are clean and grease free, before sticking the film to all visible surfaces and smoothing it over.
If you decide to give this job a try, it will entail the following tasks:
- Remove your unit doors and all fixings
- Ensure all the surfaces are clean and free of grease
- Measure your door and cut out the vinyl, leaving a couple of centimetres all the way round to fold over the edges
- Gradually peel away the backing paper, using a smoother to press down and remove air bubbles as you go
- Make a diagonal cut at the corners and fold the overhang around the edges, cutting away the excess
- Leave to adhere for the time recommended by the manufacturer (usually 24 hours) before reattaching the door
Heat-activated vinyl tends to be less commonly used by DIYers as it is a little trickier to apply — it is placed over surfaces and heat is applied to activate the adhesive. This shrinks and sticks the vinyl down.
A hairdryer on a low setting is the most common way of applying heat and this is a great option if your units have lots of grooves or bevelled edges to work the film into.
Of course, you could save yourself the bother and call in a professional company to apply your vinyl wrap instead. This will usually take a day or two, depending on the size of your kitchen, but obviously it will add to your kitchen wrapping costs.

How Long Does Vinyl Kitchen Wrap Last?
This really depends on the kitchen wrap you opt for and how well it has been applied.
If you choose a good quality vinyl wrap and pay for professional installation, you could expect it to last up to 10 years. This is providing you look after it carefully. Check whether it is suitable for placing hot pans down, if using it as worktop wrap. Although some can withstand heats of up to 75°C, it still makes sense to use pan trivets.
Vinyl wrap is pretty water resistant — providing it has been applied properly. However, around sinks, it can be worth using a sealant around joins to prevent water from seeping underneath.
Given the longevity of higher quality vinyl wraps, it could be a preferable option to painting kitchen cabinets for your makeover project.
How Much Does Kitchen Wrapping Cost?
If you are looking at how to remodel a kitchen and are considering vinyl wrap, you will be pleased to learn that it is possible to buy rolls for as little as between £4.50-£12 per 2m roll — which explains why it is such a popular choice for those after a thrifty kitchen renovation.
However, the quality of these rolls will vary and, if you are not carrying out the project on a DIY basis, you will need to factor in labour too.
If you opt to take a hands-off approach, expect to pay around £30-£100 per door, for materials, with additional £150-£200 per day for labour.
"For a medium kitchen, with doors, side panels etc. expect it to take roughly three days of labour and, I would say, cost around £1,250 using good quality materials with a 10 year warranty," says Artis Valters of Elite Vinyl.
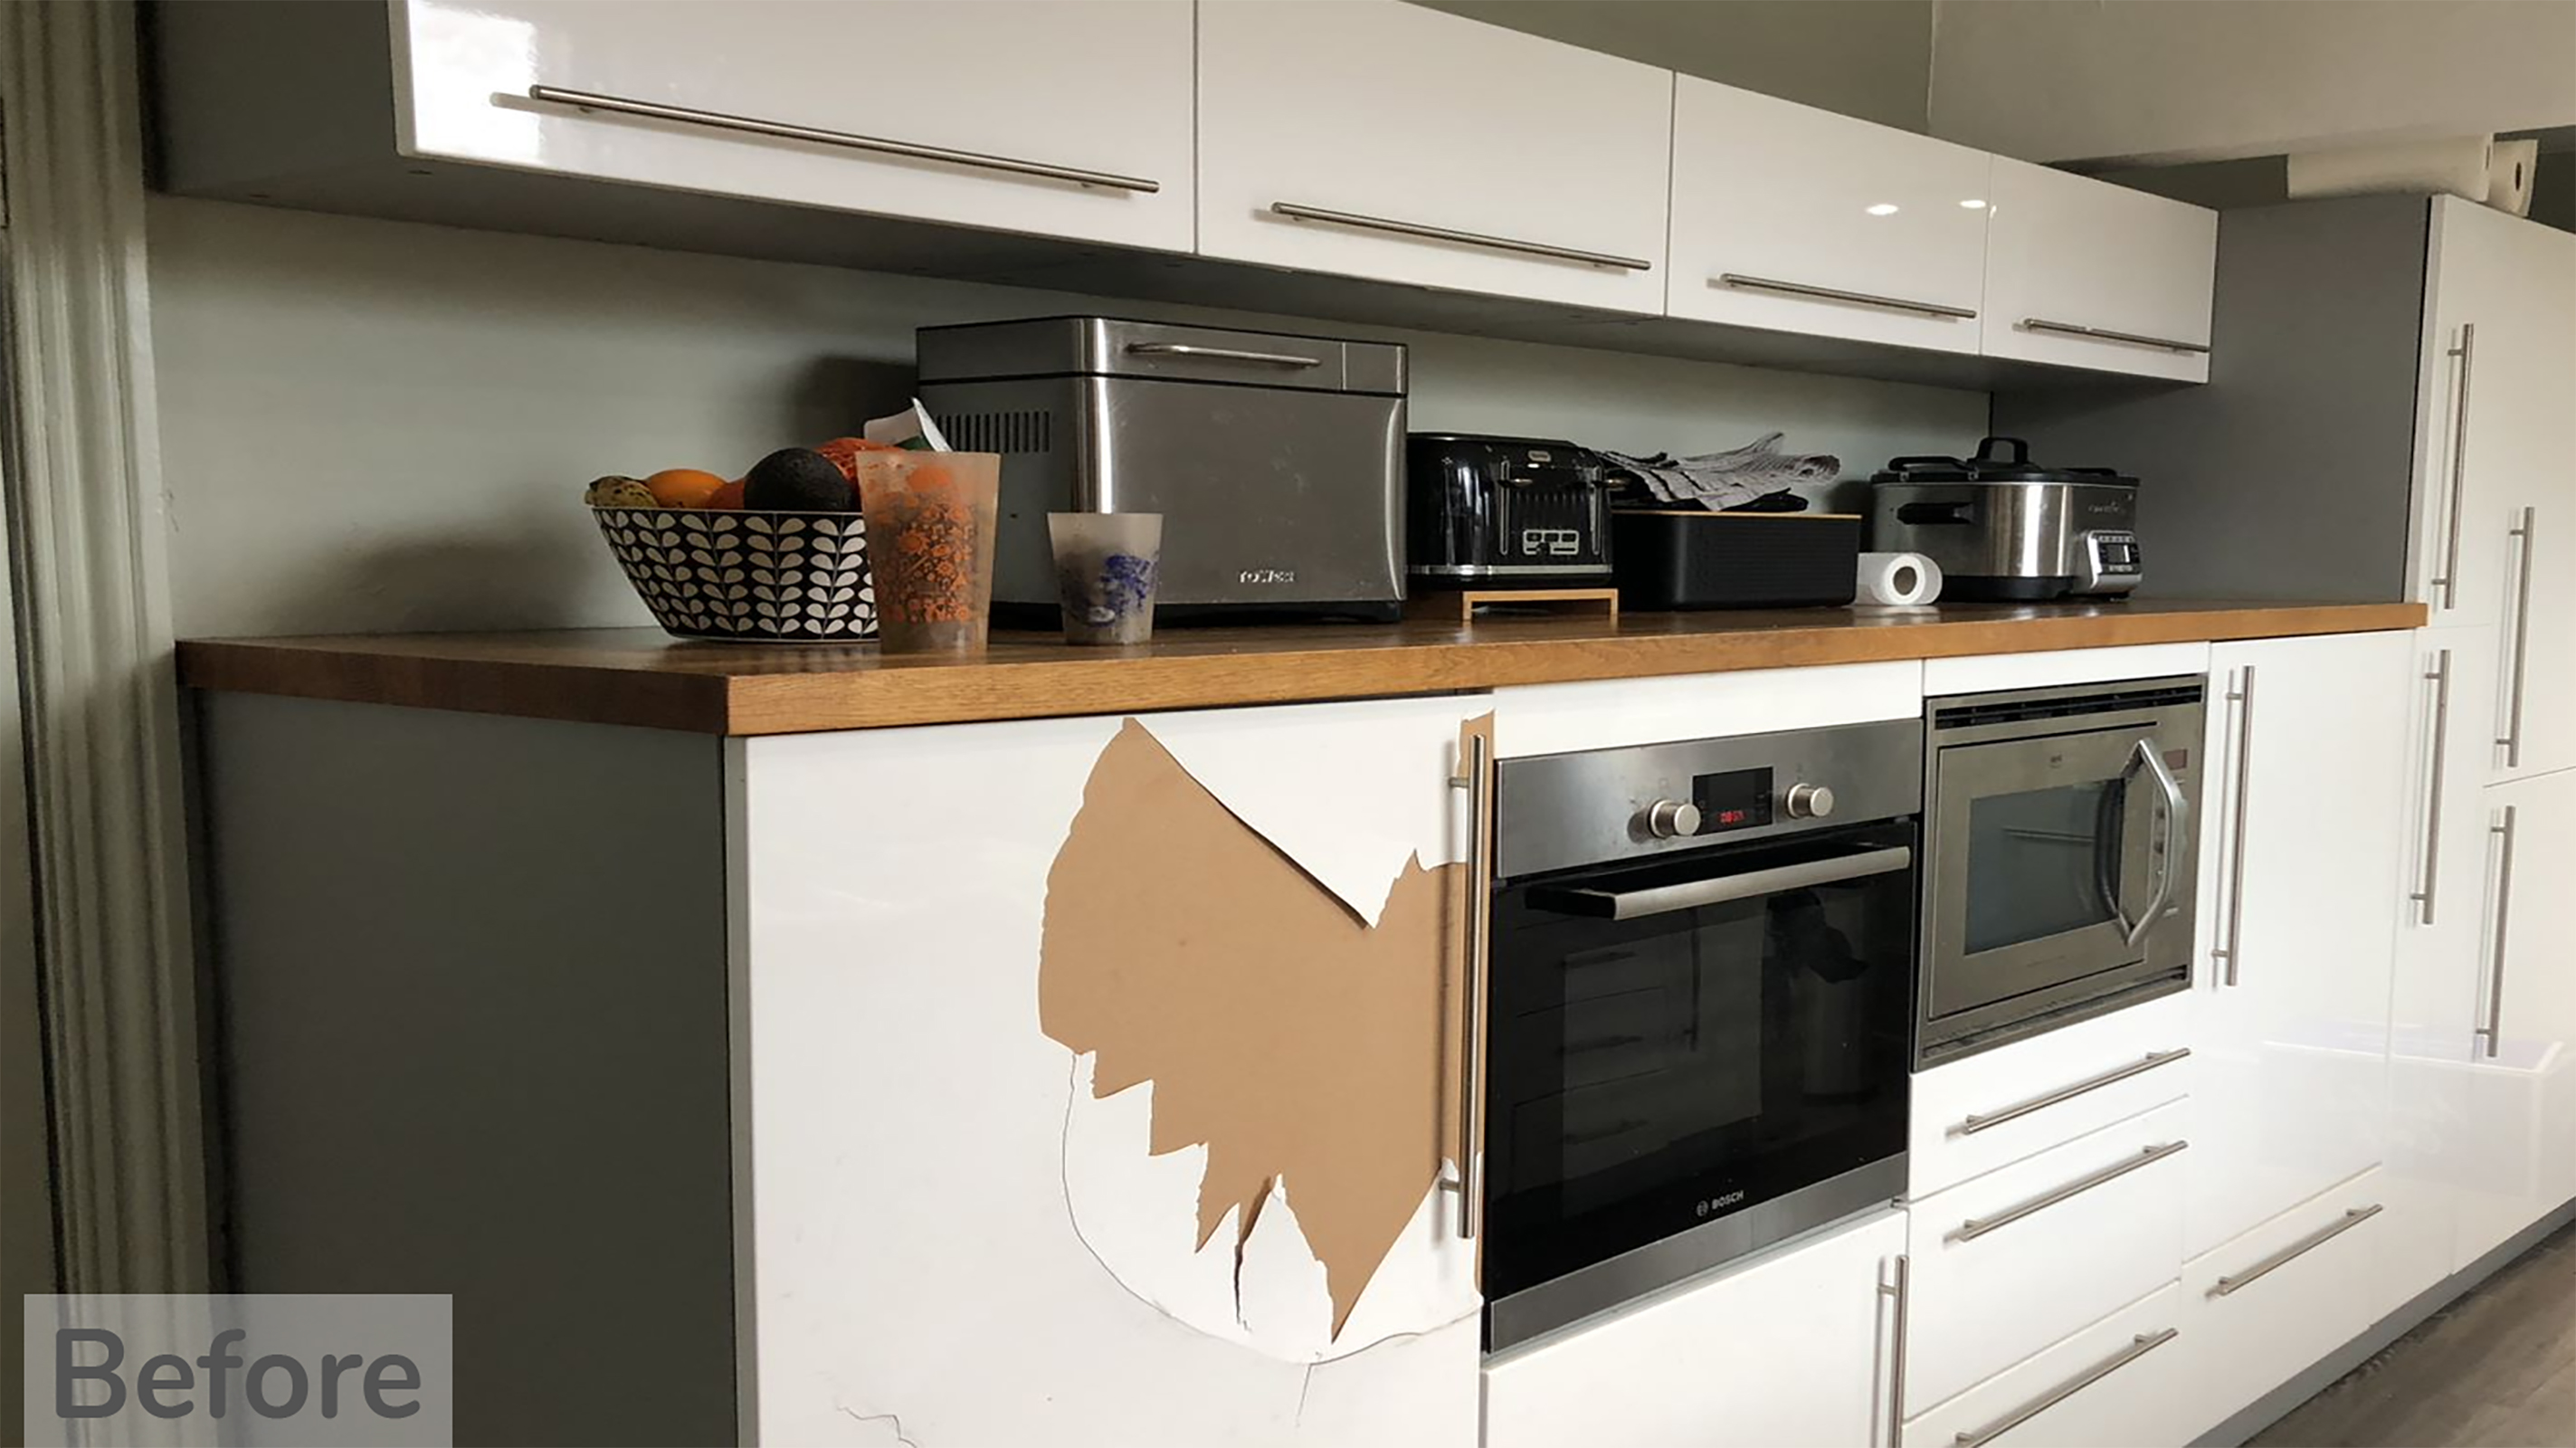
Can Vinyl Kitchen Wraps be Removed?
Yes, should there come a time when you decide your kitchen is ready for a refresh once more, or in the case of a wrapped door that has been damaged, vinyl wrap can be removed.
You might find you can simply peel it away, while in other cases, using a hairdryer on a low setting to soften the adhesive before peeling the film away can help.
Are there Alternatives to Vinyl Wrap?
If you want to keep your existing unit carcasses a makeover, and they're in good working order, alternatives to vinyl wrap for kitchen cupboards include:
- Painting kitchen units
- Having your units sprayed by a professional company
- Replacing kitchen doors
Get the Homebuilding & Renovating Newsletter
Bring your dream home to life with expert advice, how to guides and design inspiration. Sign up for our newsletter and get two free tickets to a Homebuilding & Renovating Show near you.
Natasha was Homebuilding & Renovating’s Associate Content Editor and was a member of the Homebuilding team for over two decades. In her role on Homebuilding & Renovating she imparted her knowledge on a wide range of renovation topics, from window condensation to renovating bathrooms, to removing walls and adding an extension. She continues to write for Homebuilding on these topics, and more. An experienced journalist and renovation expert, she also writes for a number of other homes titles, including Homes & Gardens and Ideal Homes. Over the years Natasha has renovated and carried out a side extension to a Victorian terrace. She is currently living in the rural Edwardian cottage she renovated and extended on a largely DIY basis, living on site for the duration of the project.

