Varnishing wood floors: Expert tips on how to prep and apply
Varnishing wood floors will add a smart, durable finish to protect the surface. Find out how to make it happen
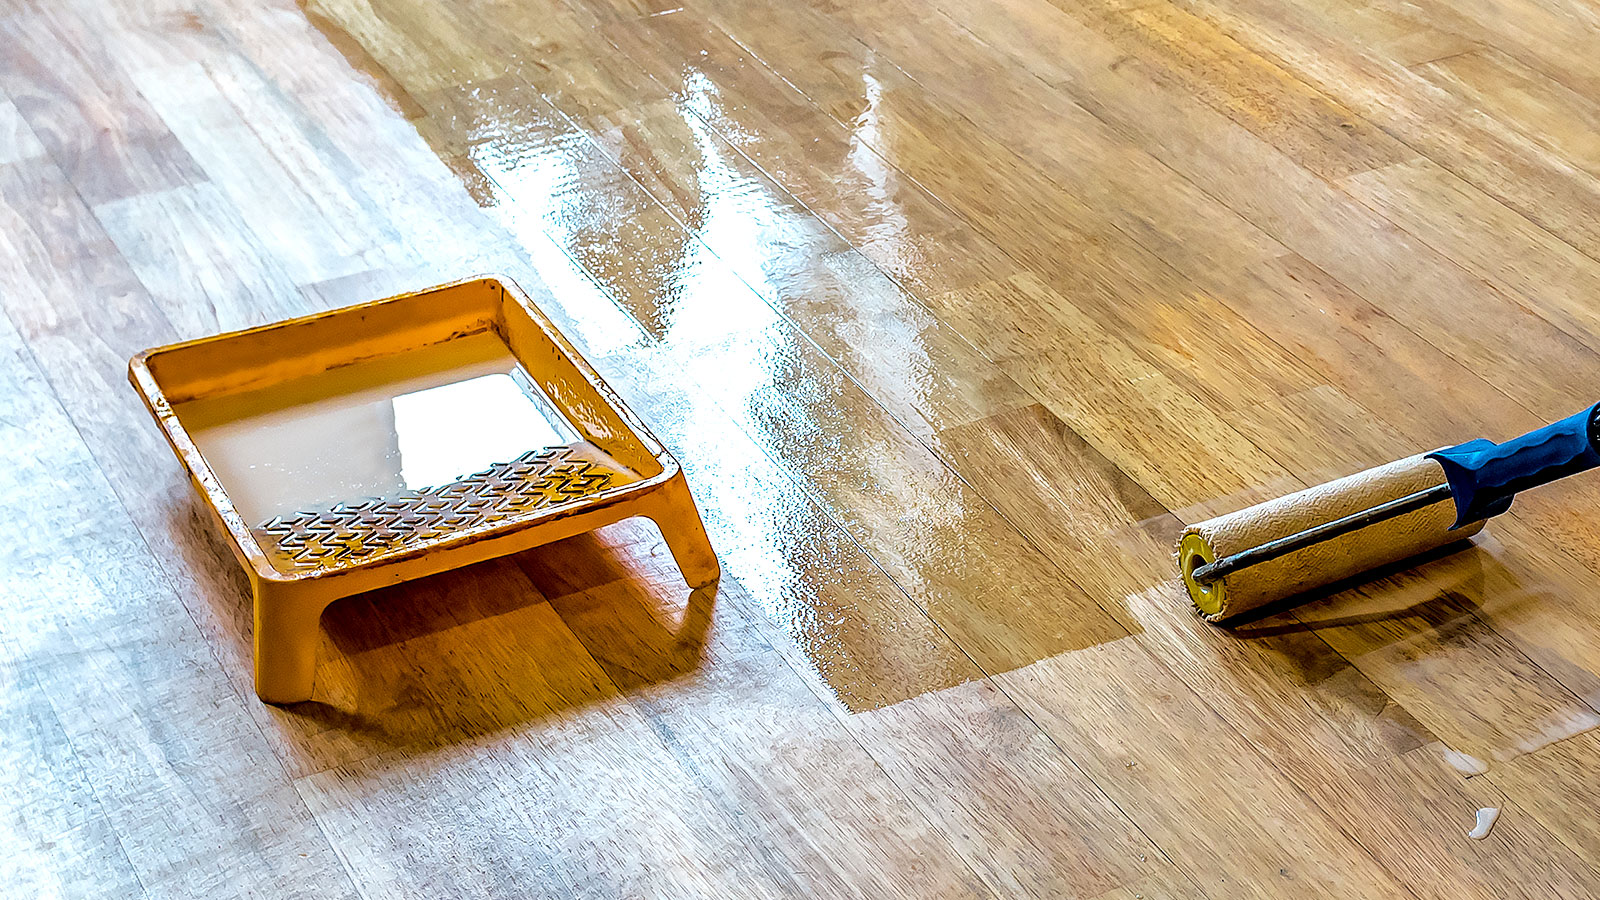
Varnishing wood floors makes perfect sense if you want to retain the natural beauty of the wood grain for all to see. It adds a clear protective layer that will keep the floor looking good for longer. And you can choose what finish you want to ensure that it matches up with your decor.
Most types of wood flooring are a good choice for varnish, but not all. If yours is (most natural woods are), here you’ll find what you need to do to get it ready for varnishing, what varnish and tools to use, and how to apply for the best finish.

Kirk has over 12 years’ experience in the wood flooring industry, including roles in sales, quality and training. Kirk’s knowledge of everything from subfloor preparation to maintenance and repairs is unsurpassed.
Varnishing wood floors: Preparation and application
Whether you are tackling a new wooden floor or restoring an old wood floor to its former glory, you've got to do your prep first before applying any varnish. There will be a little more work when tackling an old wooden floor, but not too much I promise.
How do you prepare floorboards for varnishing?
Whatever the condition and finish of a floor, the preparation process is similar. Kirk Evans, Technical Manager at Woodpecker Flooring. Explains the general process, “Start by cleaning the floorboards thoroughly, removing any dirt or debris.” Follow this up by, “Sanding the surface with fine-grit sandpaper to smooth out imperfections and remove old finishes.” Finally, “Vacuum the dust, then wipe the boards with a damp cloth. Ensure the wood is dry before applying a primer or stain if desired.”
This method is a good choice for bare wood floors, but if you have waxed, painted, or stained floors you may need to consider stripping before sanding. Note, if you have a stained wooden floor it will be difficult to remove a dark stain and replace it with a lighter stain. You can add more stain to get a darker, richer tone and even a varnish to add a matt, satin, or gloss finish and an extra layer of protection.
How do you apply varnish to wood floors?
Adding varnish to a wooden floor is typically a choice between a roller, pad and paintbrush. But which should you use and where? Evans shares that, “A brush is ideal for precision around edges and corners, while a foam roller or pad is great for covering large areas quickly.”
But, “The choice depends on the floor's size and your comfort level,” he adds. The ideal solution is to, “Combine both tools to ensure a smooth, even finish, with brushes handling detail work and rollers managing broader strokes.
But how do you get started? “Begin by stirring the varnish gently to avoid bubbles," explains Evans. “Use a high-quality brush or foam roller to apply the varnish evenly along the grain of the wood.” But where do you start? “Start from a corner and work your way out, maintaining a wet edge to prevent lap marks. Let each coat dry thoroughly before applying the next.”
What should I use to varnish wooden floors?
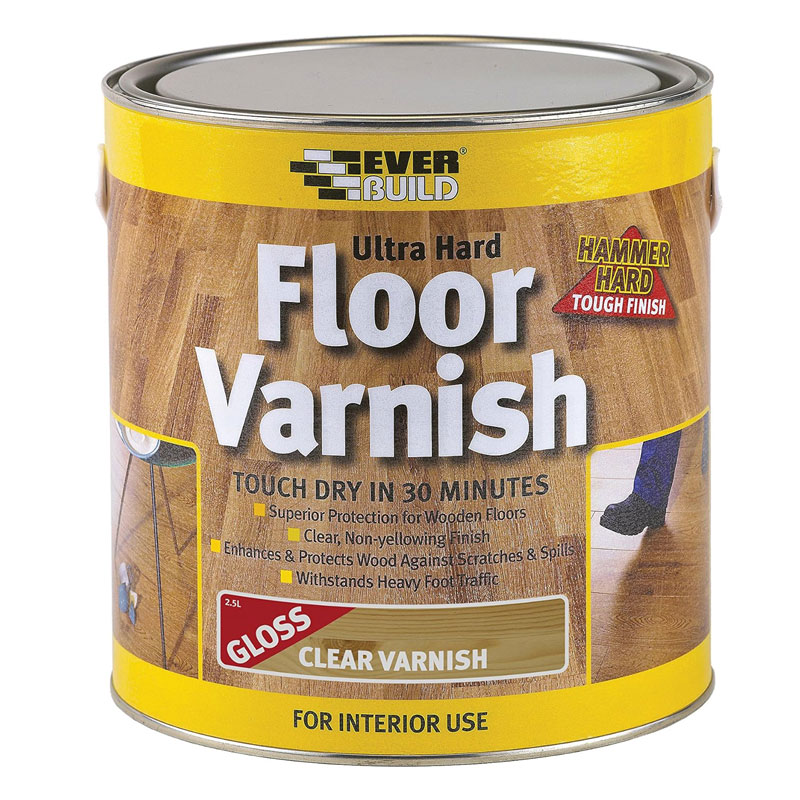
This may seem obvious – varnish, but there are different types of finish that work well on wooden floors as Evans explains, “Polyurethane varnish is a popular choice for wooden floors due to its durability and resistance to scratches and water.”
He adds, “Traditional varnish provides a more natural finish but may require more maintenance.” What should you use? “We recommend using a water-based polyurethane varnish, for an eco-friendly option that dries quickly and offers excellent protection.”
Try these to get a great varnished wood floor
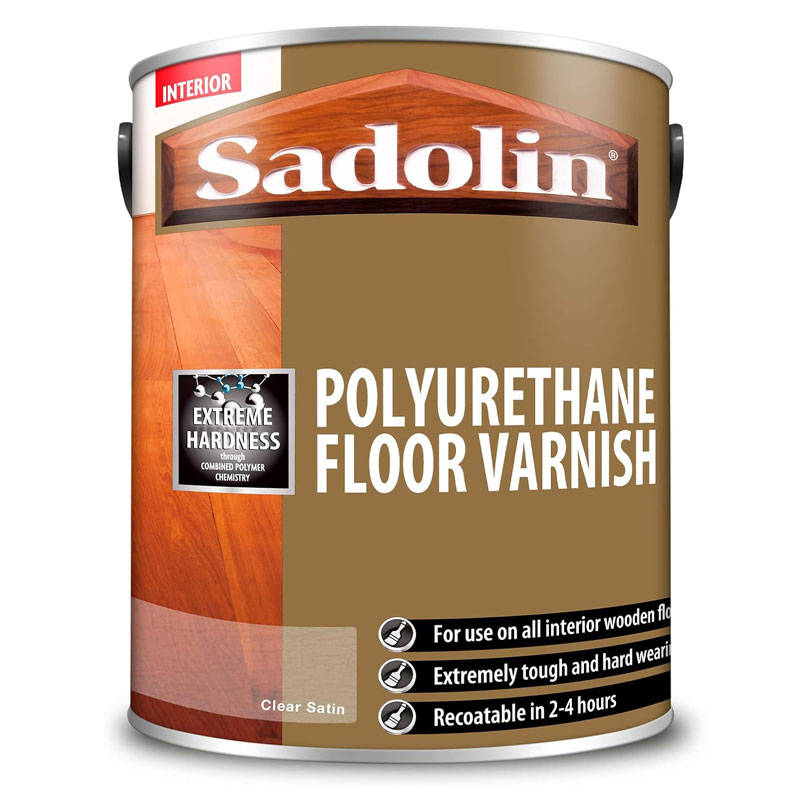
A quick-drying, low odour polyurethane floor varnish that is ideal for interior wooden floors, leaving a tough, durable finish
FAQs
How long after varnishing can you walk on it?
Varnish needs to dry and cure before it can be fully appreciated. But there are a few factors that will determine how soon you can walk on it and add furniture and rugs. A key consideration is the varnish base. Water-based varnish typically dries quicker than an oil-based varnish.
But, as a general guideline Evans suggests that you, “Wait at least 24 hours before walking on the floor with socks or soft shoes. For heavier traffic or furniture placement, allow 72 hours to ensure the varnish has fully cured.” He adds that, “Patience ensures a flawless finish that lasts longer.” Make sure to take note.
Can I put new varnish over old varnish?
Yes you can. But the key factor is the condition of the current varnish. If the varnish is in good condition it will need a clean to ensure that it's free from dirt, debris and grease before you move on to the next step.
So what is the next step? Evans shares that you need to, “Lightly sand the existing varnish to create a surface that the new varnish can adhere to.” Use a fine sandpaper grade - a 120-180 grit is typically a good choice. He adds, “Clean thoroughly to remove dust and debris before applying the new varnish. This process revitalises your floor without the need for stripping.”
Varnishing a wooden floor is one option for your home, but you may want to try something different before you add a coat of varnish. Check out our Wood flooring ideas and Best flooring for kitchen guides to get the best from your floor. And, if your looking to get a new wooden floor don’t miss out on reading our How to buy reclaimed wood flooring guide to get a unique and cost effective solution.
Get the Homebuilding & Renovating Newsletter
Bring your dream home to life with expert advice, how to guides and design inspiration. Sign up for our newsletter and get two free tickets to a Homebuilding & Renovating Show near you.
Steve Jenkins is a freelance content creator with over two decades of experience working in digital and print and was previously the DIY content editor for Homebuilding & Renovating.
He is a keen DIYer with over 20 years of experience in transforming and renovating the many homes he has lived in. He specialises in painting and decorating, but has a wide range of skills gleaned from working in the building trade for around 10 years and spending time at night school learning how to plaster and plumb.
He has fitted kitchens, tiled bathrooms and kitchens, laid many floors, built partition walls, plastered walls, plumbed in bathrooms, worked on loft conversions and much more. And when he's not sure how to tackle a DIY project he has a wide network of friends – including plumbers, gas engineers, tilers, carpenters, painters and decorators, electricians and builders – in the trade to call upon.
