Tiling a shower: A guide on how to get a watertight finish
Tiling a shower brings with it some subtle differences to standard tiling. Here we reveal what prep you need to do and whether to start with the floor or walls

Tiling a shower is a long lasting, effective and attractive way to keep it waterproof. Not only do you get to choose the colours and style of the tiles to help complement your bathroom design, you get a functional barrier against water.
Whether you’re tiling a wall or floor in a shower, you need to make sure that you get your prep right as well as the tiling right. Get it wrong and you could get unwanted leaks leading to more serious issues. Here we give you a quick guide to ensuring that doesn’t happen.
Tiling a shower: A four step guide
A shower will be in contact with water every time it’s used so it’s critical that the area is waterproof before and after tiling. Here we show what you need to do...
1. Waterproof the area
You will need to waterproof the walls and floors before you start. If using a liquid sealant, then apply as instructed and leave to dry as per manufacturer's instructions. If using a waterproof membrane to seal the floor and walls, install as instructed. Make sure you have all the components you need such as internal corner joints and internal wall floor joints.
2. Tile the floor
Before you tile the floor we are assuming that it has a drain installed, has been waterproofed and has the right fall — the slight slope from the wall to the drain so that the water drains properly.
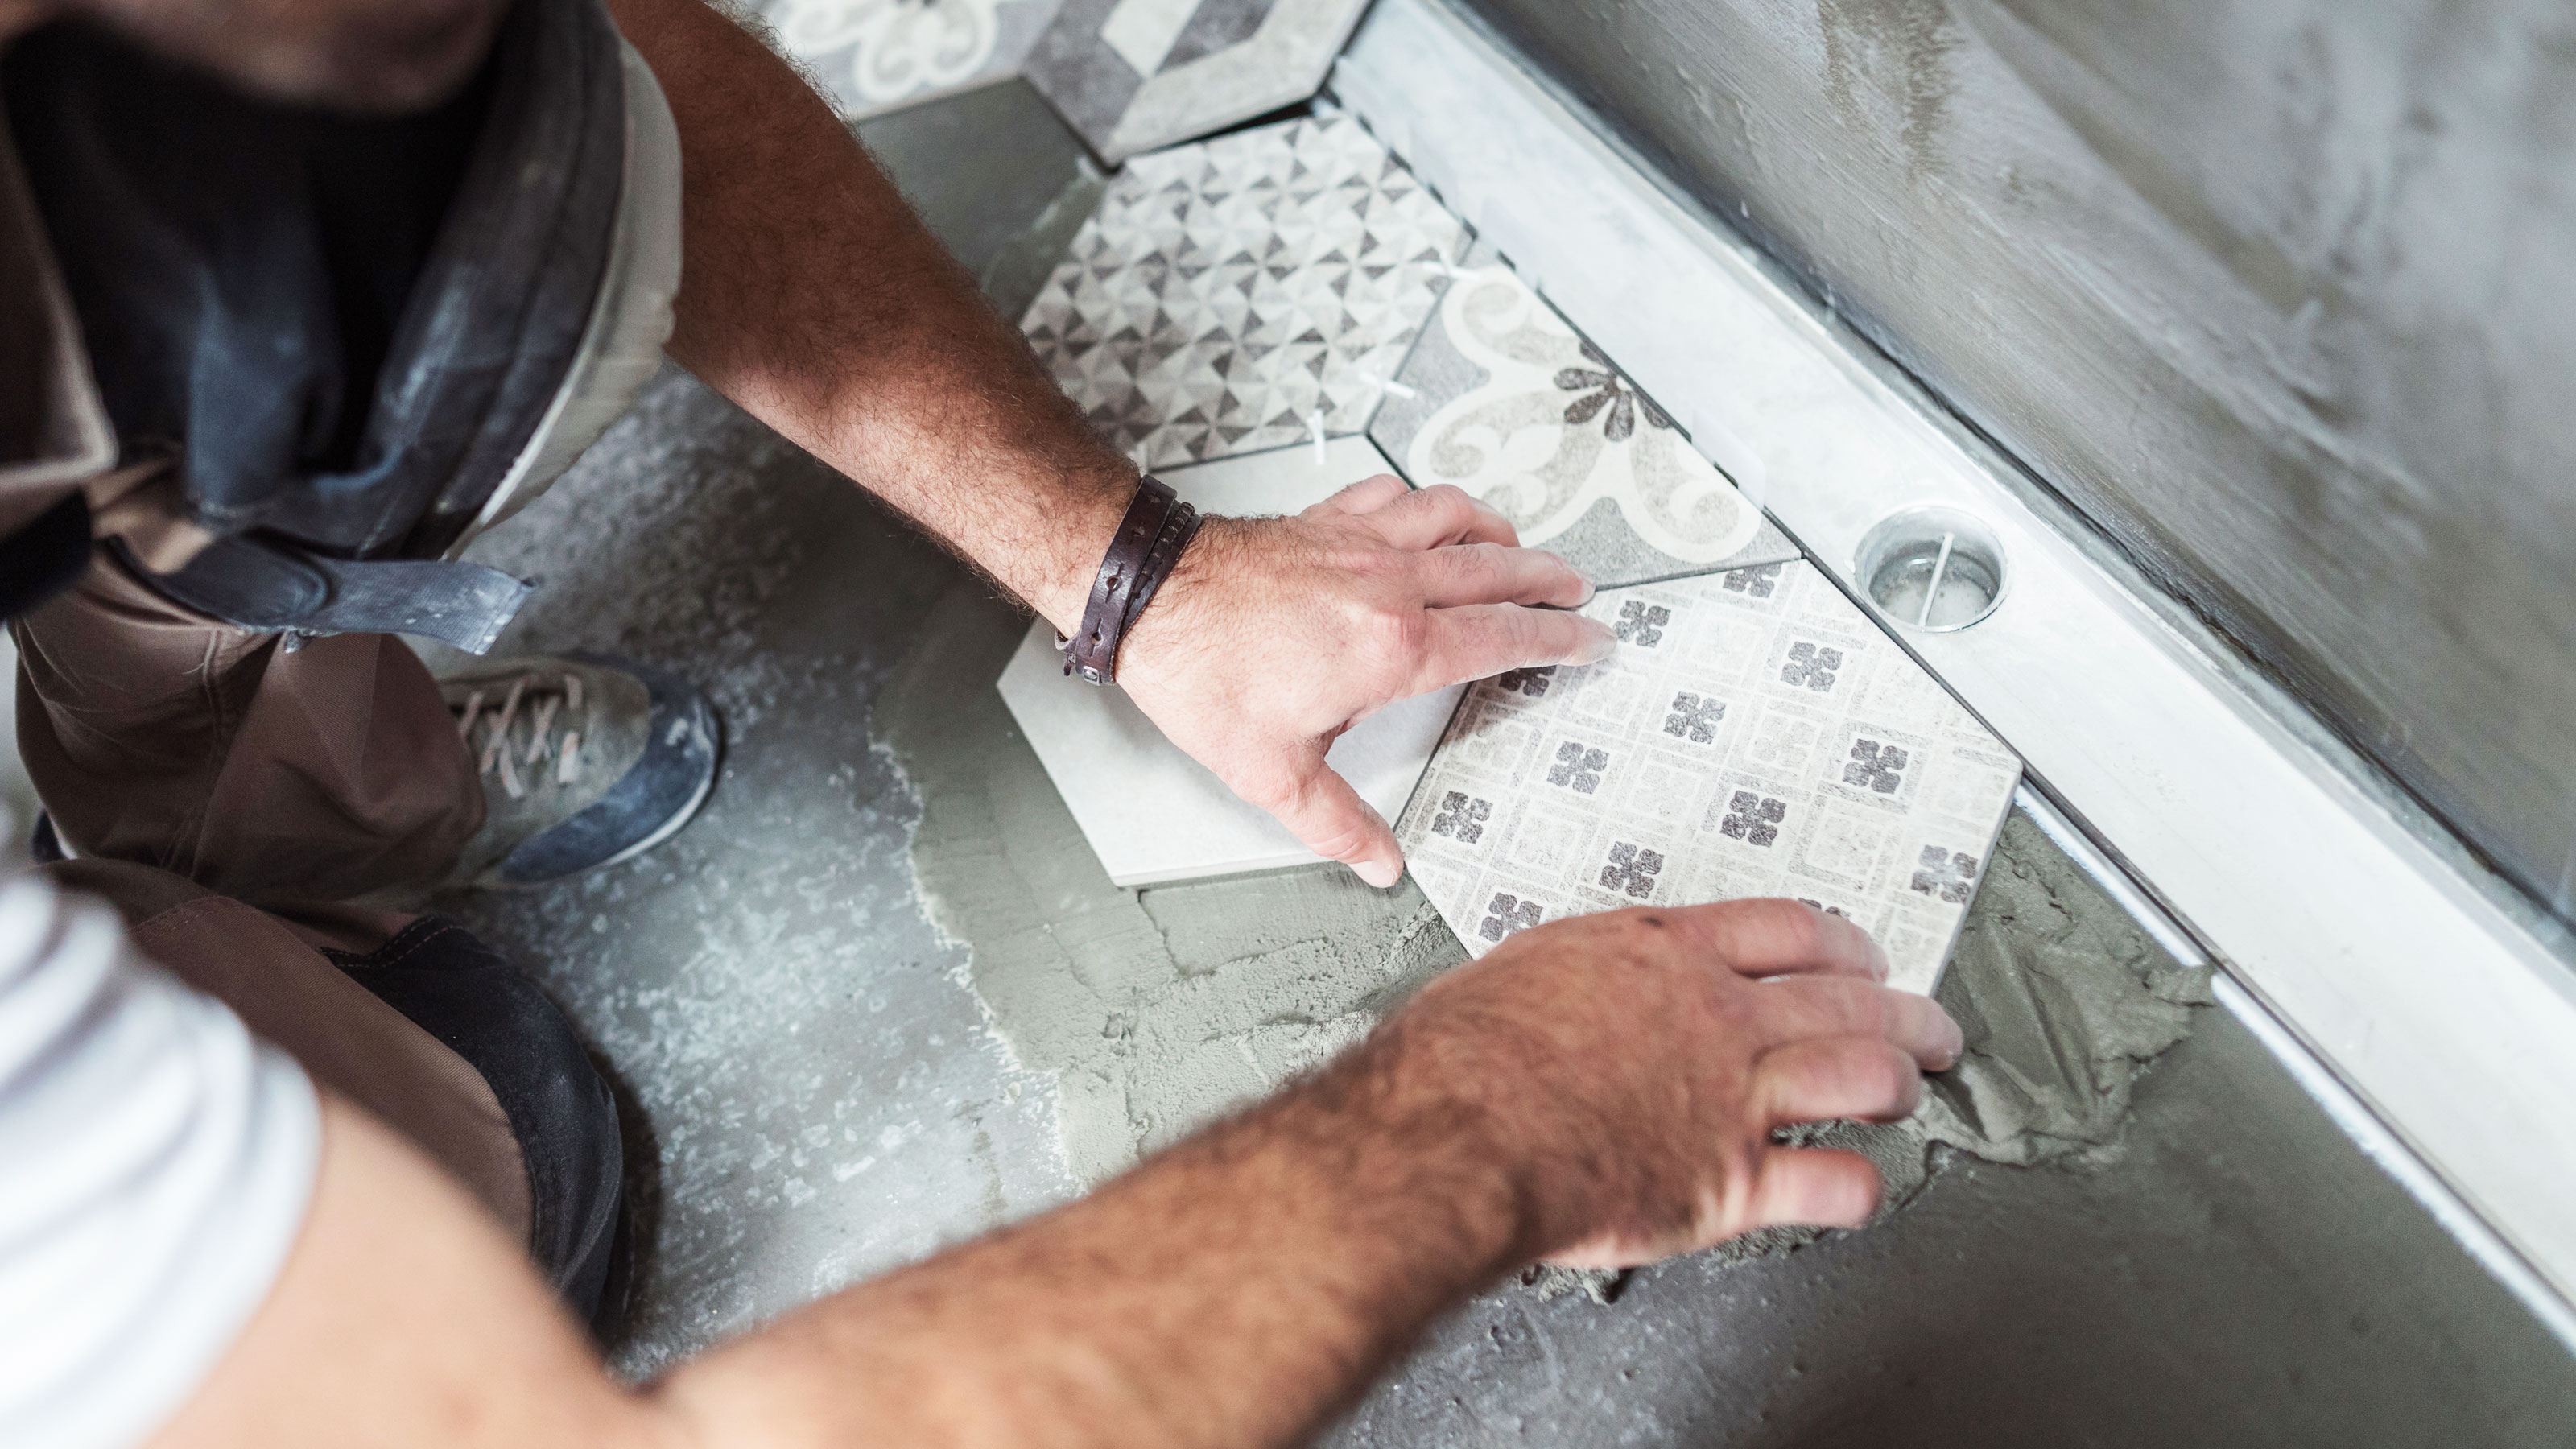
The first step is to dry lay the tiles, start in the centre of the shower and work out in each direction toward all edges. Make sure that you don’t have any small slither of tiles on the edges. Look to have even size cuts on all opposite edges. Adjust until happy.
If you have a circular drain you will need an appropriate sized diamond tile hole saw to cut the hole. Make sure it's slightly bigger than the drain. Now lay enough adhesive for around 4-6 tiles — again start in the middle — and lay working outwards, first towards the back edge of the shower floor. Use 3-5mm spacers for the floor. Repeat until you reach the edges, remembering to measure and cut tile to fit.
The alternative to tiling a shower floor is to install a shower tray as this gives you a continuous floor — no joins — and you will only need to tile the walls.
3. Tile the walls
Before you start make sure the floor tiles have set and cover with a sheet or two to keep them clean. Start on the back wall and measure and mark the centre point of the wall. Now dry lay the first tile with the middle on the marked centre point and dry lay tiles both sides to make sure you are getting an even spread. Now spread enough adhesive on the wall for 2 or 3 layers of tiles, starting in the centre lay the first tile, then work left and right, remembering to use spacers. Now check that the tiles are level with a spirt level like this CRAFTSMAN Torpedo Level from Amazon . If uneven, use a piece of cardboard from the tile box to get the layer level. Now lay the rest of the tiles and repeat the whole process on the other walls.
4. Grout and finish
Leave the tile adhesive to set for 24 hours and finish off by grouting the floor tiles and leaving to dry. Then add grout to the wall tiles. When finished, use a grout sealer to help improve water resistance.
What is the correct order to tile a shower?
There is debate over whether you should tile the floor or wall first, but there are pros and cons for both options, but the floor is typically the first choice as Stephen Russell of Ashley Cross Tiling explains: “It is usual to tile the floor of a shower first. This is because it is better at waterproofing the shower.”
It also allows you to tile right up to the wall and hang the wall tile to the right depth. You can do it the other way but you will need to be accurate with the gap you leave at floor level.
But, tiling the floor first does mean you need to wait for the floor tile to set before you can stand on it and continue tiling. There is also the issue of stray mortar getting on the floor when tiling the wall and the possibility of a dropped tile or tool cracking one of your nice new tiles. A simple solution is to lay down protective sheeting.
Do you need a waterproof membrane in a shower?
You will need some sort of waterproofing under the tiles to stop water ingress into the floor and walls and stop water damage. You can use a waterproof membrane which is designed to be installed on the surface of walls, floors and board. But you need to make sure corners and edges are installed properly to keep water out.
The alternative is to use a liquid based sealant like the Mapei Shower waterproofing kit from B&Q to ensure all areas are waterproof before tiling.
Can I tile straight onto plasterboard in a shower?
You can but it is not recommended. If you have plasterboard in a bathroom there’s a couple of options that you can take when tiling onto plasterboard. You might think that moisture resistant plasterboard is a good idea, but it's not ideal for areas constantly exposed to water. It will need to be primed with a suitable sealant to waterproof it. Or, use a waterproof membrane to stop water reaching the plasterboard.
Alternatively, you can skim the plasterboard to help stop water seeping into the board, but again you will need to seal the plaster to make it waterproof. And, you will also need to consider the weight of the adhesive and tile going onto plasterboard. Standard skimmed plasterboard can only hold 20kg per square metre.
Get the Homebuilding & Renovating Newsletter
Bring your dream home to life with expert advice, how to guides and design inspiration. Sign up for our newsletter and get two free tickets to a Homebuilding & Renovating Show near you.
Steve Jenkins is a freelance content creator with over two decades of experience working in digital and print and was previously the DIY content editor for Homebuilding & Renovating.
He is a keen DIYer with over 20 years of experience in transforming and renovating the many homes he has lived in. He specialises in painting and decorating, but has a wide range of skills gleaned from working in the building trade for around 10 years and spending time at night school learning how to plaster and plumb.
He has fitted kitchens, tiled bathrooms and kitchens, laid many floors, built partition walls, plastered walls, plumbed in bathrooms, worked on loft conversions and much more. And when he's not sure how to tackle a DIY project he has a wide network of friends – including plumbers, gas engineers, tilers, carpenters, painters and decorators, electricians and builders – in the trade to call upon.

