How to tile a hallway floor for a neat finish in this often tight space
If you are thinking of tiling a hallway floor then you've come to the right place. Here we reveal the best tiles for the job, how to do it and the tools you’ll need
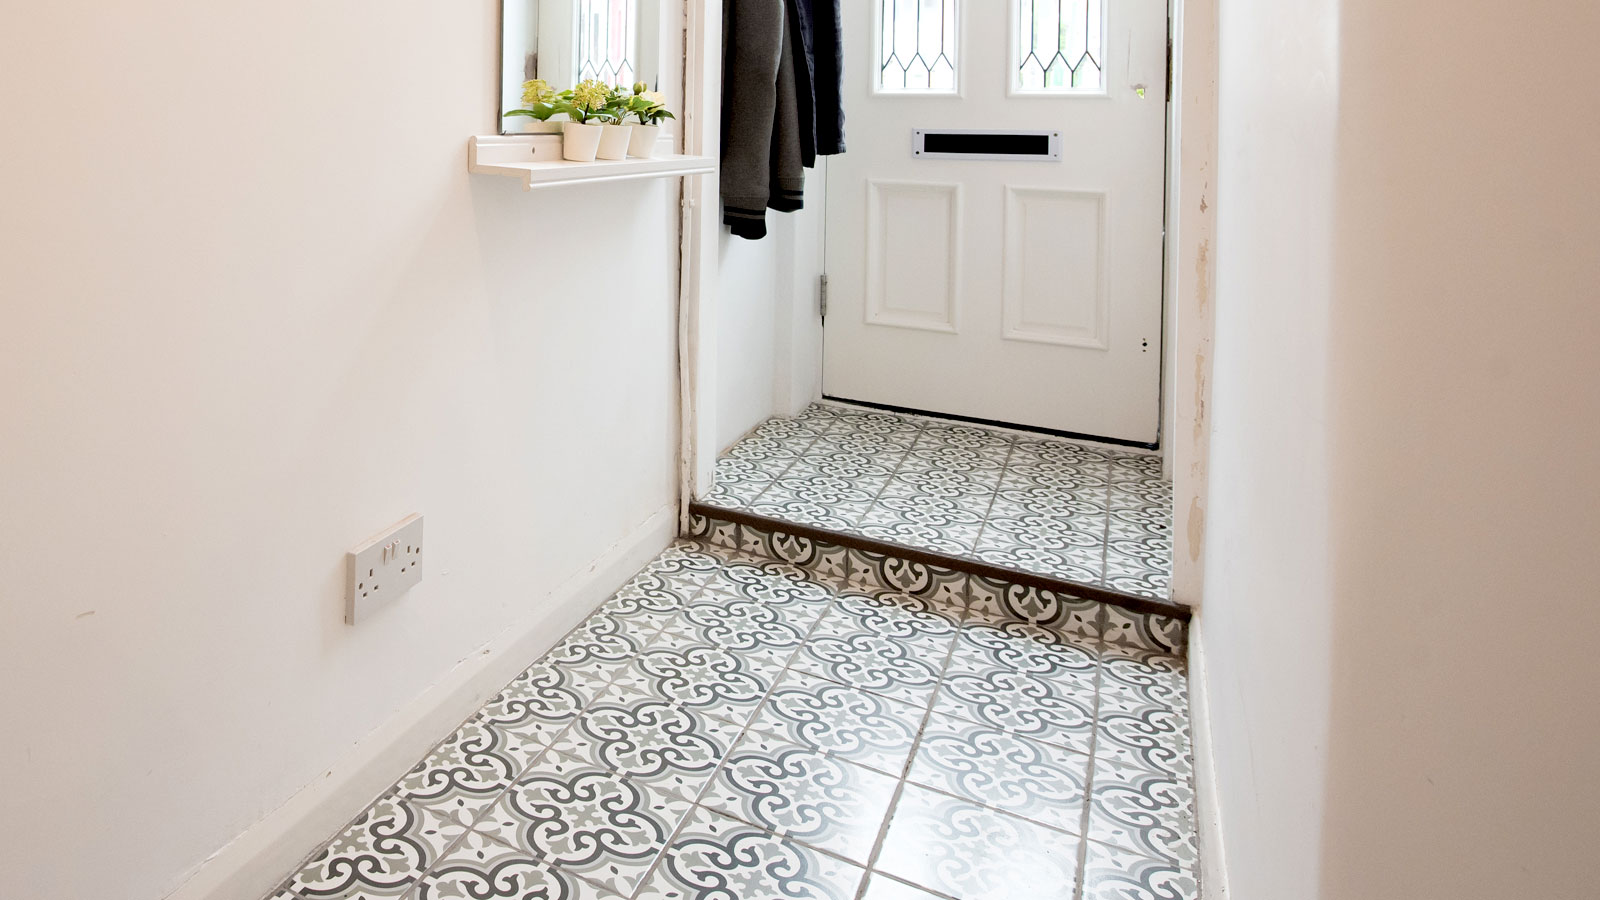
Tiling a hallway floor is the ideal choice for creating a durable, good-looking hallway that will be easy to maintain. You won’t need to worry about dirt getting trodden into a carpet. You can just whip a brush and mop and get your hallway looking like new in no time.
With careful planning and some expert advice tiling a floor is a task that any competent DIYer can tackle. Here you’ll discover how to find your starting point, how to lay your tiles to get a professional looking finish and the tools you’ll need to make it happen.
Tiling a hallway floor: Best tile type
A hallway will typically see a lot of footfall so you will need to choose a strong, attractive and durable tile to cope. So what is the best option? Porcelain, stone and ceramic are all popular choices as they are hard wearing. But which you choose will depend on budget, design and finish.
Porcelain tiles are durable, resistant to scratching and chipping and have a non-porous surface which makes an ideal choice for hallways, especially in the winter or wet months.
Natural stone tiles are not quite as durable or water resistant as porcelain or ceramic, are generally more expensive, and harder to install for a DIYer. But, you will get a unique and natural finish that can be the perfect match for your decor.
Ceramic floor tiles are often the most budget-friendly option and come in a wide variety of designs, patterns and colours, but are quite as long lasting as porcelain. These are a good choice for DIYers.
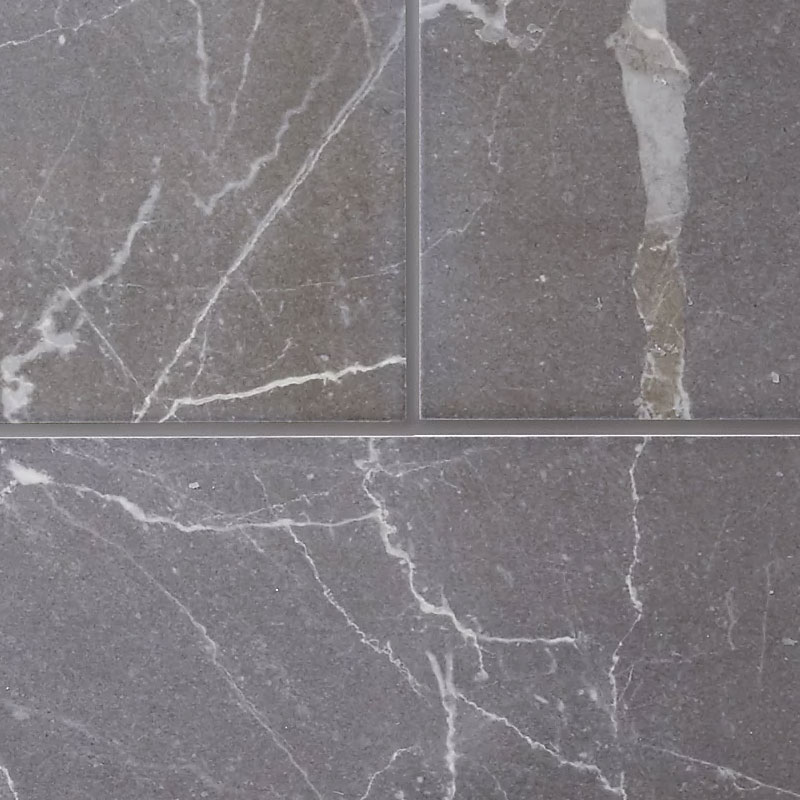
Another option is marble floor tiles. Marble is durable and moisture resistant and has a unique finish. But, you are restricted design wise and marble is typically more costly than other tile types.
Where to start tiling in a hallway
Your starting point is important to how your hallway tiles will look when laid. Stephen Russell of Ashley Cross Tiling shares how to get started, “Measure the farthest end of the hallway widthways and mark the central point with a pencil. This will be your starting point, working in rows towards the other end of the hallway (eg a doorway).”
He adds, “Measure the width and length of the hallway to work out where your tiles will need cutting.” This will help get an even and better looking finish. Russell says, “Make sure the cuts on each edge are big cuts. “ Why? “Small cuts look very bad to the eye.” He suggests, “Spend half an hour working out where the tiling looks pleasing to the eye. It is time well spent in the long run.”
To help after measuring up he says, “Lay the tiles ‘dry’ to begin with. Just put the tiles down without any adhesive and work out what looks best for you.” He adds, “This method is very effective if you are attempting a more involved pattern in your hallway.”
Try these tiles on your next tiling project
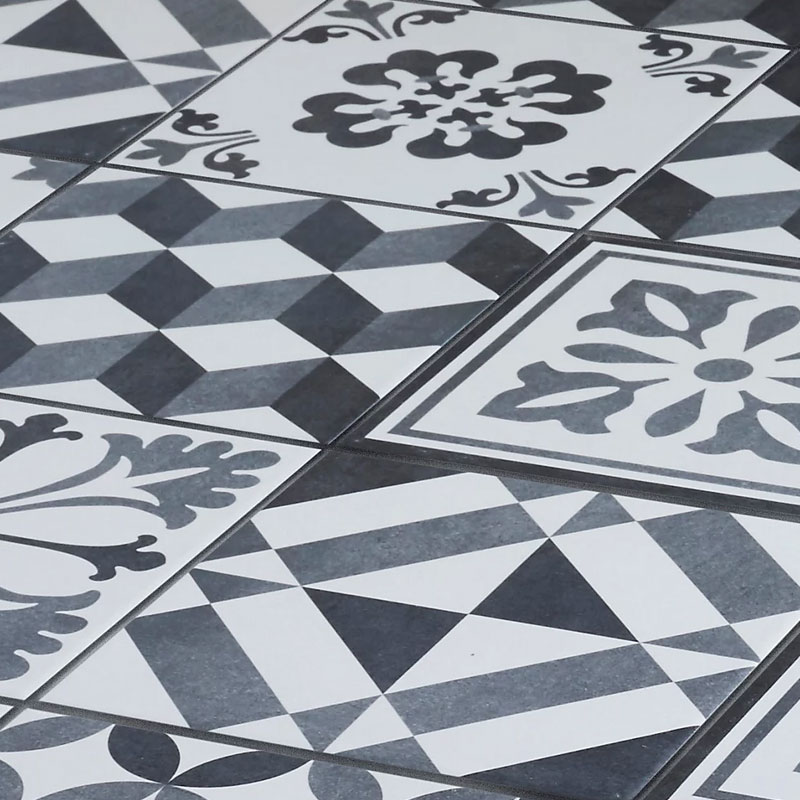
A collection of high quality statement making porcelain tiles that are ideal for use on floors and walls. But only suitable for dry areas such as hallways.

Russell has over 35 years of experience working in the tiling trade in the UK and overseas. He specialises in kitchen tiling, wall, floors, bathrooms, showers and repair work.
Step-by-step for tiling a hallway
1. Prepare the hallway
If you have any old flooring, which is often the case, the first step is to remove it. When done, Stephen Russell of Ashley Cross Tiling says, “Make sure the floor surface is flat and clean”. Check the floor is level if needed.
Russel continues, “Now is a good time to make sure that any doors will clear the new tiled surface. If not, cut down to allow clearance.”
2. Plan and prep adhesive
Start by dry laying your tiles to work out your start point. Once you have worked out where to begin, Russell says, “Prepare the adhesive.” He adds, “Make sure to mix in a clean bucket and only make up enough adhesive that you can use in an hour or so.”
Knowing how long tile adhesive takes to dry is key to successfully laying tiles in a hallway. Use a dry floor tile adhesive like this Blue Circle Masterlay Flexi Semi-rapid Set Grey Wall & floor tile Adhesive from B&Q and mix yourself. Using a ready mixed floor tile adhesive is a more expensive option.
3. Lay tiles
Lay down enough adhesive for around 4-6 tiles and lay down whole tiles. Where needed measure, mark with a felt tip and cut, Russell says, “Use a decent tile cutter and preferably do the cuts as you work back.” Use 5mm-10mm spacers to ensure even spacing.
For straight cuts you can use a simple manual tile cutter like this VonHaus Tile Cutter from B&Q. If you need to cut angles invest in an electric tile cutter. If new to laying floor tiles think of investing in a self levelling kit like this OGORI Tile Leveling System from Amazon.
4. Add grout
Leave the newly laid hallway floor tiles for 24 hours to set. For grouting floor tiles, mix up your grout and spread over the gaps and work in with a grout float like this Vitrex Soft Grip Grout Float from Amazon.
Remove as much excess grout as possible and wipe clean with a damp cloth. Leave to dry and then wipe off any grout residue with a dry cloth to get a shine on the tiles.
FAQs
How long before you can walk on tile in a hallway?
This will depend on a number of factors such as the adhesive used and environmental conditions. But, ideally you should not walk on the tiles or put down any furniture for at least 24 hours. Ideally you want to leave for 48 hours to ensure adhesive and grout are set.
If you walk on the tiles before the adhesive has set properly it can cause slippage, meaning that the tiles can move out of position and push out the grout.
If you are using a rapid set adhesive this can dry within four hours, meaning you can start grouting sooner. Grout should be left for at least 24 hours to let it cure.
What tiles make a hallway look bigger?
The size, shape, colour and tile pattern can all play a part in giving the illusion of space in a hallway. Large floor tiles are one trick to make a hallway look bigger. Bigger tiles have less grout lines giving the impression of space. To maximise the illusion use a shade of grout similar to the tile if possible.
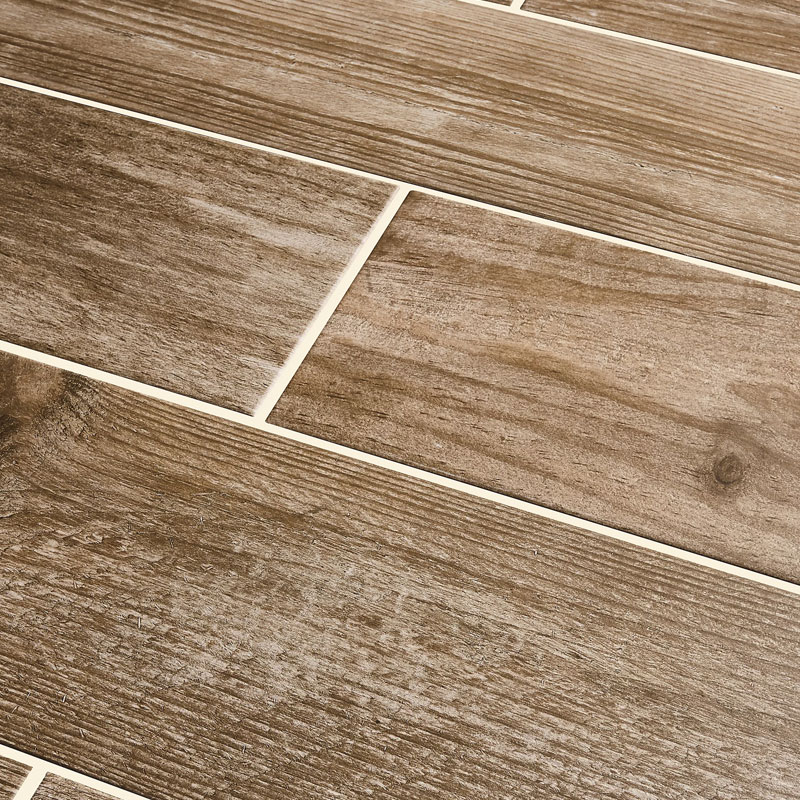
If using plank style floor tiles, lay these lengthways so the long edge is in line with the wall. This offers the illusion of more space and subtly directs where you are going.
Tiling your hallway can be part of a grander entrance hallway design and one crucial question you'll need to ask is how many tiles do I need? If tackling tiling a hallway yourself then you’ll also need to know how to use a tile cutter to get straight, neat edges
Get the Homebuilding & Renovating Newsletter
Bring your dream home to life with expert advice, how to guides and design inspiration. Sign up for our newsletter and get two free tickets to a Homebuilding & Renovating Show near you.
Steve Jenkins is a freelance content creator with over two decades of experience working in digital and print and was previously the DIY content editor for Homebuilding & Renovating.
He is a keen DIYer with over 20 years of experience in transforming and renovating the many homes he has lived in. He specialises in painting and decorating, but has a wide range of skills gleaned from working in the building trade for around 10 years and spending time at night school learning how to plaster and plumb.
He has fitted kitchens, tiled bathrooms and kitchens, laid many floors, built partition walls, plastered walls, plumbed in bathrooms, worked on loft conversions and much more. And when he's not sure how to tackle a DIY project he has a wide network of friends – including plumbers, gas engineers, tilers, carpenters, painters and decorators, electricians and builders – in the trade to call upon.
