Stripping Doors: The Ultimate How To Guide
Our guide to stripping doors shows you how to recapture their original charm

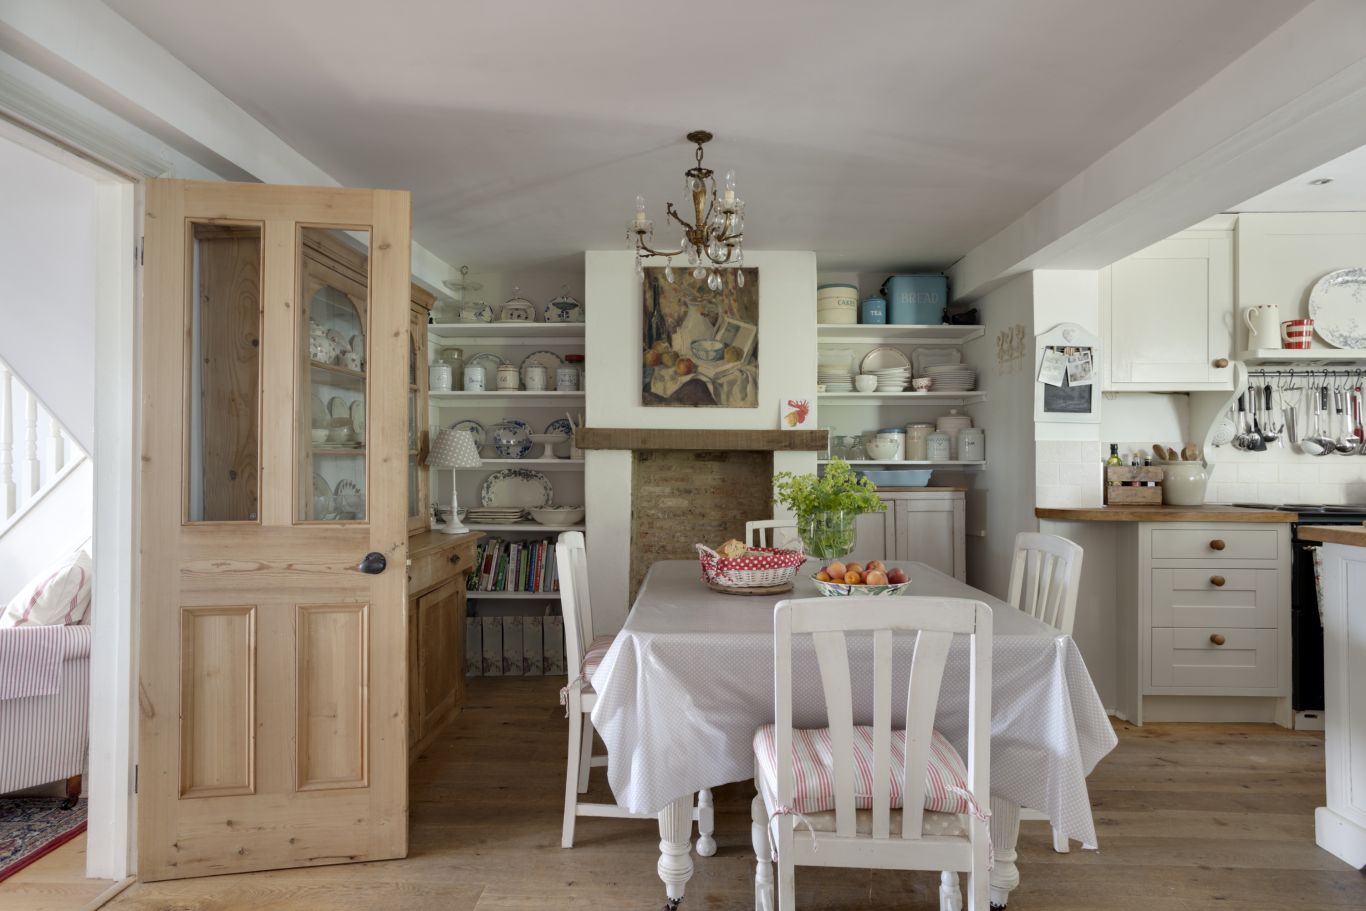
Stripping doors is a job high on many renovator's list of priorities — whilst anyone renovating a house would now prize authentic period features, such as original fireplaces and timber doors, this hasn’t always been the case.
At some point in the 1950s, the introduction of manmade products in the home, such as plastics like Formica — natural, raw beauty was out and glossy, laminated looks were in.
What this meant for period homes was that from the 1950s and well into the 1960s right up to the 1980s, natural wood was often painted over with thick gloopy gloss paint, whilst some panelled doors were just boarded over.
Happily, stripping doors is now a common job, achievable on a DIY basis or with professional help.
Door Dipping as a Way of Stripping Doors
The cheapest way to strip doors is to get them dipped. Door dipping costs around £15-£25 per door and most companies offering the service offer collection and delivery for a small additional cost.
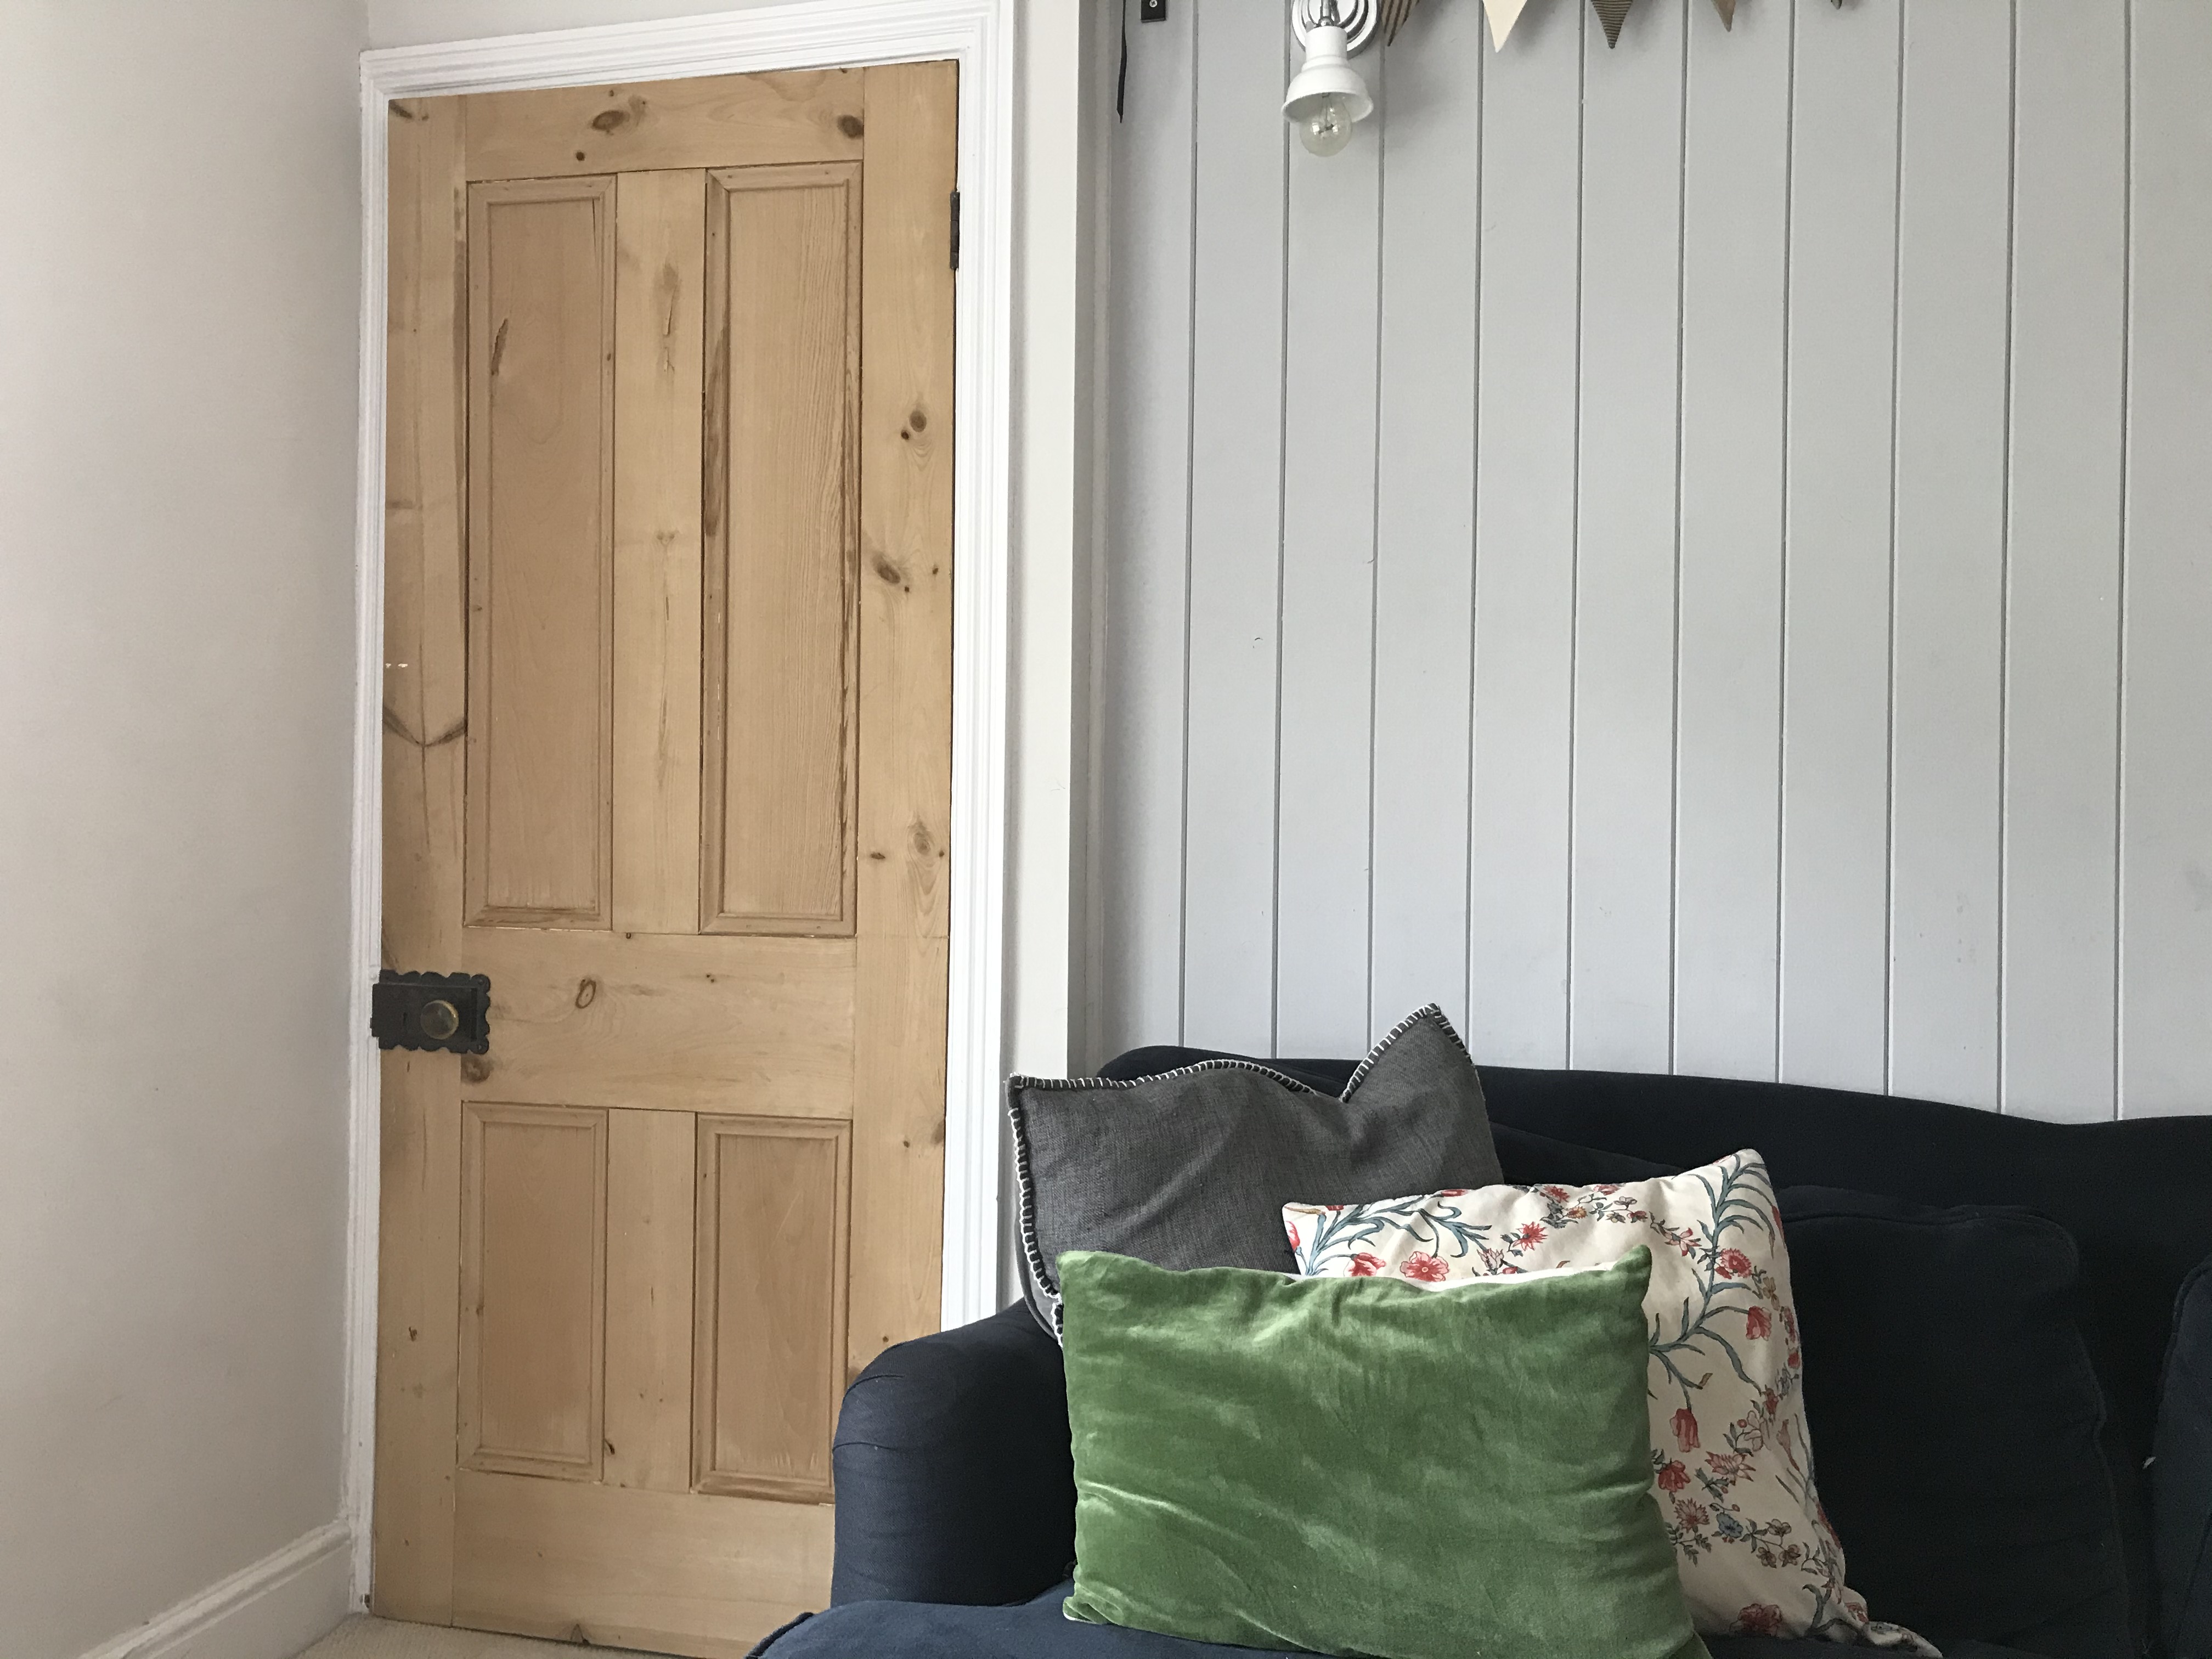
Door dipping involves submerging the doors into a solution that is either chemical- or caustic-based. Doors are then power washed down before being dried out. This should remove the paint and leaves you with a bare door ready to be sanded, oiled, waxed or re-painted.
Before doors are dipped you will need to remove door hardware such as latches and handles. Some companies request hinges are also removed whilst others don’t. It is not uncommon to find door hardware has also been covered in paint — ask the company you are using whether they also strip paint from these.
Although this is a popular way of returning doors to their original state, there are a few factors to bear in mind.

- Not all woods respond well. Pine strips really well. Oak, beech, elm and walnut can also be dipped but can come out a different shade to their original
- Check whether your doors have plywood or veneer panels. Most companies advise avoiding dipping as it can cause these materials to warp and in the case of veneers, the glue holding the layers together to dissolve
- Dipping rarely removes stains as these penetrate the wood
- Dipping cannot remove water-based paints — these will need to be hand-stripped
- Although some companies will dip doors with glazed panels, there is a risk of damage. If the glass is original, it is better to remove it before sending the doors off
- Doors are often left with a ‘furry’ finish after dipping and will need sanding before they can be finished. Many dipping companies offer this service at extra cost.
When doors are returned, it is not unusual to find that small areas of paint remain. Corners of decorative panels and sections of mouldings are common areas to require a bit more attention. These areas can usually be sanded or the paint scraped away without too much effort.
Your doors will also need sanding — usually a quick sand with a light grade sandpaper will do the job easily.
Hand Stripping Doors
In the case of water-based as well as acrylic-based products, hand stripping is the best option. This is also sometimes offered as an alternative for very delicate period doors or those made from a wood that doesn’t respond well to dipping.
Hand stripping doors costs more than dipping at around £45 per door, although prices vary according to the number of doors being stripped and the area you are in.
DIY Door Stripping

It is possible to carry out door stripping on a DIY basis. This should only be done if you are certain the paint you are removing is not lead-based or can take proper precautions, keeping children and animals well away, wearing a protective breathing mask, goggles, gloves etc.
Cover all flooring and surrounding furniture before you begin.
A paint stripper such as Nitromors or Kling Strip should be applied to the door. These products are painted or spread thickly on to the paint and then left to do their thing. Anywhere between 20 minutes to a couple of days depending on the instructions.
Once the paint is softened and coming away from the wood, a scraper can be used to remove the paint. The door can then be scrubbed down with a brush and warm water. Stubborn areas of paint can be removed with wire wool or coarse sandpaper.
The door should then be ‘neutralised’ using a mixture of white vinegar or white spirits diluted in water. This will prevent a ‘bloom’ developing on the wood.
Finally, use a light grade sandpaper to finish the wood before applying the final finish of your choice.
Heat Guns to Strip Doors
Some people choose to use a heat gun to strip paint or just for very stubborn areas that dipping or hand stripping have missed.
It is important to be aware that this can be dangerous if the paint is lead-based and there is also the risk of burning the wood if the heat gun is left in one place for too long.
However, it can also be an effective and quick way to remove paint. Ensure the gun is operated as per the instructions and move it as soon as the paint begins to bubble and blister.
Buying Reclaimed Doors

In some cases, old doors are just too badly damaged to be restored. Perhaps they have warped beyond recognition or seriously split. Sometimes original doors might be missing altogether.
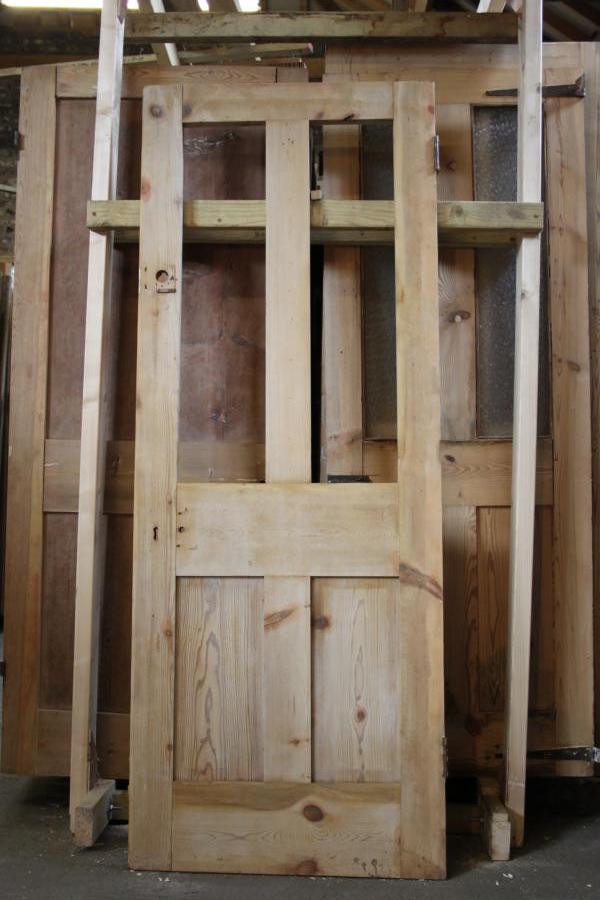
In these cases it is wise to pay a visit to the salvage or reclamation yards in your area. Old doors are normally in abundance and al you will need to do is go armed with the measurements of your frames and a willingness to sift through rows and rows of various styles of door.
In some cases the doors will have already been restored by the salvage yard, whilst often there will be doors ready for renovation by their new owners. This is the cheaper option but factor in the cost of renovation work before buying.
Get the Homebuilding & Renovating Newsletter
Bring your dream home to life with expert advice, how to guides and design inspiration. Sign up for our newsletter and get two free tickets to a Homebuilding & Renovating Show near you.
Natasha was Homebuilding & Renovating’s Associate Content Editor and was a member of the Homebuilding team for over two decades. In her role on Homebuilding & Renovating she imparted her knowledge on a wide range of renovation topics, from window condensation to renovating bathrooms, to removing walls and adding an extension. She continues to write for Homebuilding on these topics, and more. An experienced journalist and renovation expert, she also writes for a number of other homes titles, including Homes & Gardens and Ideal Homes. Over the years Natasha has renovated and carried out a side extension to a Victorian terrace. She is currently living in the rural Edwardian cottage she renovated and extended on a largely DIY basis, living on site for the duration of the project.

