Staining wood floors: Renovation experts reveal how to achieve the best finish
Staining wood floors can transform their look and longevity. Here, renovation experts reveal how to prep and apply for the best finish

Staining wood floors is a quick and cost-effective alternative to replacing your existing wooden flooring, and brings with it plenty of benefits. Staining can transform the aesthetic of an old wood floor, bring to life a tired interior, and stain can be introduced to perfectly match it with your decor.
When staining wood, natural wood is the ideal type of wood flooring to get the best from this task. It allows you to add a depth and richness of colour for a smart finish that will look good, as well as introduce a layer of protection to the floor.
Here, find out what tools you need to undertake this take on a DIY basis and how to get your wooden floor ready for a new look.
Staining wood floors: How to prepare
Before you can start staining a wooden floor you will need to do some prep to ensure that your wooden floor ideas come to life. Here our experts tell you how.
“Move everything out of the space that needs to be stained,” begins Brandon Walker, construction manager at ASAP Restoration. “Then remove skirting boards, or cover with painters' tape.” This will stop the stain spoiling the paint on skirting boards and door frames.
Once all edges of the room are protected or removed, “Sand the floor to a uniform consistency,” recommends Walker. It's a good idea to hire a floor sander (this will cost around £40-£50 a day) to sand the main areas and, “Sand the edges and corners by hand.”
Jay Sanders, owner of Maryland Contractors, recommends that you, “Use an 80-grit sandpaper for the first pass, then 120-grit for the second.” Once you have finished the second pass, check the surface to ensure that it is even and smooth. You may need to use a finer sandpaper grade to get the finish you want.
Sanding produces a lot of dust which you will need to get rid of. Use a dustpan and brush and/or a vacuum to remove as much as possible. “Mop the floors with soap and water to absorb any excess sawdust and debris,” shares Walker. “Let it dry out completely and try to prevent any draughts or other sources of new dust from getting into the space.”
Sanders also suggests that you “Water-pop the grain to attain a more even stain.” What is water-popping? This is a simple technique that changes the amount of stain that penetrates a wood floor. It's used to give a more even finish. After sanding, apply clean water to the wood and leave to dry thoroughly before applying any stain.
Finally, “Test the stain on an obscure corner, or a spare piece of similar wood to ensure it meets your standards and expectations,” shares Walker.
Try these finishes when staining wooden floors

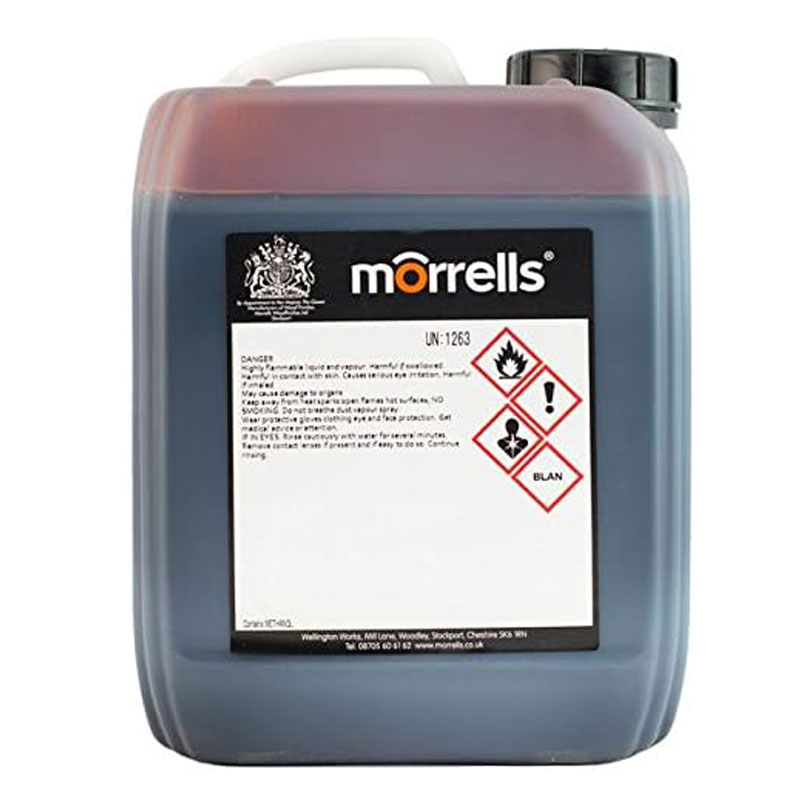
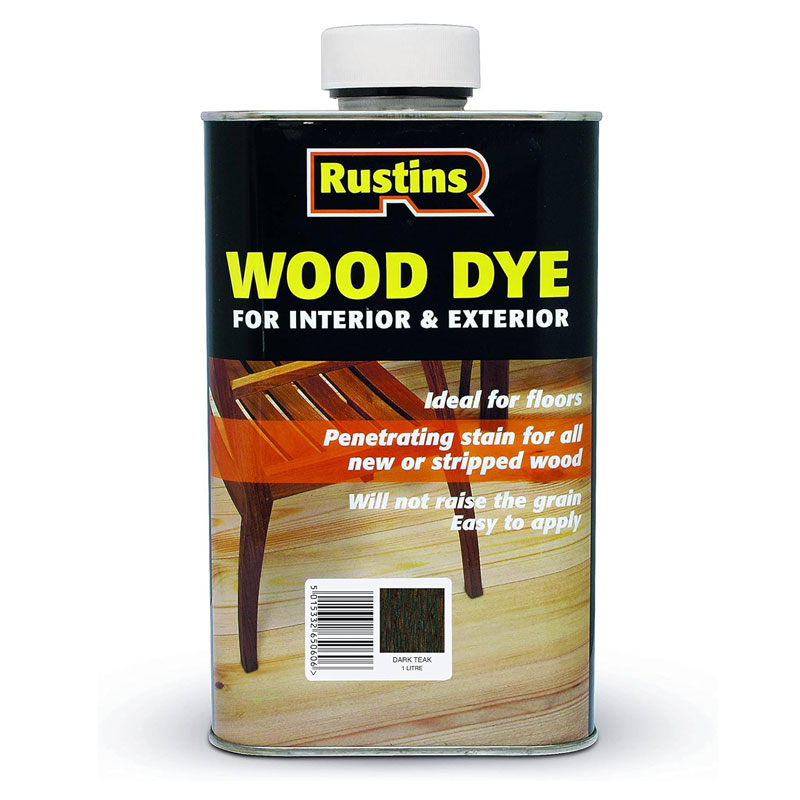
A high-solid hard wax oil for wood that’s extremely durable and hard wearing. Ideal for interior wood floors and comes in a satin-matt finish
How to apply stain to wood floors
There are a few different options for applying stain to a wooden floor, depending on what type of stain you are using. Our experts reveal the preferred application methods.
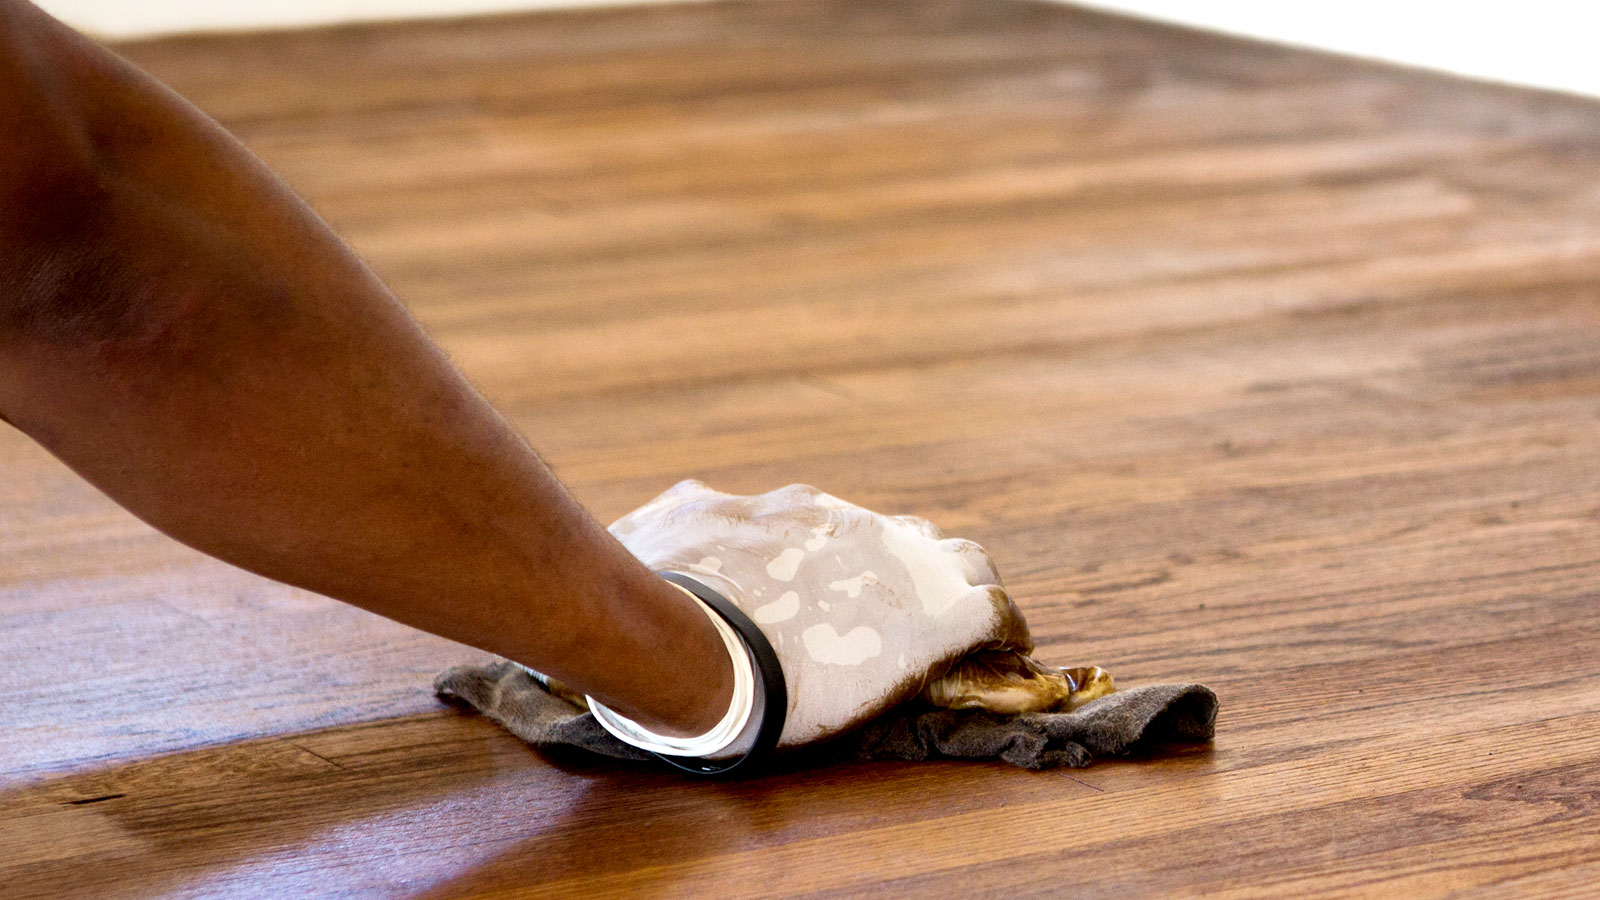
“If the stain needs to be applied and then have the excess wiped off, then it will be best to do this with sponges and rags,” reveals Walker. Alternatively, “If the floor is big enough, then it will probably be easiest to use a paint roller and squeegee with some rags for cleaning up."
There is also a third option: “If the stain needs to achieve deep penetration into the wood, then it will need to be essentially mopped into place, and then rolled out for consistency,” explains Walker.
Sanders suggests, “That you have proper ventilation in the room and wear protective clothing.
“Do the work section-by-section and wipe away the excess stain with a clean rag. Furthermore, let the stain dry for 48 hours, at least until you put on a topcoat or apply a finish.”
But what can you expect from different application methods? “You may observe brush stroke patterns if you use a brush,” explains Sanders. “On the contrary, a roller may apply unevenly."
This is why both experts recommend using a rag. “It provides the most even finish. In addition, foam brushes are the ideal tool for hard-to-reach areas,” Sanders concludes.
How many coats of stain will I need?
This will depend on different factors, but as a general guideline one or two coats should be enough to get the desired finish. However, if you have a light-coloured wood, you may need to add more coats of stain to achieve a deep, dark finish. However, it is rare that you will need to add a third coat.
Staining wood floors FAQs
Should I stain wooden floors dark or light?
This is a matter of personal preference, but you will need to consider the overall interior scheme within the room or space. “If everything else in the colour scheme of the room will work best with a dark stain, then use a dark stain. If everything else is in wood tones like pine and fir, then use a light-coloured stain,” says Walker.
Sanders suggests that: “Dark stains introduce a cosy atmosphere and can hide minor imperfections easily. However, they are easily smeared by dust and pet hair. Light stains make the surface look larger and clean and it hides small flaws better.”
Whatever option you choose, make sure to test the stain before you apply it to the entire floor. “Get a couple of test strips of similar wood and try them out in multiple stain colours and then compare and contrast in the room,” says Walker.
What happens if you stain over stain?
Adding a new stain over a previously existing stain will leave you with a darker colour and typically an uneven coloured floor. To ensure that you get the finish that you want, it is recommended that you sand the current surface back to bare wood (if possible) and start afresh. This will help ensure you get an even tone and the colour you want.
However, if you do want to stain over stain, test in an out of the way area to see the result. If happy, clean the floor and give it a quick sand before staining.
How long after staining wood can you walk on the floor?
This will depend on what stain you are using. Water-based stains typically dry much quicker than oil-based stains. However, as a minimum I would recommend that you leave a floor for at least 24 hours before you walk on it, and 48 hours or longer before you start placing furniture on the floor.
Make sure to check the manufacturer's recommendation before you apply, and plan ahead to make sure that you won’t need access to the room for at least 24 hours.
If you're looking to tackle staining a wood floor yourself, you will need to know how to sand the floor to ensure that you get the best finish. Check out our guide to sanding wood floors to find what tools and sandpaper you’ll need.
Get the Homebuilding & Renovating Newsletter
Bring your dream home to life with expert advice, how to guides and design inspiration. Sign up for our newsletter and get two free tickets to a Homebuilding & Renovating Show near you.
Steve Jenkins is a freelance content creator with over two decades of experience working in digital and print and was previously the DIY content editor for Homebuilding & Renovating.
He is a keen DIYer with over 20 years of experience in transforming and renovating the many homes he has lived in. He specialises in painting and decorating, but has a wide range of skills gleaned from working in the building trade for around 10 years and spending time at night school learning how to plaster and plumb.
He has fitted kitchens, tiled bathrooms and kitchens, laid many floors, built partition walls, plastered walls, plumbed in bathrooms, worked on loft conversions and much more. And when he's not sure how to tackle a DIY project he has a wide network of friends – including plumbers, gas engineers, tilers, carpenters, painters and decorators, electricians and builders – in the trade to call upon.


