How to silicone a shower if your old seal needs replacing due to mould damage
Siliconing a shower is a must-have skill for any budding DIYer. Follow our step-by-step guide to applying a sealant wherever it's needed
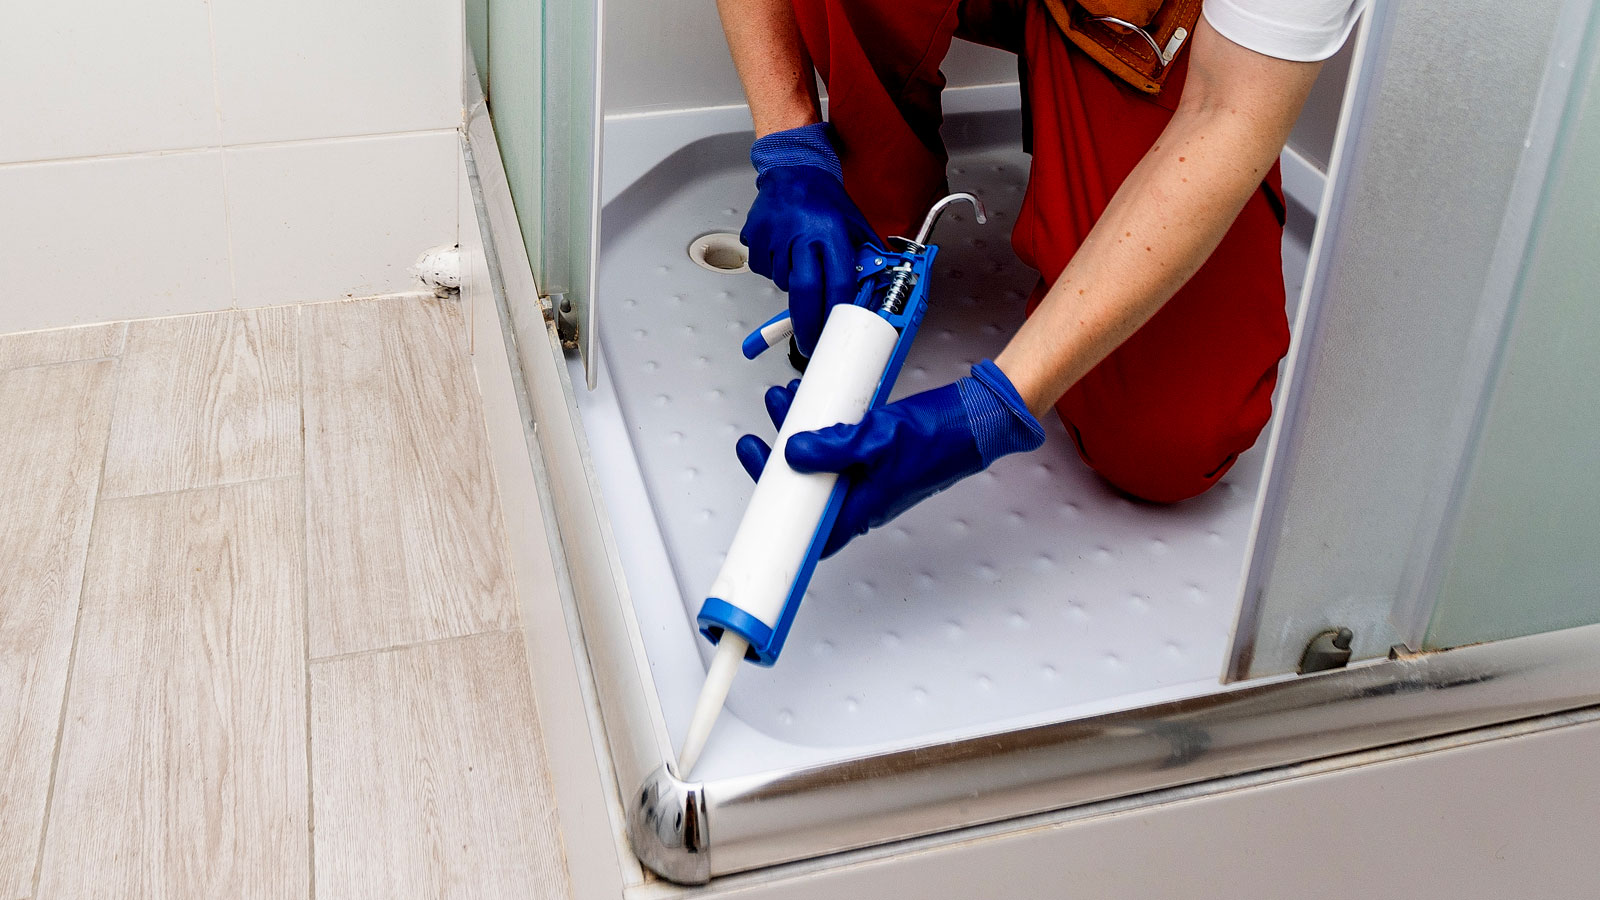
Siliconing a shower is a DIY skill that can quickly be mastered with a little patience and practice. When you get it right it will leave you with smooth, smart and straight lines that will repel water and make edges and gaps watertight.
Whether you're fitting a shower, sink, bath or toilets introducing a silicone sealant is key to keeping water out where it shouldn’t be. But just as important as the application is the preparation. Get this wrong and you’re beautifully applied silicone sealant simply won’t stick properly. But with this guide we show you how to get it right.
Try these tools to silicone a shower
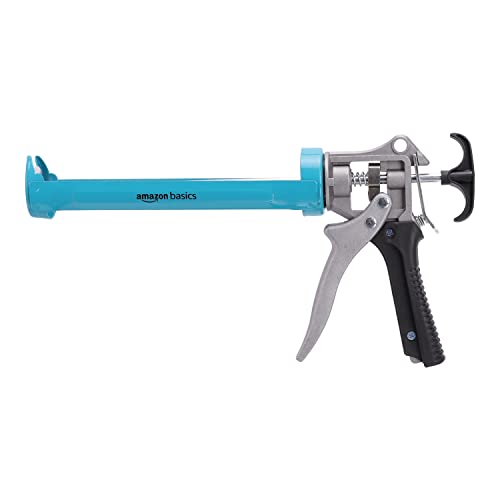
A heavy duty caulking gun that comes with a revolving steel frame, ergonomic rubber-coated handles for comfort and a silencing mechanism.
How to silicone a shower step-by-step
1. Clean and mask area
Before you add any silicone you need to make sure that area is clean and dry and free from any remnants of old silicone (this can usually be peeled off). Start with a stiff hand brush to get rid of any debris and dust, and then use a vacuum to clean the area to be sealed. Wipe down a damp cloth, followed by a wipe down with a dry cloth and leave to dry for 5-10 minutes.
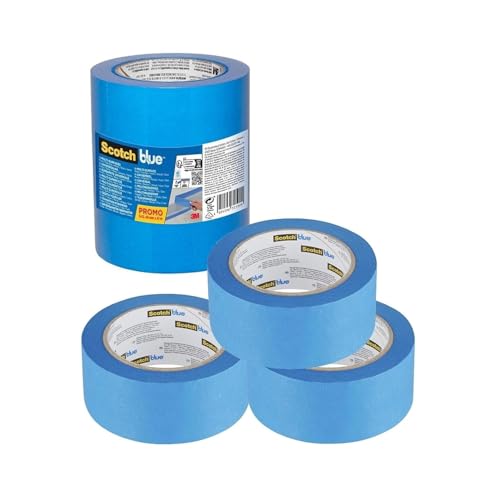
To make sure that your shower room ideas look as good as you imagined you need to use masking tape to get crisp even edges on your silicone. Blue painter's tape is a good choice. Place a length of the tape either side of where the silicone is to go. Leave a gap of around 3mm on both sides.
2. Prepare your silicone gun
Get a sharp knife to cut the silicone nozzle at 45 degrees around 5-20mm down the nozzle, depending on what size bead you'd like. (It's best to start small and then go larger if required.) Place the cartridge in a caulking gun and squeeze the trigger until you get a tight fit.
3. Apply the silicone
Depending on the size of the gap between shower edges and walls and floors you should only need to add one run of silicone. But if you have deep edges, fill these with a small bead of silicone and run a wet finger along to make sure the silicone is pushed in.
To finish, place the gun at a shallow angle – starting in one corner – and squeeze the trigger. As soon as the silicone appears, start moving along the edge. Use a consistent speed and pressure to get an even bead of silicone.
4. Finish up and smooth out
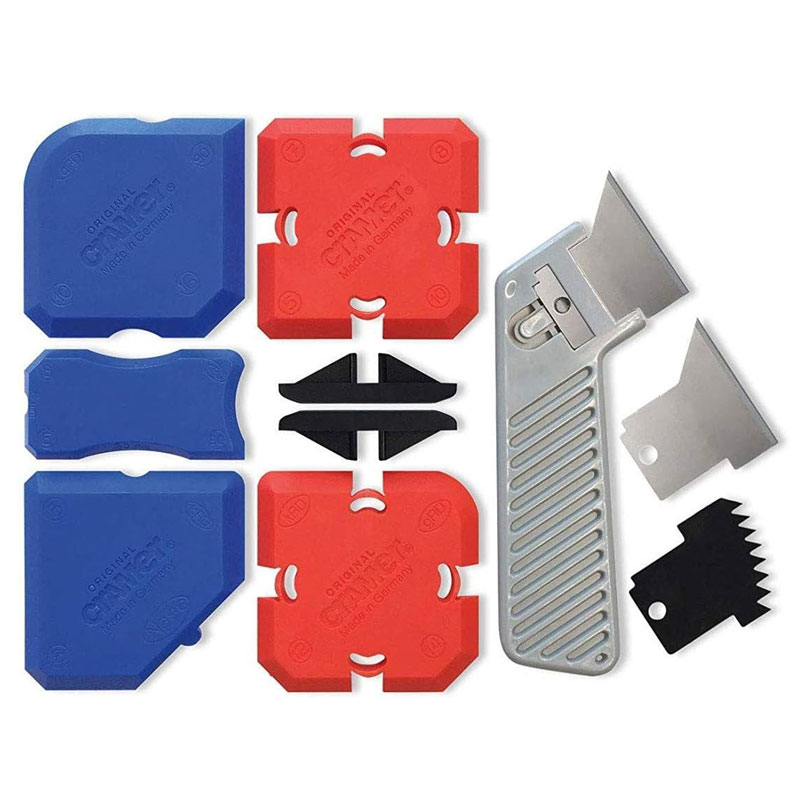
Now smooth the silicone with a wet finger, damp sponge or use a silicone finishing tool. If using a finger simply wet and drag along the silicone. Have a cloth ready to wipe off the excess silicone. Do the same with a damp sponge.
If using a finishing tool, spray the silicone with a fine mist of water, choose your shape on the finishing tool and drag along the silicone to finish.
Apply these same steps and principles for corners on walls and around bathroom fittings.

Danny has over 12 years of experience in plumbing, heating, and cooling. He currently leads New Era Plumbing & HVAC, a local company specialising in inspection, repair, and replacement services.
How to apply and smooth silicone
How to get straight lines when applying caulk
Danny Pen President at New Era Plumbing & HVAC says, “It is less about tools, but more about preparation and application technique.” He recommends that the first thing to do is prepare the area, “You need to remove all the old spots of caulk and prepare the area - wipe it down with either alcohol, vinegar, or White spirit and dry it completely.”
If you want super straight lines, painter's tape is a popular option for novice DIYers, or those who’ve never caulked before. Pen says, “Try painter's tape, but remove it while the caulk isn’t dried yet for an even look.” He adds, “Plus warm the caulk tube up, trust me, it makes a world of difference — it’s like buttering warm toast.”
As an alternative Pen suggests “To use a caulk tool or your finger for more control, just be careful it doesn’t stick.” Pen shares one way to avoid this, “Wrap your finger in plastic wrap, dip it in rubbing alcohol, and smooth the caulk (it’ll save you a ton of cleanup later).”
He adds, “If you’re working in tight bathroom corners, a flexible straw or soft plastic edge are your new best friend, they are especially great for corners.”
How to smooth silicone after applying silicone
To get a smooth finish after applying silicone sealant Pen says, “A silicone smoothing tool is best for that — it ensures a professional finish and saves your fingers.” He continues, “Use a flexible straw or a soft plastic edge (for example, plastic spoon) for corners, particularly tough ones.”
He offers an unconventional alternative, “Try using an ice cube and alcohol to smooth out the silicone.” He explains why, “Moisture and cold from the ice prevents sticking, and the cube’s rounded shape creates a clean and tidy line. Alcohol, in turns, sprayed over the silicone will help clean all residue quickly.”
FAQs
How long after adding silicone can I use the shower?
Newly applied sanitary silicone will typically start to dry within 15 minutes, but you will need to leave it for at least five or six hours before having any continual contact with water.
However, ideally to make sure that it has fully cured and will repel water and moisture you won’t be able to use your best shower head for around 24 hours. If possible leave for 48 hours.
Can I put new silicone over old?
You can but it’s not recommended. It’s pointless adding a new layer of silicone to old silicone, especially if the old silicone is in poor condition. It won’t adhere to the old silicone meaning it won’t create a waterproof barrier and it won’t look pretty.
If you are going to add new silicone sealant it is best to remove the old silicone. Use a Stanley knife to cut and remove or invest in a silicone removal kit with sealant finishing tools for the new silicone.
Should I use silicone or caulk for a shower?
For areas that are frequently in contact with water and moisture you need to be using a silicone sealant. Caulk and silicone have very similar qualities, both are waterproof, but silicone is more flexible which makes it ideal for areas like a shower tray or a bath.
However, if you are painting skirting boards in your bathroom or shower room you can think about how to use decorators caulk to seal and fill gaps. It is moisture resistant and can be painted over unlike silicone.
Applying silicone to a shower helps stop water ingress, but if removing silicone and replacing the old make sure to clean the surface before applying. Check out our How long does silicone take to dry guide and find the answer to Is removing silicone and caulk easier with a specialist tool in our hands on test.
Get the Homebuilding & Renovating Newsletter
Bring your dream home to life with expert advice, how to guides and design inspiration. Sign up for our newsletter and get two free tickets to a Homebuilding & Renovating Show near you.
Steve Jenkins is a freelance content creator with over two decades of experience working in digital and print and was previously the DIY content editor for Homebuilding & Renovating.
He is a keen DIYer with over 20 years of experience in transforming and renovating the many homes he has lived in. He specialises in painting and decorating, but has a wide range of skills gleaned from working in the building trade for around 10 years and spending time at night school learning how to plaster and plumb.
He has fitted kitchens, tiled bathrooms and kitchens, laid many floors, built partition walls, plastered walls, plumbed in bathrooms, worked on loft conversions and much more. And when he's not sure how to tackle a DIY project he has a wide network of friends – including plumbers, gas engineers, tilers, carpenters, painters and decorators, electricians and builders – in the trade to call upon.
