Silicone vs caulk: What's the difference and how should they be used?
Silicone vs caulk is the battle of the sealants, but the big question for DIYers is which one should you use. Here we give an insight to which is best for what

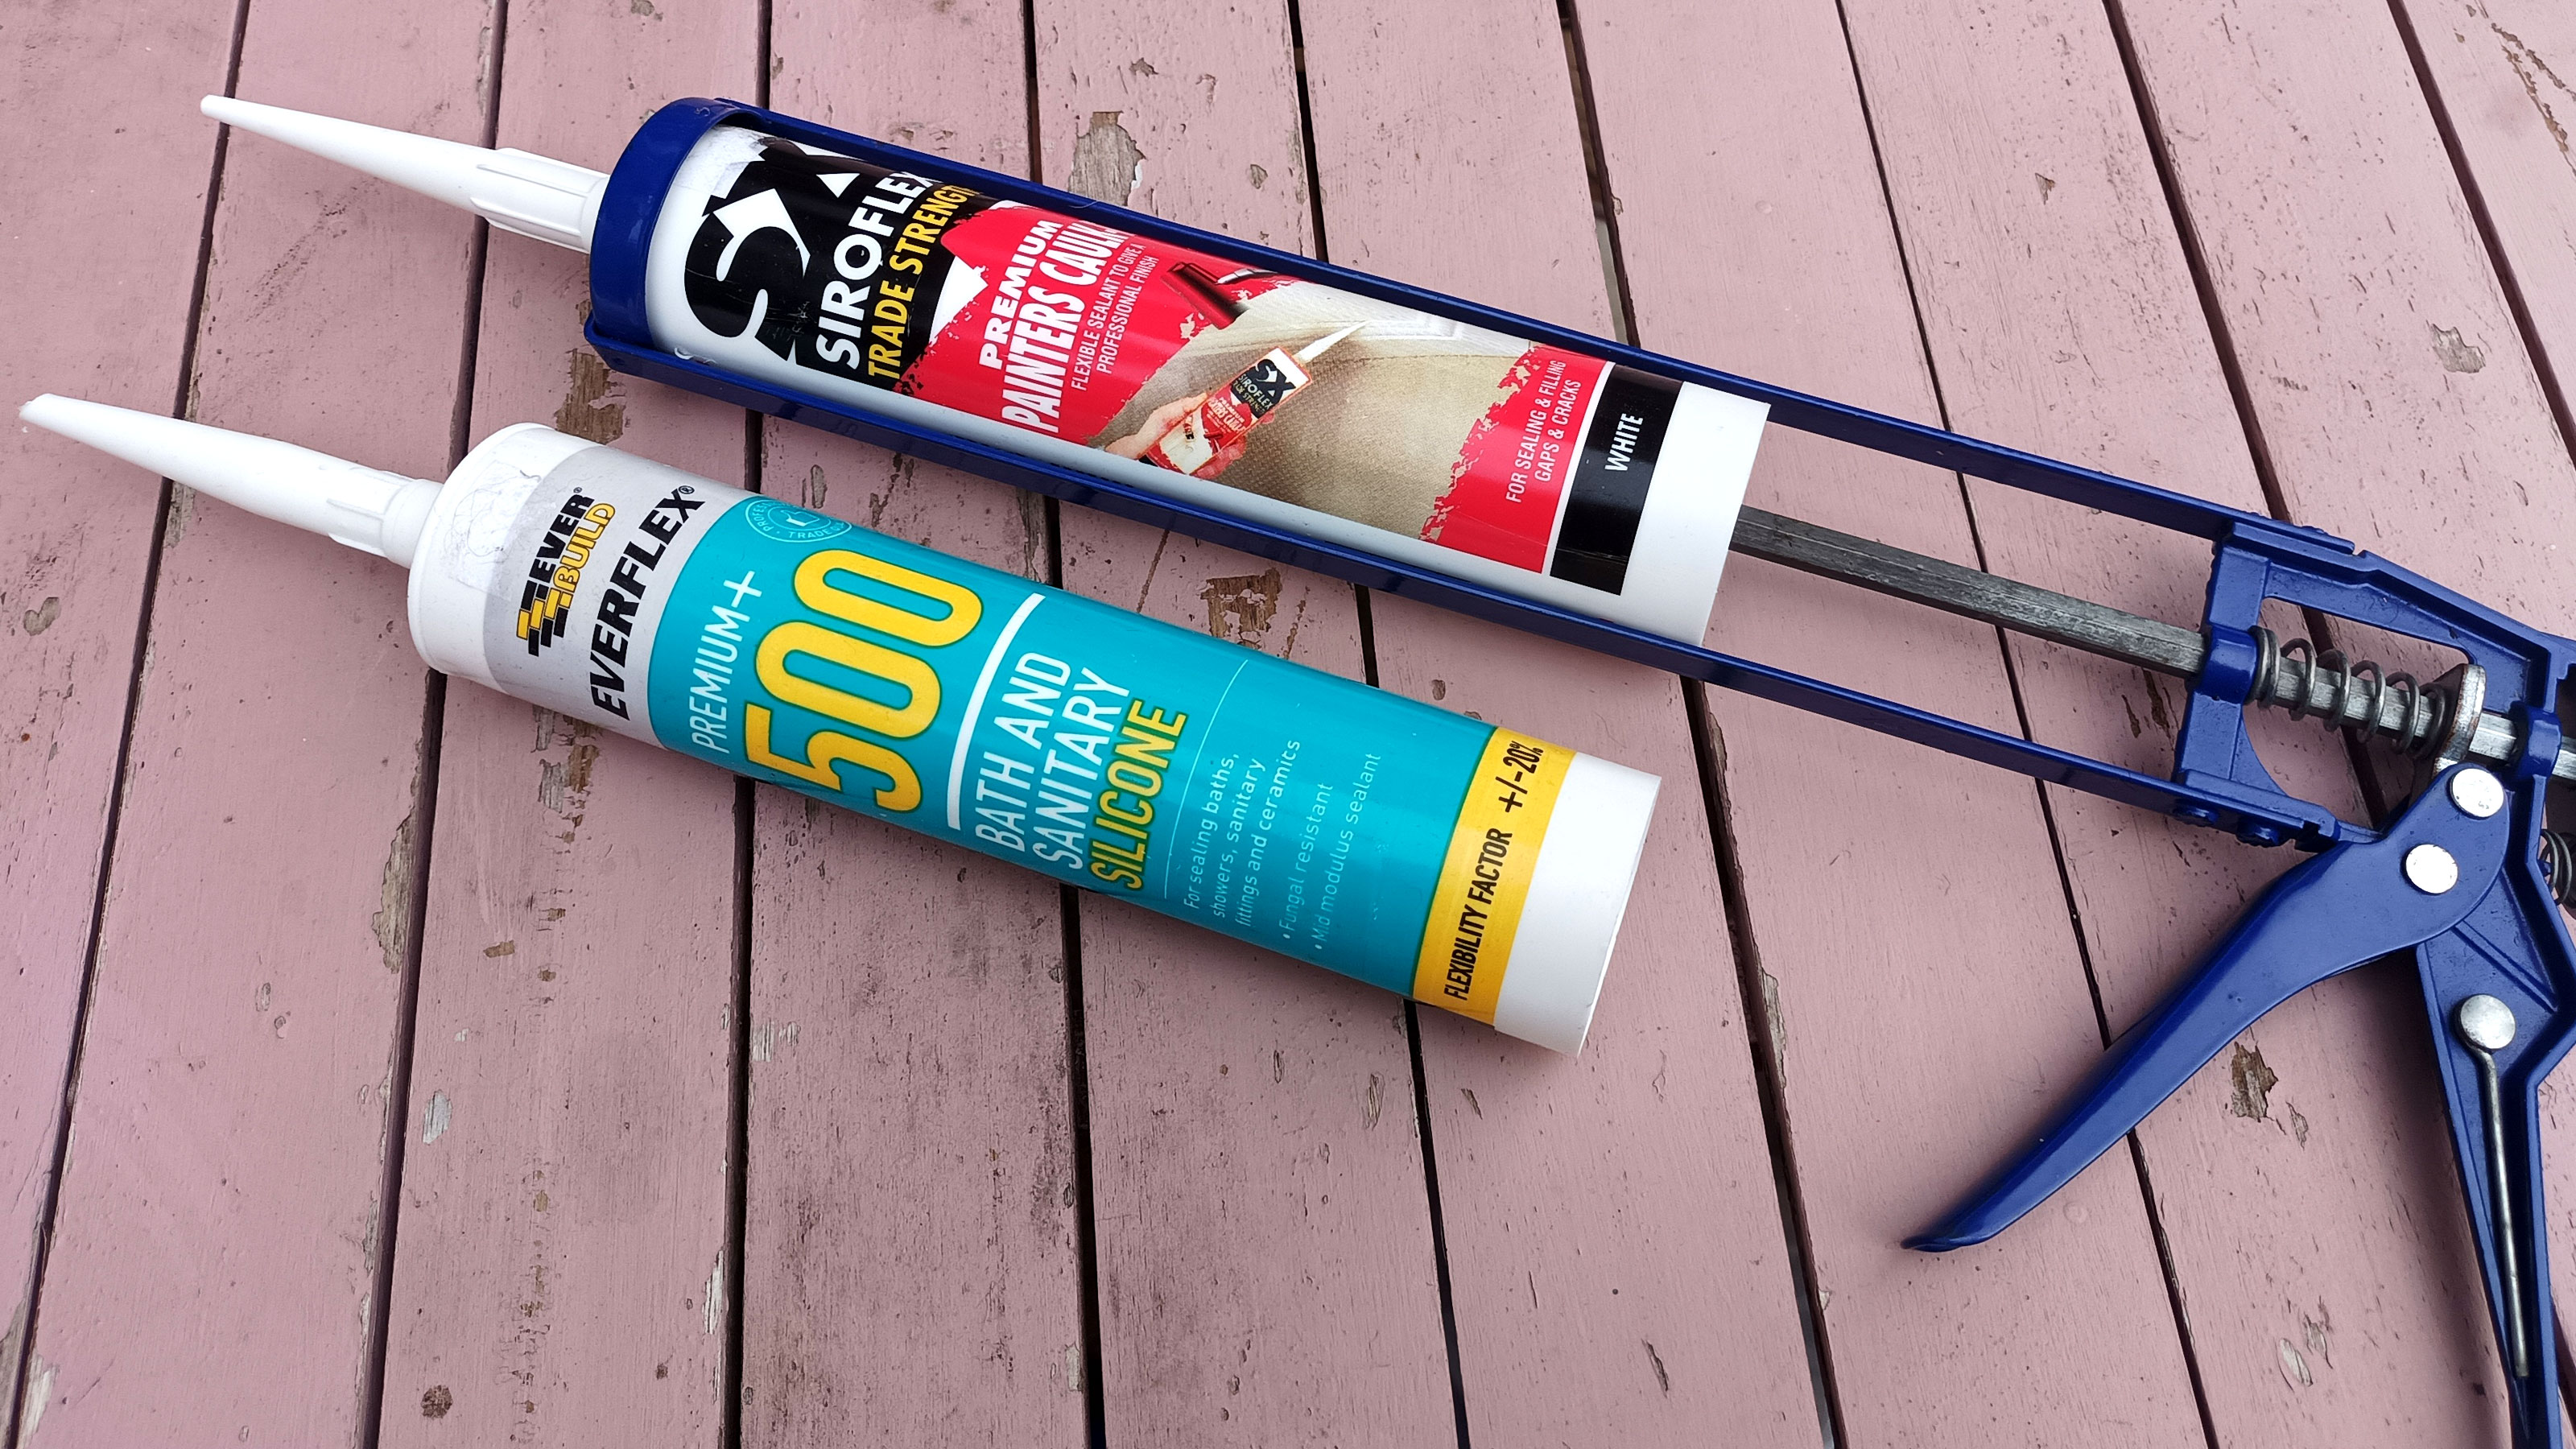
They look the same, they fit in the same gun, so when its silicone vs caulk, which should you be using? Both are sealants and have common characteristics i.e. they are waterproof, but subtle differences make them suitable for different DIY jobs.
It is important when caulking or applying silicone that you use the right one for the right job. Choose the wrong sealant for the job and you are likely to encounter a few issues later down the line. The sealant may start to leak, which can lead to serious problems elsewhere, or paint can start to peel meaning more work further down the line.
Here we look at the key differences and what jobs they should be used on.
Silicone vs caulk: what are the differences?
Both silicone and caulk are used as sealants and share a lot of the same characteristics. But the main difference is in their makeup, which dictates how they are used.
Both are waterproof and flexible, but a silicone sealant has more silicone in it, giving it more flexibility. Decorators/painters' caulk has less silicone, so it is not as flexible but can be painted over.
Another difference is that, while it's best practice to remove it and start again, you can go over old caulk with new caulk — that said, the old caulk needs to be free from mould, clean and still watertight and in good condition first. By contrast, placing new sealant on old sealant isn’t as good a solution as removing silicone and replacing it with a fresh new bead.
What jobs should I use silicone on?
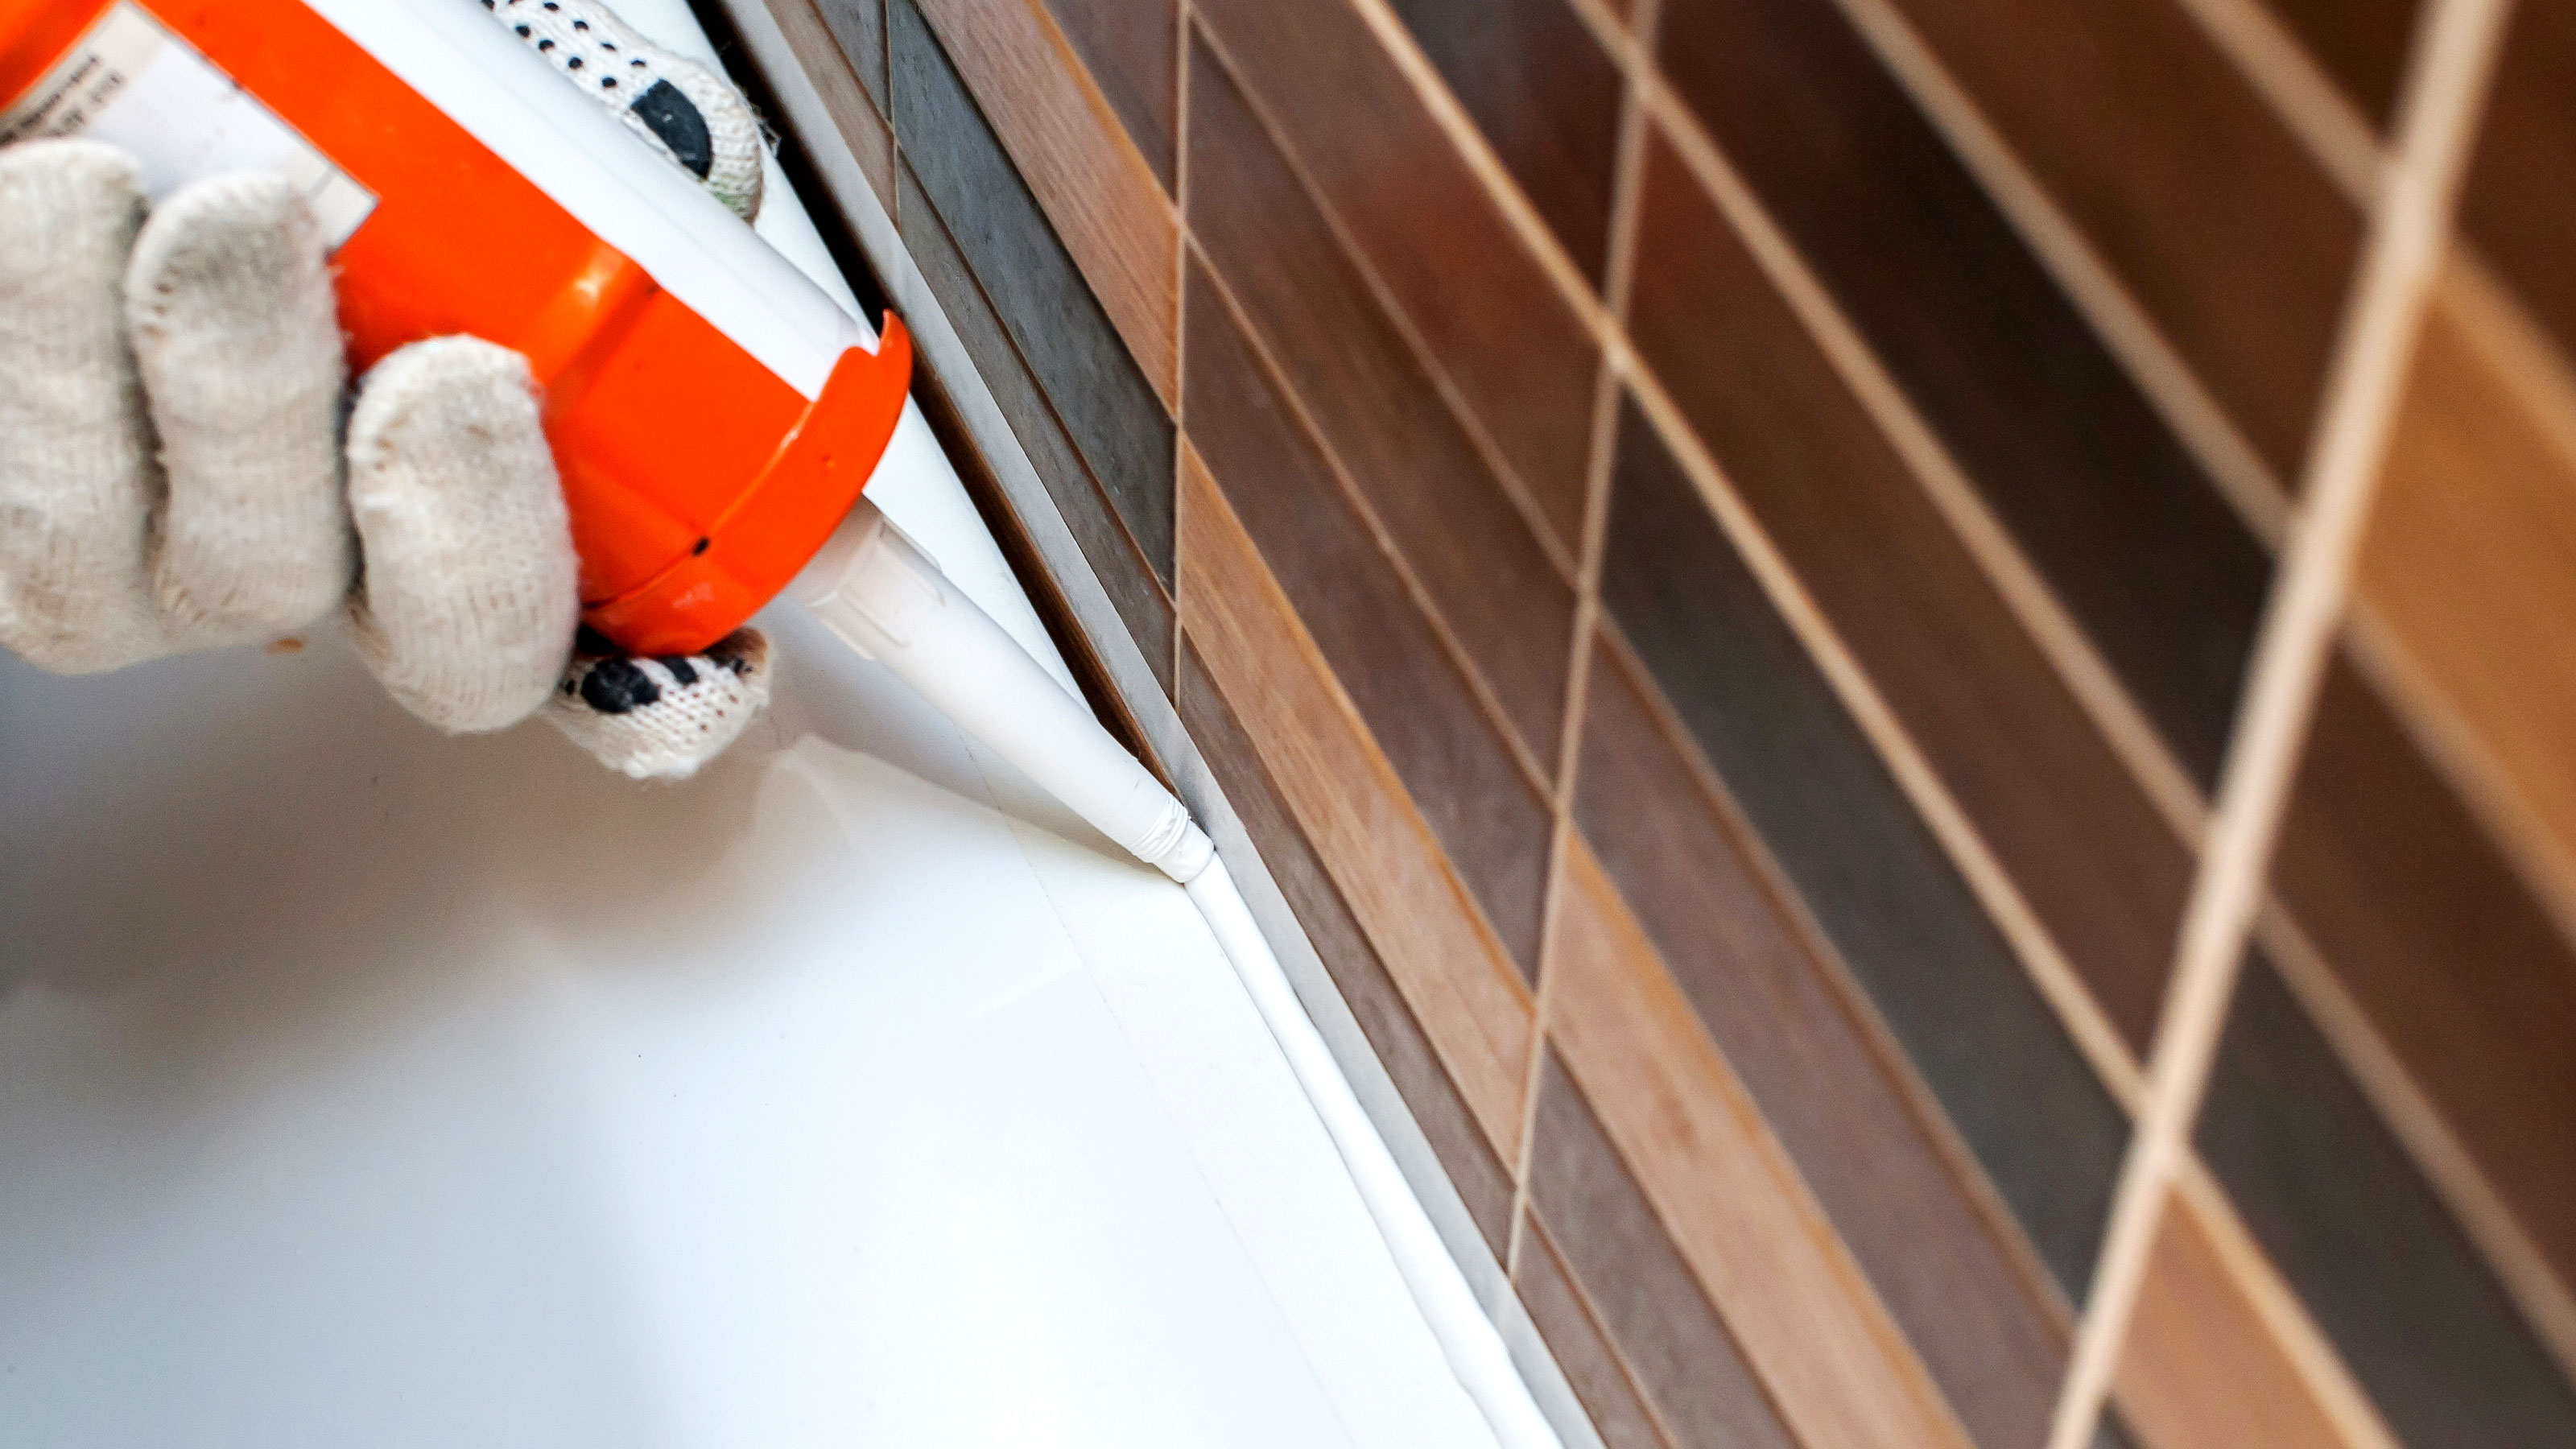
Silicone is a waterproof sealant that offers more flexibility than decorators/painters' caulk which makes it an ideal choice for sealing a bath and similar areas such as showers where movement is more prominent.
It is also commonly used to seal sinks – bathroom and kitchen – around the bottom of toilets, and bottom edges of the bath. And, there are exterior silicones that are used to seal windows and door frames and small cracks and holes in brickwork.

Where should I use decorators’ caulk?
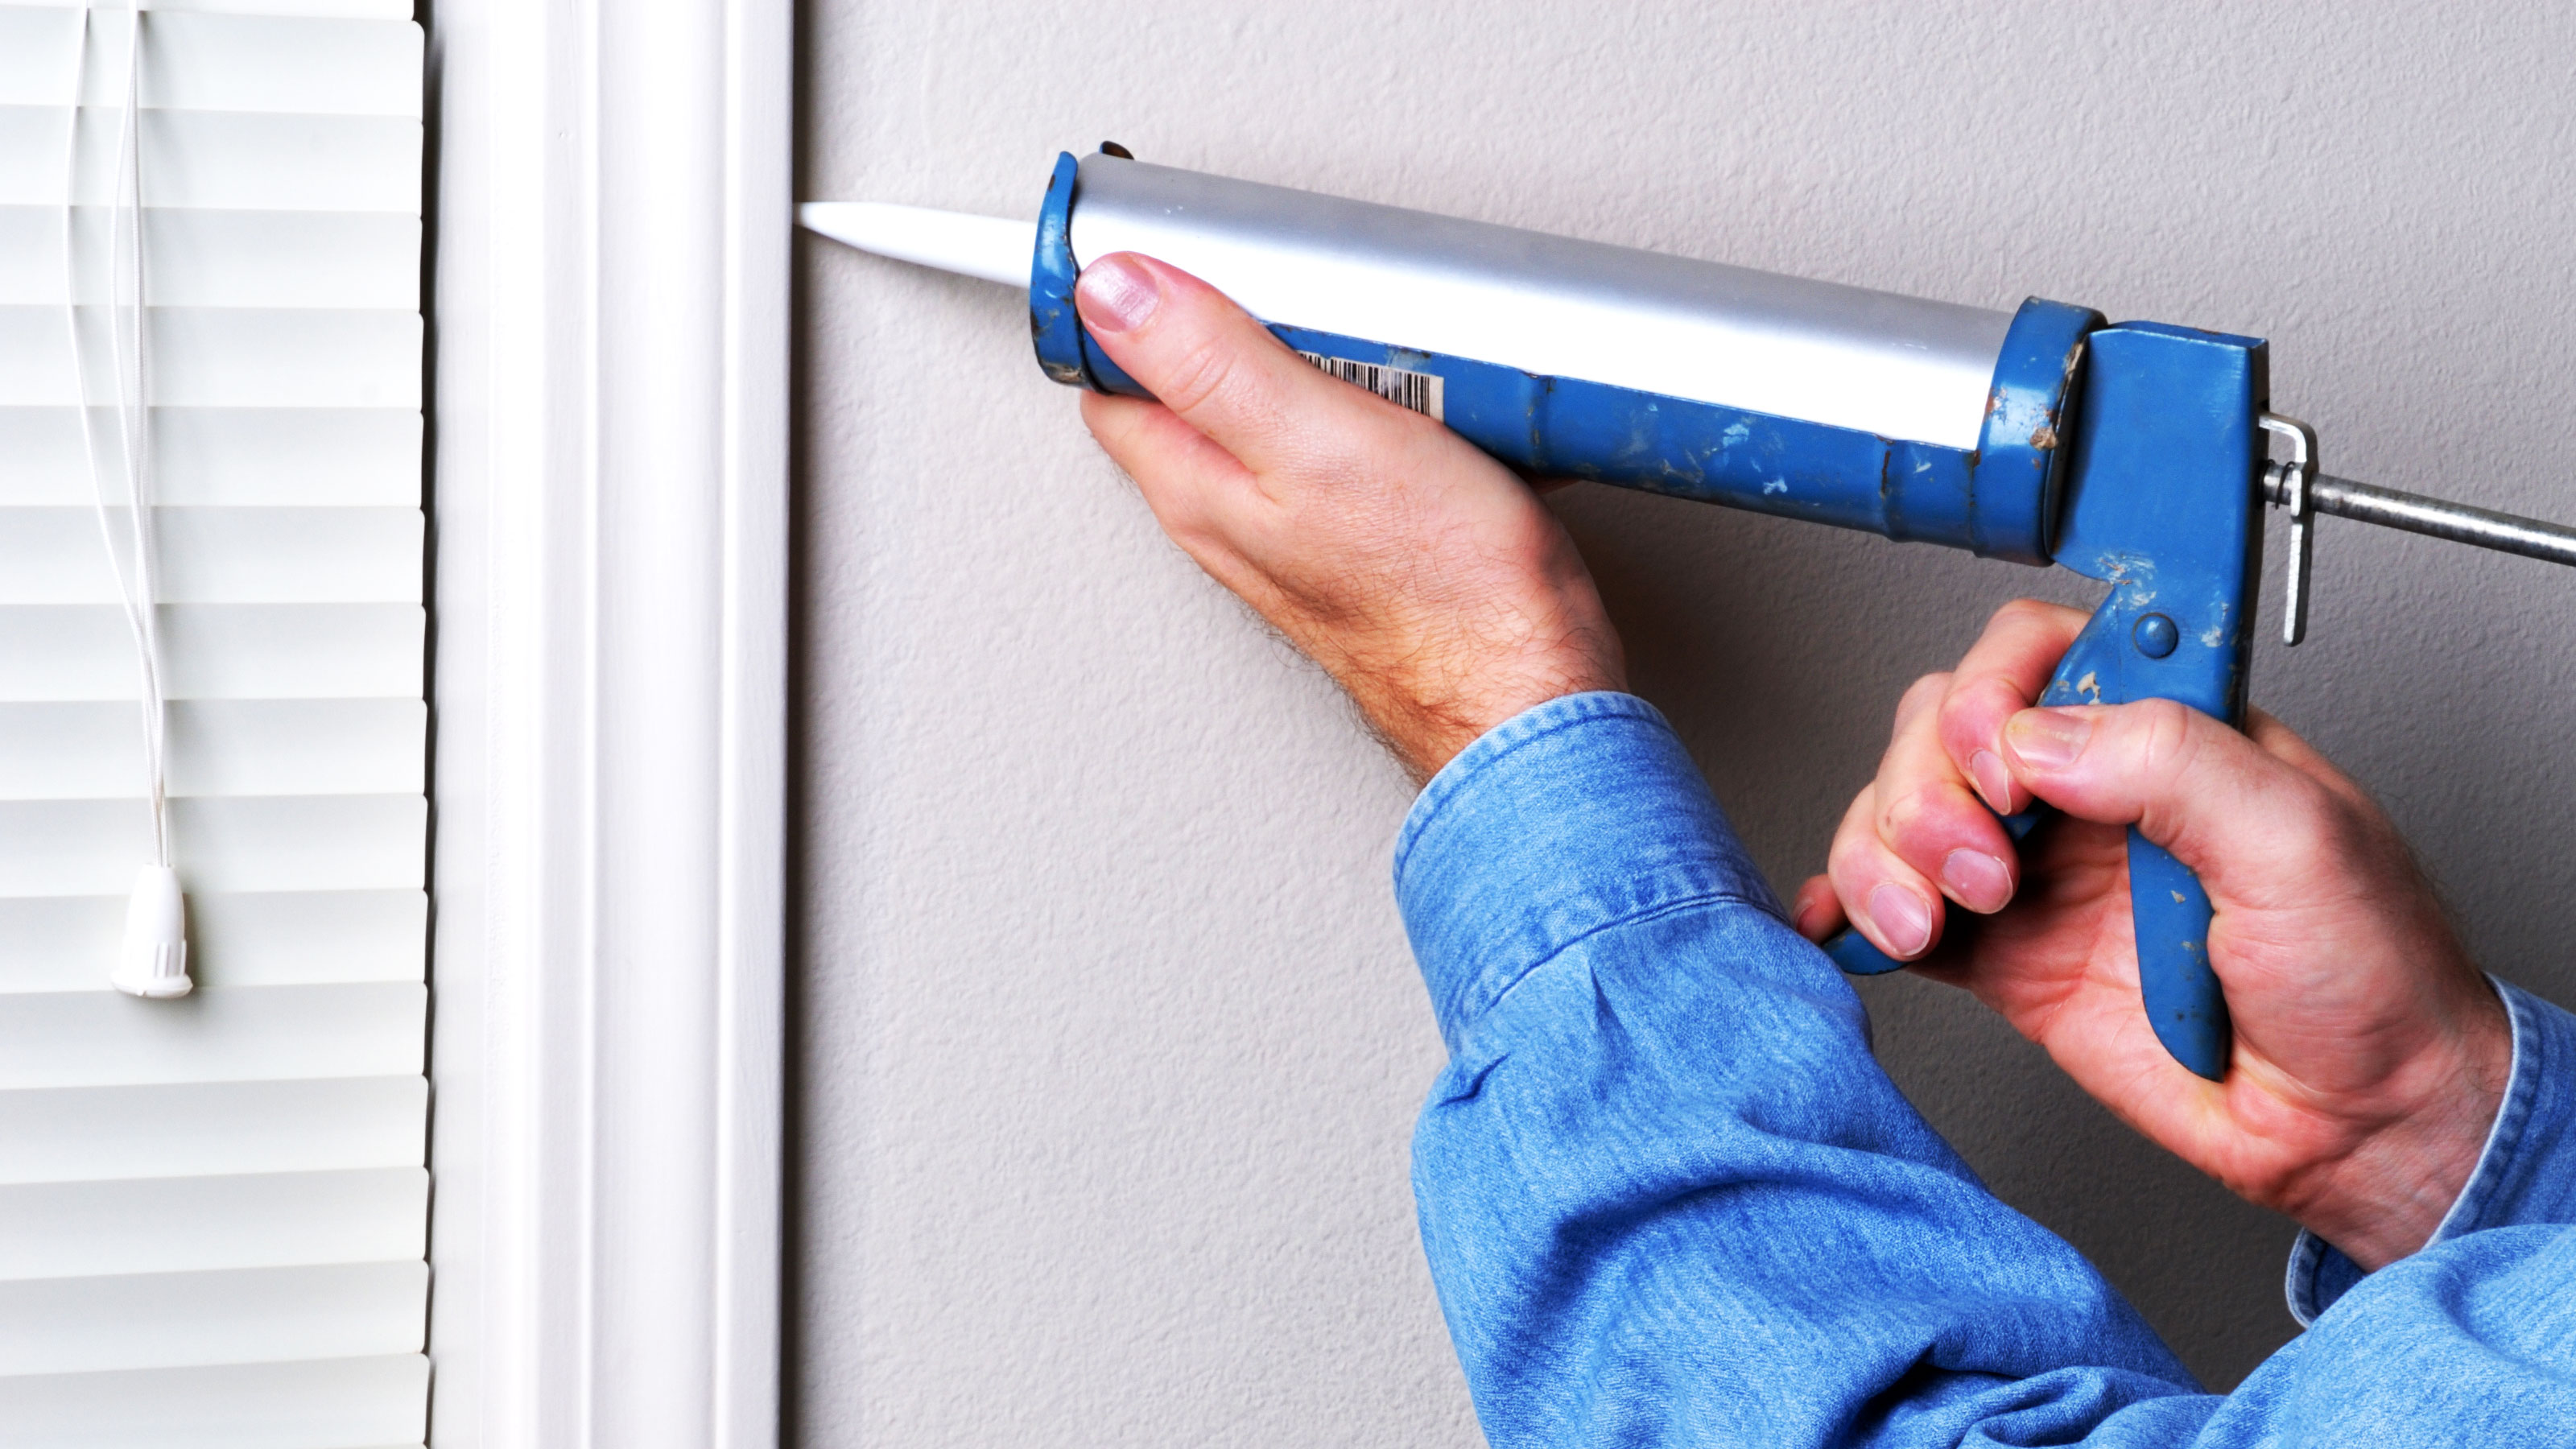
Decorators’ caulks is a sealant that is typically used for sealing areas where there are gaps between woodwork and walls. It is used for sealing the small gaps between window surrounds, architraves and skirting boards and the walls, for instance.
If you are painting windows and need to fill the gap between the windows and the walls, decorators' caulk is a better alternative to filler due to its flexibility. It is less likely to crack than a filler, is waterproof and can be painted over. This is why it is also used on architrave, skirting, coving and cornices.

Which dries quickest: silicone or caulk?
When working with sealant – both silicone and caulk – it goes through several stages in the drying process. When the sealant is applied you have around 15 minutes to work it into shape before it starts to set. Once it goes past the working stage you won't be able to shape the sealant.The next stage is touch dry, where the sealant is set but cannot be worked with.
Silicone needs at least 6 hours before it can be called into action. Ideally if you are siliconing a shower where the silicone is going to be in direct contact with water you should leave it to dry for 24 hours.
Knowing how to use decorators' caulk – aka painters' caulk – and how long it takes to dry is critical to using it. It follows the same stages as sealant but typically stays workable for around 10 minutes, is touch dry within an hour and is paintable in around four hours.
Can you smooth sealant with your finger?
Yes you can. It's not uncommon practice to lick the finger and run it along the sealant. But it's not the most hygienic, doesn't produce the best looking finish and can be messy. This approach is OK if you are caulking skirting boards with small gaps and short lengths, but there are better options.
A quick and simple alternative is to use a kitchen sponge. Simply dampen the sponge and run along the caulk. Have a cloth ready to wipe the excess caulk onto.
Another alternative is to invest in a set of sealant finishing tools. These are inexpensive, simple to use and give a consistent finish. Spray a mist of water onto the sealant and run the tool along the sealant to get a good-looking, even finish.
Get the Homebuilding & Renovating Newsletter
Bring your dream home to life with expert advice, how to guides and design inspiration. Sign up for our newsletter and get two free tickets to a Homebuilding & Renovating Show near you.
Steve Jenkins is a freelance content creator with over two decades of experience working in digital and print and was previously the DIY content editor for Homebuilding & Renovating.
He is a keen DIYer with over 20 years of experience in transforming and renovating the many homes he has lived in. He specialises in painting and decorating, but has a wide range of skills gleaned from working in the building trade for around 10 years and spending time at night school learning how to plaster and plumb.
He has fitted kitchens, tiled bathrooms and kitchens, laid many floors, built partition walls, plastered walls, plumbed in bathrooms, worked on loft conversions and much more. And when he's not sure how to tackle a DIY project he has a wide network of friends – including plumbers, gas engineers, tilers, carpenters, painters and decorators, electricians and builders – in the trade to call upon.

