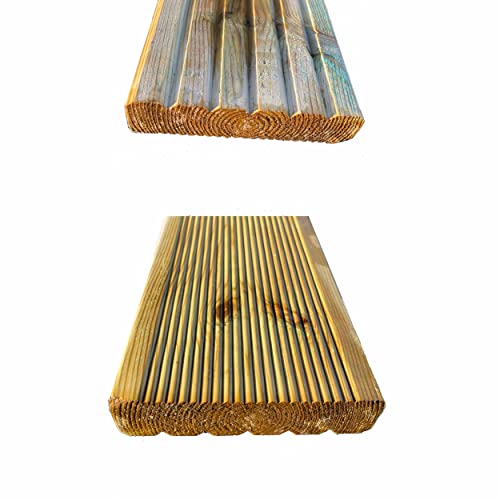
Should decking grooves face up or down? Experts explain which way they should go and why
If you’re laying a deck, you’ll probably be wondering decking grooves should face up or down? The answer isn’t as straightforward as you might think
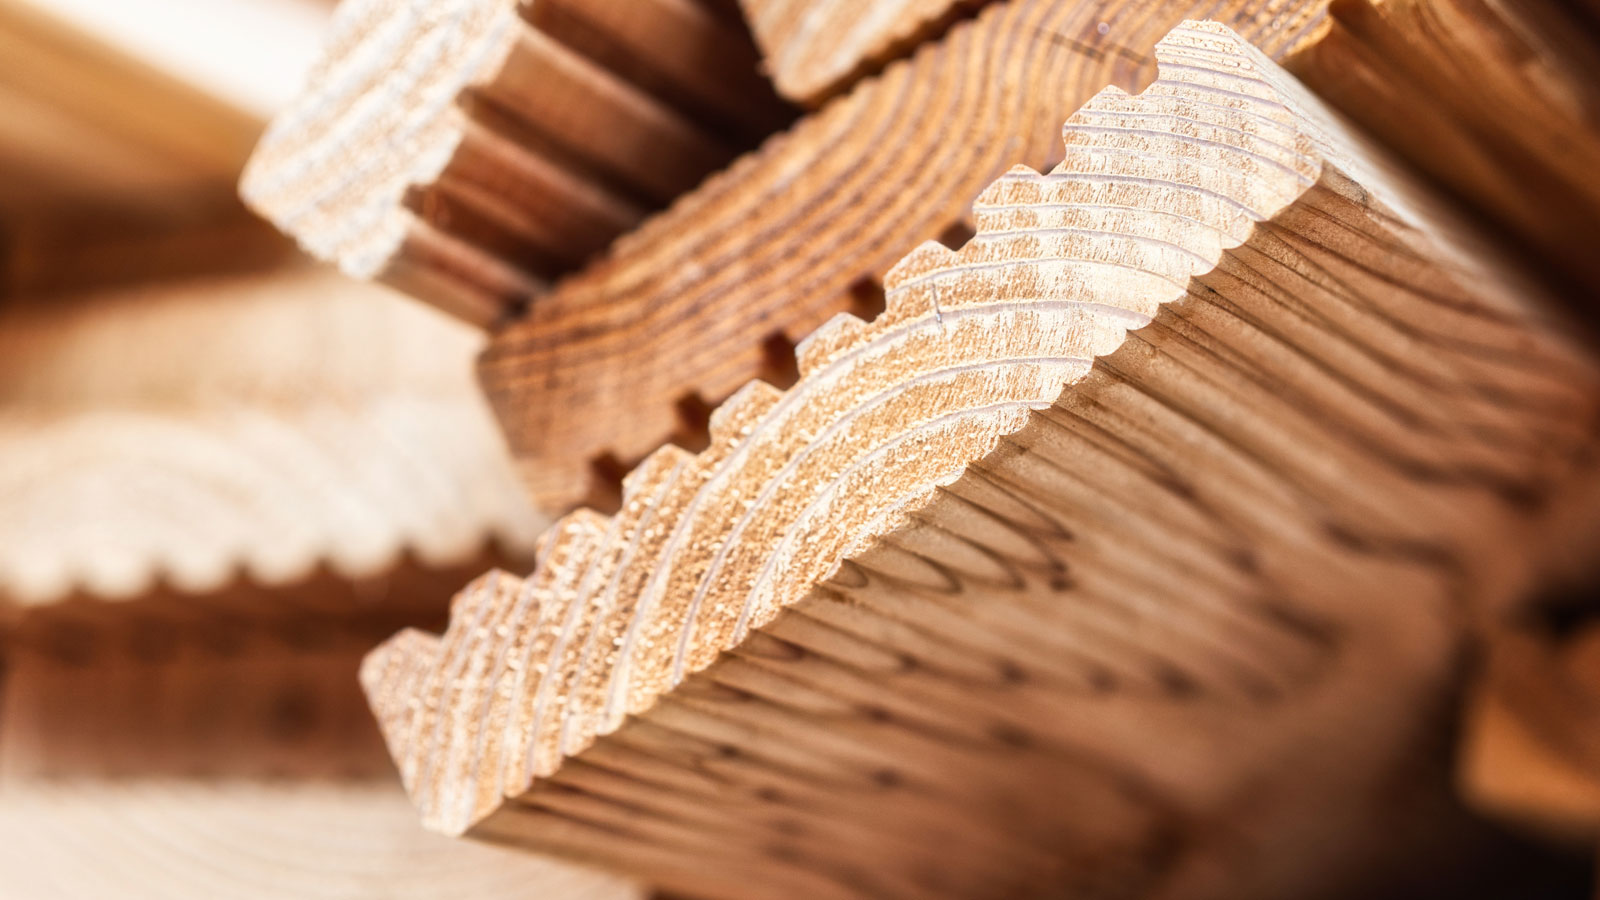
Should decking grooves face up or down is a conundrum every DIYer has to deal with when laying a deck. It’s a classic question that doesn’t have a single straightforward answer. Part of the problem is that decking boards are not a one-size-fits-all solution. Different boards have different numbers and types of grooves.
Your garden decking ideas might significantly influence your decision on which way to lay the boards. However, the climate in your area may sway you to opt for a practical choice.
Here, the professionals offer their expert input to help ensure you choose the right fit for your decking boards.

Leigh has 20+ years of experience in the timber/ construction industry. Since joining Jacksons Fencing in 2019, he has been instrumental in leading the retail team, focusing on driving the timber division side of the business
Reasons why decking boards have grooves
Slip resistance and ventilation are the two most commonly mentioned reasons for grooves. Leigh Barnes, Retail Sales Manager at Jacksons Fencing, says, “Decking boards have grooves for slip resistance. The grooves provide better traction, reducing the risk of slipping, especially when the surface is wet.”
Mark Irving, building expert at Build & Plumb, suggests, “Decking boards are designed with grooves to improve airflow to the underside of the decking and prevent the build-up of moisture.”
Another reason for grooves in decking is to hide a fastening system. This helps create a more seamless look with no nails or screw heads on display.

With over 20 years of experience in the building sector, Mark led Build & Plumb’s expansion into online marketplaces. Over the years working for Build & Plumb Mark has developed a wealth of knowledge surrounding building and renovating.
Should decking grooves face up or down?
There isn’t a simple answer to this question as it will depend on your grooved decking. Some boards will have grooves on one side and be smooth on the other.
If they have larger grooves, manufacturers typically recommend laying them face down. Irving says, “Traditionally, decking is designed with the grooves facing downwards on the underside to help prevent warping and increase airflow.” The larger grooves create a gap between the bottom of the board and the joists, promoting airflow.
But many grooved decking boards feature grooves on both sides, such as this Klikstrom Madeira Green Spruce Deck board from B&Q. Typically, one side has larger, more pronounced grooves, while the other side has smaller grooves that are more visually appealing.
In this case, the smaller grooves can be installed facing upwards. Barnes states, “Decking boards should always have the grooves facing up, as they are designed to enhance slip resistance.”
Irving adds, “With the grooves facing upwards, this will promote water runoff and improve drainage.” With less water on a board, it will dry more quickly, which extends the lifespan of the decking. The faster it dries, the lower the chance of algae growth, which can make the boards slippery.
Jackson adds, “Decking should be installed onto a frame, which essentially creates a box for the decking boards to be installed onto. If you choose timber decking with a long guarantee that protects it against rot and insect attack, it will not need the ridges to be faced down to aid airflow and prevent rotting.”
Try these for your next decking project
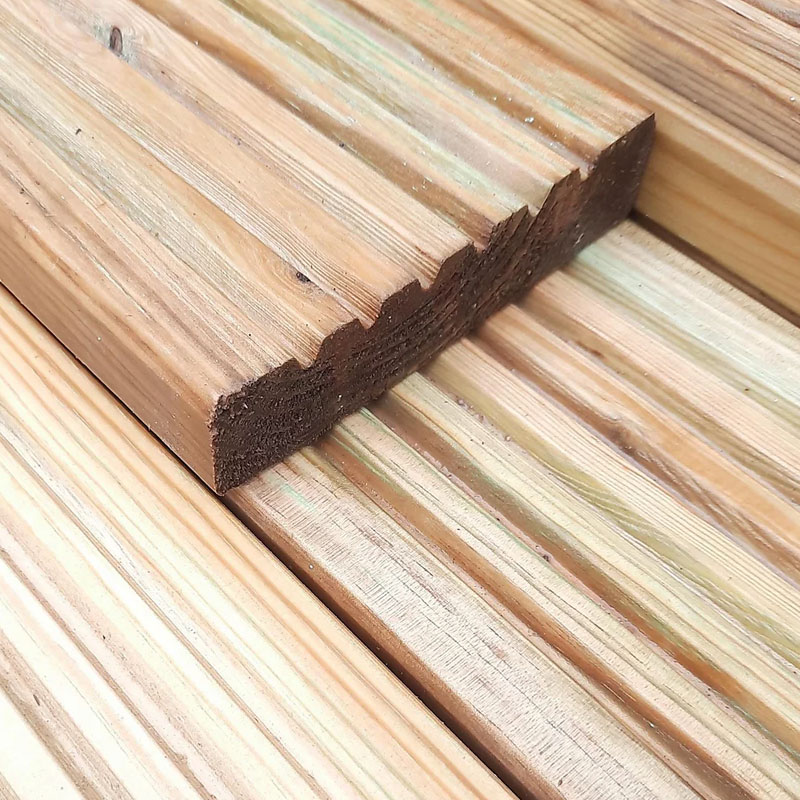
This premium decking board is expertly treated to give enhanced durability and longevity. Choose from deep ridges or a smooth finish for your deck.
The reasons behind different size grooves
Grooved decking boards are not a one-size-fits-all solution. You will notice that different decking has grooves of varying sizes, which offer function and form, as Irving points out, “Narrow grooves are often considered to be more aesthetically pleasing as they are less noticeable, but they still help to improve drainage.”
However, larger grooves can be a better option depending on the climate where you live. If you live in an area that sees a lot of rain, wider grooves can be a better choice, as Irving explains, “You will want to choose decking with wider grooves as they offer better water run off by channelling water from the decking at a quicker rate.”
This helps keep the boards dry out faster. Also, check if you need planning permission for decking before you choose your materials.
Which size grooves you choose will be very much a personal choice. Irving says, “A lot of decking comes with both narrow and wide ridges on either side, this means that you can choose which option you prefer and is more suitable for your climate and the location of your decking”.
Should a deck be perfectly level?
To allow for better drainage, a deck shouldn’t be laid perfectly level. Barnes says, “To encourage water runoff, you can install the decking boards at a slight angle, ensuring the slope follows the direction of the grooves for optimal drainage.”
A lack of runoff will mean that “moisture can sit in the ridges of the decking for longer,” says Irving. He adds, “If the moisture remains stagnant in the grooves, it can result in the development of mould and wood rot over time.”
To help with drainage, you want a pitch of approximately 10mm for every metre. This means you won’t notice the slope, but it will help the water run off.
FAQs
In which direction do you lay grooved deck planks?
Decking boards can be installed in either direction, although they generally run perpendicular to the deck frame. If a deck is attached to a house, it has what is known as a ledger board, which is a joist connected to the frame of the house. The remaining joists typically run parallel to the ledger board, while the decking boards run perpendicular to the house, pointing away to allow for water runoff.
However, the joists can be attached perpendicular to the house, enabling the deck boards to run parallel to the house. This arrangement creates the illusion of a wider deck that better blends with the house.
What is the best way to keep grooves clean?
Keeping a deck clean is relatively straightforward, as Irving explains, “Keep decking grooves clean by using a sweeping brush to sweep in the direction of the grooves.” He adds, “This will remove any moisture, dirt or debris that is trapped in the grooves of the decking.”
To get the best finish, you will need a stiff-bristled brush like this Stiff Heavy Duty Long Handled Scrubbing Brush from Amazon. Irving adds, “Crevice cleaners, like this SXhyf Cleaning Brush from Amazon, can be effective in removing trapped dirt and debris.”
For stubborn dirt and debris, combine the cleaning brush with hot water and washing-up liquid. Alternatively, try a specialist deck cleaner.
Irving suggests regular cleaning, “I recommend that you deep clean the grooves of your decking at least once every six months.” He adds, “Leaving your decking grooves dirty for a long period of time will cause wood rot”.
If you’re thinking of installing a new deck, check out our raised decking ideas and small decking ideas for inspiration and our decking costs guide to help with budgeting.
Get the Homebuilding & Renovating Newsletter
Bring your dream home to life with expert advice, how to guides and design inspiration. Sign up for our newsletter and get two free tickets to a Homebuilding & Renovating Show near you.
Steve Jenkins is a freelance content creator with over two decades of experience working in digital and print and was previously the DIY content editor for Homebuilding & Renovating.
He is a keen DIYer with over 20 years of experience in transforming and renovating the many homes he has lived in. He specialises in painting and decorating, but has a wide range of skills gleaned from working in the building trade for around 10 years and spending time at night school learning how to plaster and plumb.
He has fitted kitchens, tiled bathrooms and kitchens, laid many floors, built partition walls, plastered walls, plumbed in bathrooms, worked on loft conversions and much more. And when he's not sure how to tackle a DIY project he has a wide network of friends – including plumbers, gas engineers, tilers, carpenters, painters and decorators, electricians and builders – in the trade to call upon.
