Screwing into plasterboard: What to use and what not to use!
You need the right know-how when screwing into plasterboard. We look at what screws you need for fixing it to a frame and pro tips for putting up shelves

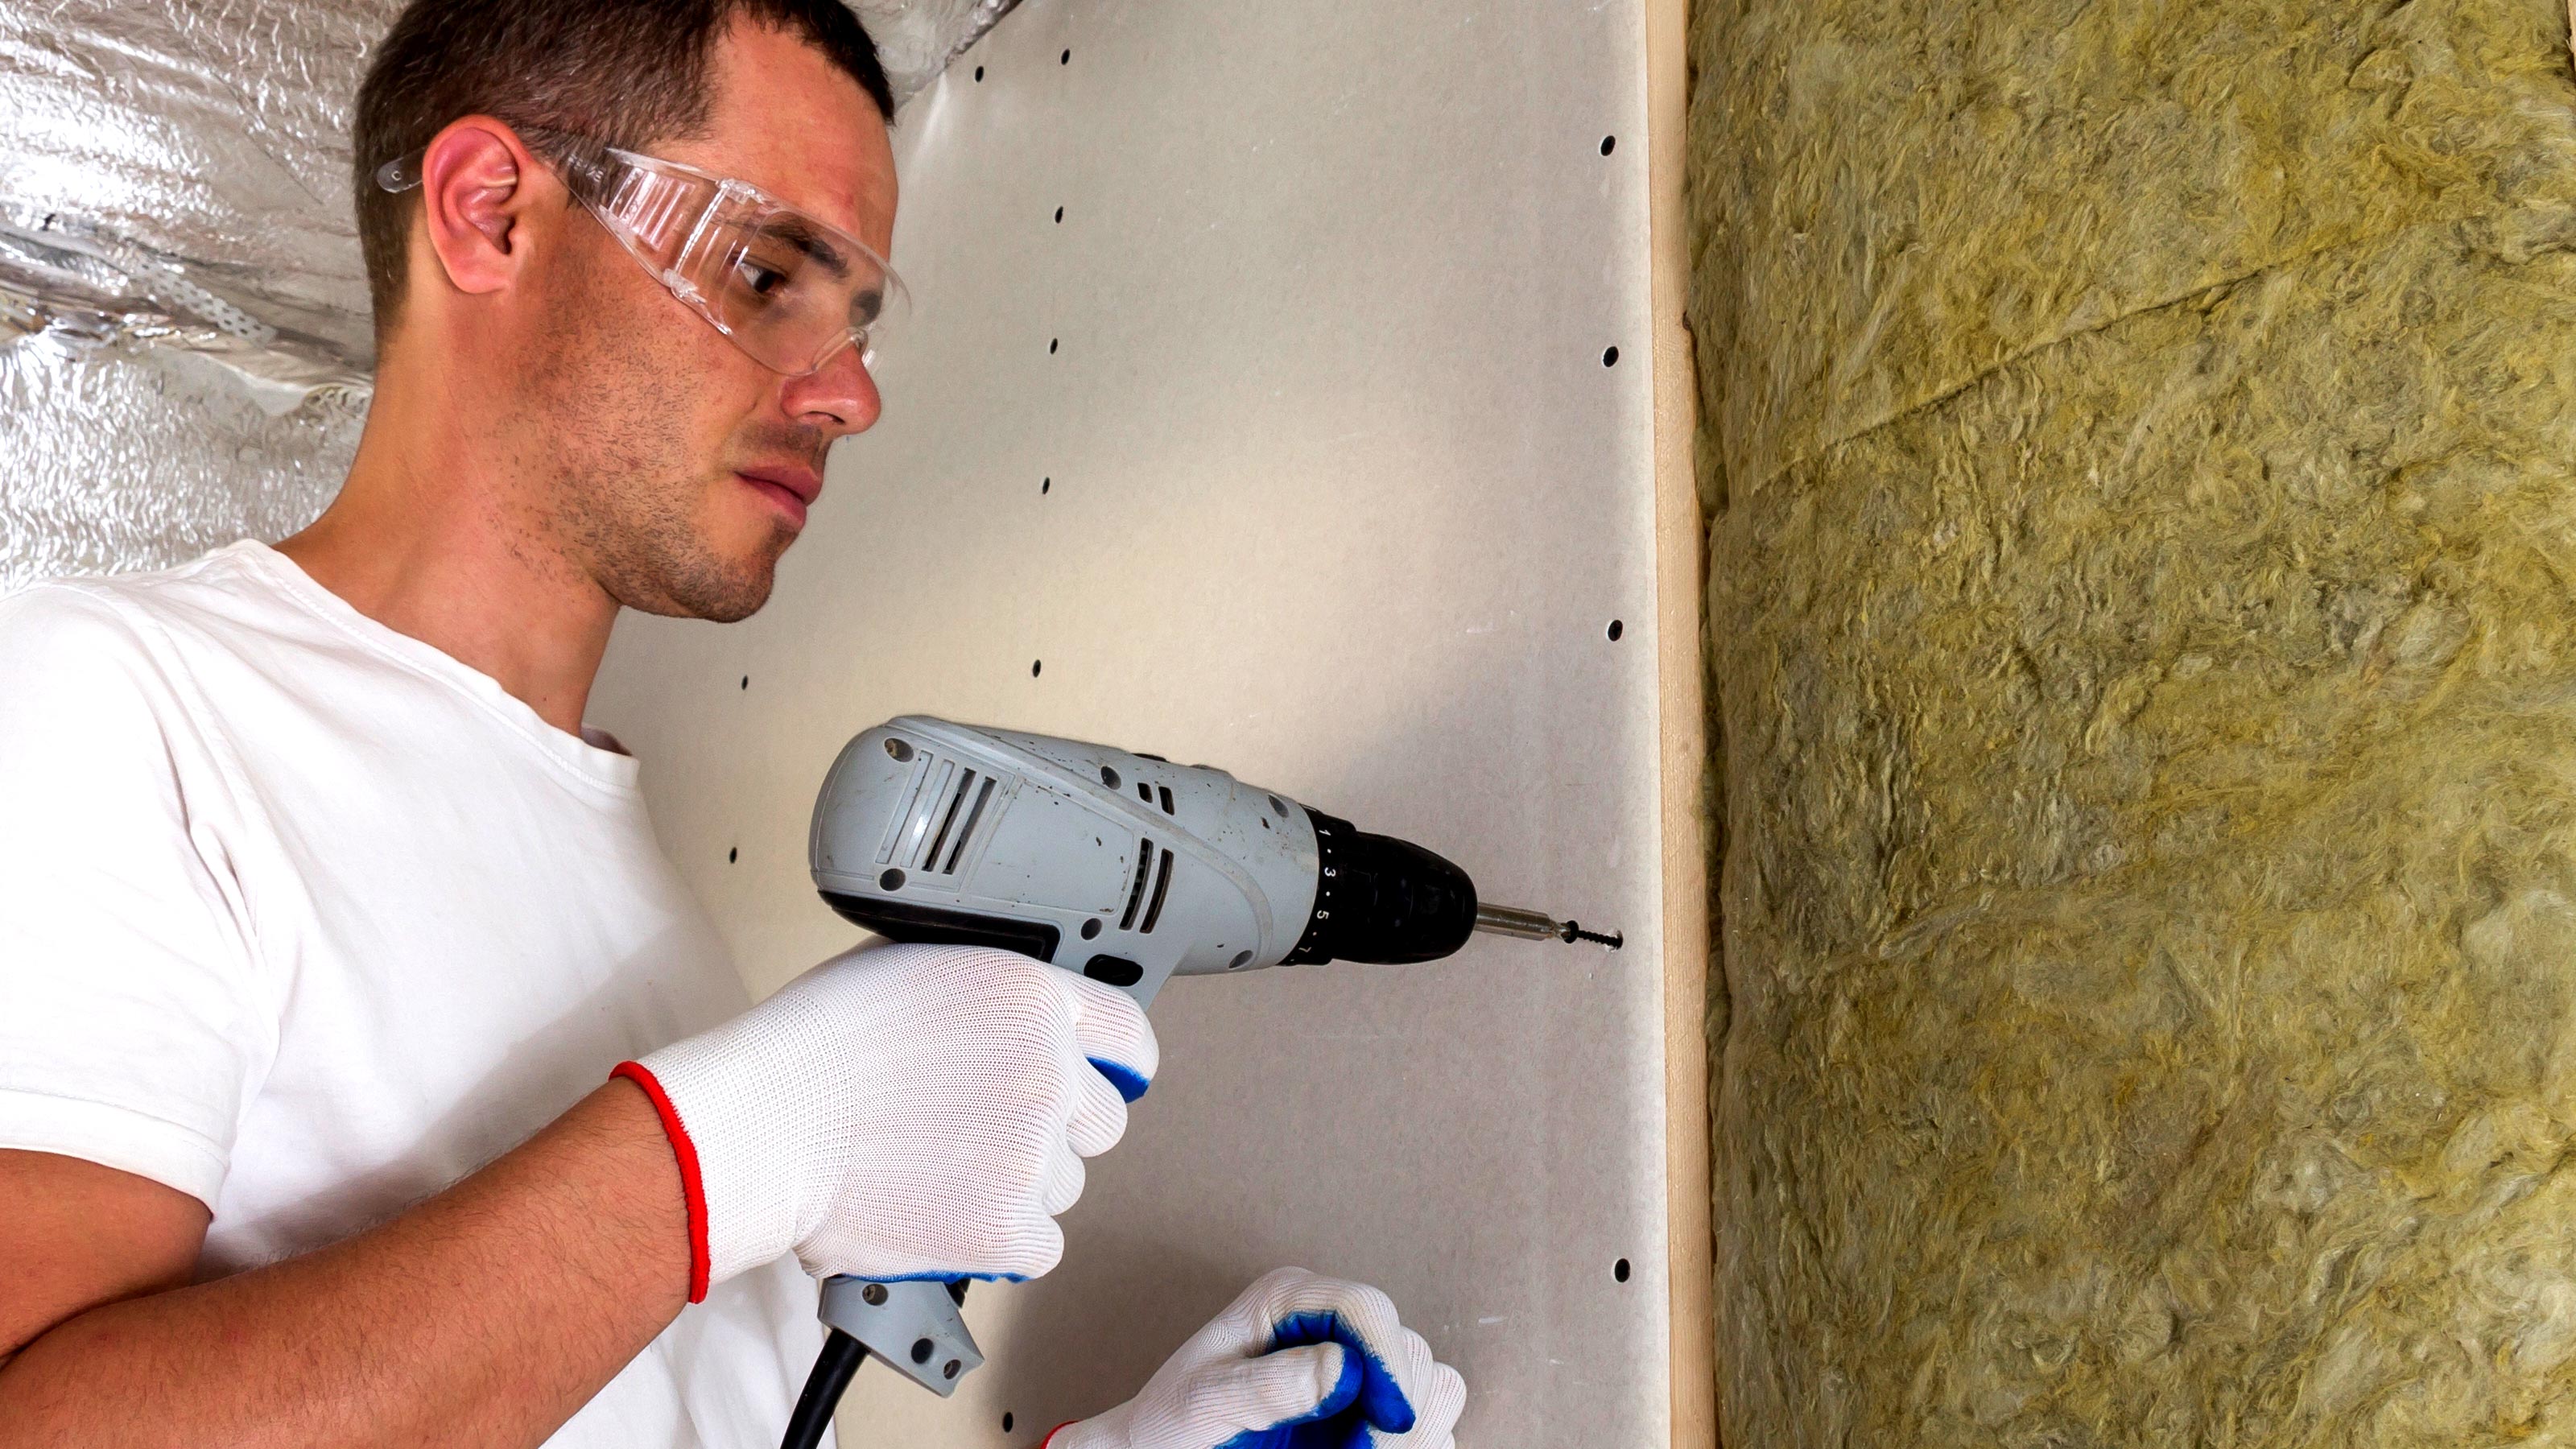
Screwing into plasterboard sounds like a simple task and in principle it is, but like a lot of DIY jobs it's not quite as simple as you think. If you are putting up plasterboard on a stud wall or partition you need to choose the right screw length to get a good fix and the right technique to keep the plasterboard intact.
If you’ve been plastering walls by skimming over the plasterboard you need to know how to work the wall to get the best fix if you are looking to put up a shelf, for instance. It doesn’t work in exactly the same way as drilling into walls or masonry.
Here we take a look at the screws and techniques you need to know to make sure your plasterboard stays in shape.
What screws do I need for screwing into plasterboard?
There are a number of different screw types, each suited to a different type of job. A common scenario for homeowners and DIYers is building a partition wall or a stud wall where you will need a coarse thread screw with a bugle head to screw into the wood. These are typically black as they have a phosphate coating that helps protect the screw from damp and eventually rust.
Bugle heads are countersunk so they sit flush with the plasterboard without breaking the paper or plaster. If you are screwing plasterboard into a metal frame you will need to use a fine thread screw with a bugle head.
You will also need to consider the size of the screw as plasterboard comes in different sizes. The common sizes being 9.5mm and 12.5mm. A screw needs to penetrate the surface by around an inch to get a secure fix. So, for 9.5mm plasterboard use 32mm screws and for 12.5mm plasterboards use 38mm screws.
How do I screw plasterboard to a stud wall?
It's not a difficult process screwing into plasterboard but its needs to be done the right way as Gary Balckburn, Plaster Support Manager at Saint Gobain explains: “The screw heads should be flush with the paper and not tear the paper on the face of the board so a dimpler is best for the novice. A dimpler is a screw bit with a collar which helps to stop the screw going into the core of the board and therefore compromising the integrity of the board.”
If you don’t have a dimpler like this one from Amazon then you can try a different way: “An alternative method is to reduce the torque on the drill driver which can minimise how deep the screw is driven into the timber. But don’t use an impact driver: I would suggest that the use of an impact driver is avoided as the knocking effect will damage the core of the plasterboard,” explains Blackburn.
Can I put up shelves on plasterboard walls?
If you want to put up shelves on stud walls the process is pretty straightforward. All you need to do is locate the studs. Knock on the plasterboard until you get a duller sound. You can use a nail to test if this is the stud location. A stud detector is, however, the best way to find studs.
Studs are typically 600mm apart, so once you have located one you will have a good idea where the next one is. You can use wood screws to install the shelf.
If you are looking to put up shelves or similar on a dot and dab plasterboard wall then the process is very similar as Blackburn tells Homebuilding and Renovating: “Ideally if at all possible find where the dots are located, this can be done by knocking on the plasterboard until you hear a solid sound, this should then be drilled into the solid wall and plugged to receive the screw.”
But it is not always possible to locate the dots. If this is the case Blackburn suggests the following: “If this is not possible several different sorts of cavity fixings can be used. The cavity fixture chosen should be checked to ensure that the weight bearing capacity is sufficient to carry the shelf and the anticipated weight to be placed on the shelf.”
Cavity fixings for plasterboard are typically hollow wall anchors. These are pushed through the hole and have a couple of teeth that hold it in place. Then as you screw the back of the fitting opens up to create a fix against the back of the plasterboard. Make sure to pick the right size for your plasterboard and observe what the weight limit is.
When creating holes on the plasterboard use a drill to minimise damage, otherwise you will have to fill holes in the plasterboard, which you want to avoid if you can.
Get the Homebuilding & Renovating Newsletter
Bring your dream home to life with expert advice, how to guides and design inspiration. Sign up for our newsletter and get two free tickets to a Homebuilding & Renovating Show near you.
Steve Jenkins is a freelance content creator with over two decades of experience working in digital and print and was previously the DIY content editor for Homebuilding & Renovating.
He is a keen DIYer with over 20 years of experience in transforming and renovating the many homes he has lived in. He specialises in painting and decorating, but has a wide range of skills gleaned from working in the building trade for around 10 years and spending time at night school learning how to plaster and plumb.
He has fitted kitchens, tiled bathrooms and kitchens, laid many floors, built partition walls, plastered walls, plumbed in bathrooms, worked on loft conversions and much more. And when he's not sure how to tackle a DIY project he has a wide network of friends – including plumbers, gas engineers, tilers, carpenters, painters and decorators, electricians and builders – in the trade to call upon.

