Our guide to sanding wood floors — from tools to sandpaper grits
Get to grips with sanding wood floors to ensure your project is a complete success. Our guide explains which tools you will need and how to go about achieving the best results

With the right approach and the right tools, sanding wood floors can greatly improve the finish or evenness of the wood. In some cases, sanding is also a crucial step in the process of renovating an existing wood floor.
When it comes to sanding wood floors, there are several pointers to look out for and some important decisions to get right. The tools you use, your technique and even the specific sandpaper grades you choose will affect the end result. This guide will give you the knowledge you need to sand correctly.
As well as talking you through the process of the job, we also explain which tools and sandpaper grits you will need and the common mistakes made by renovators when attempting this task on a DIY basis.
Why should I be sanding wood floors?
Most DIYers will find themselves sanding their wood floor for one of three reasons:
- To creating a smoother finish. Using sandpapers with increasingly fine grits can result in a beautifully smooth finish to the floor.
- To level the floor surface. After laying, there may be some unevenness between the pieces of a wood floor. You may be able to level out the floor surface through sanding (although when there are very pronounced ‘high spots’ on the floor, it might be more appropriate to use a planer).
- When preparing an original floor for renovation. When working with an original wood floor, it may be necessary to sand away old paint, varnish, other finishes or stains, before sealing or applying a new finish to the floor.
Even a new floor made with fresh timber can benefit from sanding to ensure the joins between planks or blocks are level and the surface is smooth.
Which tools are best for sanding a wood floor?
There are lots of different tools you can use to sand a wood floor, including:
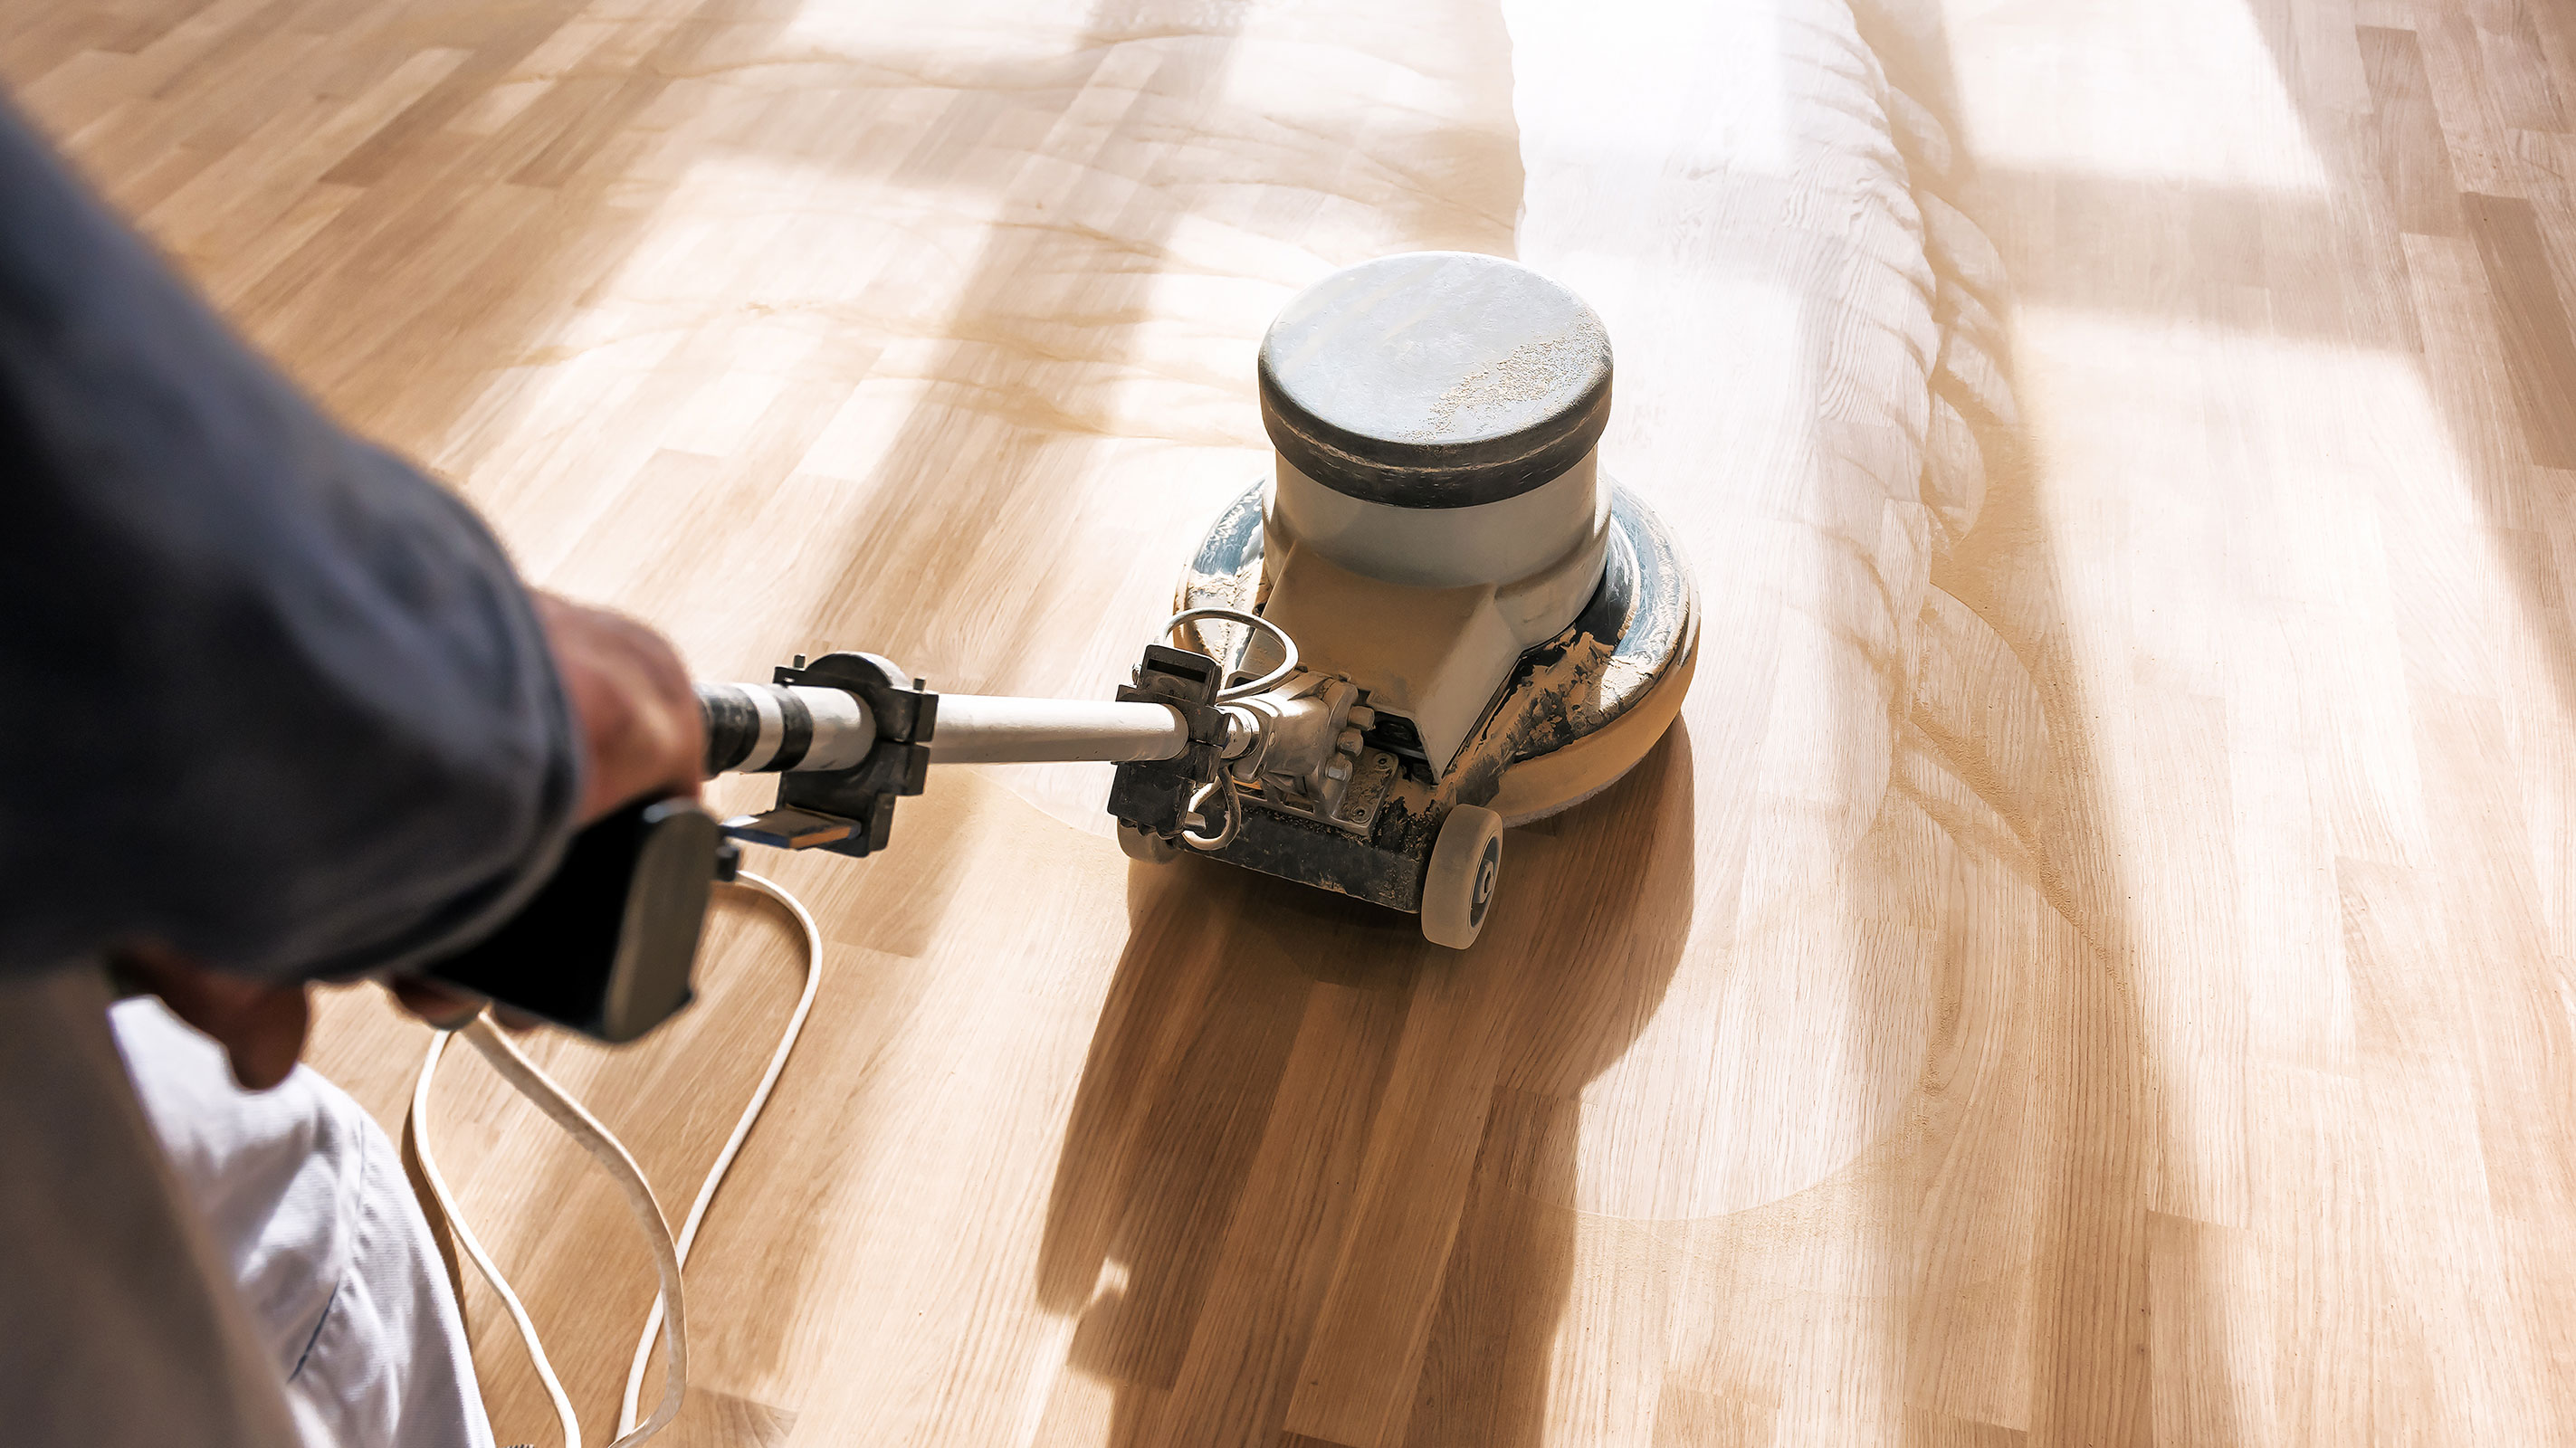
- Floor sander. These large, contactor-standard electric tools are often used by flooring professionals to sand wood floors. Use with caution, as this powerful type of sander can easily leave unsightly machine marks on the floor surface. On the plus side, floor sanders work quickly.
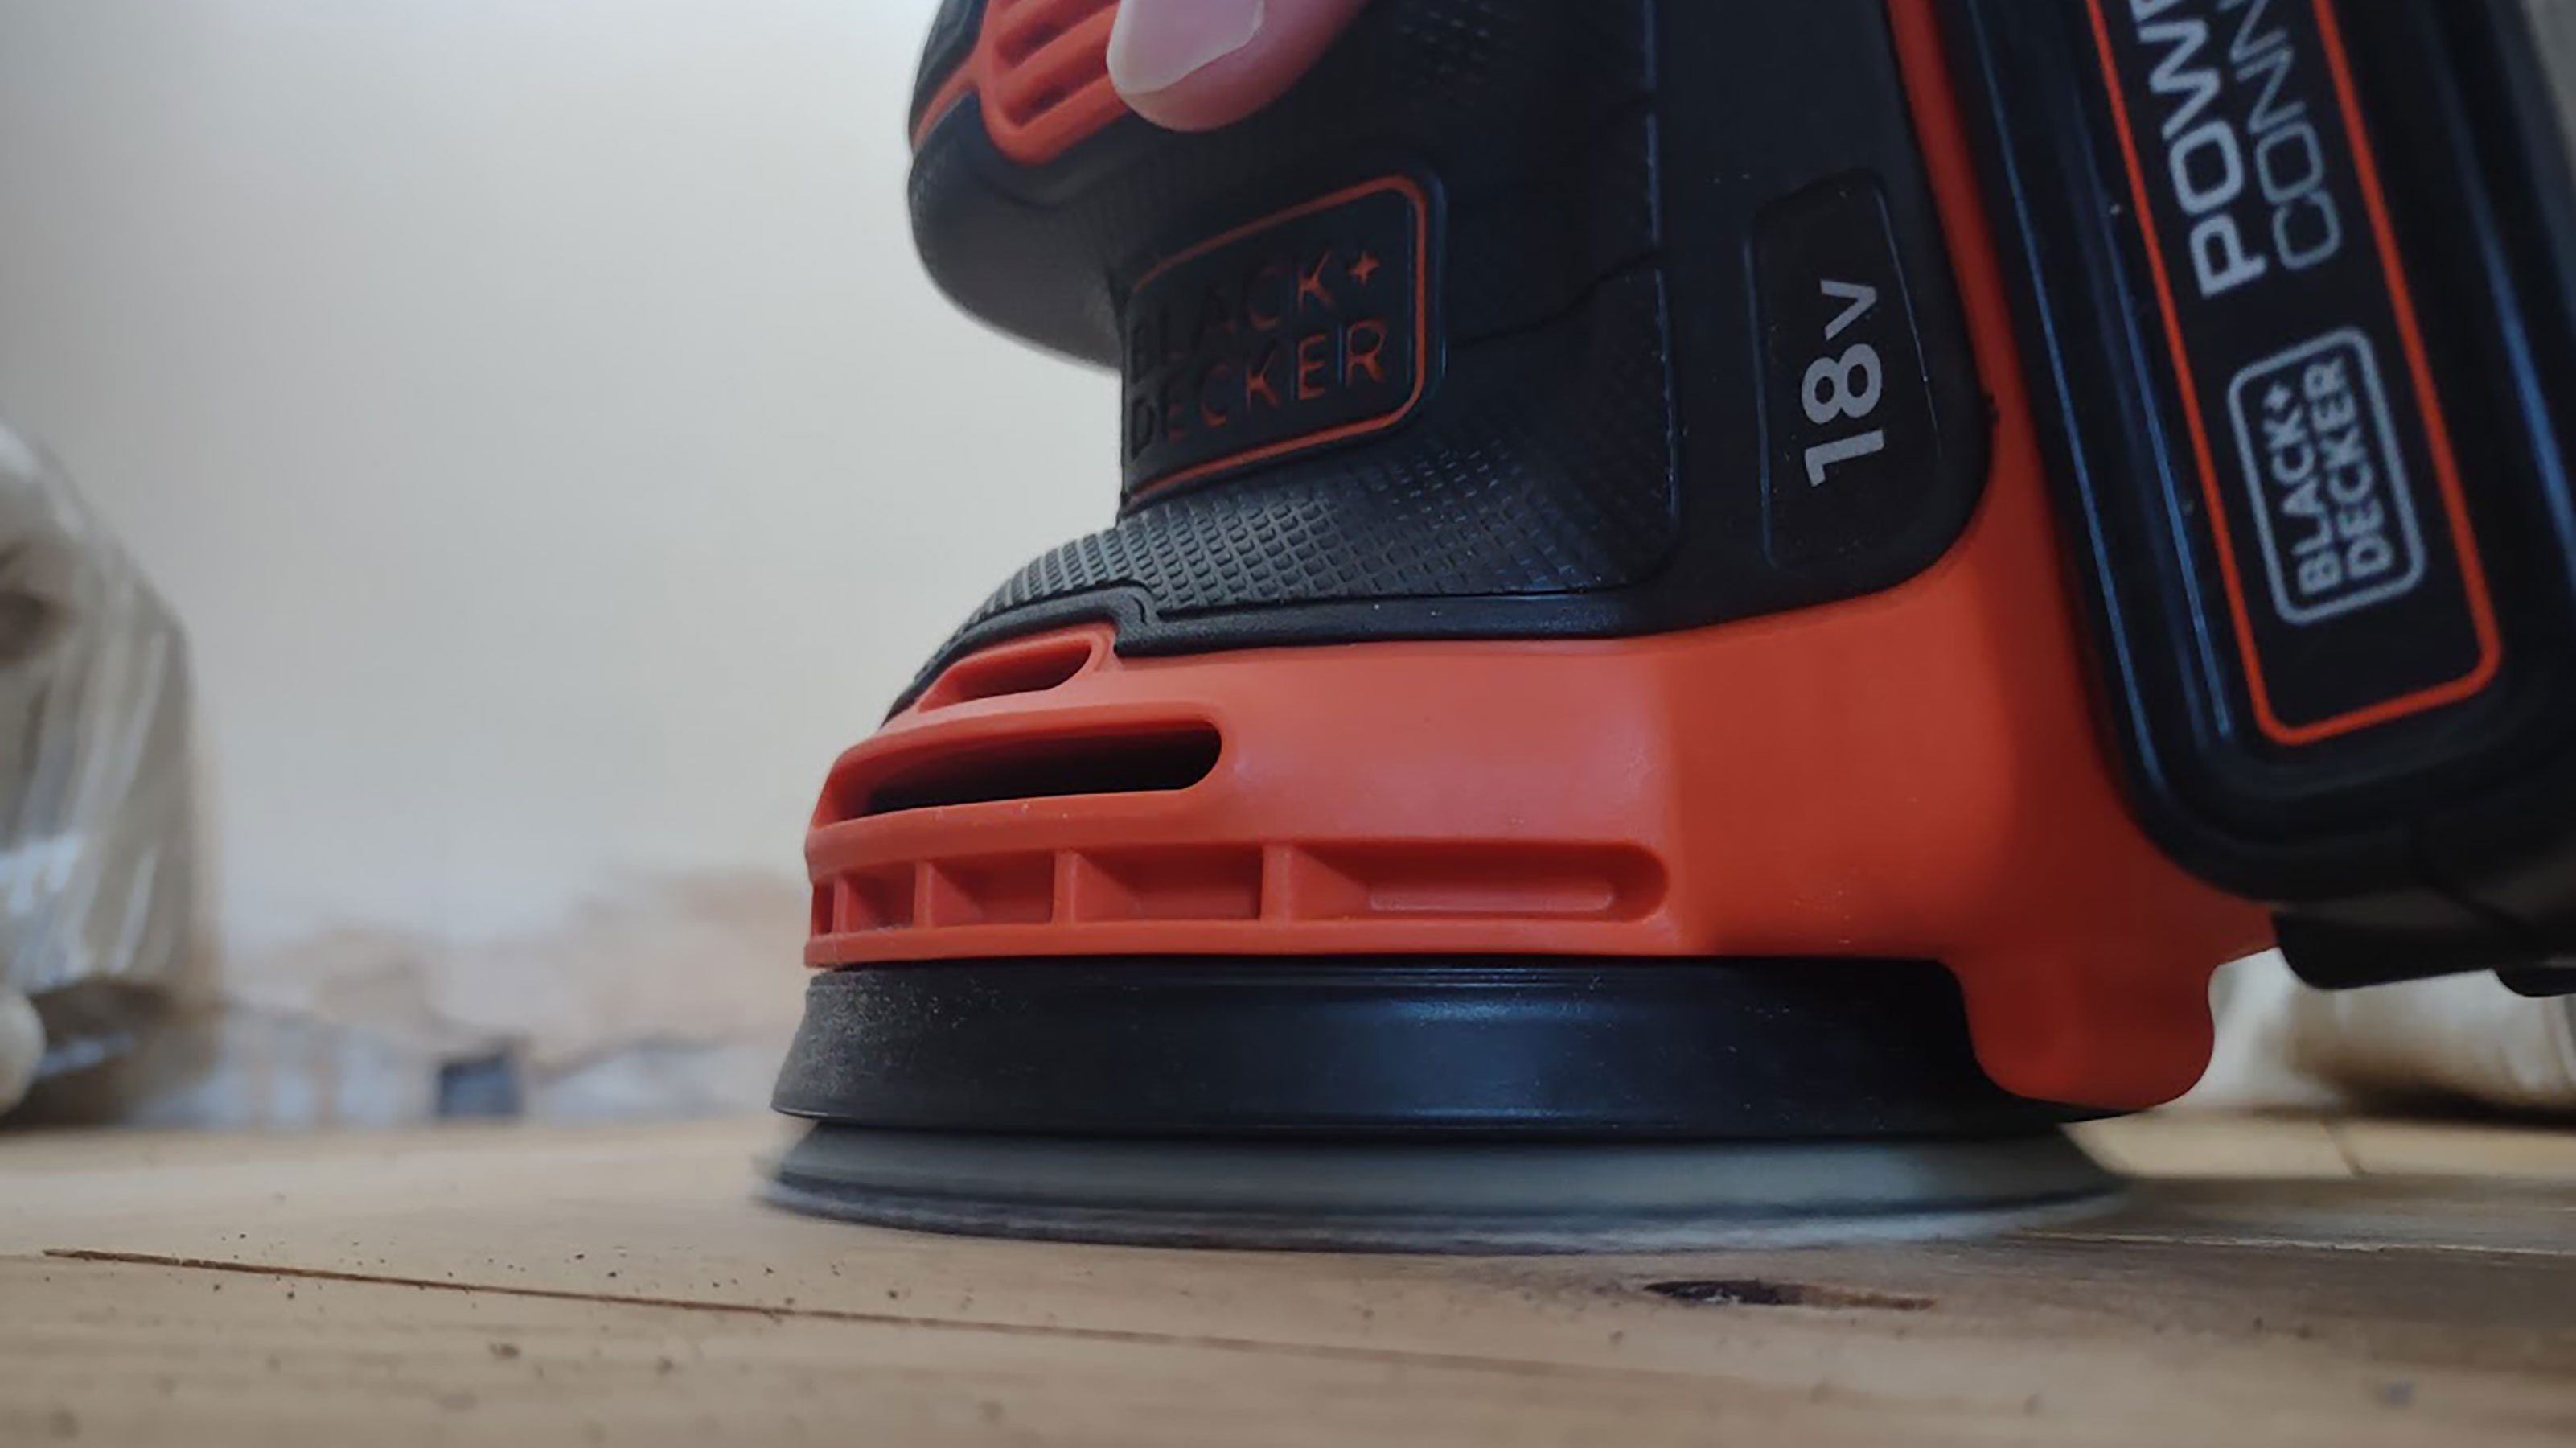
- Random orbital sander. With a random orbital action and circular sanding pad, this type of sander makes it possible to sand a surface while leaving far fewer unsightly swirls and marks as you’d get with most other sanding tools. If you haven't bought one yet, you can see the best orbital sanders in our guide.
- Detail sander. The small footprint and pointed sanding pads of detail sanders mean they’re great at getting into tight corners around the edge of the floor.
- Belt sander. This type of sander uses a revolving belt to sand faster and more aggressively than your average random orbital sander – but more concentration is required to get an even finish.
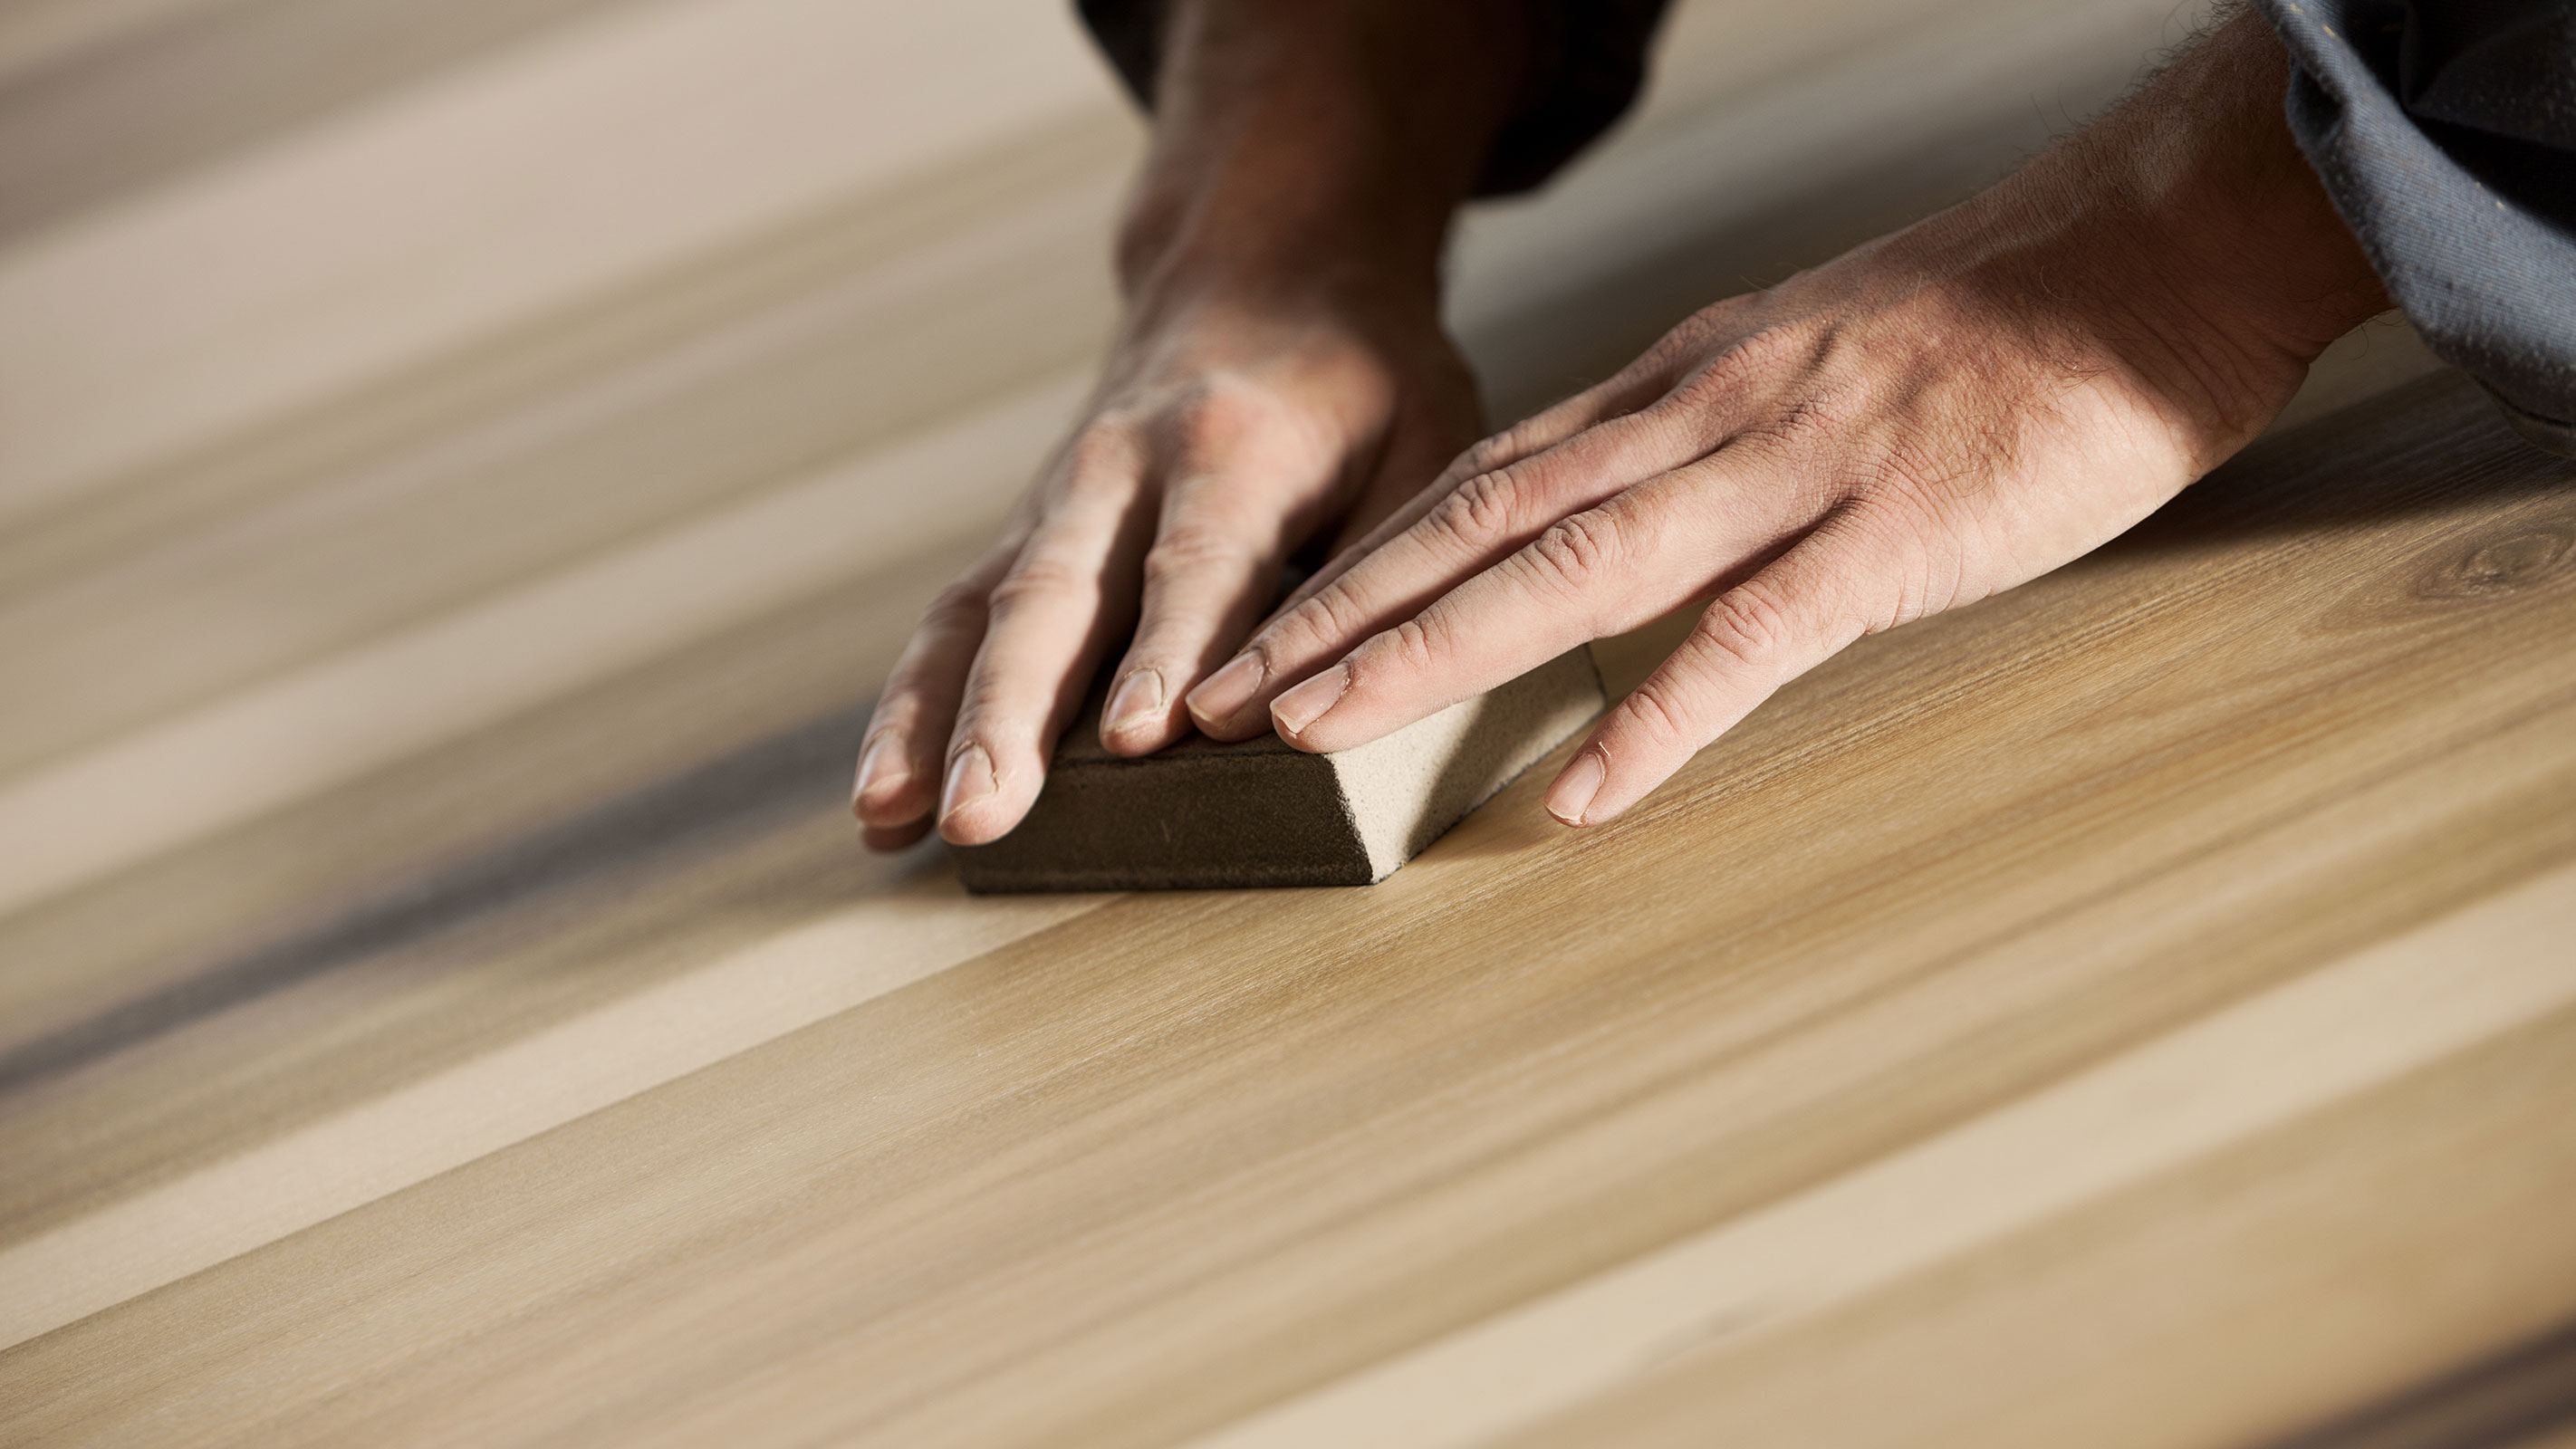
- Sandpaper and sanding block. If you only need to do very light sanding work on your floor – e.g. stain removal – then you might be able to do it using sandpaper sheets and a sanding block. If in doubt, try this approach first. You can always move on to a more vigorous option if you don’t succeed with sandpaper alone.
I sometimes use a few different types of sander during a single project, to suit various tasks or requirements. For example, I might use a random orbital sander to get a floor level; a detail sander to carry on levelling in the corners of a room; and a high-grit sandpaper sheet to apply a very smooth finish across the whole surface.
Sanding has a role to play in improving various styles of wood flooring, including parquet, solid, and engineered wood. If sanding an engineered wood floor, keep in mind that the real wood veneer on this material tends to be thin, at around 14mm.
The type of wood used in your flooring should also be factored into your approach to sanding. Sanding hardwoods such as oak requires a lot of power (and a relatively coarse sandpaper) while sanding softwoods such as pine tends to be easier going.
Regardless of wood type, pay close attention to the finish that’s being produced while you sand. Consider using your chosen sander on a test patch of the floor that won’t often be seen before you go ahead and sand highly-visible areas. If you’re unhappy with the finish, it might be best to choose an alternative sanding method.
Another tip, based on my personal experience: only set off an electric sander after you’ve placed the pad on the floor. A sander will contact the floor more harshly if it’s already running before you place it down, and this can increase the risk of marking.

Which grit of sandpaper is best for sanding wood floors?
When sanding a wood floor, you should select a variety of sandpaper grades that you can use at different stages of the process.
For my oak parquet floor project, I ordered this multi-pack of 125mm random orbital sander discs from Amazon, including 40-grit, 80-grit and 160-grit discs. This allowed me to start with a 40-grit disc for levelling, before moving on to the finer 80-grit and 160-grit discs to apply a smoother finish.
It’s okay to play around with a few different sandpaper grades, in order to find the best match for your floor. Depending on the hardness of the wood, and the power of your sanding tool, you may need to switch to a coarser or finer sanding pad.

What should you not do when sanding wood floors?
Every wood floor is different. Sometimes, what works for one floor won’t work for another.
For instance, contractor-standard floor sanders are an efficient choice for sanding large wood floors – but in tight spaces, such as hallways, using such a big, powerful sander can be more of a hindrance than a help. On the other hand, some floors are basically too large to sand with anything but a floor sander.
Certain wood floors are unsuitable for sanding. For instance, if you have an antique wood floor that has severe rot, water damage or structural issues, you might need to make the tough decision to replace, rather than renovate it. Prefinished or laminated wood floors typically shouldn’t be sanded, and as mentioned previously, engineered board floors can only be sanded lightly due to the thinness of their wooden veneer layer.
You should never sand a wood floor before properly dust-proofing the space and safeguarding your health. Sanding wood inevitably causes dust to be released into the room – even if you take the important step of setting up your sander with a dust extraction container, or connecting it to one of the best industrial vacuum cleaners for builder's dust. It’s important to wear PPE (including a good dust mask), open the windows, seal the doorway, and remove or cover anything that you don’t want to get dusty, before you start sanding your wood floor to perfection.
Get the Homebuilding & Renovating Newsletter
Bring your dream home to life with expert advice, how to guides and design inspiration. Sign up for our newsletter and get two free tickets to a Homebuilding & Renovating Show near you.
Pete Wise is a freelance writer and keen DIYer from Leeds. Pete's tool reviews have featured in titles including Homebuilding & Renovating, Ideal Home and The Independent. He also writes features and news articles for publications such as The Guardian, BBC Good Food and T3. When he isn't busy writing, Pete can often be found at libraries, pubs and live music venues. He finds tile-cutting strangely zen.

