Sanding wood by hand: Six tips to get a flawless finish
Sanding wood by hand sounds simple, but there are a host of subtle skills and tools that you need to know to get a silky smooth finish on your DIY projects

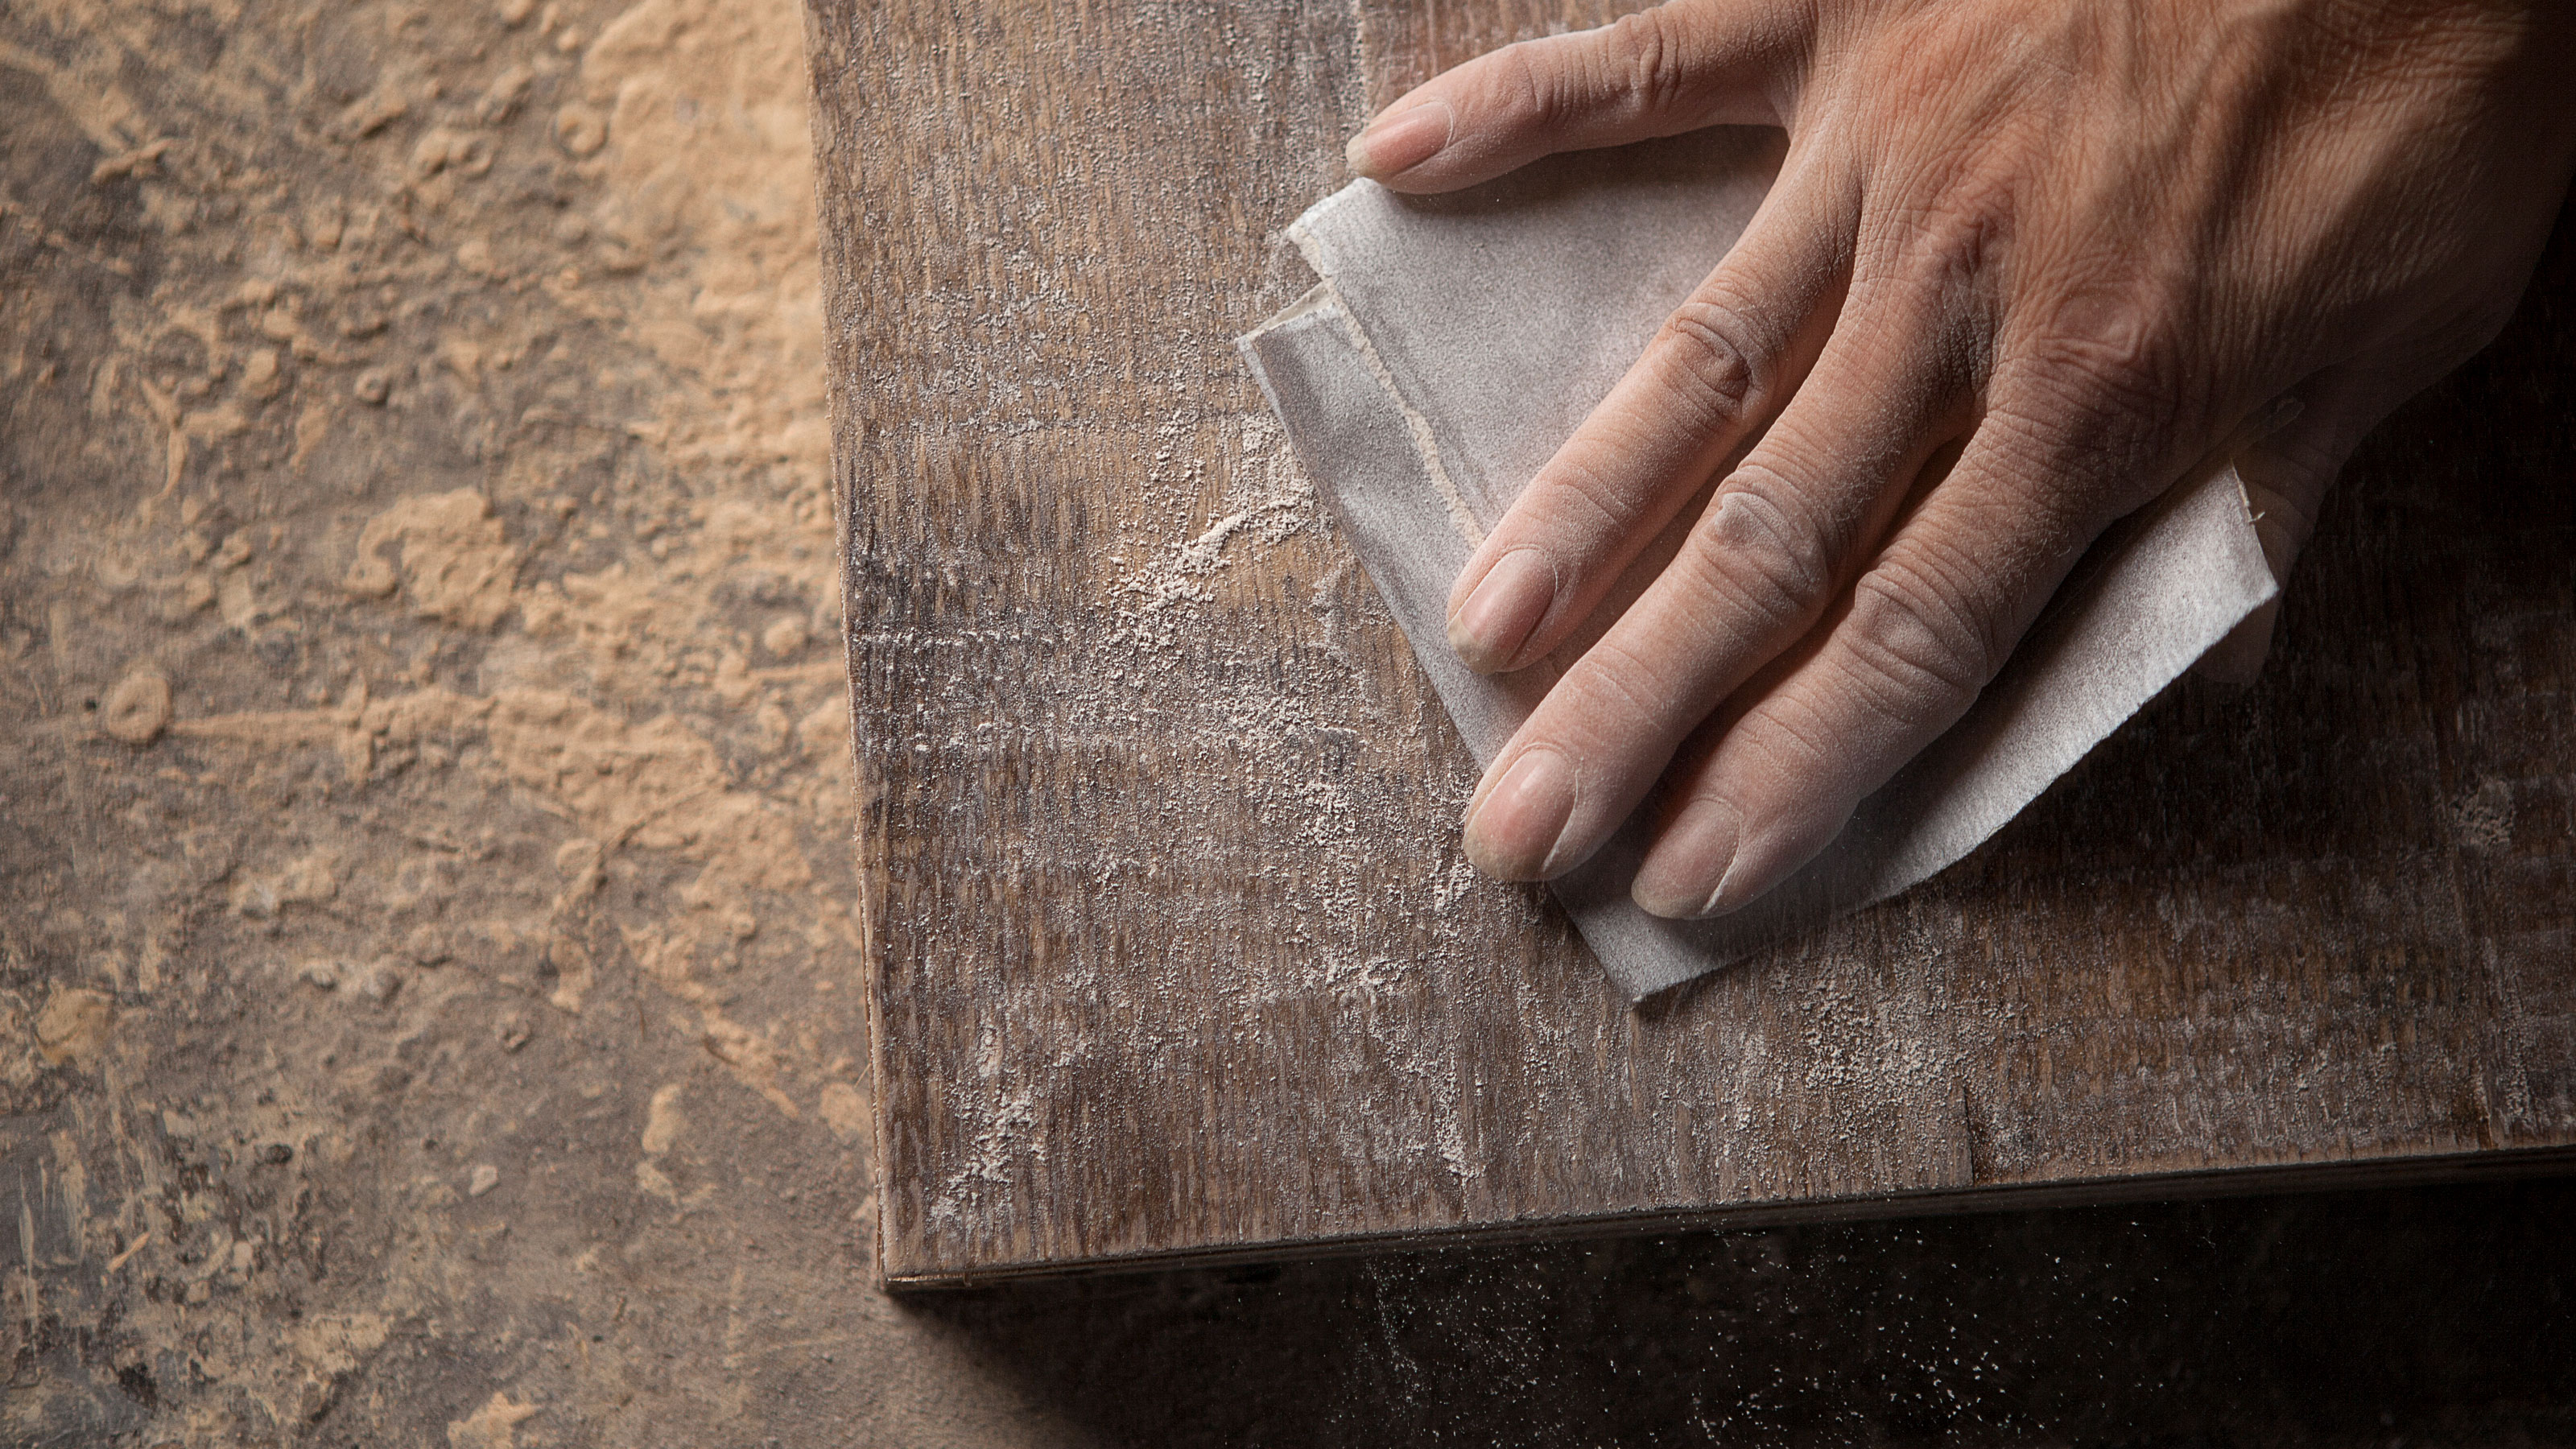
Sanding wood by hand is a skill that every DIYer should have in their locker. It's a very different skill to using a power sander, as it can give you fine control for a more precise and refined finish.
As well as choosing the right sandpaper grade for sanding wood, you need to know when and where to use a sanding block and when it's time to call upon more subtle skills to access hard to reach areas.
Here we give you the lowdown on the tips and techniques you need to know to give your sanding by hand projects a pro-looking finish.
1. Start by choosing the best sandpaper grade to sand wood by hand
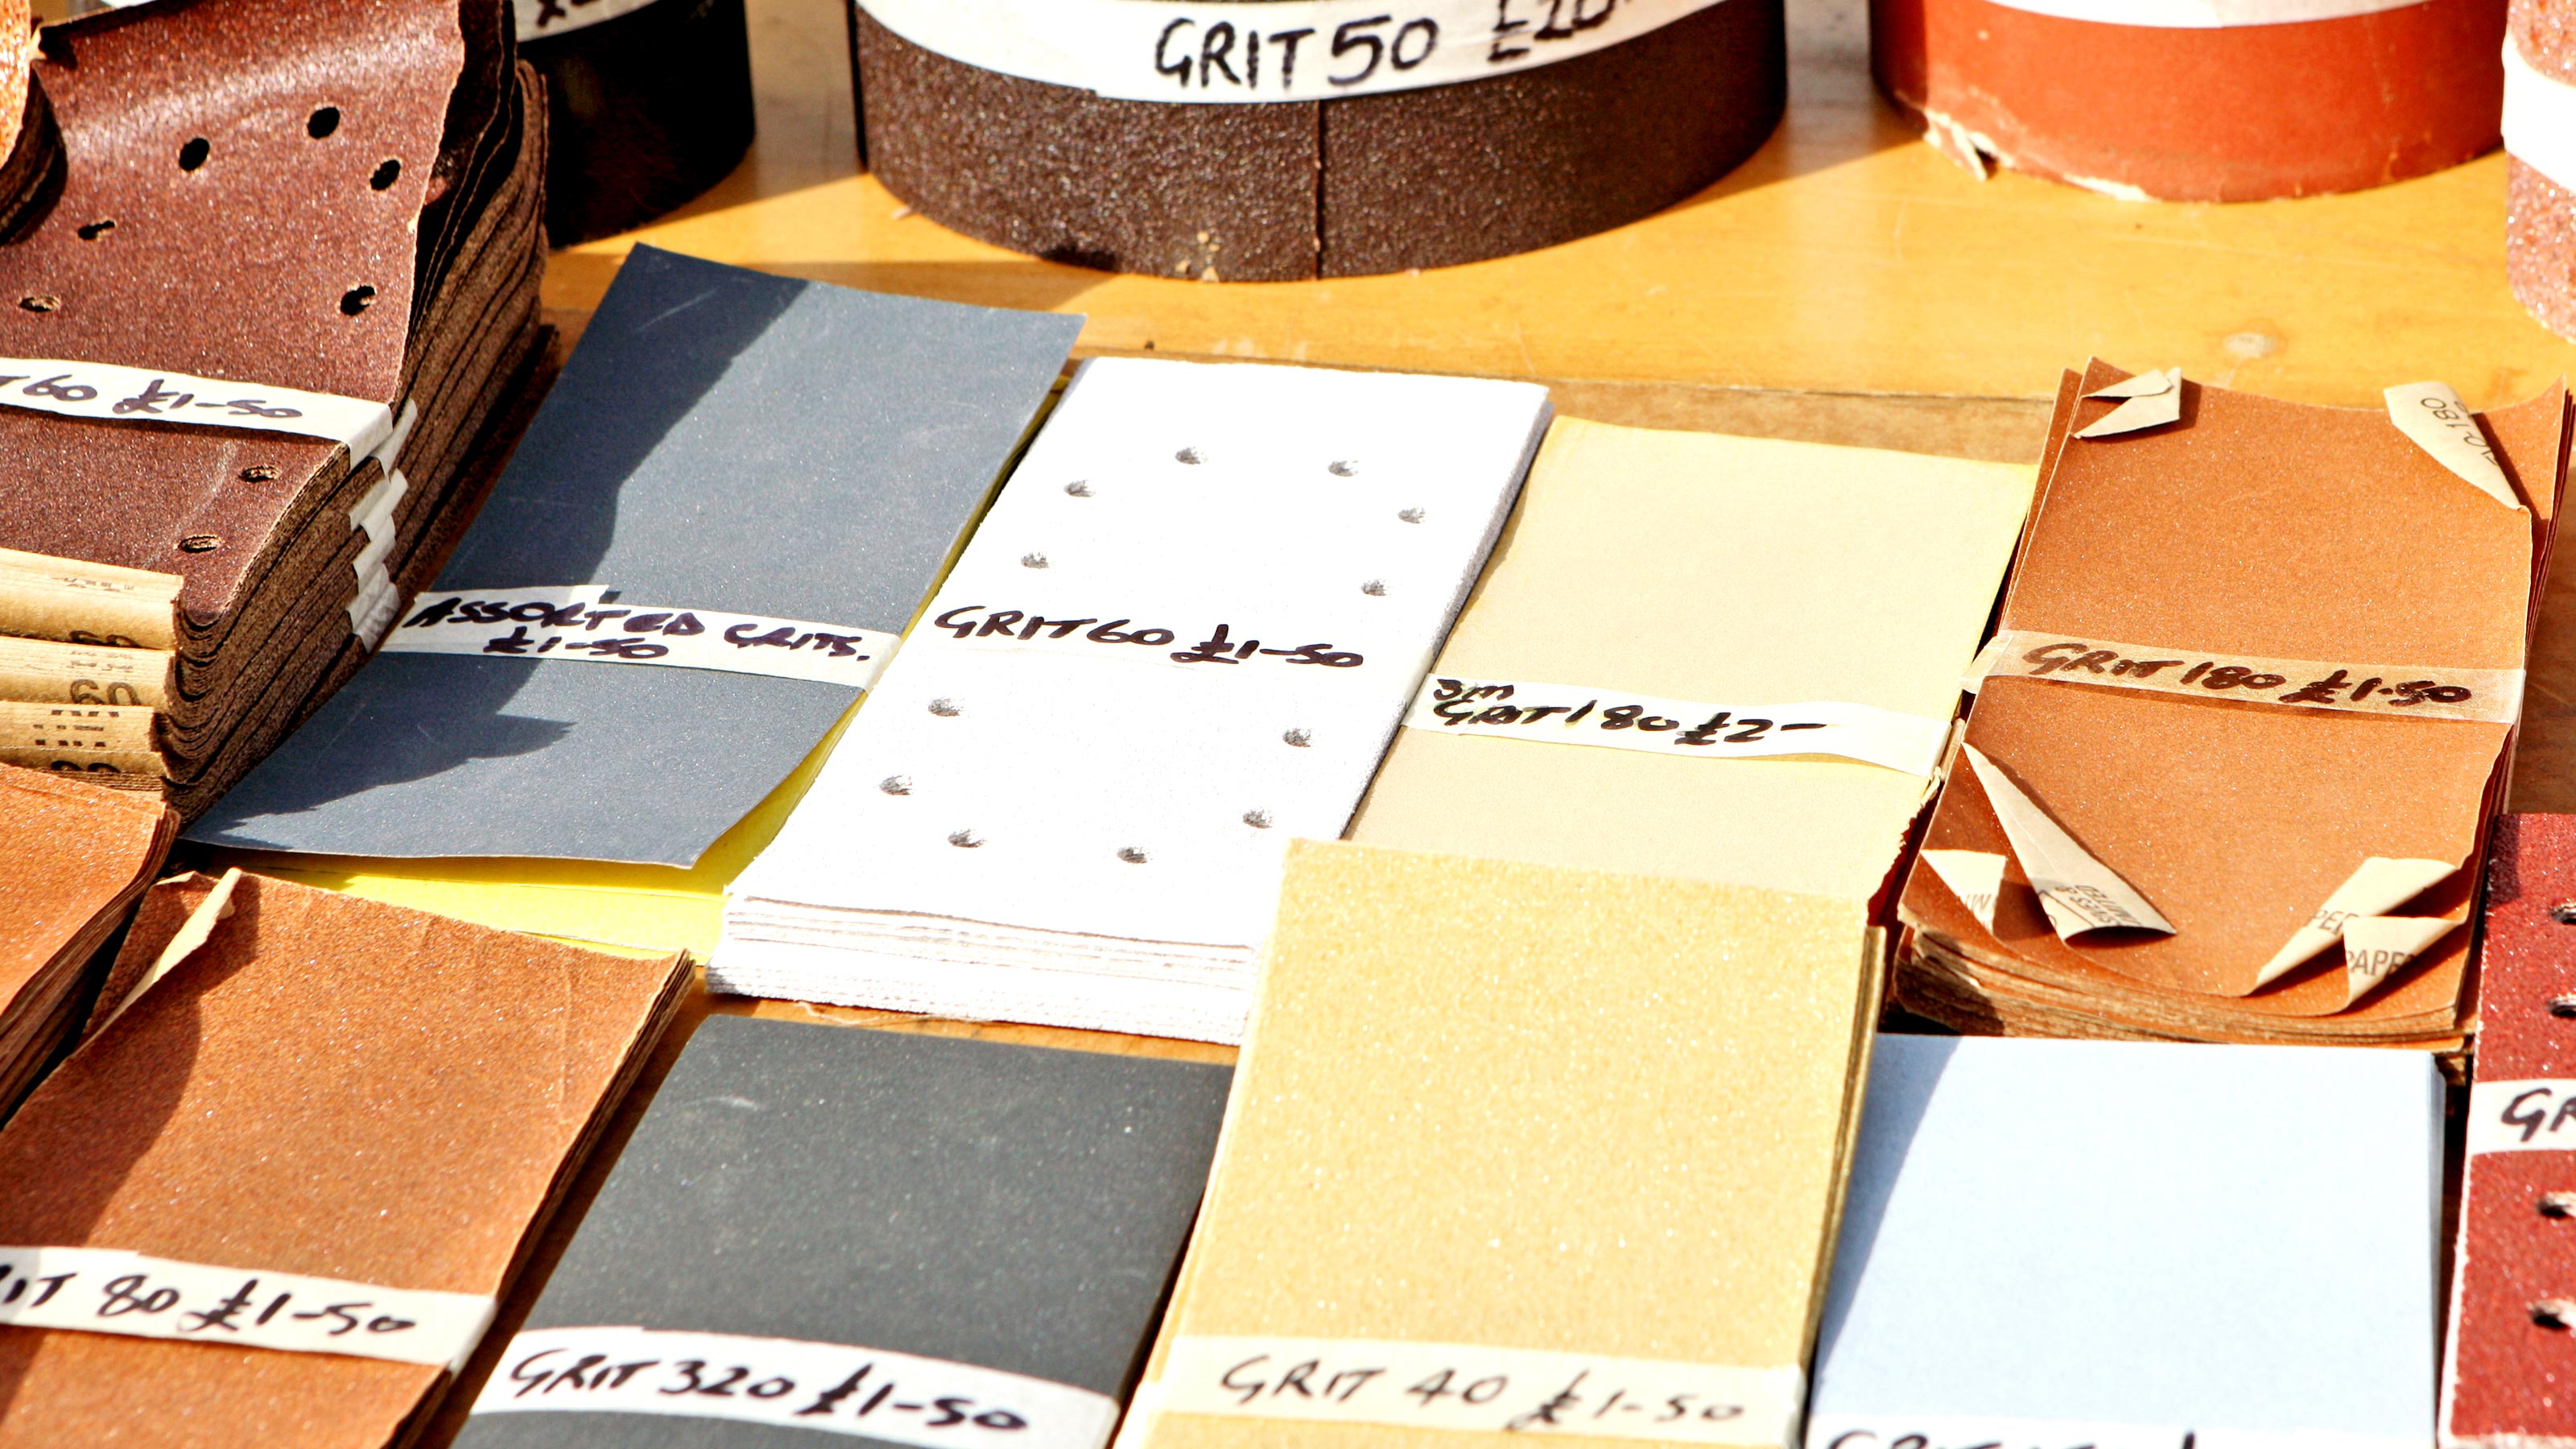
Sandpaper is defined by grade and grit, with sandpaper grades containing a collection of different grits. It's important to choose the right grade and grit for the job when sanding wood by hand.
There are five different grades of sandpaper: extra fine, fine, medium, coarse and extra coarse. Each category will contain a selection of grits with 40 (coarse) to 220 (fine) being the common choices for everyday DIY jobs.
Extra coarse grade sandpaper ranges from 24-36 grit, while extra fine grade sandpaper starts at around 440 grit going up to 2000 and beyond for specialist sanding jobs.
So what grade and girt should you use for your DIY hand sanding projects?
If you are painting skirting boards, windows frames or door frames you will need to sand first, but what sandpaper you use depends on the current state of the wood. If it's bare wood and just needs a rub down to get rid of small imperfections and improve paint adhesion, you’ll need a fine 180/220 grit sandpaper.
If the wood has a lot of paint with runs and brush strokes you start with a coarse 80 grit sandpaper to get rid of raised areas before progressing to a 120 grit sandpaper to finish. If you need a finer, smoother finish try a 180 or 220 grit sandpaper.
This process applies to most wood sanding jobs. However, you may be a perfectionist and looking for a super smooth, almost mirror like finish when painting window sills. If this is the case use 220 grit sandpaper until the area is perfectly smooth and then sand lightly between coats when the paint is dry.

2. The fastest way to sand wood by hand
The simple answer is to choose the right grade sandpaper, push down harder, go with the grain and sand faster.
But sanding wood isn’t always simple. If you are going to paint a panel door, for example, you have a lot of flat areas along with a lot of moulded areas which take longer to sand as they are more intricate.
Start by sanding the large flat areas with a good quality sandpaper using a sanding block and then sand the moulding. There’s a couple of ways to make sanding moulding faster. Wrap sandpaper around a piece of pipe lagging like Climaflex Polyethylene foam Pipe lagging from B&Q. This is cheap, can be cut to size and is flexible and spongy, helping to get into any curves quickly and easily.
For awkward flat areas or corners you can wrap sandpaper around the end of a putty knife or paint scraper.
3. You can sand wood when it’s dry — and occasionally when it’s wet
When sanding wood the default state for most DIY jobs is to sand it when it's dry. This method gets rid of more material, makes the job quicker and gives a finish that is good enough for painting and varnishing.
But if you are looking for a super smooth finish you can add water as a lubricant. You will need a fine sandpaper and a lot of elbow grease to get the super smooth finish and it will take a lot longer to achieve.
4. Select the right tools to help get the best finish
When sanding wood by hand, choosing the right tools to help will ensure you get a good smooth, even finish. If you're sanding larger, flat areas you definitely want to invest in a sanding block.
You can make your own by using an off cut of wood and wrapping the sandpaper around it. Alternatively, you can use a cork block, again you simply wrap sandpaper around it. A rubber block like the GoodHome Rubber Sanding block from B&Q allows you to tuck in the ends of the sandpaper for a tight fit and is contoured to fit into the palm of your hand.
For more intricate areas use a sanding sponge like this 4-piece sanding sponges set from Amazon. They are covered in different grit sandpaper, are malleable to get into all areas and can be washed and reused.
Finally, if you are hand sanding wooden floors or large expanses of wooden wall panelling, think about investing in a hand sander or a pole sander like the Spear & Jackson Telescopic Pole Sander from Amazon. This allows you to reach areas without having to get down on your knees or climb up ladders.
5. Choose a medium or fine grit sandpaper to sand MDF
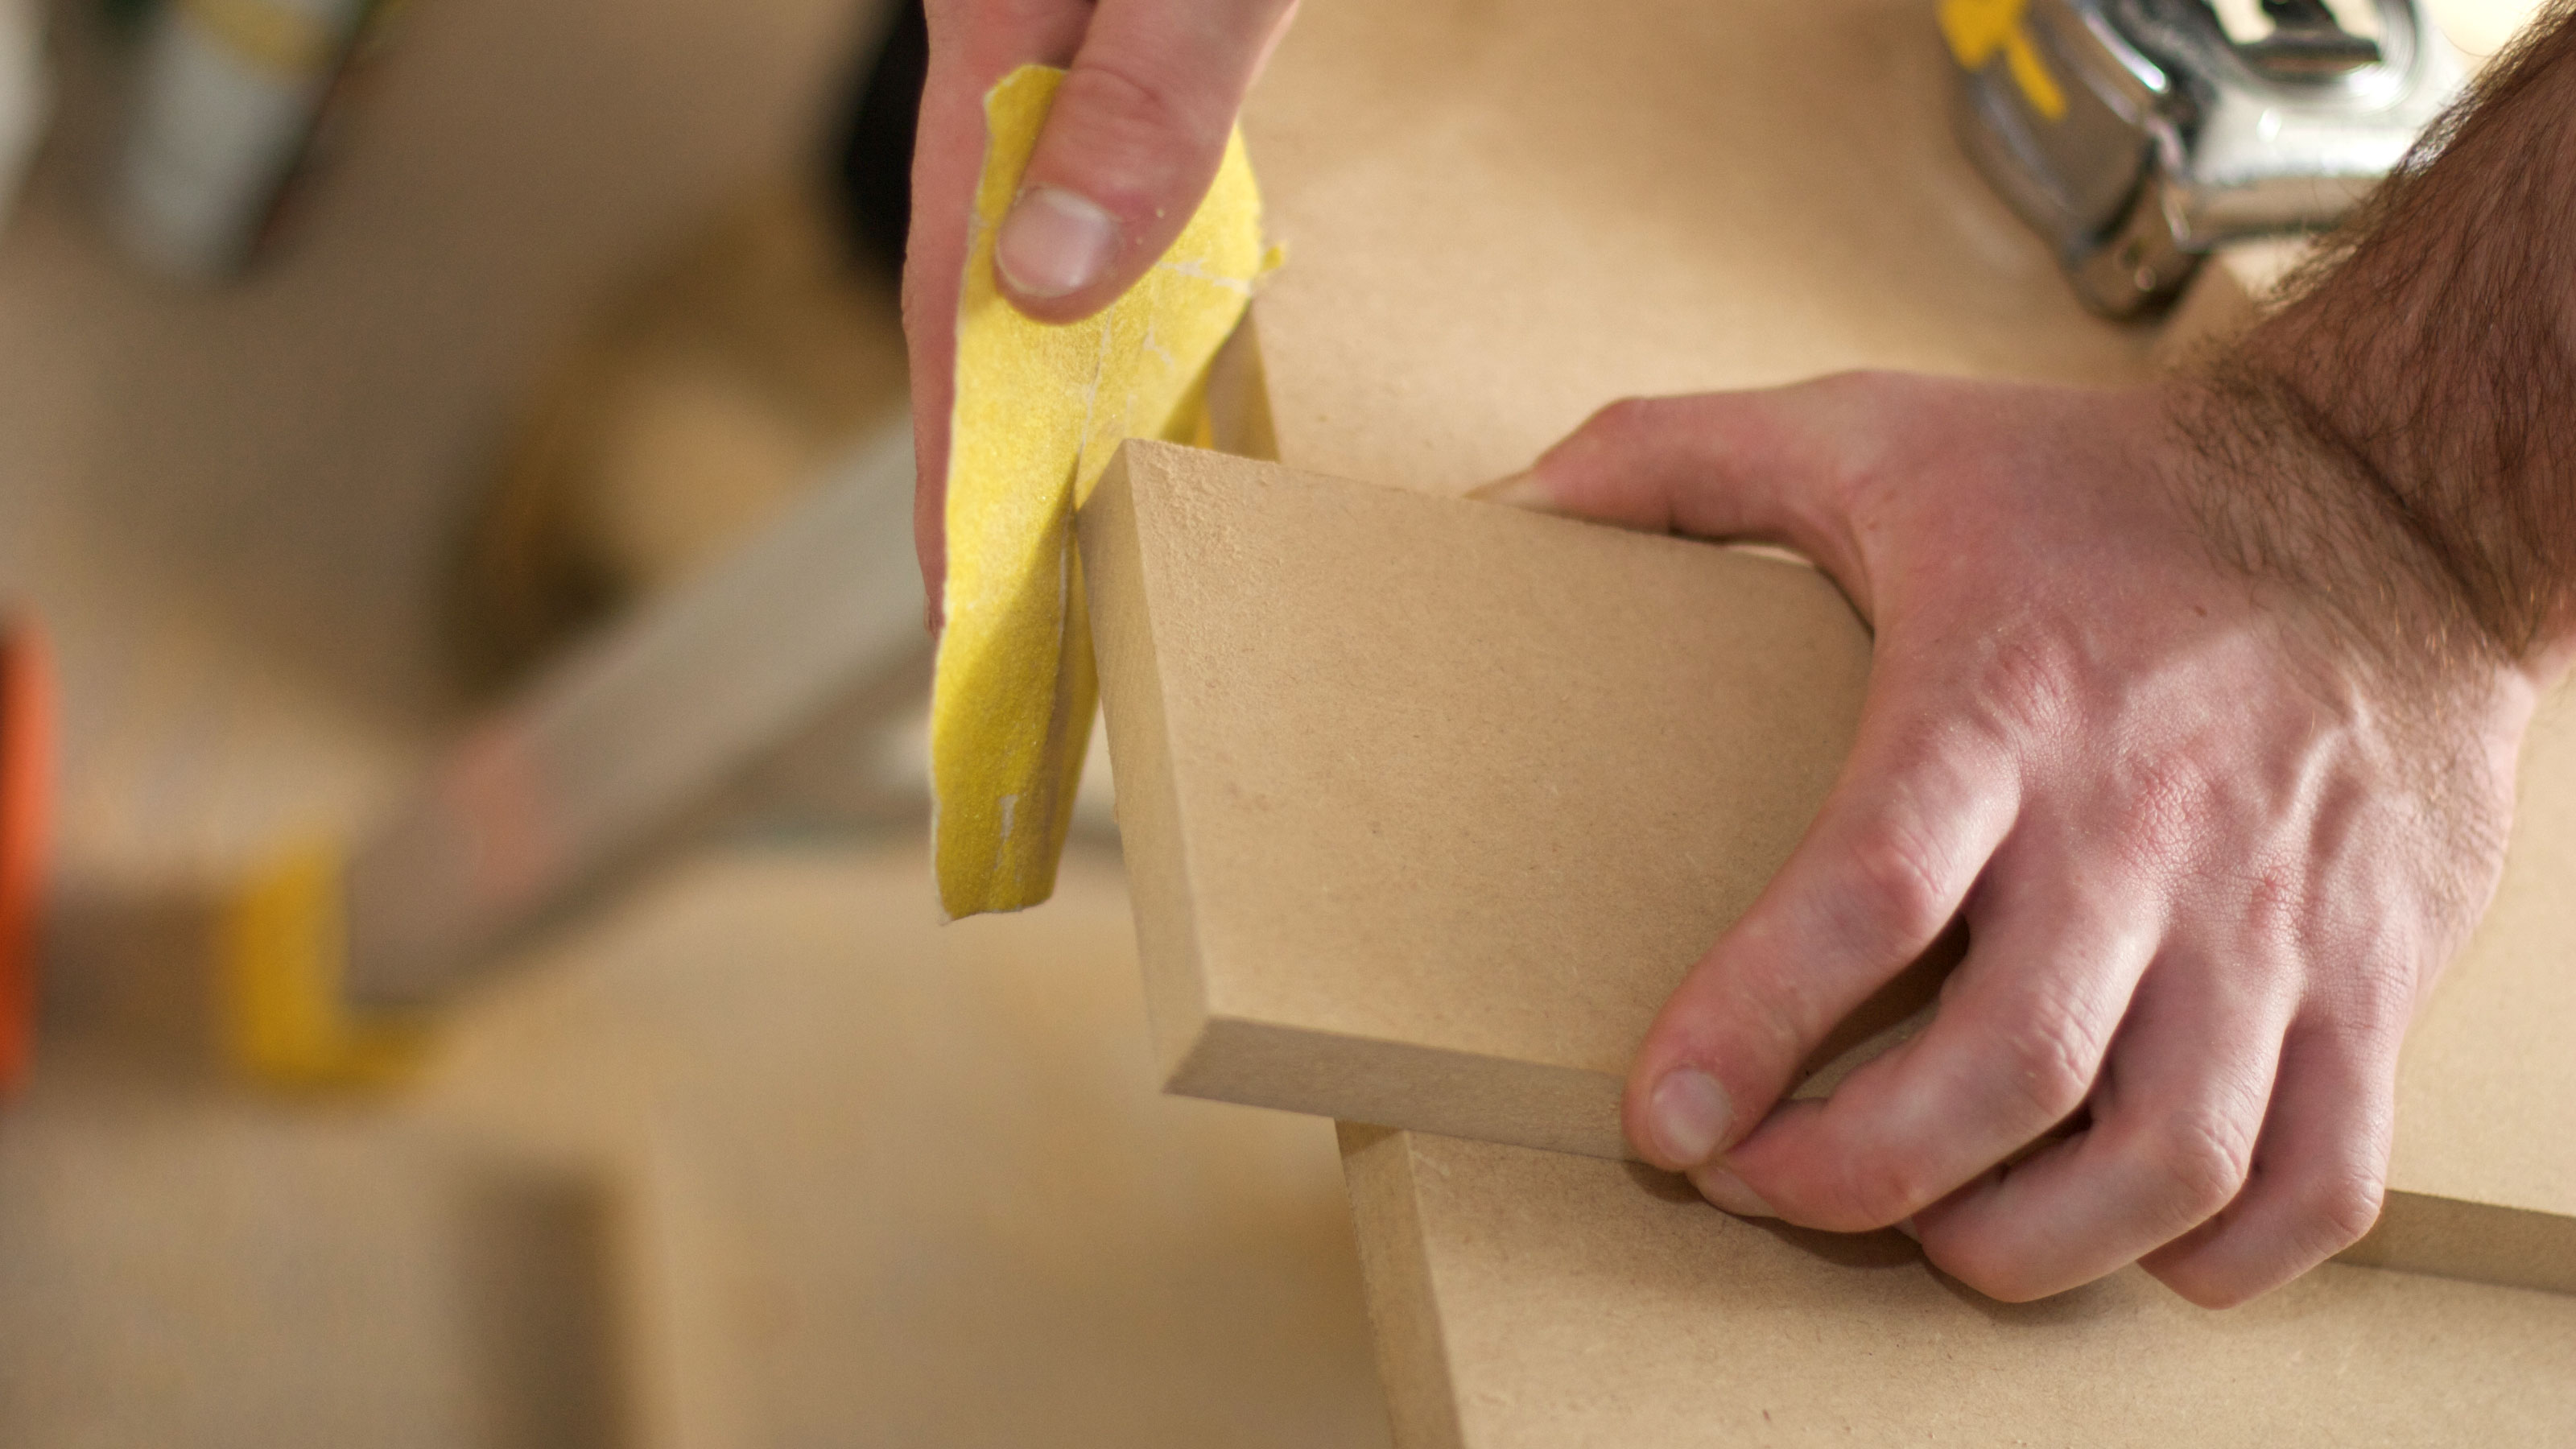
MDF commonly has a smooth finish so rarely needs any heavy duty sanding. But, if you are painting MDF you will need to sand the surface to improve paint adhesion, and the ends to ensure a smooth finish.
For this you will need a medium grade sandpaper – typically for painted end grain – and a fine 180 or 220 grit sandpaper to get a smooth finish on all parts of the surface.
Make sure to wear protective goggles and a mask as MDF can throw up a lot of dust which contains glue, which you don’t want to be breathing it in.

6. Wire wool can be used as a sandpaper substitute for difficult jobs
If you’re having trouble getting into difficult to reach mouldings or similar with sandpaper, an alternative is to use wire wool. The big plus point for wire wool is that it can compress itself into any shape so you can sand those difficult areas. It’s a great choice when using a heat gun to remove the paint and then for smoothing the wood when the paint has been removed.
It’s available in different grades, and like sandpaper you can choose from extra fine to extra coarse. Plus, it can be used for other jobs such as getting rid of rust on metal, cleaning grout, removing paint from glass, and removing wax and polish from wood furniture.
Get the Homebuilding & Renovating Newsletter
Bring your dream home to life with expert advice, how to guides and design inspiration. Sign up for our newsletter and get two free tickets to a Homebuilding & Renovating Show near you.
Steve Jenkins is a freelance content creator with over two decades of experience working in digital and print and was previously the DIY content editor for Homebuilding & Renovating.
He is a keen DIYer with over 20 years of experience in transforming and renovating the many homes he has lived in. He specialises in painting and decorating, but has a wide range of skills gleaned from working in the building trade for around 10 years and spending time at night school learning how to plaster and plumb.
He has fitted kitchens, tiled bathrooms and kitchens, laid many floors, built partition walls, plastered walls, plumbed in bathrooms, worked on loft conversions and much more. And when he's not sure how to tackle a DIY project he has a wide network of friends – including plumbers, gas engineers, tilers, carpenters, painters and decorators, electricians and builders – in the trade to call upon.

