Sanding walls before painting: What you need to do to get the best finish
Sanding walls is an essential part of the preparation for painting or hanging wallpaper. Here we tell you what tools and sandpaper you’ll need to do it right
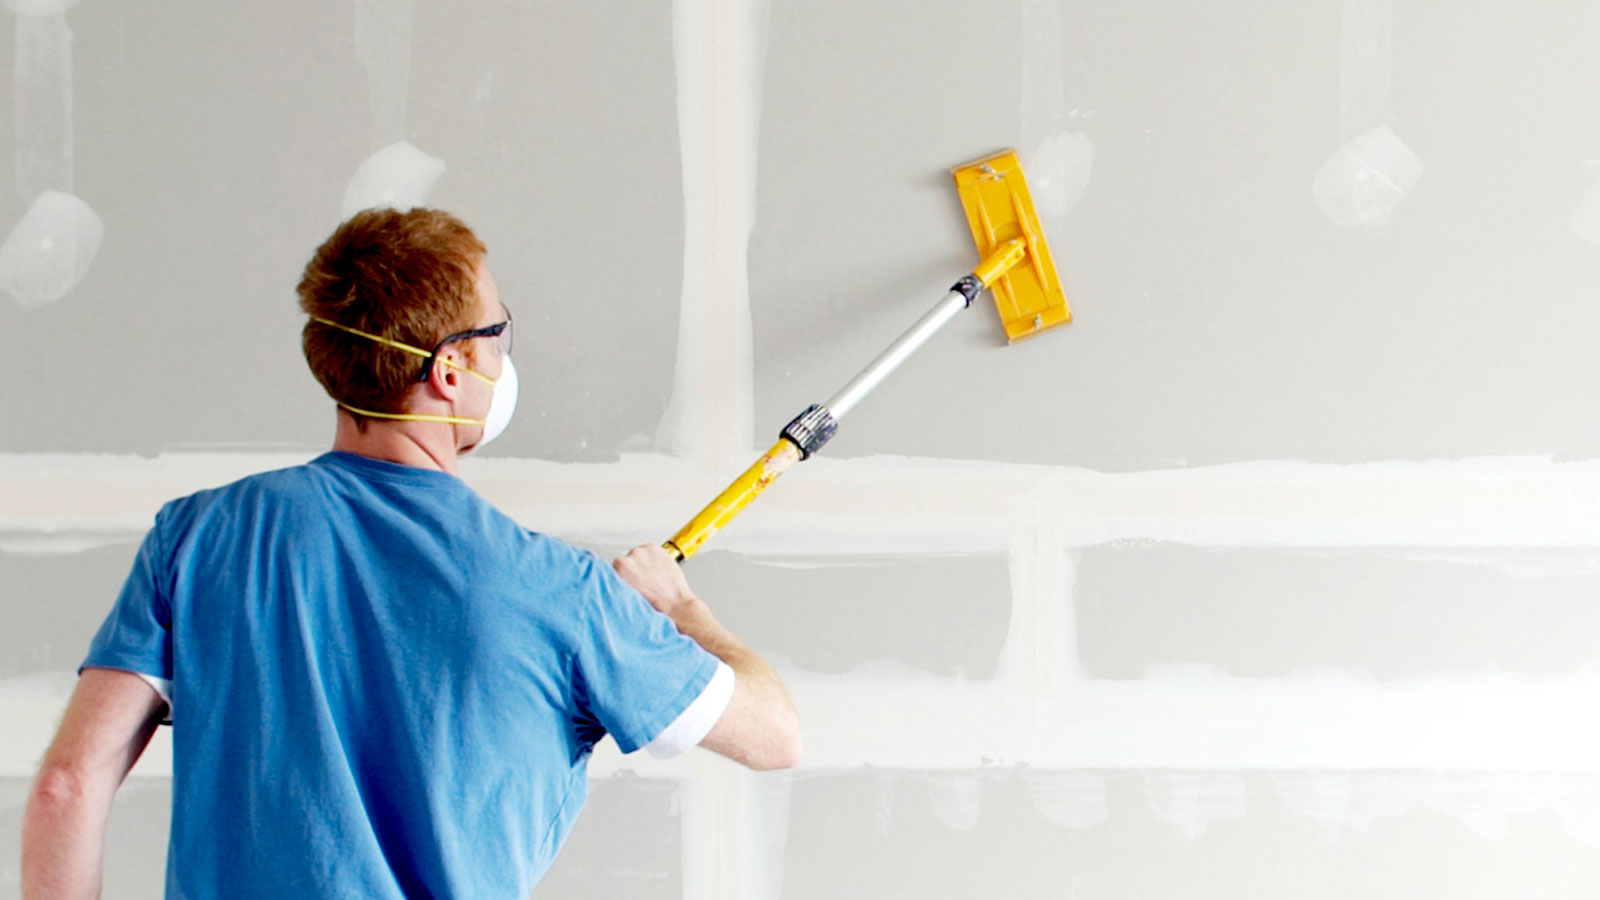
If you’re giving your hallway, lounge, bedroom – or any other room in your home – a makeover, sanding walls is going to be part of the process. It may be a quick job if the walls are reasonably new or prepped previously. Or, it may take a lot longer than you hope.
But it's crucial that you get your preparation right, and you need to make sure that any sanding is done properly. The better the prep, the better the finish. It will improve adhesion for paint and wallpaper and will help get rid of imperfections to produce a smooth-painted finish that will last for years.
Sanding walls: Is it necessary before painting?
Yes. “When it comes to ensuring that your paint project is a success, there is no more important place to start than room preparation,” shares Helen Shaw, director of marketing (international) at Benjamin Moore.
Whether you are painting newly plastered walls or previously painted walls, sanding before adding any paint is always a good idea. “While sanding is not required for every paint project,” suggests Shaw, “Rough spots on walls, whether they have been previously painted or not, need to be sanded before they are painted to ensure the paint goes on smoothly.”
A clean and free from dirt, dust and grease sanded surface gives better adhesion for the next coat of paint. “Generally, using sandpaper or a sanding block to dull any uneven surfaces will do the job,” shares Helen, “Wipe away loose dust with a damp cloth and let dry thoroughly.”
But, it’s not just the practical purpose of sanding a wall that will provide benefits in the long run. It will also help with the aesthetic appeal of the wall. It will get rid of any ridges or dried runs to give a smooth surface to paint onto. Which combined with a new coat of paint will give a like-new appearance to your walls.
Sanding walls: What tools will I need?
There is the obvious that you’ll need when sanding a wall – sandpaper. But, how do you use the sandpaper to get a good finish? There’s a few methods you can use which will need different tools to get the job done.
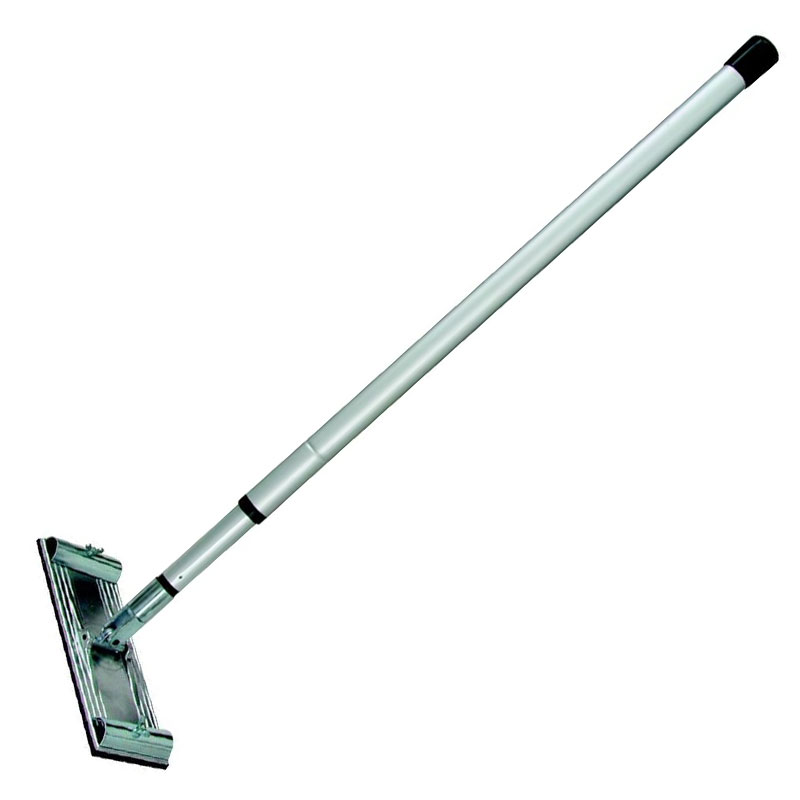
Sanding manually offers several different options. You can take a simple approach and use a sanding block or a scrap piece of wood to wrap the sandpaper around. For a quicker and more efficient method the best hand sanders are a cost effective solution. They give you good grip and a wider flat surface to work with. But you will still need to get up a ladder or stand on a platform to reach the top of a wall. A specialist pole sander will help make this much easier and have a greater reach.
If you don’t fancy the manual approach you can invest in a power sander. You can use a hand sander, ideally one with a square pad to help get into corners, or a specialist dry wall sander. These have larger pads to help get a more even finish. These will get the job done much quicker, but will also kick up a lot of dust, so make sure to connect a dust bag, or connect to a vacuum.
Try these tools for sanding walls
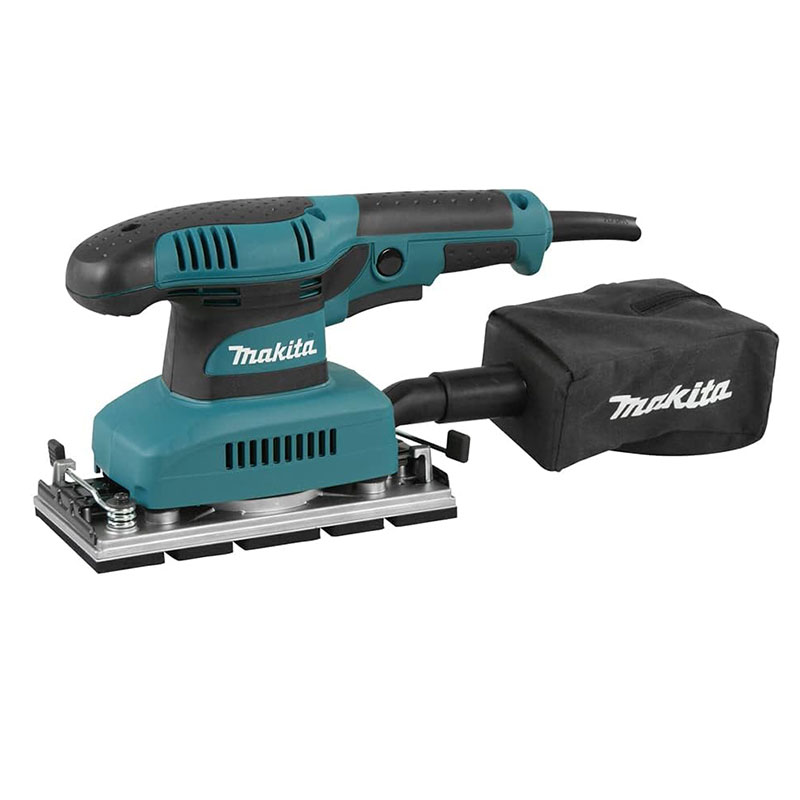
A corded electric sander with a rectangle base and lock-on button for continuous operation to give efficient and smooth finish sanding
What grit sandpaper should I use to sand walls and why?
“Smoothing walls that have been previously painted with a gloss or high-gloss paint is essential,” explains Shaw. “For surfaces that have been previously painted with water-based paint, sand with a fine-grit sandpaper grade.” A 180 grit sandpaper is a good choice for most walls. This will gently remove any excess paint and leave a smooth surface to work with. “For oil-based paint, a medium-grit sandpaper (100- to 150-grit) should be used. Again, wipe away any debris and allow to dry completely.”
Using a medium or coarse grade sandpaper will remove paint and debris quicker, but it will also leave a rougher surface that may show through even after painting. Only use if your walls have a large buildup of paint, or the paint has been poorly applied leaving a lot of ridges and runs. But only use it to get rid of the worst of it. Then switch to a fine sandpaper to get a smooth surface ready to work on.
How to sand walls ready for painting
Before you start sanding walls make sure that you have all your tools ready. Wear protective gear (goggles and face mask) if you are going to create a lot of dust and lay down dust sheets to keep the floor clean.
1. Prep the area
Before sanding a wall you need to get rid of any flaking paint, grease spots and ensure that it is clean. Use a paint scraper to get rid of any loose or flaking paint and sugar soap to degrease the wall.
Leave to dry and then use an all-purpose filler like this Ronseal Smooth Finish Multi-Purpose Interior Wall Filler from Amazon, or a patching plaster. Apply and smooth out with a filling knife and leave to dry ready for sanding.
2. Sand the wall
Once the wall has been prepped, it's time to get to the crux of the matter. Get your chosen sanding tool and sandpaper and start sanding. Start at the top of the wall and work across and down. Concentrate on areas that are worse than others and then go back and do the whole wall to get an even finish.
Now brush down the wall and check that you have a smooth even surface. The best way is to check by eye and then run your hand/fingers across the wall. Go back and sand any high/rough spots if needed.
3. Clean up
To finish, brush down the wall with a stiff hand brush, empty any dust sheets and sweep/vacuum up any remaining dust. Once the area is free from dust, wipe down the wall with a damp cloth and leave to dry.
FAQs
What can happen if you don’t sand walls before painting?
If you don’t clean, prep and sand walls before painting or wallpapering you are much more likely to end up with a poor paint job or lifting wallpaper. “Painting over cracked paint is a bad idea; it is important to remove any flakes from the surface via sanding or scraping before repainting.” shares Shaw.
If you do paint or wallpaper over ill-prepared surfaces it may look good initially, but it won’t last as long as it would on a correctly-prepared surface. The paint will start to flake and bubble sooner than it should, meaning you will need to repaint sooner, costing you money and time.
Can I sand painted wallpaper?
This will depend very much on the wallpaper you have on the wall or ceiling. If you have a heavily embossed wallpaper you will struggle to get a smooth finish on all areas of the wallpaper. But you can sand down any high points with a fine grit sandpaper. If you have time or inclination you can use wire wool to get into any crevices.
If you have a smooth wallpaper, such as painted lining paper a fine grade sandpaper will help prepare the surface ready for the next stage.
When it comes to sanding there’s plenty of tools to choose from and which type of sander you choose can make a difference. If you’re using an orbital sander make sure to check out our how to use an orbital sander guide to avoid making common mistakes. If prepping woodwork at the same time as walls check out our Sanding doors and Sanding skirting boards guides to get the great finish all round in a room.
Get the Homebuilding & Renovating Newsletter
Bring your dream home to life with expert advice, how to guides and design inspiration. Sign up for our newsletter and get two free tickets to a Homebuilding & Renovating Show near you.
Steve Jenkins is a freelance content creator with over two decades of experience working in digital and print and was previously the DIY content editor for Homebuilding & Renovating.
He is a keen DIYer with over 20 years of experience in transforming and renovating the many homes he has lived in. He specialises in painting and decorating, but has a wide range of skills gleaned from working in the building trade for around 10 years and spending time at night school learning how to plaster and plumb.
He has fitted kitchens, tiled bathrooms and kitchens, laid many floors, built partition walls, plastered walls, plumbed in bathrooms, worked on loft conversions and much more. And when he's not sure how to tackle a DIY project he has a wide network of friends – including plumbers, gas engineers, tilers, carpenters, painters and decorators, electricians and builders – in the trade to call upon.
