Sanding painted walls: How to achieve a flawless finish when redecorating
How do you go about sanding painted walls? We take a closer look at how to prepare painted walls for repainting

Sanding painted walls is all part of the preparation to make sure that your walls are in good order before you add a new coat of paint or wallpaper. Like most DIY projects, preparation is key and the better the condition of the surface, the better the finished project.
Layers of paint will accumulate over the years and give your walls an ugly, uneven finish, especially if poorly applied. A good sanding is not only key to a smooth finish but will help with the new paint's adhesion to the surface.
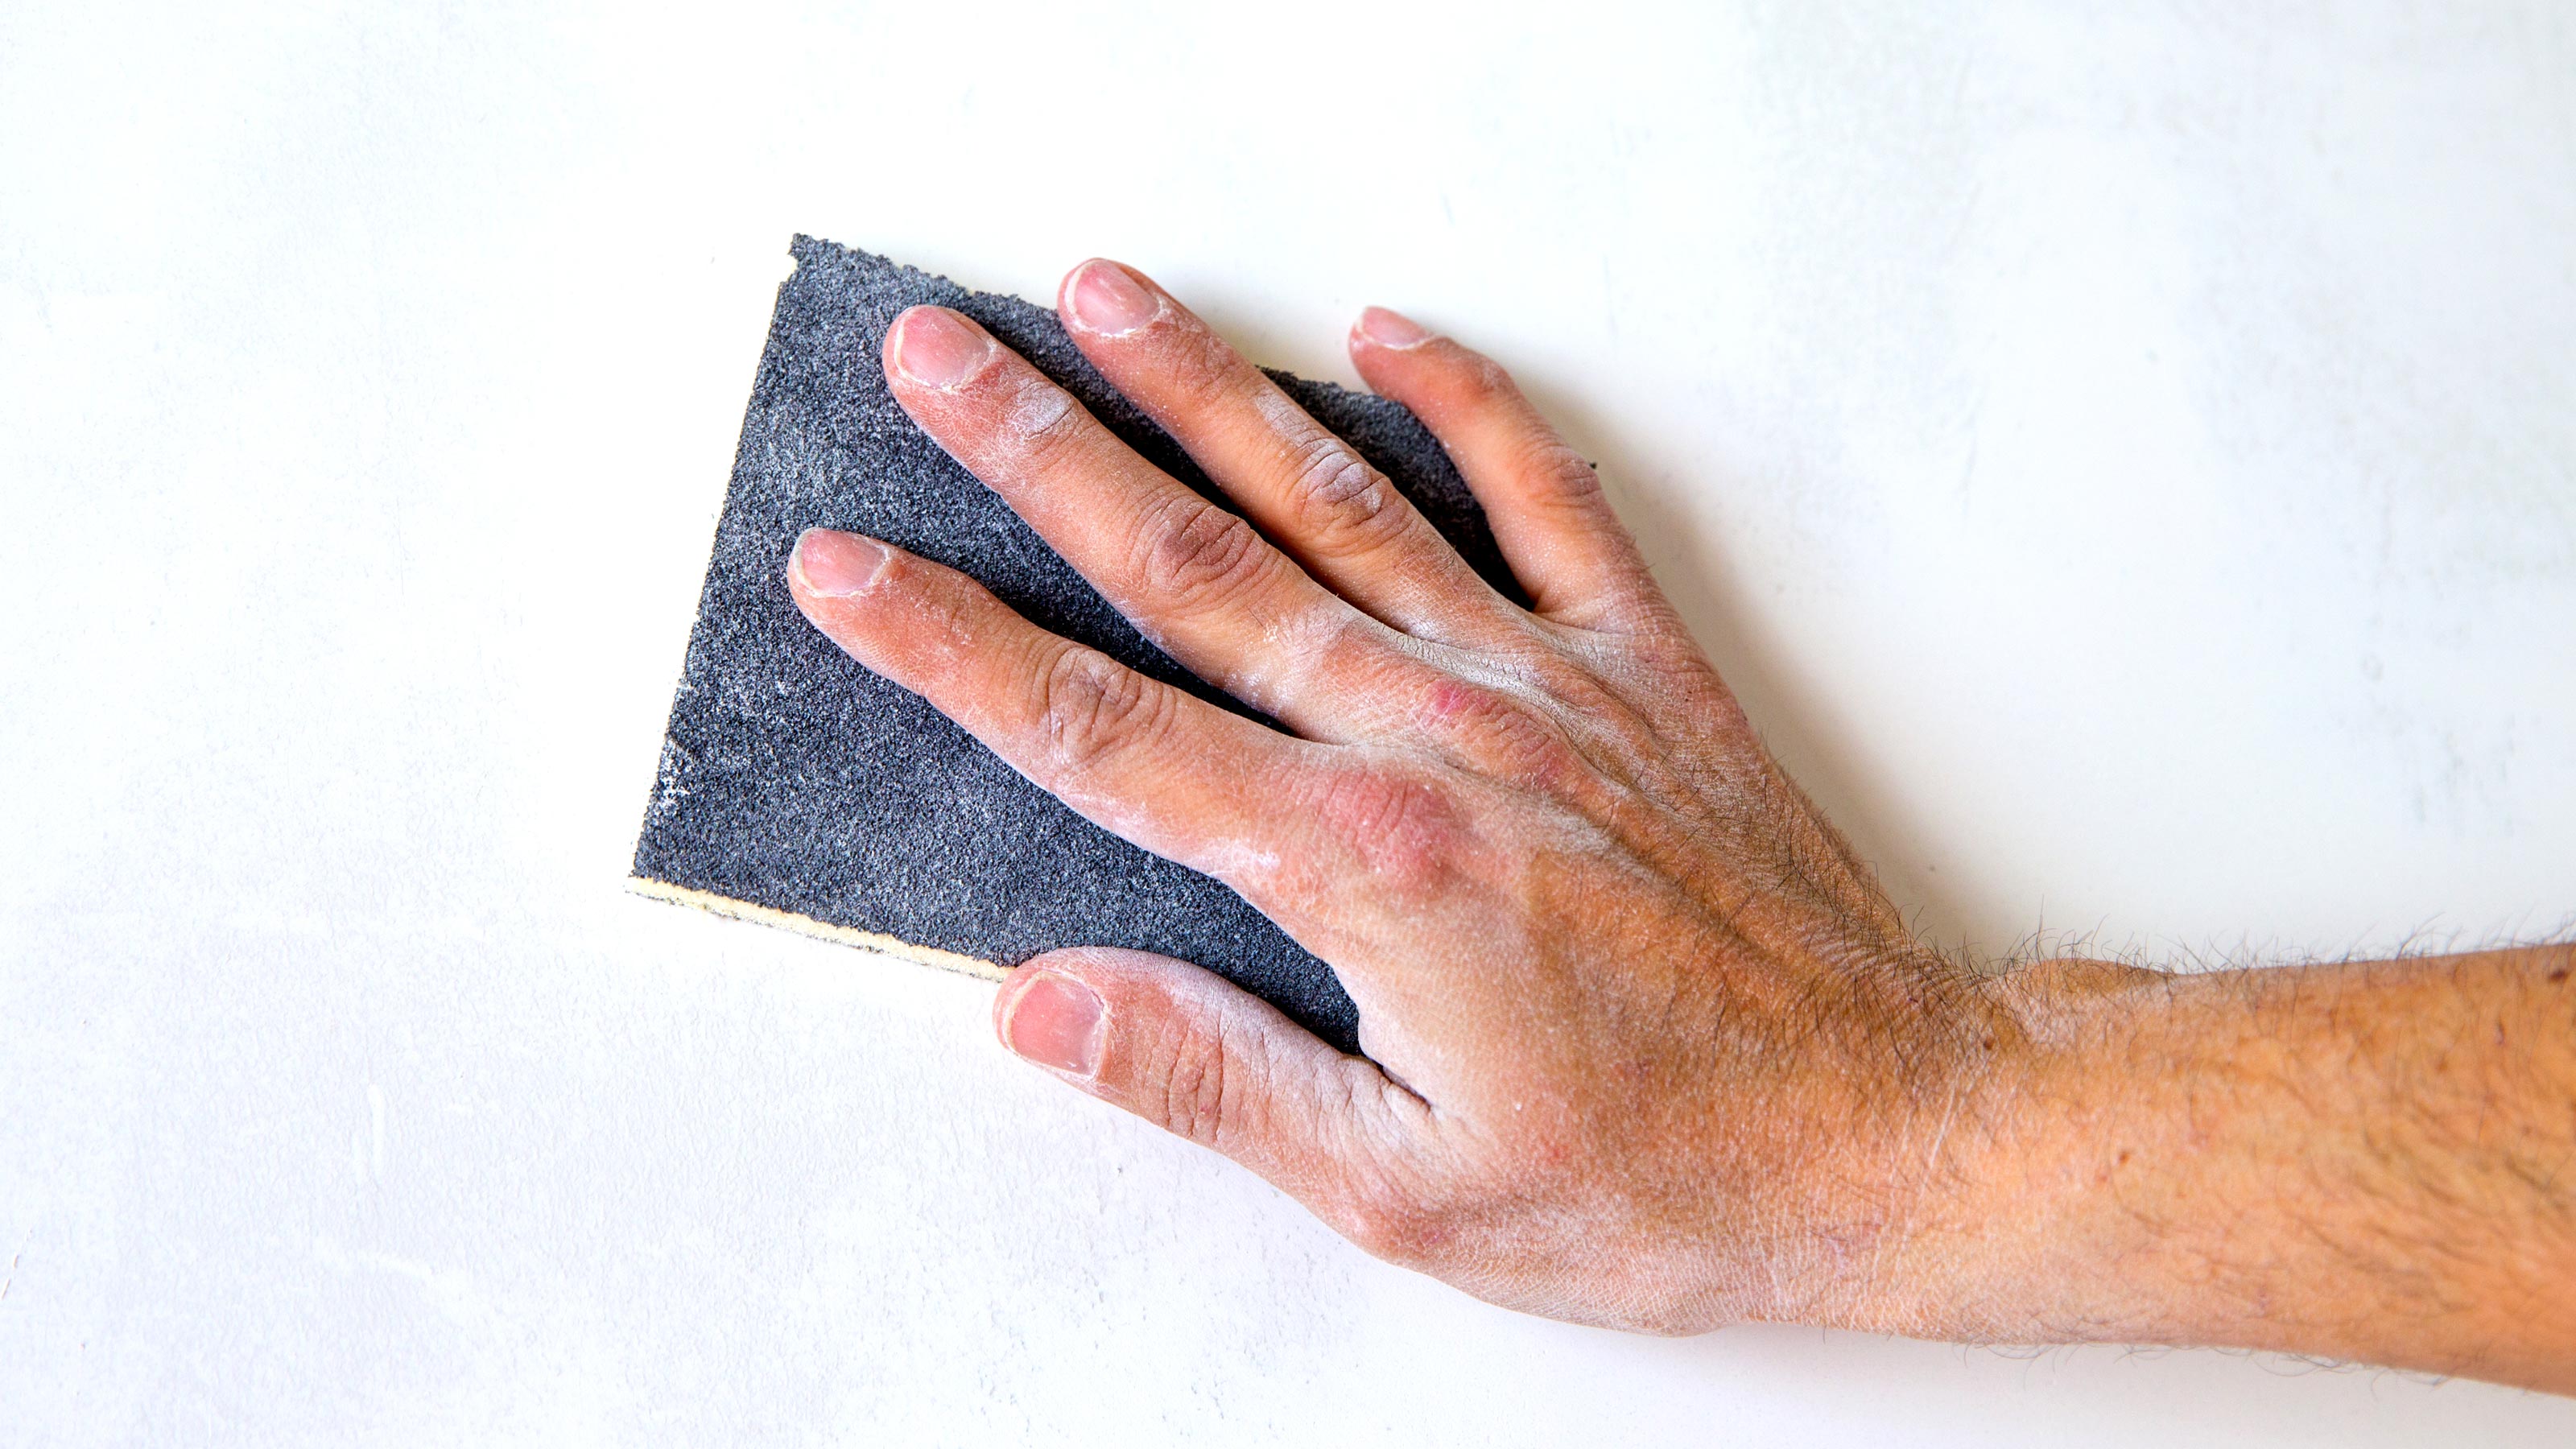
If you are feeling brave you can use good old muscle power, ideal for smaller areas, but if you are working with larger walls an ceilings, you should consider one of the best orbital sanders to get a decent finish. And make sure you vacuum as much dust as possible afterwards and wipe down with a damp cloth before you start painting.
Sanding painted walls with power or hand tools?
Both have their pros and cons, but the first thing to consider is your budget and whether you would have to purchase new equipment.
The cheapest option is a few sheets of sandpaper, a sanding block and hand power. If your walls are in a reasonable condition and you have a small area to work with then this option is your best bet. An alternative is to use a pole sander head like this Columbia Pole Sander Head at Amazon and a pole. This involves less time spent getting up and down a ladder and is a good choice for getting walls done pretty quickly.
However, if you own an orbital sander or have the budget to buy one then definitely use it. This will get the job down much quicker and give a smooth finish. It will generate a lot of dust, so choose one with a dust bag or dust extractor attachment for your vacuum. Make sure you also invest in a decent dust mask as well as clothing (such as a boiler suit) that you can easily wash afterwards. Dust tends to get everywhere so be prepared and plan how you will contain it, keep doors shut and windows open, etc.
If you do a lot of sanding you might want to consider a drywall sander like the Evolution R225DWS 225 mm Telescopic Dry Wall Sander at Amazon. These are slightly more expensive, but have bigger sanding heads, so are ideal for getting larger areas completely more quickly.
What grit sandpaper should I use?
This depends on the state of the wall but as a general rule you start with a coarse or medium 80-grit sandpaper to get rid of any large ridges or uneven areas. Once all the large obstacles have been removed you can change to a finer sandpaper such as 180-grit sandpaper. This will give a finish that is smooth to the touch.
Do I need to clean walls before sanding?
Yes and no. If your walls are particularly filthy or greasy, the grime can work its way into the sandpaper and stop it working as effectively as it should. So giving a wall a clean before you start sanding makes for an easier sanding job. Check out our What is sugar soap guide for quick and effective wall cleaning tips.
Do I need to add a primer after sanding painted walls?
No. If you are sanding a previously painted wall there is no need to add a primer before you add the best wall paint for the job at hand. The previous paint will have sealed the wall so it will be ready to go.
However, if you have sanded the previously painted wall back to bare plaster – or mostly bare plaster – then you need to add a coat of primer before your emulsion.
Should I sand in between coats?
When painting a wall it is a good idea to sand between coats. It is not essential, but it does help get rid of any ridges caused by a paintbrush or roller. You will only need to give the wall a light sanding, typically by hand with a fine grit sandpaper.
Once you have sanded the wall, make sure you brush it down with a soft hand brush and then wipe over it with a damp cloth and leave the wall to dry. Vacuum up any dust you can see. If the dust gets disturbed when painting the wall it can stick to the paint spoiling the finish.
Bring your dream home to life with expert advice, how to guides and design inspiration. Sign up for our newsletter and get two free tickets to a Homebuilding & Renovating Show near you.
Steve Jenkins is a freelance content creator with over two decades of experience working in digital and print and was previously the DIY content editor for Homebuilding & Renovating.
He is a keen DIYer with over 20 years of experience in transforming and renovating the many homes he has lived in. He specialises in painting and decorating, but has a wide range of skills gleaned from working in the building trade for around 10 years and spending time at night school learning how to plaster and plumb.
He has fitted kitchens, tiled bathrooms and kitchens, laid many floors, built partition walls, plastered walls, plumbed in bathrooms, worked on loft conversions and much more. And when he's not sure how to tackle a DIY project he has a wide network of friends – including plumbers, gas engineers, tilers, carpenters, painters and decorators, electricians and builders – in the trade to call upon.

