Sanding Floorboards: How-to, Plus Advice for Success
If you're considering sanding floorboards in your renovation project, here's a how-to guide, plus our DIY expert's top tips

Sanding floorboards might seem like a massive undertaking — and if you’re DIYing it, it definitely can be. It involves hiring heavy machinery, loud noises and lots and lots of sawdust.
However, if that doesn’t put you off and you do decide to tackle sanding your floorboards, it can be a rewarding process when renovating a house. Removing thick stains will strip back floorboards to give them a new lease of life, allowing you to treat them in a way that suits your new scheme while retaining their natural charm.
Hiring a sander isn’t extortionately expensive either, so if you’re on a budget, sanding floorboards is a good way to trade off a whole lot of hard work for a nice timber floor, without having to pay out for new wooden flooring.
Here’s what you need to know about sanding floorboards on a DIY basis.
When is Sanding Floorboards Necessary?
There are a few reasons why you might want to sand floorboards. The first reason is spot sanding to remove stains or scratches from floorboards — this is slightly different from sanding the entire floor and can be achieved with a good power tool like a mouse sander or one of the best orbital sanders.
The other main reason for sanding wooden floorboards is to remove a stain across the whole floor or strip back floorboards to improve their condition. This will require more intensive sanding work.
If you’re painting floorboards, either with a stain or paint, you may need to sand them first. If there’s a stain on the boards, you’ll need to sand them back with a floor sander, but if they’re untreated, you may be able to sand them by hand or with a power tool to clean them up before painting.
Can you Sand Floorboards by Hand?
Technically, yes. While it’s not recommended to try and strip back an entire floor by hand, or even with a standard power tool, if you’re willing to put in a lot of labour, it’s possible to sand without hiring a floor sander.
What Kind of Sander Should I use to Sand Floorboards?
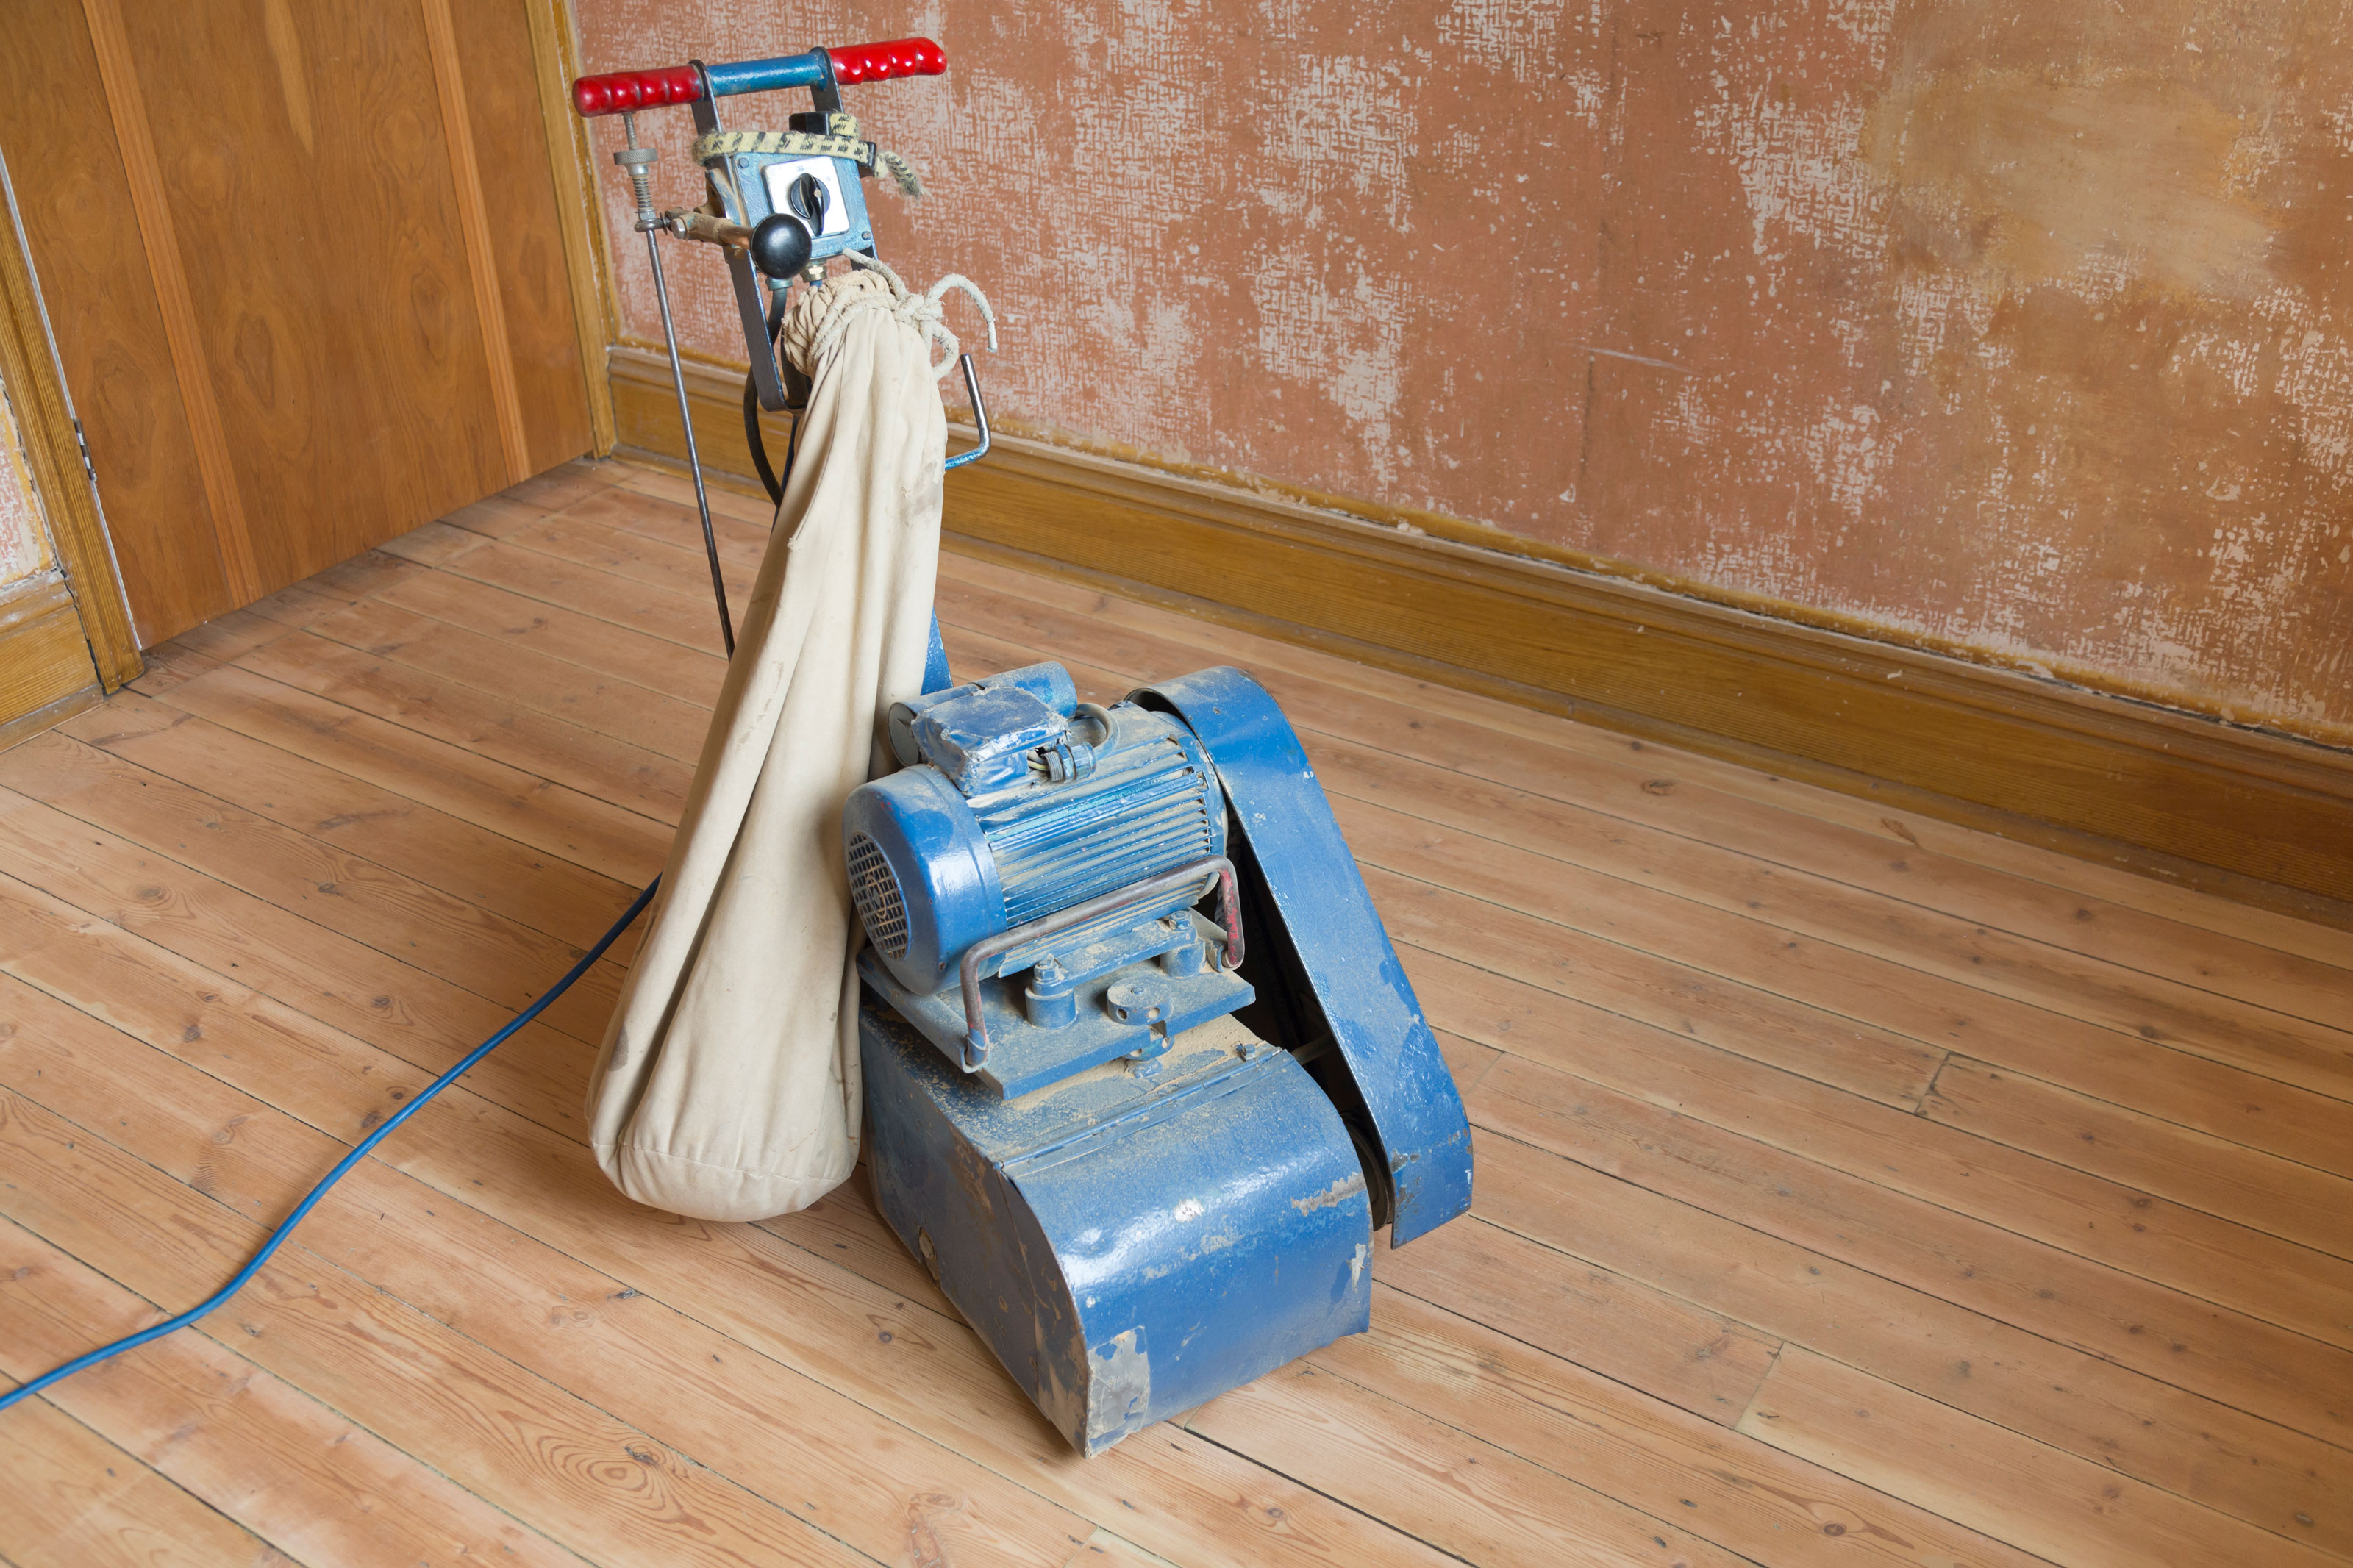
You’ll need to look into hiring a specialist drum sander for sanding floorboards properly — this is a sander on wheels that you push across the floor to sand. Prices start at around £30 per day to hire a floor sander, but you’ll need to take into account the price of sanding sheets (and other accessories) as part of your hire. To sand a floor in a medium-sized room, you can probably expect to spend around £100-£150 all-in.
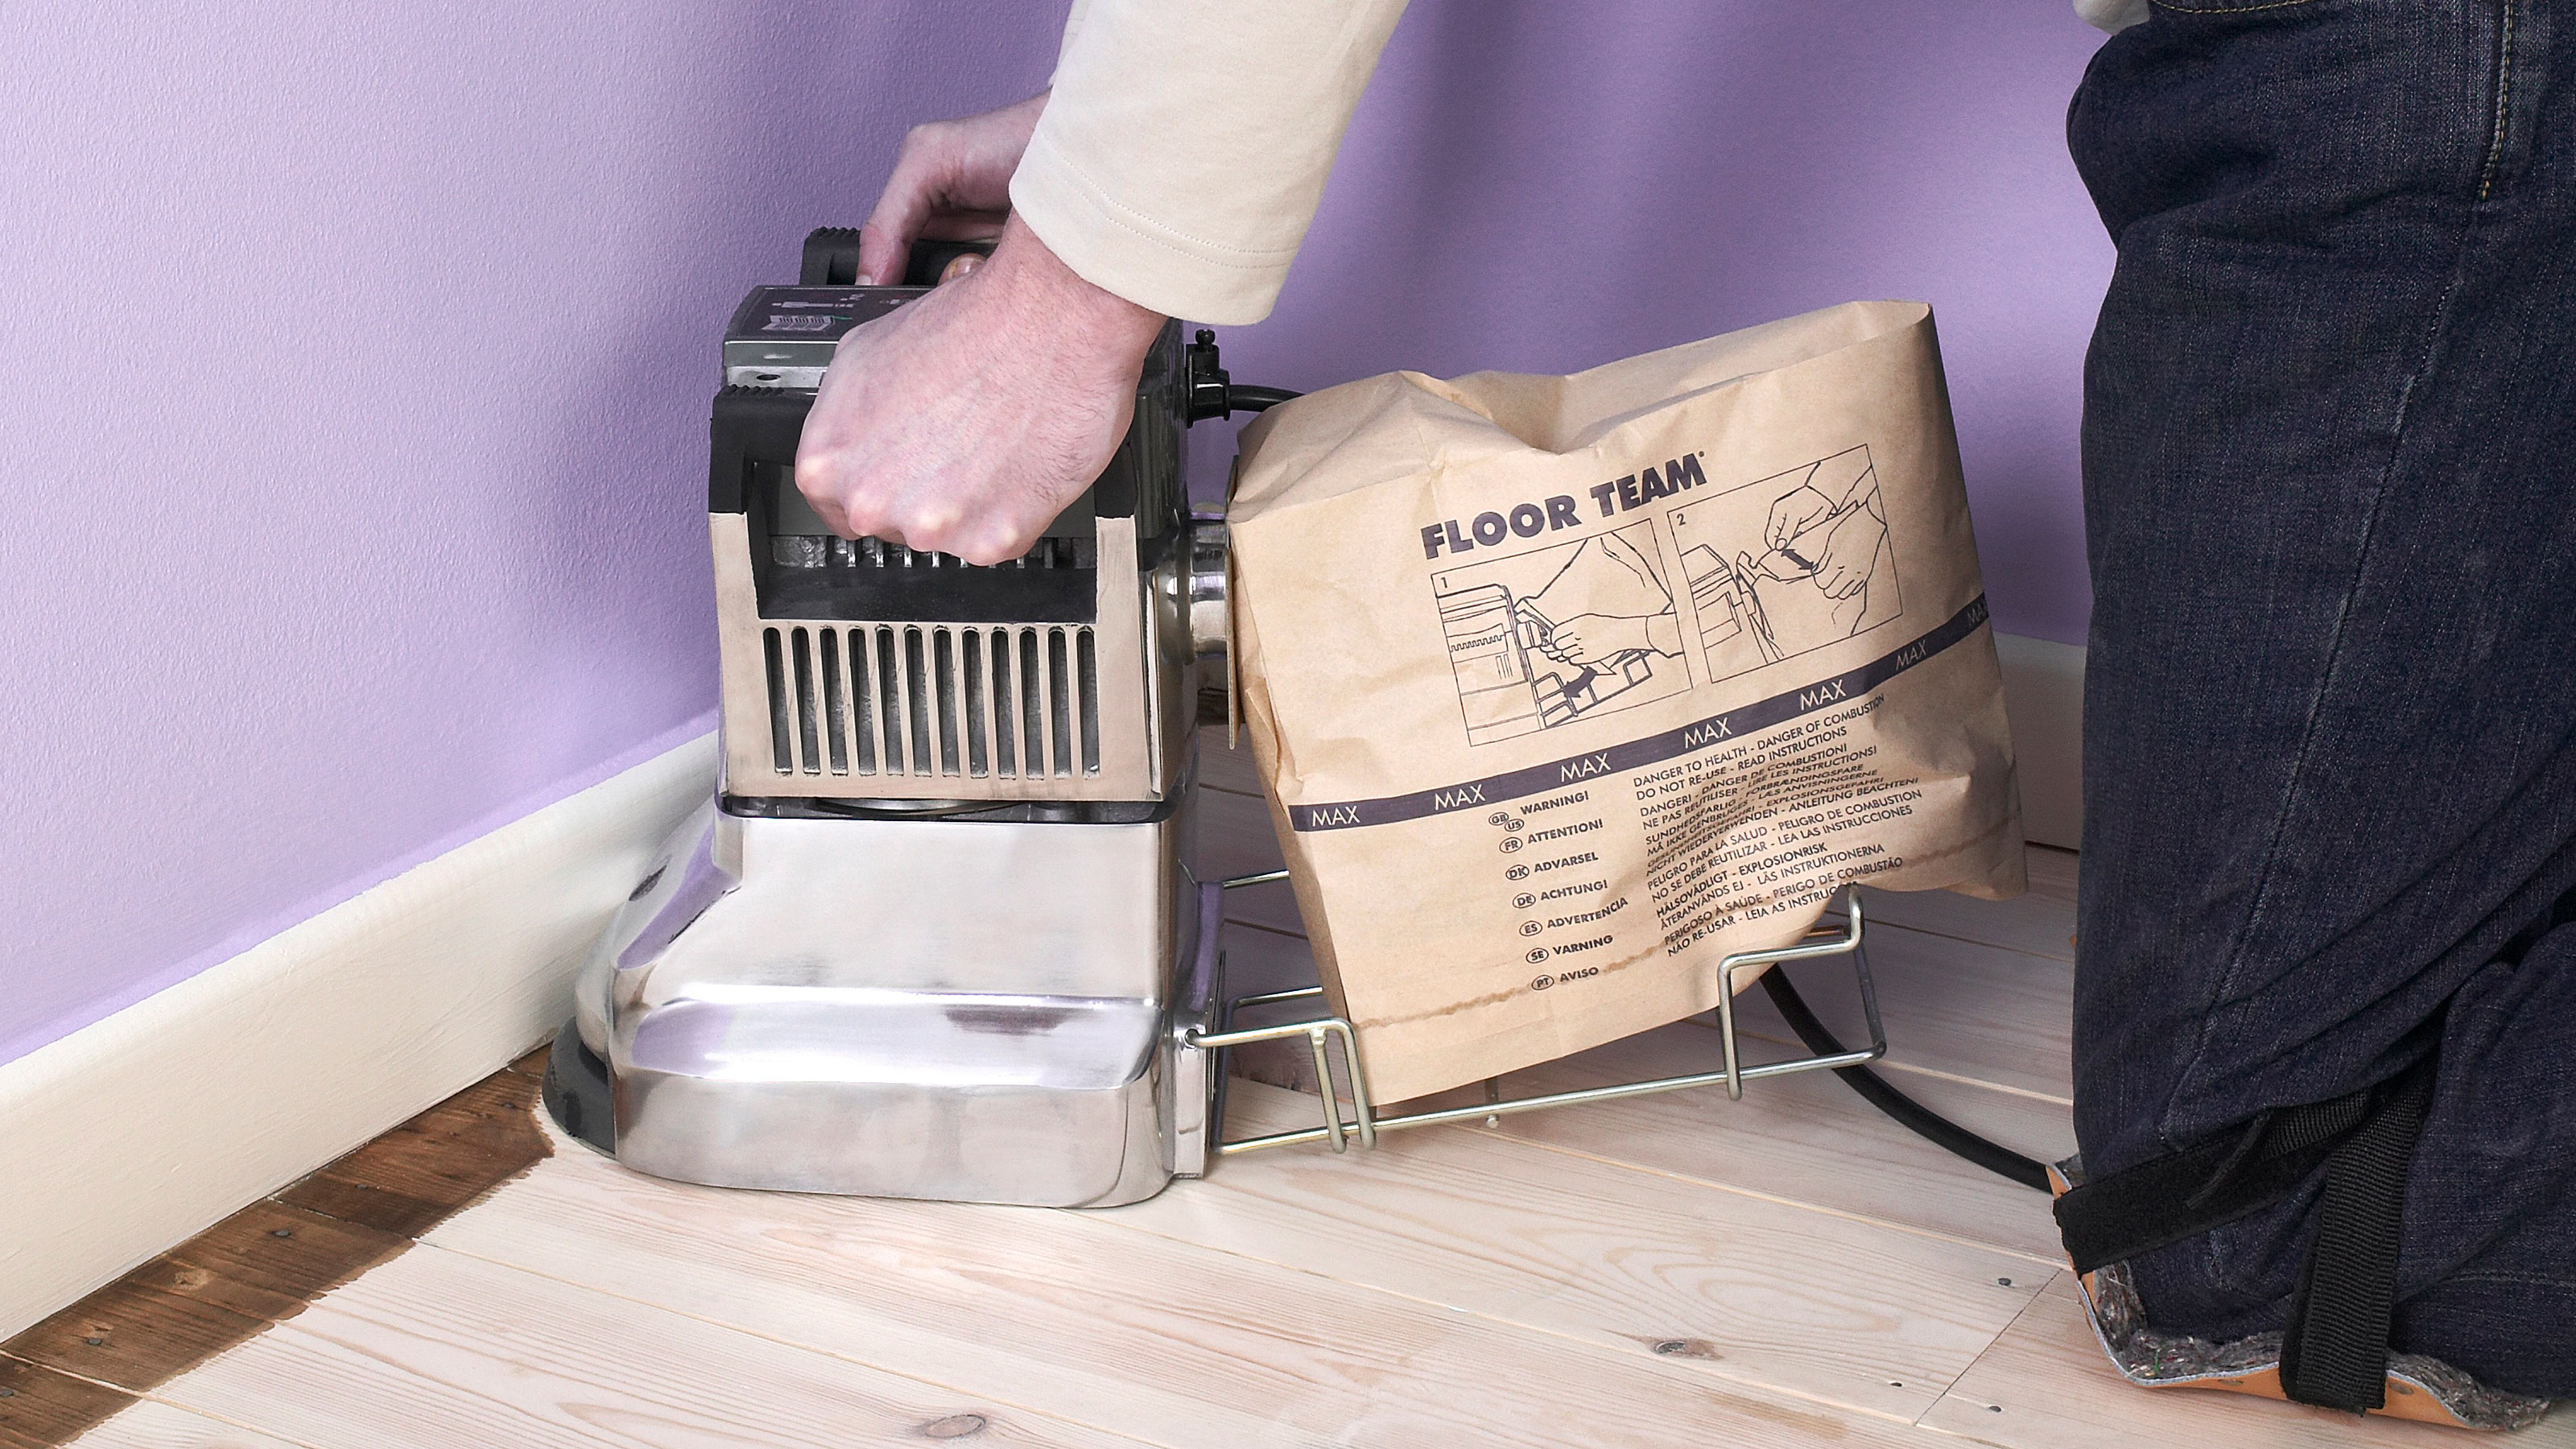
You’ll also need an edge sander, a heavy handheld sander which you can usually hire from the same place as a drum sander, to finish off the edges of the floor and any areas the floor sander can’t reach. A mouse sander or orbital sander can also be helpful.
What Tools Will I Need to Sand Floorboards?
- Drum sander
- Edge sander
- Sanding sheets of various grits
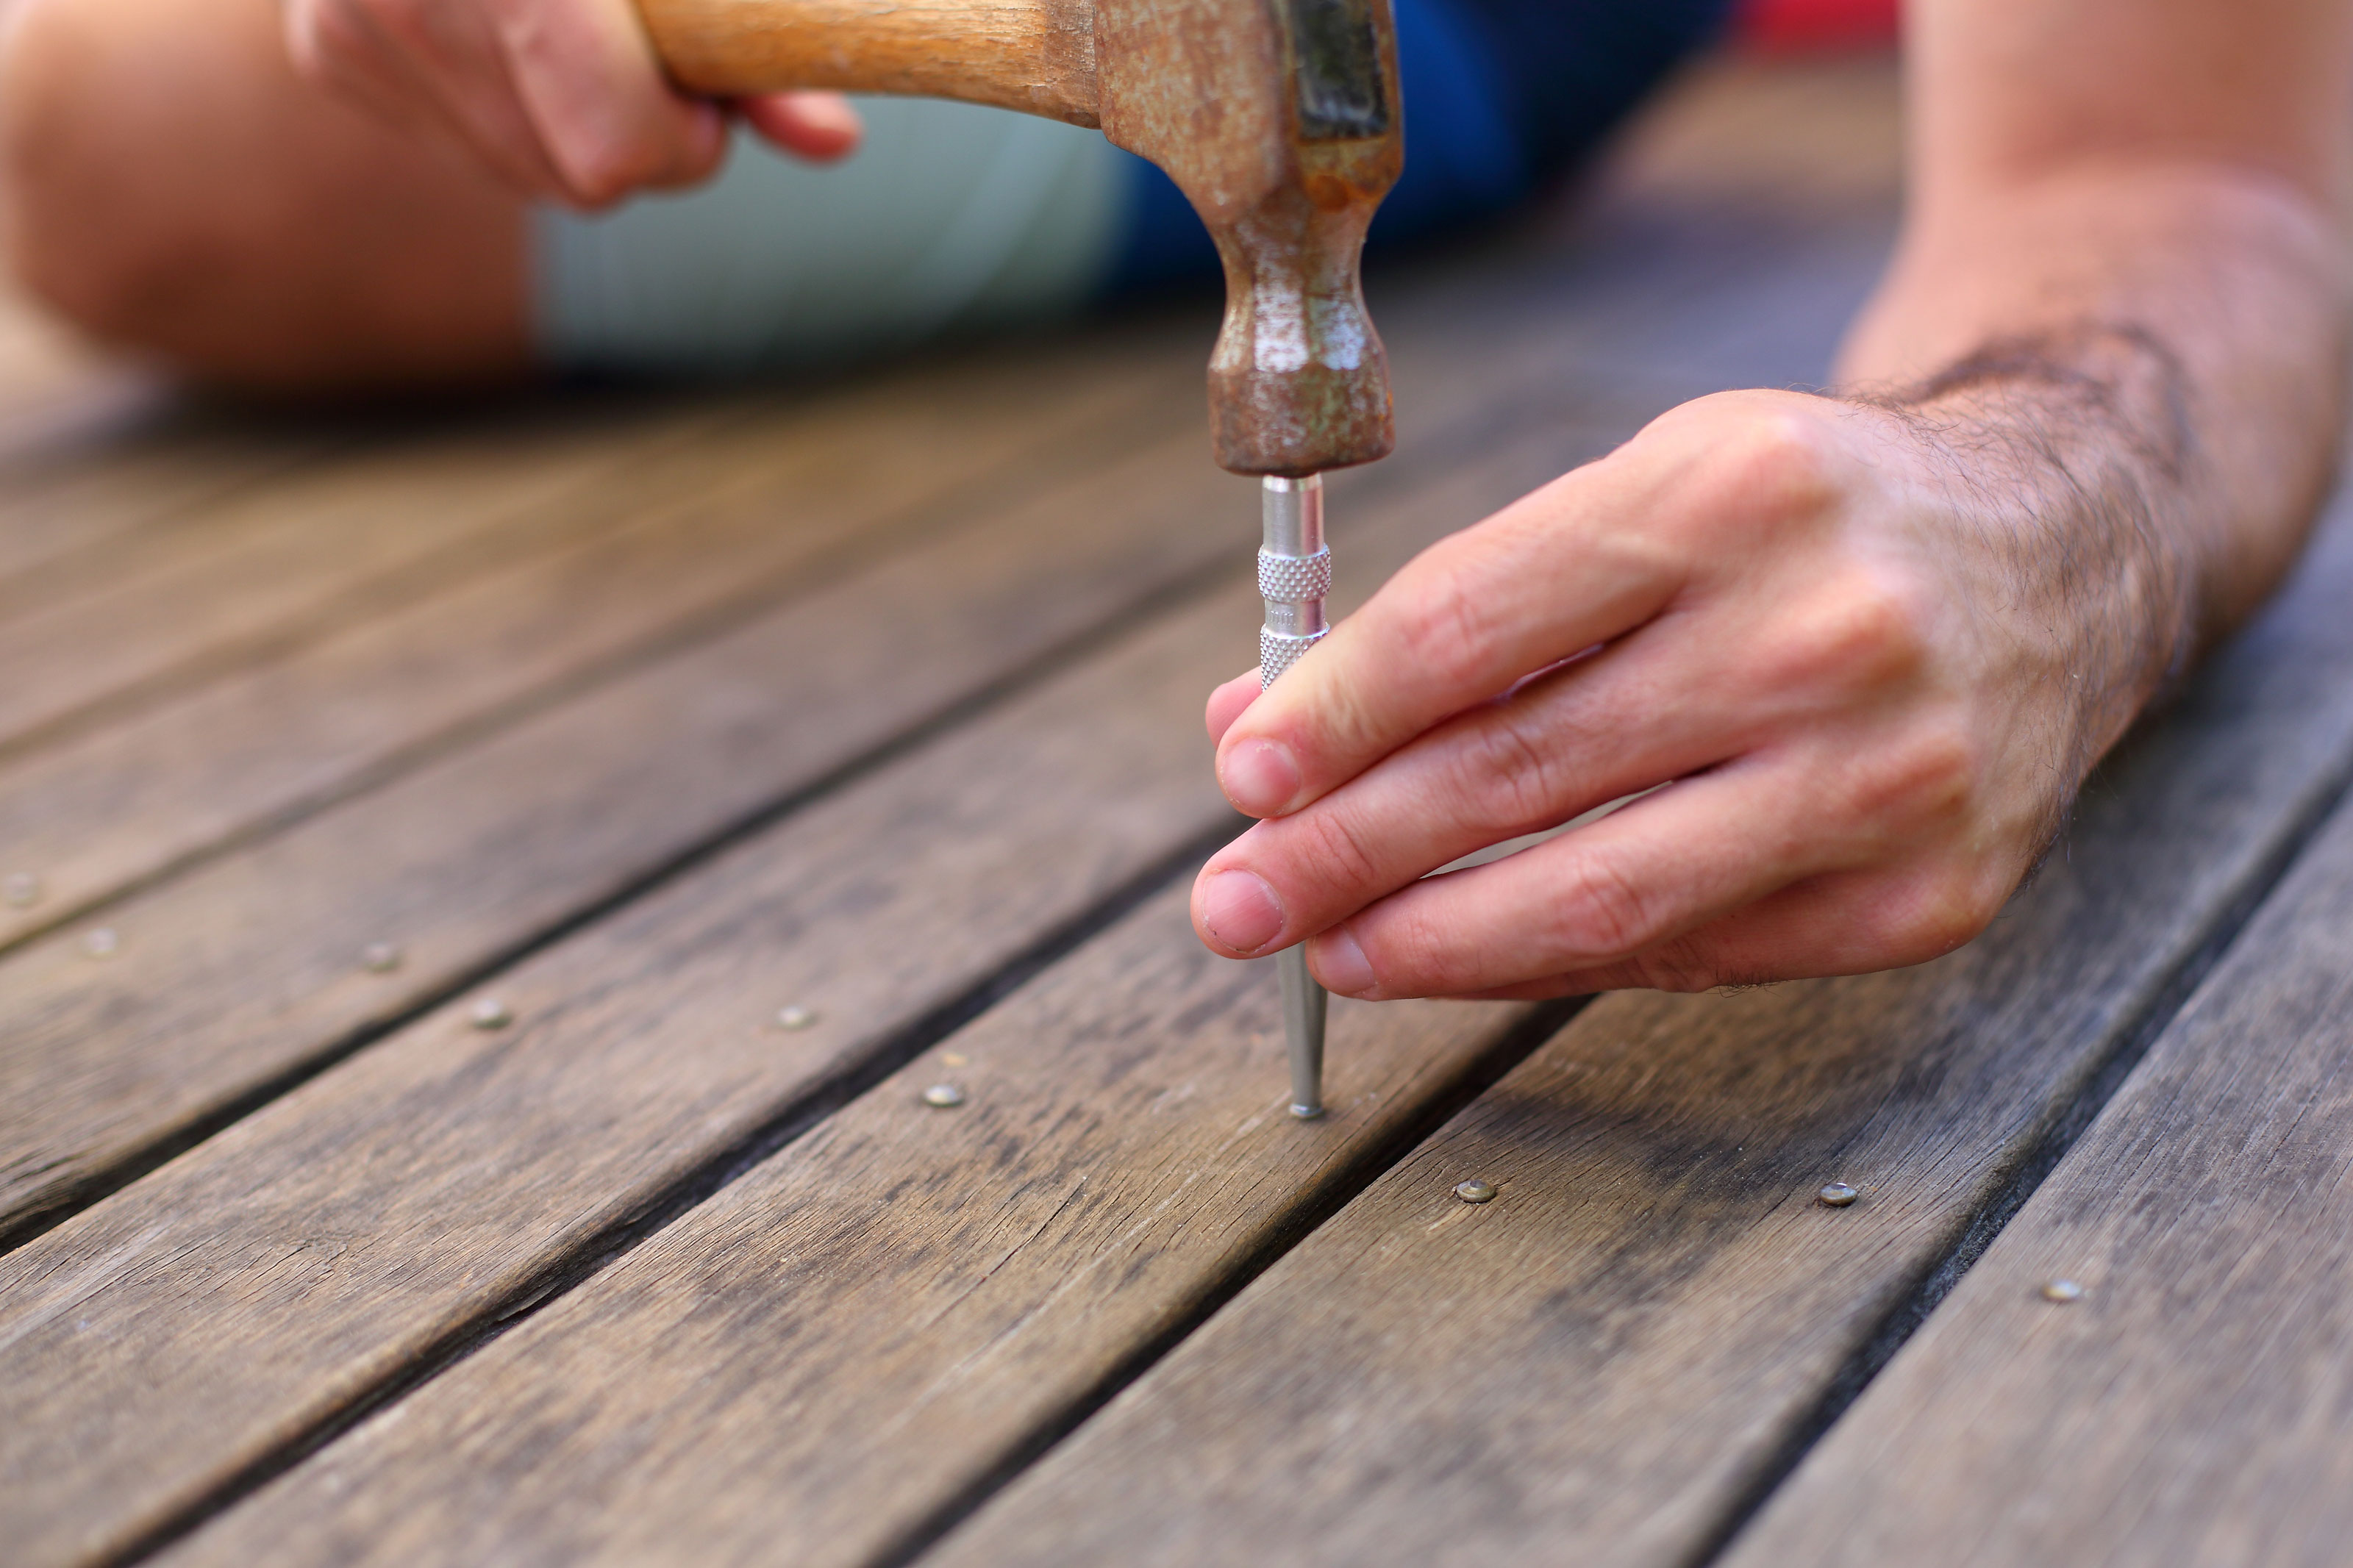
- Nail punch
- Hammer
- Protective goggles
- Dust mask
- Ear defenders

How do I Sand Floorboards?
Completely clear your room if possible — this isn't the sort of job you can really do working around furniture, but it's possible to do it in two halves if necessary.

1. Prepare your floor for sanding
The first step is one of the most important parts of sanding floorboards — evaluating the existing floor. You'll need to make sure that the floorboards are level before sanding, and also ensure that there are no nails protruding from the floor. You'll need to use a nail punch and hammer to ensure all nails are knocked below the surface of the floor, while also repairing the wood floor to level it. If you don't pay attention to this step, you'll find that the sanding will spark and tear when trying to sand the floor, potentially even causing damage to the machine.
I've found that as long as nails are at least level with the floor, you're likely to be okay, but ideally nails should be a few mm below the surface.
2. Sand the floorboards with the drum sander
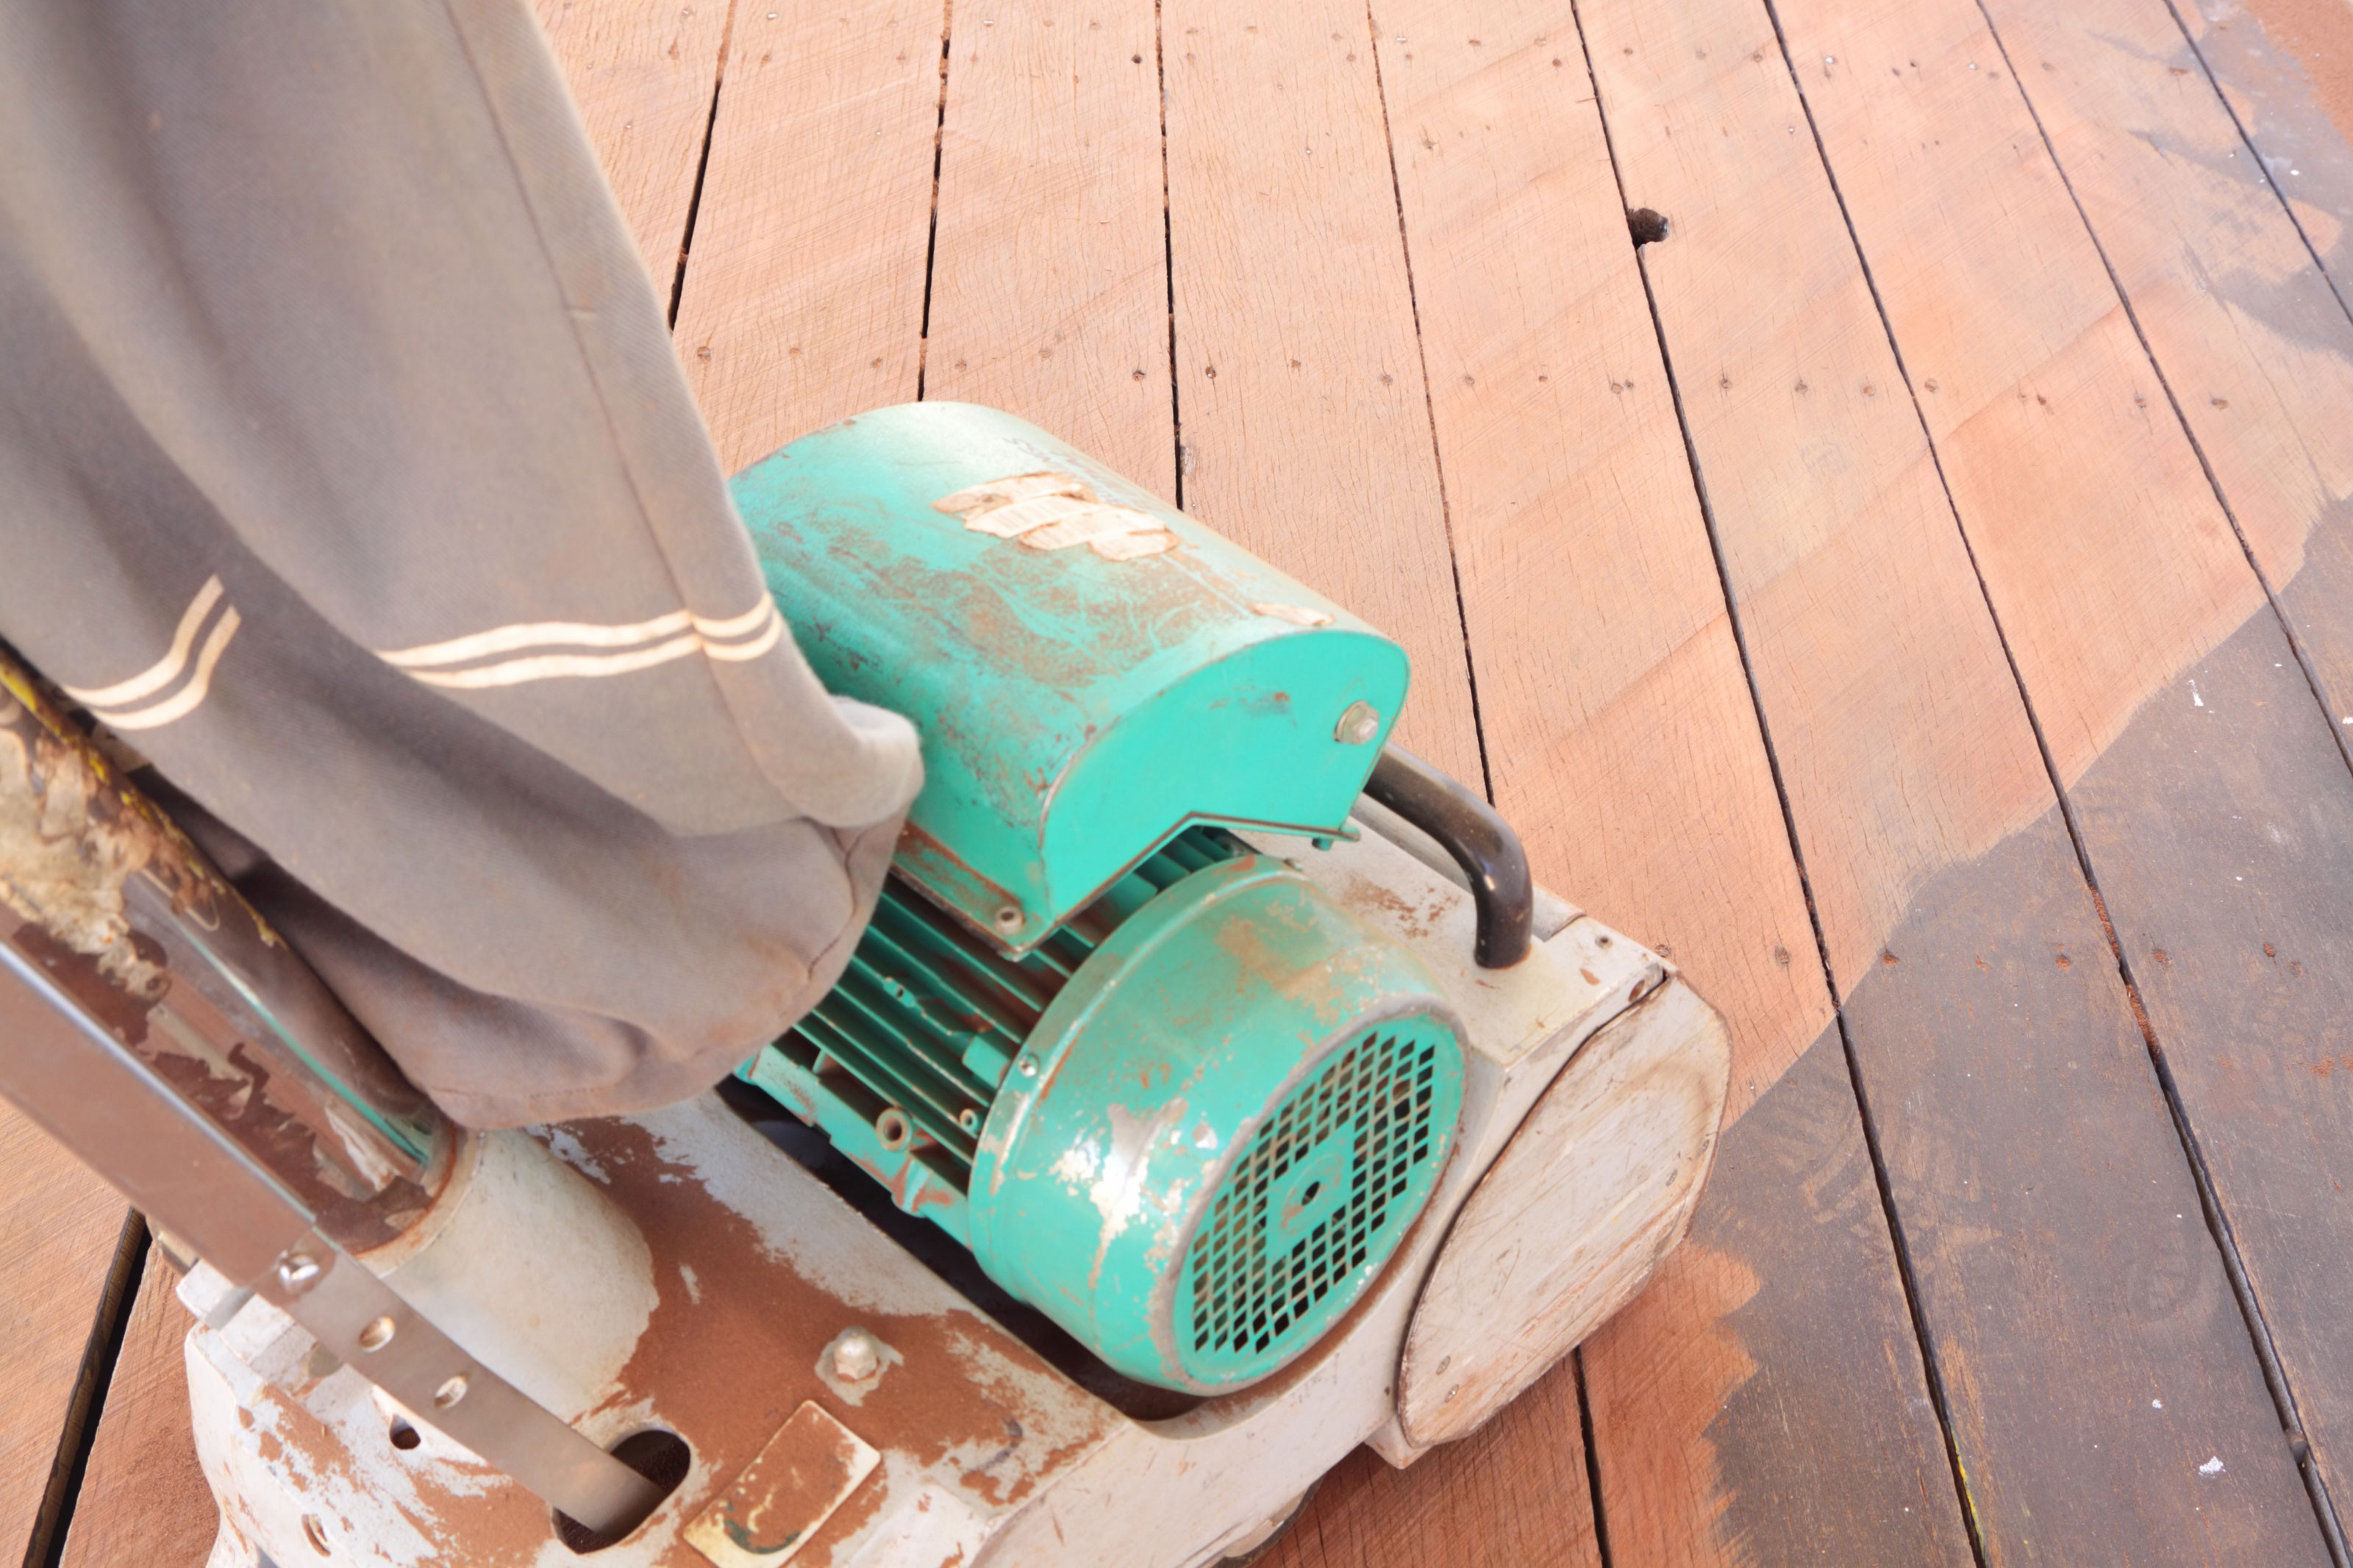
If the floorboards aren't perfectly level, you'll need to start by sanding across the room diagonally. This will help to level them out to begin with. After that, you can sand back and forth following the grain of the wood. You can go as close to the wall as you can, leaving just the edges to finish with the edge sander.

When it comes to picking a sandpaper grit for the sanding sheets, where you start will depend on the state of your floor to start with. If they're in particularly bad condition, or have a really thick stain, you may want to start with something like a 16 or 24 grit. You'll need to repeat the process slowly progressing to finer grit sandpapers each time to ensure a smooth finish to your final floorboards.
Ideally, you'd use 5 or 6 different grits, finishing on around 120 grit for a really fine finish that's comfortable underfoot, but it may be possible to do it with a couple of larger gaps in between grits.
You'll want to vacuum regularly to make sure you can see any spots where the pre-existing stain remains on the floorboards. It can get very dusty!
3. Sand the edges with the edge sander
You'll need to use the edge sander with the same progression of sandpapers as the drum sander. To keep track, it's probably best to use one grit at a time, completely sanding the whole room.
The floor will slowly become a uniform colour as more of the stain or dirt is removed.
You may find that in tight corners, a mouse sander will come in handy to finish off. These are sometimes hireable, but you can also pick up a cheap corded one from your local DIY store.
How Many Sandpaper Sheets Will I Need for Sanding Floorboards?
The amount of sanding paper you'll require will depend on the size of your room. However, as a guide, for the 3m x 4m room I sanded, I used around 6-7 sheets at the roughest grit and 2 or 3 of the finest, and the same again for the edging sander. You'll need fewer sheets the finer the sandpaper gets.
It's pretty standard for hire companies to refund you for any unused sheets, so don't skimp as if you run out, you'll be wasting your hire time. It will likely use more sheets than you expect, and it's worth having extras just in case any tear on nails you've missed.
How Long Does it Take to Sand Floorboards?
Sanding floorboards will likely take longer than you expect if you've never done it before. Not only do you have to work out how to use the sanding equipment and get used to it, but you're sure to encounter a few issues and torn sheets as you get comfortable with the sander.
Bear in mind that these sanders are powerful and loud pieces of equipment, so taking regular breaks when using them is important too. These sanders can also be heavy and awkward to use, putting strain on your body.
Do the prep work before hiring, and then give yourself 2 or 3 days per medium-sized room for the sanding work.
Is it Worth Getting Floorboards Professionally Sanded?
Professional floorboard sanding isn't prohibitively expensive. You'll find quotes from between £250-£350 in most cases, and you can also get these trades to oil or paint your floors too.
Sanding floorboards yourself is worthwhile if you're looking to save a little money, but if you're less than a confident DIYer, there's the potential to damage your floors and the professional equipment.
What is the Best way to Finish Floorboards?
There are endless options for finishing your floorboards when sanded, and the product you choose will depend on the type of finish you want. It's important to know that each type of floor finish has its own characteristics too, for both applying and for aftercare of your floor.
Varnishes, for example, are great for producing durable floors and will mean your floors need less maintenance and are less likely to stain. However, when your floor does need recoating, it's more likely you'll have to do this whole sanding process again — admittedly, hopefully not for another 5-10 years.
You'll also need to consider oil-based versus water-based varnishes. While oil-based varnishes last longer, they're more difficult to apply and can yellow over time, unlike water-based ones.
Hard wax oils are another popular choice. These are floor oils with a small amount of wax in to improve their durability. The surface of floorboards treated with hardwax oil will wear more quickly, especially in high traffic areas, but you'll be able to maintain and reapply in these areas without re-sanding the entire floor.
I chose this Osmo Polyx Oil from Amazon with a slight white tint for my floorboards to take some of the yellow tones out of the pine. To test different colours and shades, pick a spot that's likely to be out of view when the room is finished, but you can always sand these samples back before treating the entire floor.
Get the Homebuilding & Renovating Newsletter
Bring your dream home to life with expert advice, how to guides and design inspiration. Sign up for our newsletter and get two free tickets to a Homebuilding & Renovating Show near you.
Luke Arthur Wells is an award-winning interiors blogger and stylist. His blog has been one of Vuelio's top 10 interior blogs for four years running, and he recently won the Best Creative Skill category at the Amara Interior Blog Awards. Luke has worked with some of the UK's biggest brands, from John Lewis and Made to Farrow & Ball and B&Q. He's a big DIYer, and loves coming up with creative woodwork projects for his home, a Victorian terrace renovation in Essex.

