Restoring Parquet Flooring: How to Fix Common Parquet Issues
For many, restoring parquet flooring is a way of bringing the character and charm of its period flooding back — here, we explain how to restore parquet floors

Whether you are considering restoring parquet flooring on a DIY basis or would prefer to leave it to the professionals, we are here to help.
Parquet floors are beautiful, full of character and are currently a hugely desirable feature — this type of flooring has seen a recent surge in popularity. If you are lucky enough to have an original parquet floor in your home, restoring it to its former glory is definitely worth the time and effort.
Our guide explains what is involved in the process of rejuvenating and repairing a parquet floor.
What is a Parquet Floor?
Parquet floors were first seen in France, where they were introduced late in the 17th century as an alternative to cold tiles.
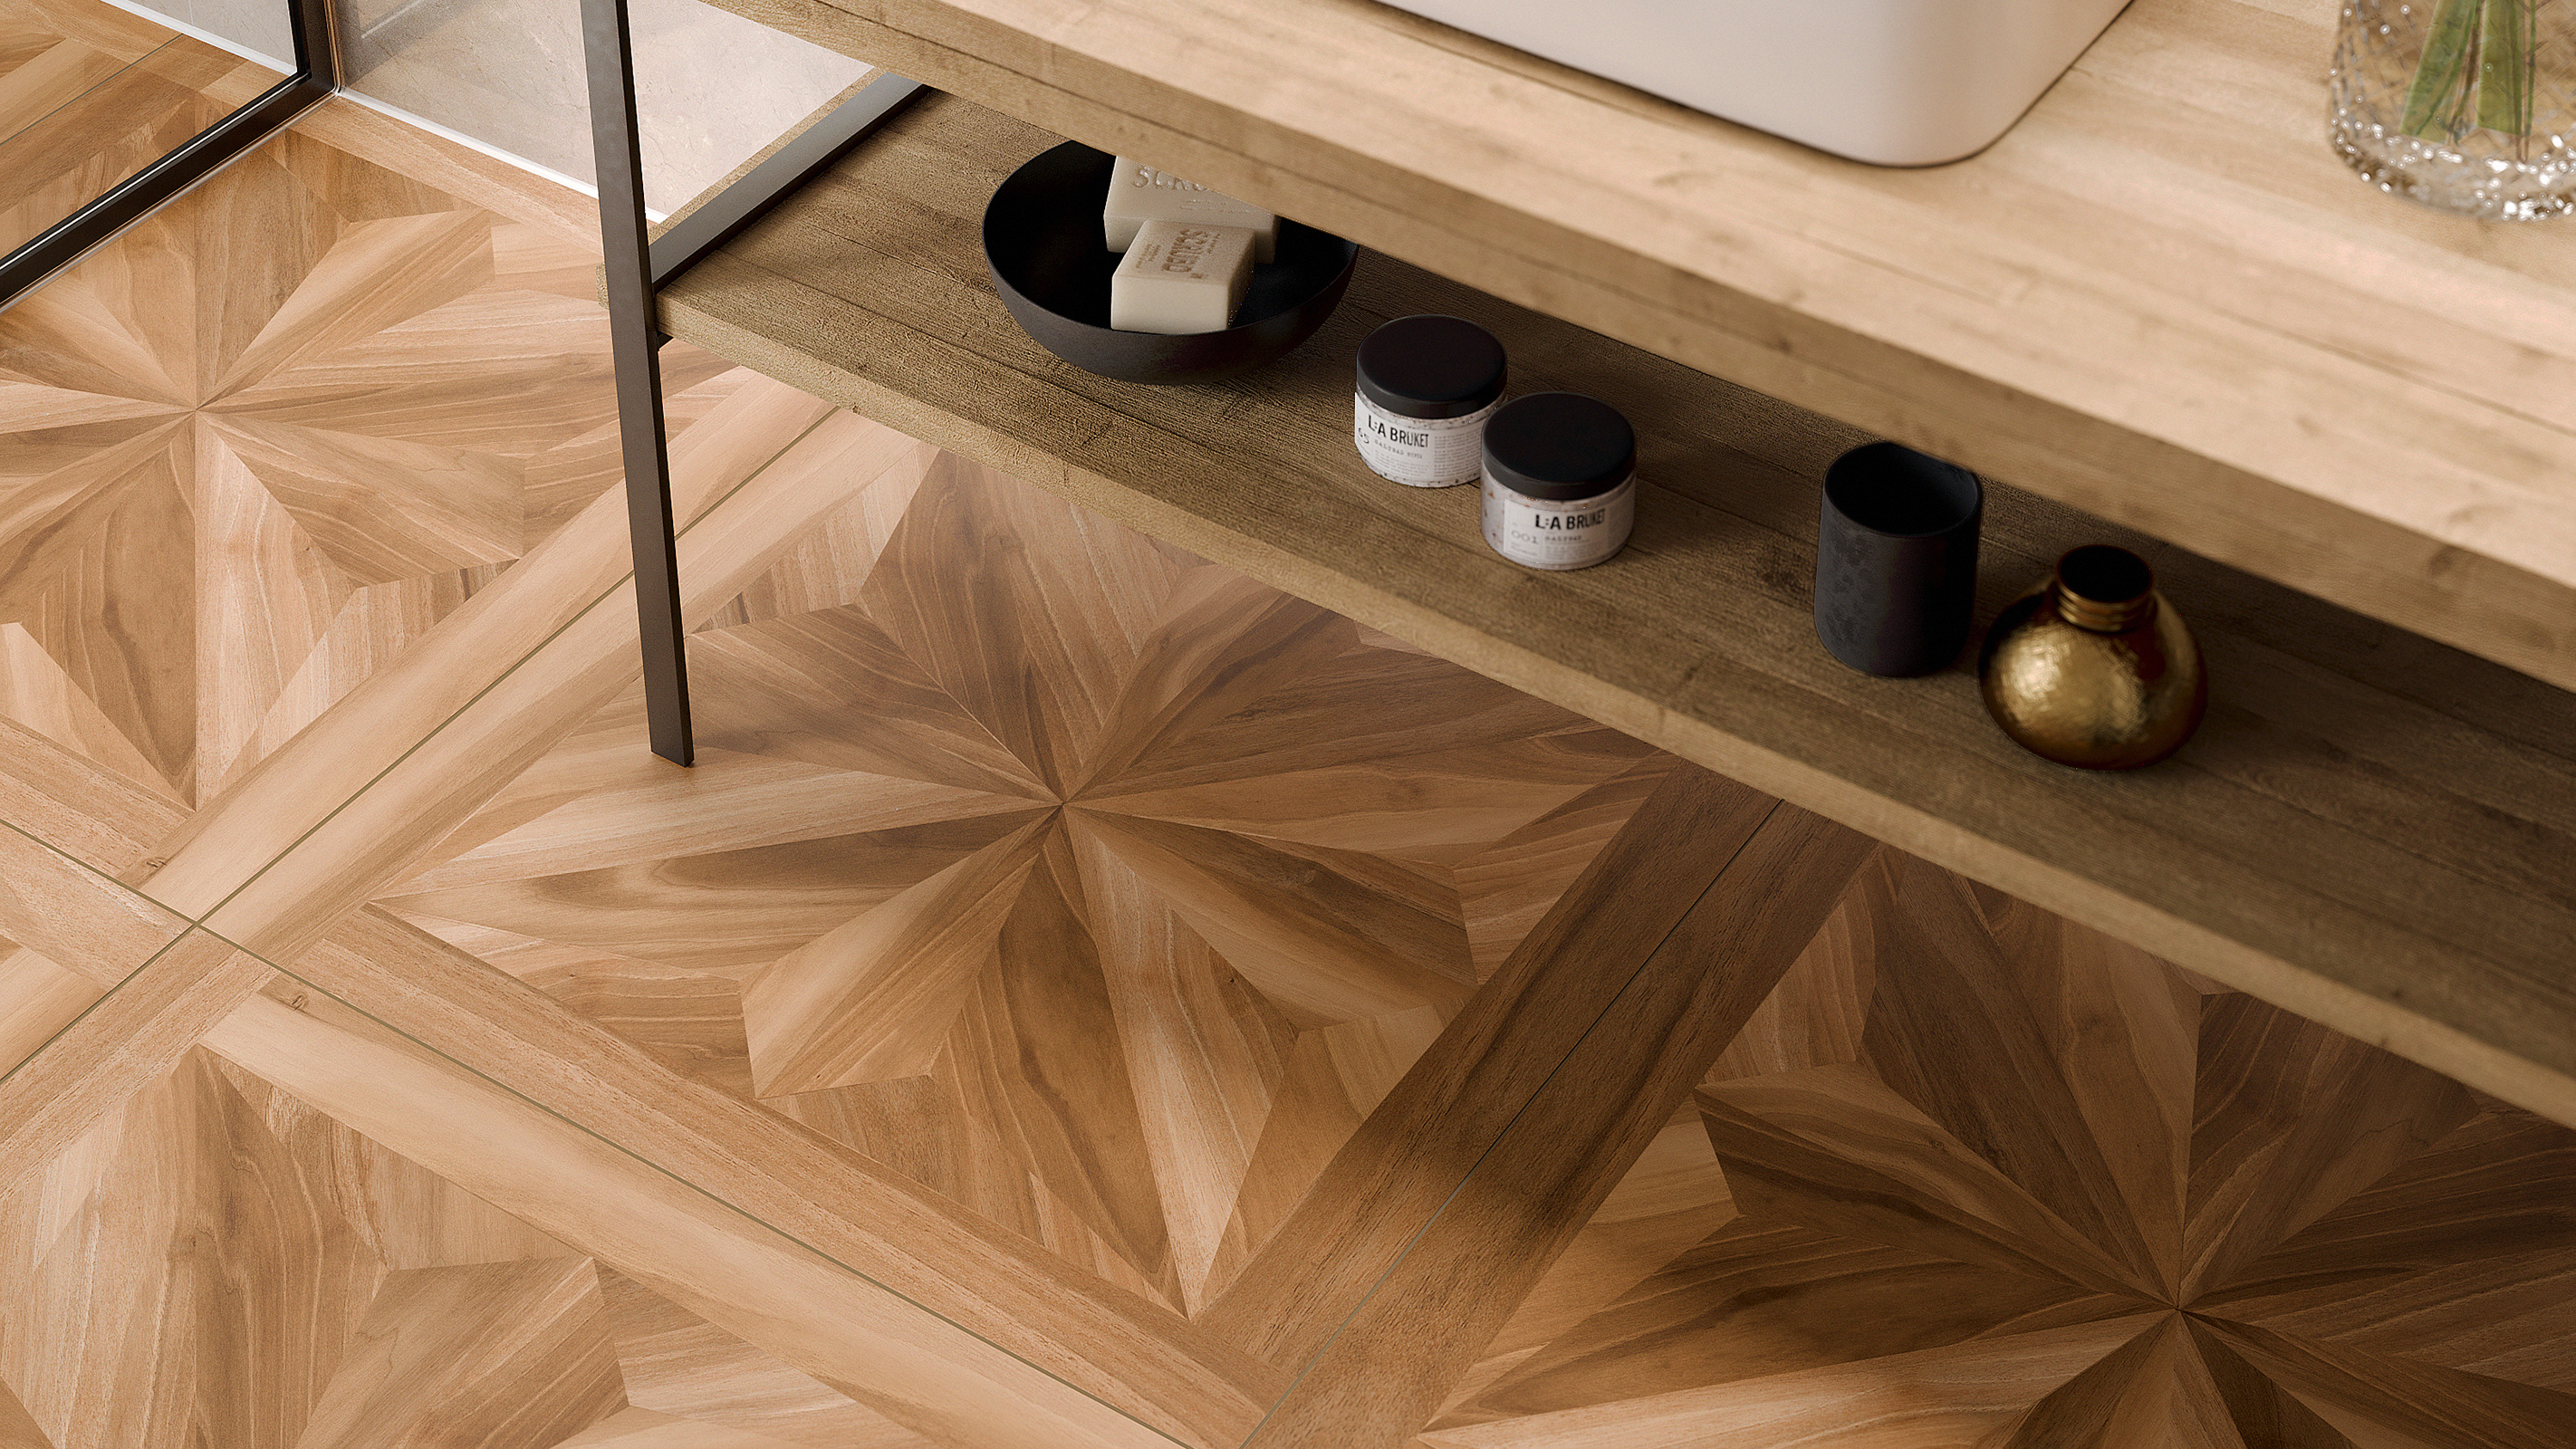
Unlike other types of wood flooring, they are made up of solid wood blocks (also known as strips or tiles), with fixed dimensions that are laid in various geometric or regular patterns, such as herringbone and chevron. These pieces of wood are typically rectangular, but also come in squares, triangles and lozenge shapes, along with feature designs such as stars.
Parquet flooring is now available in engineered wood, although originally it would only have been made from solid wood.
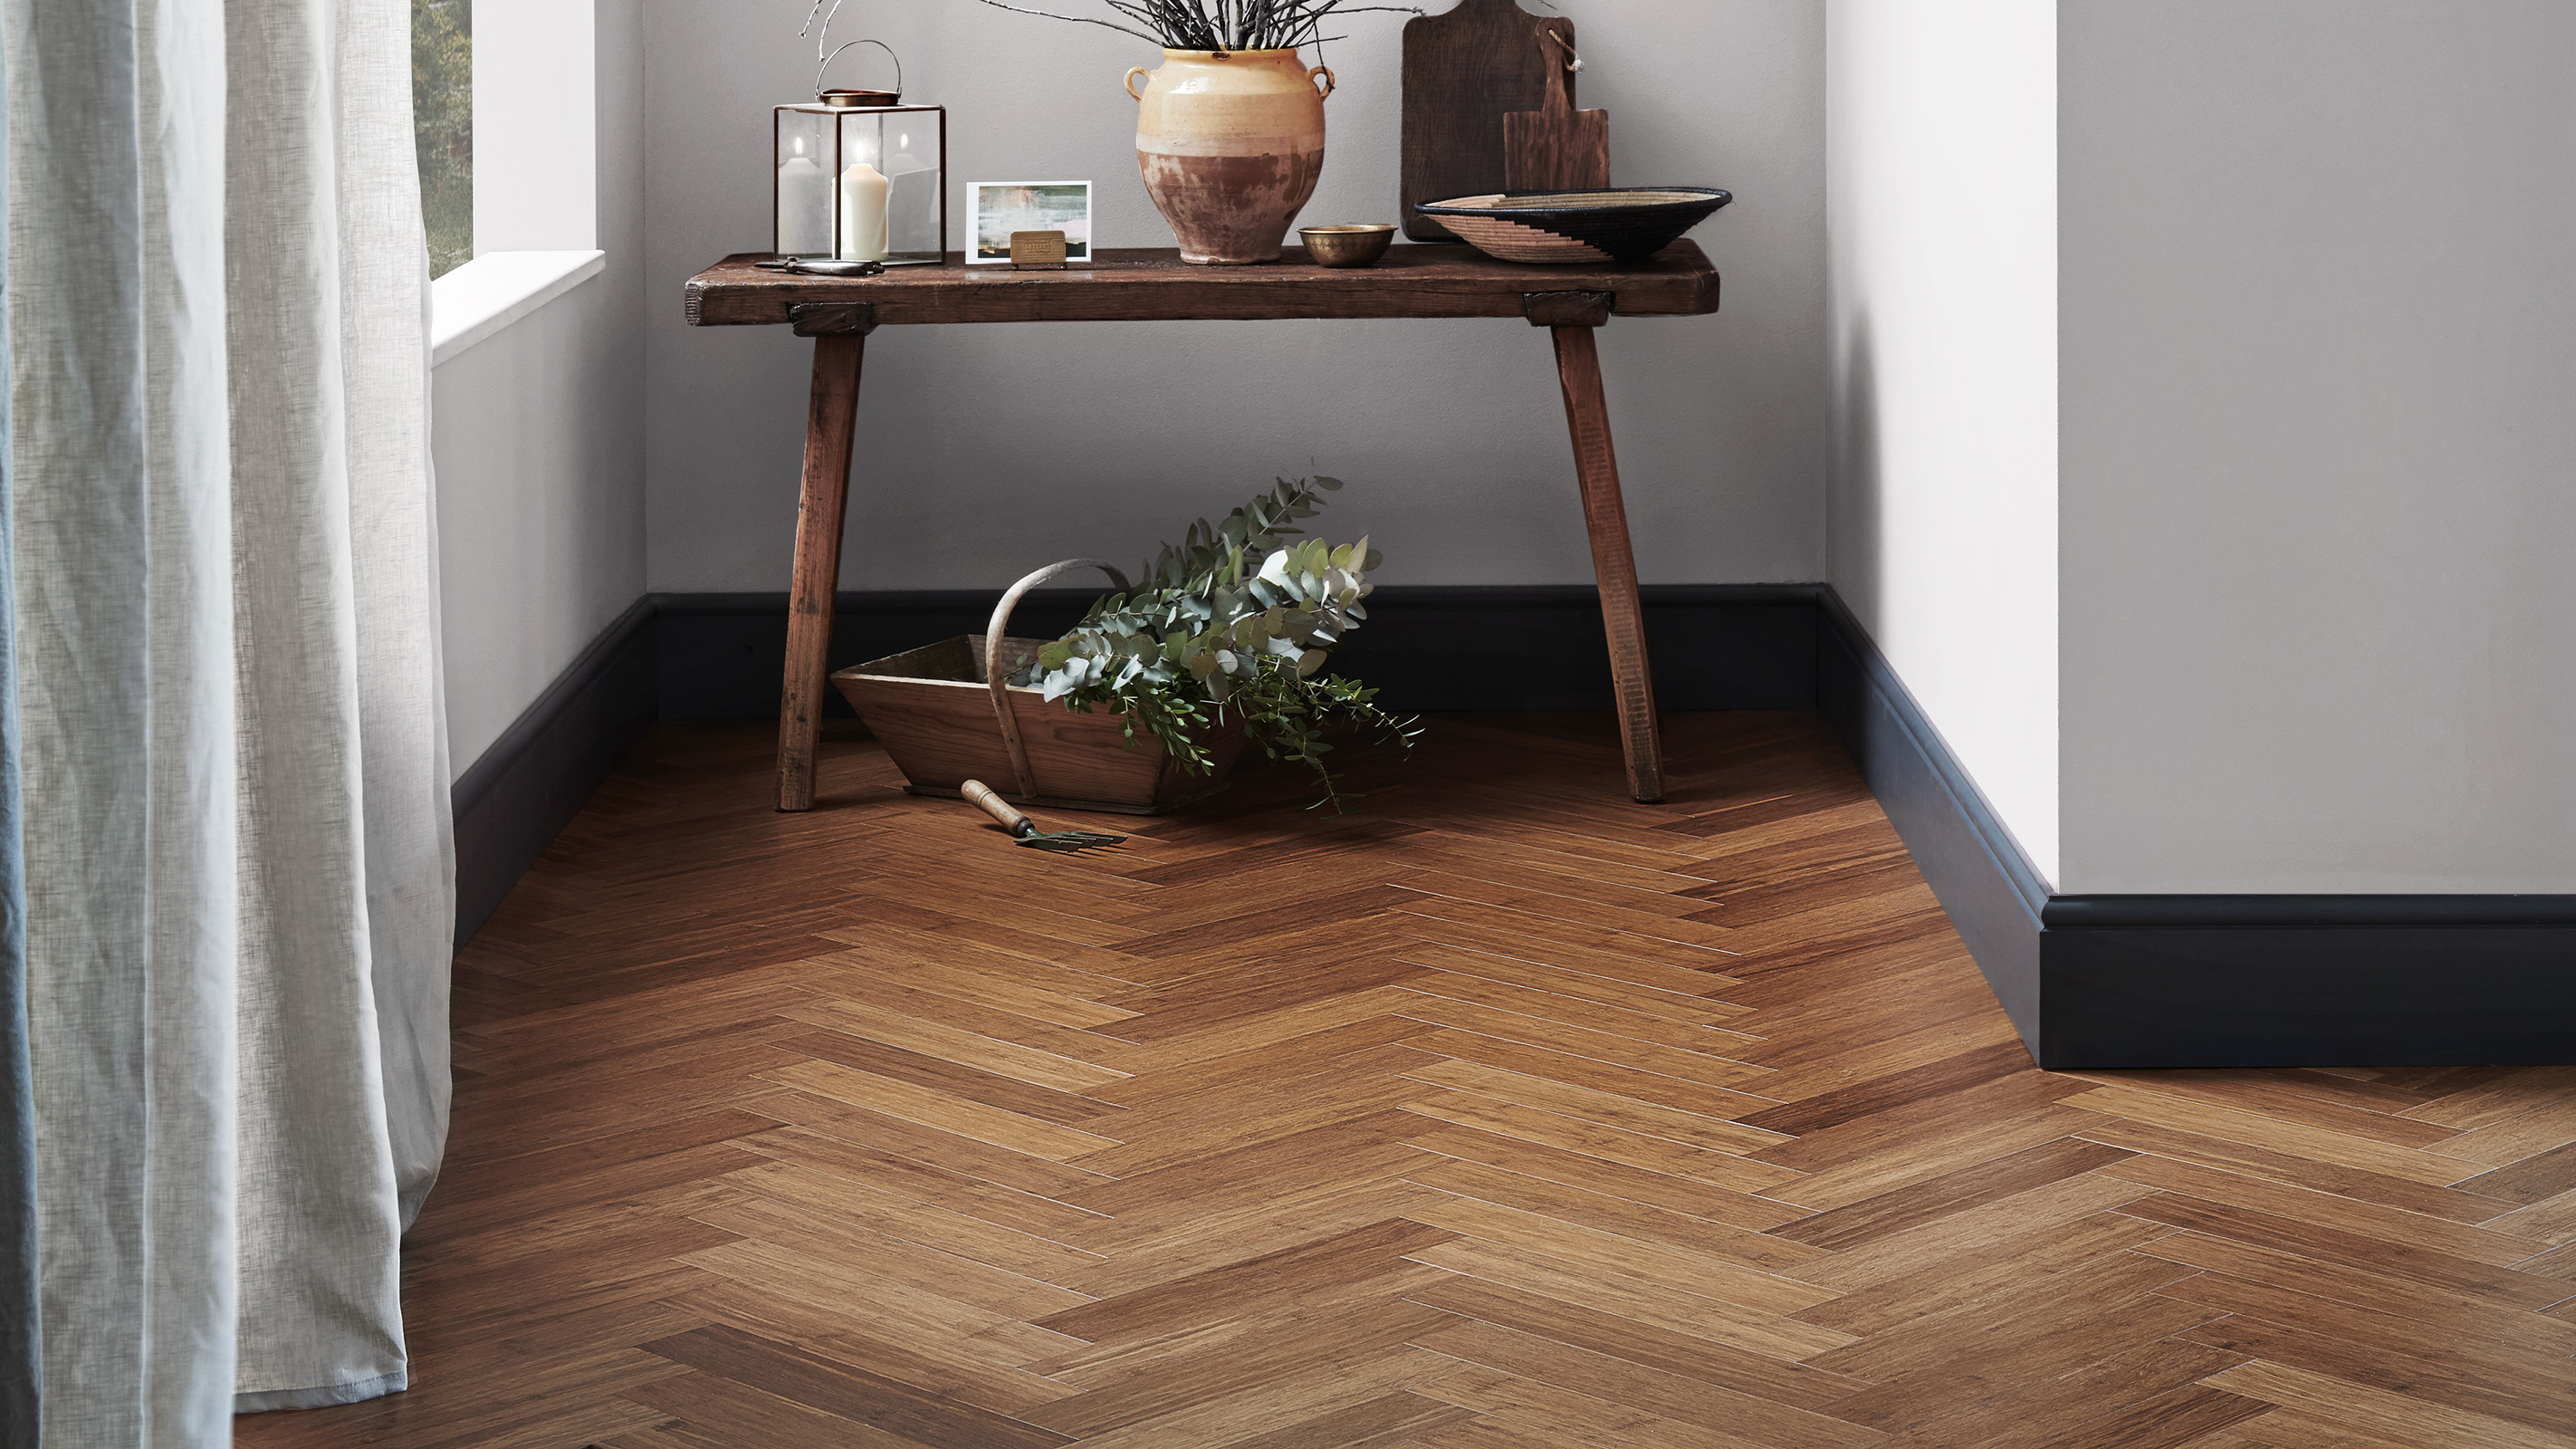
How is Parquet Flooring Installed?
There was a time when parquet flooring was installed using hot bitumen as an adhesive. This is not a method now used, with cold adhesives being the preferred technique. You can buy wood parquet flooring adhesive, such as Nassboards SikaBond-54 Parquet Professional Wood Floor Adhesivefrom Amazon, specifically for the job.
Parquet flooring now often comes with tongue-and-groove edges, as with other types of engineered wood flooring.
Common Reasons For Parquet Floor Restoration
There are several reasons why a parquet floor might need repairing. It is important to be aware that steaming ahead without professional advice, pulling up damaged blocks, can spell further damage to the floor, causing something of a chain reaction and meaning more blocks get taken out than was originally necessary. As such, it's good to get the input of a professional first.
Some of the most common issues faced by owners of an original parquet floor include:
- Missing blocks
- Unstable or loose blocks
- Gaps between pieces
- An uneven surface or raised sections of flooring
- Damage such as scratches and stains
Replacing Missing Parquet
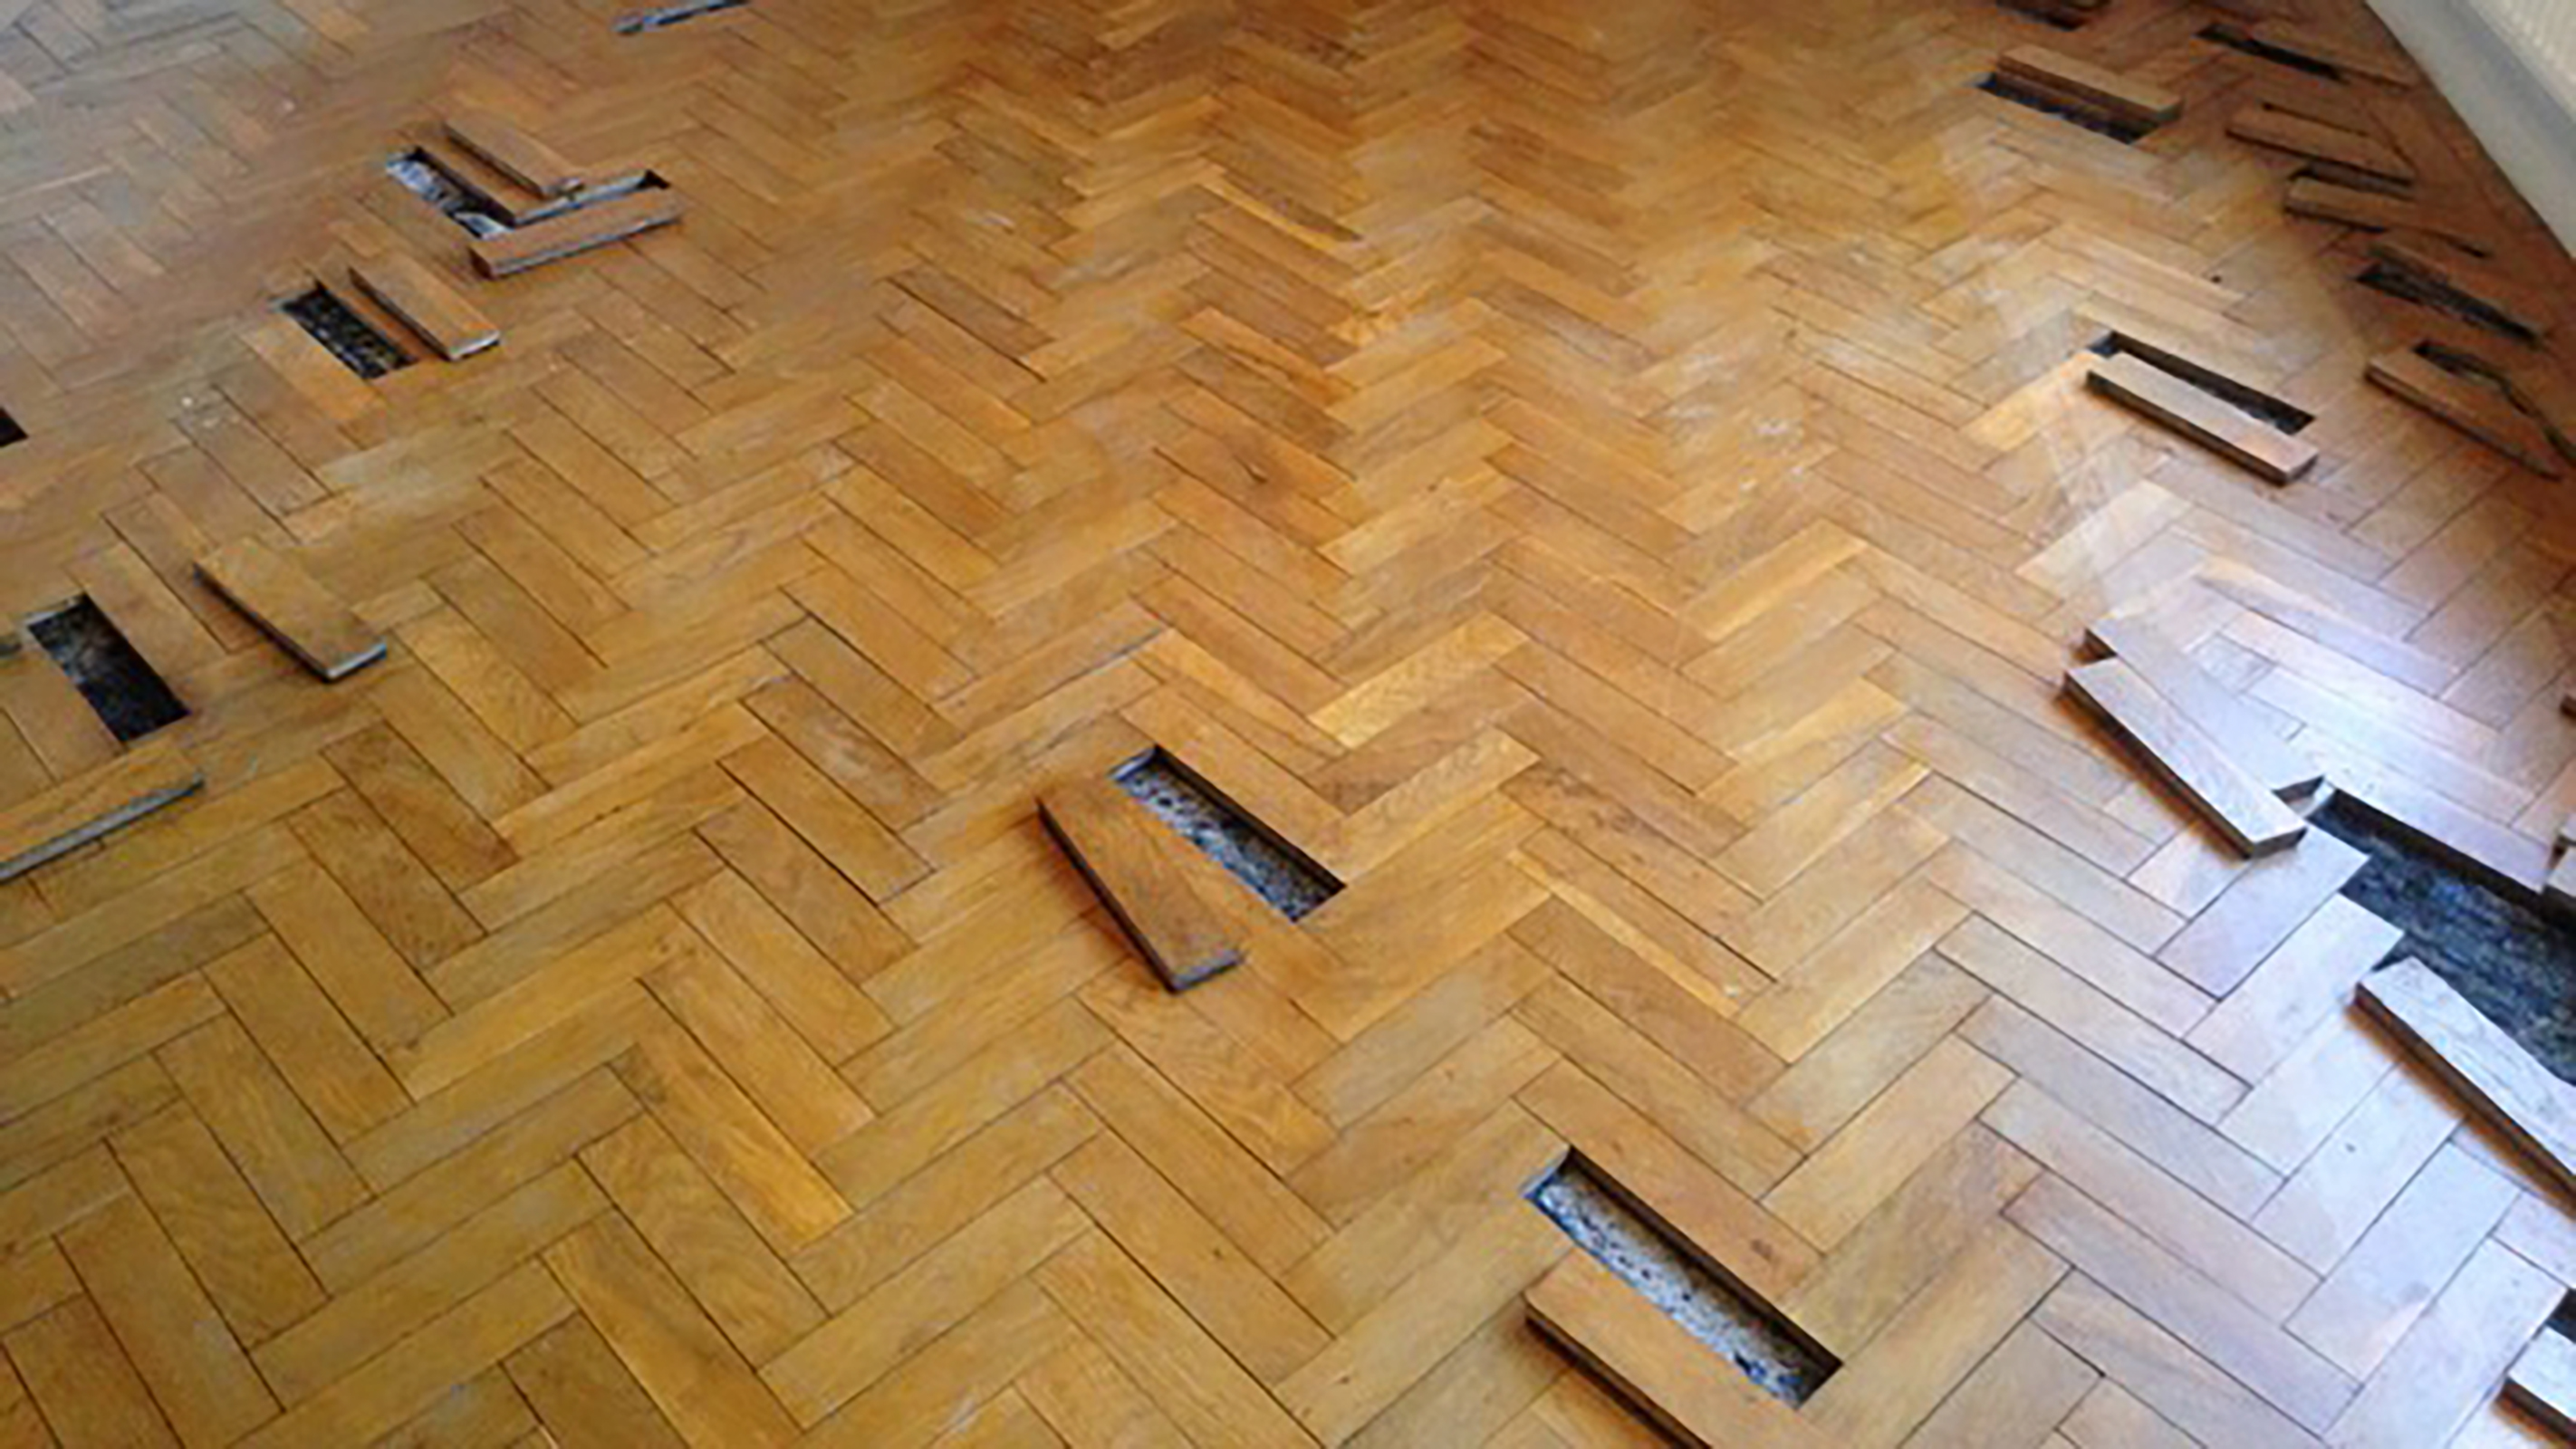
There are several reasons why you might find missing individual sections of parquet. Perhaps electrical or plumbing work was carried out, or walls were removed. Sometimes, parquet will be missing where there was once a fireplace hearth, while other times, water damage may have left individual tiles beyond repair.
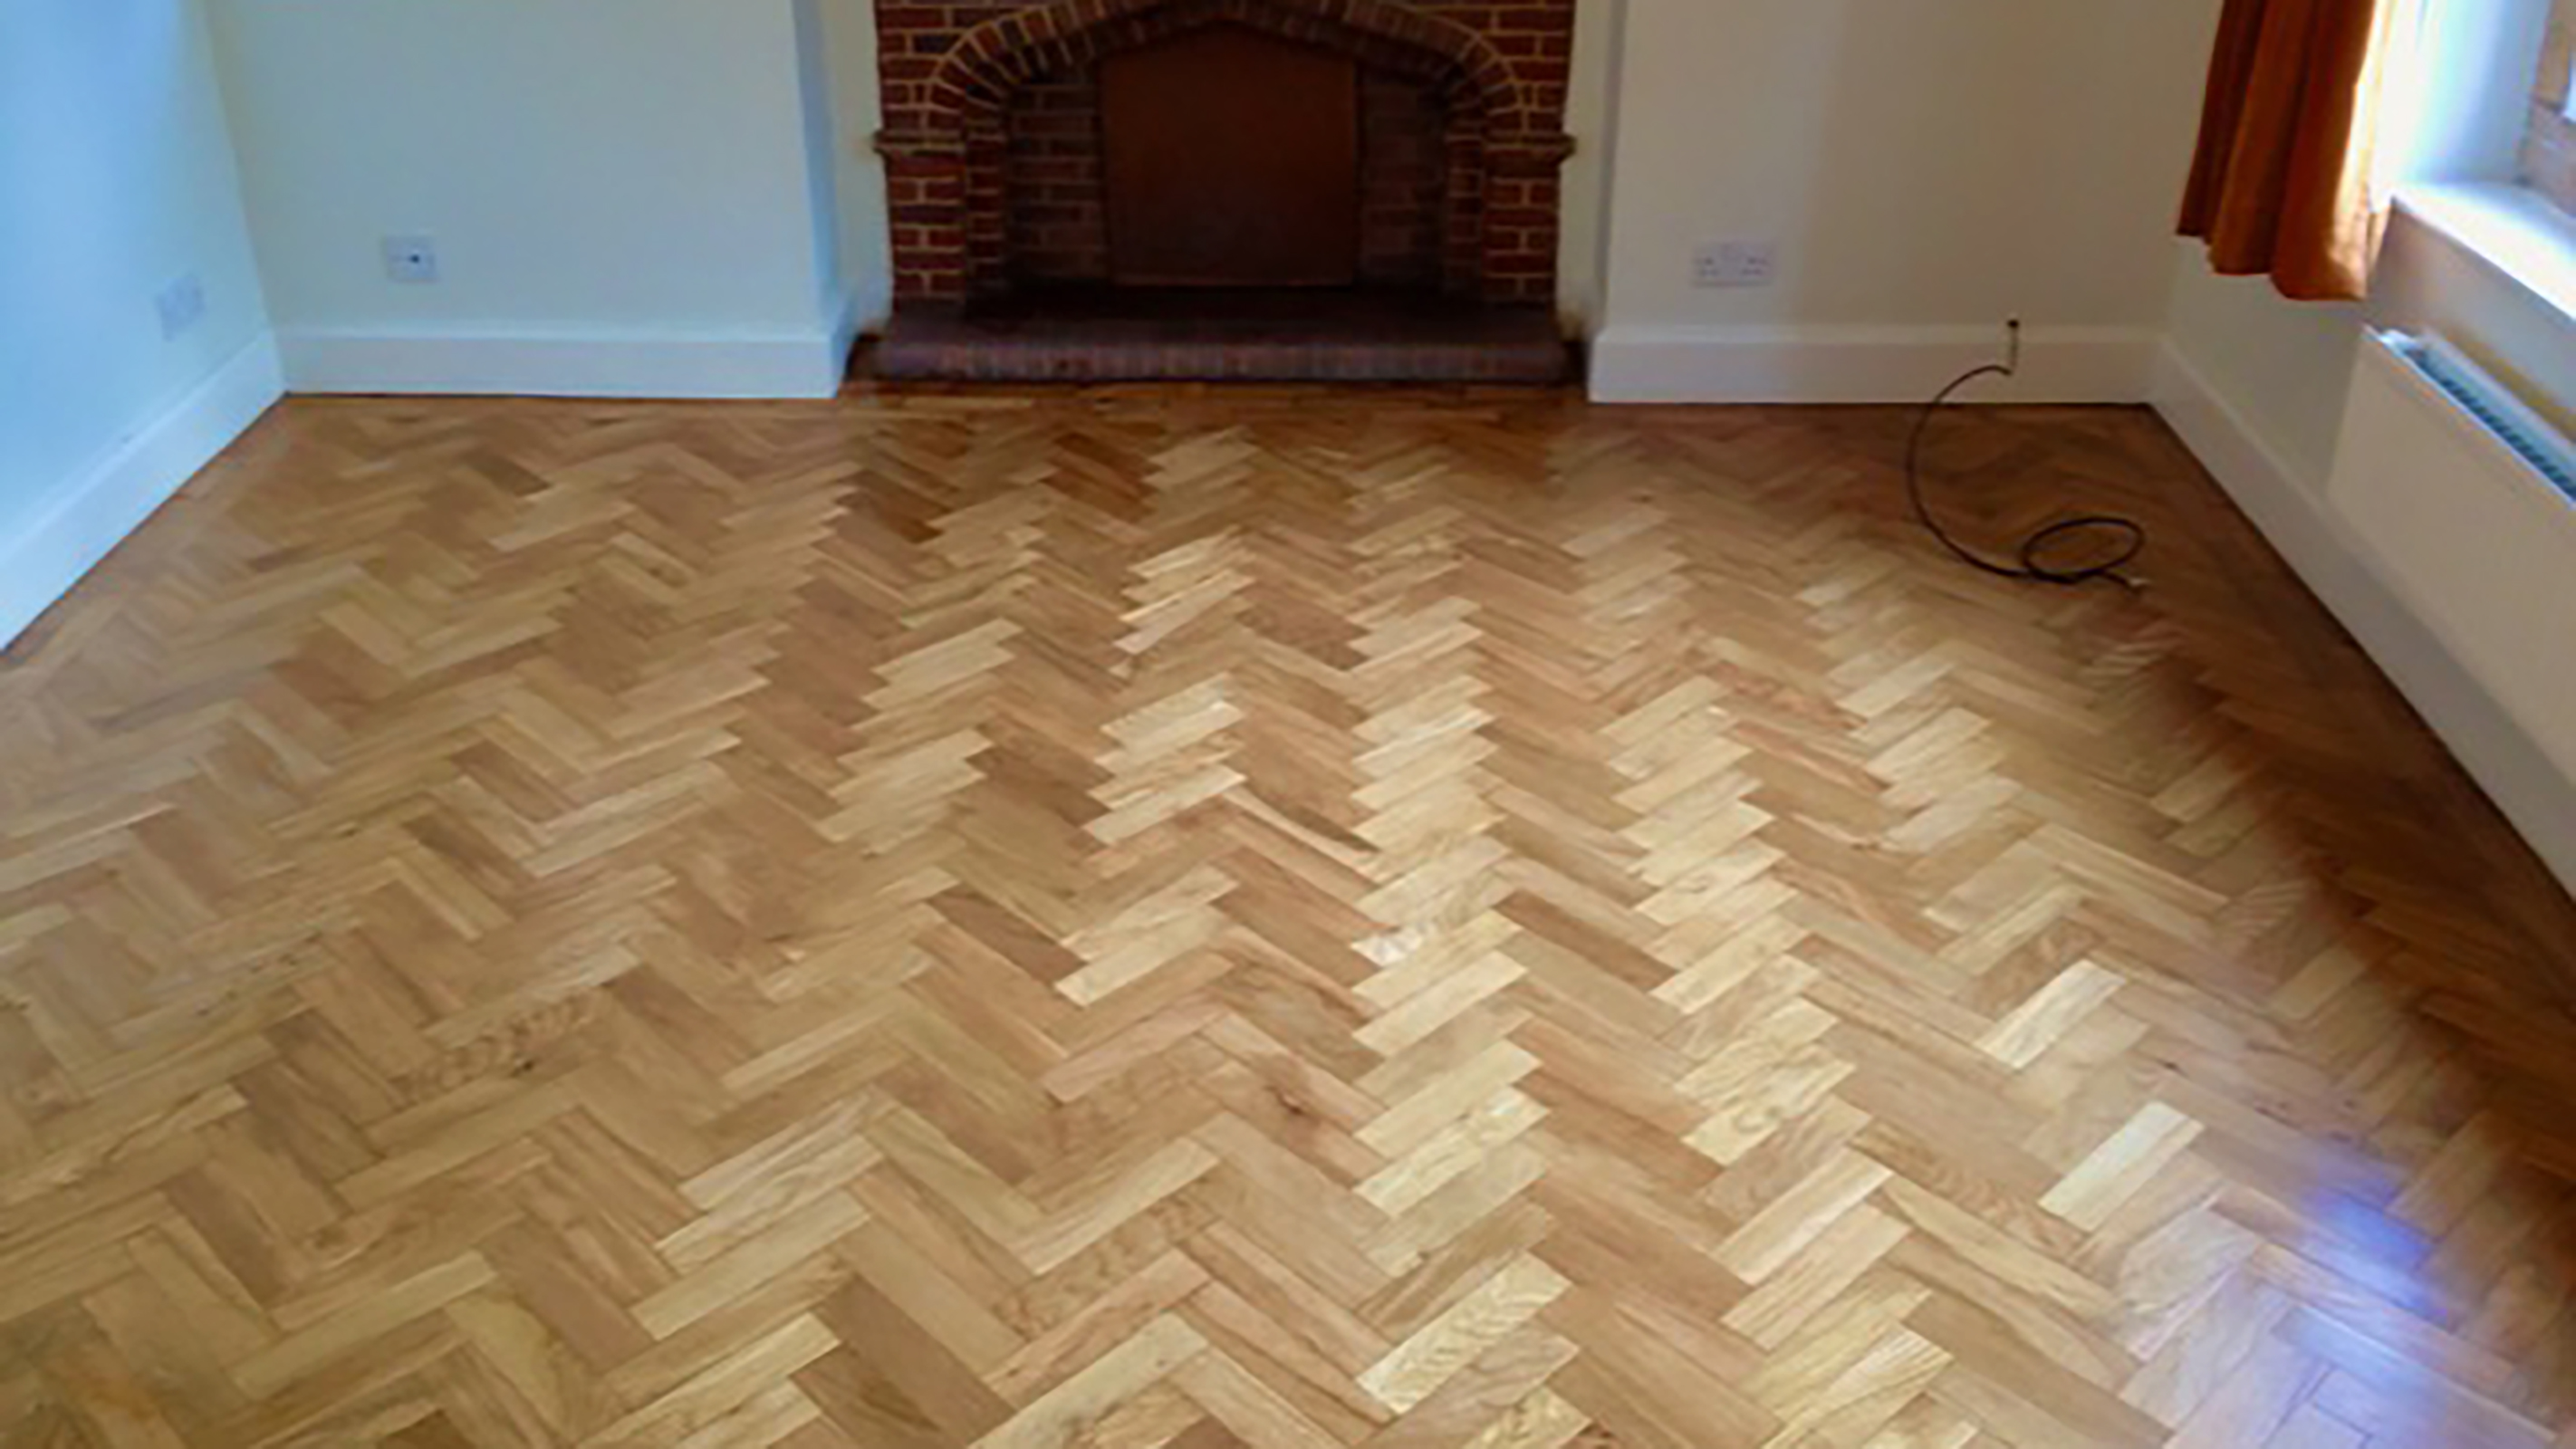
If you find missing blocks, or those that cannot be saved, it is best to try to find reclaimed blocks to match the originals. Providing they are of the same size and thickness, they can then be fixed down to the subfloor using a suitable adhesive.
"The biggest challenge here will be to find replacement blocks that are the correct wood species and size, although the blocks can be cut to size if you manage to find larger blocks," says Nigel Frost of The Floor Restoration Company.
"It is best to sand a small area with a hand sander to establish the wood type and then search the usual sources for the blocks such as reclamation yards, ebay etc."
If you find that the missing block has been replaced with concrete as a patch up method, it is possible to remove the concrete and fill the space in with a matching block. This does tend to be a job best left to the professionals in order to remove the risk of ruining the rest of the original floor.
Fixing Loose Parquet Blocks
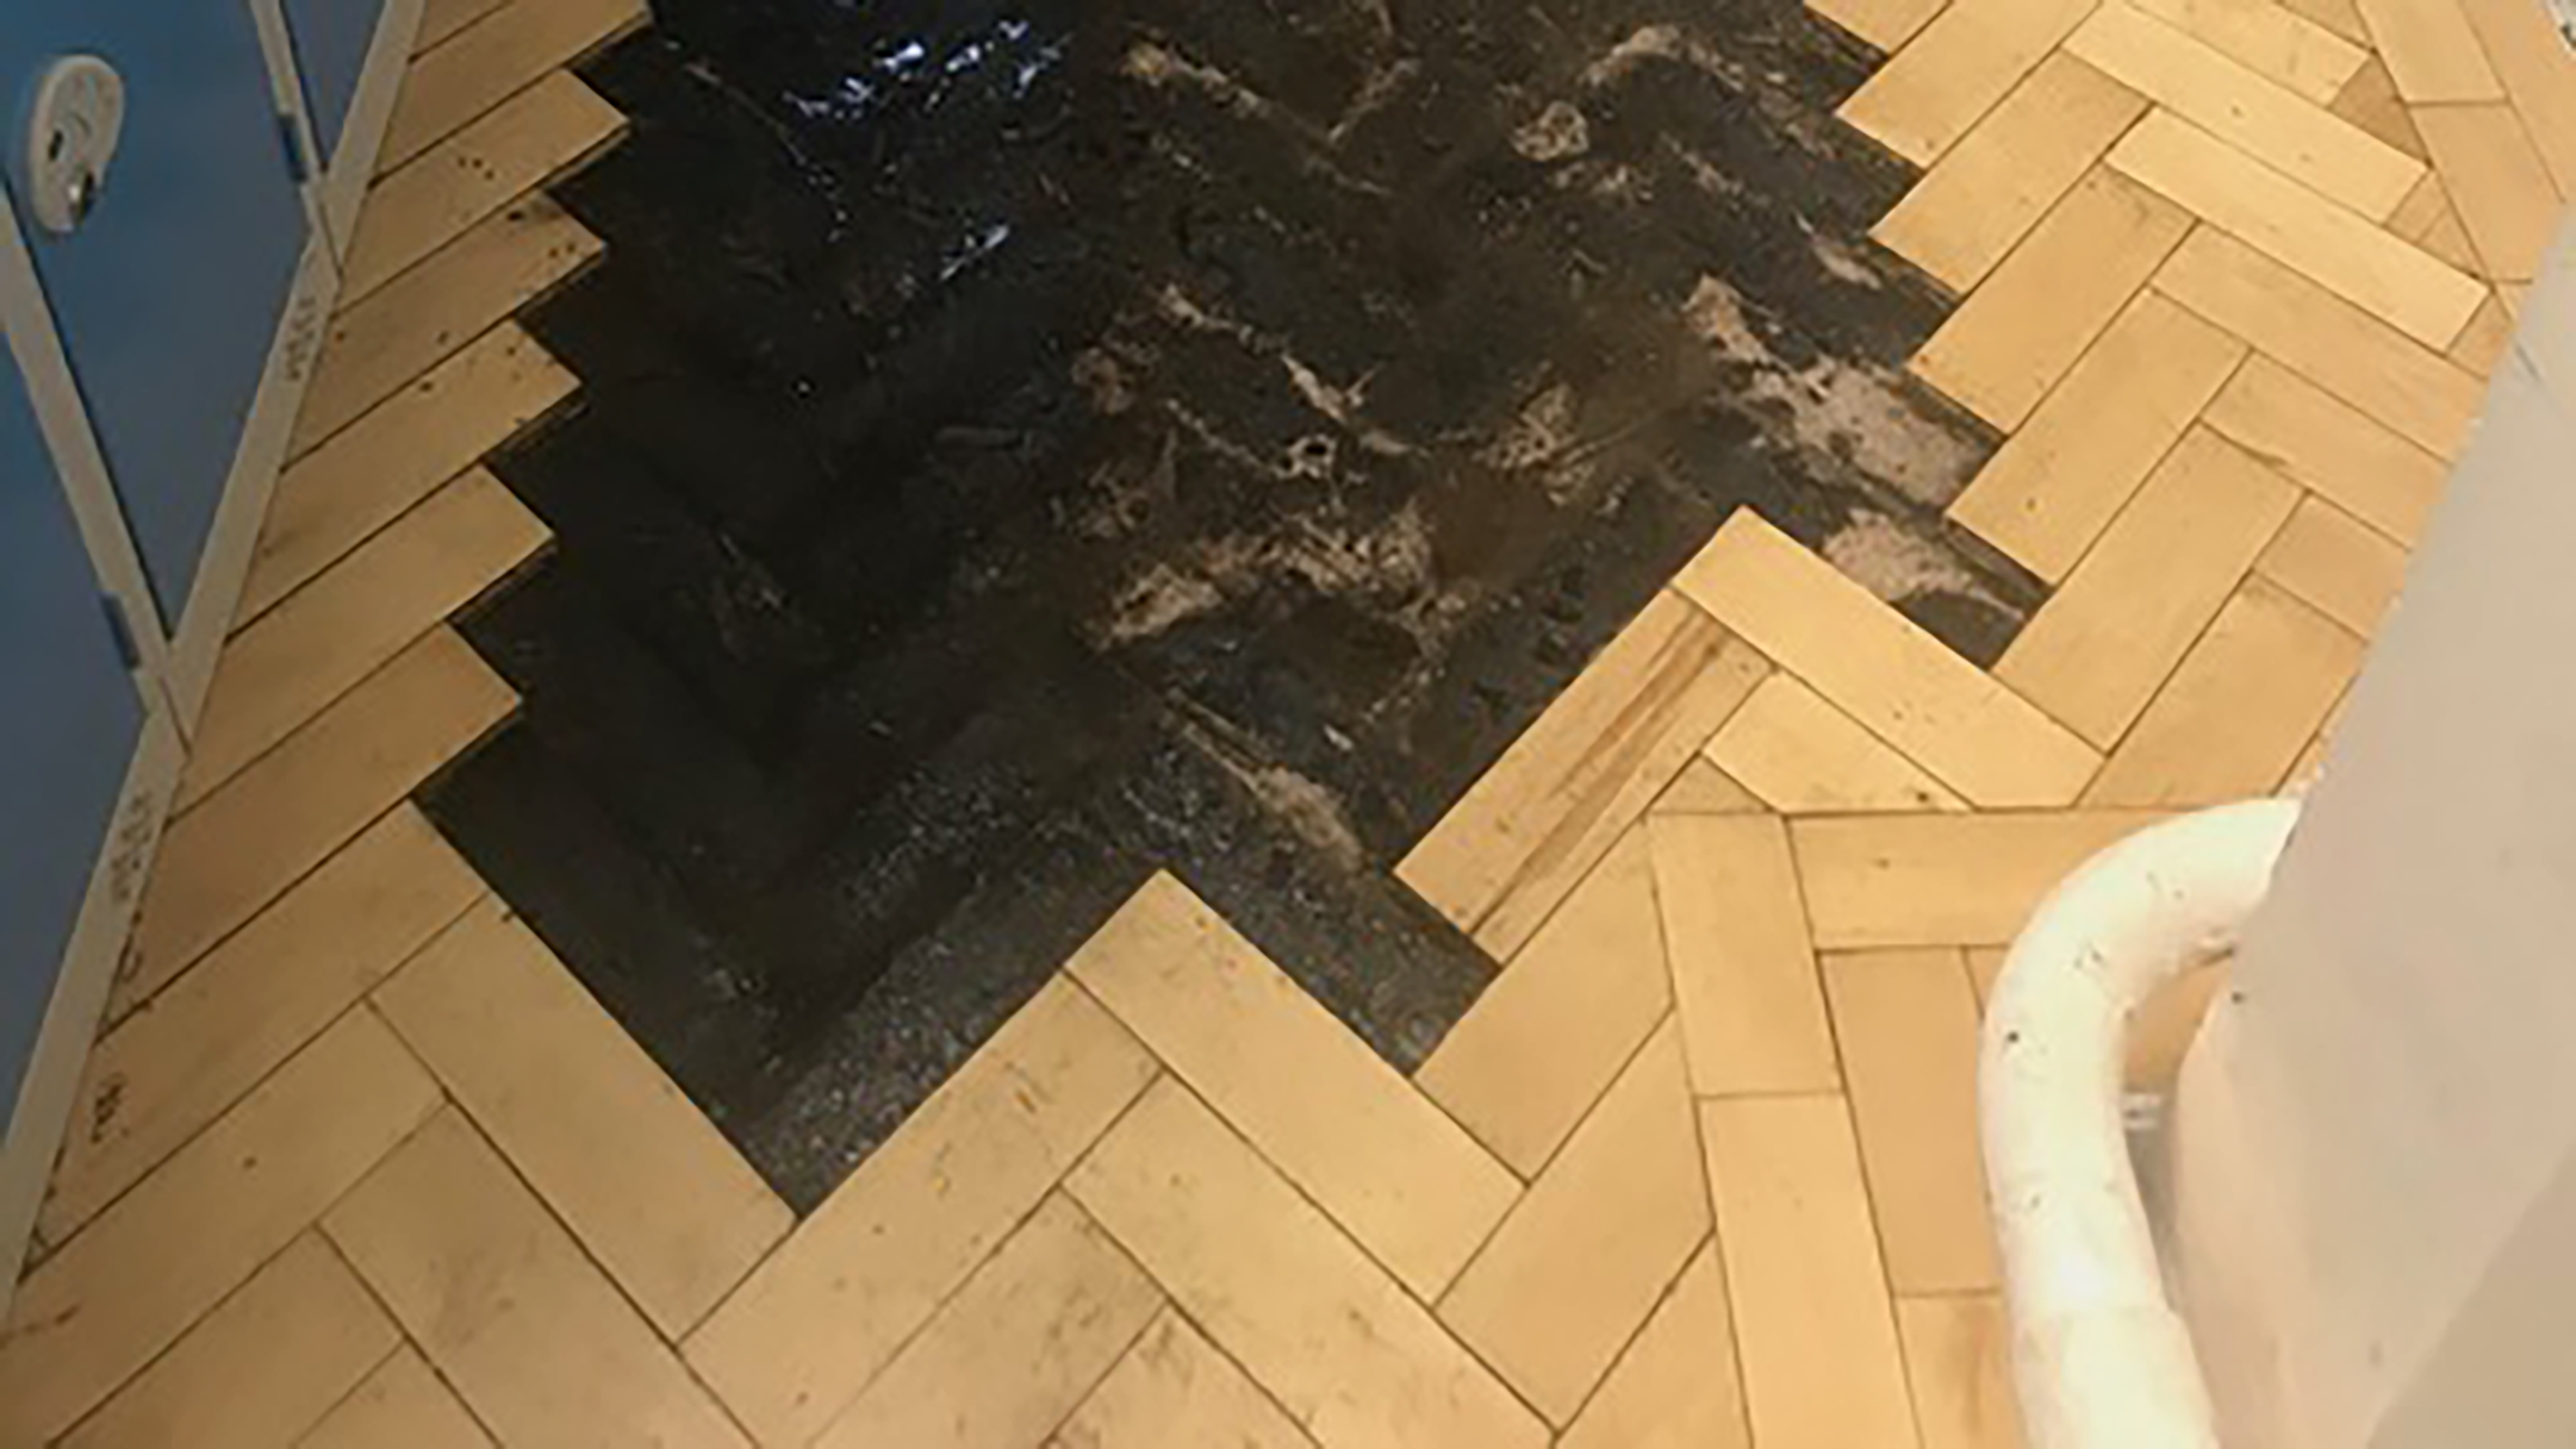
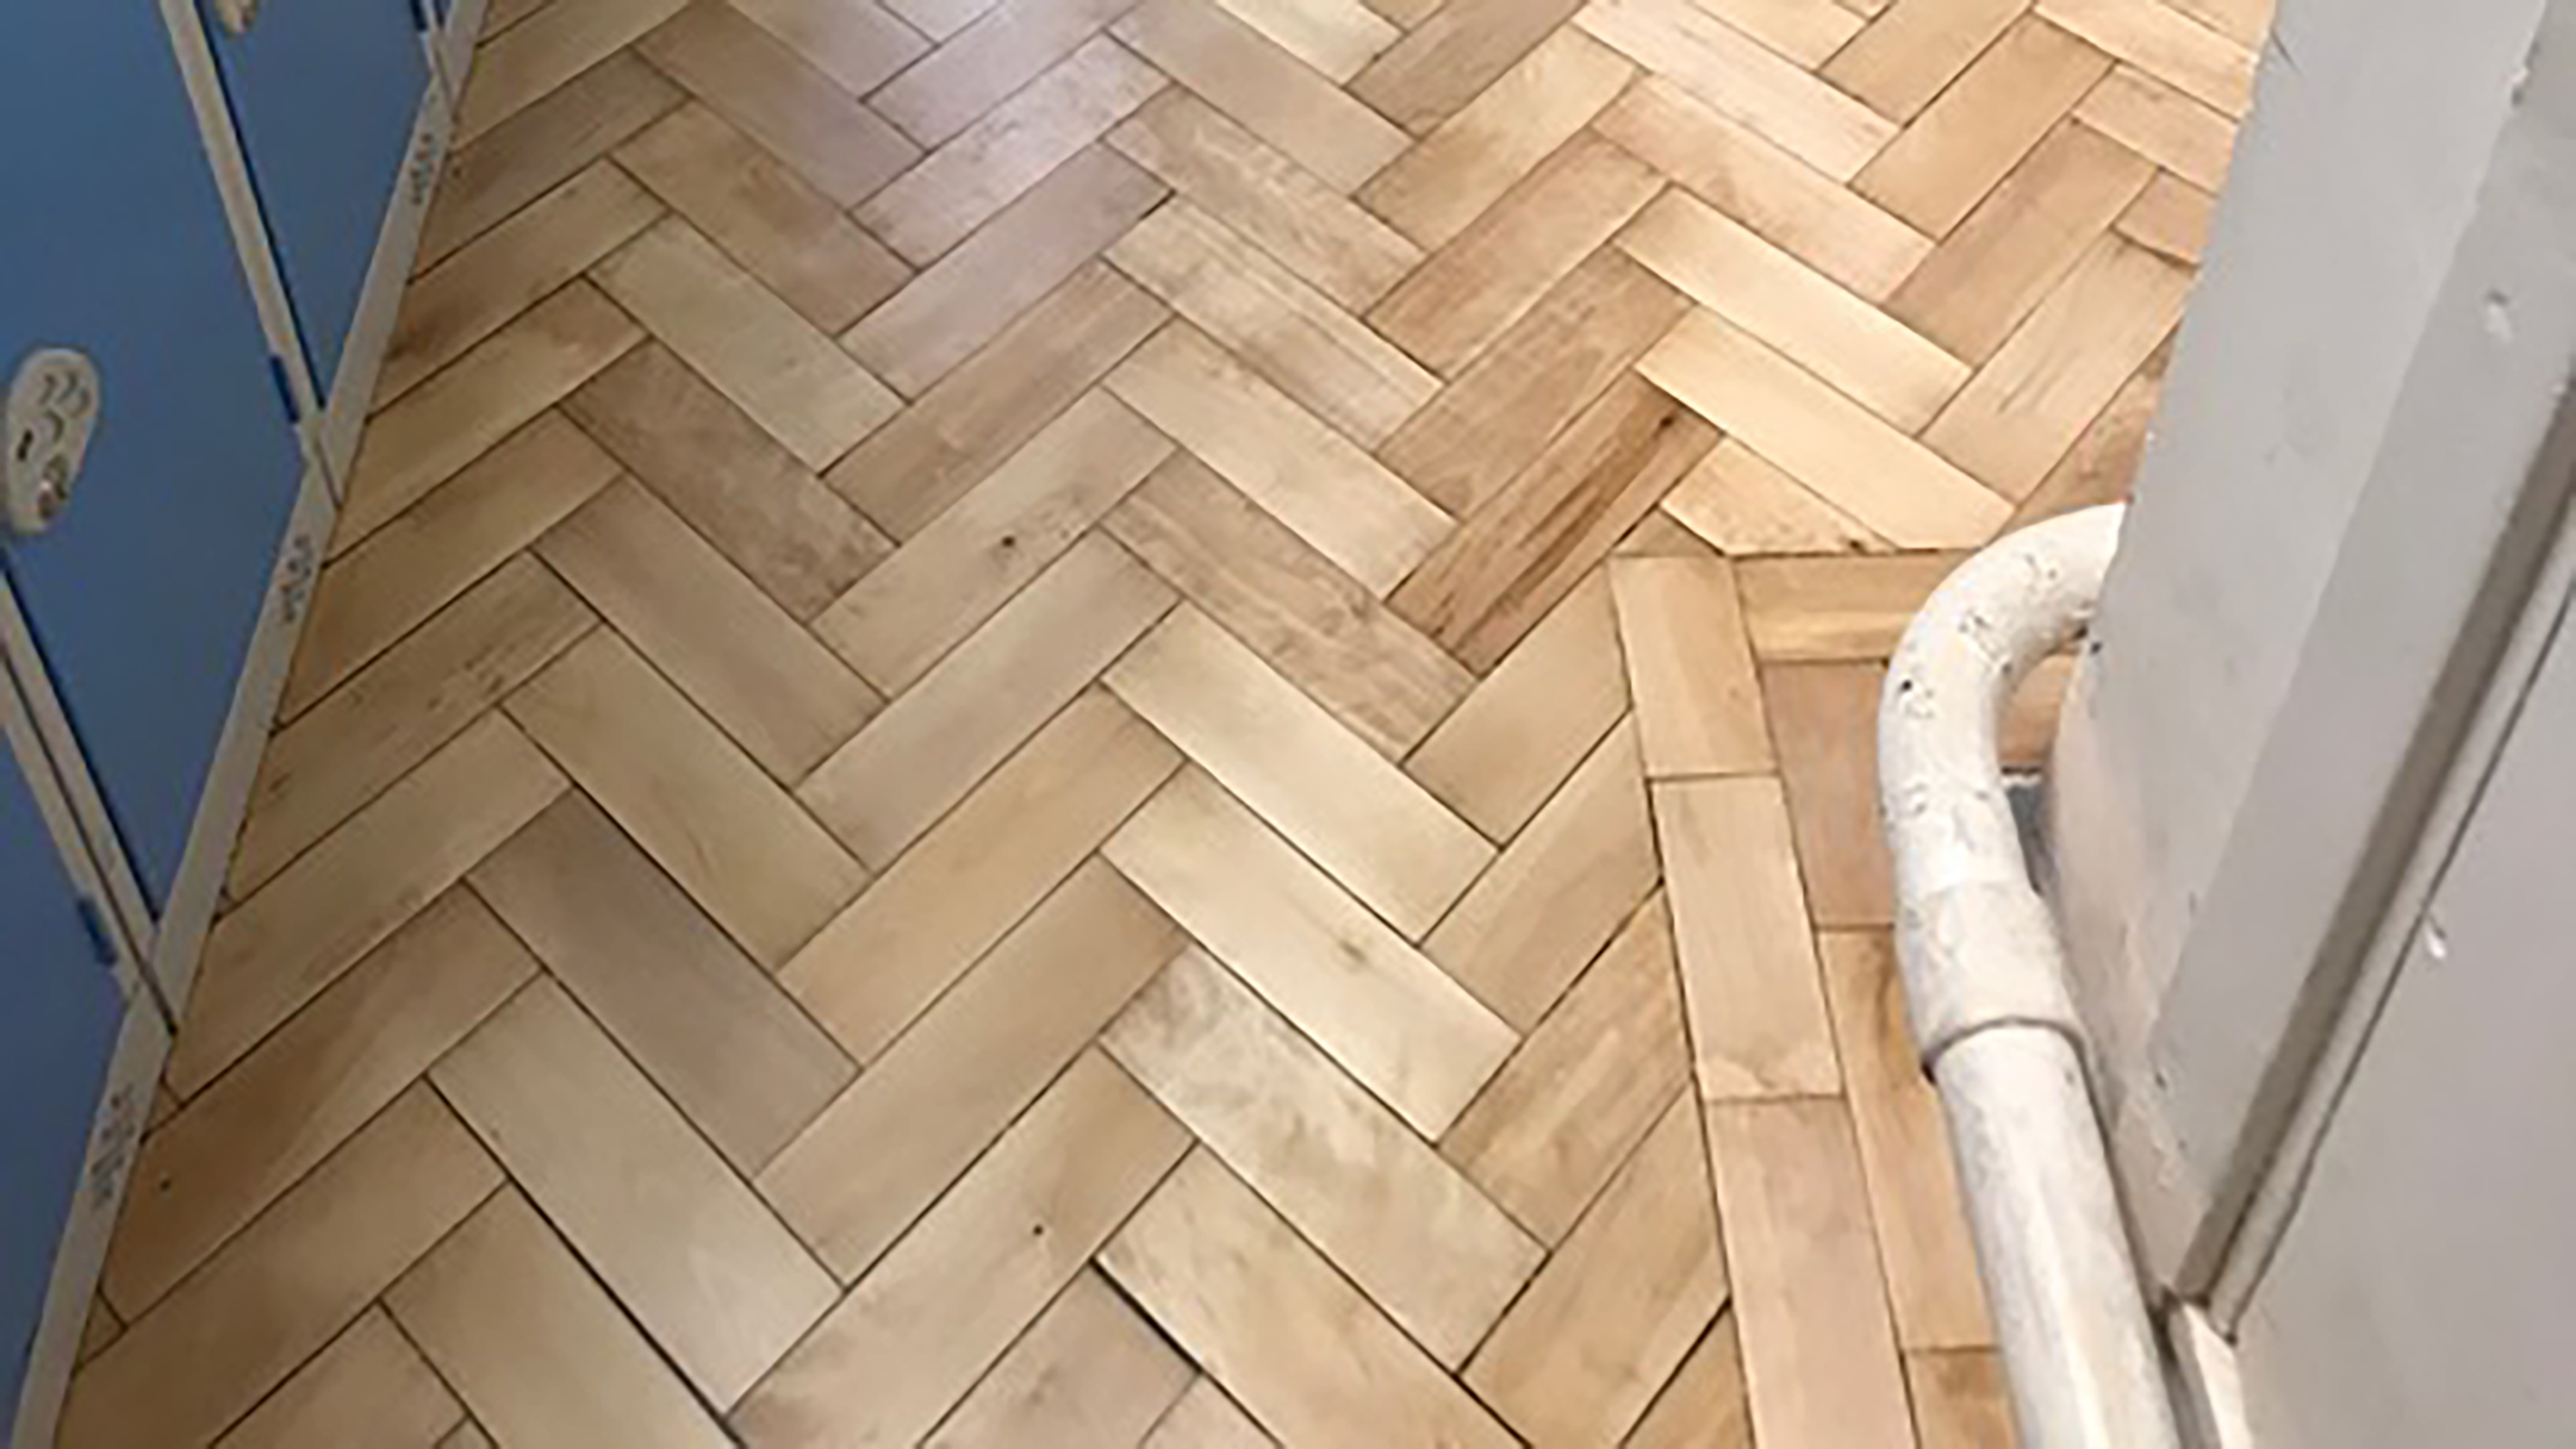
Water damage, an unstable subfloor, age and old bitumen adhesive can all cause individual parquet blocks to become loose over time and leave parquet flooring in need of restoration.
The most common solution for loose parquet is to remove the affected blocks, and clean off old adhesive, before fixing them back into place using a suitable flexible floor adhesive.
If the subfloor is found to be causing the issue, perhaps because it is uneven or has been affected by movement, you should call in the professionals to assess and advise.
Filling Gaps in Parquet Flooring
Central heating can cause old wooden floors to expand and contract so is a common cause of gaps in parquet flooring. Water damage can also be a culprit.
Although very small gaps shouldn't be a problem, larger ones will need to be filled. Thankfully, there are ways to put this common parquet problem right.
The usual solution is to fill the gaps with a mixture containing the fine dust produced when the floor is sanded and resin fillers or a cellulose hardener. This paste will be trowelled and pushed into the gaps. The excess filler should then be cleaned and lightly sanded off the surface.
How to Fix Uneven Parquet Floors
In some cases, you might find sections of your flooring have lifted causing the surface of your parquet floor to look bumpy — and to become a trip hazard.
There can be several causes of this, including a damaged subfloor, or one that has worn away in some places, structural movement and flooding.
In these cases, more than parquet floor restoration is required. The affected areas of parquet will need to be lifted (they are usually numbered to ensure they go back in the same place they came from) before the subfloor is repaired.
If large sections of the subfloor need levelling it might be necessary to lift the majority of the parquet to ensure the blocks are not damaged. Even if you know how to level a floor, removing the parquet floor without causing damage can be difficult, so it's a job best left to those who specialise in this task.
Restoring Damaged Parquet Flooring
Scratched, stained and dull parquet flooring are common in old properties. It is often just a case of general wear and tear that causes this kind of damage, but sometimes a bad sanding job or an inappropriate finishing treatment might be to blame.
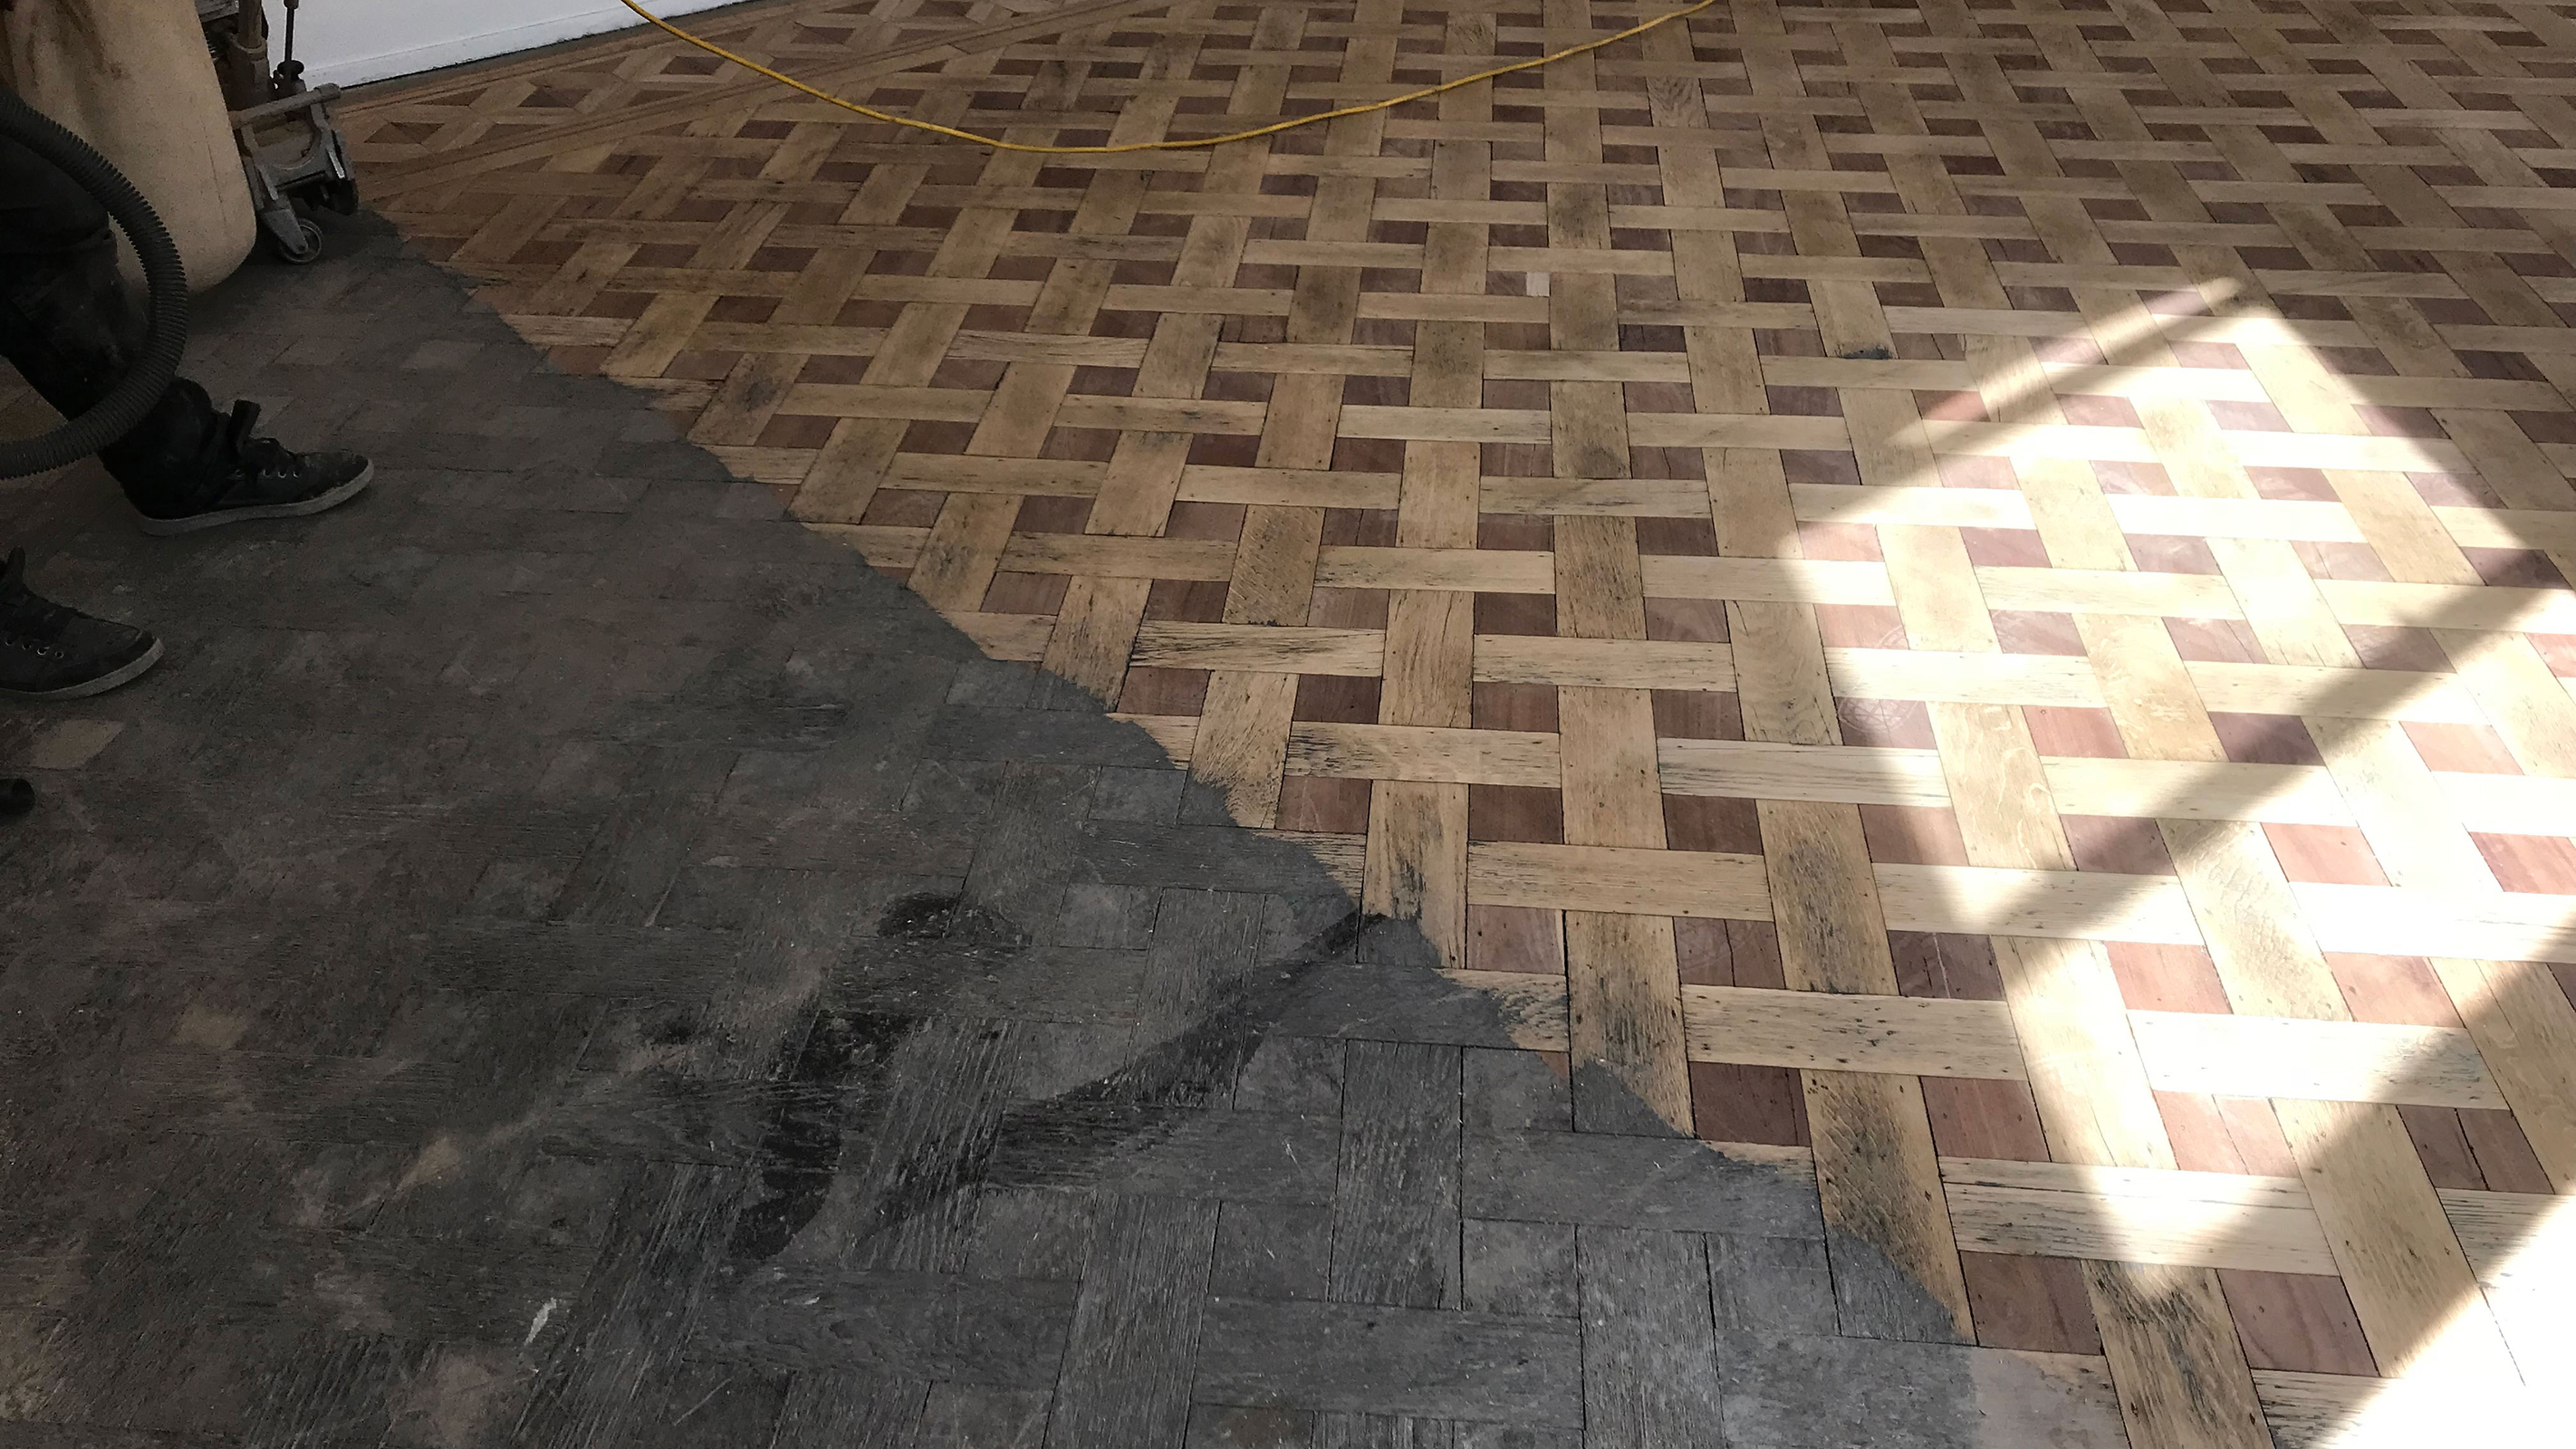
A damaged parquet floor will need sanding with a specialist orbital sander. It is important that the correct equipment is used when it comes to restoring parquet flooring as the angle at which the blocks are laid can cause issues if the wrong type of sander is employed.
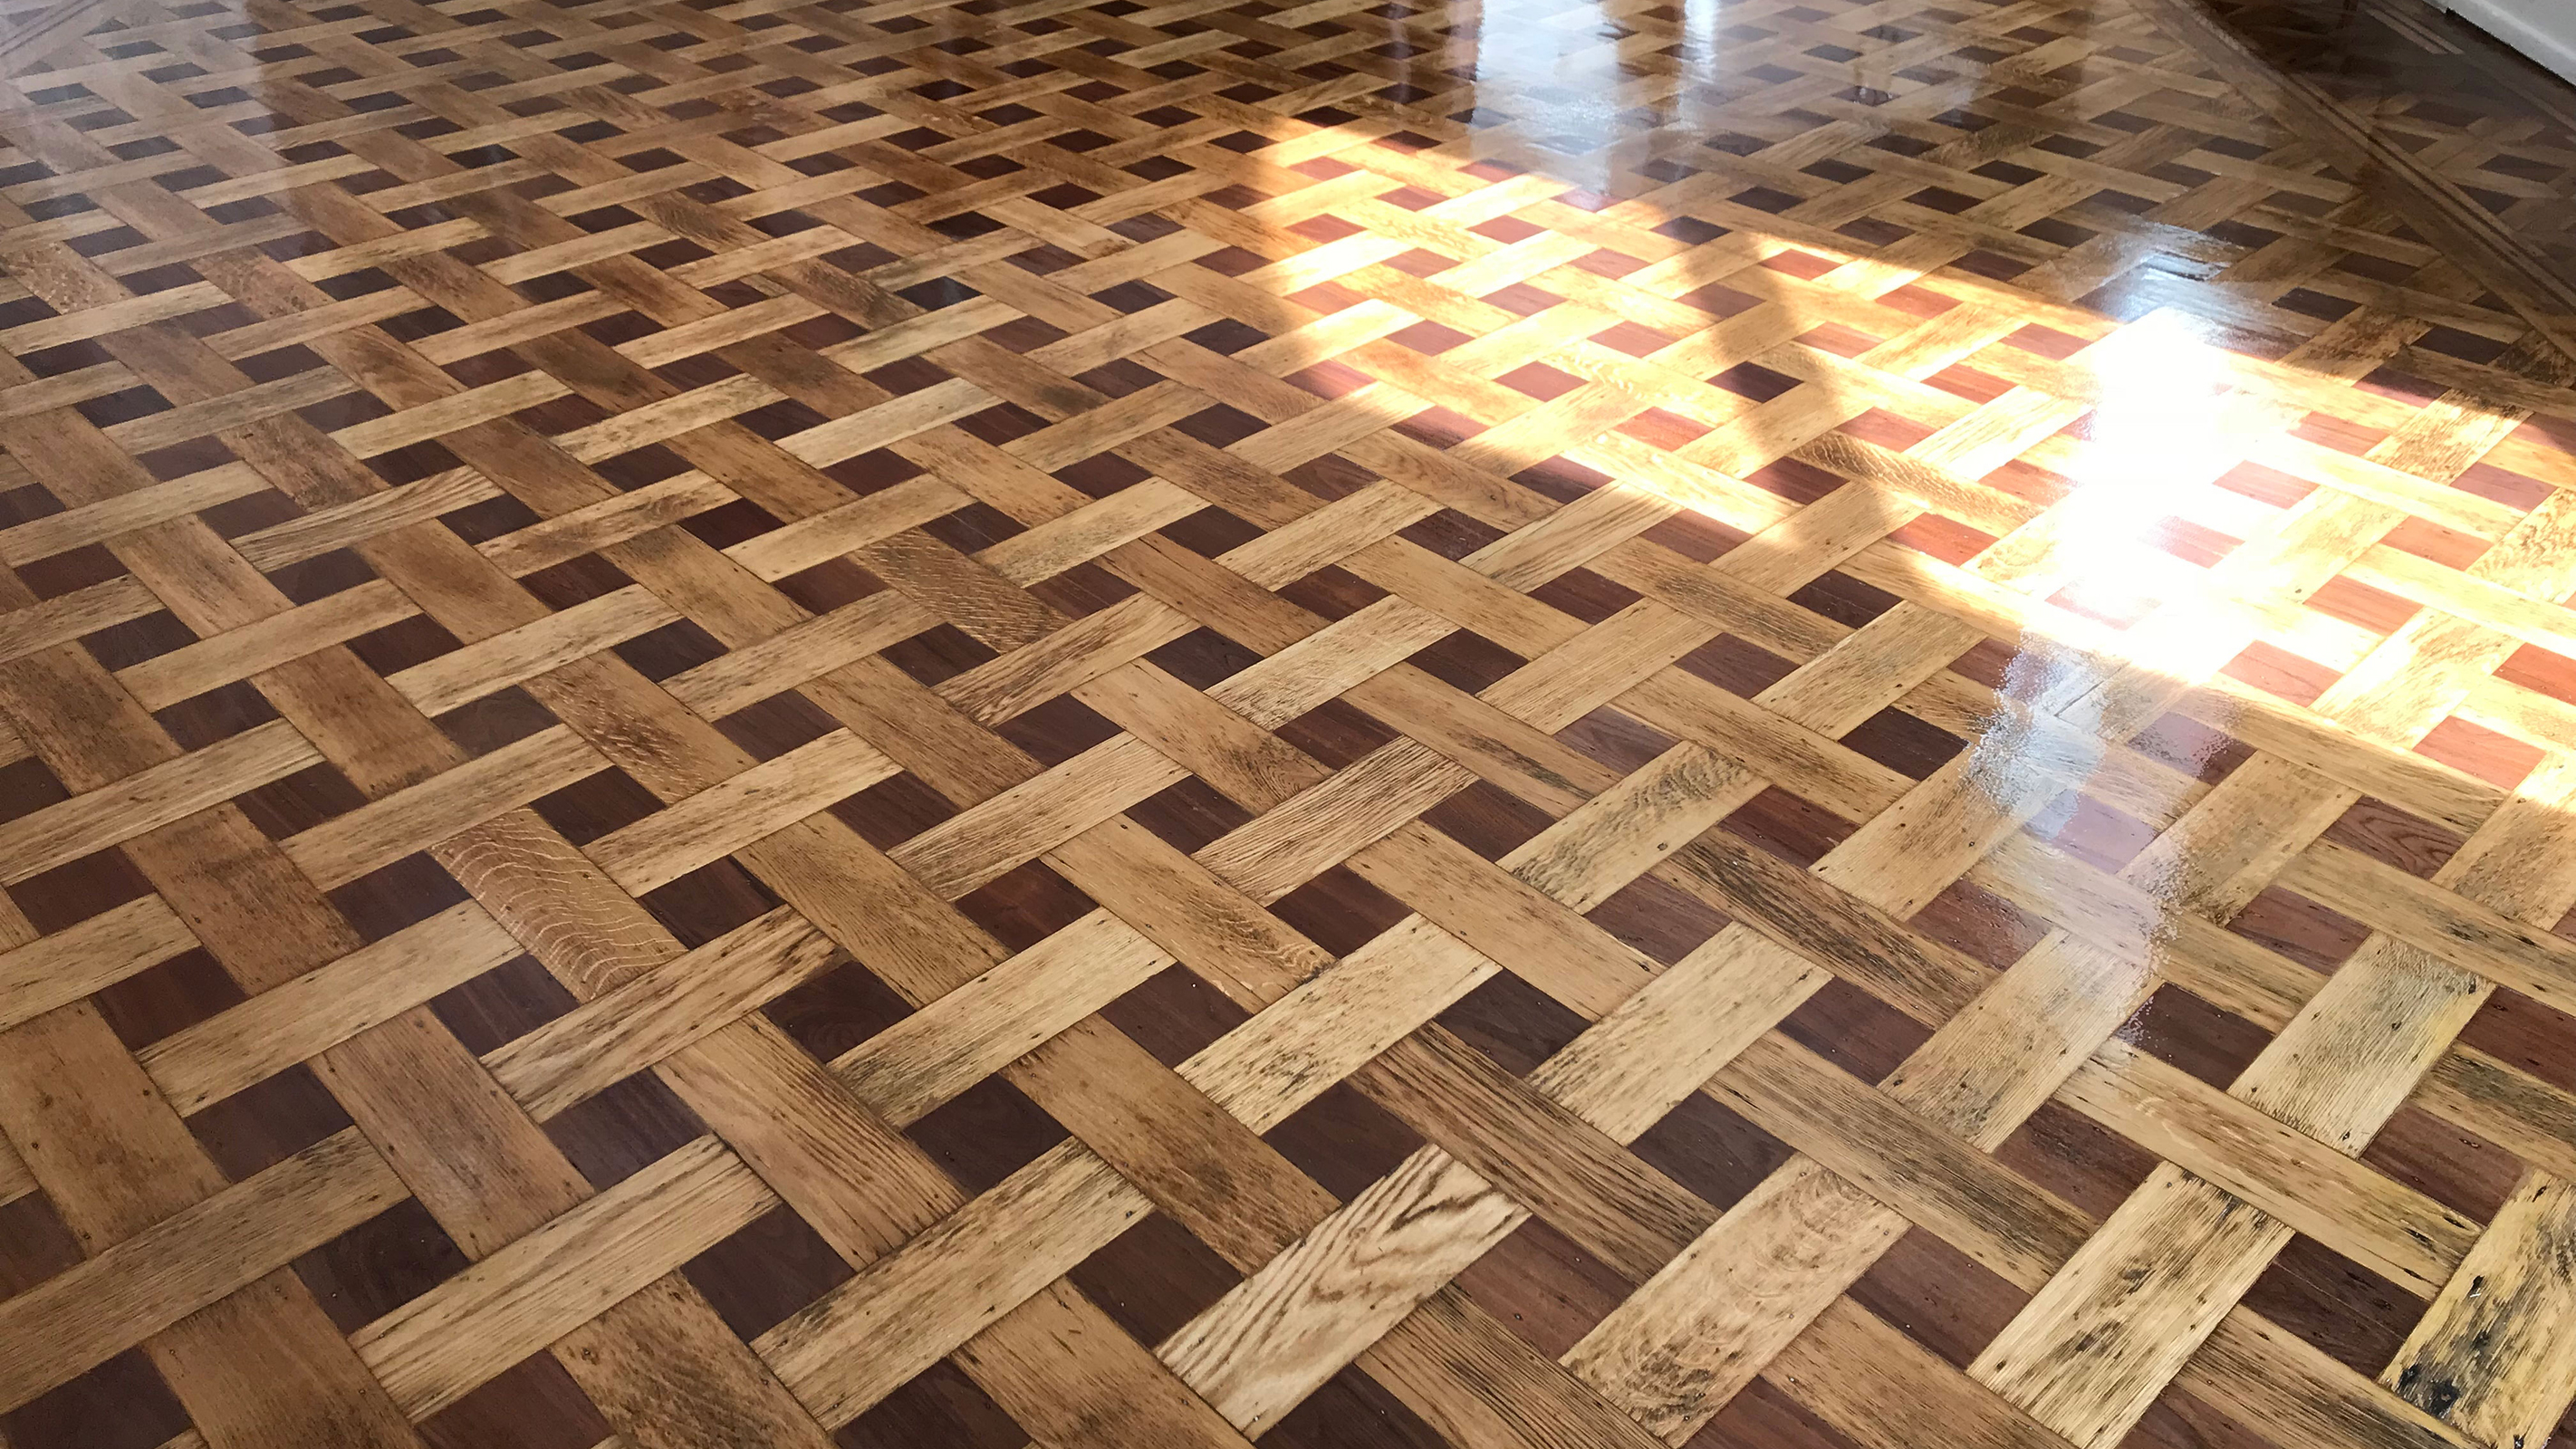
After sanding has been carried out, the floor can be finished with a suitable lacquer, wax or oil.
How to Sand a Parquet Floor
Let's start by saying that sanding an original parquet floor is a skilled job and you should only ever attempt it on a DIY basis if you are completely confident that your efforts are not going to do more harm than good.
Should you decide to give it a go, you need to begin by hiring the right equipment. You need a good quality floor sander specifically recommended for the task — a regular drum sander is not necessarily the best option.
You want to look for a sander with a continuous belt, adjustable drum pressure and the ability to suck up dust as it works. It should be possible to raise and lower the drum in order to gently place it on the surface rather than it bashing down and causing further damage.
You will also probably need an edge sander to get into the corners and edges of the floor.
"It is best to employ a sanding contractor who should have a multi directional sander
— these machines are designed to avoid damaging and scratching the blocks," says parquet flooring specialist Nigel Frost. "Except for the initial levelling of the blocks, the use of drum sanders to finish the floor should always be avoided, as the results will be disappointing."
Another tricky aspect of sanding a parquet floor is the direction you should sand in. Unlike with wooden floor boards, where you should sand along the grain, in the case of parquet, where it is laid in a pattern, such as herringbone, it is difficult to sand in a direction that suits all blocks. For this reason, professionals will sand the floor straight in order to get it as smooth and flat as possible — first along the length of the floor, and then across the width. This should get rid of any ridges.
You should begin sanding using a rough grit (such as 36-grade), followed by a medium, then fine (around 120g).
For a really good finish, sanding should be followed by buffing — for which you will need to hire another piece of equipment if doing it yourself. This will eliminate any remaining ridges.
Finally, don't forget to wear a face mask.
Repairing Scratched Parquet Flooring
If you find deep scratches on one or two blocks, or on a section of your parquet floor, perhaps where furniture has been dragged across it, you may be able to repair these without having to sand the entire floor. If the floor has been finished with oil or wax, as opposed to lacquer, it is easier to carry out local repairs before re-oiling individual blocks.
"You can touch up some fine dents and scratches by treating them with a touch-up stick that is made with special wax for repairing marks on the wood," say the experts at Flooring First. "These are available in different colours and you will be able to find the exact or a very close match to the colour of the floor. Such treatment will refresh the look of the floor."
Light scratches are fairly easy to deal with a fresh coat of oil or wax, but deep scratches – called gouges – need more work. These are commonly filled with a mixture made up of resin and sawdust, before being sanded over and finished with your chosen wax, oil or varnish
Stained Parquet Floor
Spill and splashes, scuff marks and little scratches can all affect the beauty of a parquet floor — thankfully, there are steps you can take yourself to put them right.
"To remove the stubborn stains, make sure to treat them with a product designed for real wood floors, that is non-abrasive, together with a soft, dry cloth," advise Flooring First.
"Hard objects such as shoes, furniture pieces, etc. also can leave some noticeable marks and if you want to remove them make sure to buff them lightly with a cleaner with fine steel wool and apply wax that is suitable for parquet flooring"
What is the Best Finish For Parquet Flooring?
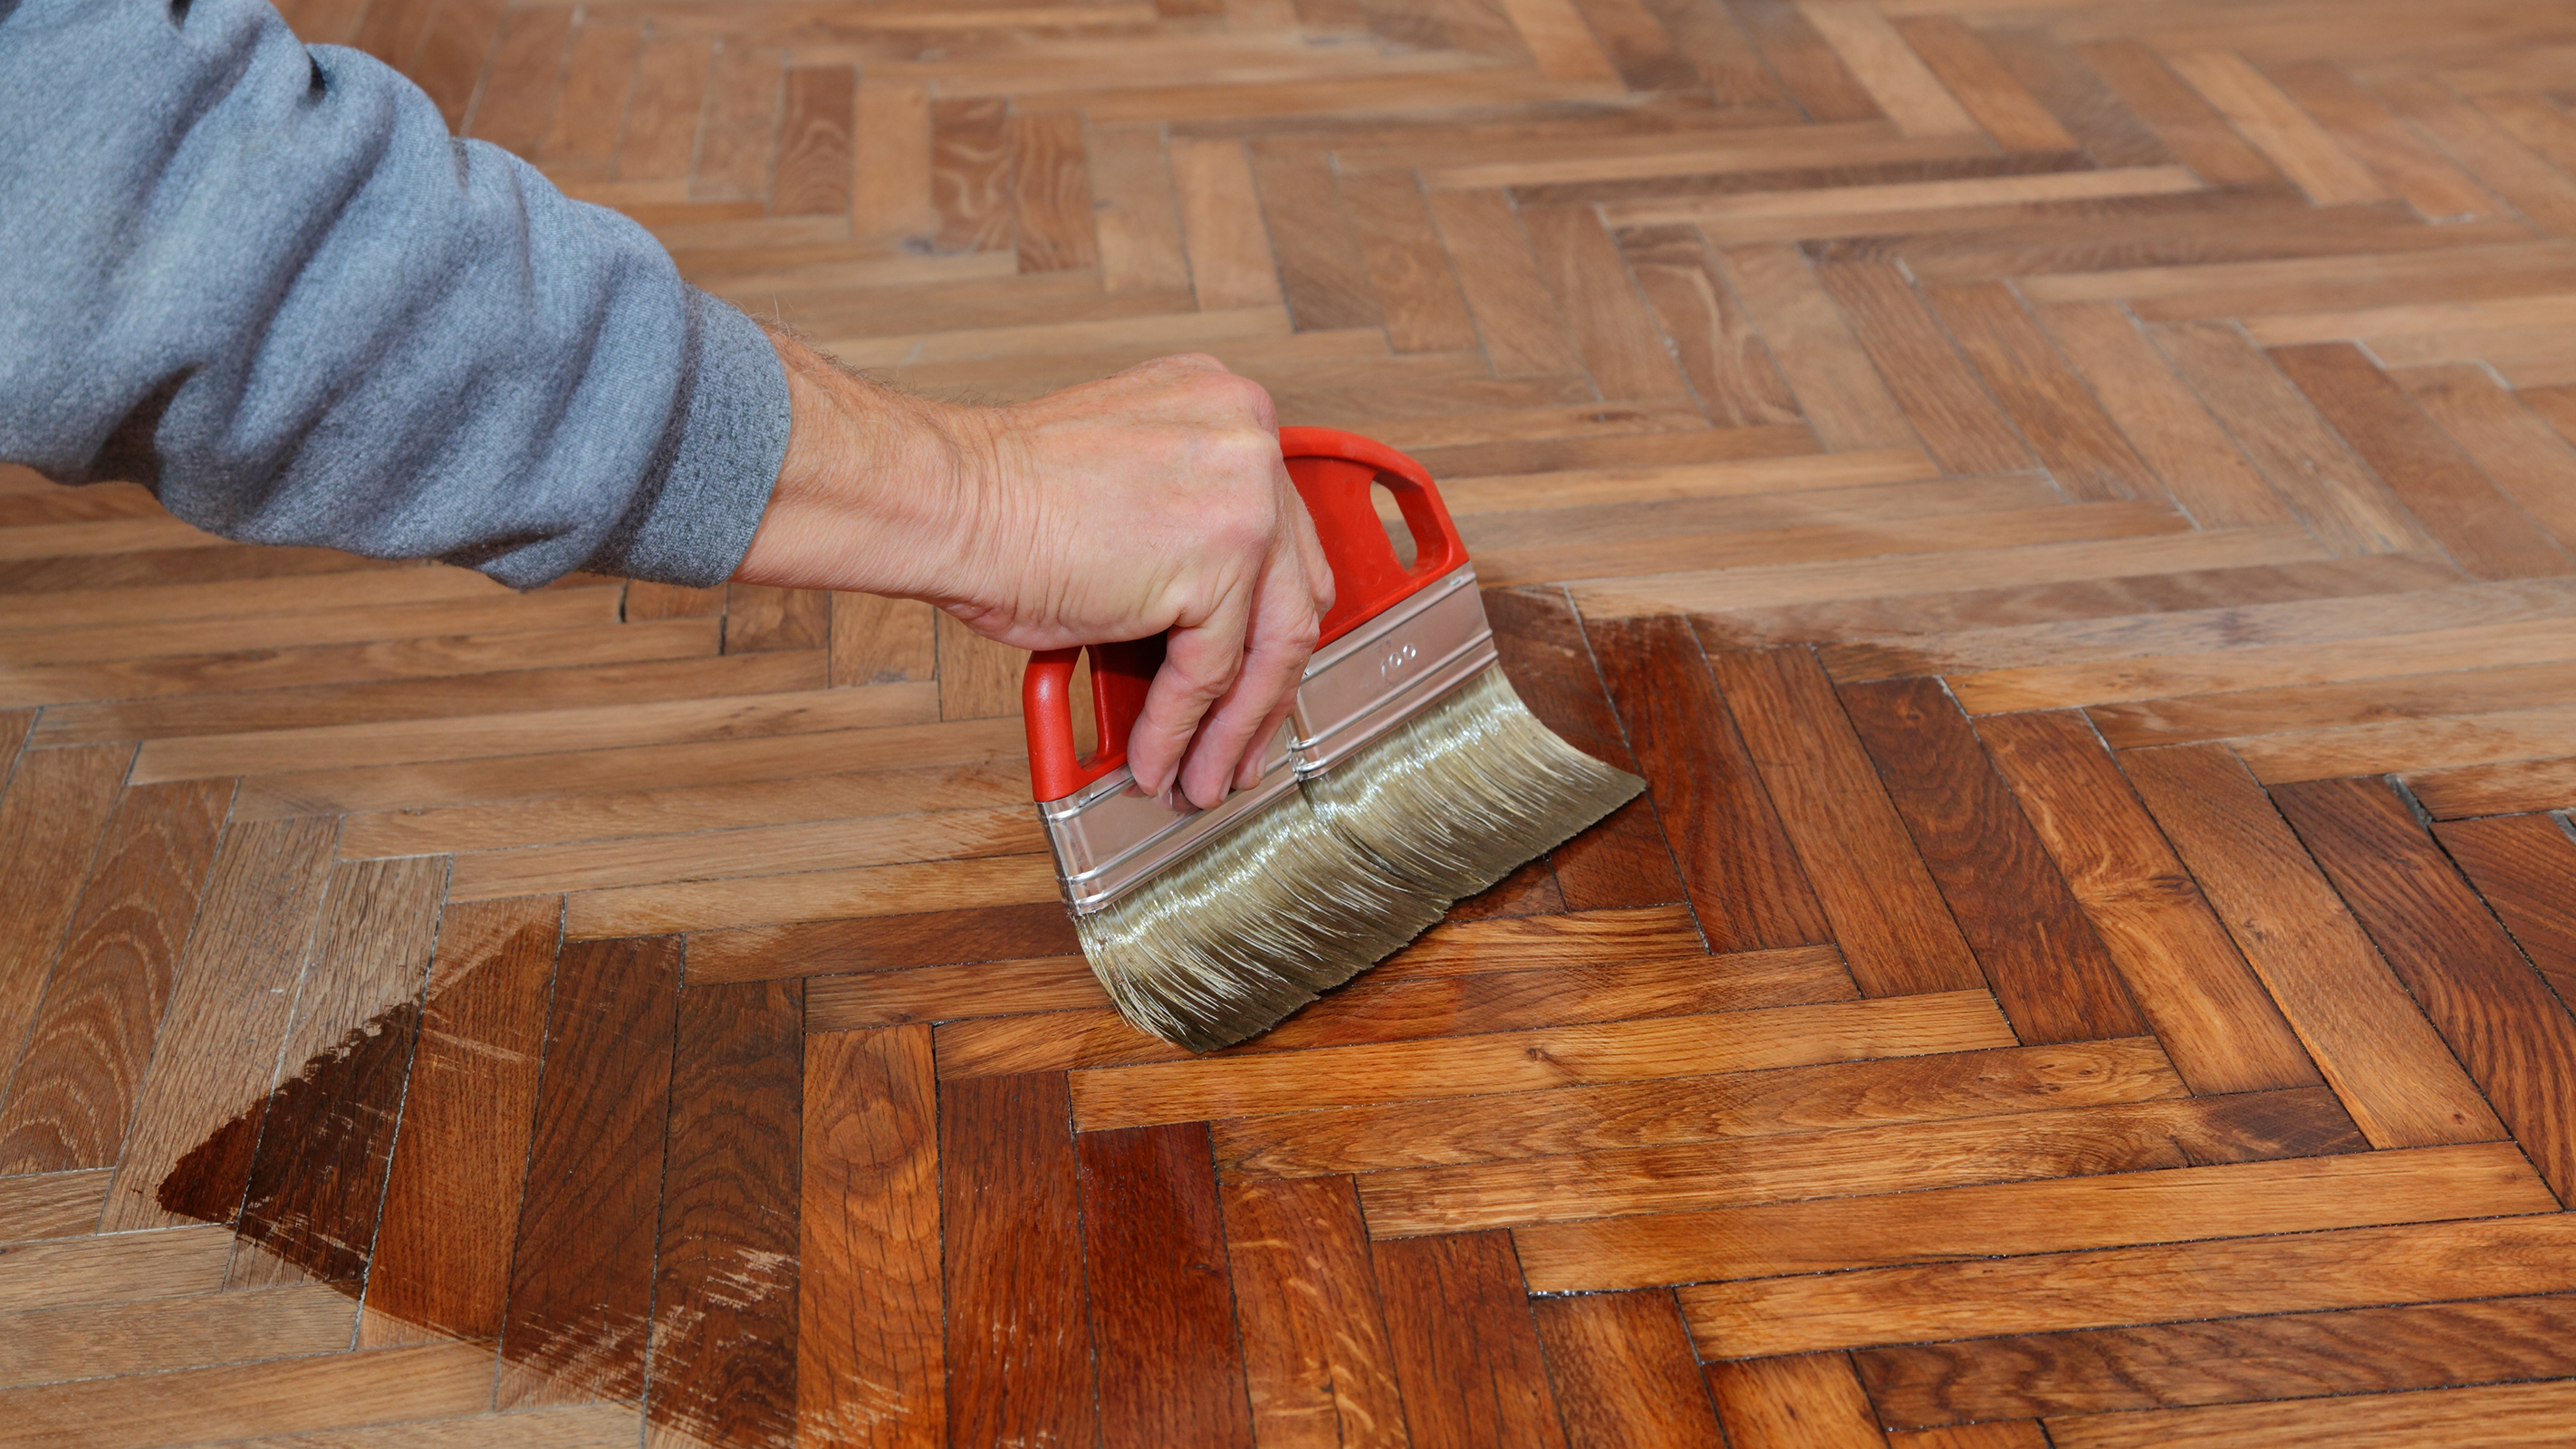
When sanding and buffing is complete, you can apply a finish to your parquet floor. Don't attempt to do this until the floor is thoroughly clean — brush, then hoover the floor and wipe it down.
You can use wax, oil or a varnish (also known as lacquer) to seal and protect your floor. All of these are available in various finishes, including matte, satin and gloss and some are designed to add colour or lighten the tone of the wood.
Lacquer provides a very hardwearing layer and is often chosen by those wanting a sheen to their floor. It is great for high traffic areas, but will, inevitably, wear off after a time leaving the floor exposed — unless it is reapplied. Varnish can also be prone to scratches.
An oil or wax offers a breathable finish which is ideal in period properties. They are buffed in and give a lovely natural finish. The benefit of oils and waxes is that they soak into the wood, protecting it from within. Hard wax oils dry quicker than traditional oils for those who want to start walking on their restored floor as soon as possible.
Get the Homebuilding & Renovating Newsletter
Bring your dream home to life with expert advice, how to guides and design inspiration. Sign up for our newsletter and get two free tickets to a Homebuilding & Renovating Show near you.
Natasha was Homebuilding & Renovating’s Associate Content Editor and was a member of the Homebuilding team for over two decades. In her role on Homebuilding & Renovating she imparted her knowledge on a wide range of renovation topics, from window condensation to renovating bathrooms, to removing walls and adding an extension. She continues to write for Homebuilding on these topics, and more. An experienced journalist and renovation expert, she also writes for a number of other homes titles, including Homes & Gardens and Ideal Homes. Over the years Natasha has renovated and carried out a side extension to a Victorian terrace. She is currently living in the rural Edwardian cottage she renovated and extended on a largely DIY basis, living on site for the duration of the project.

