Repointing a chimney: An expert step-by-step guide
Learning how to go about repointing a chimney will ensure your chimney remains in safe working order. Long-time builder Chris Longhurst tells you how it's done

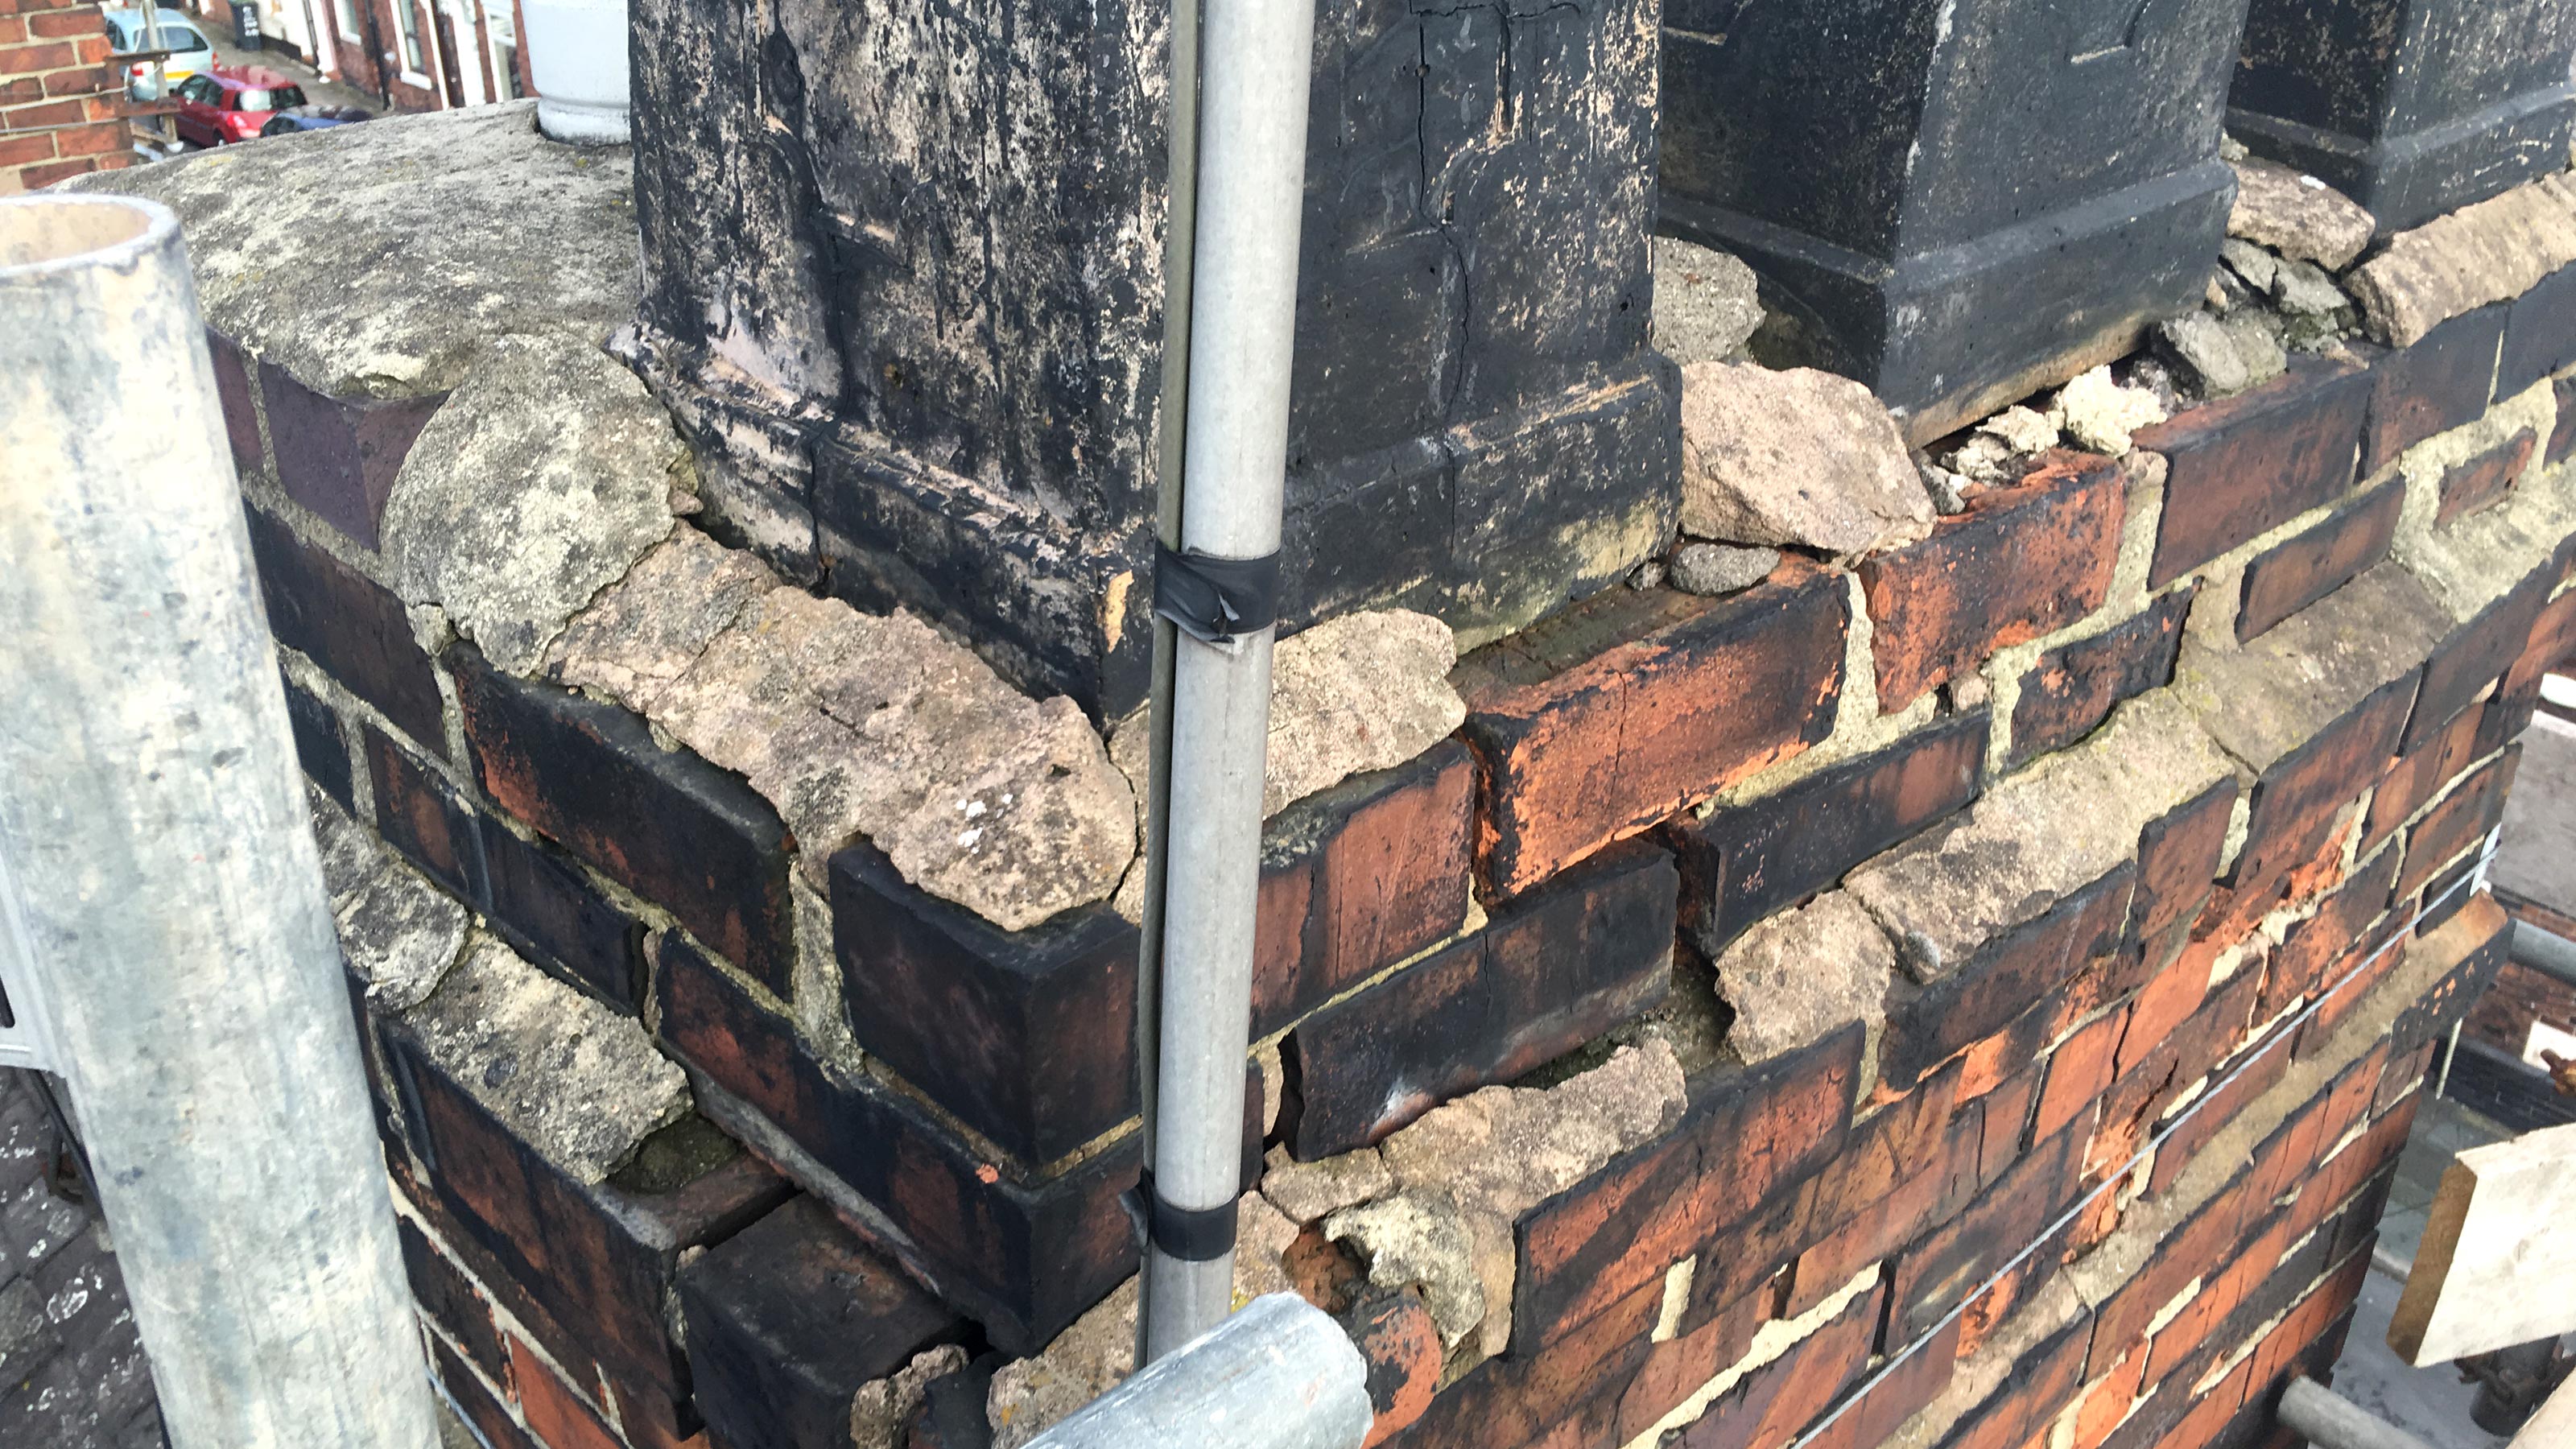
Why would you need to think about repointing a chimney? Because they are constantly exposed to the elements such as wind, rain and frost and over the years this will take its toll on the mortar holding the components of the chimney together.
The mortar will start to break down and make the chimney unsafe and dangerous to passers by. The brick will start to spall – this is where moisture in the brick freezes, the frost expands and when it thaws it contracts – which will, in time, cause the face of the brick to blow off. Repointing will help stop this happening.
But it is not just the weather conditions that can play havoc with the mortar in your chimney. Sulphur produced by the burning of wood and coal can also build up on the inside of the flue which attacks the mortar causing it to break down, leaving the chimney's strength compromised.
Once your chimney is safe, watertight and ready for the next 30+ years you can carry out internal work such as removing a chimney breast without any worries of what might happen above.
Here, we provide a step-by-step guide to repointing chimneys, whether you're a competent DIYer or simply want to understand the process before hiring a tradesperson to undertake the task for you.
Repointing a chimney: the tools you'll need
Before you get started, in addition to your mortar, you’ll need some of the following tools:
- Ladder
- Scaffolding
- Trowel
- Bucket
- Sand
- Cement
- Plasticiser
- Plugging chisel
- Club hammer
- Tuck pointer
- Small hawk
- Soft brush
- Spray can
The process of repointing a chimney
To get started, you will need the assistance of a scaffolding platform (and you will need to take adequate safety precautions whilst working at height). Once that’s in place, you’re ready to start repointing by taking out the old and adding new mortar.
1. Check the chimney
Before you start you need to make sure that the chimney is safe, look for perished and missing mortar. You can do this by scraping the joints either with your tuck pointer or a screwdriver.
Also check the chimneys cement flaunching to see if there are any holes. Flaunching is the cement on the top of the chimney that holds the chimney pots on and stops rain from entering the house.
2. Rake out the perished mortar
Use the plugging chisel by tapping it with the club hammer and running it along the mortar joints. This will remove the perished mortar.
Take out the perished mortar to a depth of around 25mm as this will allow for a good amount of new mortar to be added.
3. Wet down the brick and joints
Now that you have got rid of the old mortar the next step is to wet the newly cleaned joints. Fill a spray bottle with water and aim the water spray into the raked-out joints. This will stop the new mortar from drying out too quickly when applied and will give the new mortar a chance to bond to the brickwork.
4. Mix your mortar
If you have a chimney on an older property from the late Victorian era up to the 1920s, it's best to use a lime-based mix. This allows the brickwork to breathe and will prevent the softer bricks used in the older properties from spalling. Use either a lime putty or a three-part sand, one-part lime mix.
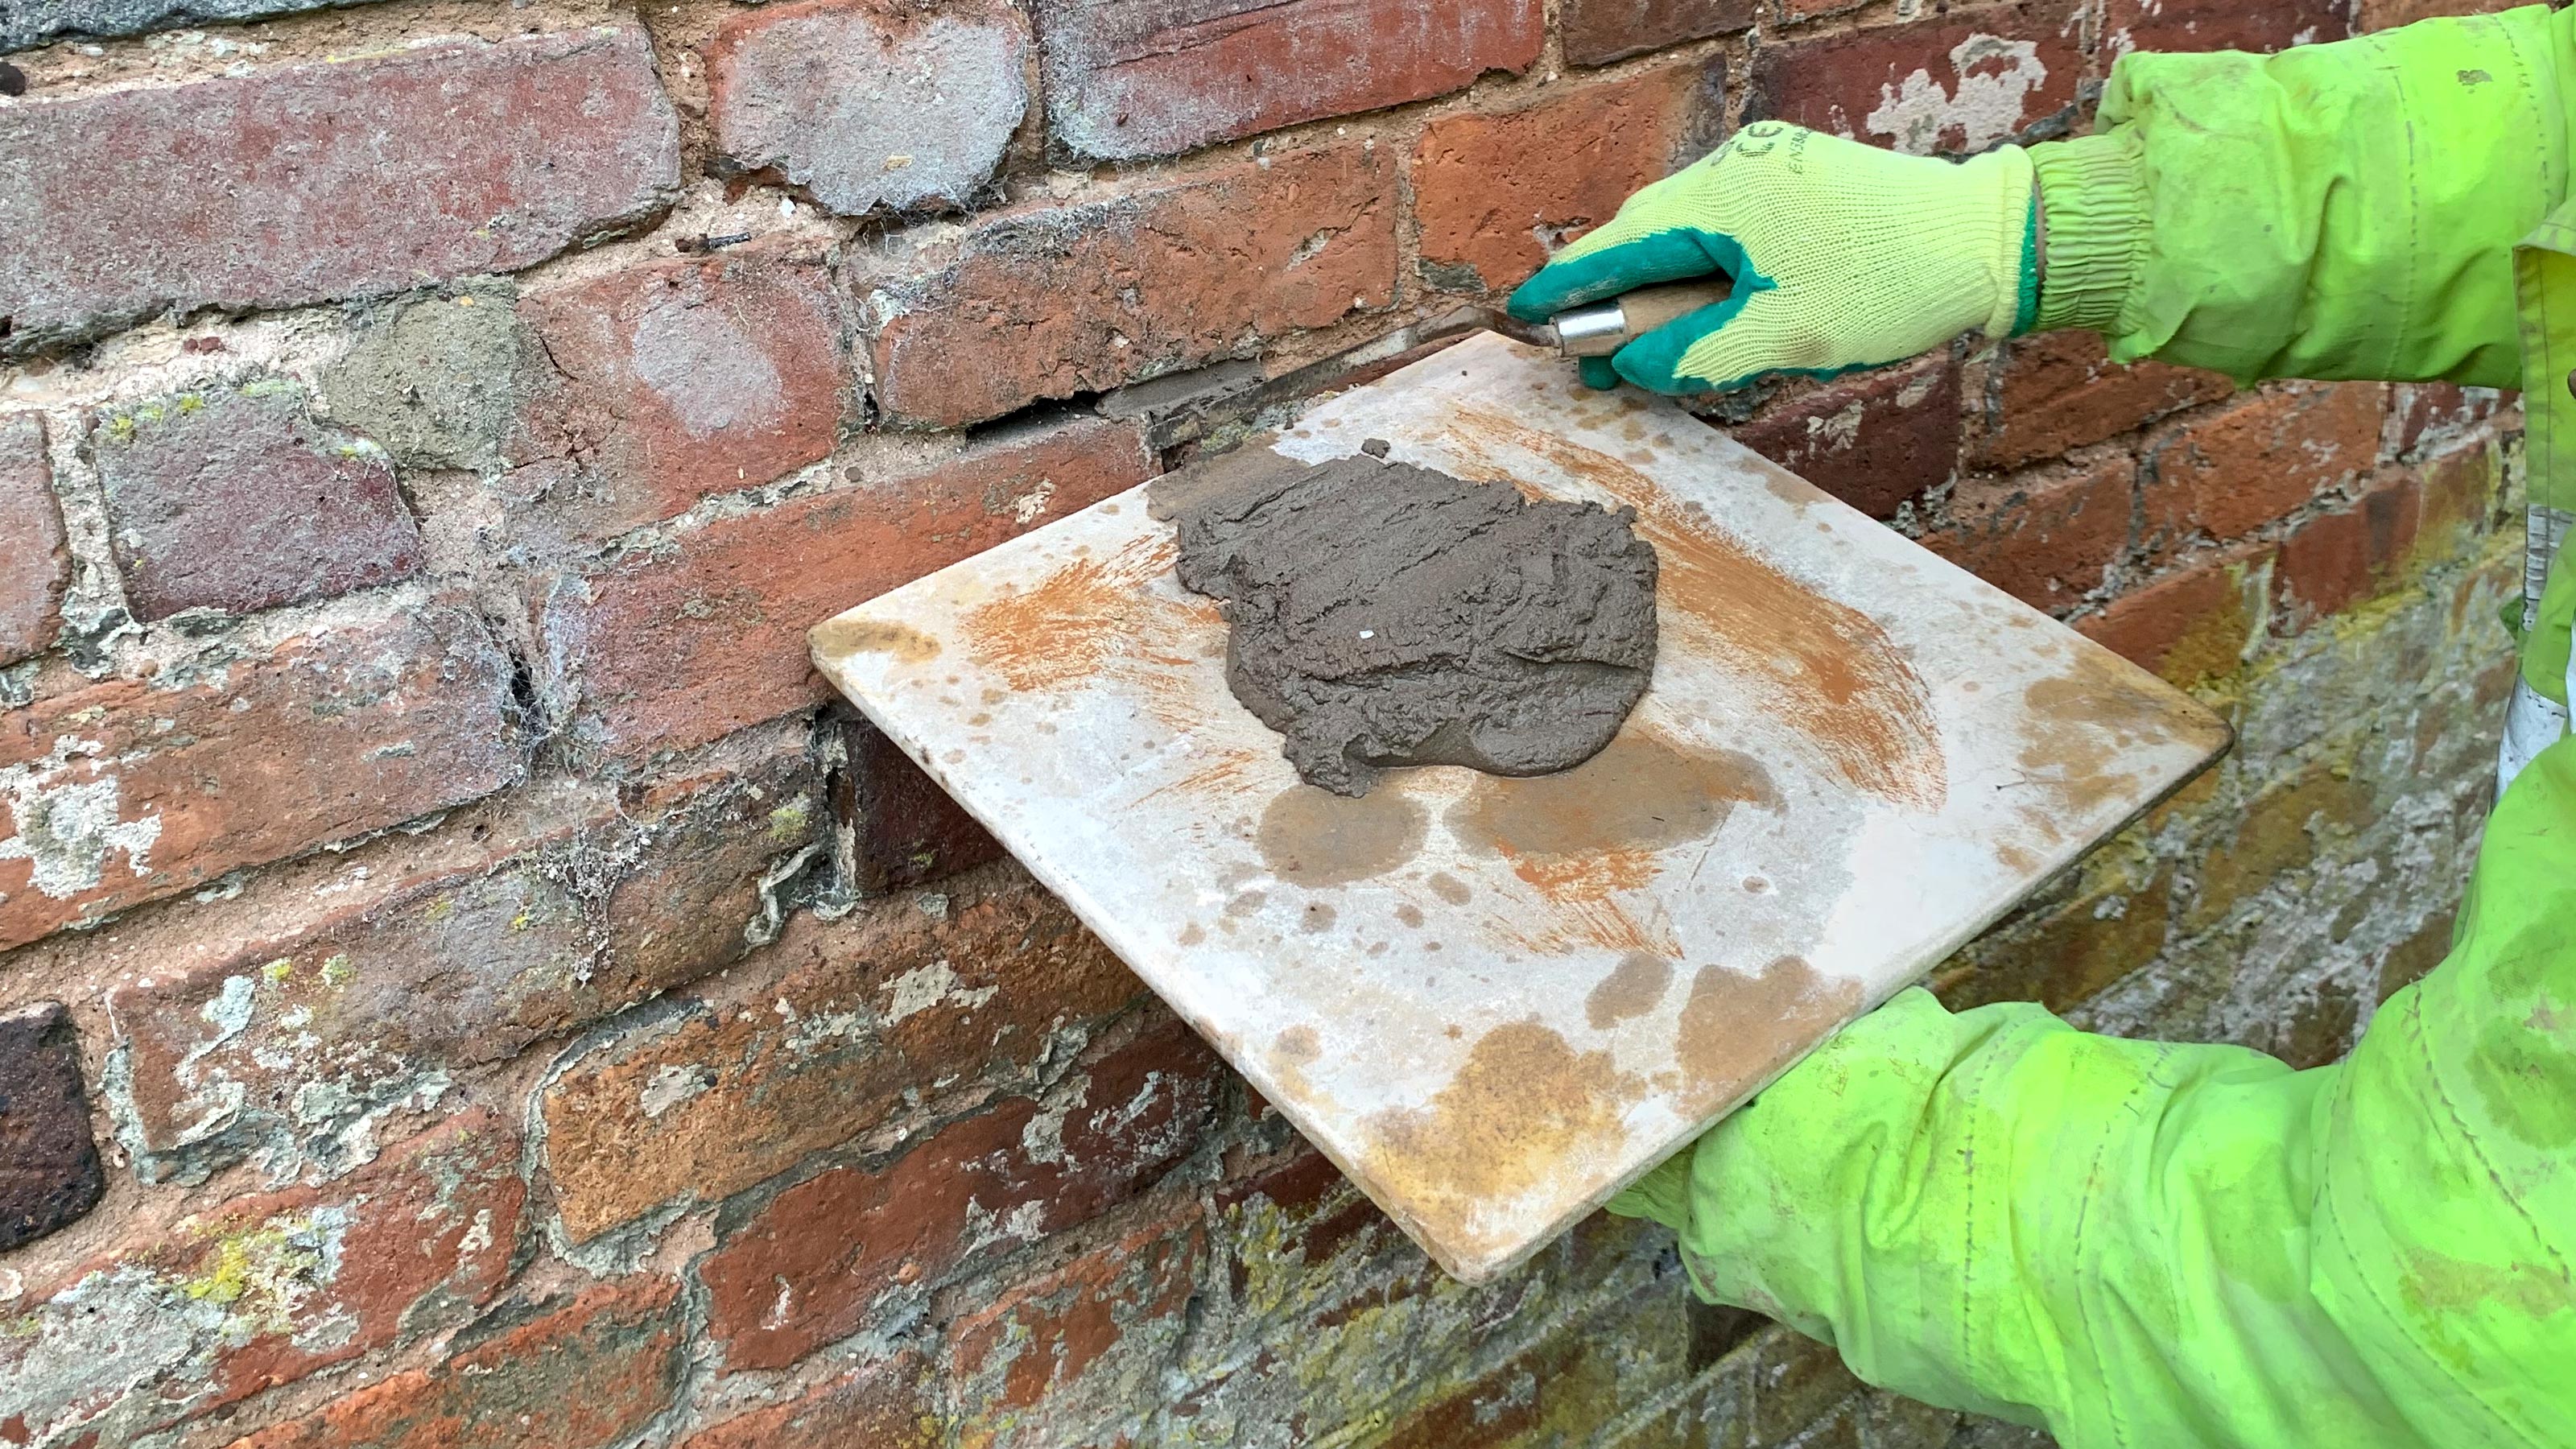
On more modern properties use a three-part sand to one-part cement mix. Using a measure of mortar plasticiser, mix this to a stiff consistency by adding water slowly. The mixed mortar should be firm enough to squeeze in your hand and stay in a ball.
5. Pointing in the new mortar
Using the hawk, put a small amount of mortar on the board, put the hawk up to the to the raked-out joint and push the mortar in with the tuck pointer, ensuring the mortar goes to the back of the joint.
Strike the tuck pointer across to flush the joint. The best way is to do the perpendicular joints first, working in a square metre area, and then do the cross joints. When finished give the pointed area a light brushing over.

How often do chimneys need repointing?
Because chimneys are exposed above roof-level, they experience all weather conditions and suffer from snow, ice, wind and rain. These conditions deteriorate the masonry, breaking down the mortar leaving cracks and perished mortar. Typically a chimney will need repairing every 30 to 50 years.
If on the other hand the damage is severe and you no longer use or need the fires that the chimney stacks were installed to support, you may consider investigating chimney stack removal costs to see if you this is a more cost-effective option.
How much does it cost to repoint a chimney?
This will depend on factors such as where you live in the country and access to your chimney. If you live outside London you can expect to pay around £500 for scaffolding, and around £20 for sand, cement and plasticiser. If you live in London prices will typically rise. Expect to pay around £800 for scaffolding while materials will cost around the same.
If access is difficult, then scaffolding costs could increase.
You can purchase 25kg bags of sand, cement and plasticiser from most builders' merchants and DIY stores; B&Q offer a very good price for these materials.
If you don’t have any of the tools needed for the job you will need to purchase them before you start. The cheapest places to buy the pointing tools may be Wickes or B&Q. Tuck pointers can vary from £5-£8, a plugging chisel would cost about £8-£10, a club hammer would be about £10, and a small hawk around £10.
If hiring a roofer, builder or a company specialising in chimney repairs to complete the work for you, you may be paying in the region of £1,000+, but this will again depend on the complexity and size of the job and your location in the UK.
How long should it take to repoint a chimney?
This will depend very much on the design and size of the chimney. If you have a simple, standard chimney the job should take around three days. Larger more ornate chimneys with decorative brickwork would take four or more days.
Can you repoint a chimney in winter?
You can but it's not advisable to repoint a chimney in the winter months if you want a long-lasting job.
The weather is typically more severe than during the summer months and the temperature will be much lower. This means that your chimney will be more exposed to the elements and prone to frost, wind and rain which will prevent the mortar from curing properly.
Get the Homebuilding & Renovating Newsletter
Bring your dream home to life with expert advice, how to guides and design inspiration. Sign up for our newsletter and get two free tickets to a Homebuilding & Renovating Show near you.
Chris is a full-time Staffordshire builder who has more than 40 years of experience in the construction industry. He has his own YouTube channel that has had over 19 million views and 45K subscribers and provides how-to videos to aid builders and DIYers undertaking building tasks around the home.

