If you’re aiming to spruce up your kitchen at a reasonable cost and without great upheaval, then replacing your kitchen worktops would be a smart option to explore.
Most kitchen worktops remain in good condition for at least a decade after installation, but their longevity varies depending on material, quality and usage. Some styles of worktop go out of fashion; some materials are prone to wear and staining; and sometimes, you just need a change.
In this guide, we’ll talk you through the process of replacing a kitchen worktop, from removing the old surface and choosing new worktops to joinery and finishing. We’ll also highlight some common errors to avoid, and identify the steps that are best left to the professionals.
Helping us along the way with their expert advice are Gavin Shaw, Managing Director of the worktop manufacturer Laminam, and Clive Holland, a DIY expert and Fix Radio presenter.
Gavin Shaw
Gavin Shaw is MD of Laminam UK, a producer of high-quality ceramic slabs for kitchen worktops and other applications. Shaw has over 20 years’ experience as a company director in the stone surface industry, with expertise across porcelain, quartz and natural stone.
“Replacing kitchen worktops is one of the most effective ways to transform your kitchen’s aesthetic and functionality,” says Laminam’s Gavin Shaw.
“By pairing the right surface with complementary cabinetry and finishes, it’s possible to create a cohesive design that enhances the overall appeal of the home.”
Replacing a kitchen worktop: What types are there?
Your choice of worktop material will matter to the end result, and also affects the difficulty of DIY installation.
“When selecting a material, consider factors such as heat resistance, stain resistance, and how well it aligns with your lifestyle,” says Shaw. “Laminates are budget-friendly and available in a wide range of styles but lack durability, while natural stones like marble offer timeless beauty but require regular maintenance.
“Porcelain combines the best of both worlds with stunning aesthetics, low maintenance, and unparalleled durability against scratches and stains,” he adds.
Further options for kitchen worktop ideas include quartz, granite, hardwood, glass, stainless steel, and solid surface composites such as Corian, HiMacs and Hanex.
Clive Holland
Clive Holland is the former host of Cowboy Trap on the BBC. Now a broadcaster on Fix Radio, the UK’s only national radio station for builders and tradespeople, Holland is one of the UK’s leading property and DIY experts.
These tools can help with replacing a kitchen worktop
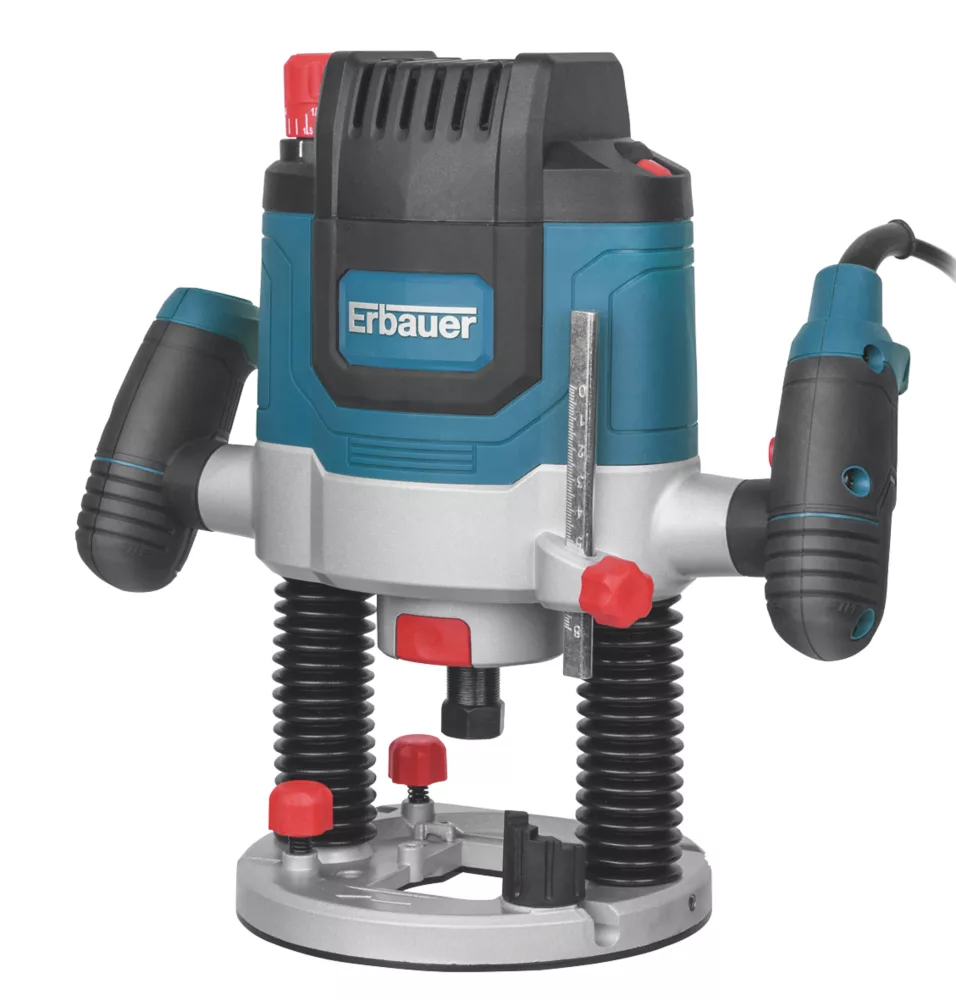
Erbauer Er2100 1/2" Electric Router 220-240v
If you're cutting your own worktops, you can use a router like this one to join the sections and make cut-outs for integrated features such as hobs. Some materials, such as quartz, can't be cut at home.
You'll need a product like this sealant (which is especially for use on laminate) to seal the joins between worktop sections and surrounding walls. Choose your sealant colour carefully!
Bessey Besps55 Double Cup Seaming Tool
This suction-based seaming tool is the sort of equipment a professional joiner might use to get your worktop sections perfectly level. Take this as a reminder that an exceptional finish comes at a premium price.
How to replace a kitchen worktop
1. Remove and dispose of the old worktops
Before you buy or commission new worktops, you’ll need to get rid of the old ones. This will enable you (or a professional installer) to effectively measure the space and plan for installation and fitting of new kitchen worktops.
To remove the old worktops, first disconnect any water, gas or electricity supplies that could be affected by the process. Subsequent steps will depend on what the old worktop is made of and how it is secured. You may need to remove sealant using a craft knife, or unfasten screws using a screwdriver. This is likely to be (at least) a two-person job, as worktops are often heavy.
If your old worktop stays intact, then you might be able to give it away via Facebook Marketplace or a similar platform. Otherwise, you may need to use a recycling centre, dump or skip hire. Old kitchen worktops can be reused in sheds, camper vans and so on.
2. Commissioning or buying your new worktops
If you buy your new worktop from a bespoke provider, it’s likely that they’ll take you through a process called templating. A member of their team will come to your property, ask you about your desired worktop specs and measure the space to create a template for the new worktop. The provider can then use this to cut perfectly sized worktop pieces, accounting for any nearby kitchen features.
Alternatively, you might take the potentially money-saving route of making your own worktop from off-the-shelf sections. In this case, you’ll need to measure the space and buy worktop pieces that you can cut to size.
You’ll also need to decide on the area of the work surface and the thickness of the worktop. Bear in mind that a worktop will usually ‘overhang’ the kitchen units by around 10-40mm. And while chunky worktops have been popular in recent years, slimmer worktops now seem to be back in style. Quality matters more than thickness.
3. Prepping for installation
Before installation, double check your measurements and make sure you have all the tools required to fit your chosen worktop at the ideal kitchen worktop height.
“Getting accurate measurements is crucial in all cases, so measure, measure, measure, and just for good measure, measure again!” says Holland. “Having the right tools on hand for the job is so important too. Remembering the 5 ‘P'’ rule, perfect preparation prevents poor performance.”
Which tools you need will depend on the specs of your new worktop, and which installation steps you’re doing yourself. A circular saw and/or router, clamps and joiner’s benches may be required for cutting and joining worktops (only if you’re using a material like hardwood that is safe to cut while wearing normal DIY PPE), and it’s likely you’ll need a joint sealant or joint kit.
4. Cutting and joining
A bespoke kitchen worktop should arrive pre-cut according to the agreed template. If you’re cutting your own worktop or it is being cut on-site, this will need to be done using appropriate tools, e.g. a circular saw for removing excess material, and a router for plunge-cutting cutouts to accommodate features such as integrated hobs.
There are several ways to join worktop pieces. Common joints include:
Butt joint: used to join two pieces of wooden worktop at a 90-degree angle, butted up to one another.
Traditional mitre joint: a relatively old-fashioned method where two pieces of worktop are joined at a 45-degree diagonal angle, which is easy to create but wastes a lot of material.
Mason’s mitre joint: a popular combination of butt joint and mitre joint, created using a router with a worktop jig (like this one, £132.99 on Amazon).
Learning how to join worktops is a considerable DIY challenge. Not only must the pieces be cut correctly; there are also further requirements such as drilling holes and inserting connector bolts on the cut edges of the worktop to join one section to another.
“When you purchase off-the-shelf worktops they will come with templates for you to follow, but bear in mind that this work is second nature for professionals who fit sinks and taps,” says Holland. “If you are unsure about the task, I always say, ‘Don’t DIY, GSI’ (Get Someone In)!”
5. Fixing, sealing and finishing
Finally, the worktop can be lifted into place, fixed to the structural components that will bear their weight (typically kitchen units), and sealed up against surrounding kitchen features.
Almost all worktops are heavy, and some are immensely so. For instance, granite worktop can weigh as much as 95 kg per square metre. Make sure the supporting structure is stable enough to bear the load, and get plenty of help with lifting the worktop into place.
Worktops are typically secured to the supporting unit using screws from underneath. They can then be sealed against the walls using a sealant or trim.
Common mistakes to avoid when replacing kitchen worktops
One particularly costly (and frustrating) mistake some homeowners make when replacing kitchen worktops is changing the thickness of the worktop without factoring in other kitchen components – especially tiles and parts of appliances. If you want a thicker worktop, make sure there’s enough space first.
According to Shaw, many errors with worktop replacement are the result of DIYers biting off more than they can chew.
“Misjudging measurements or cutting corners on preparation can result in costly errors, while failing to align the worktop with the overall kitchen design can leave the space feeling disjointed,” he says.
Holland agrees: “Many amateurs started to attempt this type of work during the Covid lockdown, only to realise that the job was way above their pay grade. This would result in them having to call in a professional to rectify the work, meaning that even though they felt that they were saving them money, it actually cost them a lot more.”
FAQs
Is kitchen worktop replacement suitable for DIYers?
Some confident DIYers complete their own kitchen worktop replacement to a very high standard. However, specialist skills and equipment are invaluable at various stages of the process – especially if you’ve chosen a relatively challenging material such as quartz or granite.
If you’re keen to get involved in your own worktop replacement, think carefully about which parts of the project you might be capable of doing. Removing old worktops is often achievable for a DIYer, especially if you’re working with a lighter material such as wood or laminate. Meanwhile, joining workbench sections requires far greater skill and can be made easier through a joiner’s specialist tools, such as suction clamps which are used to ensure worktop sections are level with each other.
“DIY worktop replacement can save on installation costs and provide a sense of accomplishment, but it comes with risks,” says Shaw. “Without the proper tools and expertise, mistakes can lead to additional expenses and a subpar finish. Professional installation, especially for premium materials like Laminam porcelain, ensures precision, durability, and an exceptional result. While professional services are more costly upfront, they often prevent long-term issues and maximise the value of your investment.”
There are some worktop installation tasks that we strongly advise against attempting as a DIYer. For example, cutting quartz worktops to size is particularly high-risk, as the material releases silica dust that can cause lung disease when inhaled. Professionals use specialist PPE and safety measures to deal with the particulates.
Bring your dream home to life with expert advice, how to guides and design inspiration. Sign up for our newsletter and get two free tickets to a Homebuilding & Renovating Show near you.
Pete Wise is a freelance writer and keen DIYer from Leeds. Pete's tool reviews have featured in titles including Homebuilding & Renovating, Ideal Home and The Independent. He also writes features and news articles for publications such as The Guardian, BBC Good Food and T3. When he isn't busy writing, Pete can often be found at libraries, pubs and live music venues. He finds tile-cutting strangely zen.