If your old kitchen sink is looking tired and worn, or you want to add a new contemporary aesthetic to your kitchen, replacing a kitchen sink is the obvious way to make it happen. You can go from old to new in no time at all with the help of this guide.
When updating or designing a kitchen a new sink can have a big impact on how the kitchen looks. You can choose a budget model if you need something functional, or splash out on something more pleasing to eye for a little more. But the money you save fitting yourself can justify the extra expense.
Jess Thomas
Jess Thomas is the MD of Drainage Central and a recognised expert in the drainage and plumbing industry. Jess continually provides valuable insights on a wide range of industry topics, and is dedicated to helping homeowners find effective solutions to their drainage problems.
Does a new sink have to be a direct replacement?
There isn’t a simple yes or no answer to this question. Jess Thomas, MD of Drainage Central says, “A new kitchen sink does not have to necessarily be a direct replacement of your old sink.” He adds, “But if you are installing it into an existing worktop then you should check that it is the same size so you do not have to cut the worktop.”
However, Dan Weston who leads Franke’s Field Service team, says, “Yes, unless you have a worktop material that can be cut on site e.g. laminate or solid timber. He adds, “Using standard joinery tools, the hole in the worktop can be cut to accept a larger sink than the one you already have, provided you have enough cabinet width for it.” Obviously, it is much more difficult to fit a small sink into a large space.
But if you have a solid surface worktop like granite or quartz Weston says, “You can only replace it with exactly the same size as the existing sink.” He adds, “These materials are templated and fabricated off site with specialist machinery and cannot be cut in the home.”
Dan Weston
Dan Weston leads Franke’s Field Service team, ensuring customers across the UK receive expert technical support. Dan specialises in diagnosing and repairing products like instant boiling water taps, cooker hoods and waste disposal units. He also provides retailer training on product installations and technical advice.
How to make sure a new sink will fit
Choosing a new kitchen sink can be simple as long as you follow a few simple rules. Weston says, “Measure the overall size of your current sink – the most important thing is to replace it with a sink that offers the same overall footprint and will fit in the hole that has been cut underneath.”
He offers a smart tip to help with this, “If you know the current sink brand and model, look it up online and find the details of its size and template cut out.” He adds, “This is available for all our sinks and the same will apply for reputable brands.”
Thomas Oldham, co-founder of UK Construction Blog says, “Beyond basic measurements, you need to consider cabinet clearance, plumbing locations, and mounting requirements.” He adds, “A common mistake is focusing solely on the sink bowl size while overlooking crucial details like faucet hole configurations or depth requirements for garbage disposals." So try to avoid these when looking for a new sink.
Try these stylish sinks to replace your old one
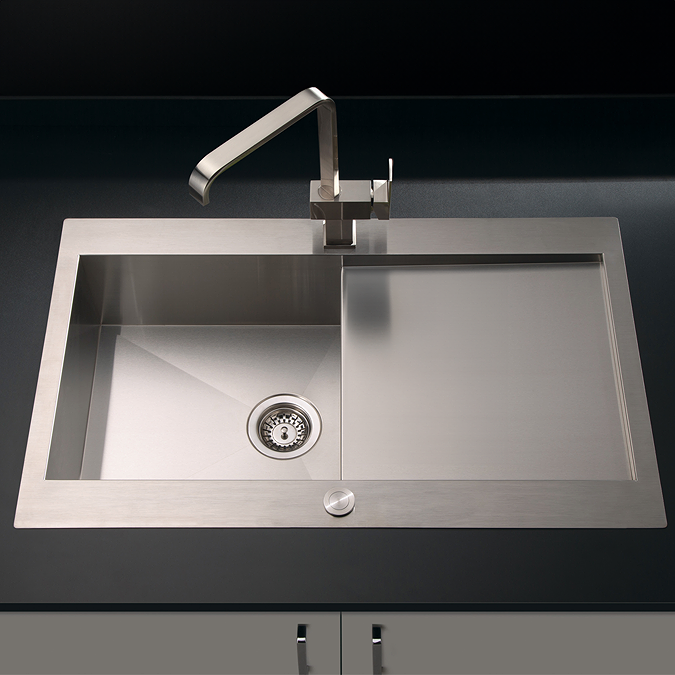
Venice Stainless Steel 1.0 Inset Kitchen Sink with Drainer
A stylish and functional inset kitchen sink which boasts a modern aesthetic with a sleek finish. Has a brushed steel finish with a single standard tap hole.
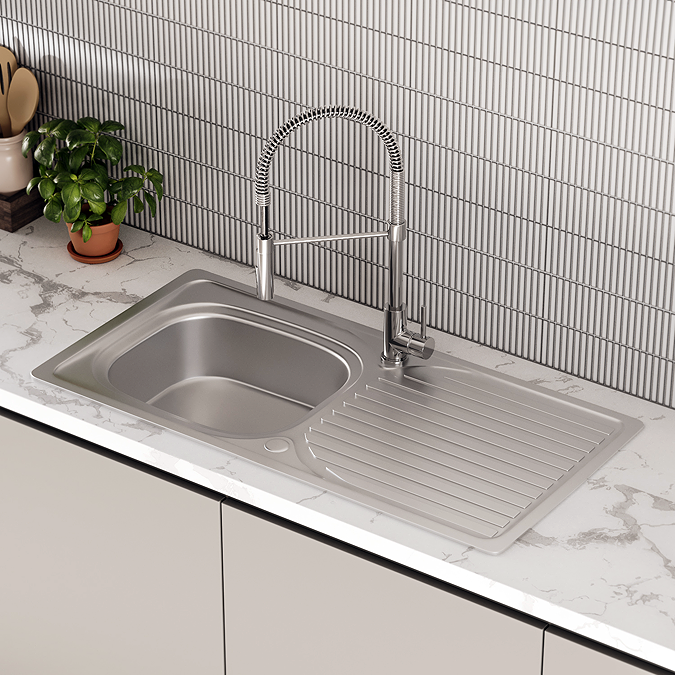
Bower Stainless Steel Single Bowl Kitchen Sink
A standard style 1000 x 500mm stainless steel single bowl kitchen sink with integrated draining board. Includes two tap holes for mixer taps.
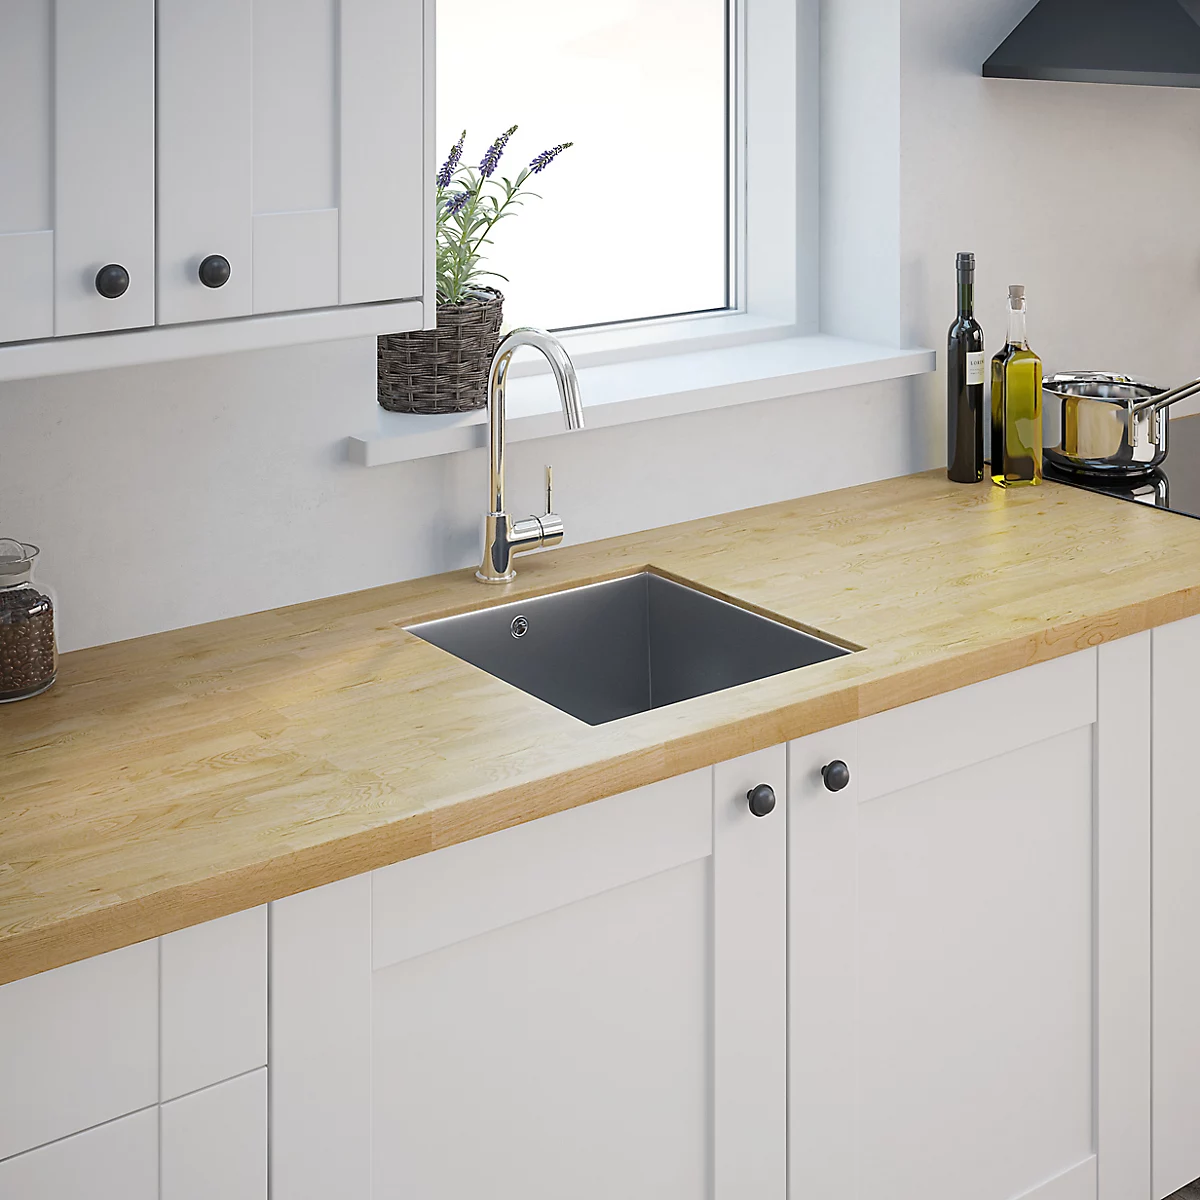
Cooke & Lewis Cajal Stainless Steel 1 Bowl Compact Sink
A contemporary and stylish no drainer stainless steel bowl sink with no tap holes allowing you to choose where to place them.
How to fit a replacement sink
Before you start any work the first step is to switch off the water supply. You will typically have two options – turn off the stopcock to stop the mains supply. A better option is to give any isolation valves (if you have them installed) a quarter turn, so the slot is vertical. Then run the taps until the water stops coming through the taps.
1. Disconnect and remove taps
Before you start, get a bucket and place it under the pipework to catch any water. First step is to disconnect the pipework. Thomas says, “Use an adjustable wrench (like this Bahco Slim Jaw Adjustable Wrench from Amazon) to loosen the drain pipe carefully at its connection point.” Once this is done, do the same to the tap (or taps) and then loosen and remove the retaining nut and place the taps to the side.
2. Remove clips and sealant
Now it's time to remove the sink. Thomas says, “Look underneath the sink and you should see metal clips keeping the sink in place. Use a screwdriver to loosen all of these clips.”
Once these have been removed he says, “Remove the silicone sealant surrounding your sink by carefully cutting it away with a knife.” Make sure to get rid of all the sealant. Use a window scraper like this Würth Window Scraper from Amazon to help remove the sealant.
3. Remove sink
With everything disconnected Thomas says, “To remove the sink, push upwards from underneath the worktop, and then lift the sink out.” You may need a second pair of hands.
4. Assemble sink and taps
Before fitting the new sink, it will need to be assembled as much as possible if required. Thomas says, “You should also assemble any new taps at this point, as this can be harder once they are connected to the pipes.”
Then attach any clips for the new kitchen sink. Thomas says, “Remember to flip the clips towards the sink so that they will not be in the way when you lift the sink into place.”
5. Fit sink
To complete the process Thomas says, “Install the tap into the corresponding hole in the sink and lower the sink into place.” He adds, “Flip the metal clips underneath the sink so that they are facing outwards, and then use a screwdriver to tighten them in place.”
6. Finish up
With the sink in place, reconnect the water supply (taps and drainage) using an adjustable wrench. Thomas says, “Do not overtighten any of the joints on the pipes, as this can break them.”
Now check for leaks. Thomas says, “Turn on the water supply and run both the hot and cold taps. As the taps are running, check underneath the sink for leaks or drips.” Sort any issues by reinspecting the pipework. Finally, seal the sink with a silicone sealant like this Everbuild EVBGPSCL General Purpose Silicone Sealant from Amazon.
FAQs
How do I dispose of an old sink?
The easy thing to do is to take it to your local recycling centre and dispose of it there. You are unlikely to have to pay to get rid of it, especially if it's a stainless steel sink. But check with your local recycling centre to make sure before you travel.
If your sink is still in good condition you can consider donating it to a local charity. Alternatively, give it a good clean and give away, or sell on an online marketplace and put the money towards a new sink. Another option is to repurpose the sink to another part of the home. Check out our small utility room ideas for some inspiration.
Should I replace my countertop at the same time as the sink?
When installing a new sink it's a good time to consider installing a new worktop, especially if your current worktop is looking tatty. After removing a sink check that water hasn’t got into any areas of the worktop and cause the wood to swell. If it has now would be a good time to replace it.
If you have a stone worktop, check for any chips or cracks. These can be repaired, if not it might be time for a new worktop.
When replacing a kitchen it can be a good time to think about replacing a kitchen countertop. Follow our DIY fitting a kitchen worktop guide to do the job yourself. And take a look at our cost of replacing kitchen worktops for guidance on prices. If going for a full scale kitchen renovation check our kitchen remodel ideas.
Get the Homebuilding & Renovating Newsletter
Bring your dream home to life with expert advice, how to guides and design inspiration. Sign up for our newsletter and get two free tickets to a Homebuilding & Renovating Show near you.
Steve Jenkins is a freelance content creator with over two decades of experience working in digital and print and was previously the DIY content editor for Homebuilding & Renovating.
He is a keen DIYer with over 20 years of experience in transforming and renovating the many homes he has lived in. He specialises in painting and decorating, but has a wide range of skills gleaned from working in the building trade for around 10 years and spending time at night school learning how to plaster and plumb.
He has fitted kitchens, tiled bathrooms and kitchens, laid many floors, built partition walls, plastered walls, plumbed in bathrooms, worked on loft conversions and much more. And when he's not sure how to tackle a DIY project he has a wide network of friends – including plumbers, gas engineers, tilers, carpenters, painters and decorators, electricians and builders – in the trade to call upon.