Repair wood flooring: Expert advice for fixing and restoring
Learn how to repair wood flooring with practical and professional tips for a smart, durable finish
Bring your dream home to life with expert advice, how to guides and design inspiration. Sign up for our newsletter and get two free tickets to a Homebuilding & Renovating Show near you.
You are now subscribed
Your newsletter sign-up was successful
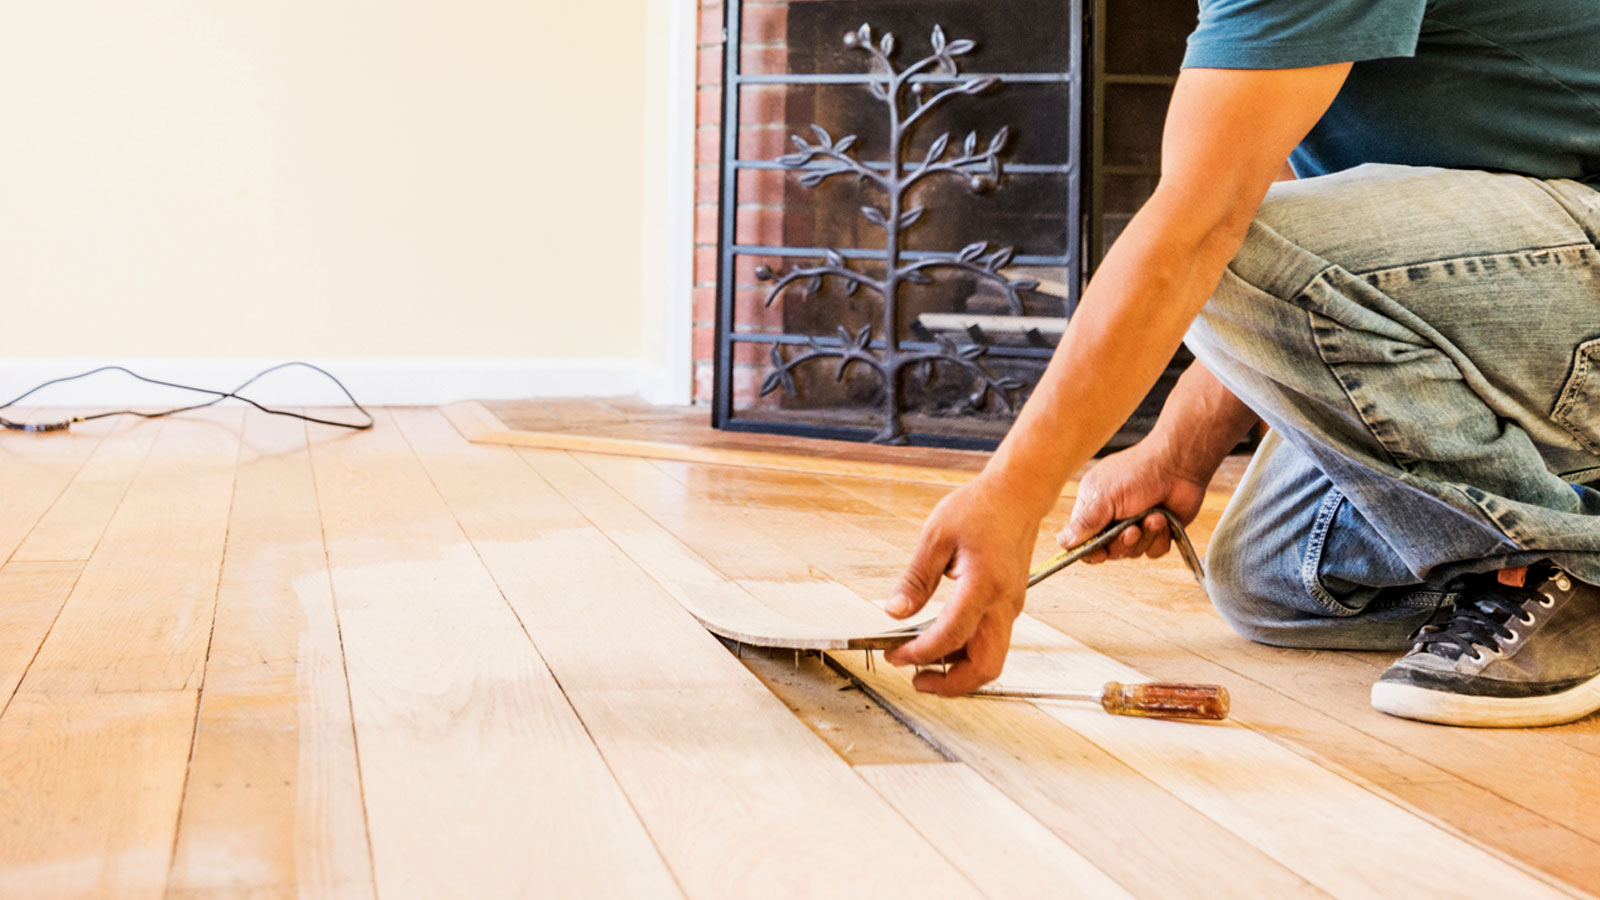
There will likely come a time when you need to repair wood flooring in order to restore it to its former glory. It might be the constant contact with footwear, the unprotected feet on furniture being dragged across the floor, or an accidental drop of a heavy object - all of which can potentially destroy the beauty of your wooden floor.
But regardless of the type of wood flooring that adorns your home, you'll want to keep it looking good and ideally without the hassle and expense of having to replace it.
Here we look at the techniques and tools you’ll need to fix any scratches, gouges, unwanted marks and worn out spots to make your wooden floor look good again.
Different wood types affect how you repair wood flooring
The beauty of wood is that it can be repaired, but how it is repaired and how often it can be will depend on what type of wood flooring you've used in your wood flooring ideas.
High quality solid wood flooring can be finished numerous times, but flooring like engineered wood flooring can have a much shorter shelf life as it only has a thin layer of real wood. The top layer is typically 2-3mm thick, but more expensive flooring will commonly have a thicker top layer, often twice as thick.
Compared with solid wood flooring, the top layer on engineered wood restricts how often it can be sanded before the core material is exposed. This makes it ideal for minor repair jobs such as surface scratches and gouges. However, deeper gouges may mean that it needs replacing.
The colour and finish on a wooden floor will also have a bearing on how it is repaired. A varnished floor needs a slightly different approach to a stained floor, and you will need to think about colour matching as well.
Bring your dream home to life with expert advice, how to guides and design inspiration. Sign up for our newsletter and get two free tickets to a Homebuilding & Renovating Show near you.
Repairing a varnished wood floor
Repairing a varnished floor is typically a three-step process. You will need to remove the old varnish, repair the wood floor and varnish again to finish. But where do you start?
Rotem Eylor, CEO and founder at Republic Floor suggests, “clean the floor first and then gently sand down the worn area with fine grit sandpaper.” A 120-180 grit sandpaper grade will be the ideal choice to get a smooth finish. But, says Rotem, "you do not want to sand too much, just enough to get rid of the worn down varnish so that the new varnish you apply will go on easily and smoothly.”
The next step is to, “fill in any scratches with wood filler and once dry, sand over to make it smooth” says Rotem.
Remember to colour match the filler as close to the original wood as possible. Wood flooring is rarely a uniform colour, so note the colour where the damage is and match to this as close as possible.
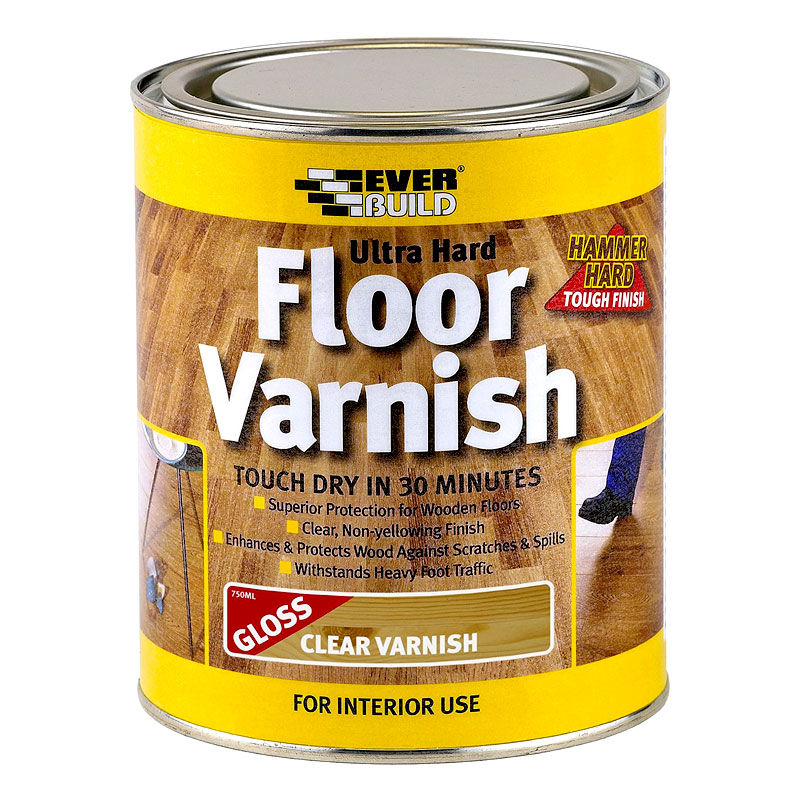
To finish, “clean again to get rid of the dust from sanding and lightly apply thin coats evenly across the surface. Let dry and smooth it out if needed,” says Rotem. Note what type of finish that the varnish is on the original floor - matt, satin, gloss - and make sure that you match it to ensure an invisible repair job.

Rotem Eylor is CEO and founder of Republic Floors, a leading manufacturer, importer and distributor of designer wood, laminate and hard surface flooring
How to use wood filler
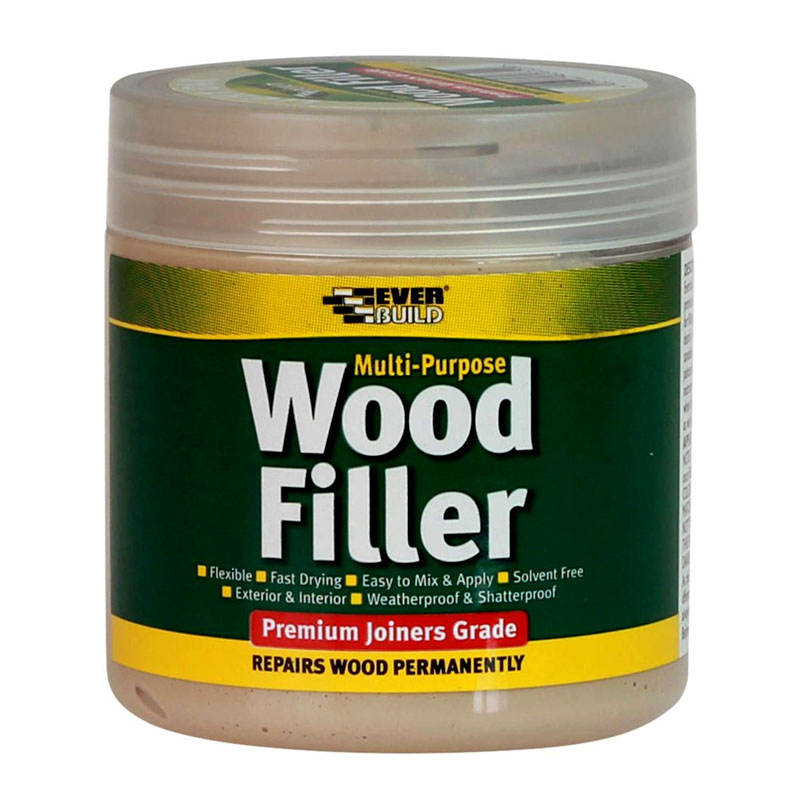
Woodfiller is a popular option for most types of wooden floor and finishes, and is typically available in a host of natural wood colours, so you can get close to the colour of the original floor.
“Wood filler is good for any gaps, cracks, scratches, dents or holes in flooring,” shares Rotem Eylor. Make sure to match as close as possible to the colour of wood around the repair and apply to the damaged area. “Apply it once the surface has been sanded down and then use a putty knife to smooth over.”
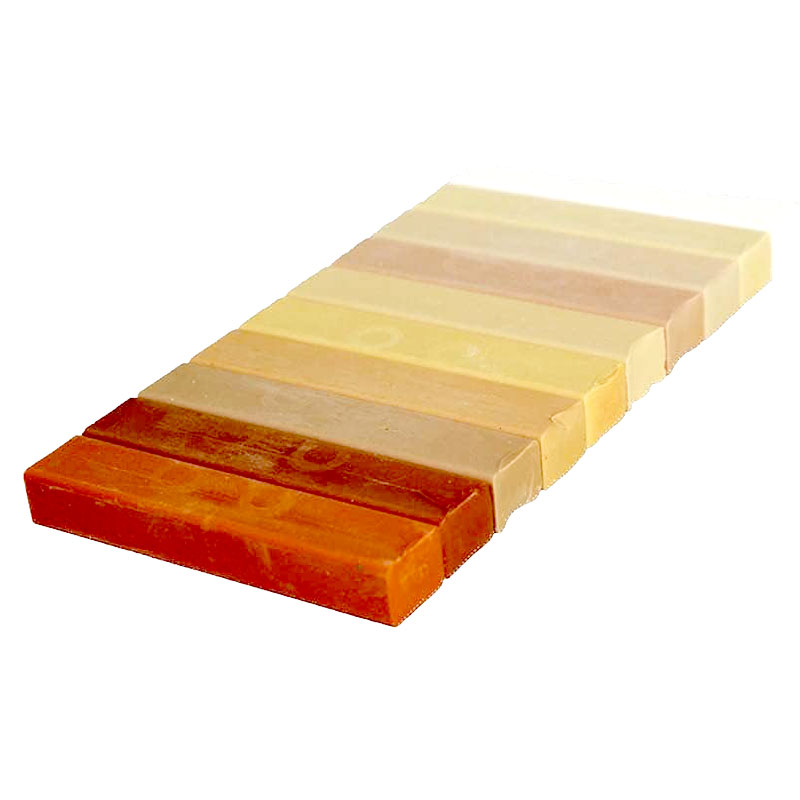
For more superficial scratches and light gouges you can use wax filler sticks that come in a wide variety of colours. These can also be mixed to match your wooden floor colour.
Try these when you repair wood flooring
How to repair a wood floor without sanding
If your wooden floor has superficial damage such as surface scratches, you can often buff them out to restore the surface.
Start by sweeping and vacuuming the floor to get rid of any dust and debris. Next use a suitable wood floor cleaner/restorer for your wooden floor like this Weiman Wood Floor Polish and Restorer from Amazon.
Follow the manufacturer's instructions on how to apply. Finally, use a buffing machine with the right abrasive pad. You can hire a suitable machine from around £40 per day.
How to fix a gouge
This will depend on the size of the gouge, but the process is very similar to fixing scratches. Sand, colour match a wood filler, fill, sand again and finish.
If the edges of the gouge are really rough and bleed into the surface of the surrounding area you can use a sharp utility knife like this Rolson Folding Lock-Back Knife from Amazon to cut around the edge to get a more uniform shape. Then sand and fill with a suitable wood filler.
Alternatively, if the gouge is large you can consider cutting out and replacing with a matched piece of flooring if you have any left over. If using wooden planks, replace and try to colour match/blend as best as possible.
FAQs
How do I repair wood flooring damaged by pet urine?
Rotem Eylor says, “it depends if the urine has soaked deep enough into the wood to cause permanent damage.” If the urine goes unnoticed it will seep into the cracks and joins in the floor, meaning you can't just sand it out.
Start by cleaning the patch if the urine hasn’t been there for too long - say a couple of hours to a day. Use water and a suitable cleaner for pet stains, and give the area a wash to help remove the smell. If it has left a stain you can use a diluted solution of water and bleach to help lighten the stain before sanding and staining or varnishing.
However Rotem warns that, “sometimes it does involve replacing the floor boards where the urine has soaked into. This can involve, sanding the floor, then replacing the affected area and refinishing it to blend the old and new floor together.”
There's typically a lost of sanding involved if you need to repair wood flooring. Check out our guide for sanding floorboards for larger projects and our best hand sanders for wood and types of sanders guides for smaller jobs.
Steve Jenkins is a freelance content creator with over two decades of experience working in digital and print and was previously the DIY content editor for Homebuilding & Renovating.
He is a keen DIYer with over 20 years of experience in transforming and renovating the many homes he has lived in. He specialises in painting and decorating, but has a wide range of skills gleaned from working in the building trade for around 10 years and spending time at night school learning how to plaster and plumb.
He has fitted kitchens, tiled bathrooms and kitchens, laid many floors, built partition walls, plastered walls, plumbed in bathrooms, worked on loft conversions and much more. And when he's not sure how to tackle a DIY project he has a wide network of friends – including plumbers, gas engineers, tilers, carpenters, painters and decorators, electricians and builders – in the trade to call upon.
