Removing silicone and caulk: 3 ways to get rid of old or discoloured sealant
Removing silicone or caulk is an essential skill that every DIYer needs to know. Here we give you a host of tips and tricks to ensure quick, clean elimination

It's time to start removing silicone or caulk when it begins to discolour, lift off the surface and starts to let in water where it's not wanted. The purpose of sealant is to seal up small gaps with a smart smooth, flexible finish that can repel water.
There is an art to caulking and the same applies when it comes to removing caulk or silicone from the bath, shower, sink, skirting boards or wherever else you have in your home.
Before replacing any silicone or caulk you need to get rid of as much of the old as possible. A poorly prepped surface with old sealant left behind is not what you want. The new silicone or caulk won't adhere as well, won’t last as long and won’t be as watertight.
Here we tell you how to get rid of old silicone and caulk and ready the area for the new.
1. Removing silicone or caulk with a knife
To remove the bulk of the sealant you will need a Stanley knife or a putty knife, effectively something with a sharp edge. Make sure you have a nice new sharp blade on your Stanley knife.
If you have been siliconing a shower or bath hold the knife against the surface where you are going to cut i.e wall or bath, to help keep a steady hand. Push the knife blade into the sealant as close to the surface as possible.
Typically you will need to push the knife in around 10mm if possible. Then drag the blade along the silicone or caulk edge, keeping it as close as possible to the wall or whatever surface you are working with. Now repeat on the other edge of the sealant to remove most of it.
To finish, run the knife along the edges of any leftover silicone or caulk and if needed pull out with a pair of needle nose pliers. To get rid of fine caulk use a window paint scraper or just the blade for more intricate areas but be careful.
2. Use a specialist tool to remove silicone or caulk
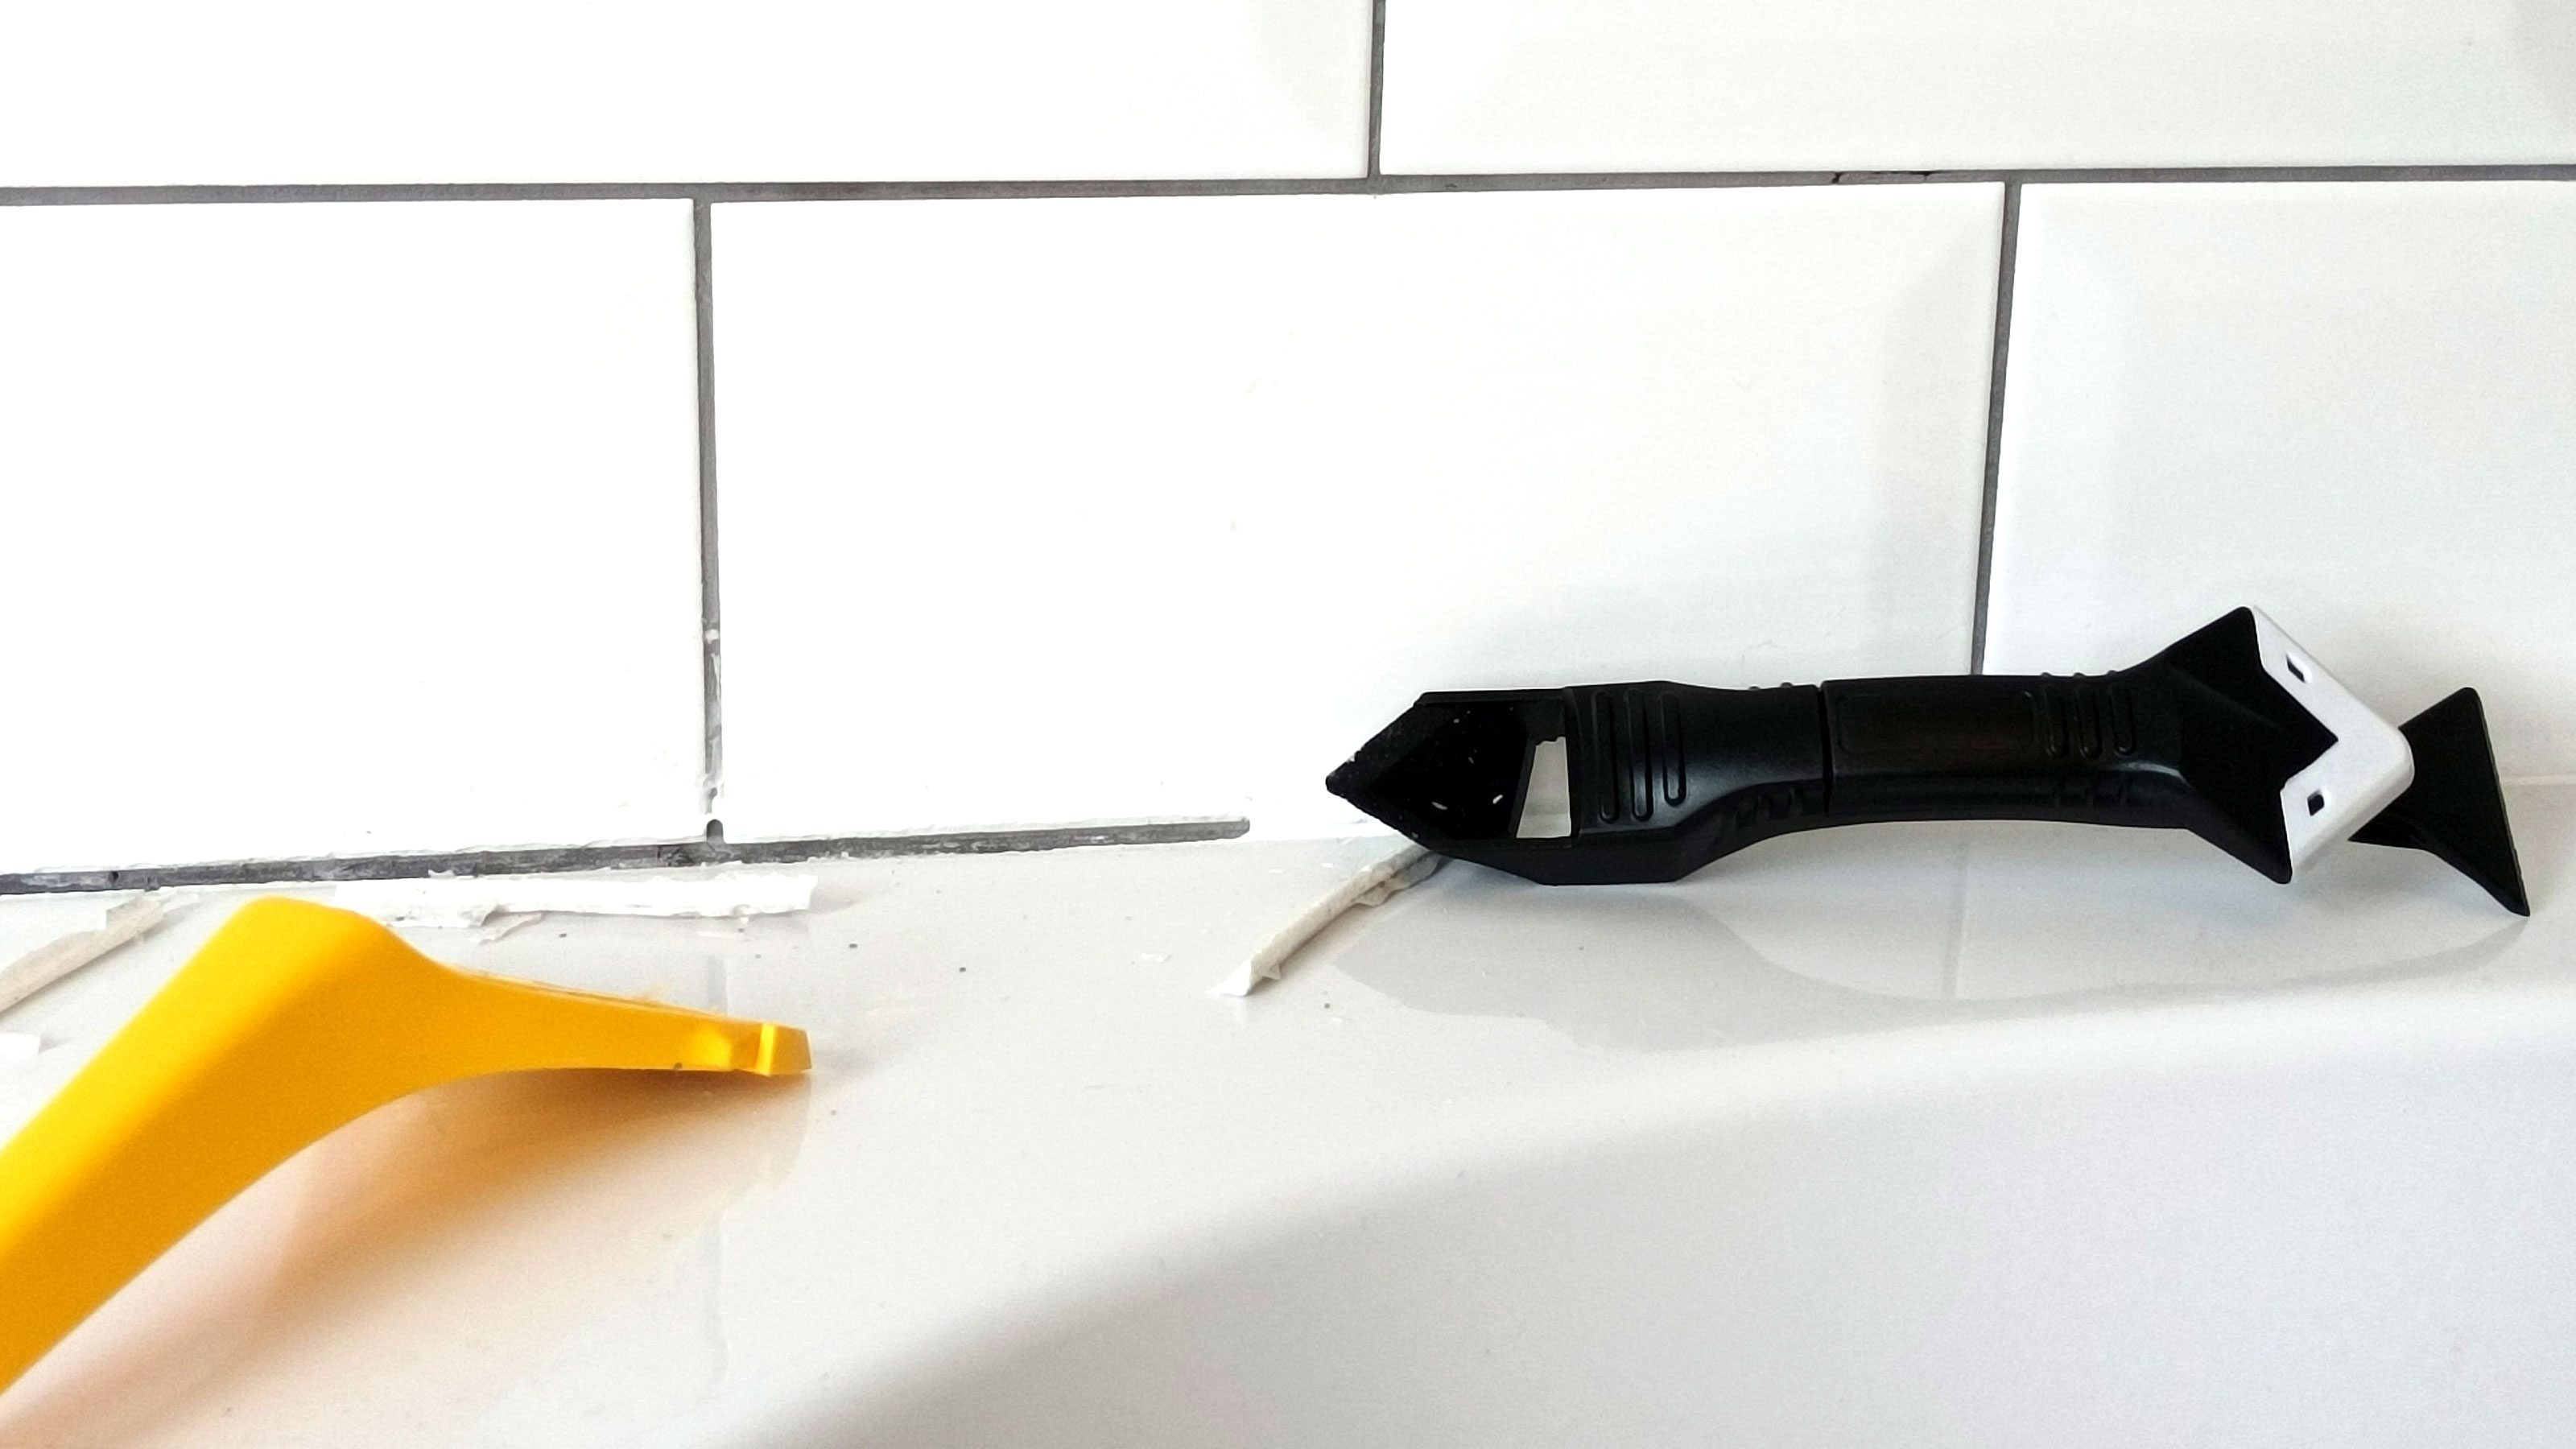
An alternative to using a knife to remove sealant is to invest in a specialist sealant removal tool or kit. There are two common designs:
- One has a blade and a handle, similar to a knife, but the handle is typically thinner making it easier to get closer to the edge — and a serrated blade to help remove sealant further down a gap.
- The other has a plastic or metal end in a V shape, which makes it really easy for quick removal. Work into the silicone or caulk and drag and push along the caulk line while gently pushing down. Repeat to remove more of it. This is the ideal choice if you have been caulking skirting boards and are looking to refresh the caulk.

3. Getting rid of silicone or caulk residue
After using a knife or specialist removal tool there is most likely to be remnants of sealant left on the surface. A windows scraper or razor blade will get rid of most of the fine debris, but there will still be fine residue left.
To get rid of the final sealant residue use white spirit or undiluted sugar soap with a cloth or kitchen scourer sponge for more stubborn areas.
Can I soften silicone or caulk for removal?
You can. There are a few options for softening up caulk or silicone, such as a water and vinegar mix or spraying with WD-40. But these struggle to work on well-applied sealant that you are replacing. WD-40 is OK for softening thin silicone or caulk residue and will help in the removal process, but it has a strong smell that lingers.
If you need to soften the sealant before removing try Unibond Silicone Sealant Remover. But, again this is best used on sealant that has been removed with a knife or specialist tool. If you do decide to use a sealant remover make sure to check on what surface it can be used.
Knowing how long silicone takes to dry – it's very similar to caulk – is useful. If you apply new caulk or silicone and mess it up you will need to let it dry before you can think about removing it and starting again.
Get the Homebuilding & Renovating Newsletter
Bring your dream home to life with expert advice, how to guides and design inspiration. Sign up for our newsletter and get two free tickets to a Homebuilding & Renovating Show near you.
Steve Jenkins is a freelance content creator with over two decades of experience working in digital and print and was previously the DIY content editor for Homebuilding & Renovating.
He is a keen DIYer with over 20 years of experience in transforming and renovating the many homes he has lived in. He specialises in painting and decorating, but has a wide range of skills gleaned from working in the building trade for around 10 years and spending time at night school learning how to plaster and plumb.
He has fitted kitchens, tiled bathrooms and kitchens, laid many floors, built partition walls, plastered walls, plumbed in bathrooms, worked on loft conversions and much more. And when he's not sure how to tackle a DIY project he has a wide network of friends – including plumbers, gas engineers, tilers, carpenters, painters and decorators, electricians and builders – in the trade to call upon.

