Removing a fireplace surround: The essentials
If you are thinking of removing a fireplace surround then you should make sure you understand exactly how it's done and the kind of disruption to expect. Our guide explains it all

Removing a fireplace surround is a job that is carried out for various reasons. Perhaps your fireplace has been fitted with a rather unsympathetic surround that is not at all in keeping with the rest of the house at some point in the past, or maybe the existing surround is in an unrepairable state.
In some cases an old surround just won't fit in with your new fireplace ideas, in which case, taking it off the wall and replacing it with something that does will have an enormous effect on the look of the space given what a prominent position fireplaces usually occupy in the home.
Here, we take a look at what the task of removing a fireplace involves and advise you on how the job may differ depending on the style of surround you are dealing with.
Is removing a fireplace surround a DIY job?
In the majority of cases removing a fireplace will be fairly straightforward and well within the capabilities of the competent DIYer — although it will often not necessarily be a solo job due to the weight of some surrounds.
There are, just as when opening up a fireplace, exceptions. If the fire itself is still in place and is a gas fire, you should call in a Gas Safe Engineer to tackle the task before you start ripping away the surround. Otherwise, despite being messy, you can get stuck in.
Tool list for removing a fireplace
Before you begin, make sure you have all the right tools for the job. These will vary slightly depending on the type of fire surround you have, but in general you will need:
- Dust mask
- Gloves
- Safety goggles
- Dust sheet
- Drill and masonry drill bits
- Screwdriver
- Crow bar
- Cold chisel or bolster chisel (or both!)
- Club hammer and/or rubber mallet
- Wedges
- Buckets/plastic trugs/rubble bags
Before attempting this job you should protect the room you are working in — this is a dusty, messy job. Clear the room as much as possible, roll back rugs and cover fitted carpets. Some people also choose to have their chimney swept before this job as it lessens the chance of being showered by an avalanche of soot and bird nests while working.

What is a fireplace surround?
A fireplace surround is the structure that is fitted above and around the opening of a fireplace. It is different from a 'fireplace suite' which includes a hearth, back panel and the fire itself. The surround is the section that sticks out of the wall that surrounds the opening of the fireplace and will usually be made up of:
- Mantel: The shelf above the fireplace opening. Sometimes this is installed as a 'floating' element, otherwise it comes as part of a complete surround.
- Legs: The two vertical pillars supporting the mantel.
- Corbel: This is the section that extends out from the wall and supports the mantel. It might simply be part of an all-in-one surround, or be fixed directly to the wall. Sometimes it is replaced by brackets.
- Plinth: Not all surrounds feature plinths, but if they do, these sit at the bottom of each leg and are sometimes referred to as the 'foot'.
How is the surround attached to the wall?
The type of fire surround you have and how it was originally attached to the wall will have a big impact on the steps you need to take to remove it.
Cast iron fireplaces were often attached to the wall with 'lugs', small brackets fixed around the edge of the surround and attached to the wall that makes up the chimney breast with screws.
Timber fireplaces were commonly screwed to wooden brackets or battens on the wall, while fully tiled fireplace surrounds often have concrete backing which is fixed to the wall by lugs.
Those facing brick or stone fireplace ideas that don't fit in with their interior scheme will need to take a more methodical approach, taking them off bit by bit. They might be attached to the wall with metal wall ties.
How to remove a wooden fireplace
In the case of timber fire surrounds you will need to first uncover the battens or brackets that are attaching them to the wall.
"Timber surrounds are usually held in by picture plates (brackets) that are plastered over, or battens fixed to the wall and screwed into through the side of the fire surround," explains Tristan Rowe, director at Chesneys.
"Before attempting to remove anything make sure the fire surround is propped up securely and safely so it cannot topple over when the brackets and fixings are released," continues Tristan. "You should note that this is minimum of a two person job.
"Once propped you can then cut the plaster away from the brackets and undo the screws holding it into the wall. Alternatively, look for the filler over the screw heads in the side of the timber, dig it out and undo the screws to release the surround from the batons.
"In both cases the fire surround should be free to pull away from the wall when the props are removed and lain down on the floor."

How to remove a cast iron surround
In many ways, removing a cast iron fireplace surround is a very similar process to that for timber — although the cast iron surround is likely to be much heavier than a timber model.
"The fixing points for cast iron surrounds are at the top of the outside of each leg and are cast into the chassis of the fireplace," says Tristan. "Occasionally there are additional ones further down the legs too.
"If the cast iron surround is greater than 1350mm wide and 1250mm high then this should be referred to a qualified fireplace installer as there can be multiple fixing points on the fireplace and it can well exceed 100kg so is not suitable for DIY removal."
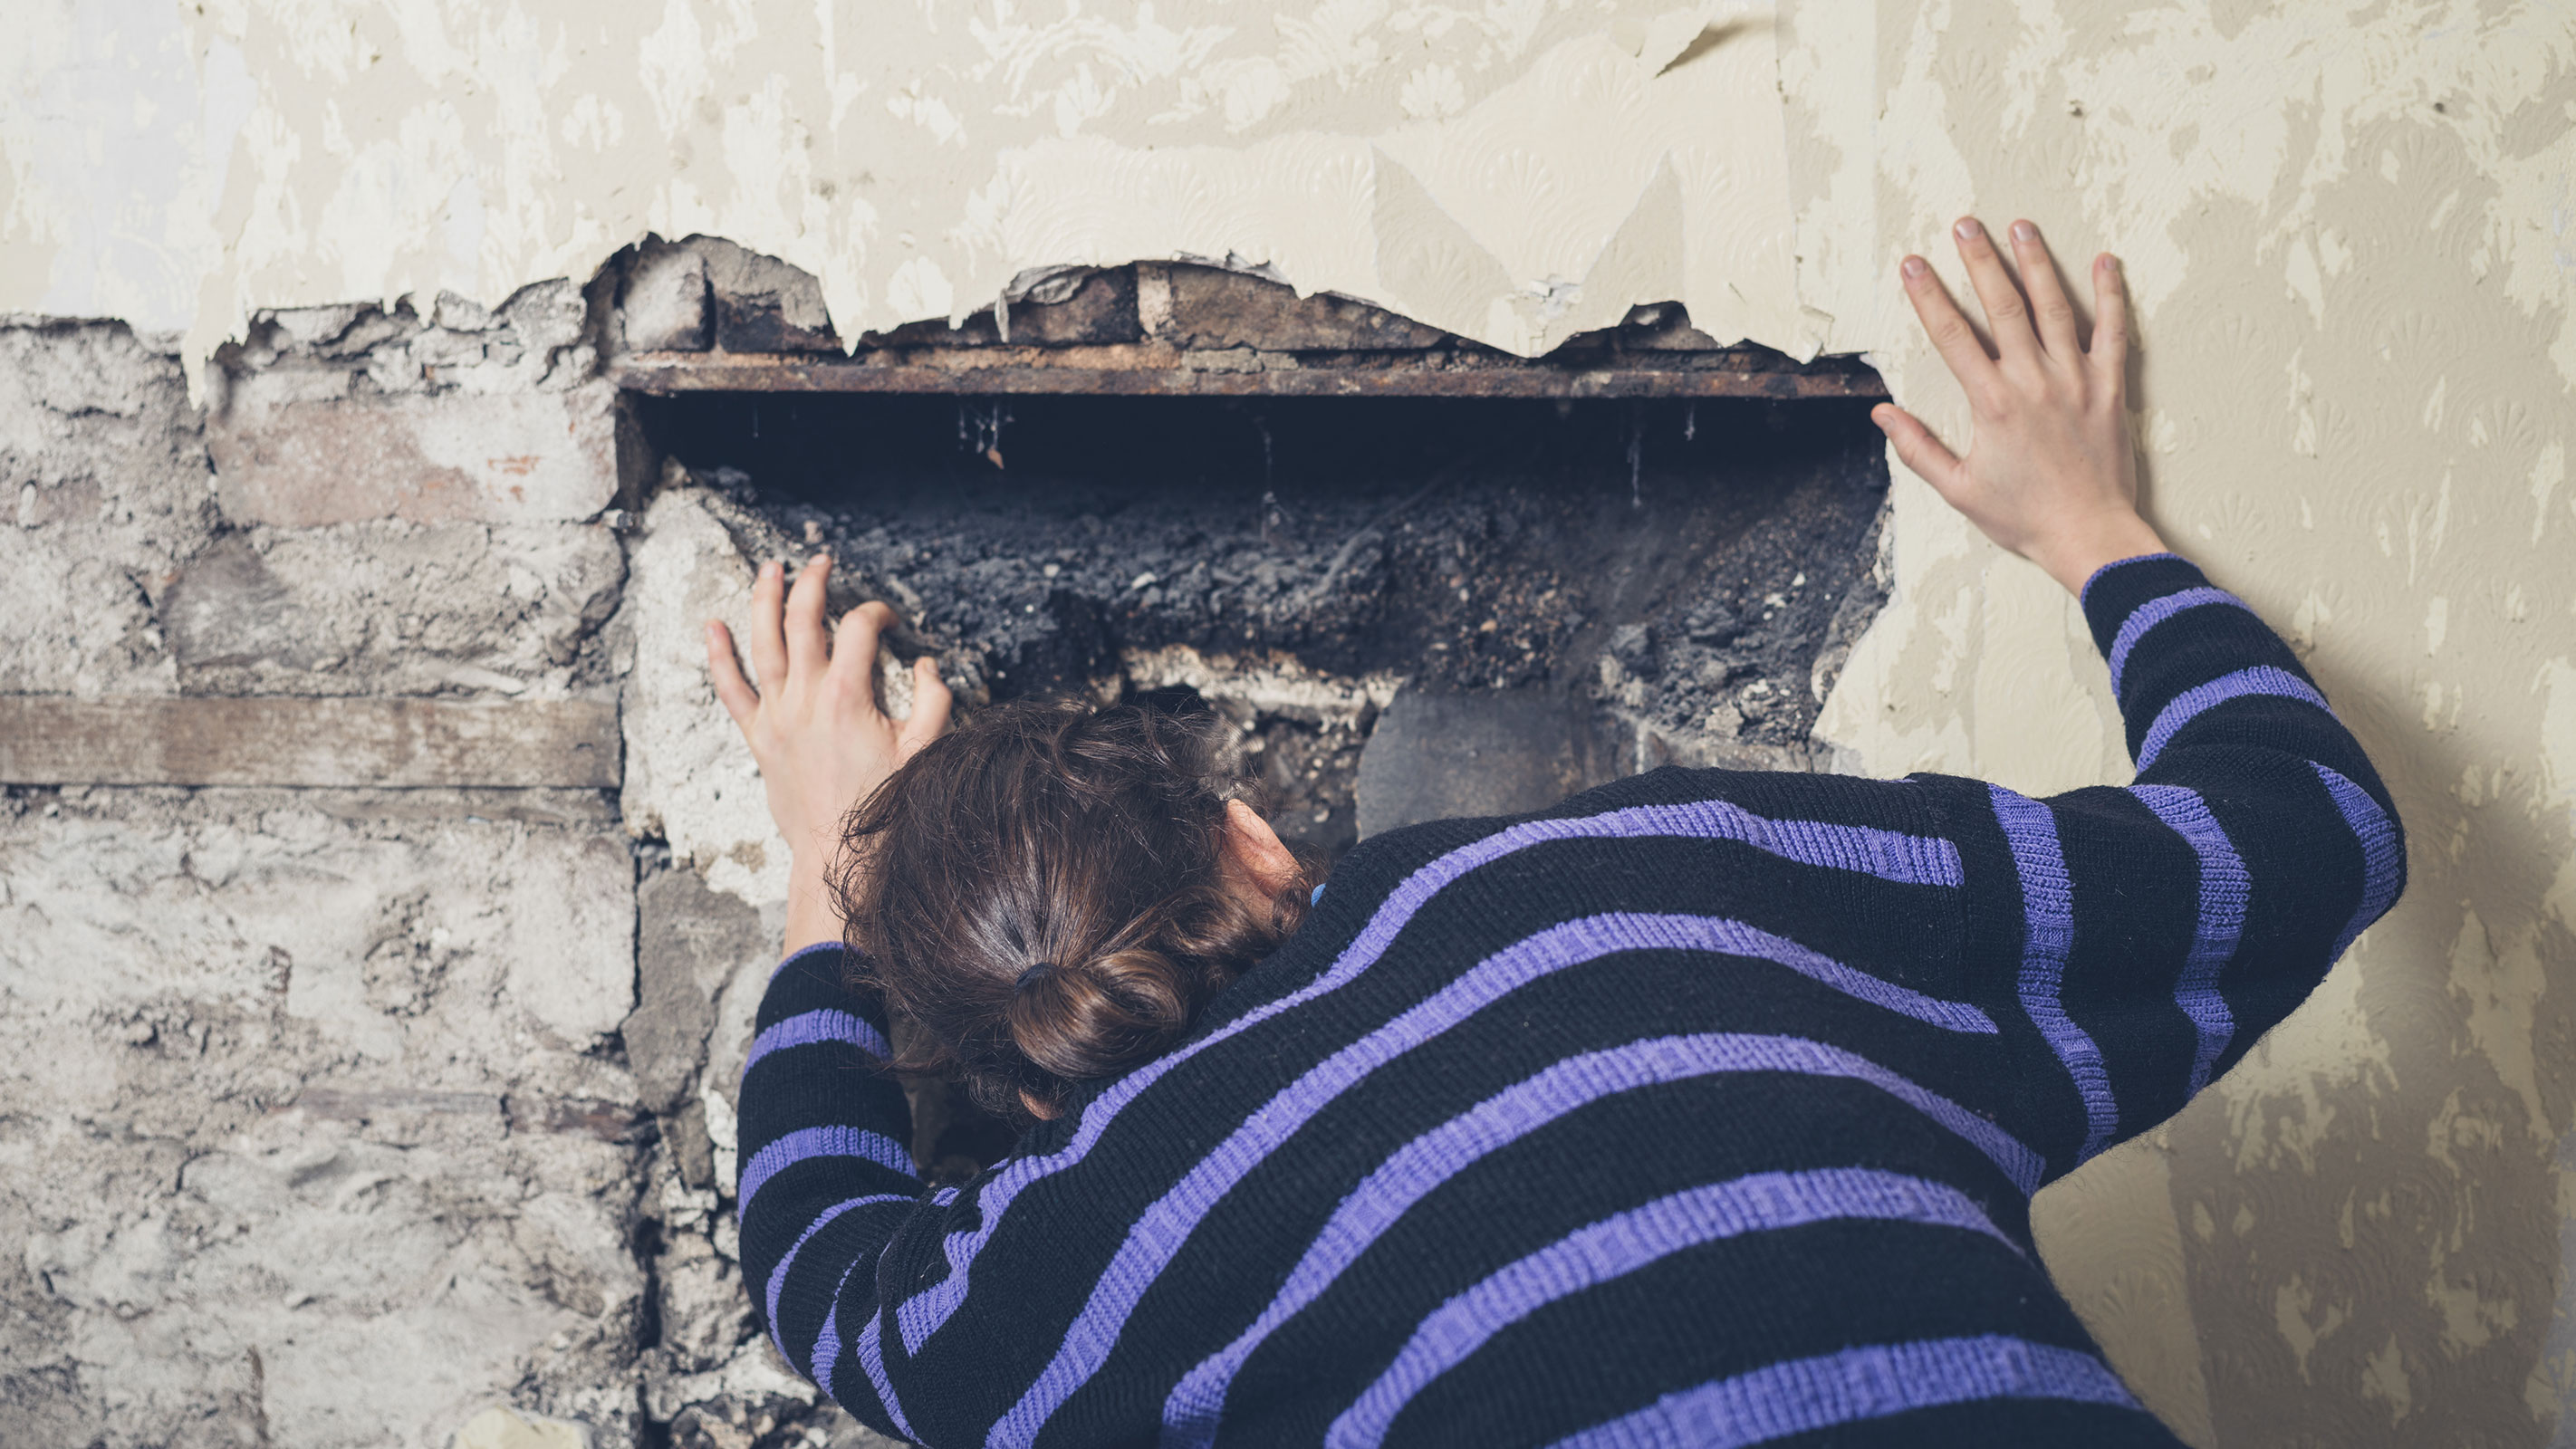
Sometimes you might find you need to chip away the plaster around the edge of the surround to reveal lugs. Remove the screws to release the surround from the wall.
In both cases, ensure the surround is supported so it doesn't fall off the wall — a helper will really come in handy here.
How to remove a stone fireplace surround
This is where things have the potential to get a little tricky.
For both stone and brick surrounds it is common to find that they are made up of separate elements, held together with mortar or similar. The sit directly on the hearth below and will often be secured to the wall with metal wall ties, dowels or brackets.
You will usually need to start by chipping away at the mortar to release one section (or brick) at a time, also chipping any ties out of the wall as and when you come across them.
"Stone surrounds are often recessed into the wall and the plaster may be contributing to the shelf being held in position," warns Tristan. "In this case, removal should be carried out by a qualified fireplace installer as the weight of a standard fireplace can easily exceed 300kg, making DIY removal vey dangerous — it is not something we would recommend."

Removing a surround with brackets
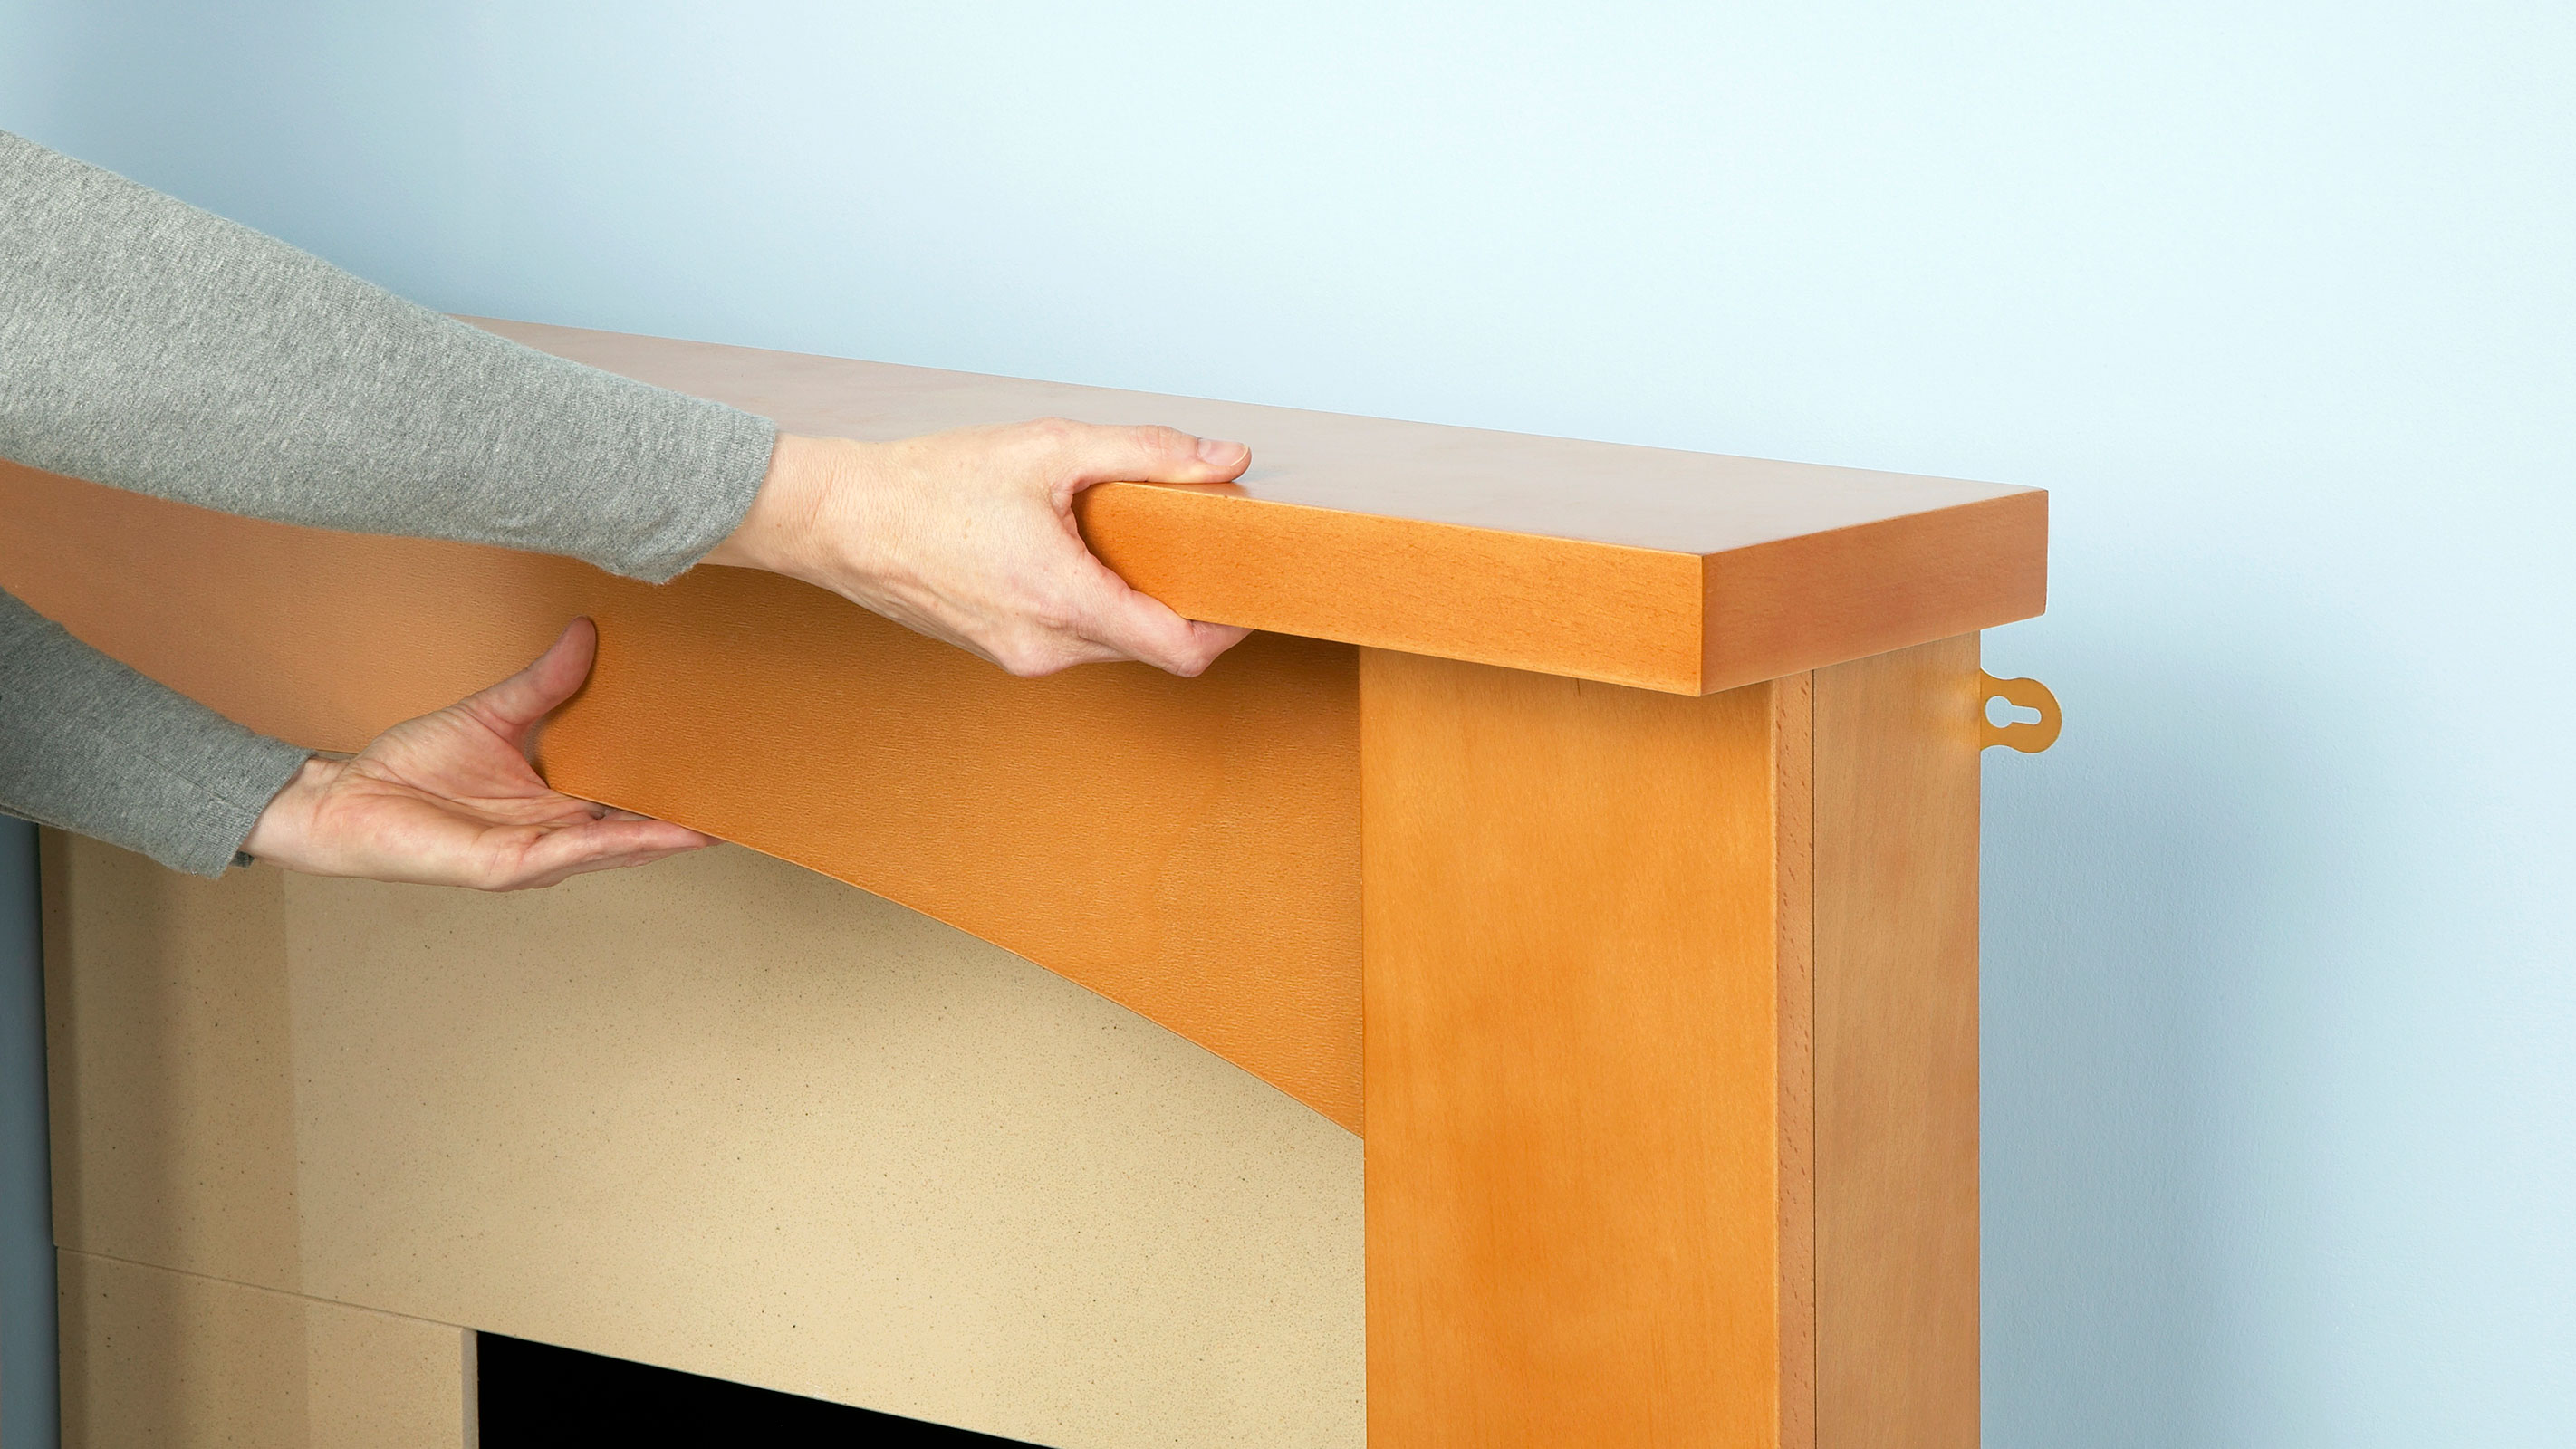
If you are lucky, you might find that your fire surround is attached to the wall by brackets or a strong adhesive — this tends to be the case with lightweight and modern surrounds.
In the case of brackets, one will be attached to the wall while the other is screwed to the back of the surround — they just click together. To remove it you simply lift up the surround and take it away from the wall.
In the case of surrounds fitted with adhesive, use a crow bar or similar to prise the surround away.
FAQs
How much damage to my walls will removing a fire surround leave?
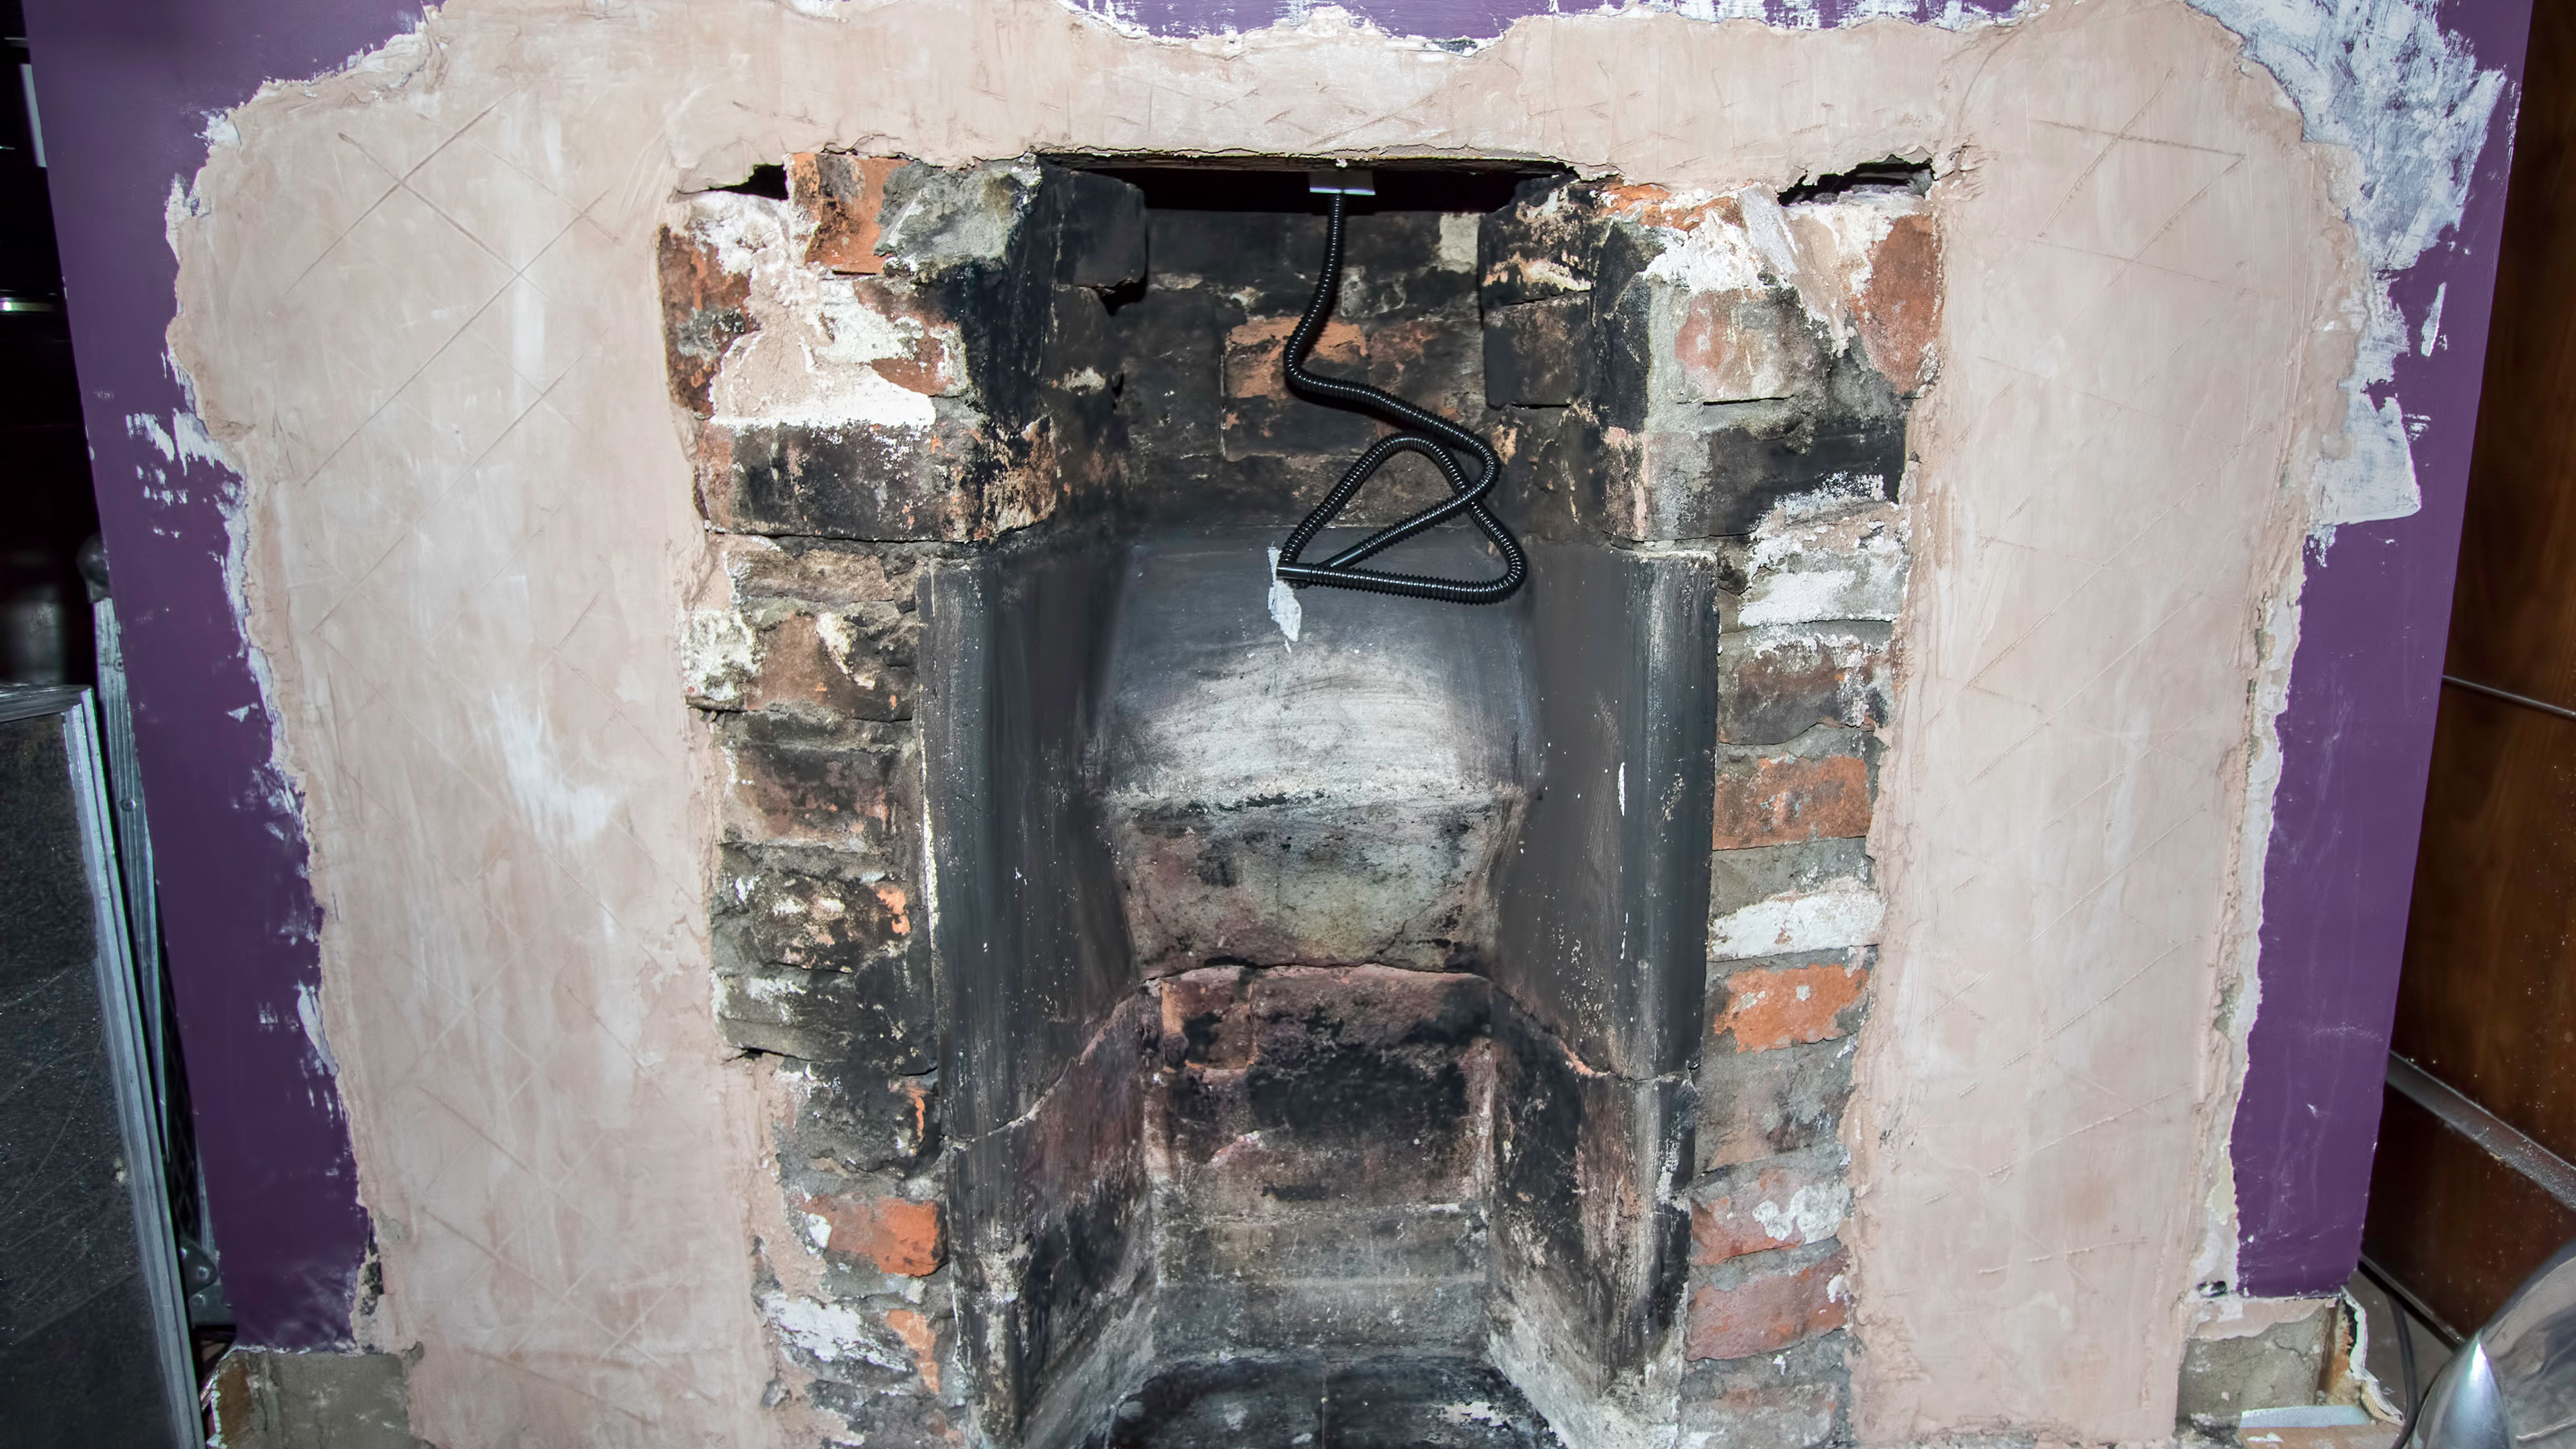
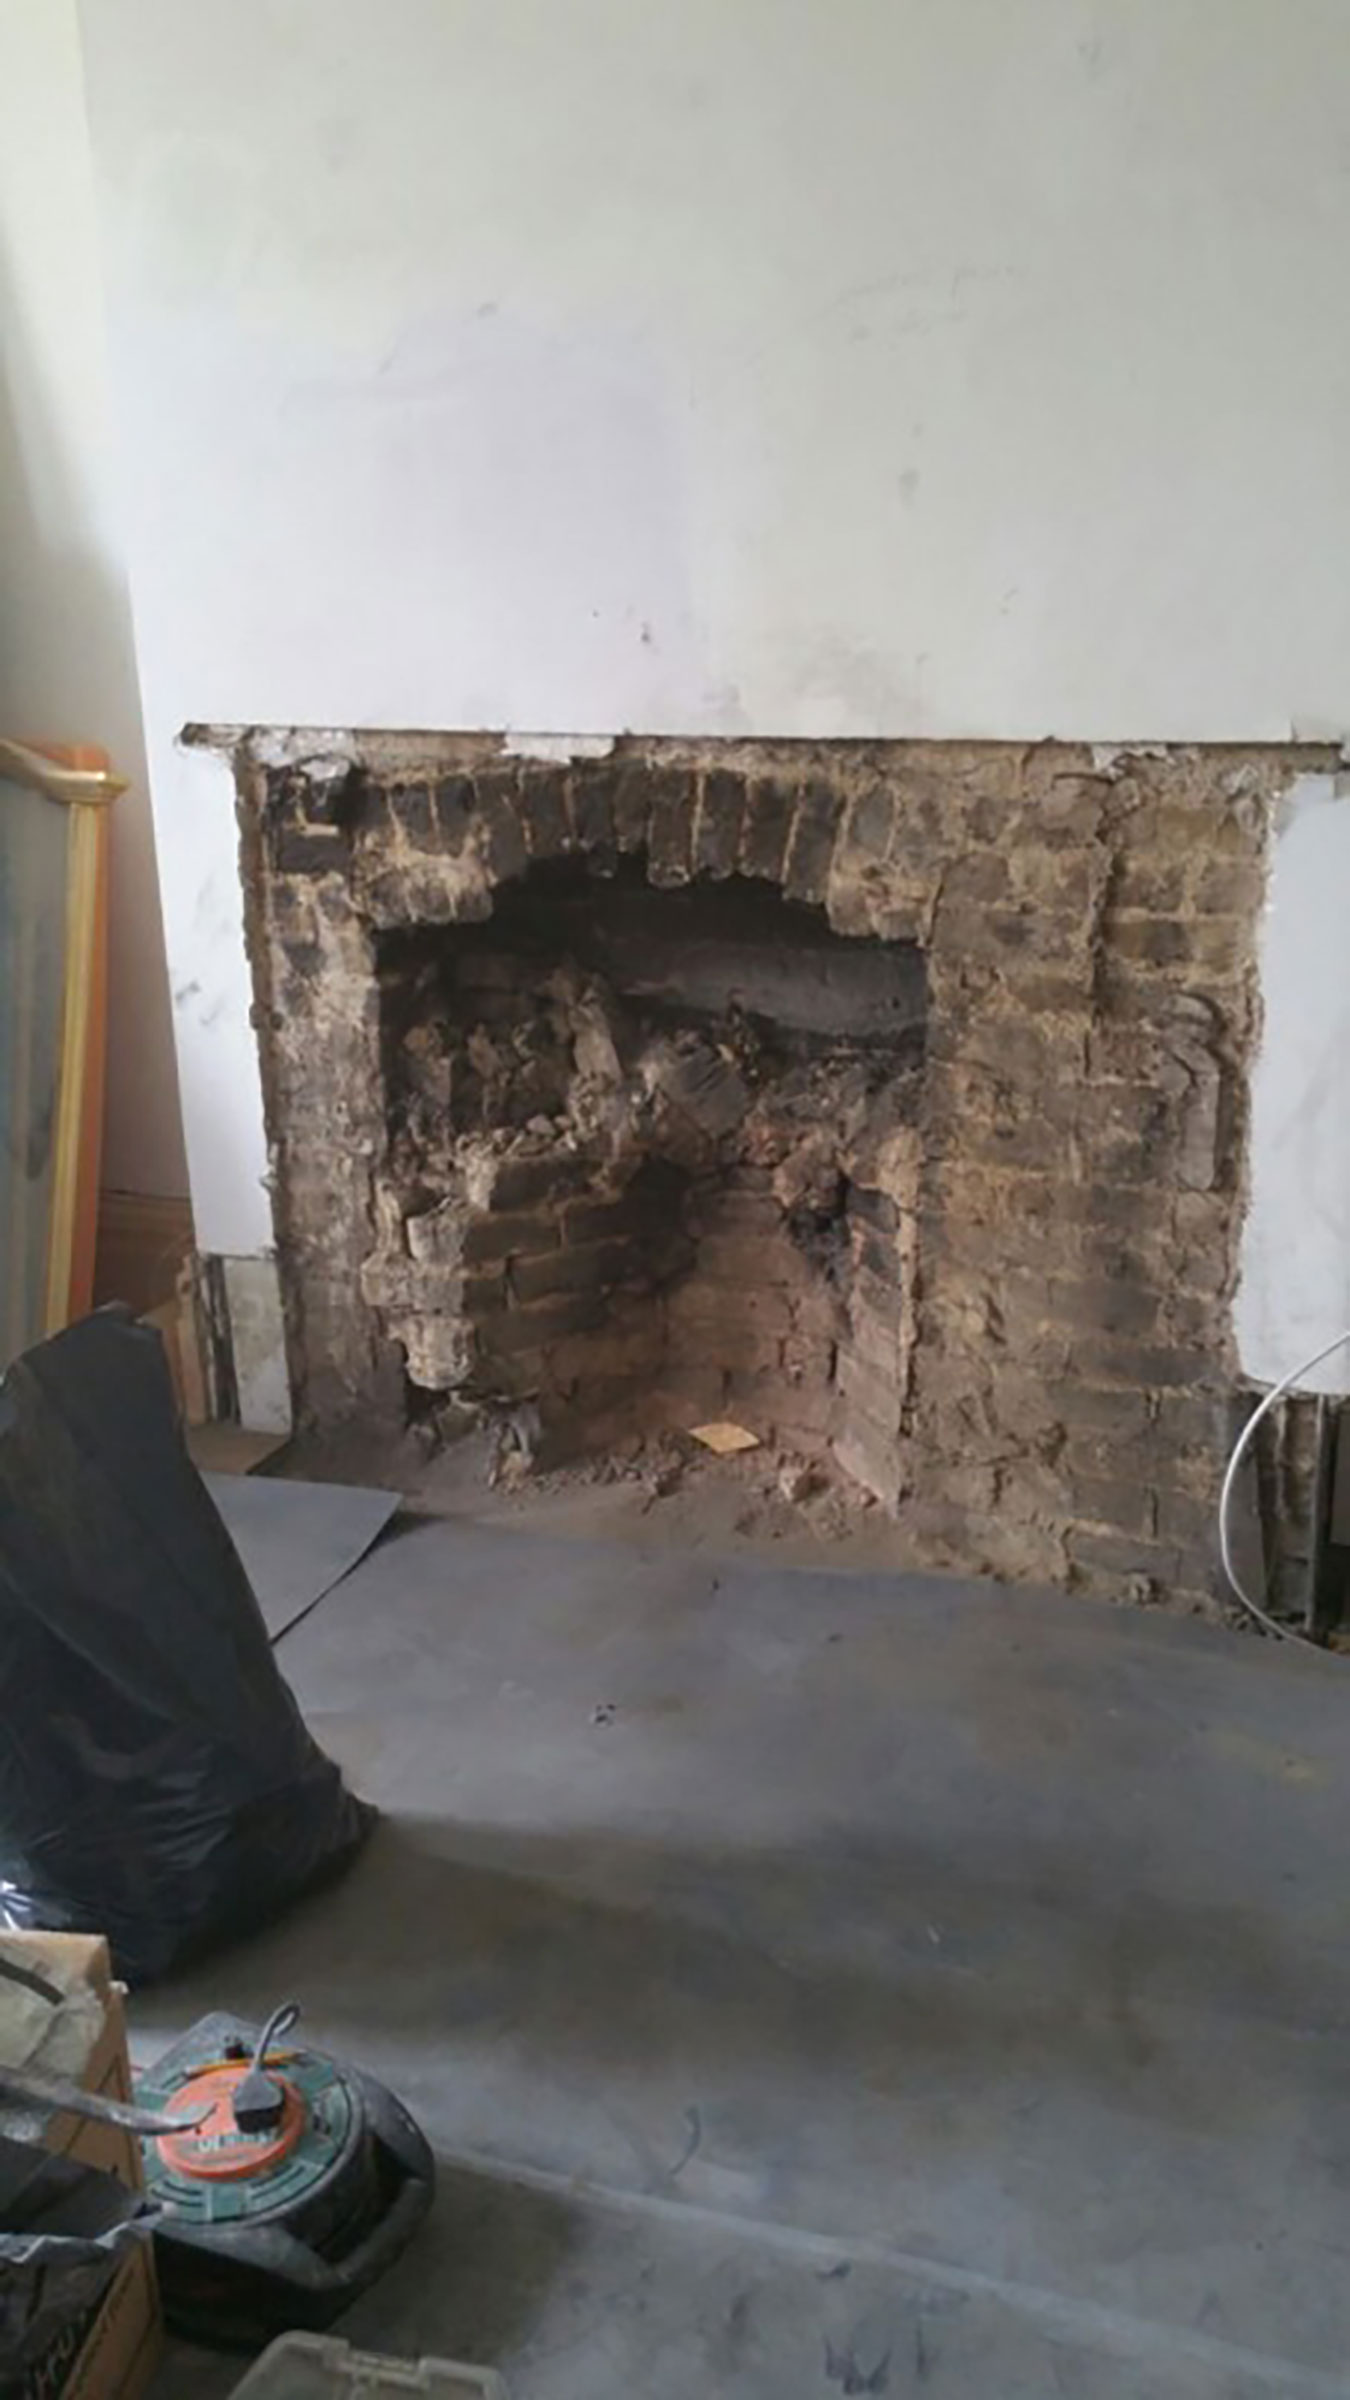
Be prepared to be left with some repair work to carry out to the wall where the surround was fixed — particularly if you are considering alternatives to fireplaces to occupy the spot. Even if you plan on replacing the surround with a new one, it may be necessary to make the wall good again to take the new fixture or you might find that the new surround is of a different shape or size and so won't cover unsightly holes where lugs were previously fixed.
If you plan on leaving the fireplace opening free of a surround, or using a mantel only, you will need to have the wall surrounding it plastered, before decorating.
Get the Homebuilding & Renovating Newsletter
Bring your dream home to life with expert advice, how to guides and design inspiration. Sign up for our newsletter and get two free tickets to a Homebuilding & Renovating Show near you.
Natasha was Homebuilding & Renovating’s Associate Content Editor and was a member of the Homebuilding team for over two decades. In her role on Homebuilding & Renovating she imparted her knowledge on a wide range of renovation topics, from window condensation to renovating bathrooms, to removing walls and adding an extension. She continues to write for Homebuilding on these topics, and more. An experienced journalist and renovation expert, she also writes for a number of other homes titles, including Homes & Gardens and Ideal Homes. Over the years Natasha has renovated and carried out a side extension to a Victorian terrace. She is currently living in the rural Edwardian cottage she renovated and extended on a largely DIY basis, living on site for the duration of the project.

