Removable wallpaper — what is it and should you give it a go?
Ever heard of removable wallpaper? Here we take a look at what it is, how to prep your walls for it and how to hang it

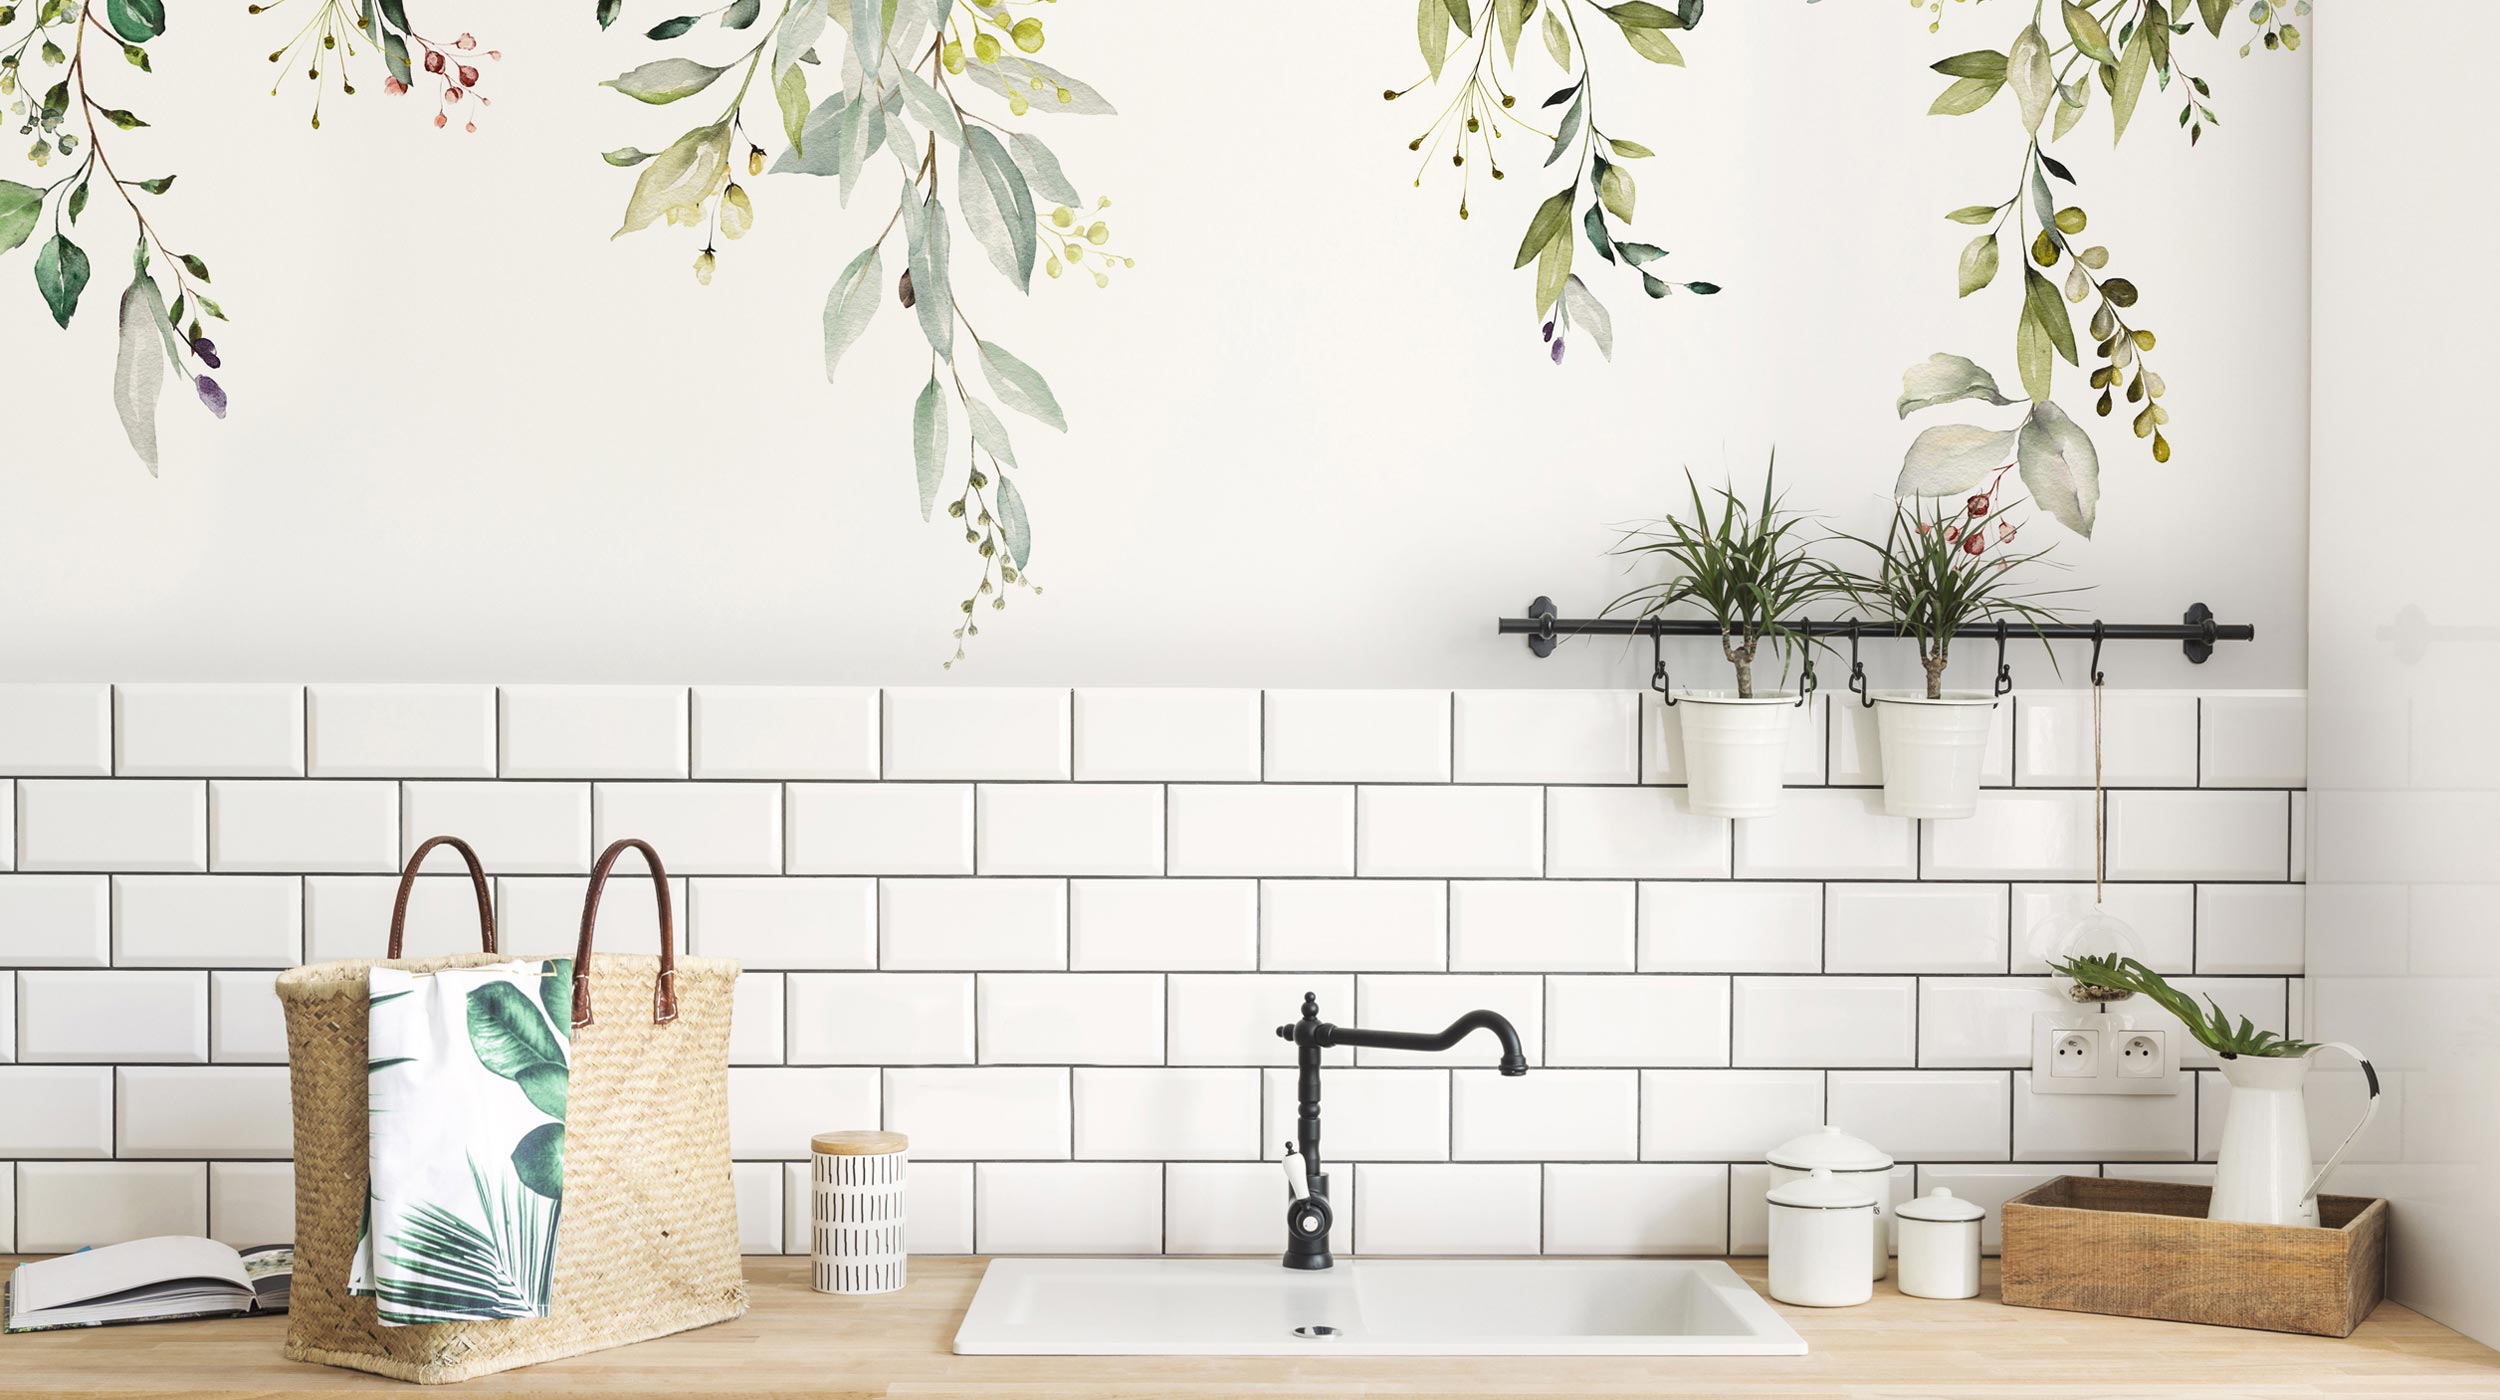
Need new wallpaper fast? Say hello to removable wallpaper. Rather than all the tools, effort, time and elbow grease it takes to install regular wallpaper, removable wallpaper makes the whole task much quicker and easier.
You will still need to know how to wallpaper when hanging removable wallpaper but you won't need any paste brushes, dust sheets or wallpaper paste. And with much less mess and fuss you can have a new wall of wallpaper in no time at all.
Here's our guide to removable wallpaper, discussing all the pros and cons, how to hang it DIY and what sort of prices you can expect for a few rolls of the stuff. You can then decide whether you should give removable wallpaper a go in your home or project.
What is removable wallpaper?
It is very much what it sounds like – wallpaper that is easy to remove and doesn’t need to be pasted to the wall. But how does it work? Rachael Silvester, content creator at bespoke print on demand wallpaper specialists wallsauce.com gives us a quick insight. “A removable wallpaper is a particular type of material which has a self-adhesive backing – meaning you are able to remove the wallpaper from your wall with ease and without any damage”
You can use removable wallpaper anywhere where regular wallpaper would be used, but its ‘peel and stick’ nature make it an ideal choice for schools, kids’ playrooms and rented houses and apartments.
Do I need to prepare a wall for removable wallpaper?
Like any wallpaper project, preparation is key and preparing a wall for removable wallpaper is very similar to preparing a wall for painting.
But, there are a few subtle differences that need to be taken into consideration, otherwise any removable wallpaper simply won’t last as expected.
“It's important to prepare your wall beforehand. Make sure your wall is clean, smooth and free from any flaky paint. It's also crucial that your wall is primed/sealed first. Allow the primer/sealer 2-3 weeks to dry out before hanging your mural," Rachel Silvester from Wallsauce explains.
It’s also worth noting that not all removable wallpapers are exactly the same and there are a few preparation precautions to think about when preparing a wall. “Our wallpapers do have a degree of transparency so primers other than white may show through and take away the full effect of your new wallpaper,” adds Silvester.
What tools will I need to put up removable wallpaper?
Removable wallpaper or peel and stick wallpaper is like a large roll of sticky back plastic or vinyl so you will need a largish cutting surface — like a table — and a few essential tools including the following before you start:
- Craft knife
- Level
- Pencil
- Ruler or straight edge
- Step ladder
- Vinyl squeegee
- Tape measure

Is it difficult to hang removable wallpaper?
The lack of paste and brushes means the process is a little simpler than hanging standard wallpaper.
And if you do make a small mistake you can quickly remove the paper and start again as Silvester from Wallsauce explains, “Hanging removable wallpaper is very easy as you can do it yourself and you don’t have to pay out for a professional decorator to do it for you, as the wallpaper requires no paste. The ‘peel and stick’ element will allow you to pull and peel sections free during application should you need to adjust the angle or straighten any edges – without lessening the adhesive or spoiling the wallpaper”.
However there are a few simple rules you can follow that will make application as fuss-free as possible.
1. Measure up and pre-cut
Measure the space where you are going to apply the removable wallpaper and measure up again to make sure you r measurements are correct, Write down the measurements so you don’t forget, adding an extra three inches all round. If the space you are going to apply to is wider than the roll just measure the length.
2. Apply
Get a corner and peel back the backing around a metre and stick on the wall in a top corner. Look and line up, use a spirit level if needed. Don't forget to overlap by a couple of inches. Using a squeegee like this Vinyl Wrap Squeegee Applicator at Amazon, work from the centre of the area and push outwards. Now peel off more backing and repeat.
3. Finish with craft knife
Once the removable wallpaper is in place you need a long straight edge and a sharp craft knife to finish. Firmly hold the straight edge in place and cut along with a knife. Alternatively, mark with the back of a pair of wallpaper scissors, peel off and cut with the scissors.
Is removable wallpaper more expensive?
Prices for regular wallpaper vary greatly and the same applies to removable wallpaper. But in general removable wallpaper is typically little more expensive than standard wallpaper.
As an example you can pay as little as £20 a roll for standard patterned wallpaper, while similar removable wallpaper is around £25 a roll. But for more bespoke designs you can expect to pay triple figures for standard and removable wallpaper. It is very much a matter of shopping around to get what you want.
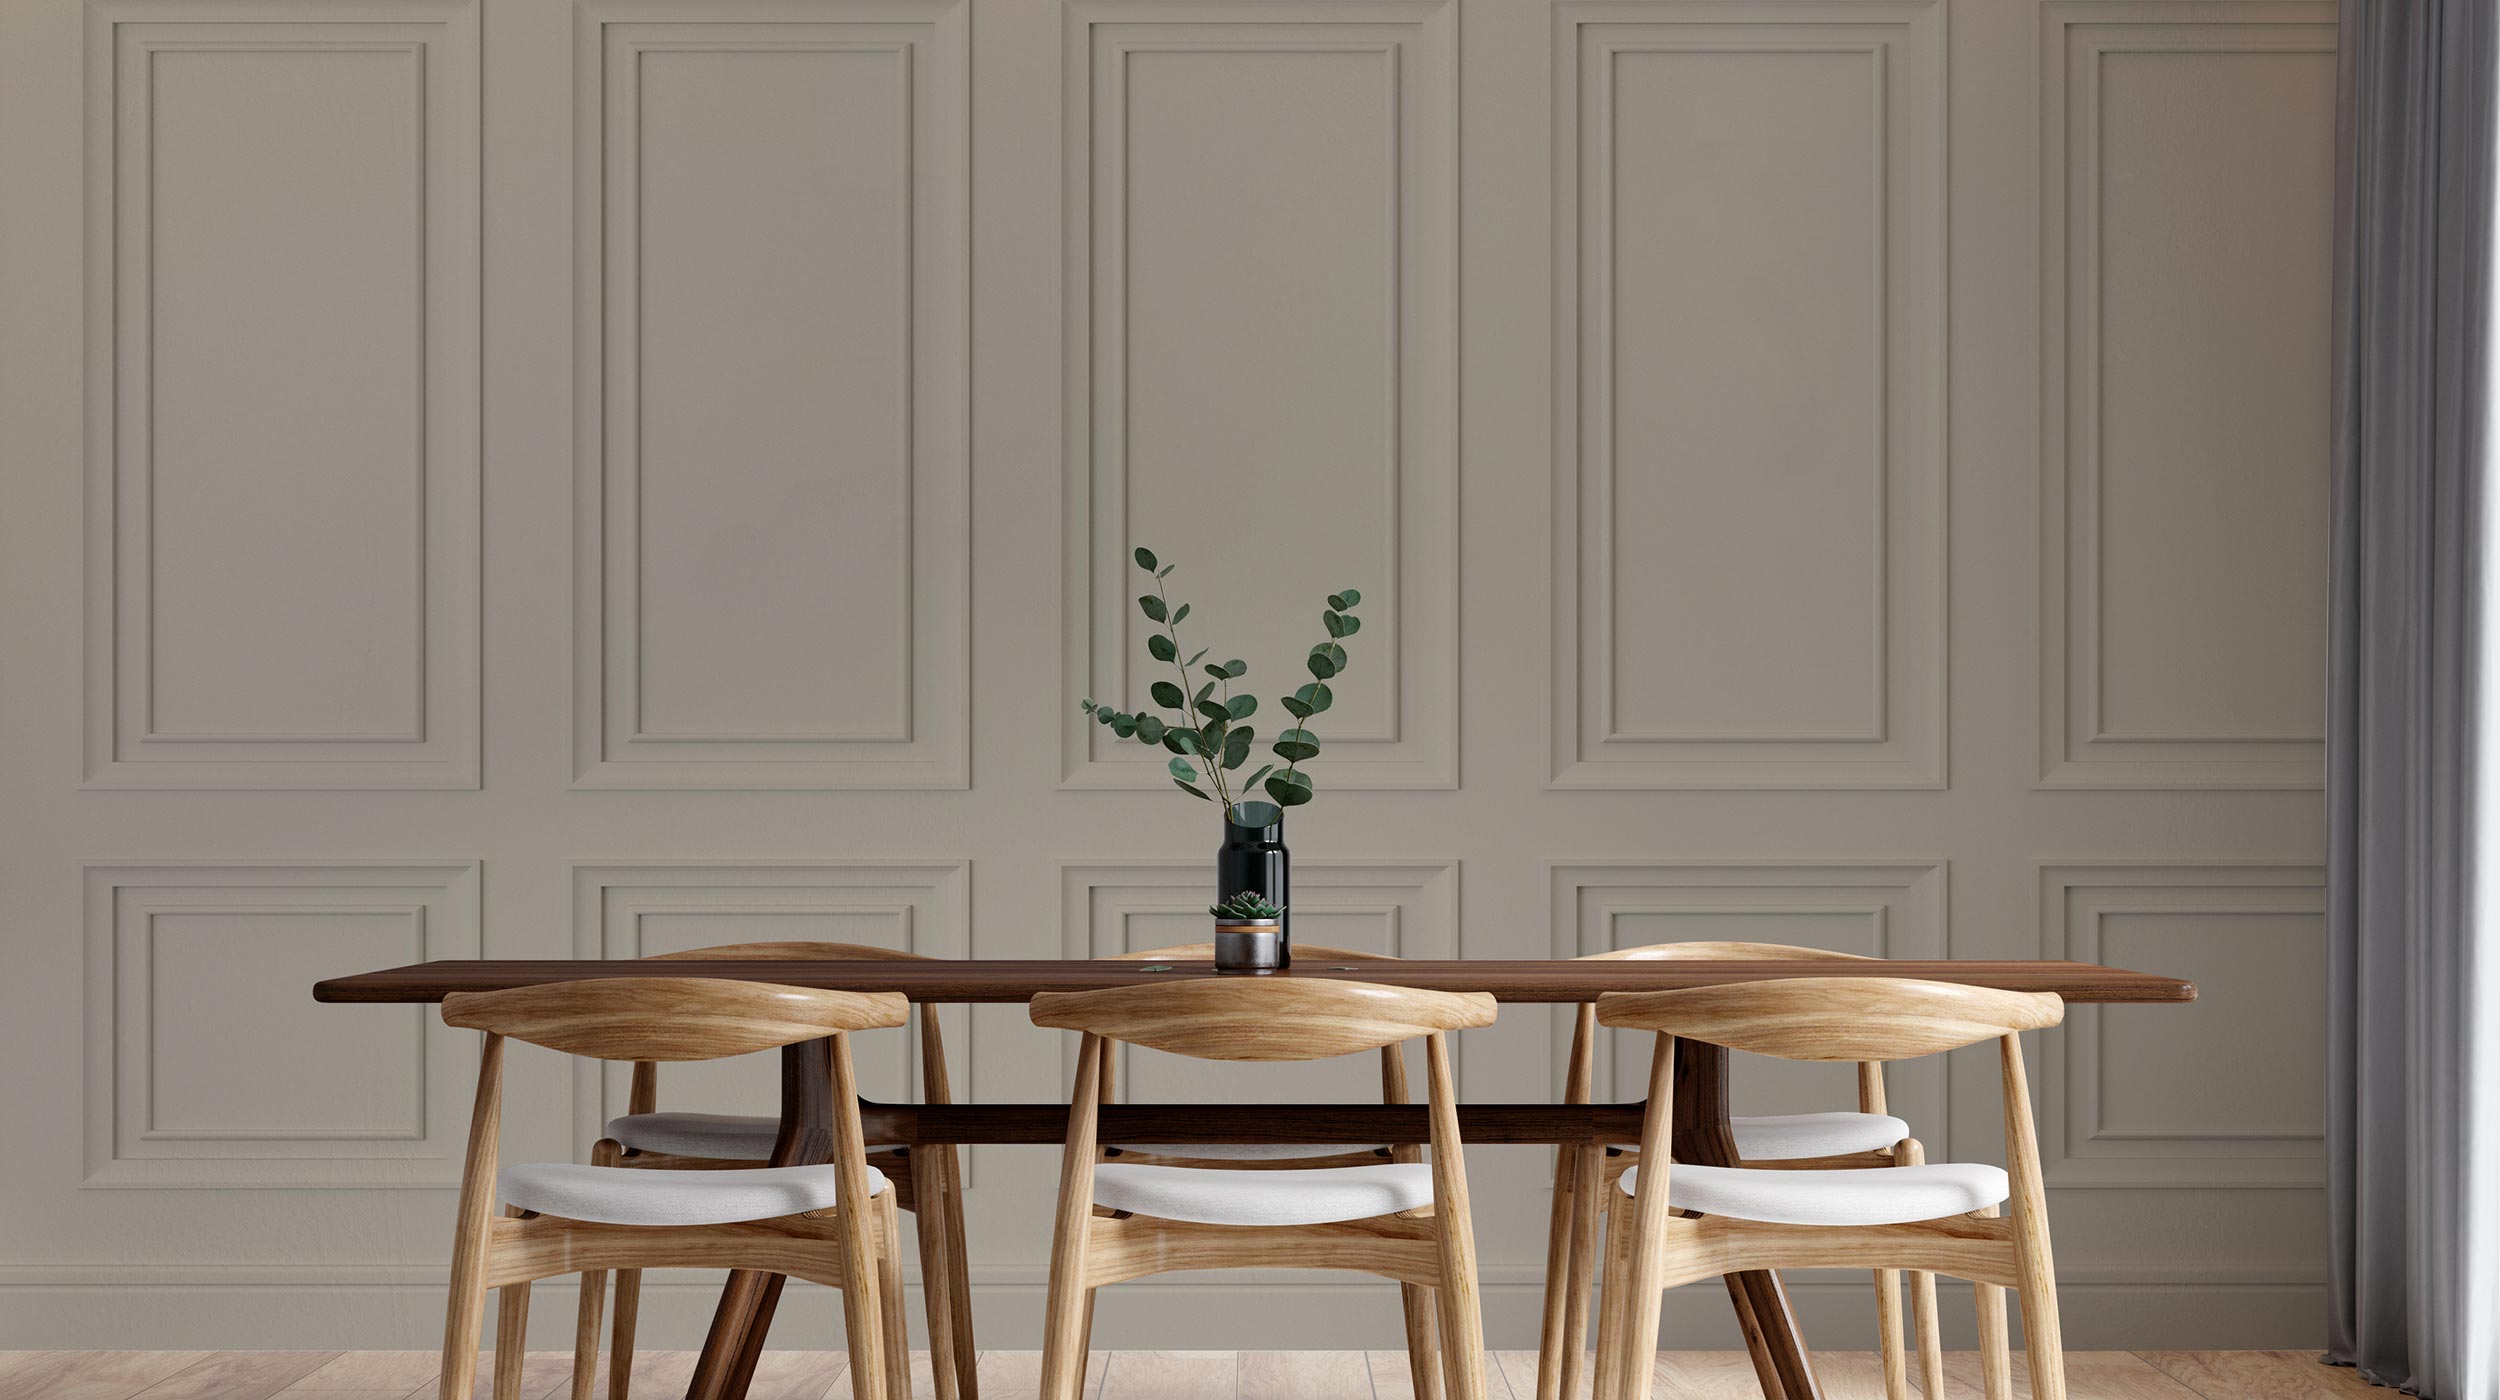
But removable wallpaper is often only used for feature walls and other areas in the home to help create separation or a focal point. Check out these dado rail ideas to help make good use of your removable wallpaper.
Where can I buy removable wallpaper?
Removable wallpaper is a specialist wallpaper and is not available in a lot of wallpaper stockists. However, there are plenty of outlets that do sell it. If you are looking for variety then there are plenty of removable wallpapers at Amazon or check out the Peel and Stick wallpapers at B&Q
But if you want a more specialist supplier then check out WallSauce, the industry experts who contributed to this article. Other sites that are worth a look include Wallpaper UK , Wall Pops and EverWallaper
Get the Homebuilding & Renovating Newsletter
Bring your dream home to life with expert advice, how to guides and design inspiration. Sign up for our newsletter and get two free tickets to a Homebuilding & Renovating Show near you.
Steve Jenkins is a freelance content creator with over two decades of experience working in digital and print and was previously the DIY content editor for Homebuilding & Renovating.
He is a keen DIYer with over 20 years of experience in transforming and renovating the many homes he has lived in. He specialises in painting and decorating, but has a wide range of skills gleaned from working in the building trade for around 10 years and spending time at night school learning how to plaster and plumb.
He has fitted kitchens, tiled bathrooms and kitchens, laid many floors, built partition walls, plastered walls, plumbed in bathrooms, worked on loft conversions and much more. And when he's not sure how to tackle a DIY project he has a wide network of friends – including plumbers, gas engineers, tilers, carpenters, painters and decorators, electricians and builders – in the trade to call upon.

