How to remove mould from grout in bathrooms and kitchens
Nasty black stains left you wondering how to remove mould from grout? We've been busy looking into the most effective methods to eliminate the problem

If you are looking for ways to remove mould from grout then you have come to just the right place.
Although there are plenty of mould removal methods around, when it comes to certain spots around the home, some are easier than others to get sparkling. These tend to be in hard to reach areas and on very porous materials, such as certain fabrics or bare wood — and grout.
Grout between tiles is notoriously hard to keep clean and mould seems to love it, particularly as it is often found in rooms prone to high humidity levels, such as bathrooms and kitchens, where mould can thrive.
However, there are ways to prevent it from forming and, thankfully, to get rid of it if it has settled in your grout and is currently ruining the look of your carefully chosen tiles.
Here, we look at a selection of tried and tested methods, some of which rely on everyday household cupboard essentials, others which take a more powerful, chemical-based approach.
Is it possible to remove mould from grout?
In many cases mould can be successfully removed from grout, but this will largely depend on how bad the mould problem has been allowed to get. If, having tried the suggestions we give here, you are still having no luck in restoring your grout back to its former glistening glory, then regrouting tiles might well be your only option.
While this is undoubtedly more time-consuming than stain removal it will guarantee you get to look at nice clean grout once more. You will need to get rid of the stained grout using a grout removal tool or a multi tool with a grout removal blade, before filling the clean gaps with fresh grout.
However, before rolling up your sleeves and getting out the dust sheets, give a few of the following methods a try.

1. Use the power of elbow grease
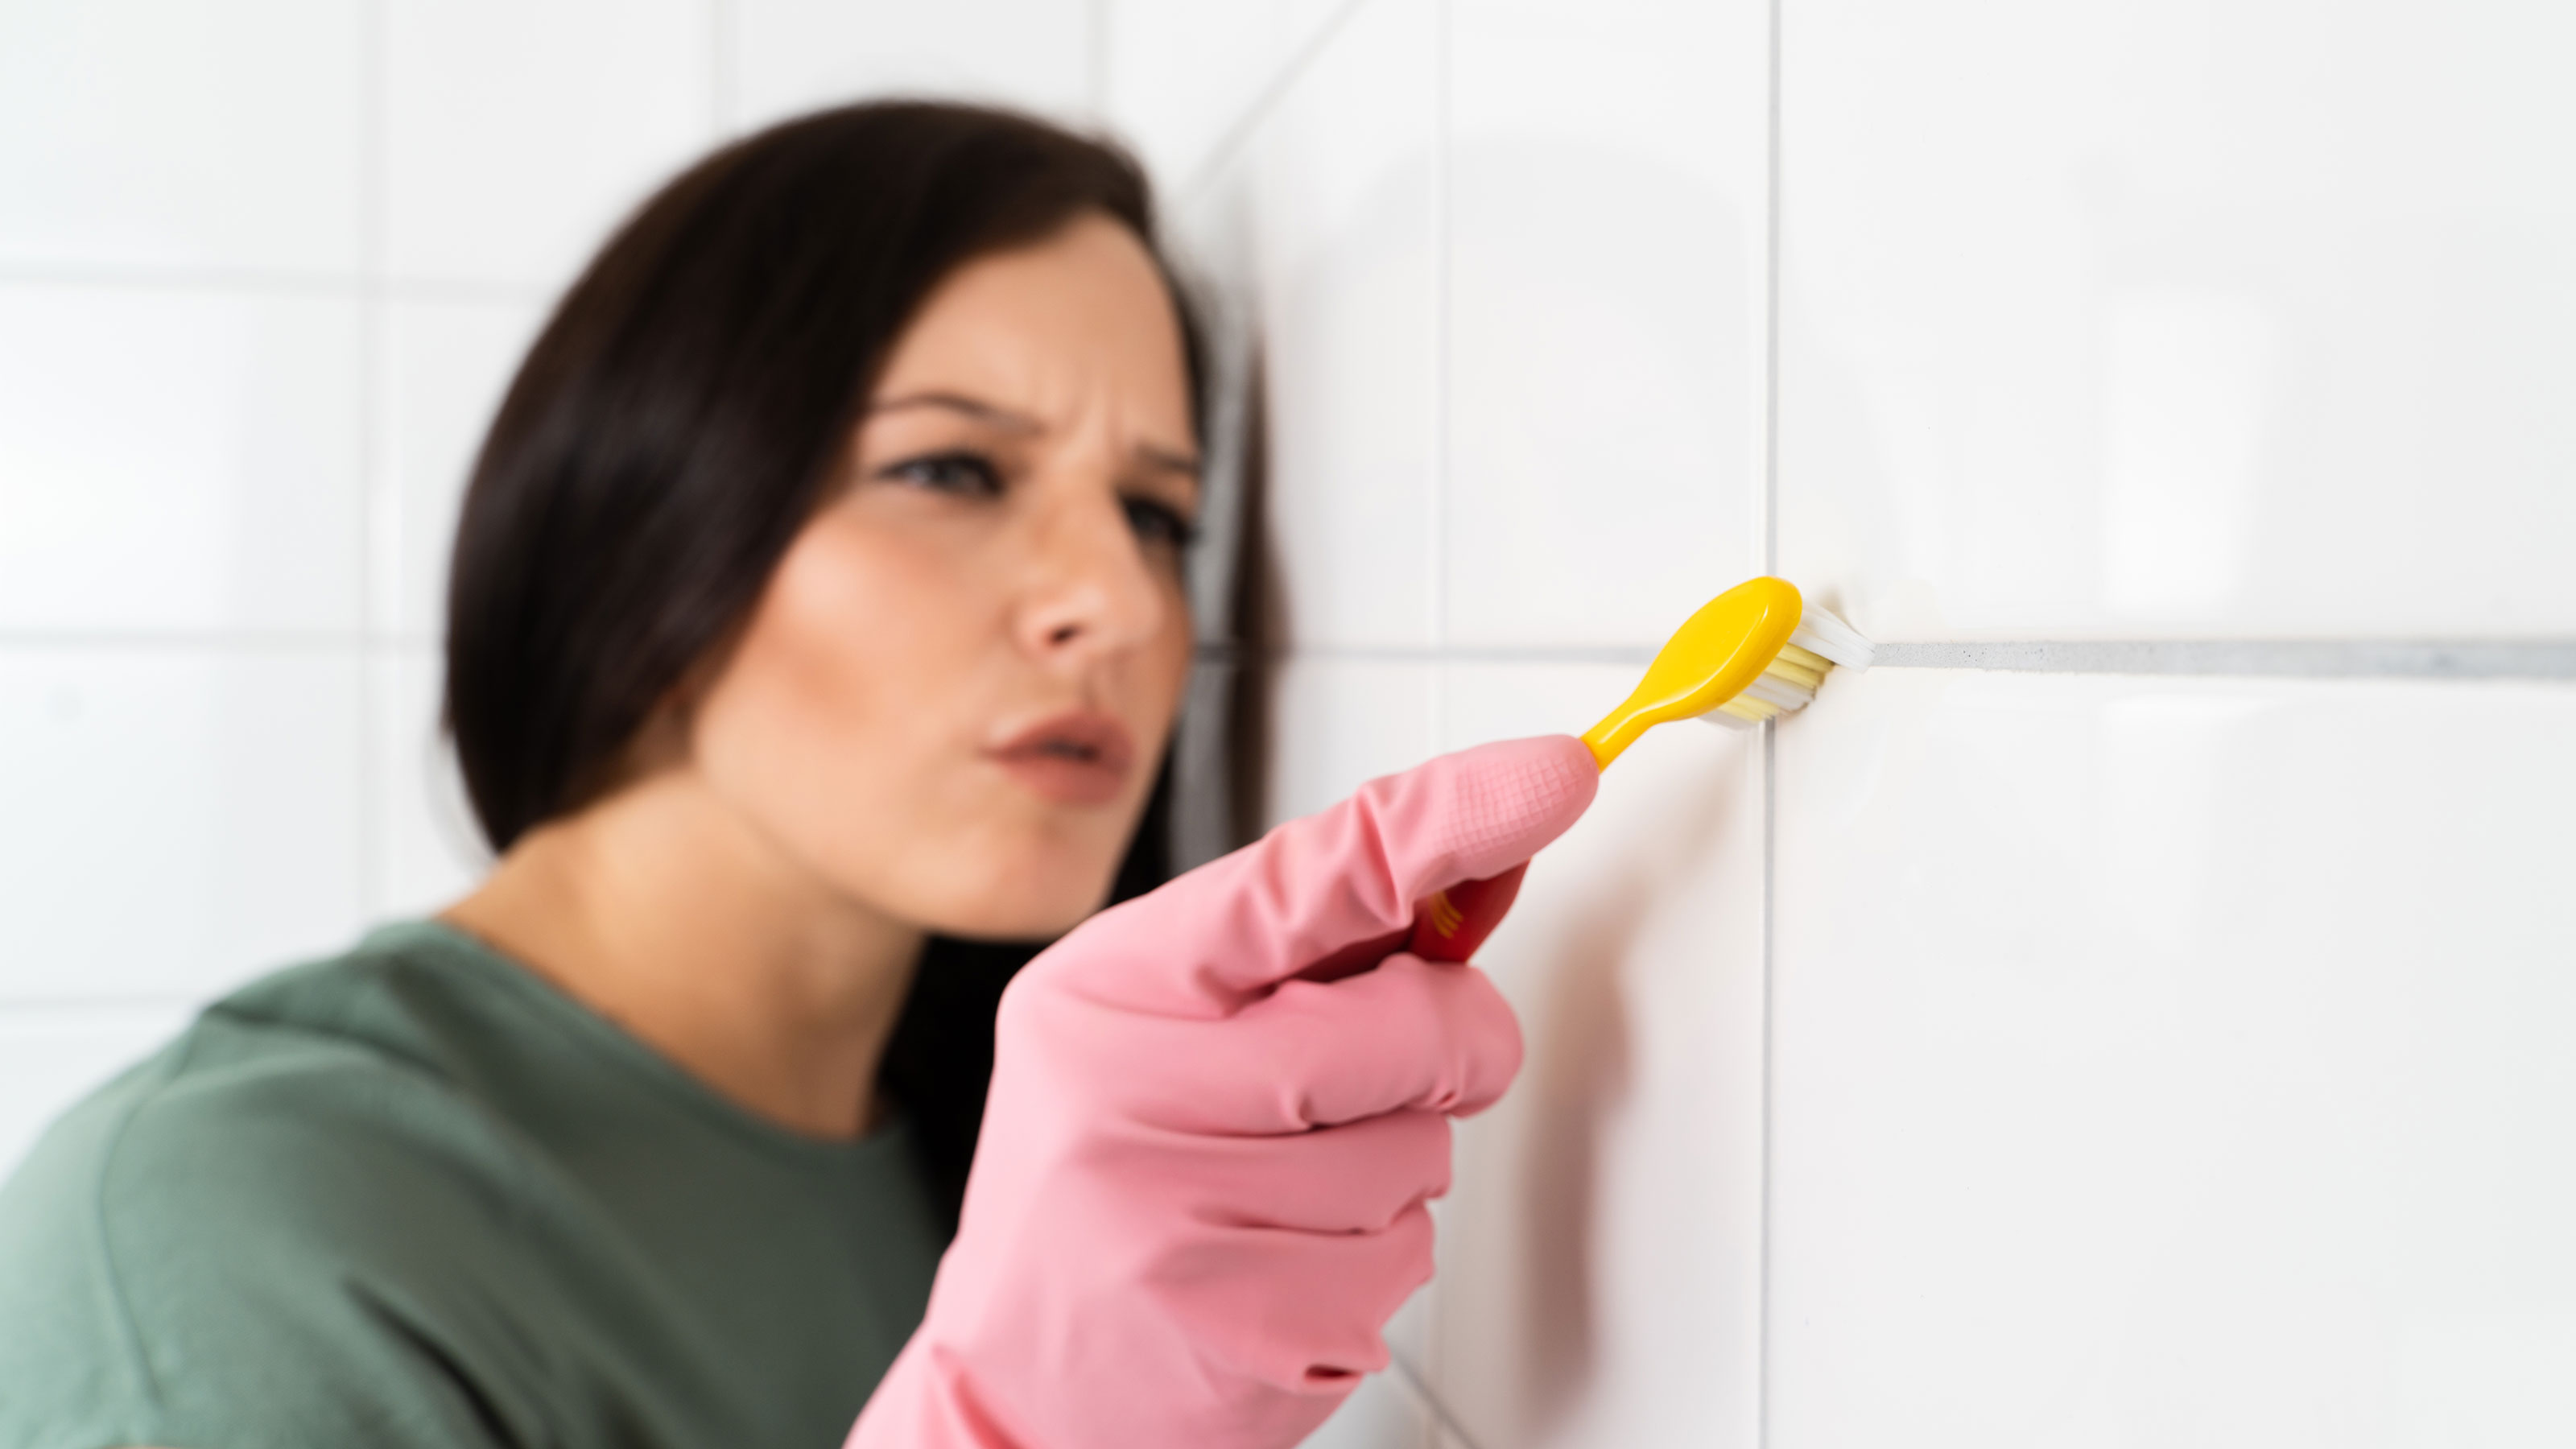
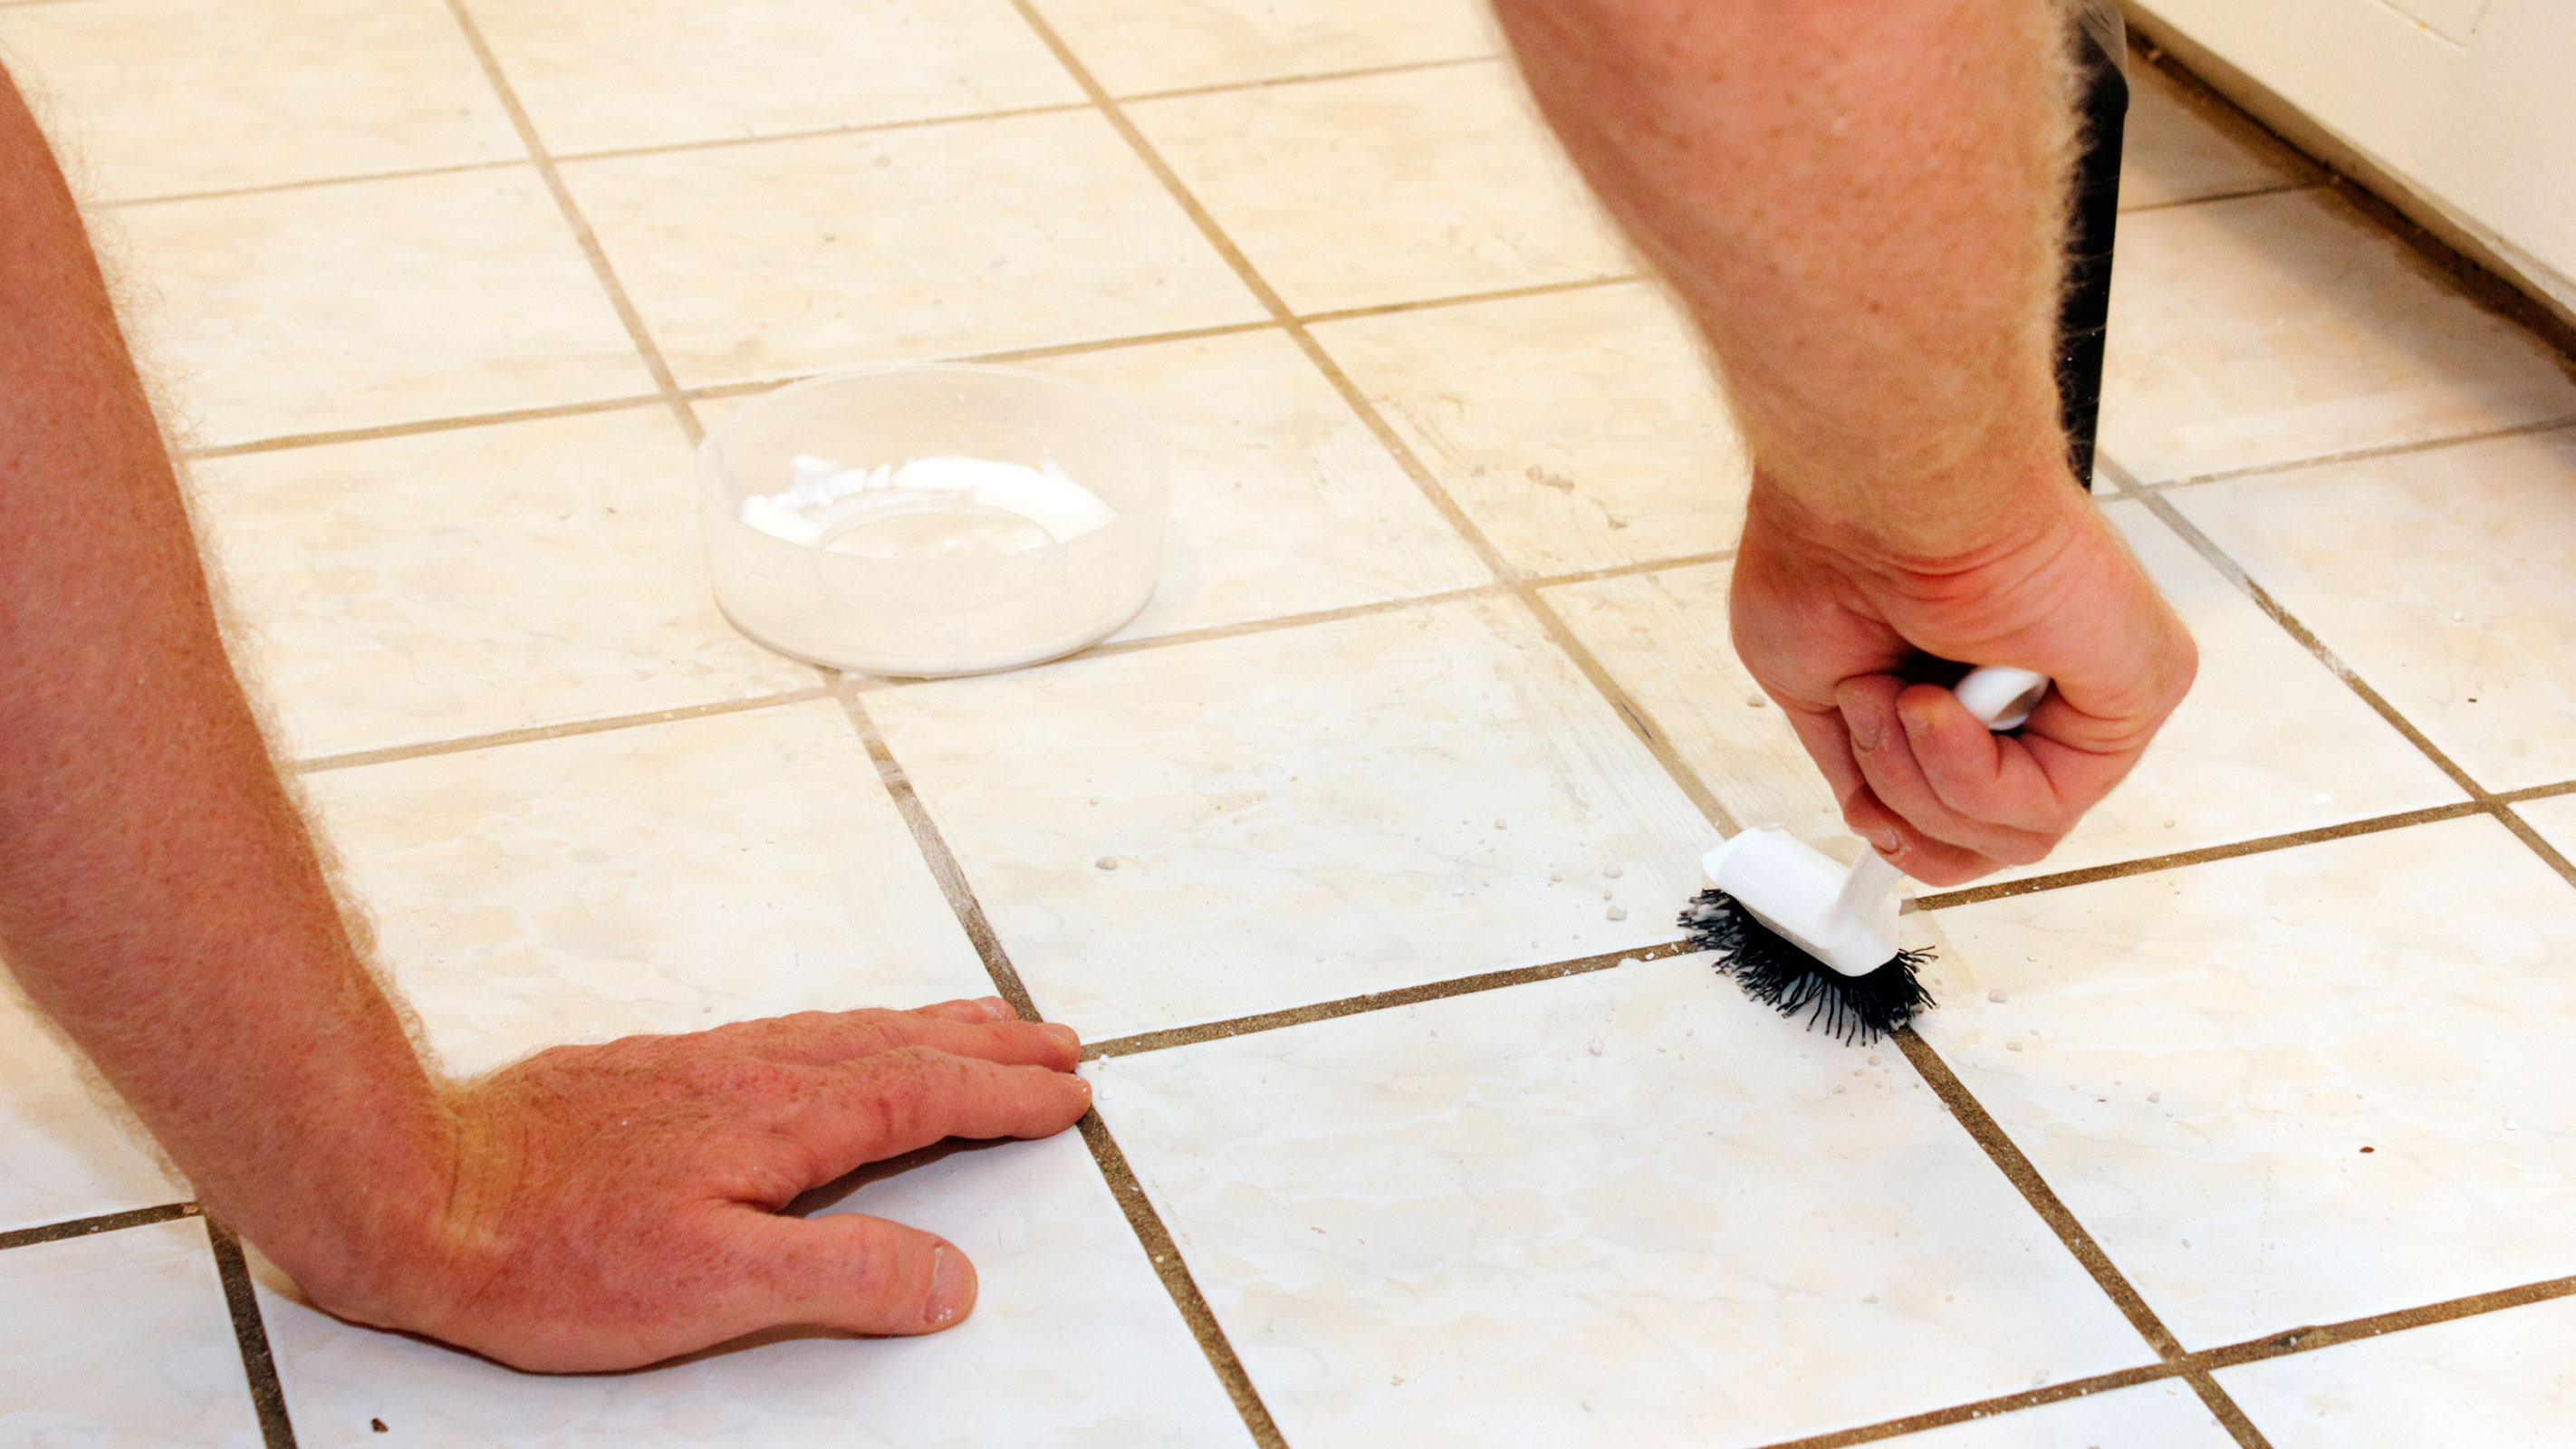
Before cracking out the chemicals or starting to mix up any homemade cleaning products, it is well worth seeing whether a good old-fashioned scrub could bring your grout back to gleaming.
Grab a bucketful of warm water (a squirt of washing up liquid or bathroom cleaner won't hurt either), pull on the rubber gloves and arm yourself with an old toothbrush, nail brush, scrubbing brush or even an electric toothbrush.
You can also buy special grout brushes, designed specifically for the job — try this set of four grout brushes from Amazon. Or, if you are a fan of gadgets, the Voweek Electric Spin Scrubber has received rave reviews and can also be used around other areas of the home.
2. Try one of the many bleach removal methods
We have heard great things about this first method of cleaning grout and it really does take minimal effort — although you will need to stock up on cotton wool.
All you need is some cotton wool pads – the bigger the better – and a bottle of household bleach. Be sure to protect your clothes, skin and any soft furnishings in the vicinity before you begin.
A note here, this is a method that is going to work best on the grout of floor tiles or other horizontal surfaces where the cotton pads won't slide off down walls.
Soak the cotton pads in bleach before covering your grout lines with them and leave for up to 12 hours. In this time, the mould will, hopefully, disappear. Wash off the bleach and dispose of the cotton wool.
Alternatively, make a bleach spray by combining water and bleach in a reusable spray bottle, apply to the affected areas, leave for around 30 minutes then rinse away.
Some people also swear by making a paste out of bleach and bicarbonate of soda, scrubbing it into the grout and leaving it for 15 minutes or so. You can then rinse it away with clean water.
3. Give whitening toothpaste a try
Yes, really, apparently whitening toothpaste is good for more than just your smile.
Use a scrubbing brush or old toothbrush (or one of the tools mentioned above) to work whitening toothpaste into the grout lines until the mould stains begin to lift. The idea behind this solution is that the slightly abrasive nature of this type of toothpaste with bicarbonate of soda or whitening agents, will help eliminate unsightly mould spots.
4. Remember that vinegar is good for more than chips
Where would we be without this trusty store cupboard staple? Cleaning vinegar is a great all-round natural cleaning solution that can work on all kinds of stains and can be used for removing mould from walls, wood and silicone sealant too.
In the case of grout, you may well find that this is a technique that will only help with light stains. Fill a spray bottle with half warm water, half white vinegar before spraying it on to the grout. Leave for 5-10 minutes before scrubbing away with a brush.
Using a vinegar spray regularly on grout can help prevent mould from forming in the first place too.
5. Make a DIY solution with bicarbonate of soda
Time to turn mixologist for this one — a homemade mould-busting solution using bicarbonate of soda and white vinegar.
Combine one cup vinegar with two to three teaspoons of bicarbonate of soda, adding more if needed, until you have a thick paste. Work into the grout with a cloth and leave for around 15 minutes before washing the paste away.
This is also a great way to remove black mould from silicone sealant.

6. Get fresh with lemon juice
Not only could lemon juice help with mould stains on grout, but it will also leave your room smelling fresh and zingy too.
Cleaning experts recommend spraying lemon juice over the affected areas, leaving it to get to work for around 15 minutes then washing it away with warm water and a scourer or scrubbing brush.
Alternatively, apply the lemon juice by slicing a lemon in half and rubbing it directly onto the mouldy grout.
7. Splash out on a specialist mould cleaning spray
If you have tried the above methods and had no luck then it is probably time to give some of the best grout cleaners a try.
Although there are plenty of grout cleaning sprays on the market, many of these are designed to tackle dirt, stains and discolouring as opposed to mould — so it is better to pick a mould removal spray, unless the grout cleaner you are considering specifically states it is effective on mould.
HG Mould Remover Spray from Amazon consistently receives rave reviews and costs under £6. Another highly-rated product for removing mould from grout is Dettol Anti-Bacterial Mould and Mildew Remover.
8. Give a grout pen a go
Grout pens are a good way to give mouldy grout an instant refresh — but you need to be aware that they mask the stains rather than remove them. In addition, their magic does tend to wear off over time so be prepared to repeat the process.
If you fancy giving one a go, be sure to thoroughly clean as much of the mould off the grout first and make sure it is free of any soapy residues and dirt. You can then apply the product directly to the existing grout. Depending on the level of discolouration, two coats might be required.
If you fancy giving this kind of grout treatment a go, take a look at Unibond Grout Reviver Pen from Amazonwhich can also repel, kill and prevent mould.
9. Consider a deep cleanse with a steam cleaner
If you happen to be the owner of a steam cleaner then you are in luck – they can be a great way to remove mould from grout – particularly those that come with grout cleaning attachments.
Before getting started, spray the affected areas with a solution of equal parts vinegar and water and let this sit for 15 minutes. You can then get to work with your steamer, holding the nozzle close to the mouldy spots you want to eliminate.
The heat of the steam will not only help with stains, but it will also kill spores.
10. Refresh by sanding and sealing
If the mould stains in your grout are really ingrained then you might need to physically remove the top layer of grout rather than relying on a stain removing method.
Use a fine grade sandpaper, such as P180 to sand off the surface of the grout — wrapping the sandpaper around a fine-edged tool such as a paint scraper will help with the awkward narrow gaps.
Once the surface layer is gone, sweep and wipe the tiles clean, vacuum up any dust and finish with a grout sealer, such as HG Wall and Floor Grout Protector from Amazon, designed to be brushed onto the clean grout — it will also protect against new mould forming.
How to stop mould on grout
Once you have removed the grout mould in bathrooms or kitchens you will no doubt be keen to prevent its return.
There are several steps you can take:
- Check for leaks: Internal leaks caused by bad pipework, blocked gutters and failed roofs can all cause water penetration which, in turn, will cause damp — and damp usually equals mould too.
- Improve the room's ventilation: If you haven't got one already, invest in a good quality extractor fan. In addition, open windows daily to get fresh air circulating around the space.
- Clean the grout down daily: Natural sprays made from vinegar and lemon will help prevent mould, as will many readily-available bathroom cleaners.
- Do a daily dry down: A quick wipe of walls and floors with an old towel will really help to stop the problem returning.
Get the Homebuilding & Renovating Newsletter
Bring your dream home to life with expert advice, how to guides and design inspiration. Sign up for our newsletter and get two free tickets to a Homebuilding & Renovating Show near you.
Natasha was Homebuilding & Renovating’s Associate Content Editor and was a member of the Homebuilding team for over two decades. In her role on Homebuilding & Renovating she imparted her knowledge on a wide range of renovation topics, from window condensation to renovating bathrooms, to removing walls and adding an extension. She continues to write for Homebuilding on these topics, and more. An experienced journalist and renovation expert, she also writes for a number of other homes titles, including Homes & Gardens and Ideal Homes. Over the years Natasha has renovated and carried out a side extension to a Victorian terrace. She is currently living in the rural Edwardian cottage she renovated and extended on a largely DIY basis, living on site for the duration of the project.

