14 Property Maintenance Hacks Every Homeowner Should Know
An essential collection of tips, advice, and hacks to keep your home in tip-top condition

Is your paintwork looking tired and dated? Do you have an annoying dripping tap? Do you keep tripping up on a rogue patio slab? If you have your own home you know there is always something that needs fixing or sorting.
We've put together an assortment of 14 must-know hacks that will give you the lowdown on some indispensable fixes to save you time and money.
(MORE: Renovating a House: The Ultimate Guide)
Essential Property Maintenance Hacks for Outside
1. Paint window sills
To prepare a sill you first need to remove any loose debris and dirt. Wash down with soapy warm water and a kitchen scourer to clean. If the sill has been previously painted then use a paint scraper to remove any loose paint.
Next, rub down with medium or fine-grade sandpaper - 80-120 grit is good - to get a smooth finish. Brush away any dust, wipe clean and let it dry.
To finish, select a suitable paint. Exterior masonry paint is better for concrete sills, exterior wood paint or varnish is suitable for wooden sills, and a good multi-surface paint is ideal for PVCu.

2. Replacing and repairing guttering
To replace the brackets first check what size and type of guttering you have - you need the right brackets to match your guttering.
First, remove any guttering from the brackets. This may require an extra pair of hands depending on the length of the guttering. Install the new brackets - ideally in the same place or very near and replace the guttering. Make sure there is a slight angle heading down toward the downpipe to keep the water moving.
If there is a crack in your guttering you can use joint repair tape or gutter sealant as a short-term measure. Make sure to clean out your gutters regularly.
3. How to easily replace caulk around windows
To start you need to get rid of any old caulk around the window. If you are lucky this will just pull off, but if not then use a one or two-inch scraper. If this is too difficult to remove, use a Stanley knife to cut the caulk and then the scraper.
Now clean with warm soapy water and a kitchen scourer and dry. To ensure clean edges put painter’s tape on either side of the area to caulk.
Get your caulk gun and run in 12-inch strips (or longer if confident). You can use your finger to smooth this out (dip in water first), or alternatively use an ice lolly stick and drag it along to create a smooth edge.
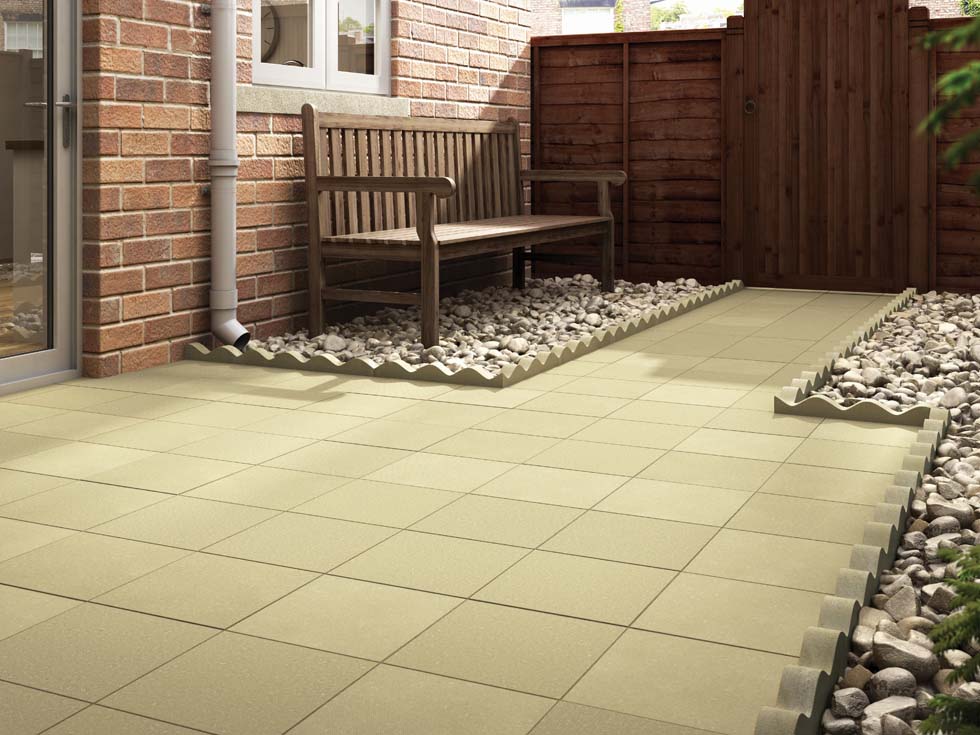
4. Relaying uneven patio slabs
Locate the patio slab you want to replace and remove the pointing/cement holding the slab in place. Use a cold chisel and hammer to chip the cement away. When finished, lift the slab using the cold chisel, or alternatively a spade.
Typically, slabs are laid on sand/dirt, so replace any missing sand/dirt and level out. To do this use a piece of wood cut to the length of the slab, and use a spirit level to make sure it's level. Replace the slab, stand on it and use small steps to help bed it in.
Essential Property Maintenance Hacks for Indoors
5. Touch up old woodwork
Use a scraper to remove any loose paint around the area to paint, then use a medium grade sandpaper - 80 grit - to rub down and blend in the area to be painted.
Dab on the undercoat and spread out with a one or two-inch paintbrush (depending on the size of the area being touched up). Let it dry as recommended and add another undercoat if needed. When dry, rub down lightly with fine sandpaper - 120-150 grit is good - then brush away dust, wipe clean and add the top coat.
6. Replacing a ceiling light pendant
First, locate your fusebox and switch off the electricity. Now remove the light shade and light bulb and place them out of the way.
Unscrew the canopy of the pendant to reveal the wires. A modern pendant typically has two wires: brown (live) and blue (neutral). Take note of your current wiring - by taking a photo, perhaps - so you know where to place the wiring of the new pendant.
Unscrew the wires enough to remove the old pendant and add the new and screw into place. Make sure the wires are secure.
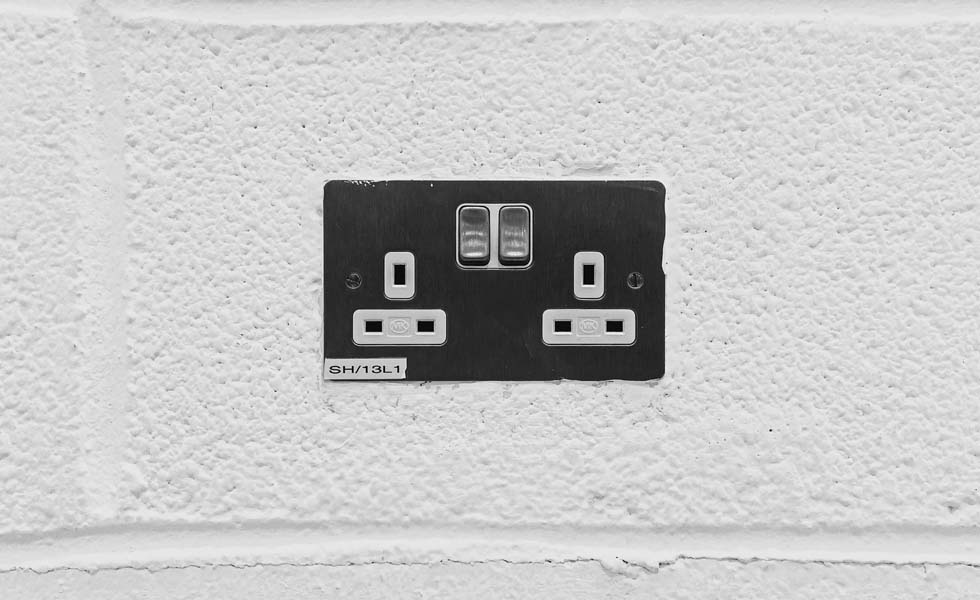
7. Replace old plug sockets with new
Before replacing any sockets, locate your fusebox and switch off the electric supply. Check that the socket is not live, which you can do by plugging in an item such as a lamp, and see if it works.
Now remove the faceplate screws to expose the wires. You will need to replace like-for-like. Typically, live is red or brown, and neutral is black or blue. Take a picture on your phone to use as a reference.
Loosen the terminal screws and wiggle the wires free. Get the new faceplate, reconnect the wires and screw it back on. Finally, go back to the fuse box and switch it on.
8. Put up a shelf
To fix a shelf to the wall the first step is to put up the brackets. If you have a brick wall you will need a masonry drill bit and hammer action drill. If a stud wall, you need a wood drill bit.
(MORE: Best cordless drills)
Choose where to put up the shelf, use a spirit level to make sure its level, and draw a faint pencil line along the underneath of the shelf. Use a multi-purpose digital detector to check for pipes and cables.
Place the shelf bracket on the wall in position and use a pencil to mark the holes. Now drill a hole deep enough for the wall plug (if needed) and tap the wall plug in. Repeat for all holes, place bracket on wall and screw in screws, and add the shelf to finish.
9. Replace old tile grout and caulk in the bathroom
Get your hands on a grout removal tool and scrape out the old grout you want replacing. Use a stiff brush to get rid of any loose grout and clean any edges.
Mix up your grout and apply with a grout float. Leave for 10 -15 minutes and wipe off with a wet sponge. Leave for another five minutes and wipe again, then leave to dry and polish up the tiles with a dry cloth.
To recaulk, remove the old caulk with a scraper and clean and dry. Knowing how to use decorators' caulk is straight-forward enough. Get your caulk and caulk gun and run along the area to be filled. Smooth out with your finger.
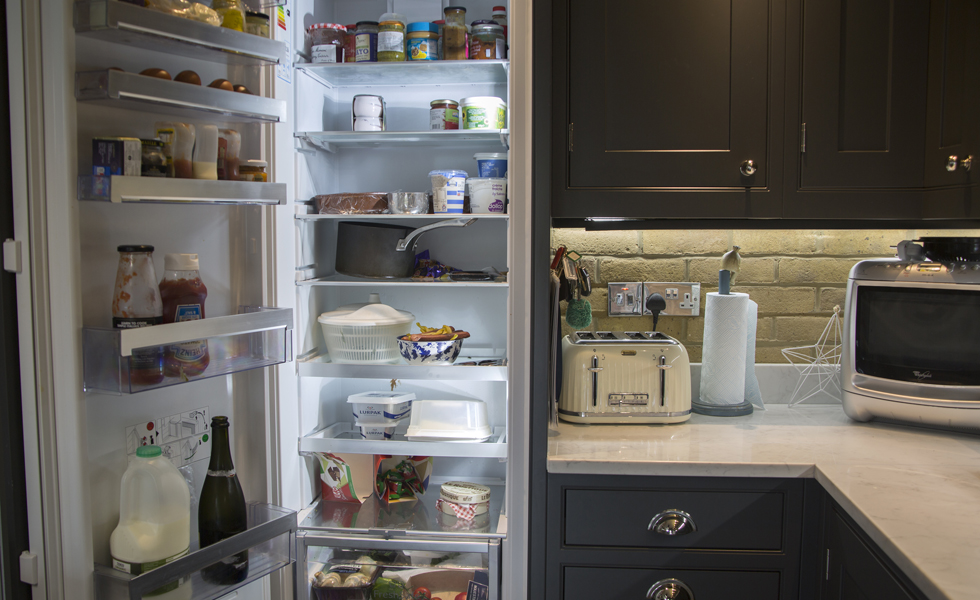
10. Swapping a built-in appliance
Swapping a built-in appliance is pretty straightforward if the appliance is the same size as the original and will have the same connections.
For example, if you are swapping in a fridge of the same size you can use the same power outlet and door. Just remove the door before moving the appliance.
If you want to swap in a different size appliance with a different source, such as replacing an electric cooker with a gas cooker, or a fridge with a fridge freezer, you will need to call in a professional.
11. Fix a dripping tap with a new washer
First, turn off the water at the stopcock (or an isolation valve if you have one), and run the tap until no water comes out. Now find the screw that holds the tap together - this is often under the hot and cold cap on the top of the tap.
Mixer taps are usually different. They have a small grub screw on the back and typically need an Allen key to remove.
Locate the washer in the valve and replace it. Replace the valve and tighten the screw that holds the tap parts together. Now switch on the water.
12. Replace door furniture for a fast new look
Door handles are easy to replace and will give your room a fresh new look quickly. But door handles come in different shapes and sizes. Ideally, replace with like-for-like.
If you have circular door handles these will have different screw positions to a long door handle. So you will need to fill the holes and touch up the paintwork.
13. Hide damp patches
If you have a damp patch the first thing to do is clean the area and dry it out. You can buy a specialist anti-mould or mildew product to remove it, alternatively mix one part of white vinegar with one part of water and spray onto the patch. Leave for one hour and wipe clean. Then use a dehumidifier to absorb moisture in the air and a heater for direct heat.
When dry, paint with specialist anti-mould paint or use an oil-based undercoat to stop any stain from reappearing. When dry, paint over with a top coat, such as emulsion. If you have a persistent damp problem you will need to get it fixed properly by calling in an expert.
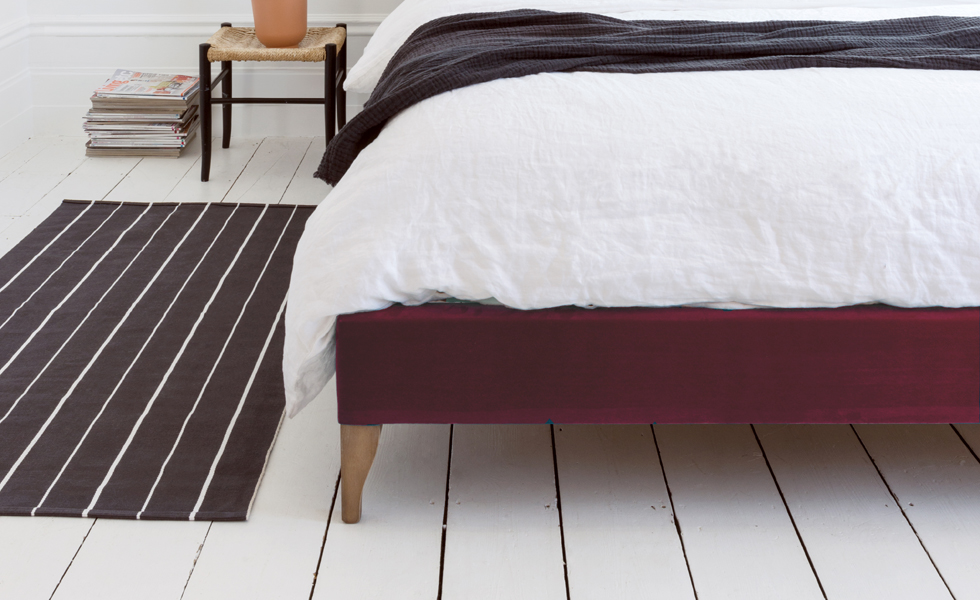
14. Fix squeaky floorboards
As floorboards age, the nails that hold them in place can become loose, which often leads to squeaky floors.
The simple solution is to locate the squeaky floorboard and add new screws. Make sure they are the right size - a 50mm screw is ideal for most floorboards.
Make sure that no electrical cables running under the floorboard. Use a drill (smaller than the screw) and a countersink so the screw head is flush with the floorboard. Then add screws every 12 inches.
Get the Homebuilding & Renovating Newsletter
Bring your dream home to life with expert advice, how to guides and design inspiration. Sign up for our newsletter and get two free tickets to a Homebuilding & Renovating Show near you.
Steve Jenkins is a freelance content creator with over two decades of experience working in digital and print and was previously the DIY content editor for Homebuilding & Renovating.
He is a keen DIYer with over 20 years of experience in transforming and renovating the many homes he has lived in. He specialises in painting and decorating, but has a wide range of skills gleaned from working in the building trade for around 10 years and spending time at night school learning how to plaster and plumb.
He has fitted kitchens, tiled bathrooms and kitchens, laid many floors, built partition walls, plastered walls, plumbed in bathrooms, worked on loft conversions and much more. And when he's not sure how to tackle a DIY project he has a wide network of friends – including plumbers, gas engineers, tilers, carpenters, painters and decorators, electricians and builders – in the trade to call upon.

