Preparing Walls For Painting: How to Get a Smooth Surface
Preparing walls for painting is key to a great finish. Find out how to prepare a newly plastered, old and wallpapered walls for a fresh coat in our DIY guide

Preparing walls for painting is an essential step to getting a great, long-lasting finish. Whether you are painting a newly plastered wall, an old wall or have just removed old wallpaper, the wall will need to be prepared properly before the first coat of paint.
Newly plastered walls need a mist coat and old walls need filling and sanding, for instance. So there's a lot more to painting a wall than choosing a colour and picking up a paint brush.
Here we give you a step-by-step for each scenario to make sure that your walls are in tip top condition before you start painting, and provide the answers to key questions.
Preparing Walls for Painting: Tools You'll Need
- Sponge
- Bucket
- Sugar soap
- Wallpaper scorer
- Fine grit sandpaper
- Sanding block
- All purpose filler or patching plaster
- Filling knife
- Emulsion paint
- 3-4-inch paintbrush
- 9-inch roller
- Roller tray
- Scraper
Preparing Newly Plastered Walls For Painting: A Step-by-Step Guide
Newly plastered walls need to be completely dry before you start painting. This takes anywhere from two to three days to two to three weeks depending on conditions.
Once walls have dried out (they will have turned from brown to pink), follow the below steps to get your walls ready for painting:
1. Check and clean
Check that your newly plastered walls are completely dry and clean. A simple tip for checking if the wall is dry is to stand back and see if it is all the same colour. If patchy it probably needs more drying time.
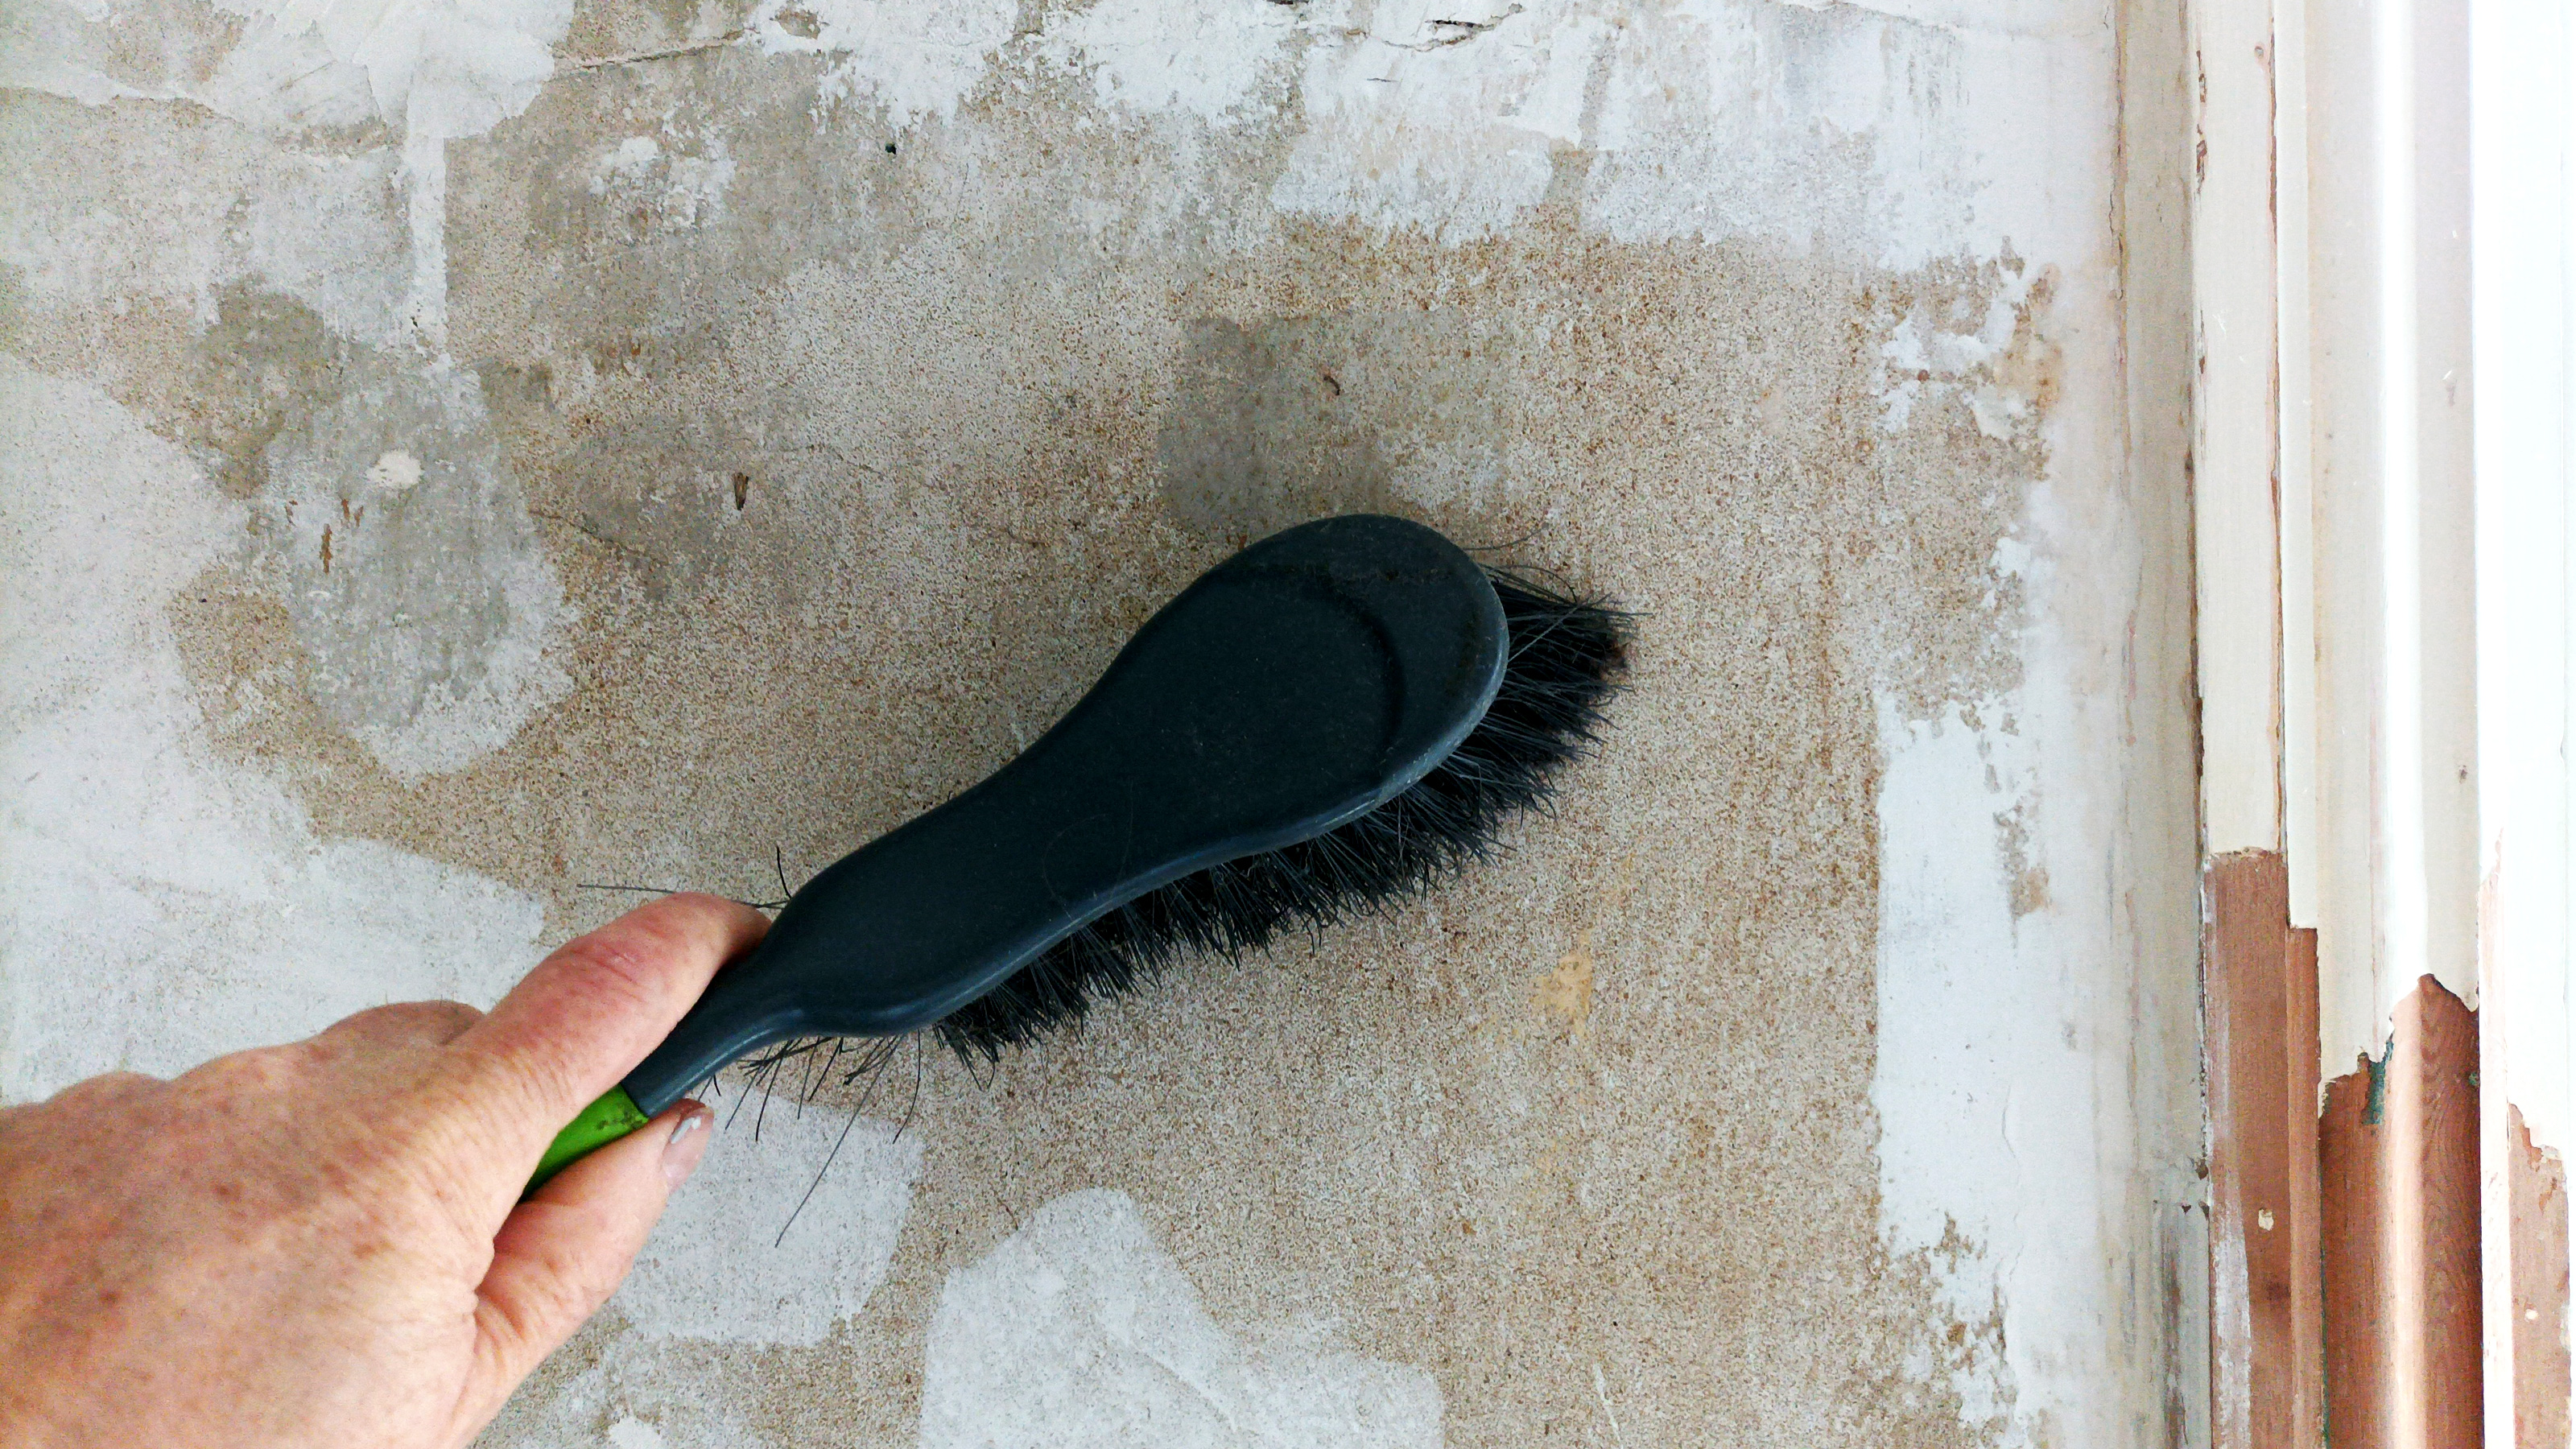
Look out for any stray plaster edges – usually in corners – and knock off with a scraper and sand down with a fine grit sandpaper. Finally get a stiff hand brush and brush down the wall and hoover up any dust.
2. Apply a mist coat
Newly plastered walls are very absorbent so need to be sealed before you can add a top coat. A watered-down emulsion known as a mist coat or bare plaster paint will need to be applied when painting new plaster and left to dry.
Use a 3-4 inch brush to add in corners and a 9-inch roller to apply to larger areas.
Preparing Old Walls For Painting: A Step-by-Step Guide
1. Clean the wall
Get a stiff brush and brush down the wall to get rid of any dust, dirt and cobwebs. Use a dry paintbrush or hand vacuum to get rid of any debris in cracks or holes that need filling.
Wash down any grease spots with sugar soap and a kitchen scourer and leave to dry.
2. Fill and sand
The next step is to learn how to patch plaster. Use an all purpose filler and a flexible filling knife to apply. Make sure to fill the cracks with plaster by pushing in the filler with the knife from a couple of angles. When done, smooth down with the end or edge of the knife and leave to dry.
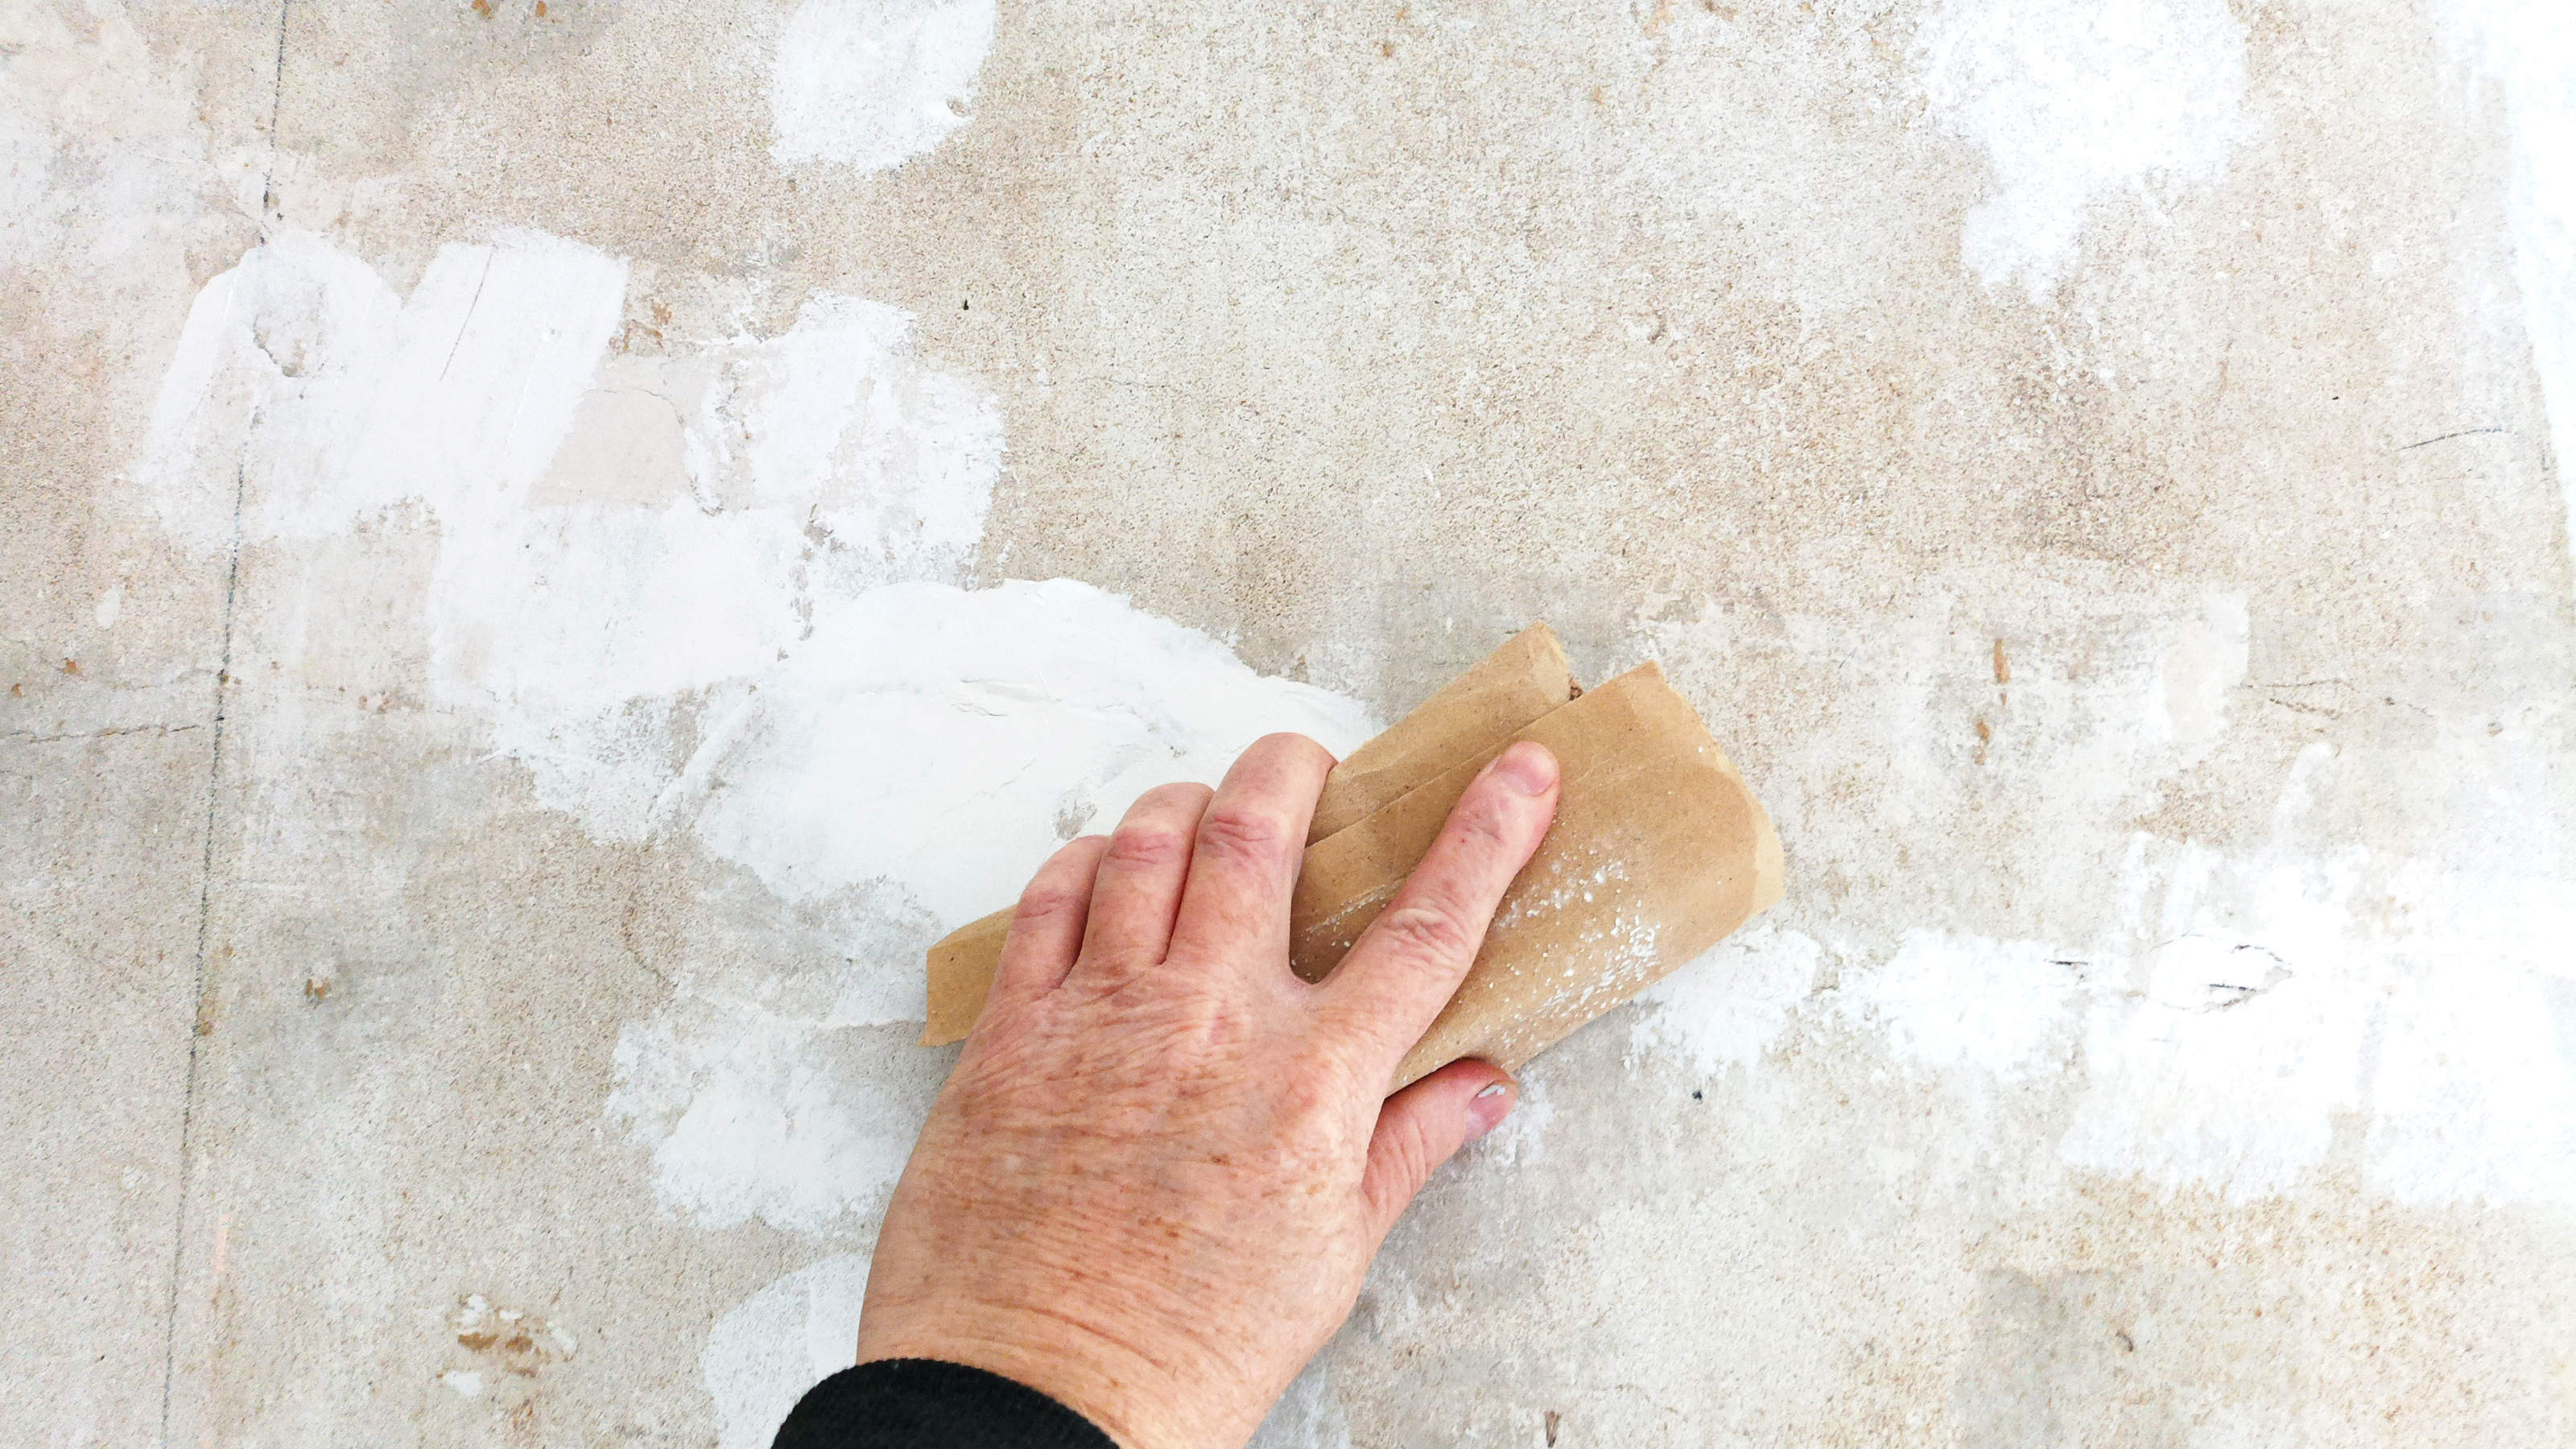
Get a sanding block and a fine grit sandpaper –180 is good – and sand any filler smooth. To save time and effort use an electric hand sander if you have one. This will produce a lot of dust, so put down dust sheets and clean up with a vacuum.

Preparing Wallpapered Walls For Painting: A Step-by-Step Guide
If your walls and wallpaper are in good condition there is the option to paint over wallpaper. If the wallpaper is in poor condition – or is a dark colour and you want to paint a light colour over the top – it is best to start removing the wallpaper to prep the wall.
1. Remove old wallpaper
Start by scoring with a Stanley knife or wallpaper scorer, but be gentle you don’t want to mark the plaster underneath. Soak the wallpaper with a sponge and warm water and use a stripping knife to remove. Repeat until done.
Alternatively, you can use an electric steam stripper. These are great for removing stubborn wallpaper.
2. Fill and sand
Once you have removed all the old wallpaper you will need to leave the wall to dry. When dry, fill in any cracks and holes, leave to dry and sand.
When removing wallpaper, old wallpaper paste residue and bits of old wallpaper can get left on the wall. So it's a good idea to sand the whole wall to get a smooth finish. To finish brush down and vacuum up any dust.

Do I Need to Wash Walls Before Painting?
Over time walls attract dust, dirt, grease and grime so it is essential that you wash walls before you think of painting. This will make sure that surfaces are free from any unwanted elements and provide better adhesion for the paint.
Do I Need to Sand Walls Before Painting?
This depends on the condition of the walls. You shouldn’t need to sand down newly plastered walls, but it's very likely you will need to sand older walls.
Check walls by eye for any rough spots. Run your fingers over the wall to feel for more subtle rough spots.
Smoother walls will give you a more even better-looking finish, so the preparation, while time-consuming, is well worth doing.
Should I Paint Dark or Light Walls First?
Start by painting light coloured walls first. Make sure to complete with as many coats as needed – typically two – before starting on the darker coloured wall(s).
Once the light coloured walls are dry, cut in with the darker coloured paint to create crisp straight lines. Use painters tape on the lighter walls to achieve a crisp finish.
If you do get dark paint on the lighter walls, clean immediately to ensure it doesn't spoil the final result.
Can I Paint Straight Over Old or Dirty Paint?
Yes, but don’t — painting straight over old and dirty walls will leave you with a poorer quality finish that won’t last.
It might look good for the very short term, but it won’t be long before paint will start to peel and flake and it will need doing again. Wash and gently sand back walls for a better finish.
How Long After Washing a Wall can I Start Painting?
Typically you should be able to start painting within an hour or two, but check the walls before you start.
A wall needs to be completely dry before you start painting. If the wall is still damp the paint won’t adhere properly and will start peeling and flaking very soon after being applied.
Get the Homebuilding & Renovating Newsletter
Bring your dream home to life with expert advice, how to guides and design inspiration. Sign up for our newsletter and get two free tickets to a Homebuilding & Renovating Show near you.
Steve Jenkins is a freelance content creator with over two decades of experience working in digital and print and was previously the DIY content editor for Homebuilding & Renovating.
He is a keen DIYer with over 20 years of experience in transforming and renovating the many homes he has lived in. He specialises in painting and decorating, but has a wide range of skills gleaned from working in the building trade for around 10 years and spending time at night school learning how to plaster and plumb.
He has fitted kitchens, tiled bathrooms and kitchens, laid many floors, built partition walls, plastered walls, plumbed in bathrooms, worked on loft conversions and much more. And when he's not sure how to tackle a DIY project he has a wide network of friends – including plumbers, gas engineers, tilers, carpenters, painters and decorators, electricians and builders – in the trade to call upon.

