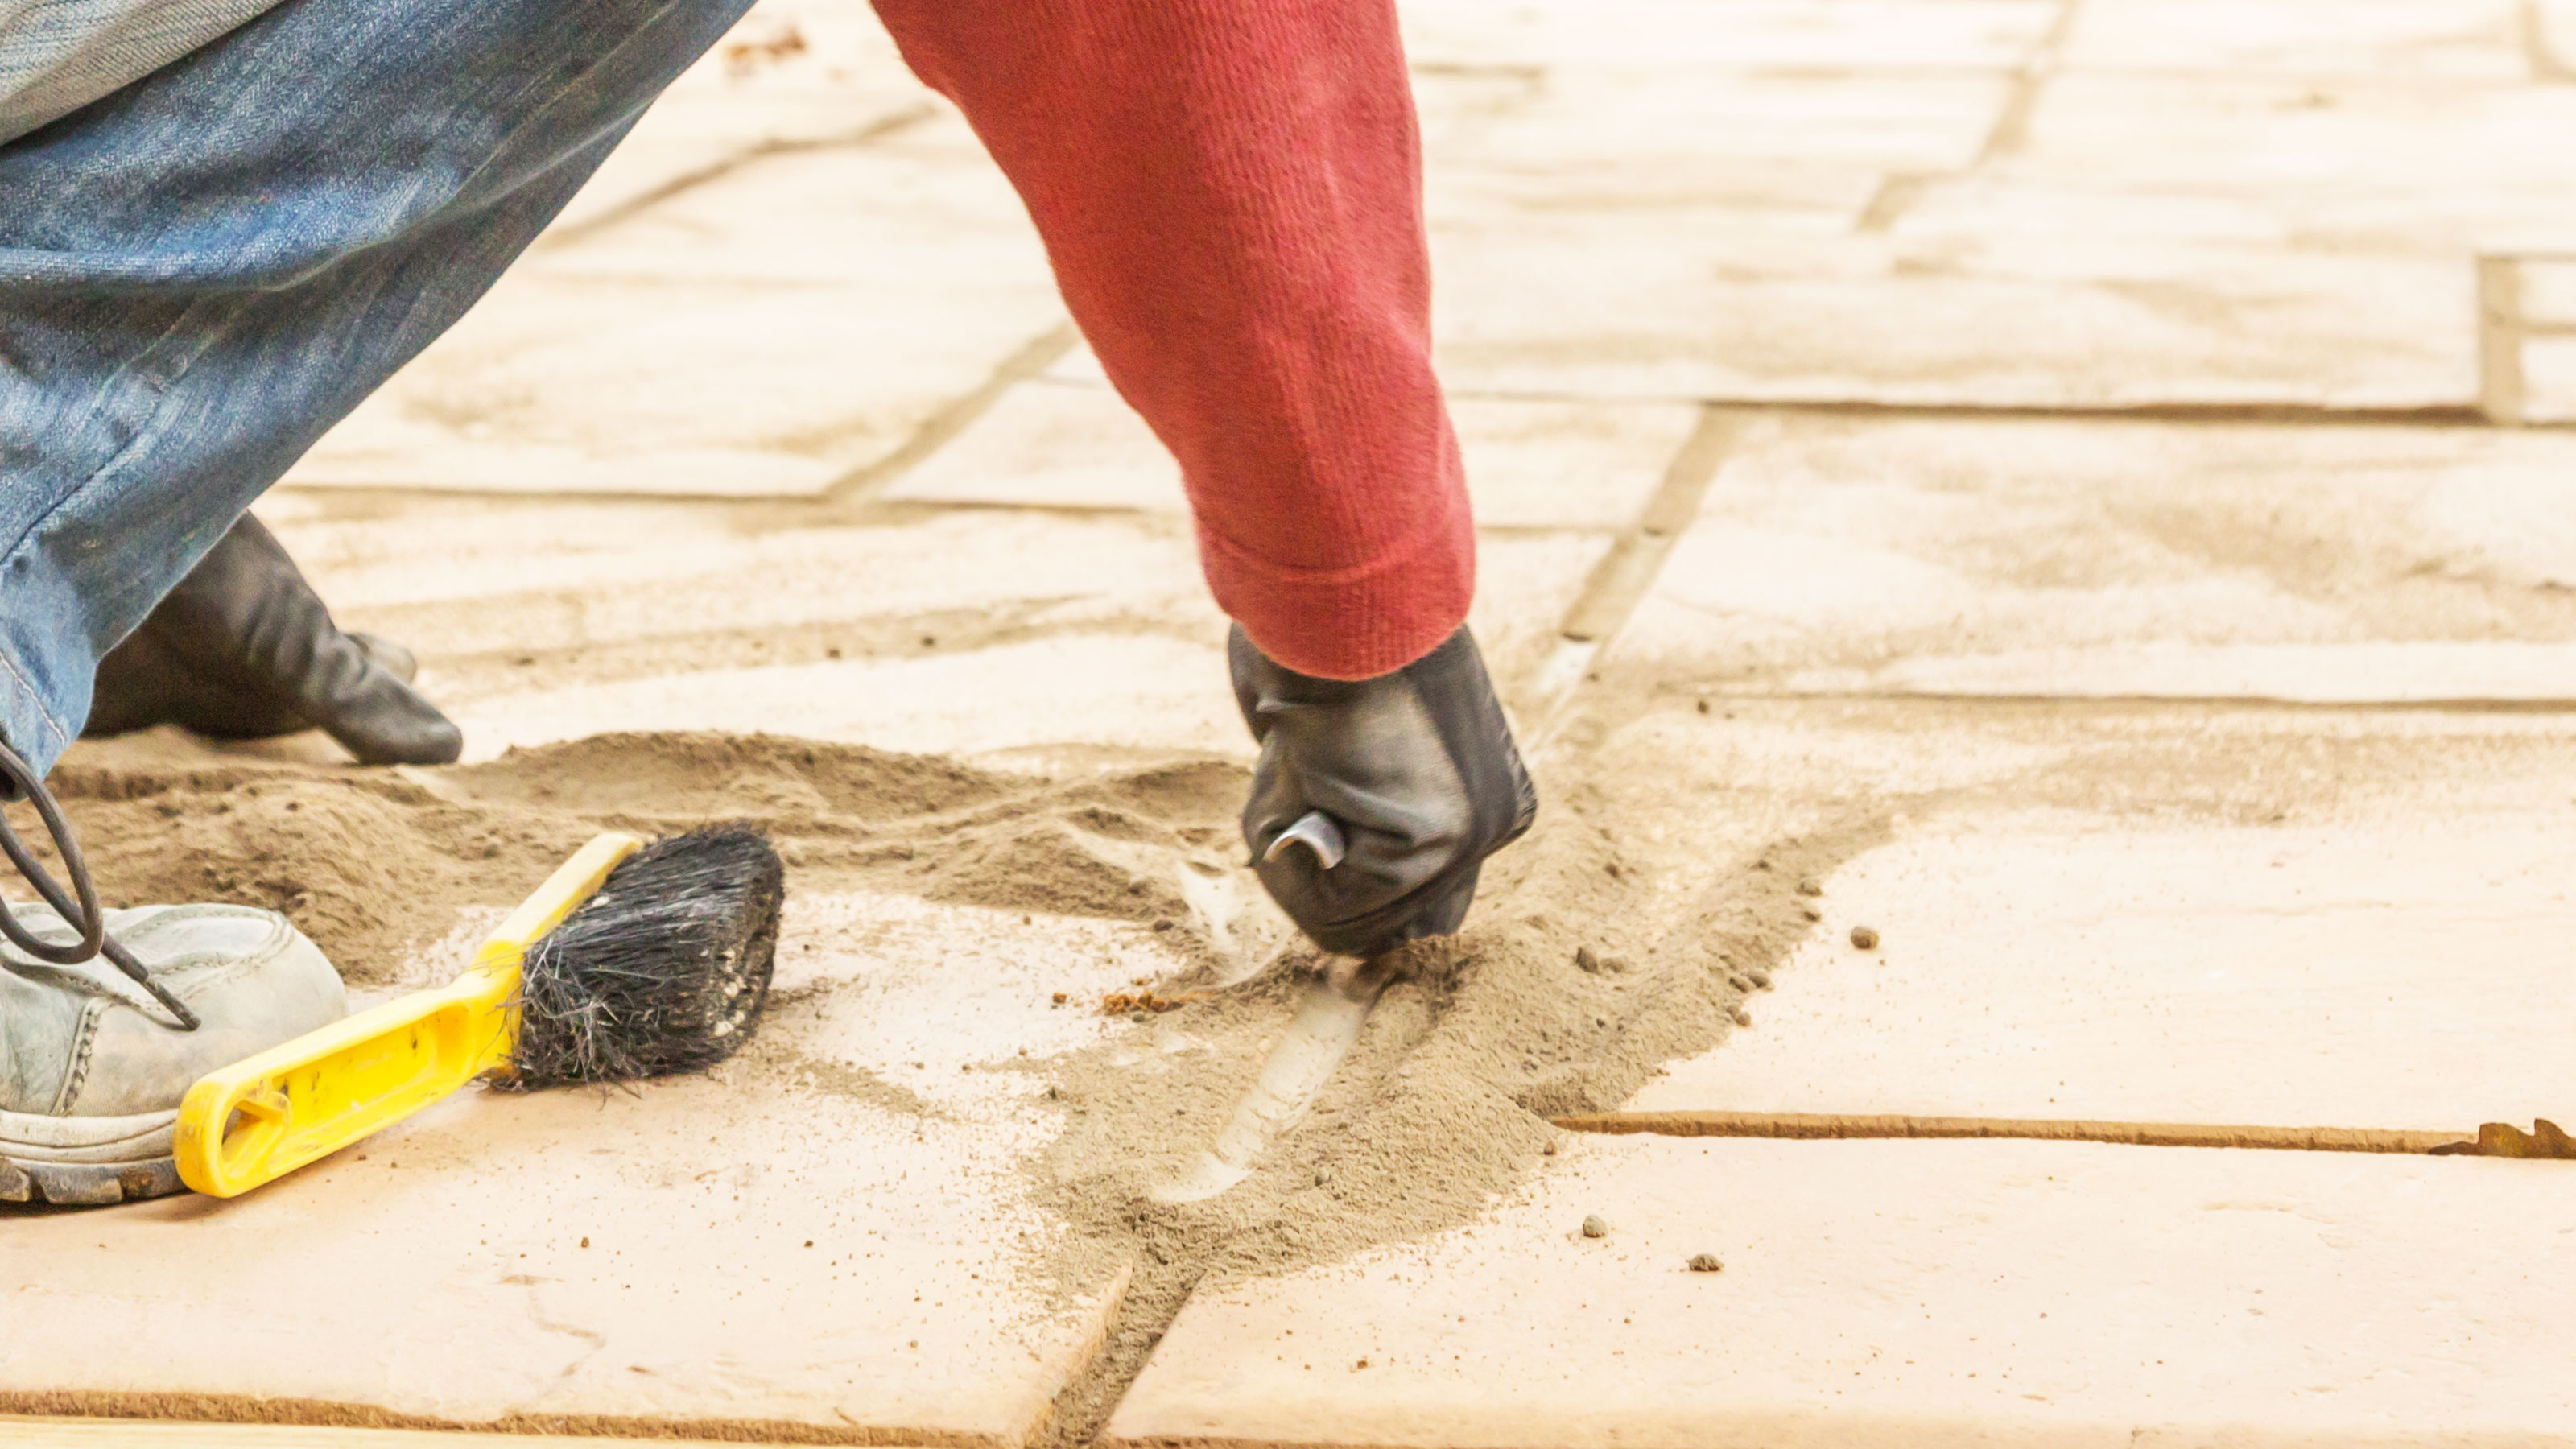
Pointing Patios: A How To Guide For a Great Looking Finish
Old or new, pointing patios makes them look smart and sophisticated and gives them a long life. Here we show you the contemporary and traditional choices

Pointing patios can give your brand new one a sharp contemporary look or bring an old patio back to life. But it's not all style over substance; well laid pointing will ensure that your patio stays in place and stays looking good for years to come.
But patios aren’t all the same, so if you want to make the most of yours or extend you should think about some patio ideas. Whatever style you choose, the pointing will still have the same job to do.
Nowadays there are two common options for pointing a patio. The contemporary option is using a jointing compound. This can be laid in any weather and is available in a host of colours, but it is more expensive than traditional sand and cement. The latter is available for around a third of the price but has to be put down in dry weather and only comes in one colour — grey.
Here we show how to point and repoint using both options: a jointing compound and the more traditional option — sand and cement.
Pointing A Patio With A Jointing Compound
Pointing patios with a jointing cement is typically the preferred option today. Here's a step-by-step guide:
1. Clear and wet the patio
The first job is to remove any furniture, flowers and anything else – if applicable – residing on the patio and brush it clean. Now get a hosepipe and saturate the entire patio masking sure it is completely wet.
2. Spread the jointing compound
Get your jointing compound – such as Sika FastFix or Marshalls Weatherpoint – and spread across the patio as instructed. Brush the compound into the joints with a broom or hand brush. Use a brick jointer to press down the mix into the joint. Add more compound if needed and use the brick jointer to finish up.
3. Brush up and finish
Once all the gaps have been filled and finished with the brick jointer you will have left over compound mix on the patio. Get a broom and gently brush off the excess. Leave to fully dry out — this can take from a couple of days to two weeks depending on weather conditions.
How to Point a Patio with Sand and Cement
1. Pick a dry day
When using a dry mix you need to make sure that your patio slabs are completely dry and that there is no rain forecast. This will help make sure that dry mix doesn’t form into clumps and doesn’t stain your slabs, giving decent looking and effective pointing.
2. Create the dry mix
Get your sand – builders' sand or sharp sand – and general purpose cement and mix with the ratio of 1 part cement and 3 parts sand. Mix in a wheelbarrow, bucket or on a board with a spade. Make sure that the sand and cement is mixed thoroughly to get an even and binding finish.
3. Sweep into gaps
Put enough dry mix onto one or two slabs and brush into the gaps with a hand brush. Use a trowel or brick jointer to push down the mix. Repeat the process on the same slabs and get a smooth even finish on the pointing. Repeat for the rest of the patio, working on one or two slabs at a time.
How do I Repoint a Patio?
This is very much the same process as pointing a patio, but you will need to do a little prep beforehand. First you will need to remove the old pointing with a hammer and a bolster or plugging chisel.
Once you have removed the old pointing you need to clean the joints with a stiff brush — a narrow wire brush is good for stubborn pointing. To finish, give it a rinse with a hose and leave it too dry. Finally, follow the step-by-step instructions above to repoint the patio.
How Much Does it Cost to Point a Patio?
This very much depends on what you use for pointing and whether you are doing it yourself or employing a pro.
If doing the job yourself you obviously save on labour costs but you will need to buy the pointing materials and tools. There are two choices for materials: jointing compound or the old-school option sand and cement. Sand and cement is around a third of the cost of jointing compound.
If you are calling in a pro to do the job expect to pay around £10-20/m2. So a small 3m x 3m patio will cost from £100-£200.
If you decide that you want a who new patio with smart new porcelain or natural stone the patio costs can rise dramatically. So repointing makes a great stop gap until you have enough funds to go all out for a new patio.
On the other hand, if you need to budget for larger scopes of external work, read out guide to repointing costs.
What is the Best Sand For Pointing Patio Slabs?
If you are using a traditional dry mix you will get a smoother finish if you use a dry building sand or a kiln-dried jointing sand (which is a fine dry sand). Sharp sand is coarser than both and won’t give such a smooth finish.
But you can use a brick jointer to press down the dry mix and smooth it out. You will then need to add more loose dry mix to fill the gap. Use the brick jointer to press down again. Repeat until the gap is filled. There isn’t a great deal of difference in the look of the finish if you use a brick jointer.
Try out some smart and subtle patio lighting ideas and your pointing will look good whatever sand you have used.
What is the Best Mix for Pointing a Patio?
This applies to the more traditional dry mix of sand and cement with the popular choice being 1 part cement and 4 parts sand. This is for more general building use, but it does work on patios.
Alternatively you can use a ratio of 1 part cement and 3 parts sand for patios. Do not use any other ratio, as it won't set properly and you will need to do it again.
Make sure you mix the sand and cement thoroughly and evenly. Otherwise you will have problems with parts of the pointing not setting properly and breaking up.
Once you have finished your patio think about looking at patio edging ideas such as walls and borders to give your patio a cool contemporary look.
Get the Homebuilding & Renovating Newsletter
Bring your dream home to life with expert advice, how to guides and design inspiration. Sign up for our newsletter and get two free tickets to a Homebuilding & Renovating Show near you.
Steve Jenkins is a freelance content creator with over two decades of experience working in digital and print and was previously the DIY content editor for Homebuilding & Renovating.
He is a keen DIYer with over 20 years of experience in transforming and renovating the many homes he has lived in. He specialises in painting and decorating, but has a wide range of skills gleaned from working in the building trade for around 10 years and spending time at night school learning how to plaster and plumb.
He has fitted kitchens, tiled bathrooms and kitchens, laid many floors, built partition walls, plastered walls, plumbed in bathrooms, worked on loft conversions and much more. And when he's not sure how to tackle a DIY project he has a wide network of friends – including plumbers, gas engineers, tilers, carpenters, painters and decorators, electricians and builders – in the trade to call upon.

