Top tips for avoiding stress when renovating a house — and ensuring it runs smoothly
After ways to ensure your renovation runs smoothly? Associate Editor Natasha Brinsmead explains the steps she did (and didn't) take when planning her project

When writing this, I realised that had we heeded the advice I am about to impart to you, it would have saved us bucketloads of blood, sweat and tears (just to reassure you, there weren’t actual buckets of blood — an eggcup at most).
This all-important schedule of works when renovating a house. This is basically a list of all the jobs you will need to do to get your renovation project from A to Z, in the right order, without going over budget and with minimal disruption to your life.
I should start by saying, we did not have one of these which is why our project was, at times, extremely hard going.
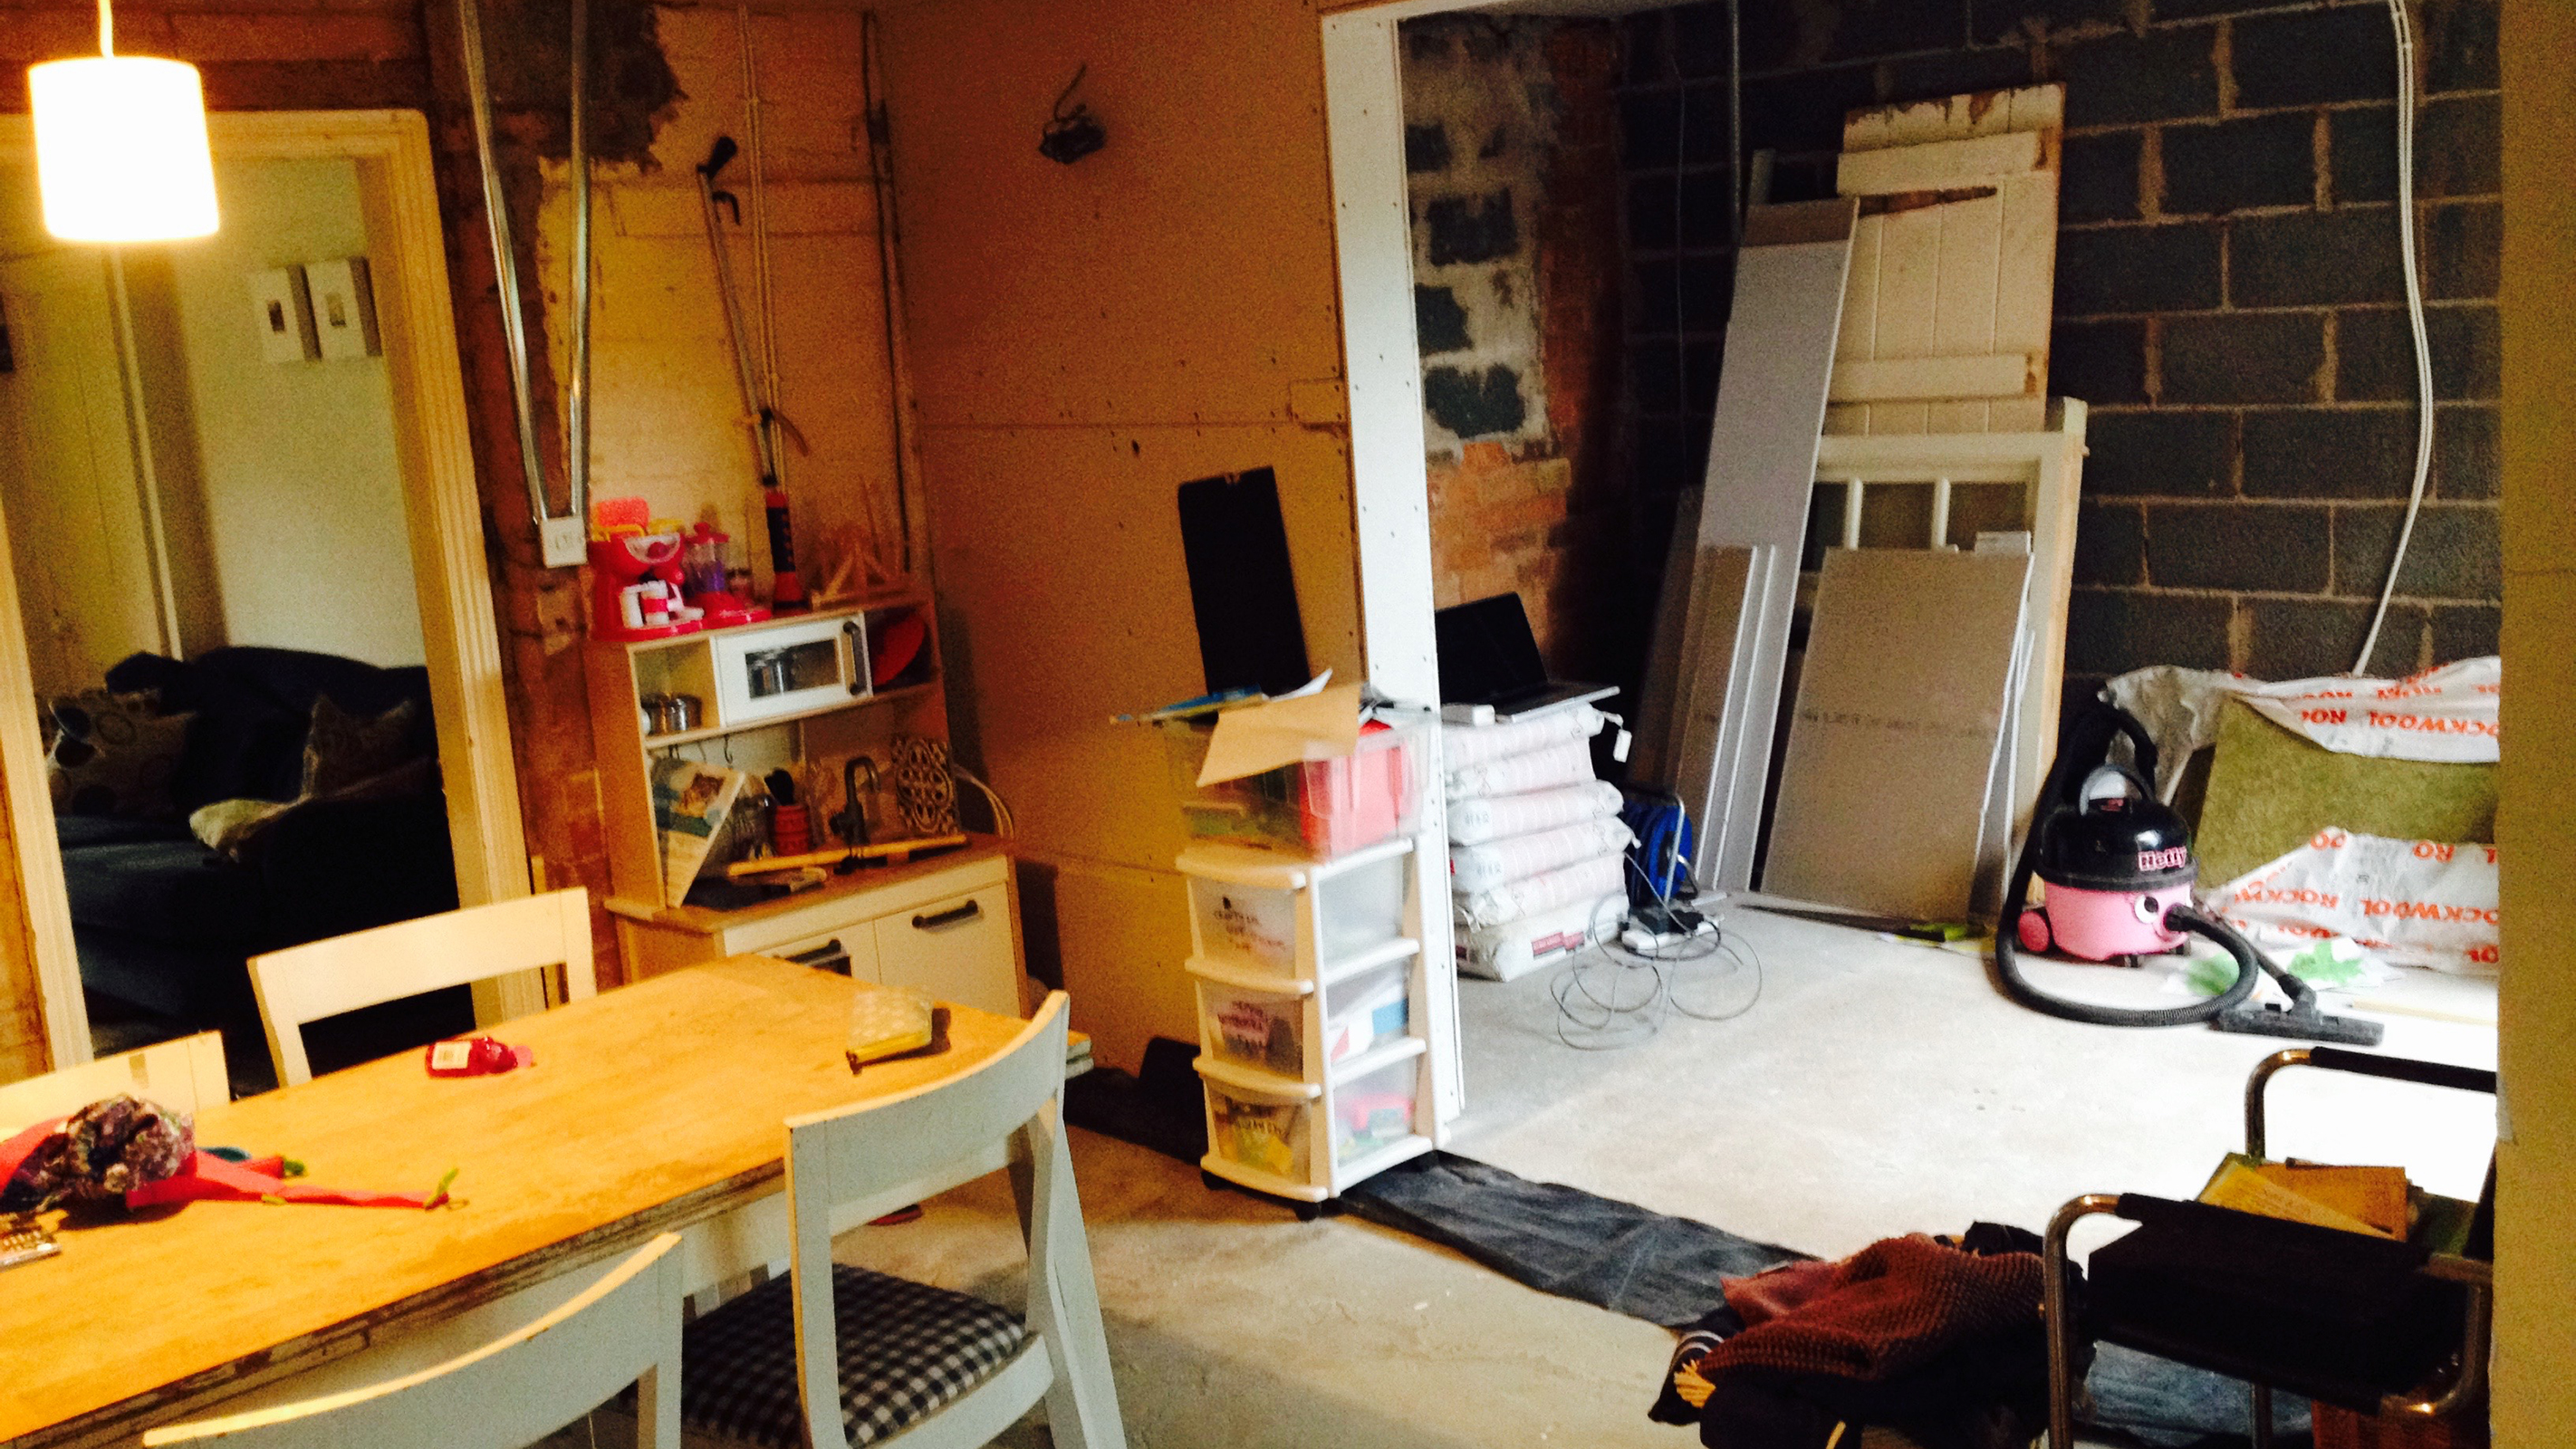
Because of our lack of planning, we lacked anywhere to retreat to at the end of the day and battled bad weather both in and out of the house due to the ill-timing of certain jobs that meant we had no roof or windows while rain lashed outside.
There were times we had no cooking facilities or even proper flooring and there was dust everywhere. If we had planned better, we could have separated areas off, kept some spaces sacred and scheduled the jobs that left the house exposed to the elements for the warmer, drier months.
How to make a schedule of works
While every project is unique, when it comes to renovations, there are certain jobs that they often have in common. These tend to include things like rewiring, new heating systems, flooring, extensions, new windows, the restoration of original features, such as fireplaces and mouldings, and the general stripping back of unsympathetic ‘improvements’.
Some people choose to work room-by-room, particularly those living on site whilst renovating, while others take a whole house approach. In reality, what works for the majority of people – and certainly what would have worked for us – is a combination of the two. It makes no sense to take the room-by-room approach if you are laying underfloor heating or the same flooring throughout multiple spaces, for example.
Bring your dream home to life with expert advice, how to guides and design inspiration. Sign up for our newsletter and get two free tickets to a Homebuilding & Renovating Show near you.
Begin by making a list of each and every task that needs to be carried out to get the house completed — don’t worry about ordering it at this point, just get it all down. If you are using a main contractor or architect, this is the point to ask their advice on the best way to order the works and, in all likelihood, this should be information they offer you anyway.
However, if, like us, you are trying to renovate on a budget and are acting as project manager and carrying out much of the work yourself, hiring individual trades as you need them, you will need to come up with a plan on your own.
In this case, the following schedule should help. Do bear in mind that some of the following stages can be carried out at the same time, such as external finishes and internal.

1. Prevent further damage
If, much like we did, you have taken on a complete wreck you need to ensure that you put a stop to anything that is going to wreck it any further. Look out for leaks, blockages, dangerous electrics which need immediate remedial action and anything that needs supporting structurally. (Hopefully many of these issues will have been flagged on your building survey if urgent.)
This is all the more important if you are going to be living on site.
2. Get rid of what you don’t need
By this, I don’t just mean stripping out carpets and any bedpans you find knocking about (yes, really). This is also the stage to demolish old extensions (perhaps ready for a new extension) and when you or your builder starts knocking down internal walls (following the advice of your structural engineer, of course).
"There's also a carefully balance to be had here if living on site," adds Claire Lloyd, Editor of Homebuilding & Renovating. "If you hope to live in a couple of rooms whilst renovating, it might make sense to keep carpets (if in a habitable condition), for instance, rather than live with draughty bare floorboards or a cold concrete subfloor during the colder months."
3. Deal with external issues
What we are talking about here is new windows and doors, wall and roof repairs, new cladding and/or render. By getting the external envelope of the house done and dusted and watertight, you can ensure that the house is a safe, dry space for the internal works to take place.

4. Start first fix jobs
With the shell sorted, you can get to work on the inner workings — updating electrics or rewiring, installing new heating systems, new boilers, pipework, insulation and the construction of new stud walls.

5. Plastering can start
Once all the behind-the-scenes tasks have been completed, plastering the walls can begin.
If you want to save a bit of money, consider plasterboarding the walls yourself — we did this, along with prepping the walls that plaster was being directly applied too and it definitely meant the bill from the plasterer was smaller.
6. Get going on second fix tasks
This is the really fun bit, where it all starts to look pretty. Before this, all the hard work just seems to make more mess.
Sanitaryware, kitchen units and worktops, light fittings and hard flooring can all go in (but do be aware that you will need to protect these during the decorating process).

7. Take pride in the finishing touches
You can now get on with the final flourishes — painting walls or wallpapering, choosing and fitting, painting skirting boards and mouldings, and fitting new carpets. This is also often the point when a new staircase will finally be put in if you are having one.
Finally... be prepared for the unexpected
Now, when put like this, it looks pretty straightforward doesn’t it? However, old houses in need of renovation are unpredictable, tricky little so and so's. Even with the most thorough surveys and schedules, there are almost always unexpected delays or unwelcome finds and so a degree of wiggle room and flexibility in an order of works is sensible.
In our case it was almost impenetrable bedrock (when digging the foundations for our extension), a plumber who had the ability to spontaneously vanish and some sneaky rotten roof timbers that threw what little scheduling we had done out of kilter and caused delays.
That said, I truly believe that had we spent more time and thought in creating a proper schedule from the off, our project as a whole would have been less stressful and would have been finished far quicker — so take note and get scheduling right.
Natasha was Homebuilding & Renovating’s Associate Content Editor and was a member of the Homebuilding team for over two decades. In her role on Homebuilding & Renovating she imparted her knowledge on a wide range of renovation topics, from window condensation to renovating bathrooms, to removing walls and adding an extension. She continues to write for Homebuilding on these topics, and more. An experienced journalist and renovation expert, she also writes for a number of other homes titles, including Homes & Gardens and Ideal Homes. Over the years Natasha has renovated and carried out a side extension to a Victorian terrace. She is currently living in the rural Edwardian cottage she renovated and extended on a largely DIY basis, living on site for the duration of the project.

