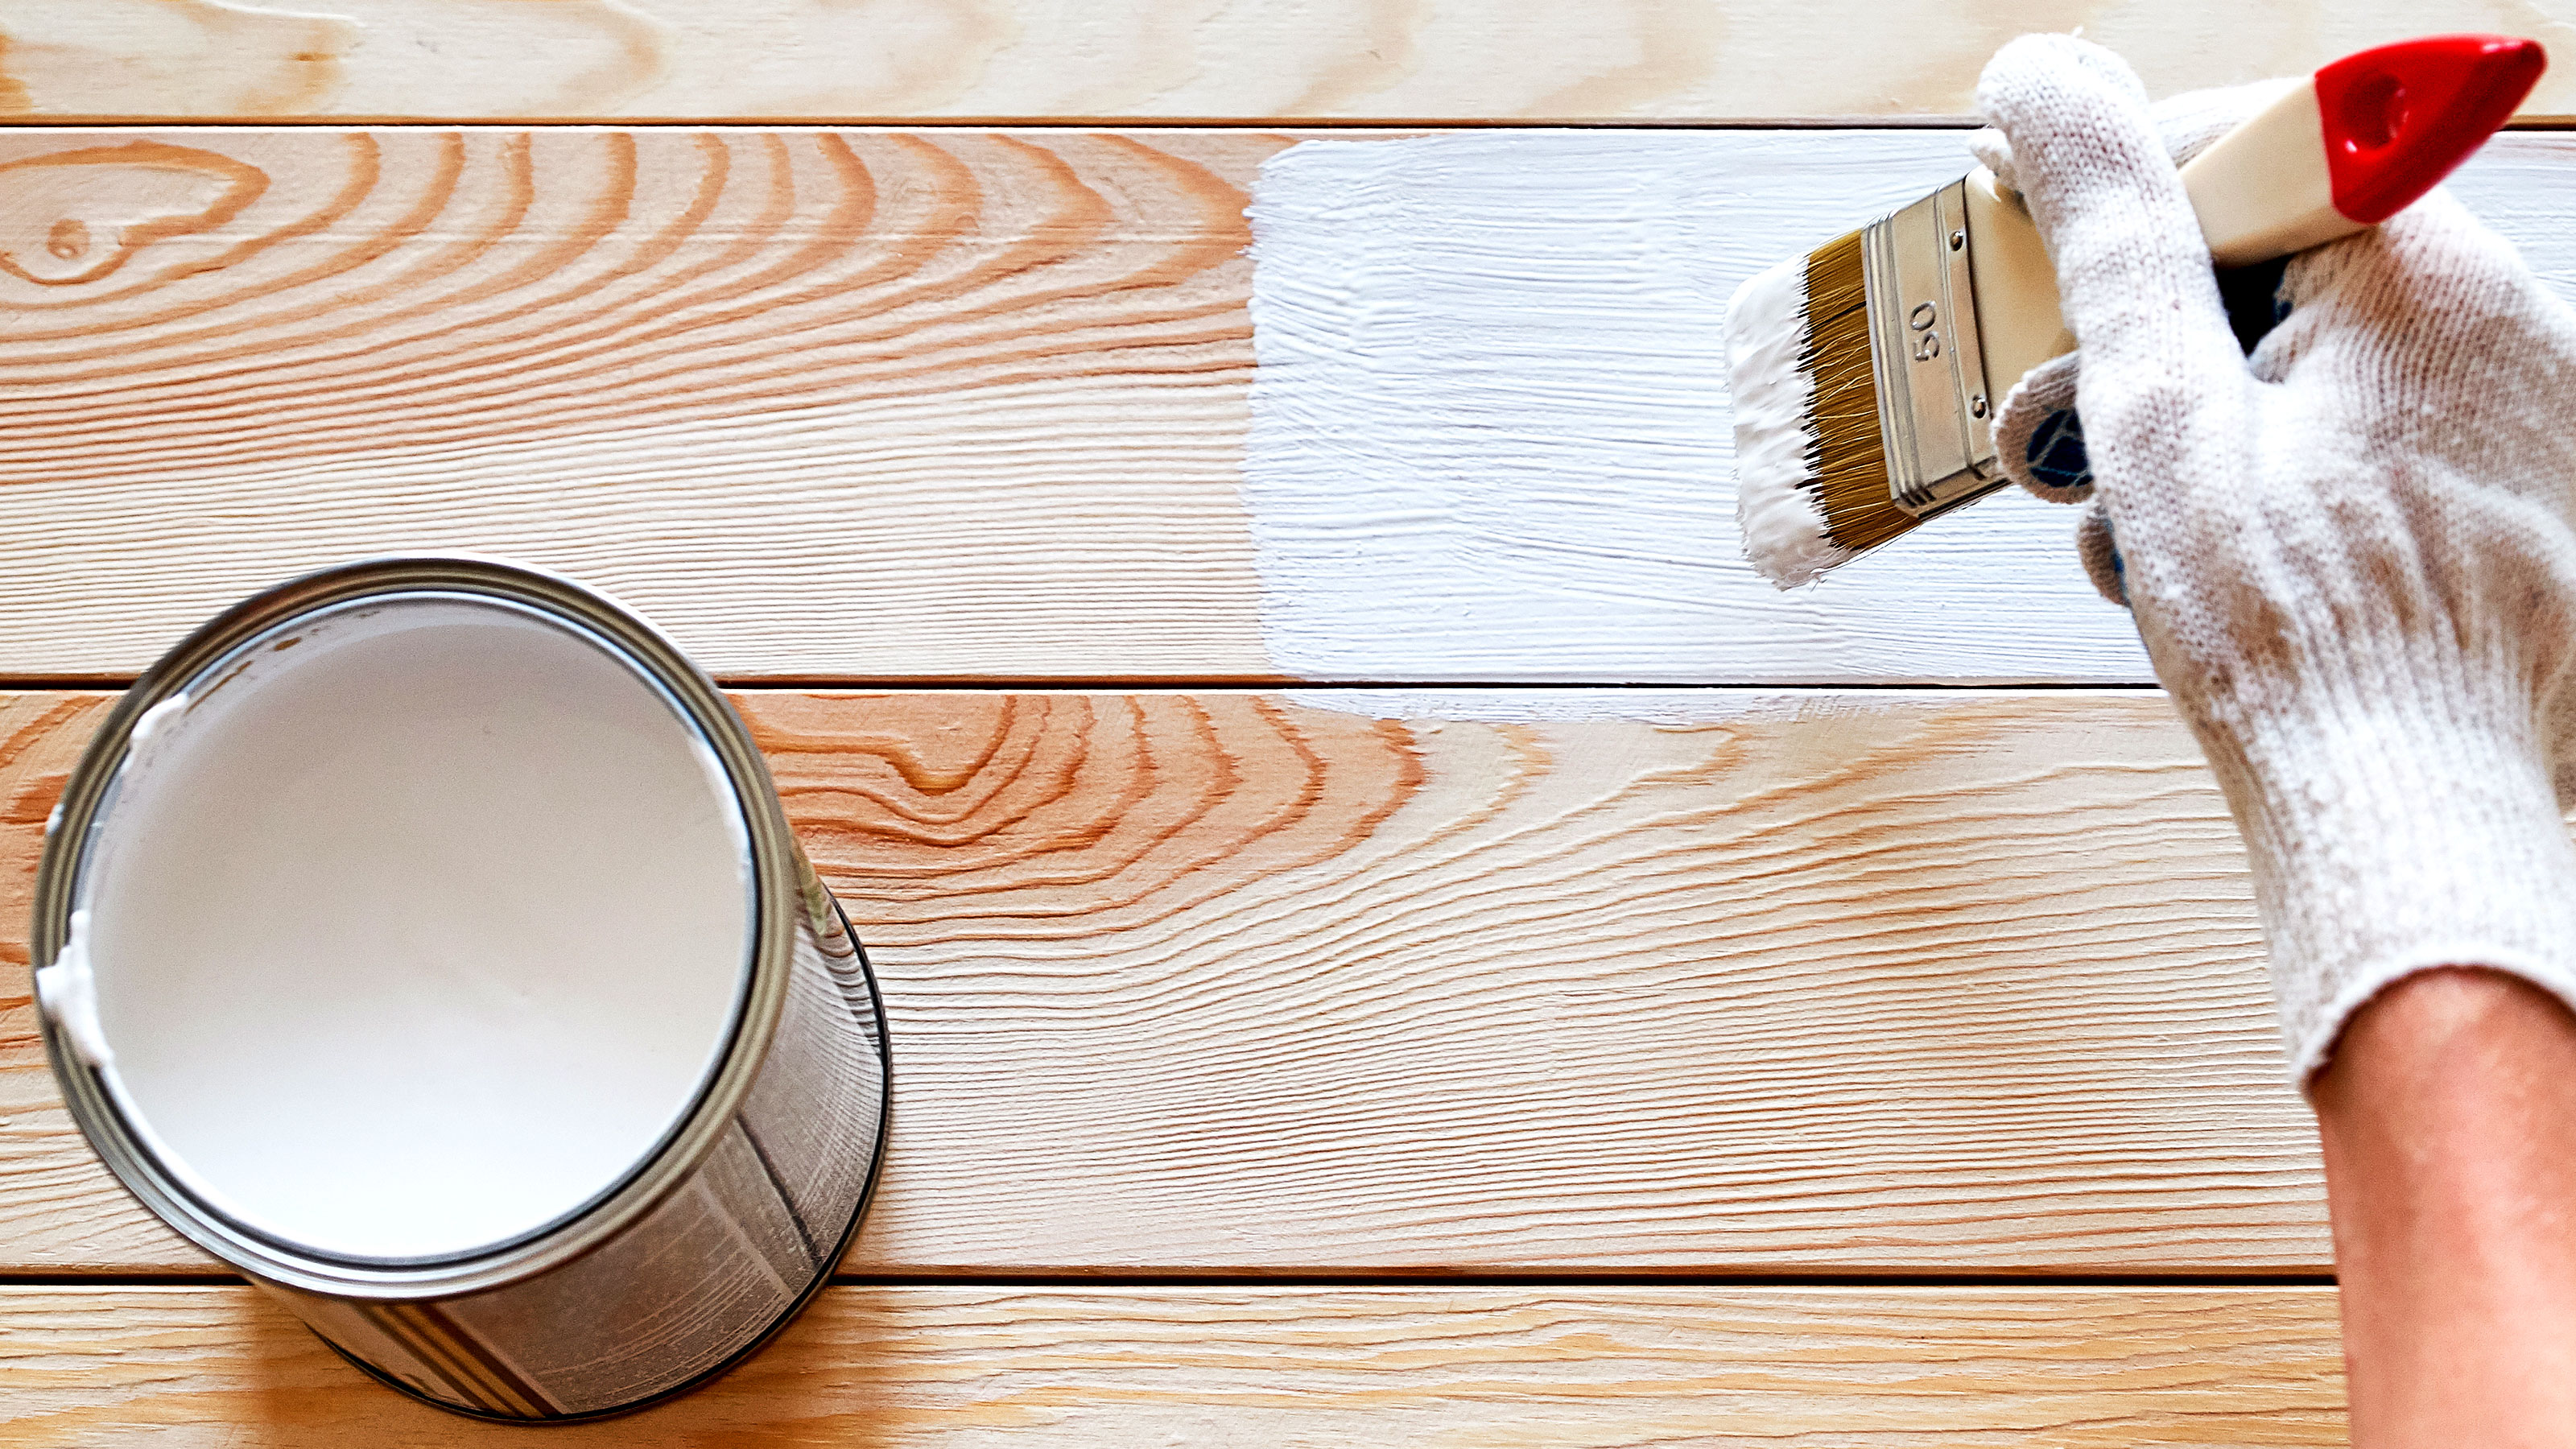
Painting wood white and how to get the perfect finish
There is an art to painting wood white and making sure that it stays white for longer. Here we reveal how to prep your wood, which paint to use and how to achieve a professional finish

You might think that painting wood white is simple and straightforward and it can be, but you need to make sure that you get all parts of your prep and painting right to get a long-lasting finish. Miss out on any of the essential steps and your beautiful white paint could soon be a pale shadow of its former self.
While painting wood white is a very similar process to painting wood, there are a few subtle differences that need to be followed. White paint is far more likely to show any discoloration and imperfections – such as chipped paint on skirting boards – than darker colours, so it's important that you do the job right, as we show you here.
Painting wood white: What you need to know
Here we look at the typical scenarios for painting wood white and show you how to deal with each one.
How to paint bare wood white
If you have new untreated wood or wood that has been stripped back – check out our how to strip paint off wood guide – you will need to prep the wood before you start painting. You will need to sand the wood with a fine grit 120-180 grit sandpaper. Make sure there is no old paint left on the wood. This can affect the finish.
The first coat needs to be a good quality primer/sealer. Apply a thin coat and leave to dry. Thin coats will lead to a tougher finish. Leave to dry as recommended by the manufacturer. Now get a fine 240 grit sandpaper and give a quick gentle rub down to eliminate raised wood grain. Add a second coat, leave to dry and give another gentle rub down.
After this, add a couple of coats of undercoat, rubbing down in between if needed. This should be enough to cover the wood effectively ready for a top coat. Make a judgement call if you need a third coat of undercoat. You should have a solid white finish before adding the top coat.
Painting previously painted wood white
If your wood has been painted white previously and is in good condition then it’s a quick and easy job to get it ready for new white paint. Rub down with a fine grit 180-220 sandpaper like this 3M Aluminum Oxide Sandpaper from Amazon. Add a coat of good quality undercoat, leave to dry, gently rub down and repeat the process. Finally, add your top coat.
How to paint over dark painted wood
You can use either of the two options above, stripping back to bare wood is a good choice, especially if the current paint is in poor condition, or there are a lot of layers of paint already on the wood.
If the paint is in good condition, rub down the wood with a fine sandpaper and add a couple of coats of primer/undercoat. You may need three, but again make sure you have a solid white finish before adding the top coat.
Painting wood white FAQs
Do you have to sand wood before painting white?
Yes you do. It doesn't matter what colour you are painting wood you need to be sanding wood before you start. If you are painting bare wood such as door frames, architrave or skirting boards, you need to sand down with a fine grit sandpaper such as 120 or 180. This will get rid of any imperfections, improve adhesion and give a smoother finish.
If you are going to paint previously painted wood you will need to sand down to improve adhesion. Painting straight onto a painted surface will mean poor adhesion, which means the paint won't last as long. Again a fine grit sandpaper will do if the paint is in good condition. However, if in poor condition you will want to start with a coarser 80 grit sandpaper to get rid of dips/ridges or flaking paint before moving onto a fine 180 grit sandpaper to get it ready for painting.
What is the best way to remove old paint?
If you're painting wood white you want to make sure that the surface you are painting is well prepped to get the best finish. If the surface has been painted previously and the paint is in poor condition or is a dark colour it is a sensible choice to strip back the surface to bare wood to start afresh. And stripping back to the bare will help highlight any detail in the wood you are painting . For example, if you are painting skirting boards that already have a few layers, you don't want to add more paint that will lessen the details.
There are a couple of options for removing old paint. A heat gun like this DeWalt 1800W Heat Gun from Amazon is a great choice for removing paint quickly and effectively. Combine this with a shave hook like this Stanley Professional Comb Shave Hook from Amazon to help remove paint from curves.
For more difficult to access areas wrap sandpaper around the shave hook head or use a wire scrubber or mini wire brushes like this Harris Essentials Mini Wire Brush 3 Pack from Amazon.
Why is my white paint turning brown on wood?
The moisture in paint can cause the wood grain to expand and release what are known as tannins. These seep into the paint and discolour your once beautiful white finish. Obviously this is more noticeable on white paint. Knots in wood are another problem which can cause brown rings to appear in your paint.
To stop this happening you will make sure that the wood you are painting is completely dry and apply a decent stain blocking sealer/primer like this Zinsser Cover Stain from Amazon, followed by a good quality undercoat.
Why is my white paint turning yellow on wood?
This can again be moisture in the wood releasing tannins, but if this isn’t the problem, the problem can be the paint itself. Oil based paints are more likely to yellow than water based paints due to their makeup, with environmental factors also playing a part.
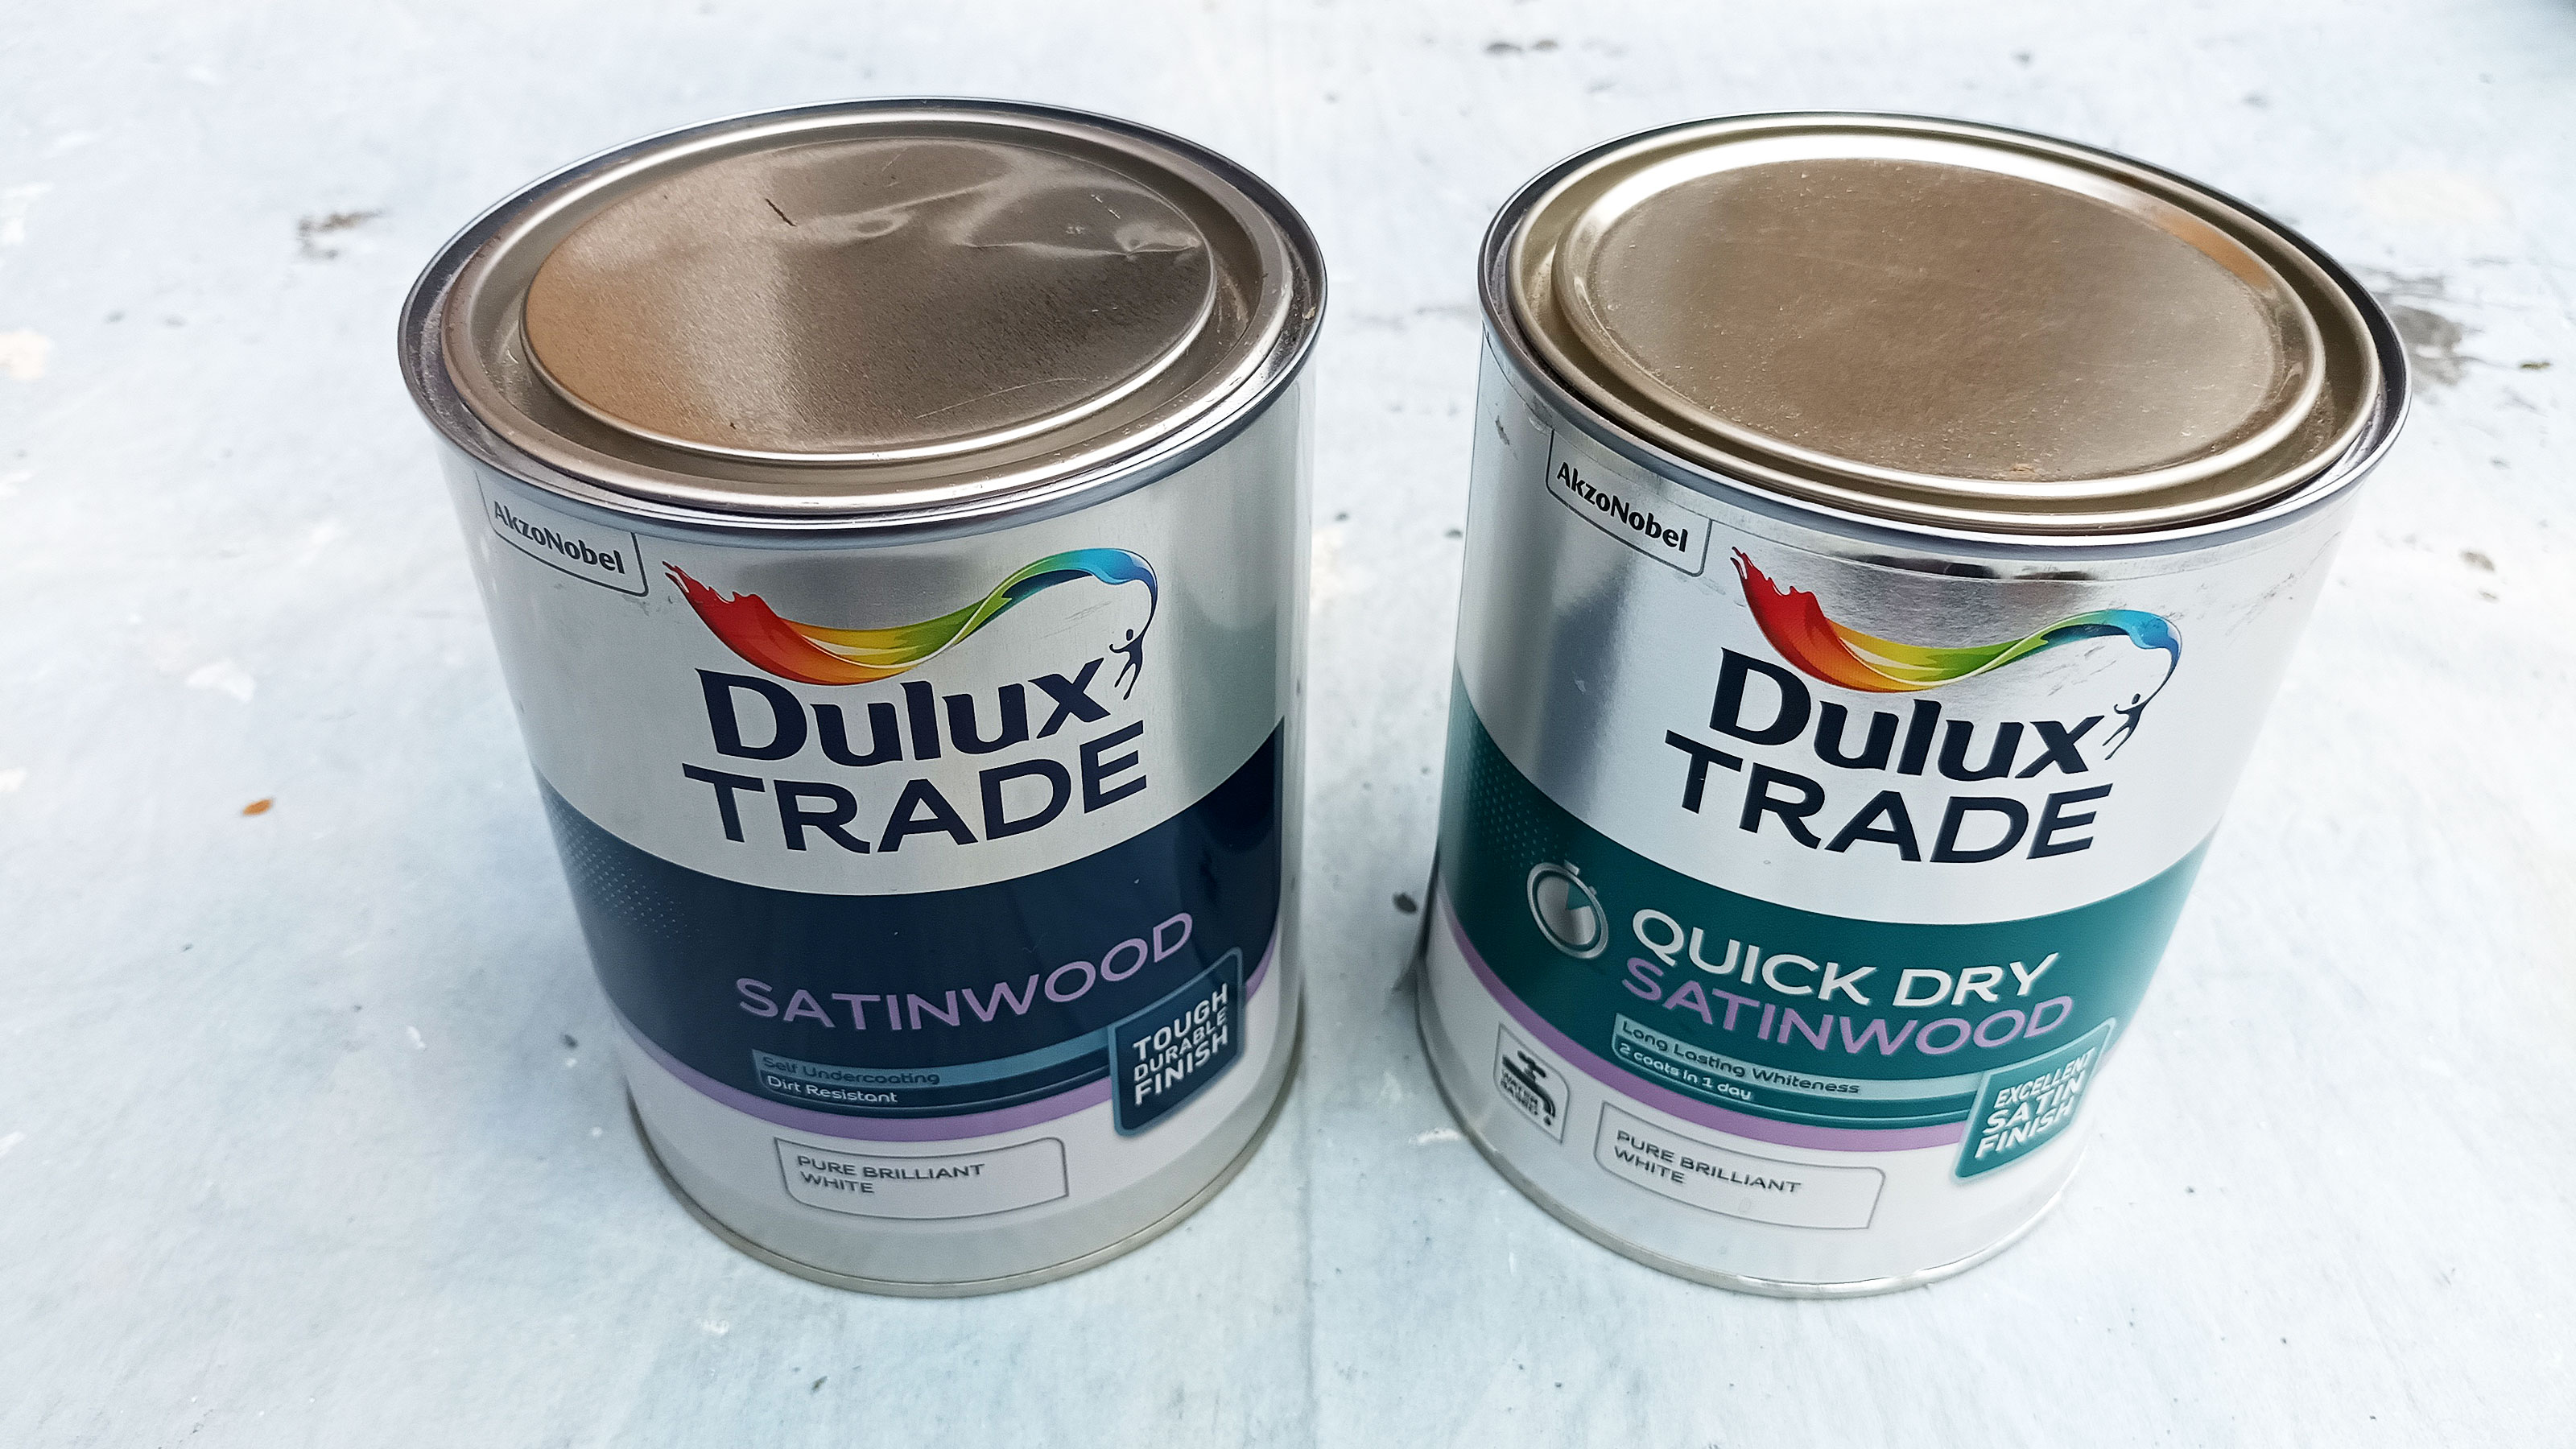
Exposure to heat sources such as radiators, stoves and log burners will speed up the yellowing process. As will the use of household cleaners that contain ammonia, and a lack of sunlight. So ideally you want to be using a good quality water based white paint such as this Dulux Trade Quick Dry Pure Brilliant White Satinwood from B&Q in areas near heat or where there is a lack of light.

Get the Homebuilding & Renovating Newsletter
Bring your dream home to life with expert advice, how to guides and design inspiration. Sign up for our newsletter and get two free tickets to a Homebuilding & Renovating Show near you.
Steve Jenkins is a freelance content creator with over two decades of experience working in digital and print and was previously the DIY content editor for Homebuilding & Renovating.
He is a keen DIYer with over 20 years of experience in transforming and renovating the many homes he has lived in. He specialises in painting and decorating, but has a wide range of skills gleaned from working in the building trade for around 10 years and spending time at night school learning how to plaster and plumb.
He has fitted kitchens, tiled bathrooms and kitchens, laid many floors, built partition walls, plastered walls, plumbed in bathrooms, worked on loft conversions and much more. And when he's not sure how to tackle a DIY project he has a wide network of friends – including plumbers, gas engineers, tilers, carpenters, painters and decorators, electricians and builders – in the trade to call upon.

