Painting wood furniture: A DIY guide to get the perfect finish
There’s an art to painting wood furniture, from getting your prep right, choosing the best tools and using the right paint. Find the answers in this step-by-step guide

Need to refresh your favourite furniture? Painting wood furniture can turn old tatty items into fresh, smart, contemporary objects of desire. A new coat of paint can transform a rarely used sideboard into a focal point, a chair into a functional thing of beauty and give a bookshelf a new lease of life.
But you need to make sure that you are doing it right. Like most painting wood projects, preparation and paint are the key. Poor preparation and the wrong paint will soon see your newly painted furniture peel and chip and need a new coat of paint. Find out what you need to know to stop this happening.
Painting wood furniture
There’s a lot of different types of wood furniture out there, from natural wood like pine to manufactured woods like MDF, but how do you paint them? Or can you? Michael Rolland, Managing Director at The Paint Shed reveals there’s a paint for every wood, you've just got to choose the right one. “It’s less about avoiding certain types of wooden furniture and more about the compatibility between the wood and the paint you have. For example, have you made sure that your wood paint is fit for use on interiors? And do you have the correct primer for your paint?"
He continues, “In terms of what shouldn’t be painted, it’s really up to you. Some people are very passionate that antique pieces should not be painted. However, if the correct preparations are done and quality paint is used, there is no reason that an antique up-cycle can’t look great.”
Steps for painting wood furniture
1. Make your furniture hardware free
If the furniture you are looking to paint has handles, knobs, or any other type of hardware you need to remove this to make sure that you don’t get paint on them. Get a screwdriver/Allen key, remove and make sure to store the parts in a container so you don't lose them.
Now remove any drawers and put them to one side. Ideally you want to remove doors and shelves – if your furniture has any – as this makes them easier to paint and get a good consistent finish on.
2. Prepare a space to paint
When painting furniture you need to clear a space to work in and lay down dust sheets like this 3 Pack Extra Large Plastic Dust Sheets for Decorating from Amazon. Ideally you want to be working inside in an area where there’s little disturbance, so no-one knocks into the furniture when drying or kicks up dust that can stick to your paint. In the summer months you can work outside if you have the space.
3. Sand the surfaces
The first step to paint, restore or upcycle your wood furniture is to get rid of old paint and/or prepare the surface. If needed start with sugar soap and a kitchen scrubber to clean the surface, leave to dry and sand. If not needed, head straight to the sanding wood stage.
If there’s a lot of paint to remove, start with a medium sandpaper with a 60-100 grit. Follow this up with a fine sandpaper -180-220 grit is good. If your furniture has detail that is difficult to sand with sandpaper, use a paint stripper and/or wire wool to remove.
4. Add a primer
Make sure your surfaces are clean and dry. Apply your primer using a suitable brush and/or roller. Use a thin coat to help ensure a better finish. Leave to dry as recommended and sand with a fine sandpaper grade – 240 grit is good – wipe down with a damp cloth to get rid of dust. Add another coat if needed and repeat as the first coat.
5. Paint your furniture
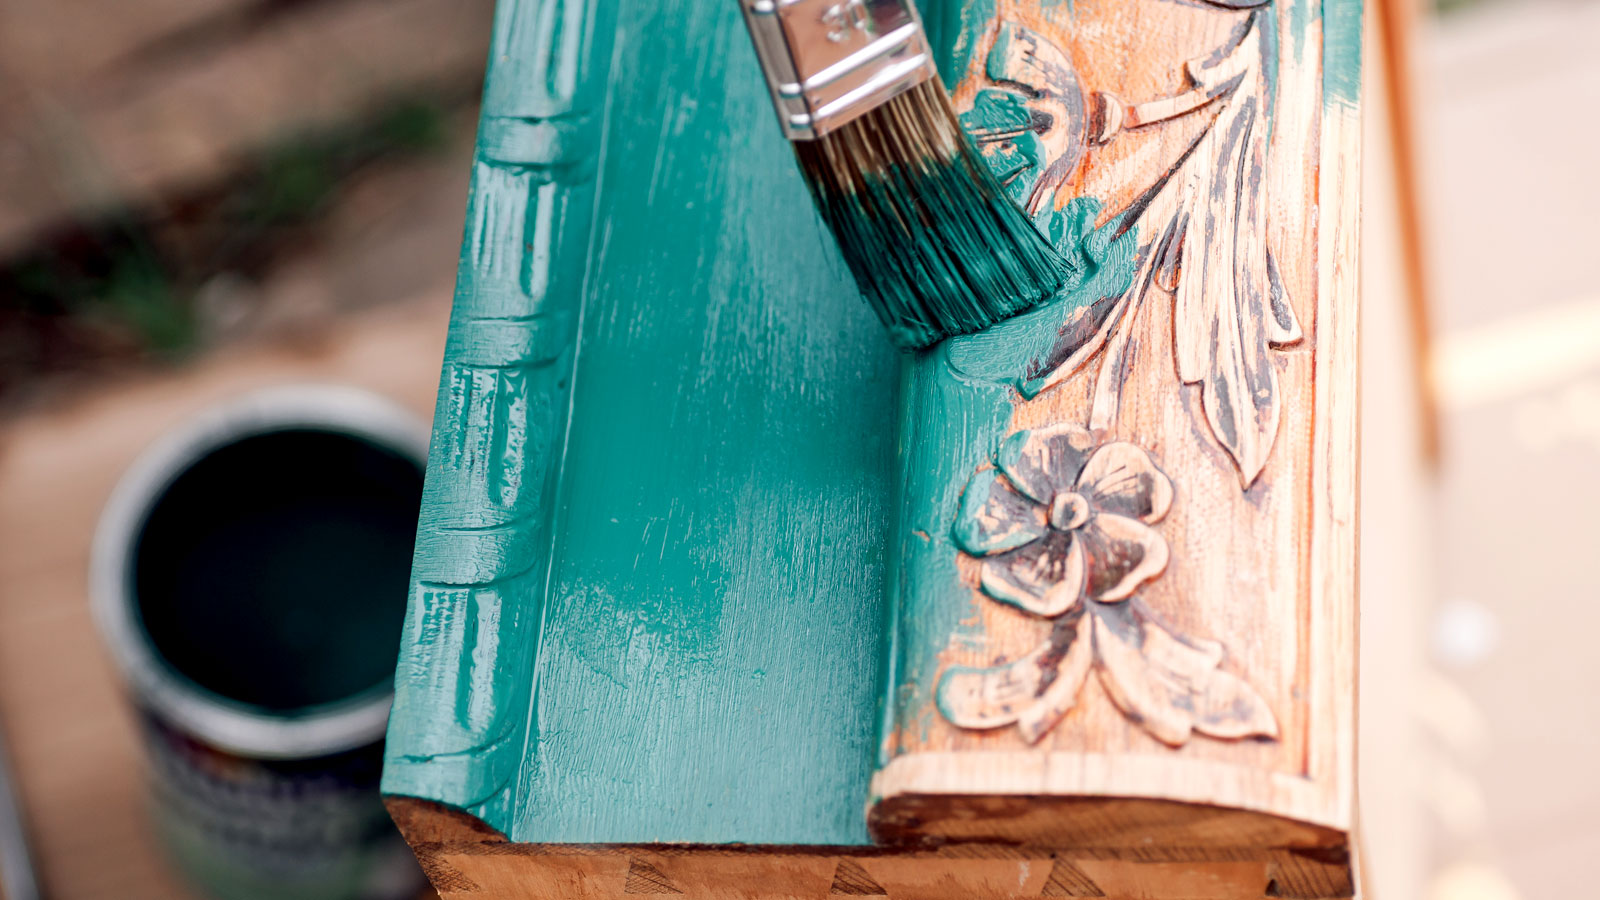
When the primer is dry, apply thin coats of paint with a suitable brush or roller. If your furniture has detail, start by painting this first and then paint the larger, easier to paint areas. Leave the first coat to dry, rub down with a 240 grit sandpaper, wipe down and apply a second. Two coats should be enough, but if needed, add a third coat and leave to dry as recommended.
If using chalk or milk paint you can add a wax finish or even a varnish to help protect the paint and keep your furniture looking good for longer.
FAQs
Should I prime wood furniture before painting?
There is an argument that you don’t need to prime wood furniture if using a self priming paint, and your furniture is not going to get constant everyday use – like a bookshelf or sideboard. As long as your prep is done properly you won’t need a primer.
But, if painting bare wood on furniture that is going to get a lot of use – such as a chair – we recommend that you use a primer for bare wood. This also helps cover the wood so you can use less of the top coat.
If you are just rubbing down a piece of previously painted furniture you don't need to use a primer. If painting over a dark colour with a light colour you can use an undercoat, but again not necessary if the paint is a self priming wood paint.
What is the best paint for wood furniture?
There’s a lot of choice, depending what type of finish you are looking for and whether the paint you want is available in the colour you want. But whatever finish you want the paint still needs to be the right choice as Rolland reveals, “We’d always recommend a water-based, durable and hard-wearing quality paint for wooden furniture to ensure that the finished look is long-lasting. Farrow and Ball’s Dead Flat paint is ideal as it is both as it offers excellent coverage, is hard wearing and can be washed and wiped clean without damaging the colour or flat finish it creates. Apply the paint with a brush or roller and cover with a second coat after four hours of drying time for the most seamless finish.”
But there are other choices as Rolland continues, “A good trade paint alternative would be Tikkurila Helmi 30 Paint, which is a durable furniture paint that is also ideal for painting small items like window frames, doors, kitchen cabinets, radiators and more.”
Other paints Homebuilding & Renovating recommend would be the Frenchic indoor furniture paint range or if looking for a high gloss finish try this Dulux Trade High Gloss from Amazon.
Is it better to paint wood furniture with a roller or brush?
This depends very much on what type of furniture you are looking to paint. But a brush is typically your first choice, especially if your furniture has detail and few flat surfaces. Use a set of brushes like this Harris SGOOD 5BRUSH Set from Amazon, so you have brushes for small details, larger details and flat surfaces. If you are using chalk paint try this Professional Chalk and Wax Paint Brush 2PC Set from Amazon.
But, it does depend on what type of finish you are hoping to achieve. If you are looking for a brush stroke free surface then you can use a mini roller. While a foam roller will give you the smoothest finish, it will still leave a faint texture. For a smooth factory-like finish you will need to use a spray gun.
If painting MDF furniture follow our How to Paint MDF, Sanding MDF and Best MDF Paint guides to help you get the best finish possible.
Get the Homebuilding & Renovating Newsletter
Bring your dream home to life with expert advice, how to guides and design inspiration. Sign up for our newsletter and get two free tickets to a Homebuilding & Renovating Show near you.
Steve Jenkins is a freelance content creator with over two decades of experience working in digital and print and was previously the DIY content editor for Homebuilding & Renovating.
He is a keen DIYer with over 20 years of experience in transforming and renovating the many homes he has lived in. He specialises in painting and decorating, but has a wide range of skills gleaned from working in the building trade for around 10 years and spending time at night school learning how to plaster and plumb.
He has fitted kitchens, tiled bathrooms and kitchens, laid many floors, built partition walls, plastered walls, plumbed in bathrooms, worked on loft conversions and much more. And when he's not sure how to tackle a DIY project he has a wide network of friends – including plumbers, gas engineers, tilers, carpenters, painters and decorators, electricians and builders – in the trade to call upon.

