Painting uPVC Windows: How to Get the Best Results
Painting uPVC windows can give a home with a tired appearance a new lease of life. Our expert outlines the best way to get a quality finish

Painting uPVC windows (sometimes referred to as PVCu) is a great solution if you're fed up with the colour or the existing frames are looking old and tired. While uPVC has a long life and will last for years, over time it will start to show general wear and can discolour.
Replacing windows is an expensive option whatever material they're made from, especially when they have a good few years left in them. To get a fresh new look - and your preferred choice of colour - the simple answer is to paint them.
However, it's not the most simple of jobs, as without the right prep work, it's hard for paint to grip to this material and ensure a durable finish. Our painting expert breaks down the best ways to ensure painting uPVC windows is successful and enduring.
(MORE: Expert Tips for How to Paint a Room)
What Prep do I Need to do When Painting uPVC Windows?
You should get at least five years from your painted uPVC windows if done properly.
To get a decent finish when painting uPVC windows you will need to prep your properly. Poor preparation will lead to a short life span for the paint. Even with good preparation and the right paint you won’t get the same durability of a brand new uPVC door or window.
You should treat uPVC in much the same way you would any surface that you are going to paint. The surface needs to be dirt and grease free and sanding will help the paint adhere to the surface better.
Should I use a Roller or Brush When Painting uPVC Windows?
Whether you are painting exterior or interior uPVC the easy option is a brush. This is ideal for DIYers. Don't overload the brush and use long even strokes. The finish won't be as smooth as uPVC, but will be as good as any painted wooden door.
Use a small roller if you have large flat areas on your door. A short pile roller will add texture, so if you want a smooth finish the best paint roller to use would be a foam one.
If you want a super smooth finish similar to a new uPVC door use a paint sprayer. But this is not as easy to apply as a brush — practice first. Plus, you will need to cover at least a metre around the door/window to stop spray mist settling where it is not wanted.
(MORE: Buyer's Guide to the Best Paint Sprayers)

Do you Need a Primer When Painting uPVC Windows?
Many paint manufacturers suggest that you won’t need a primer if you use their paint, but to get a really good durable long-lasting finish, a primer makes good sense. This is especially important on exterior uPVC.
Interior uPVC still needs to be tough but won't be exposed to weather like exterior doors and windows, so you could do without a primer.
What is the Best Paint for Painting uPVC Windows?
A good all purpose primer to use is Zinsser Bulls Eye 1-2-3 Primer. It primes and seals and is touch dry within an hour.
For an exterior top coat Dulux Weathershield Multisurface paint is a good choice. It has a decent range of colours and is mould resistant. An alternative option is the Frenchic Al Fresco range, as it works on uPVC, is self levelling, has a host of contemporary colours and works well indoors.
How to Paint uPVC Windows
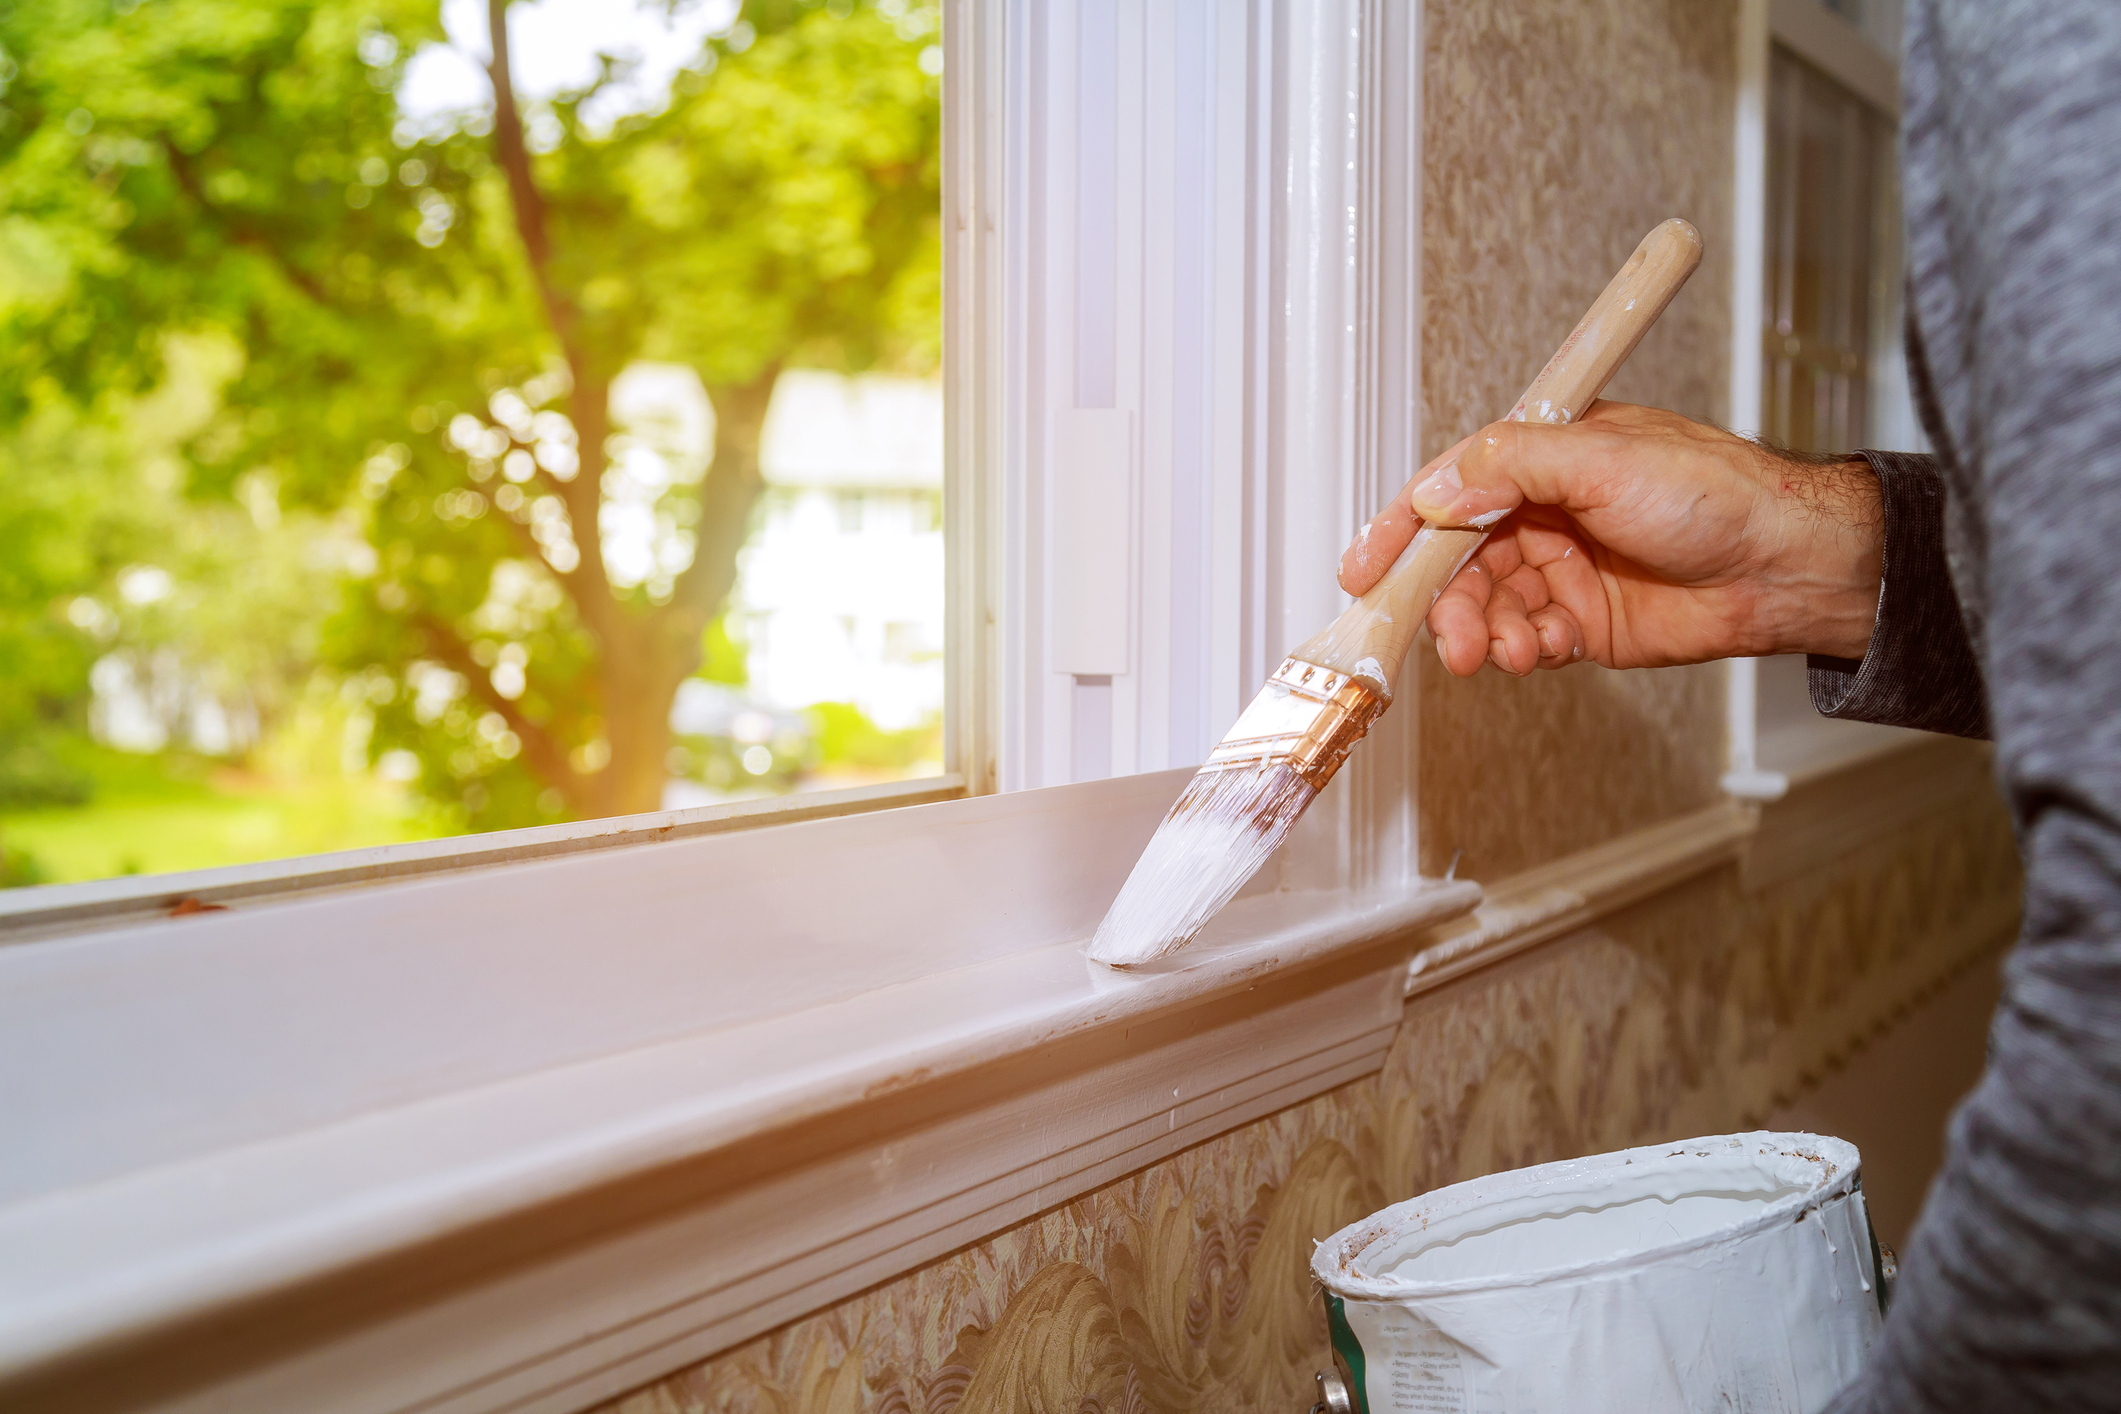
1. Use painters tape and newspaper to cover any areas you don't want painting i.e. glass, window furniture. Then clean and degrease the windows to remove any dirt and grease. Hot soapy water and a kitchen scourer will do the job. Finish by wiping clean with a soft cloth or towel and leave to dry completely.
2. Now you need to key the uPVC surface. This is effectively a light sanding to improve adhesion for a longer lasting finish. Use a 180 grit sandpaper and lightly sand to take off any sheen. Once finished, brush the door and finish with a damp cloth to remove any dust. Leave to dry.
3. Now add the primer. A 2-4 inch brush is the ideal choice. Start at the top and work your way down with long even strokes. Doors typically have windows and panels. Start by painting the edges next to the glass and then work outwards and down towards the bottom half. If these have panels, paint first and work outwards and down. Leave to dry as per manufacturer's instructions. Should only need one coat.
4. Apply the top coat the same way as the primer. If you have large flat areas to paint for any reason, use a small, 4-inch foam roller as well as the brush. You will typically need two coats. Lightly sanding between coats, making sure the paint is completely dry as this will help produce a smoother finish. Leave to dry as instructed. Typically the paint takes days to fully harden — or cure as the pros say. So be gentle with your doors and windows for a few days.
Get the Homebuilding & Renovating Newsletter
Bring your dream home to life with expert advice, how to guides and design inspiration. Sign up for our newsletter and get two free tickets to a Homebuilding & Renovating Show near you.
Steve Jenkins is a freelance content creator with over two decades of experience working in digital and print and was previously the DIY content editor for Homebuilding & Renovating.
He is a keen DIYer with over 20 years of experience in transforming and renovating the many homes he has lived in. He specialises in painting and decorating, but has a wide range of skills gleaned from working in the building trade for around 10 years and spending time at night school learning how to plaster and plumb.
He has fitted kitchens, tiled bathrooms and kitchens, laid many floors, built partition walls, plastered walls, plumbed in bathrooms, worked on loft conversions and much more. And when he's not sure how to tackle a DIY project he has a wide network of friends – including plumbers, gas engineers, tilers, carpenters, painters and decorators, electricians and builders – in the trade to call upon.

