Painting patio slabs: Pro steps to update your outdoor space
Painting patio slabs can transform a tired terrace — but only if you follow the correct steps. Here's how to revitalise your garden paths or seating areas
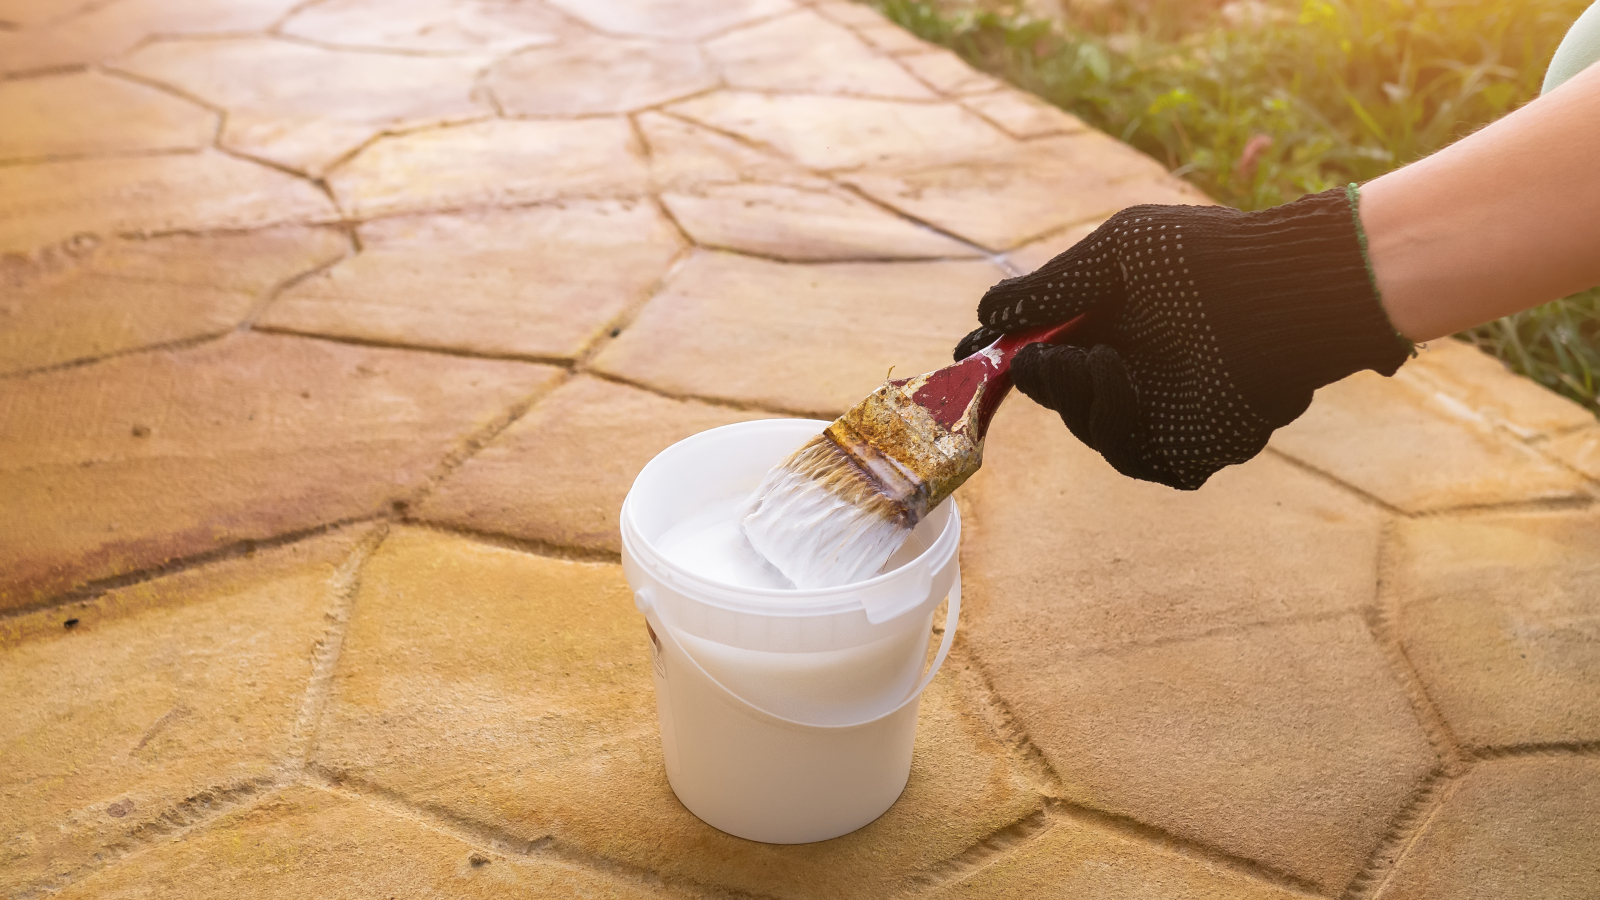
If it's been a while since you first finished your garden, painting patio slabs can be a great way of revitalising your outdoor space without breaking the bank.
But, to avoid turning your tired terrace into an ugly eyesore, one thing is key — following the right steps is essential to a long-lasting finish.
Whether your patio is simply past its prime, has flaking paint from previous updates or you're keen to add a splash of contemporary colour as part of your patio design ideas, our guide to painting patio slabs will help with everything from that all-important preparation, to picking the right paint and finding out the right way to apply it.
Painting patio slabs - can you paint every type of slab?
While you can paint most patio slabs, the first thing you need to consider is what material your slabs are made from.
Patio slabs are usually made from concrete, natural stone or brick. Although the materials may be similar in terms of their hardwearing appearance and finish, they may require different paint in order to get the best finish.
The most common slabs to find themselves in line for a revamp are concrete patio slabs. While they may be a practical and cost-effective option for budget-friendly patio ideas, they can soon lose their appeal. However, even if they lose their visual allure, they do have the redeeming quality of being one of the easiest slabs to paint.
Alternatively, if your patio is laid with natural stone, you may also find restoring it to its former glory is a more preferable option. A jet wash, using one of the best pressure washers, or a suitable patio cleaning solution may reveal shades and tones you'd forgotten and remove the need to cover them up with paint.
Likewise, if you've looked at porcelain paving pros and cons you'll know that the expense involved in both laying it and purchasing it makes painting them less of an appealing option. Instead keep on top of their maintenance and cleaning for a pristine and paint-free patio.
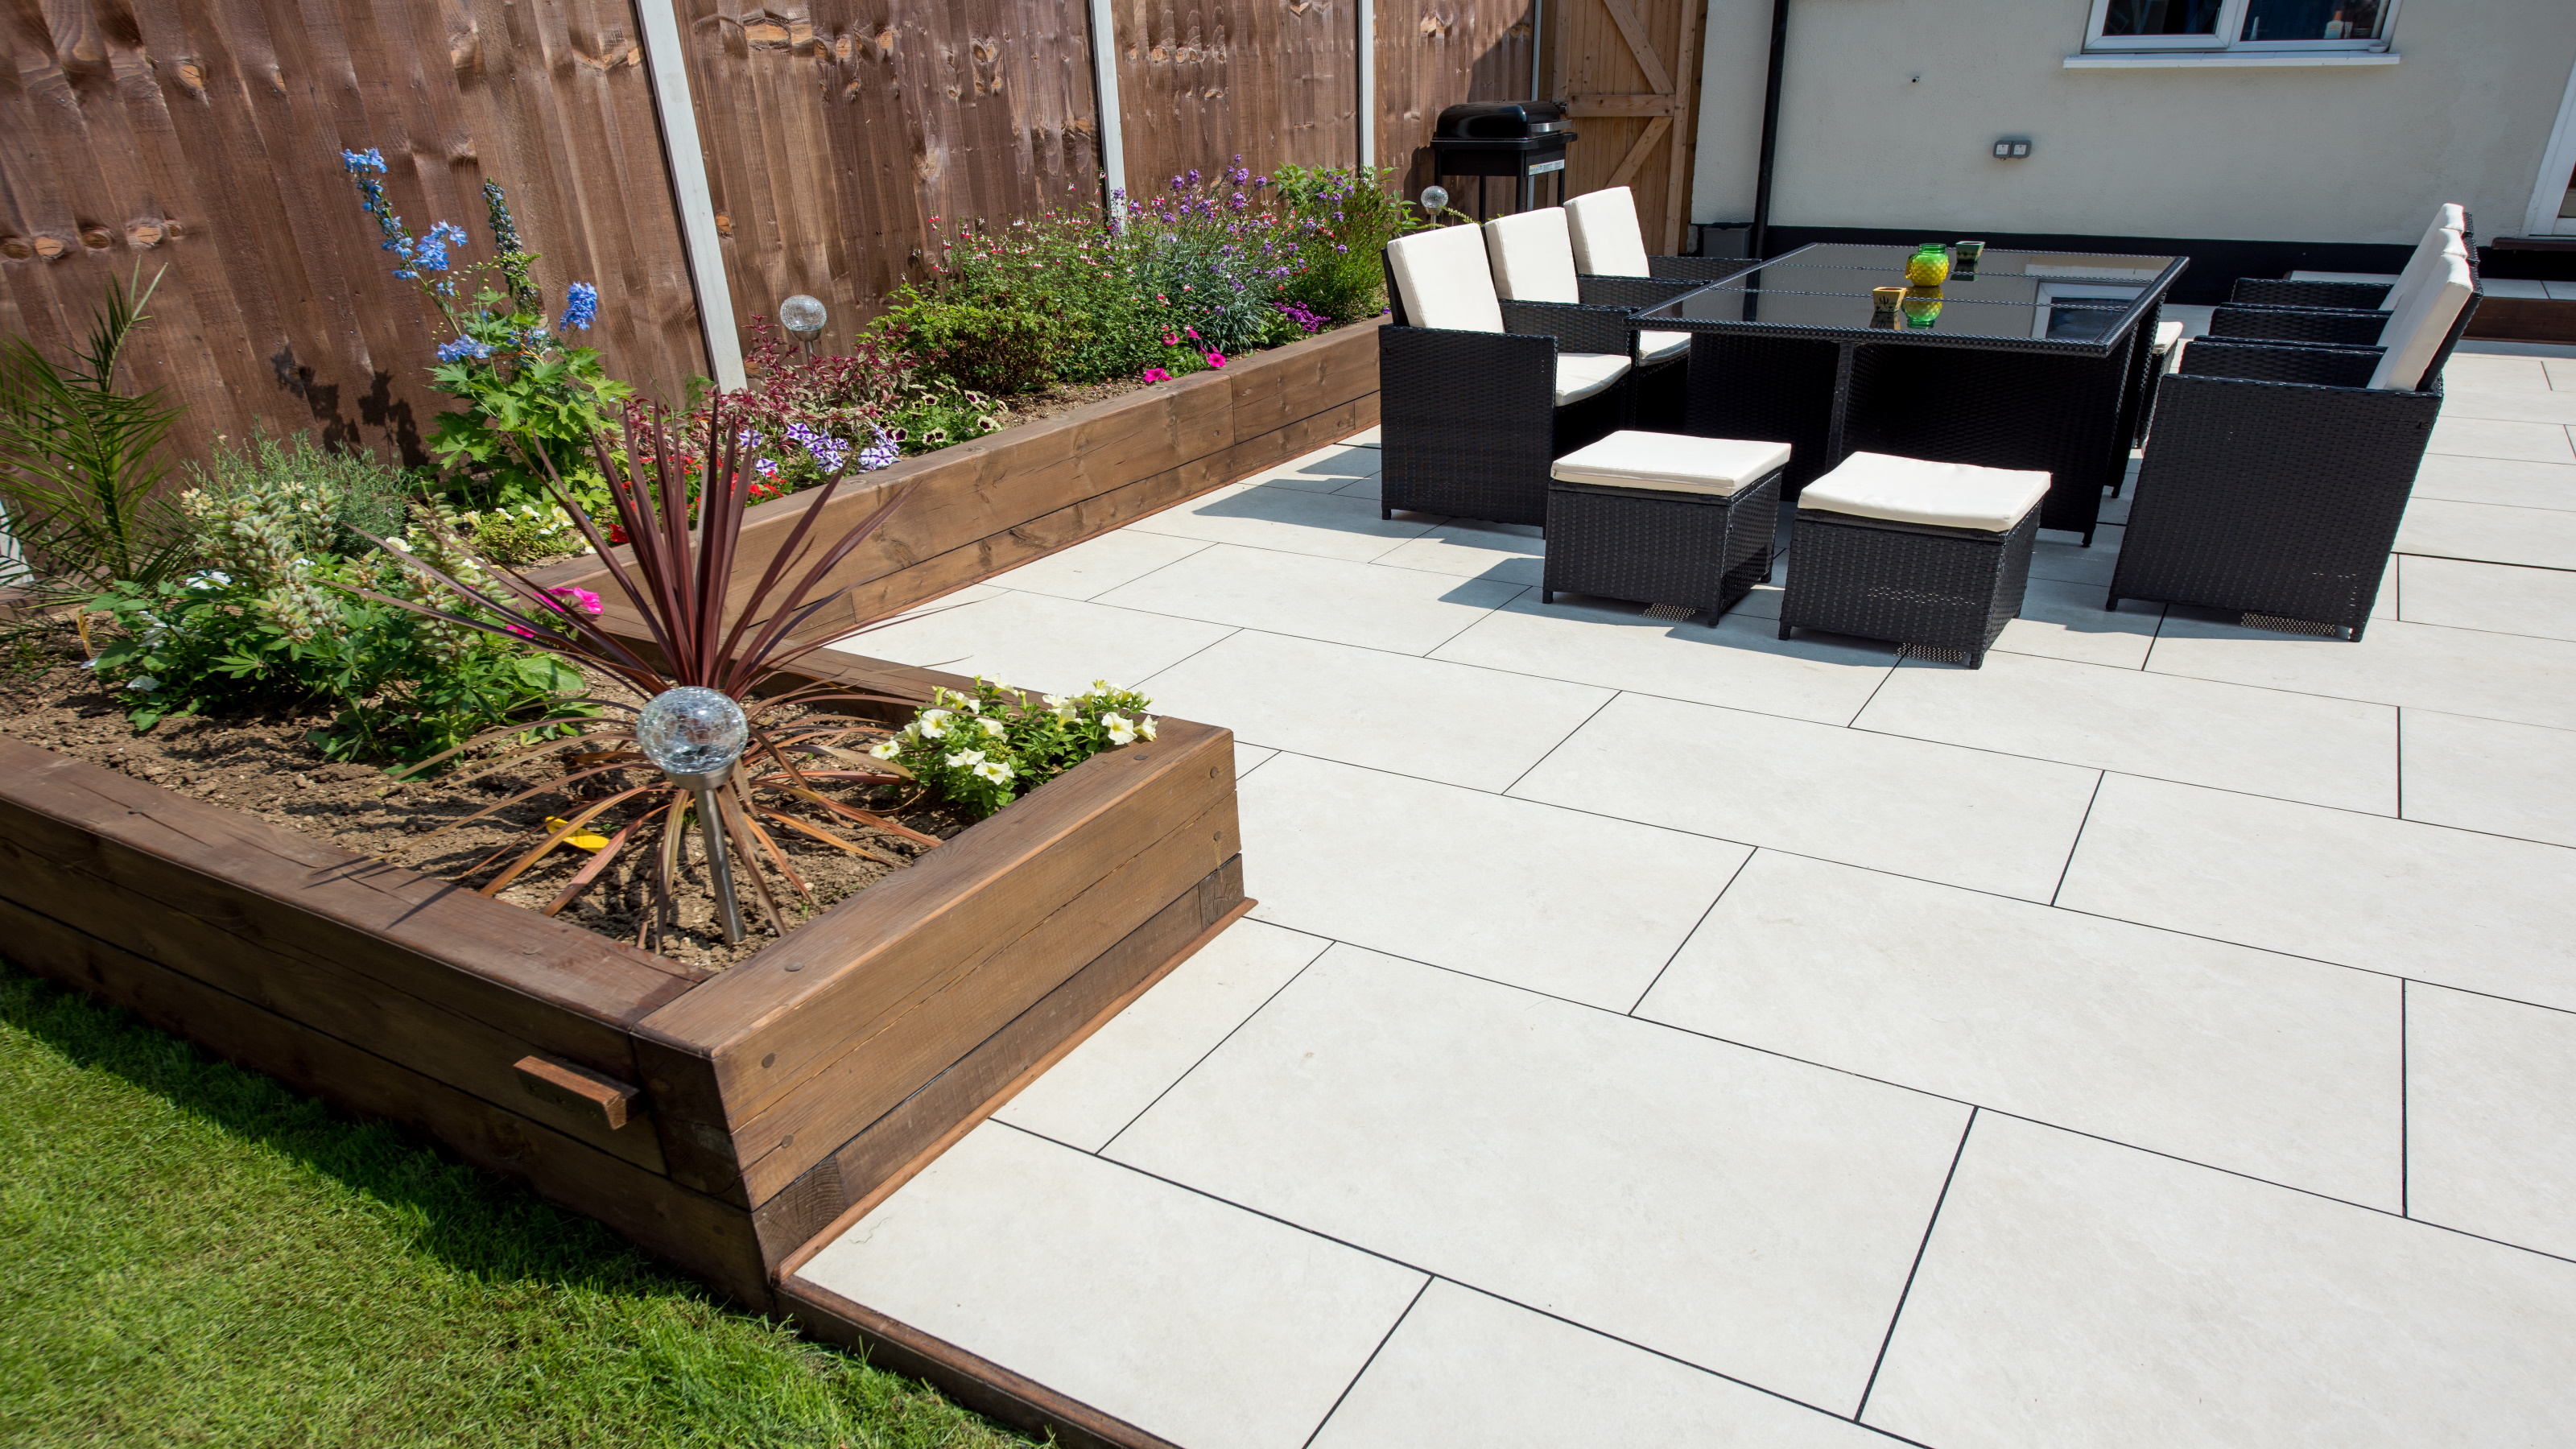
Painting patio slabs - a step by step guide
1. Clean the patio slabs
“Like most renovation projects, painting your patio takes thought and preparation," says a MyBuilder.com expert. "When undertaking any painting task, you need to prep and do the job correctly the first time or you’ll have a repair job on your hands within months.
"The first job is to check if the surface is clean and free of debris as you can’t paint over dirt and dust as it will start to flake immediately once the paint has dried.”
Following the correct advice on how to clean patio slabs will also ensure they are both grease and algae-free before you start.
First, get a stiff brush to remove any visible dirt, dust and debris. Then, if your patio is in reasonably good condition, you can just use a jet wash and water to clean it.
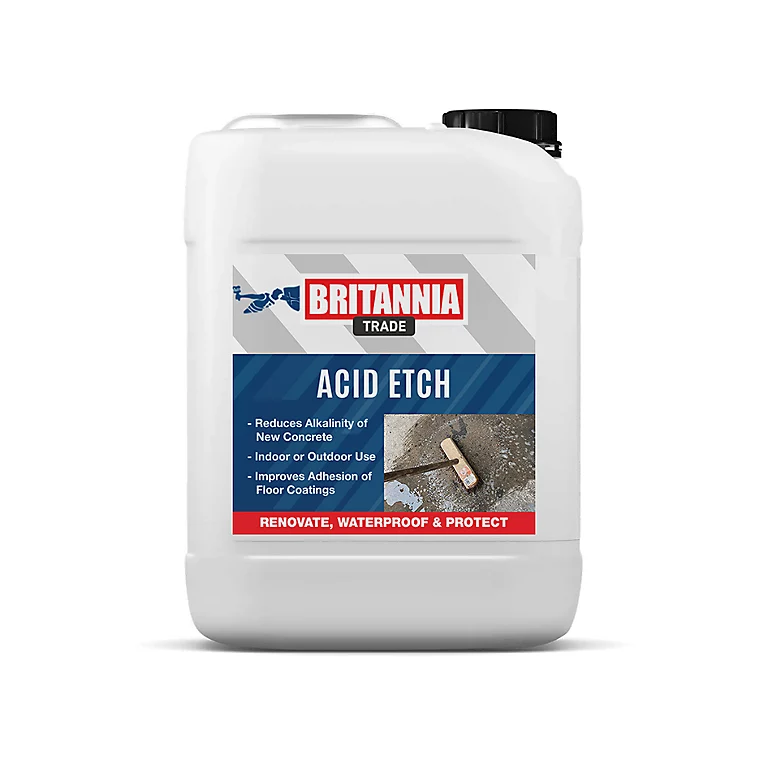
But, if there's a build-up of grease, moss and/or mould on it, invest in a decent patio cleaner like Brintons Patio Magic to give it a thorough clean then leave it to dry fully.
Make sure to follow the manufacturer's instructions to check it is suitable for use on the patio slab material.
2. Remove old paint
If your patio hasn’t been painted before, you can skip this step and move straight on to the next one.
A jet wash can be used to remove the existing paint on your patio, but be careful as it might remove the pointing as well. If it doesn’t remove the paint, you’ll need to purchase a good-quality paint stripper that's suitable for use on your slabs.
Once you have removed as much of the old paint as possible, you will need to wash down the patio to get rid of any residue. You can use a pressure washer or warm soapy water and a long-handled stiff brush.
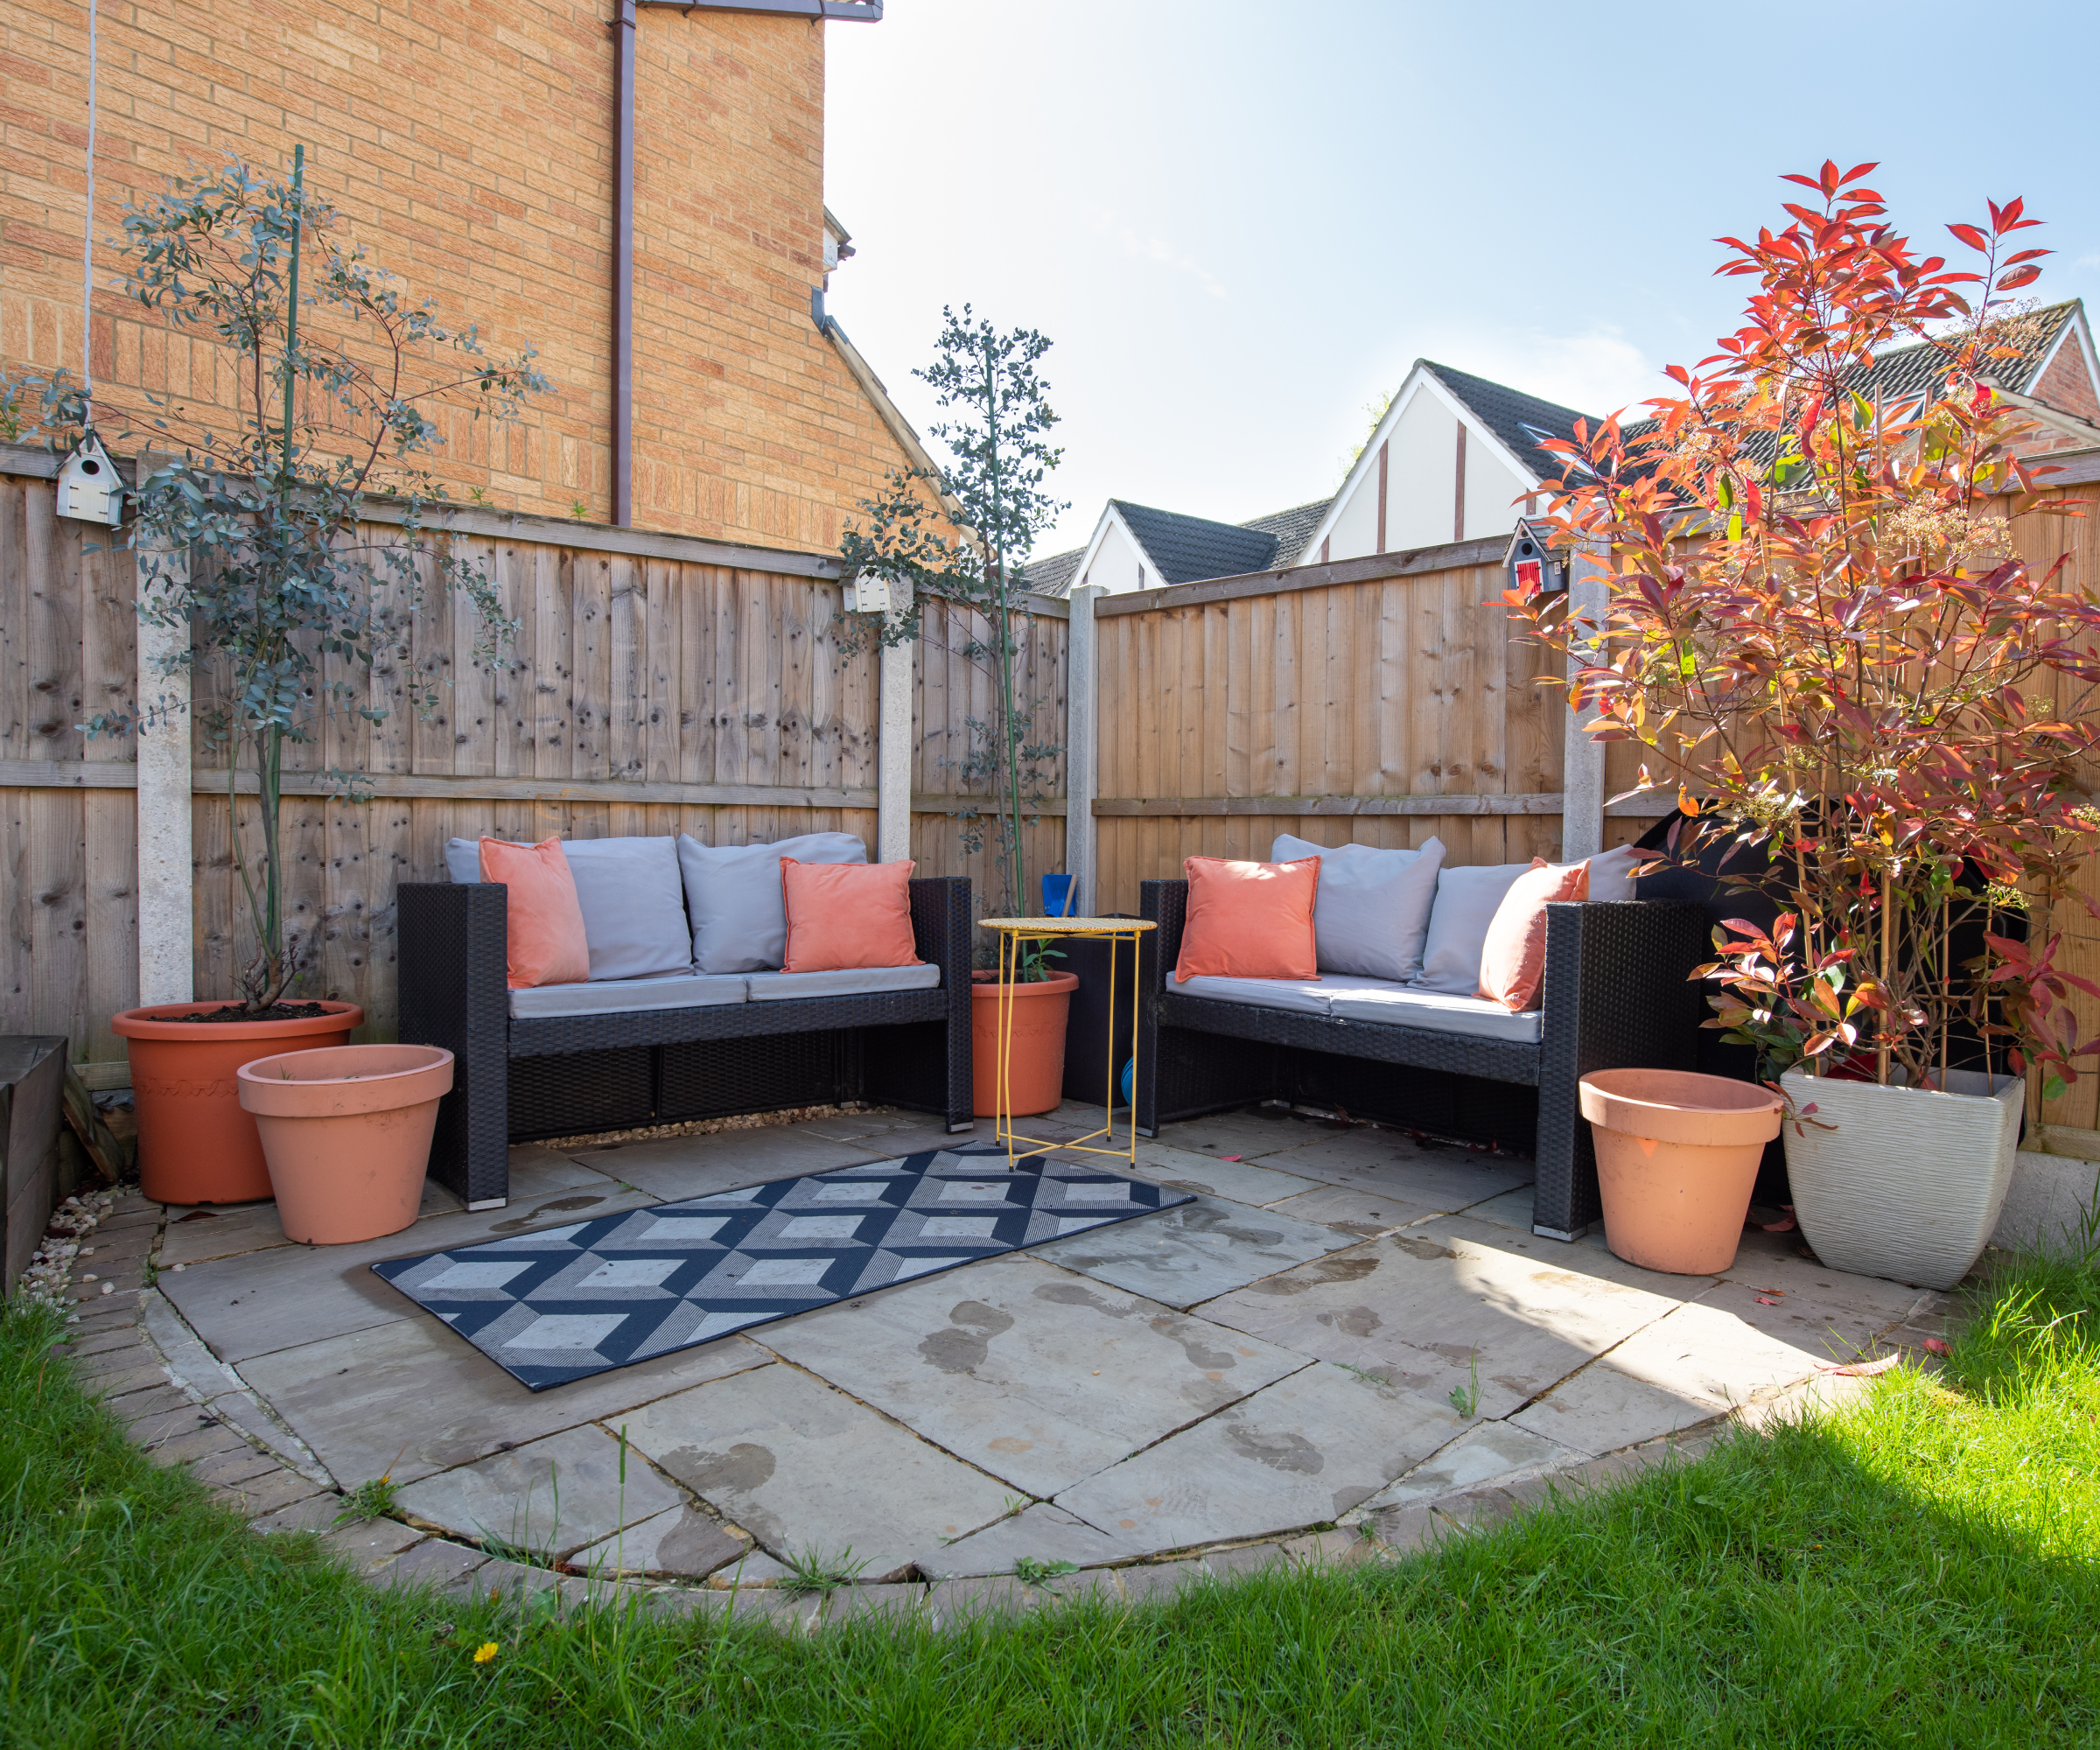
3. Prep your patio slabs
First, check the weather forecast; you'll need a warm rain-free day to paint. Clear all your garden furniture and remove any planters where possible.
Then, check you have the right tools to hand. You don't want to start the job and then find you're missing an essential piece of kit. For painting patio slabs make sure you have:
- Masking tape
- Old newspapers or dust sheets
- 9 or 12 inch roller
- Extension pole or broom handle
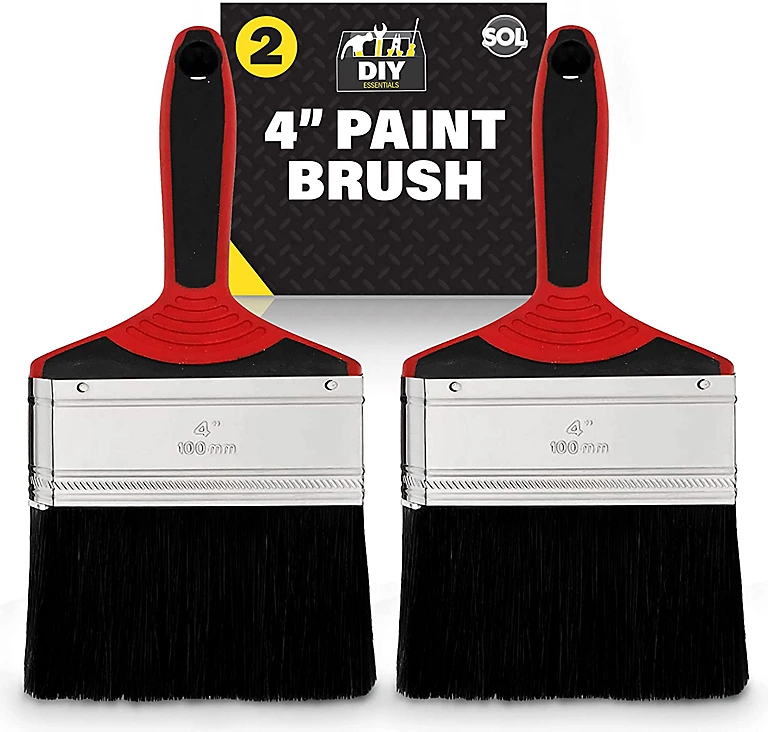
- 4 inch paint brush
- Primer
- Paint
Before you start painting, mask off any areas you don’t want to get paint on with masking and newspapers or dust sheets.
Where to buy your kit for painting patio slabs
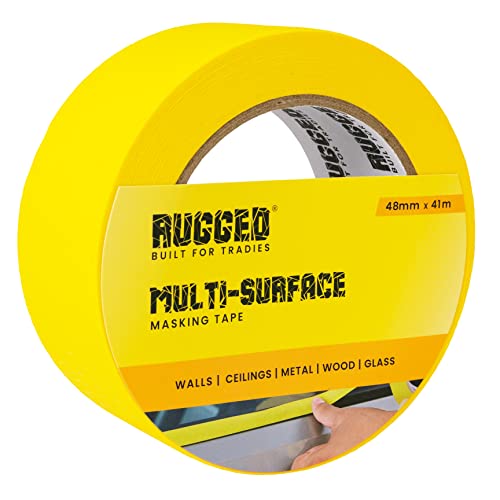
A multi-surface tape with medium adhesion for use indoors and outdoors

Biodegradable dust sheets to protect your garden furniture from paint
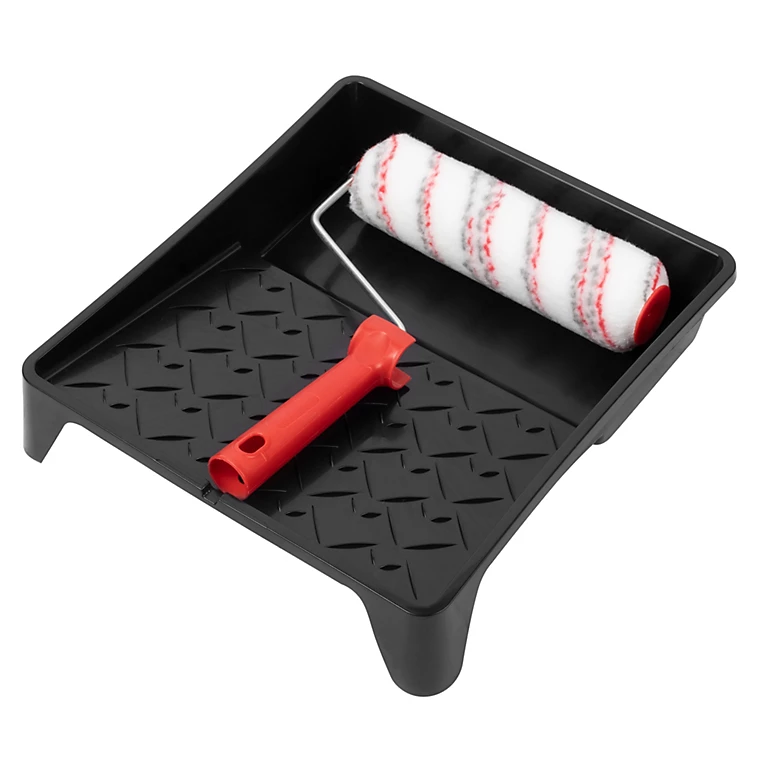
A 9 inch roller frame, sleeve and tray ideal for textured surfaces & external use
4. Painting your patio slabs
"If you have smooth or new slabs, using a roller could be the best route," says the MyBuilder expert. "However, if you have rough slabs you’ll need to use a brush."
For smooth patio slabs, use a 9 or 12 inch roller. Put the roller onto a broom handle or extension pole, so you don’t have to do a lot of bending. Then, use a 4 inch brush to paint any areas the roller doesn't reach. If you have heavily textured slabs, also use a 4 inch brush to make sure that you get into all the crevices.
Once you're ready to start, begin in one corner, usually the furthest away, and work backwards in sections. Apply a thin coat of primer – even if the paint you are using is self-priming – and leave to dry as per the manufacturer’s instructions.
Next, apply two thin layers of top coat, leaving to dry in between coats. Thin layers ensure that you get a harder, longer-lasting finish. Then leave to dry and cure as instructed – usually 24-48 hours – before walking on the patio again.
You could also apply a layer of sealant once dry for further protection.
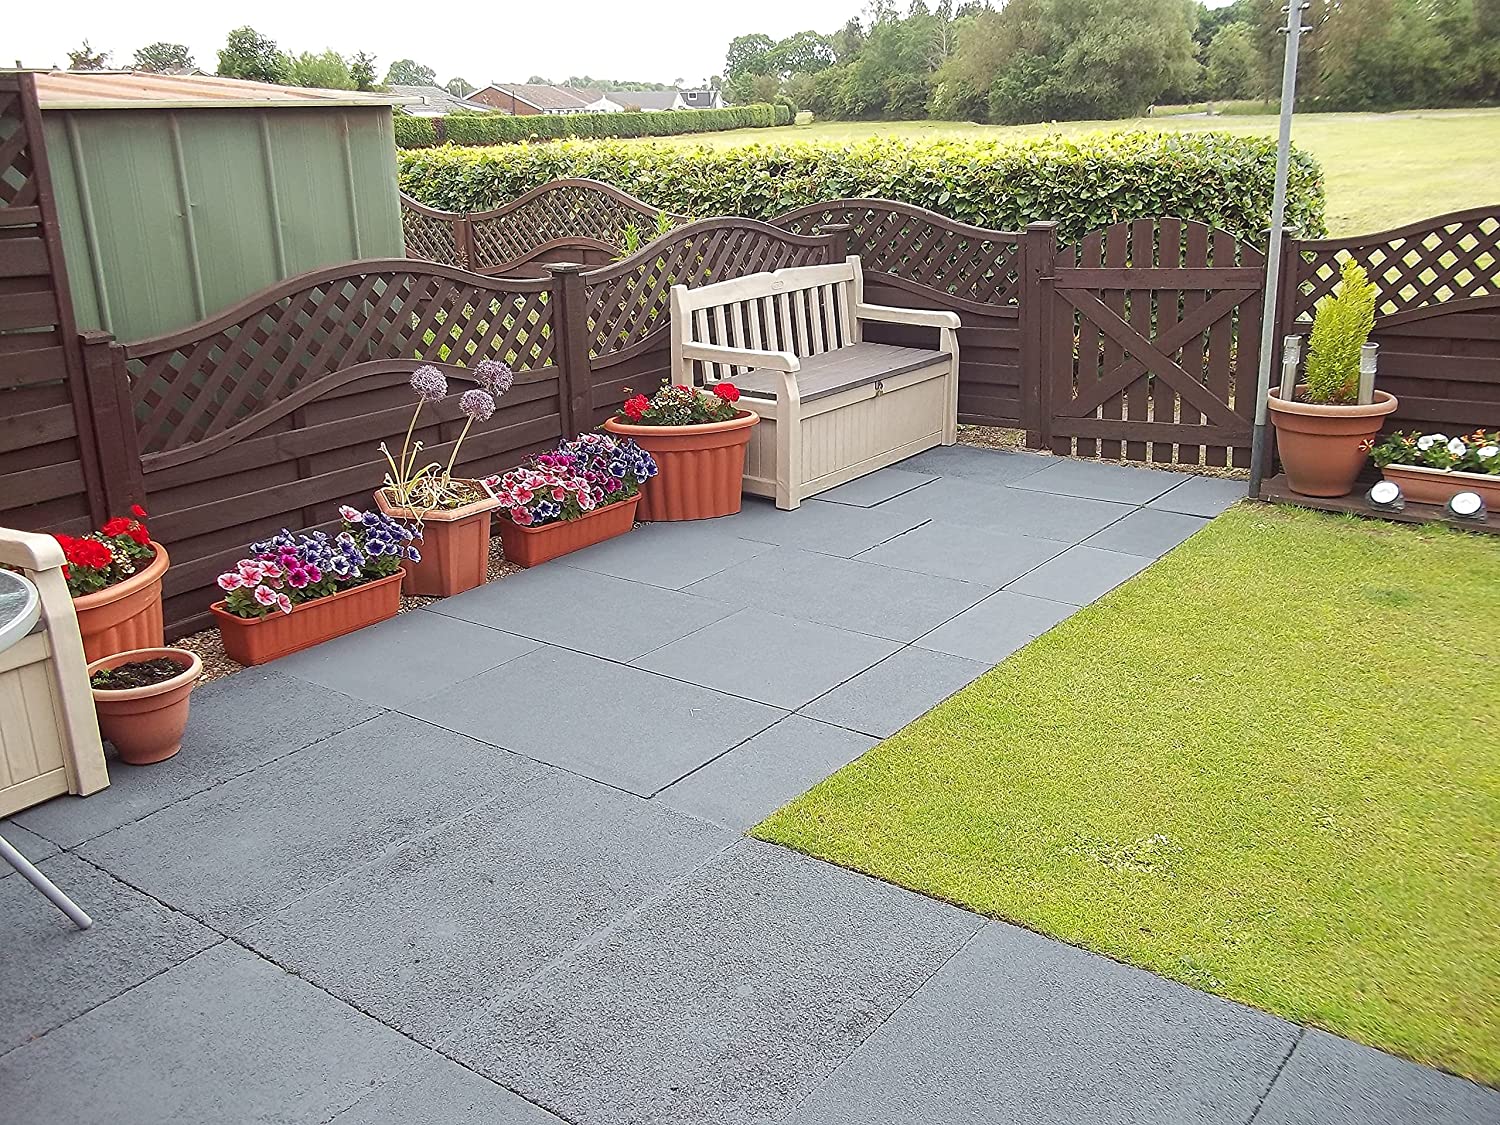
The best paints for painting patio slabs
Choosing the right paint when painting patio slabs is the key to that all-important pristine finish.
Masonry paint might initially seem like a good choice for concrete, stone and brick, but it’s not hard-wearing enough for areas that have a lot of footfall.
What you need is a specialist floor or concrete paint which is hardwearing. Some also come in a range of colours, so make sure you know the finished look are want before you start as this will help streamline the paint-buying process.
Try these paints for painting patio slabs:
- TA Paints Patio Paint available from Amazon
- Zinsser Allcoat Exterior Paint from B&Q
- Resincoat Patio Floor Paint from Amazon
FAQs
How long should the paint last?
As a rule, you can expect between three and five years from a new patio paint job, but there are lots of factors that will influence the lifespan of your painted patio.
How well you prep your patio before painting and what types of paint you use will make a big difference. A well-prepped patio with the right paint applied correctly could last another couple of years. A poorly prepped patio using the wrong paint won’t last long at all.
The weather conditions where you live and how often the patio is used will again affect how long before a repaint is needed. An occasionally used patio in a warmer climate with average rainfall will last longer than a heavily used patio in a cold and rainy climate, for instance.
Just make sure you prep well and use the right paint to get the maximum out of your painted patio.
Are there any downsides to painting patio slabs?
If you want to give your patio a quick refresh, then painting is definitely the most economical option. Plus, it will cost considerably less than what a new patio cost will amount to if you have new slabs laid.
Painting patio slabs also gives you the option to change the colour of your patio when you feel like it. This is something you can’t do with an unpainted patio.
However, it's important to bear in mind that a painted patio won't last as long as a well-laid and well-maintained patio which can last for decades. It’s a balancing act between a short-term solution or a long-term fix, and only you can decide what's best for your outdoor space.
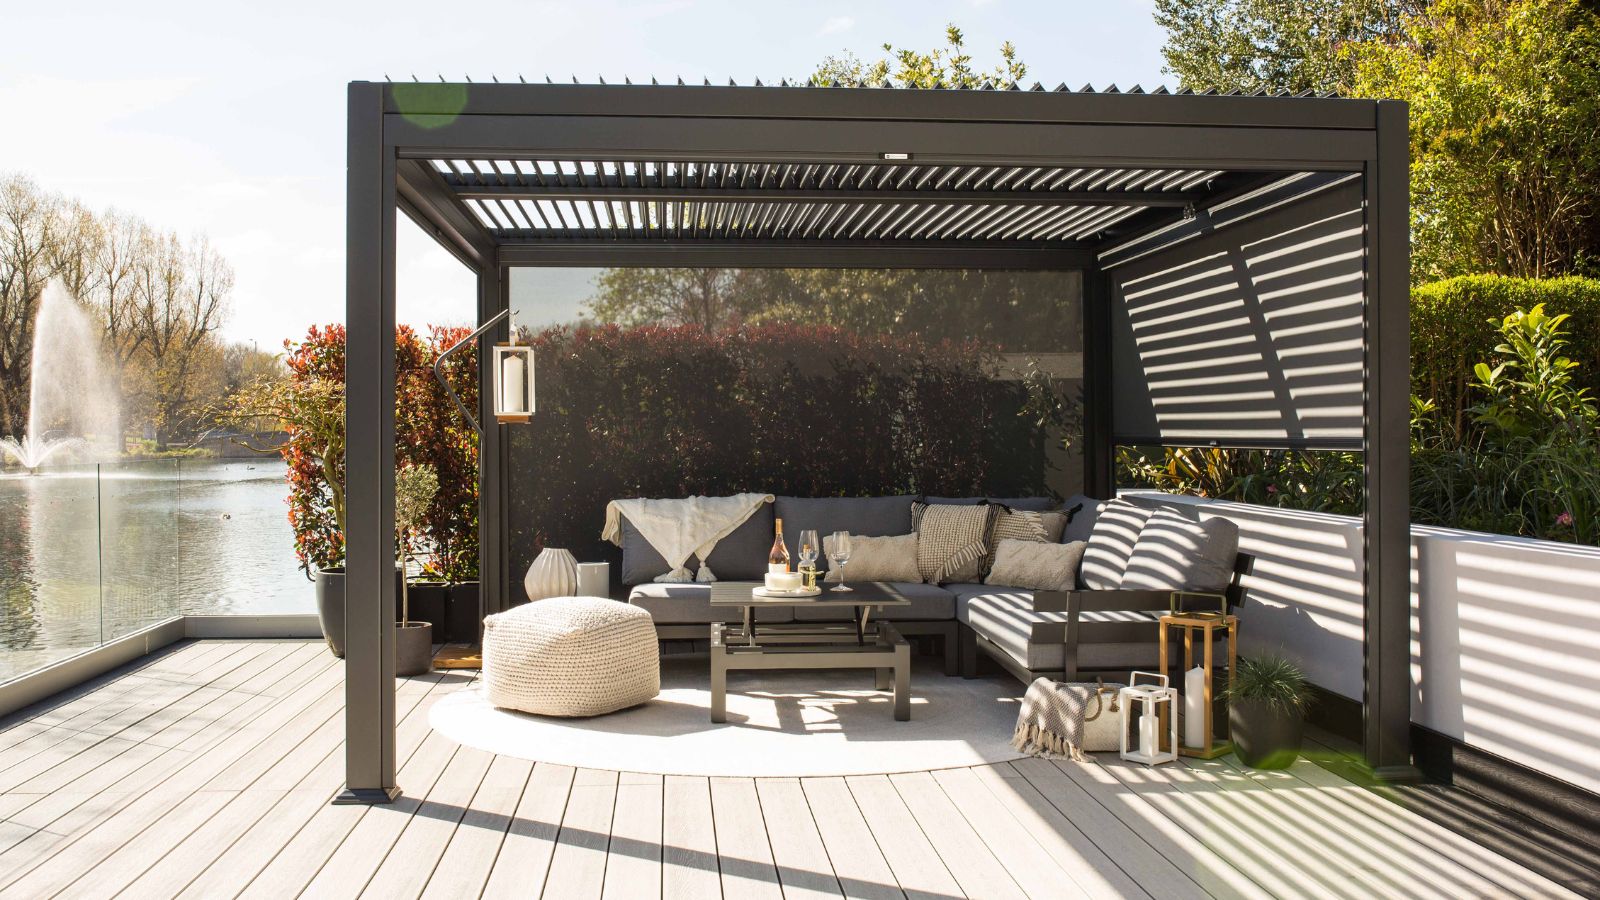
For more ways of revitalising your patio, why not consider these patio cover ideas, and make your outdoor space useable all year round with these patio lighting ideas.
Get the Homebuilding & Renovating Newsletter
Bring your dream home to life with expert advice, how to guides and design inspiration. Sign up for our newsletter and get two free tickets to a Homebuilding & Renovating Show near you.
Steve Jenkins is a freelance content creator with over two decades of experience working in digital and print and was previously the DIY content editor for Homebuilding & Renovating.
He is a keen DIYer with over 20 years of experience in transforming and renovating the many homes he has lived in. He specialises in painting and decorating, but has a wide range of skills gleaned from working in the building trade for around 10 years and spending time at night school learning how to plaster and plumb.
He has fitted kitchens, tiled bathrooms and kitchens, laid many floors, built partition walls, plastered walls, plumbed in bathrooms, worked on loft conversions and much more. And when he's not sure how to tackle a DIY project he has a wide network of friends – including plumbers, gas engineers, tilers, carpenters, painters and decorators, electricians and builders – in the trade to call upon.

