Painting over grease stains the right way to stop the marks coming back
Before you think about painting over grease stains, you need to clean and prep the area to get the most effective finish. Here we tell you how
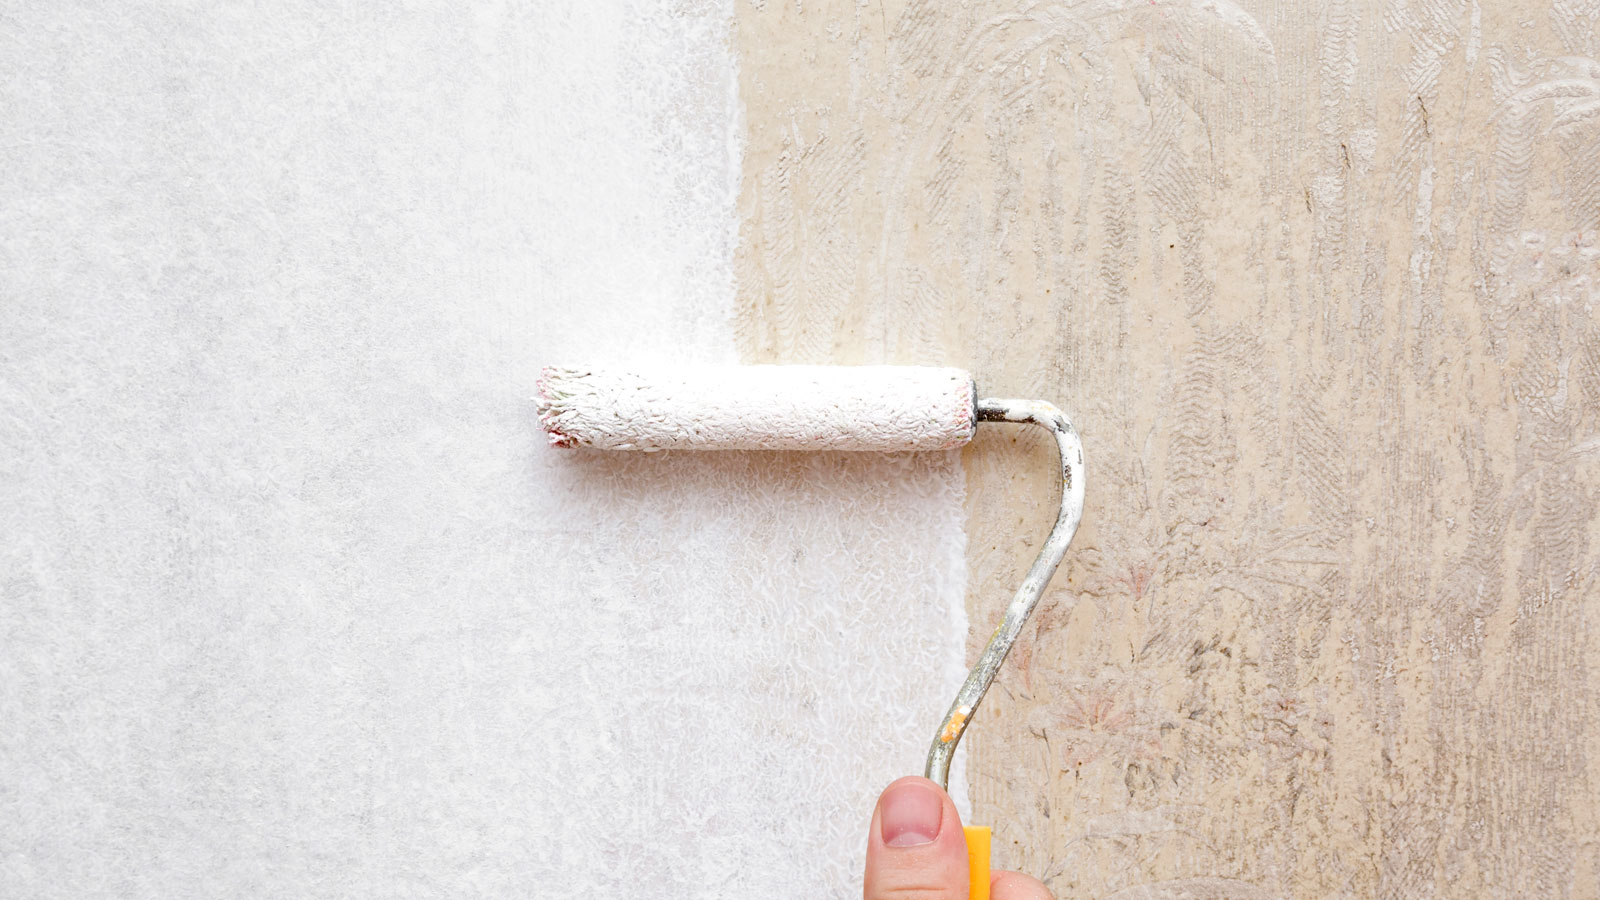
Painting over grease stains is one way to get rid of ugly and annoying marks on your walls and wood. But it is not as simple getting out a tin of emulsion and adding a new coat of paint. This won’t solve the problem, you will simply be spending more time and money trying to hide any stains.
When painting a wall, wood or even kitchen cabinets, you need to get your preparation right before you can even think about adding a coat of paint. Here we reveal the different methods to help get rid of grease stains and the paint you’ll need to stop them from reappearing any time soon.
Try these tools to paint over grease stains
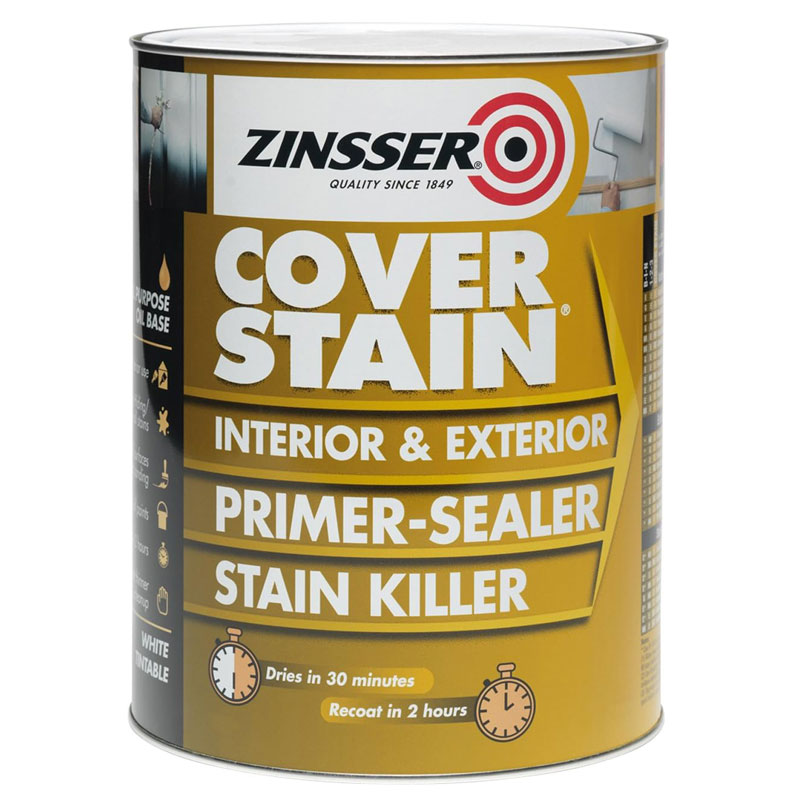
An interior/exterior primer, sealer and stain repellant paint with impressive covering capabilities and recoatable in two hours
Painting over grease stains: A step-by-step guide
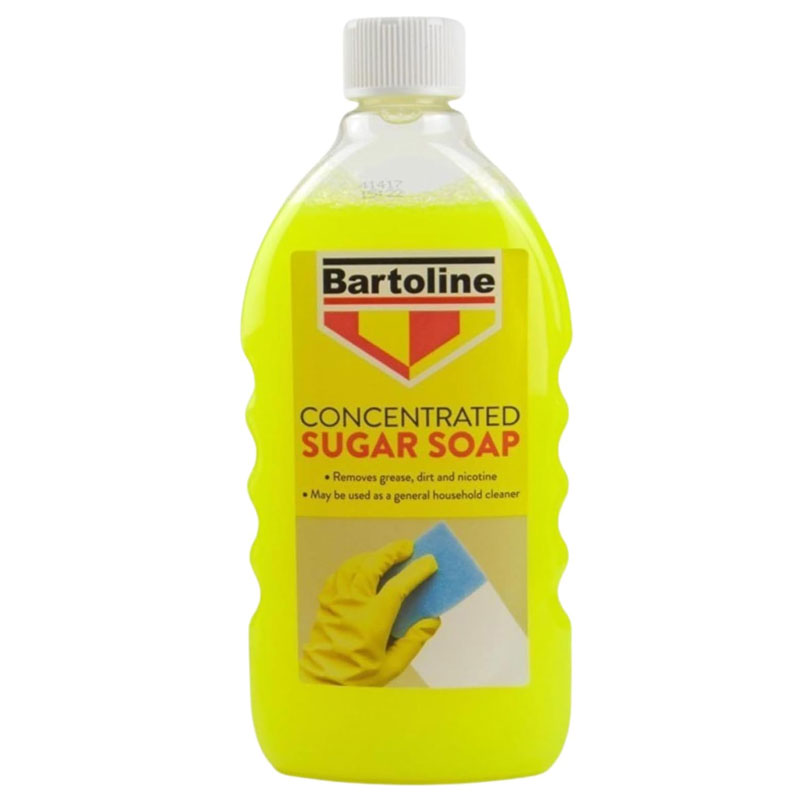
Before you start, make sure to gather what you need to do the job. A sponge, fine grit sandpaper, degreasing solution (more on this later), paint and painting tools. I’d also recommend that you lay down dust sheets like these ARVO 3 Pack Extra Large Plastic Dust Sheets from Amazon and cover furniture to protect it.
If working near any electric sockets/switches turn them off and cover with plastic bags and tape to stop any liquid seeping in.
1. Remove the grease stain
The first step is to remove as much of the grease stain as possible. Ideally you want to get rid of it completely, but this can be difficult on some surfaces. Start by applying your chosen degreasing solution and a sponge on the stain. Dab and scrub gently on delicate surfaces until the stain has gone.
For more robust surfaces such as painted wood, you can use a green scrubber pad if needed. Wash down with clean water and a cloth and leave to dry. Check the area and clean again if needed – typically a gentle sponging should be sufficient.
2. Sand the surface
Make sure that the surface is dry, especially if working on a more delicate surface like wallpaper. Get a fine sandpaper grade – 240 grit is a good choice for most surfaces and gently rub done the area that you have cleaned until smooth.
Go slightly beyond where the stain was and blend with the grease free area. Now get a moist cloth and wipe the area to get rid of any dust and leave to dry.
3. Apply primer
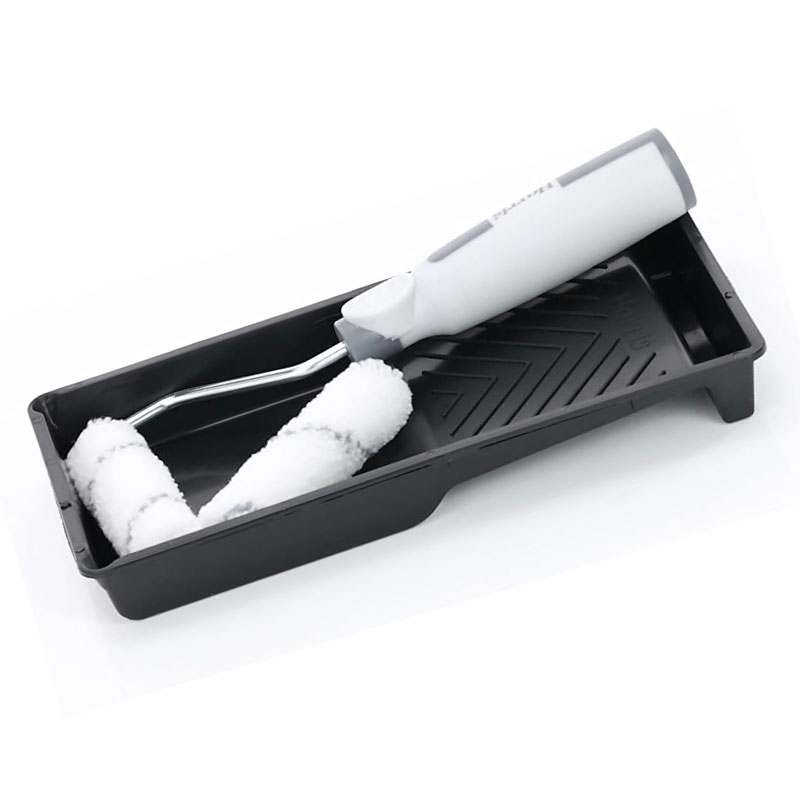
To make sure that any dormant or remaining grease doesn’t bleed through any paint you apply, you need to seal the stain with suitable paint. If covering stains on walls, kitchen cabinets or similar, use a 4-inch mini roller for small patches and a larger 9-inch roller for larger areas.
Apply a thin coat and blend the edges. For areas where a roller won’t work, i.e. decorate trim, skirting board, use a decent 3-4 inch paint brush, and don’t forget to blend the edges. Leave to dry, give the surface a very quick rub down, clean and leave to dry and apply a second coat and leave to dry for at least 24 hours.
The surface will now be ready to paint. Check out our painting a wall with a roller guide to get some essential tips on how to get a quick smart-looking finish.
FAQs
What is the best paint to use to hide stains?
A stain blocking sealer/primer is the ideal choice for dealing with grease stains, whatever surface you are working on. A popular choice is Zinsser’s Cover Stain – available from Amazon. This is an all-purpose stain killing paint that is suitable for most surfaces in the home including plaster, masonry, wood and wallpaper and is recoatable in around two hours. An alternative is Fiddes Full Stop which is a white stain block primer.
A cheaper and often as effective solution is to use an oil-based paint that you may already have. An oil-based undercoat with a low sheen, like this Dulux Trade Brilliant White Undercoat from B&Q, is a better choice than one with a high gloss finish as paint such as emulsion doesn’t adhere as well to these types of finishes.
What do you use to degrease before painting?
There are a few store bought options and homemade remedies that will work well across most surfaces. Sugar soap and washing up liquid are good all round options for removing grease stains from most surfaces including walls, wood, wallpaper, kitchen cabinets and tiles.
Homemade remedies include adding a half a cup of white vinegar to a bucket of warm water. A variation on this is to add in a little less baking soda and mix. Another option is to make a thick paste with cornflour and water and work it into the stain with your fingers. Leave for a couple of minutes and wipe off with a moist cloth.
Can I paint over grease stains with emulsion?
No. Emulsion paints are water-based and will not cover grease stains. After the emulsion dries, you might not notice the old stain immediately, but it won't be long before it seeps through the emulsion and you see it again. Adding another coat of emulsion will hide it for a while, but it won’t be long before it reappears.
What happens if you paint straight over grease stains?
Water-based emulsions will stain and discolour as the grease from the stain seeps through and the paint won’t adhere to the surface as well as it should, causing it to flake and bubble. Even when using a specialist stain blocking paint to cover the stain it is still advisable to clean as best as you can to improve adhesion.
Grease stains are often found in kitchens. Check out our 17 painted kitchen cabinet ideas, Painting kitchen cabinets, and the Best Kitchen Cabinet Paints guides to help restore your kitchen back to its best.
Get the Homebuilding & Renovating Newsletter
Bring your dream home to life with expert advice, how to guides and design inspiration. Sign up for our newsletter and get two free tickets to a Homebuilding & Renovating Show near you.
Steve Jenkins is a freelance content creator with over two decades of experience working in digital and print and was previously the DIY content editor for Homebuilding & Renovating.
He is a keen DIYer with over 20 years of experience in transforming and renovating the many homes he has lived in. He specialises in painting and decorating, but has a wide range of skills gleaned from working in the building trade for around 10 years and spending time at night school learning how to plaster and plumb.
He has fitted kitchens, tiled bathrooms and kitchens, laid many floors, built partition walls, plastered walls, plumbed in bathrooms, worked on loft conversions and much more. And when he's not sure how to tackle a DIY project he has a wide network of friends – including plumbers, gas engineers, tilers, carpenters, painters and decorators, electricians and builders – in the trade to call upon.
