Painting new plaster: Why you have to apply a mist coat and how to do it
When painting new plaster you need to seal it before you can add a top coat. Here we reveal the ideal mist coat ratio and how to apply for the perfect finish
Painting new plaster is not as simple and straightforward as you might think. You can’t just paint straight onto new plaster. Try it and you’ll soon find out why you need to start with a mist coat. But before you even think about a mist coat, it's critical that the new plaster is completely dry. Trap any moisture behind the paint and a flaking finish will soon make an appearance.
But it’s not just a dry plaster you need to think of. If you start painting straight onto new plaster you will get a poor, uneven finish. The paint will be absorbed almost immediately into the plaster, drying out far too quickly to get a decent finish.
But don’t panic, introducing a mist coat is easy when painting a room. It’s effectively watered down emulsion that seals the plaster. And here we tell what ratio, what paint and what tools you ‘ll need to get it right.
Painting new plaster: How long before I can start painting?

Need more advice or inspiration for your project? Get two free tickets to the Homebuilding & Renovating Show
Before painting new plaster, it needs to dry properly, but it's not a quick-drying material. In ideal conditions, typically the summer months (although ideally not when it is too hot either), it can take from two to three days to two or three weeks.
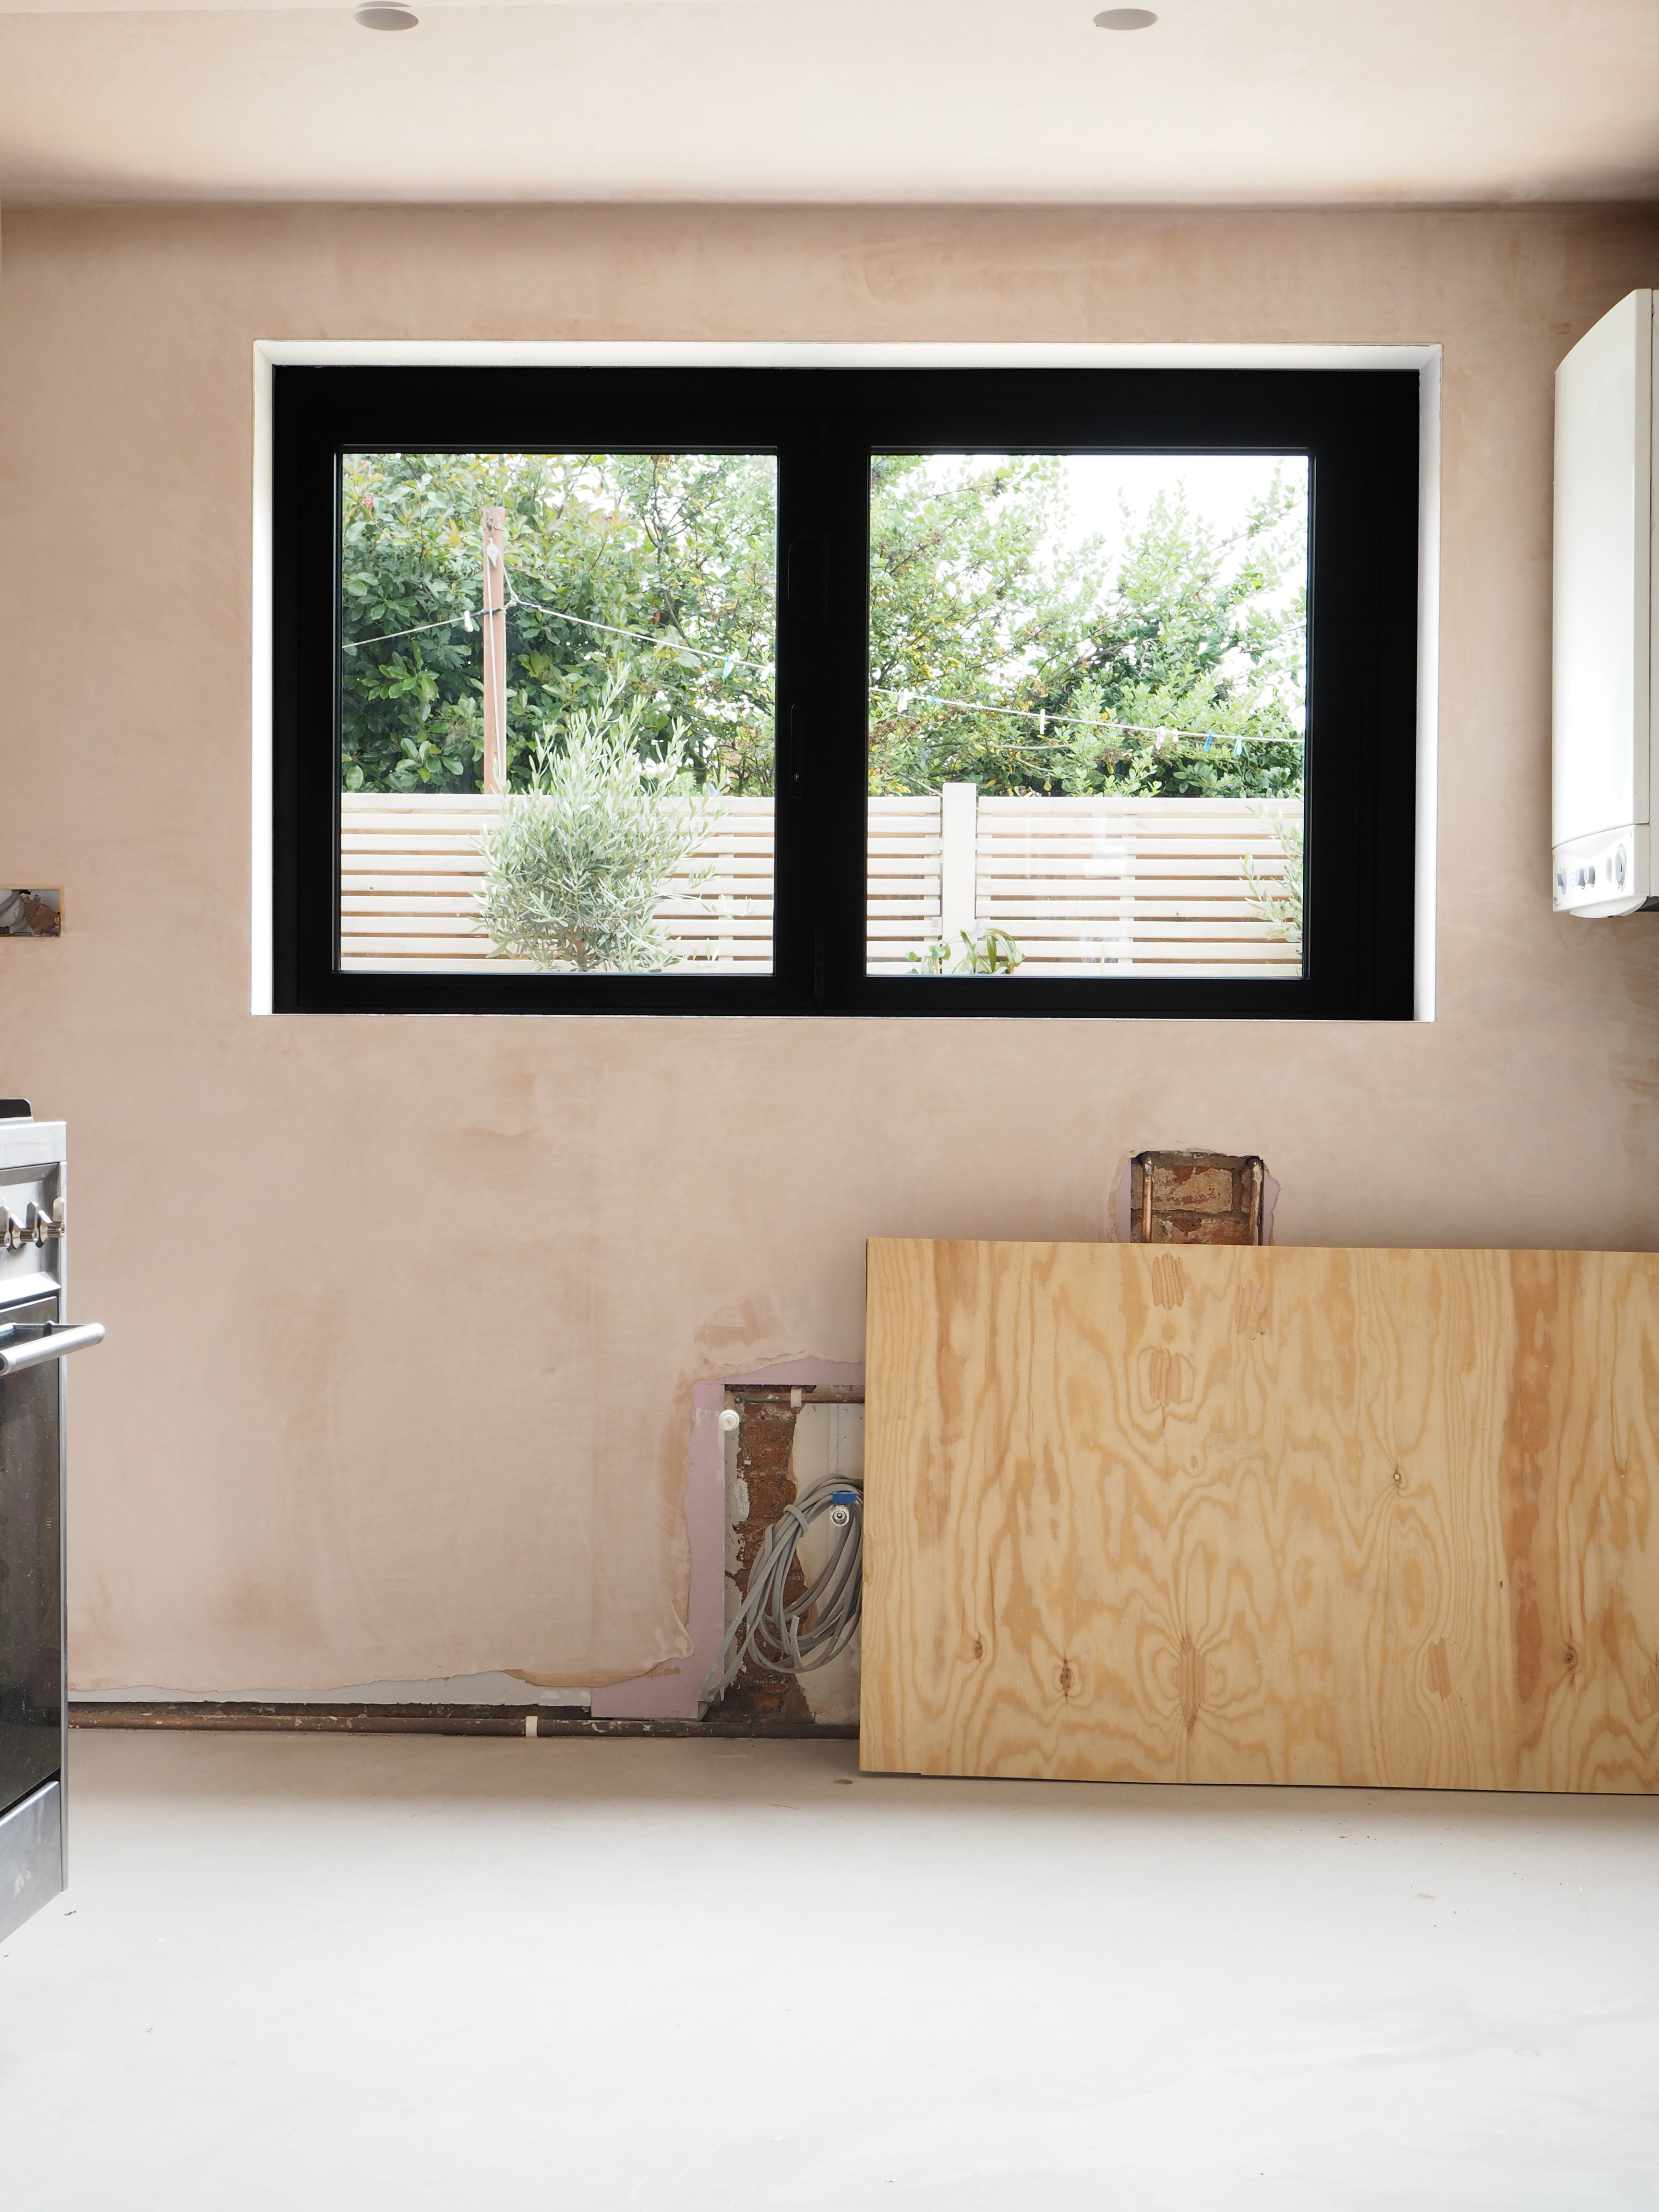
Ideally leave it for at least two weeks to make sure it is completely dry. Leave a window open to help ventilation, this will help speed up the drying process. One way to gauge if the plaster is dry or not is by the colour. You will see lighter colour patches appear — this means it's dry. When the plaster is all the same lighter colour the plaster is dry.
If you apply paint before the plaster is dry this can lead to other problems in the future so if you want a good long-lasting paint job you need to be patient.
What is a mist coat?
New plaster is very permeable , which means it will absorb liquid i.e. paint. To stop this happening a mist coat is applied directly to new, fully dry plaster to help seal it ready for the top coat. This is effectively a watered down emulsion. One coat should be enough, but you can add a second or even third coat to make sure the plaster is sealed.
Leave the mist coat for 24 hours to dry. A simple test to see that the mist coat has worked is to use masking tape. If it comes off the wall clean, you're ready to go.
What is the ideal ratio for a mist coat?
A mist coat needs to be absorbed by new plaster so it needs to be pretty thin, almost like a thin soup. If it’s not thin enough it won’t do its job properly.
Use a white emulsion (it doesn’t need to be high quality) as this provides a good base colour for any top coat. A common ratio is 7 parts paint and 3 parts water, but you can go 50-50 if the paint you are using is thick to start with. It's better to be too thin than too thick.
Many standard white emulsions will include information about the best ratio for using them as a mist coat on the product packaging, so if you're unsure if your paint is thick or thin, consult this before mixing your mist coat.
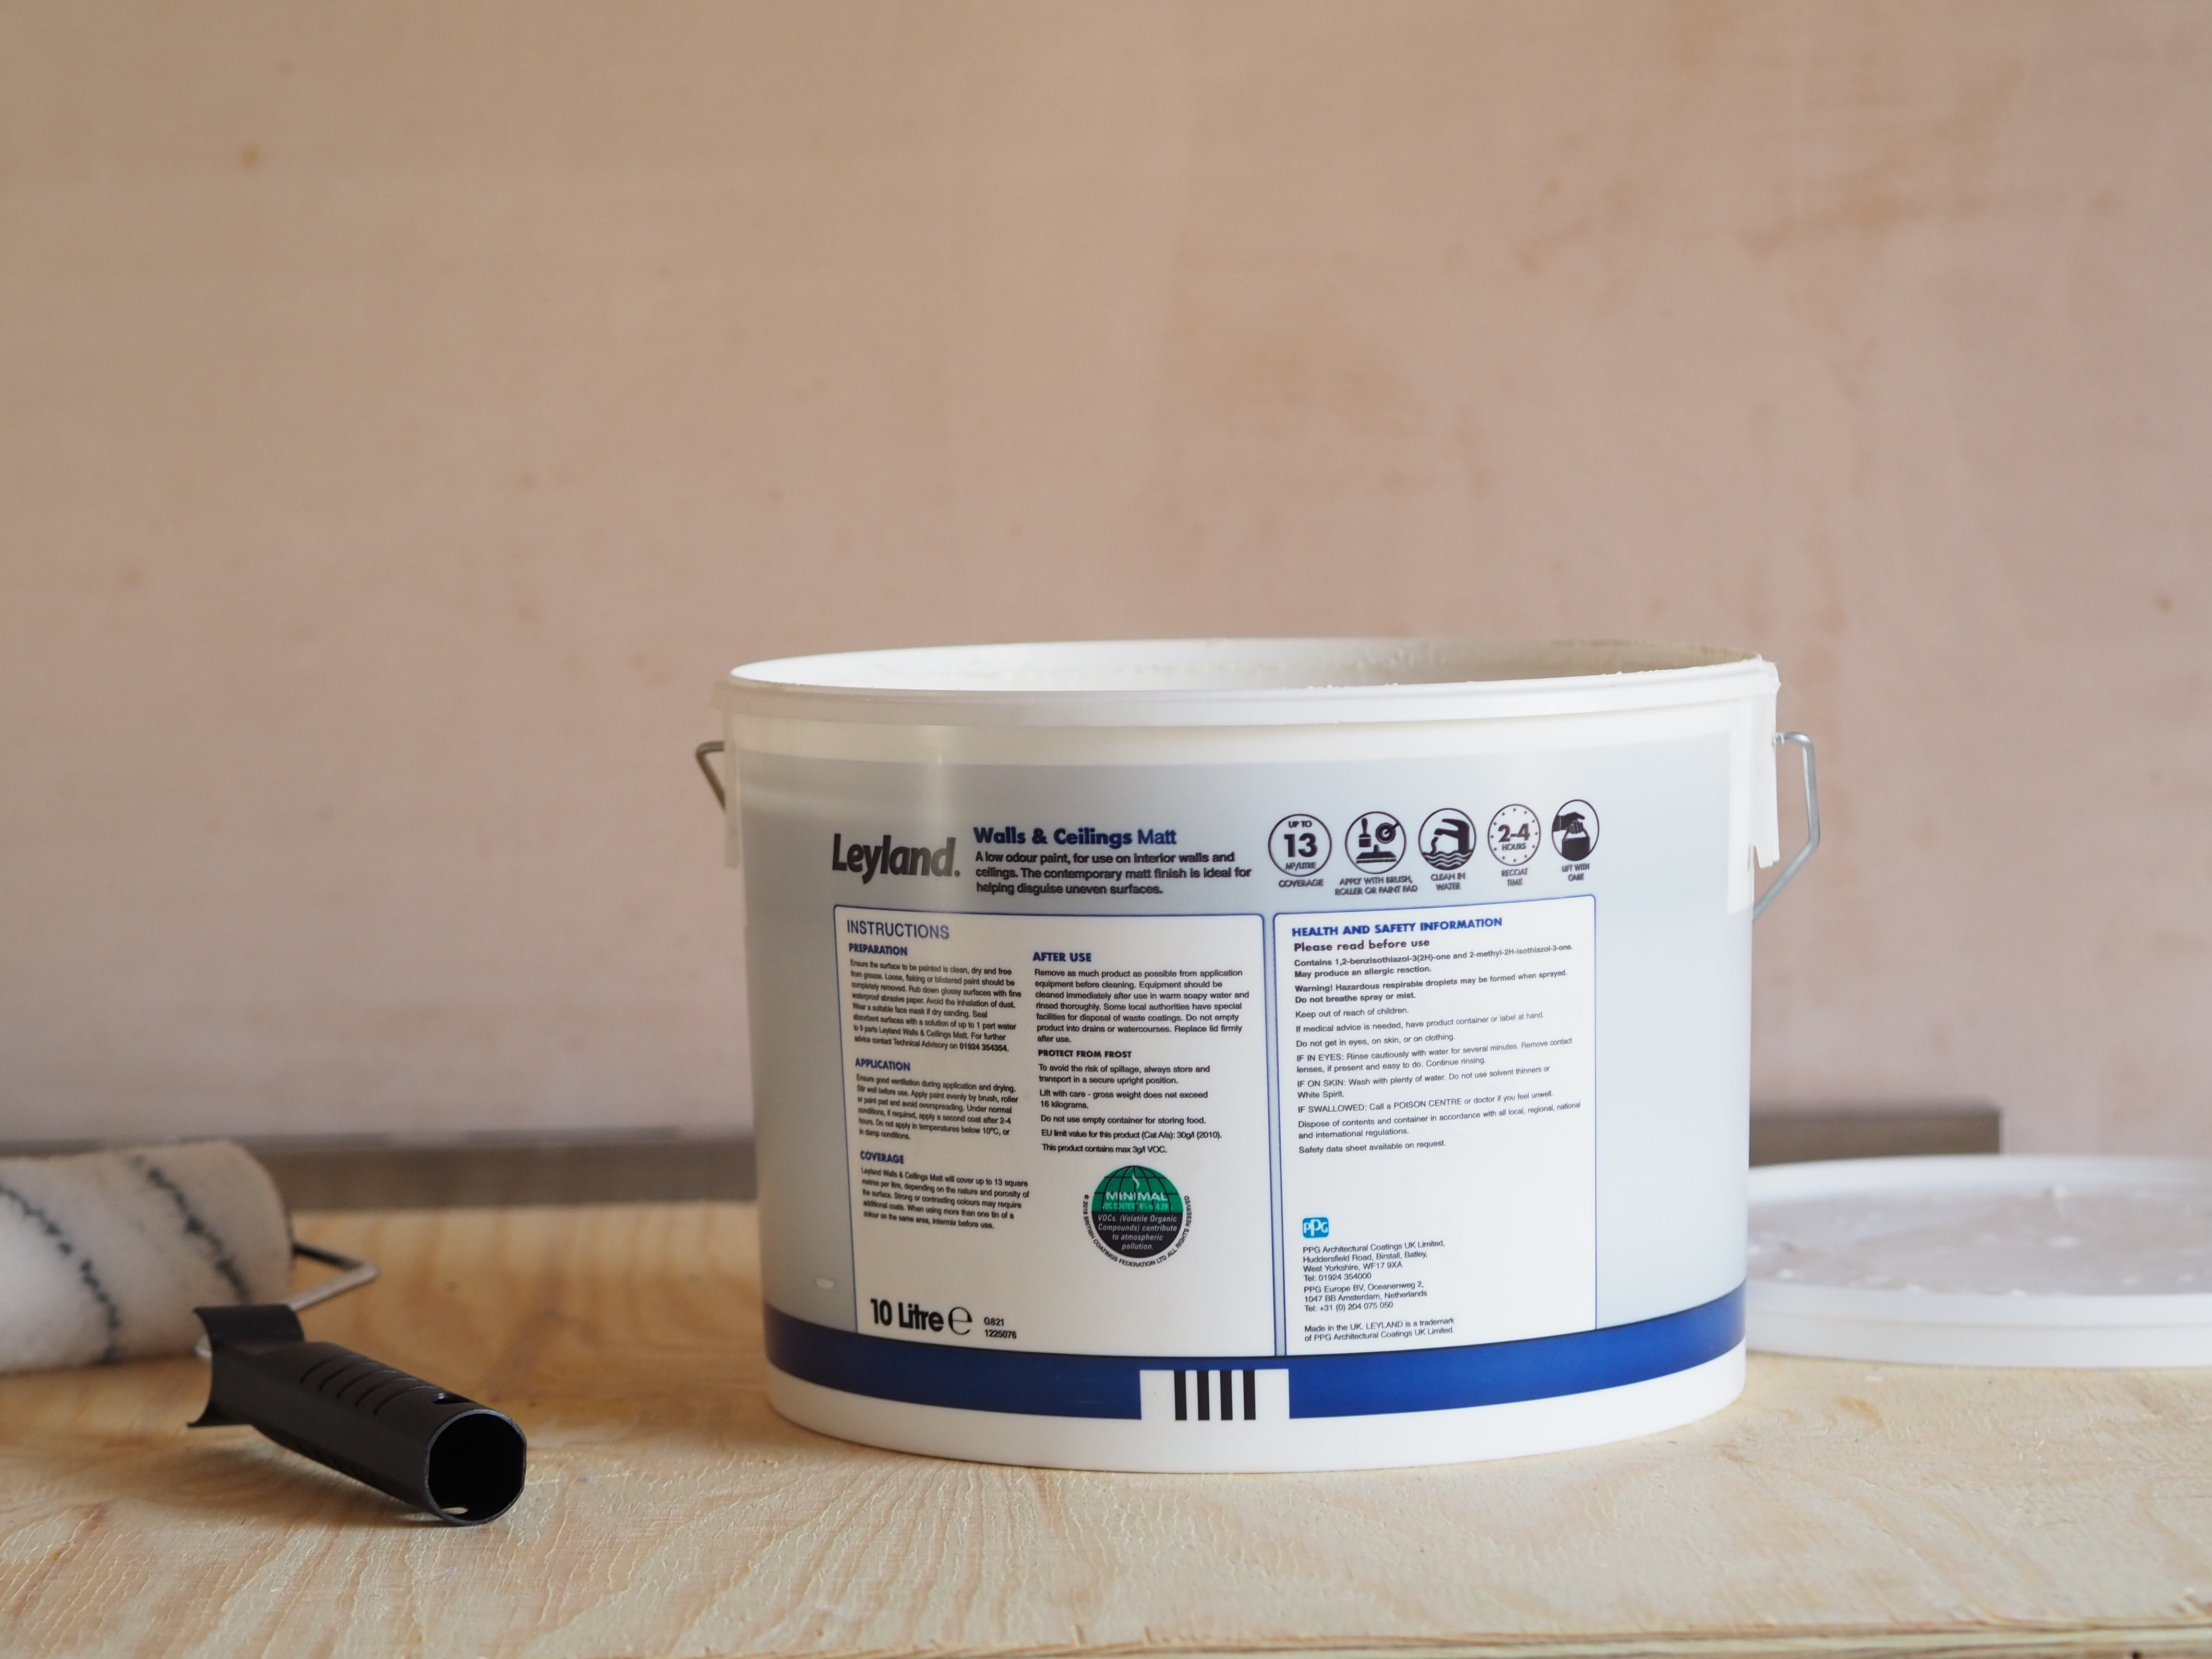
Tools and paint you need to add a mist coat
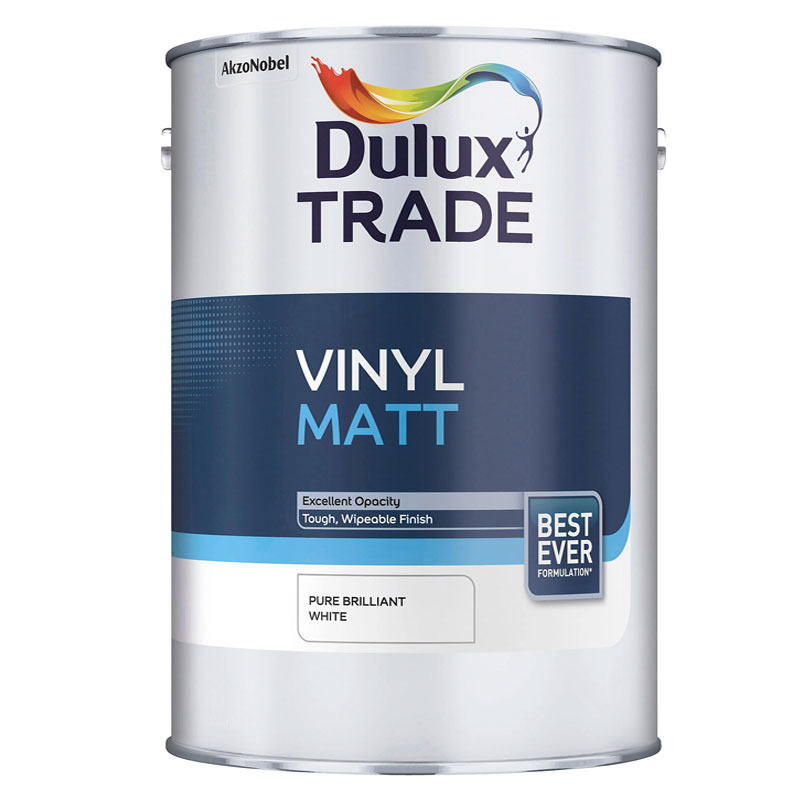
A water-based emulsion ideal for mixing as a mist coat and as a top coat
How to paint new plaster?
1. Prepare the new plaster
Before you start any painting your mist coat you need to make sure that the plaster is completely dry and smooth. Use sandpaper - or a sander - to get rid of any imperfections. Prep the area by laying down dust sheets, cover skirting boards with painters tape and cover any furniture. Adding a mist coat can get messy.
2. Mix your mist coat
Matt white emulsion is the easy choice for a mist coat. It's cheap and works with all colours. But you can use a coloured emulsion that is closer to the top coat to a better match. To mix the mist coat get a clean bucket and pour in the emulsion. Use a measuring jug for accuracy and don't go past halfway, now add the right amount of water and mix together.
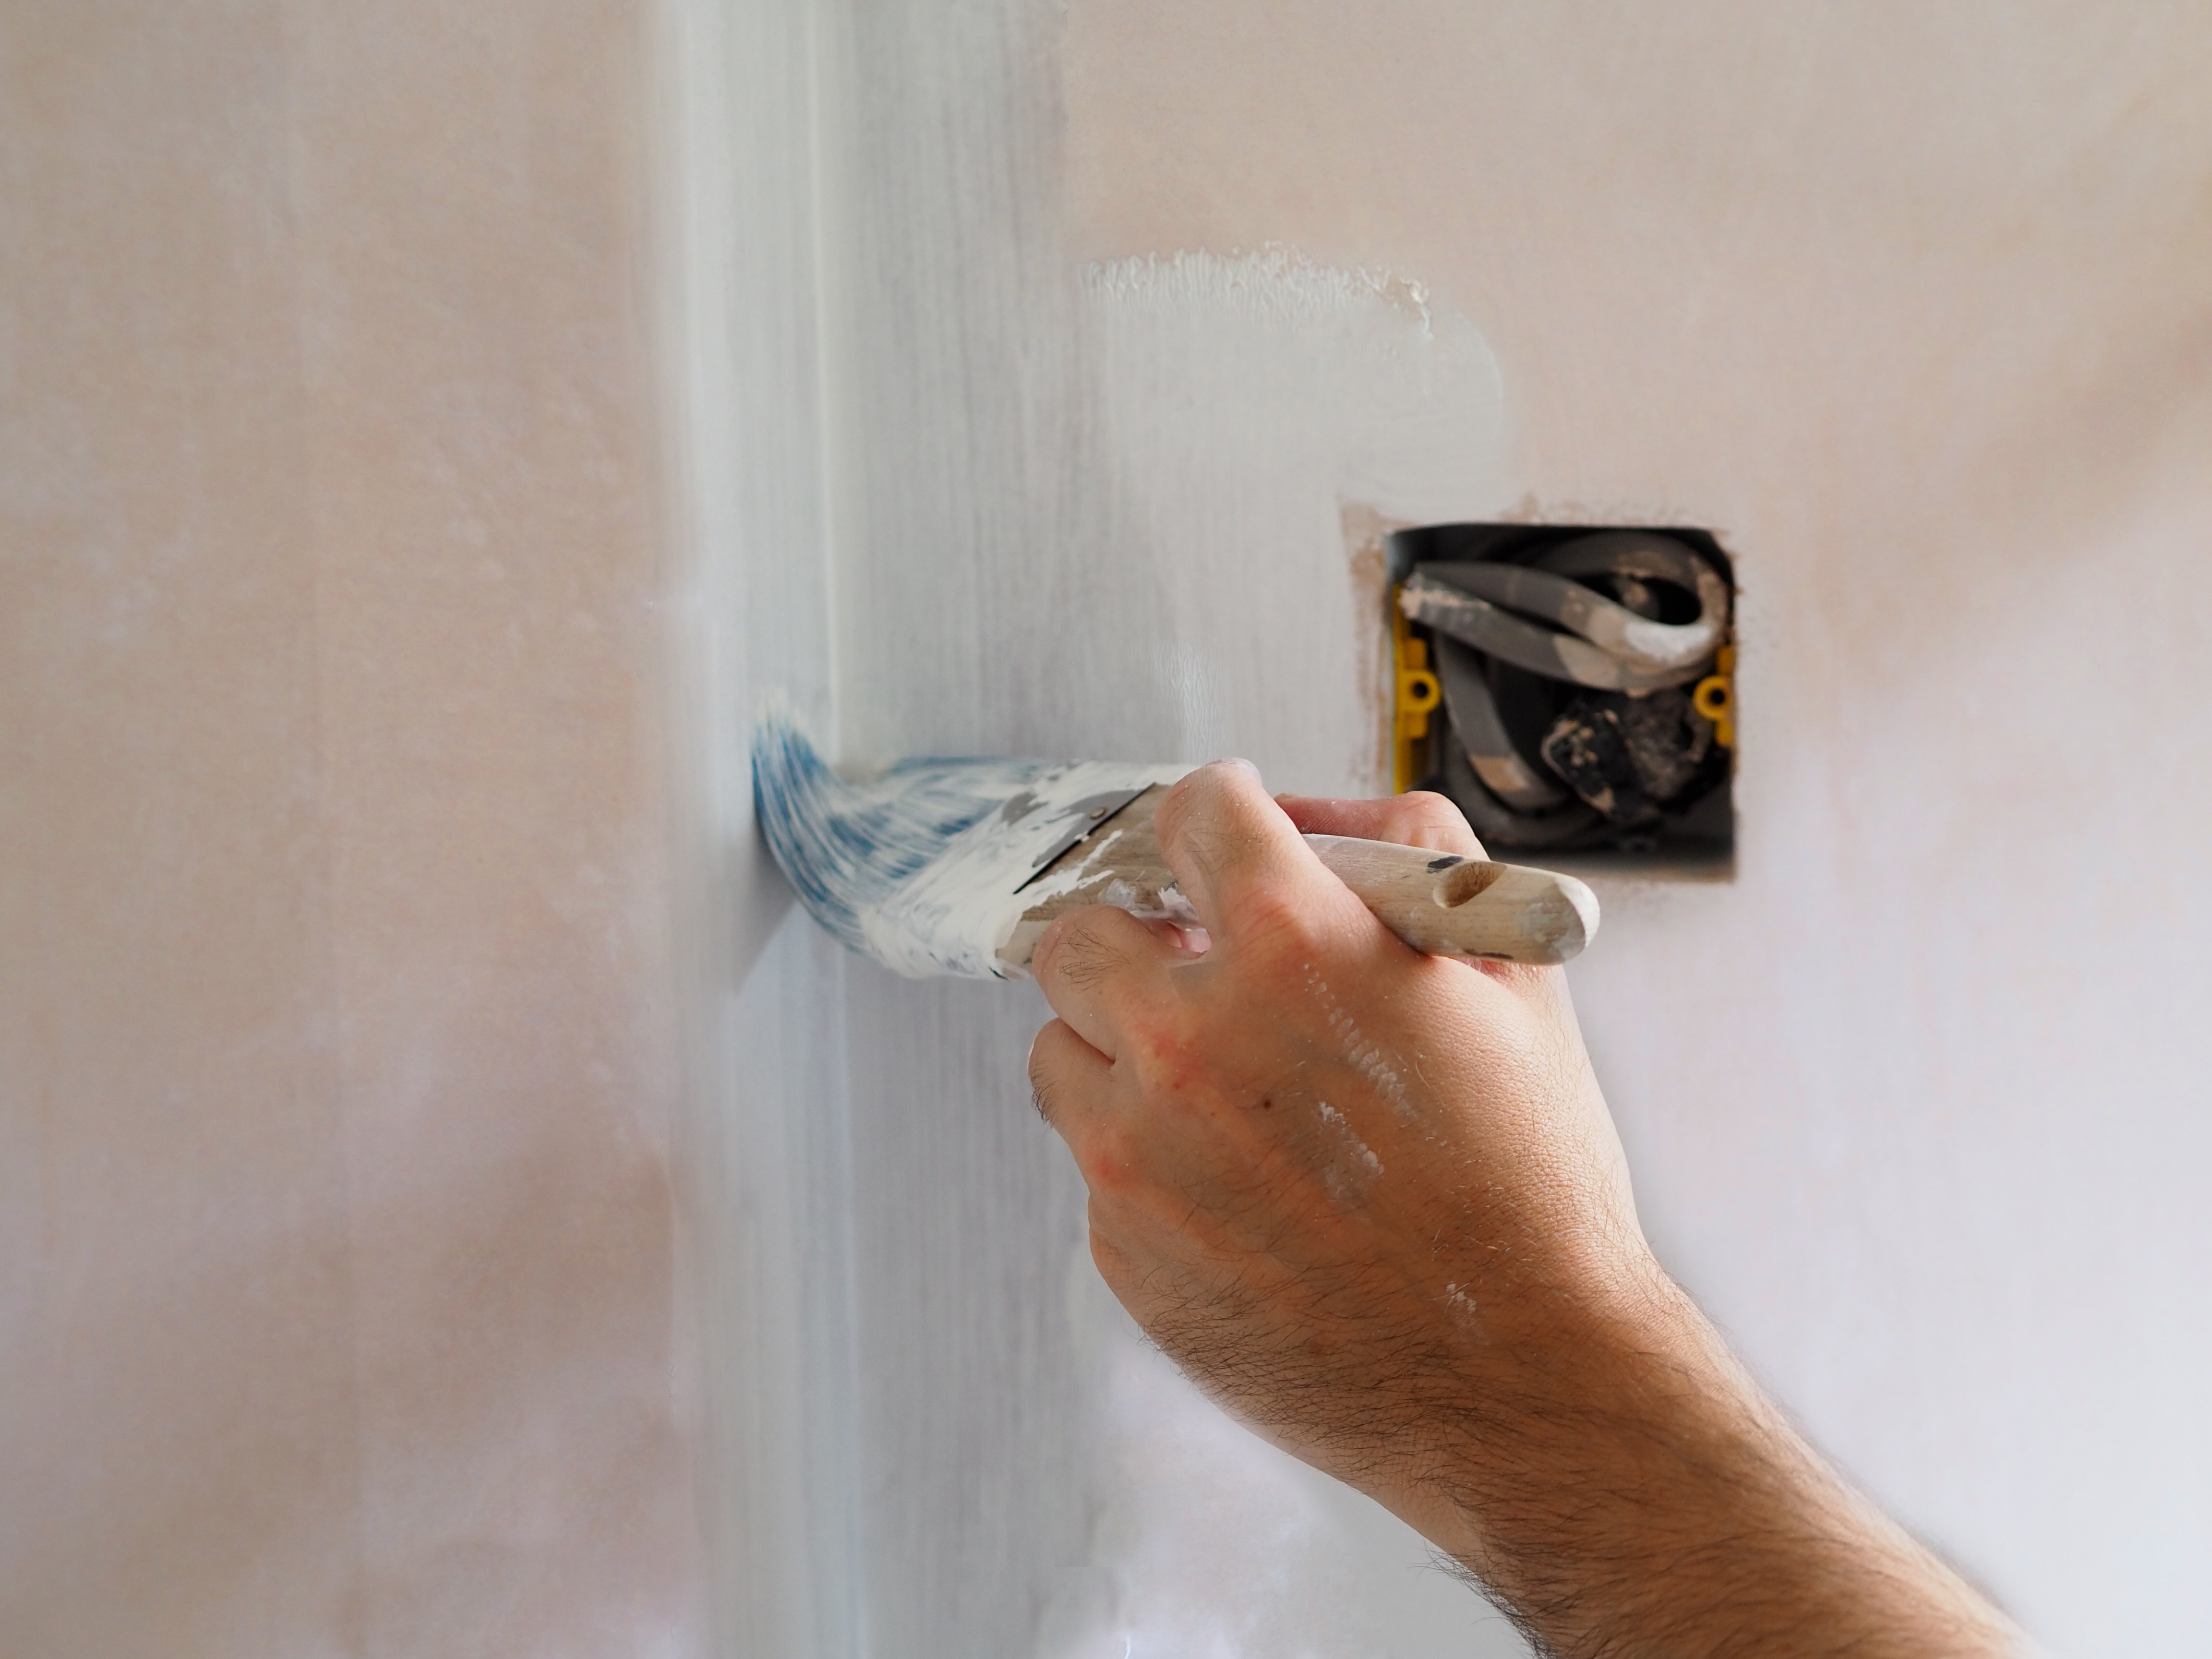
3. Apply your mist coat
The quickest option is a roller. This will be more messy than a brush but gives a good even finish. You can use a paint sprayer, but unless you are a pro stick with the brush and roller.
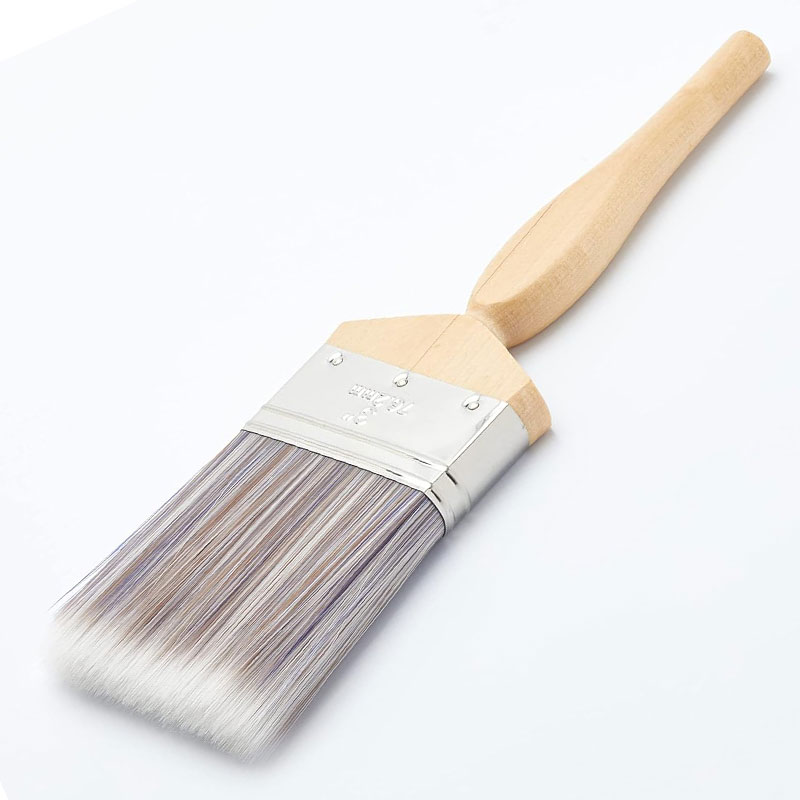
Start in a top corner with a brush — the best paint brush for the job will be a 4-inch one. Paint along the top of the wall to the opposite corner. Now go along all the edges before getting out a paint tray and a roller.
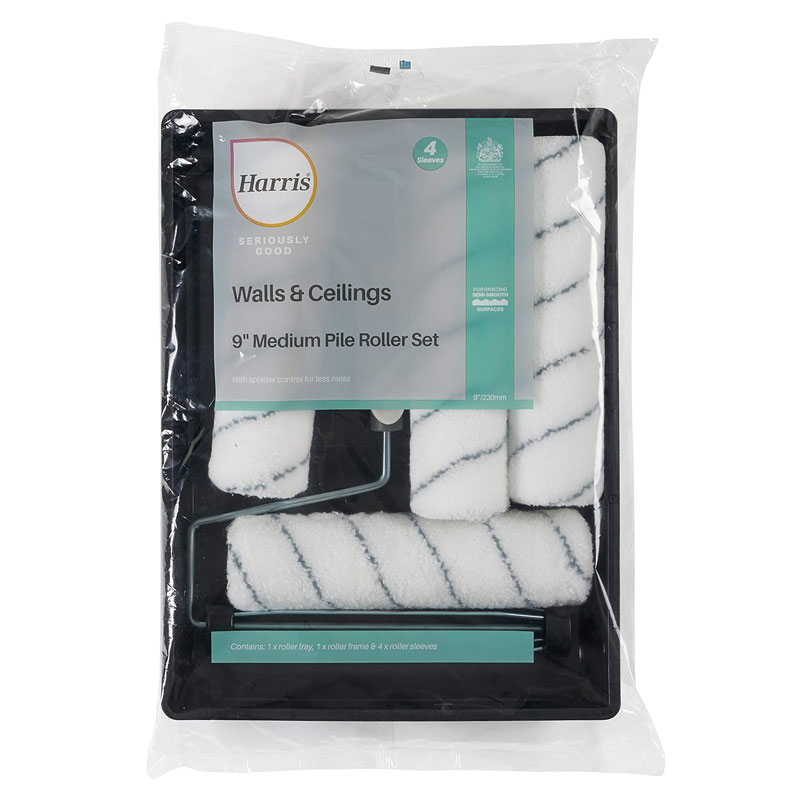
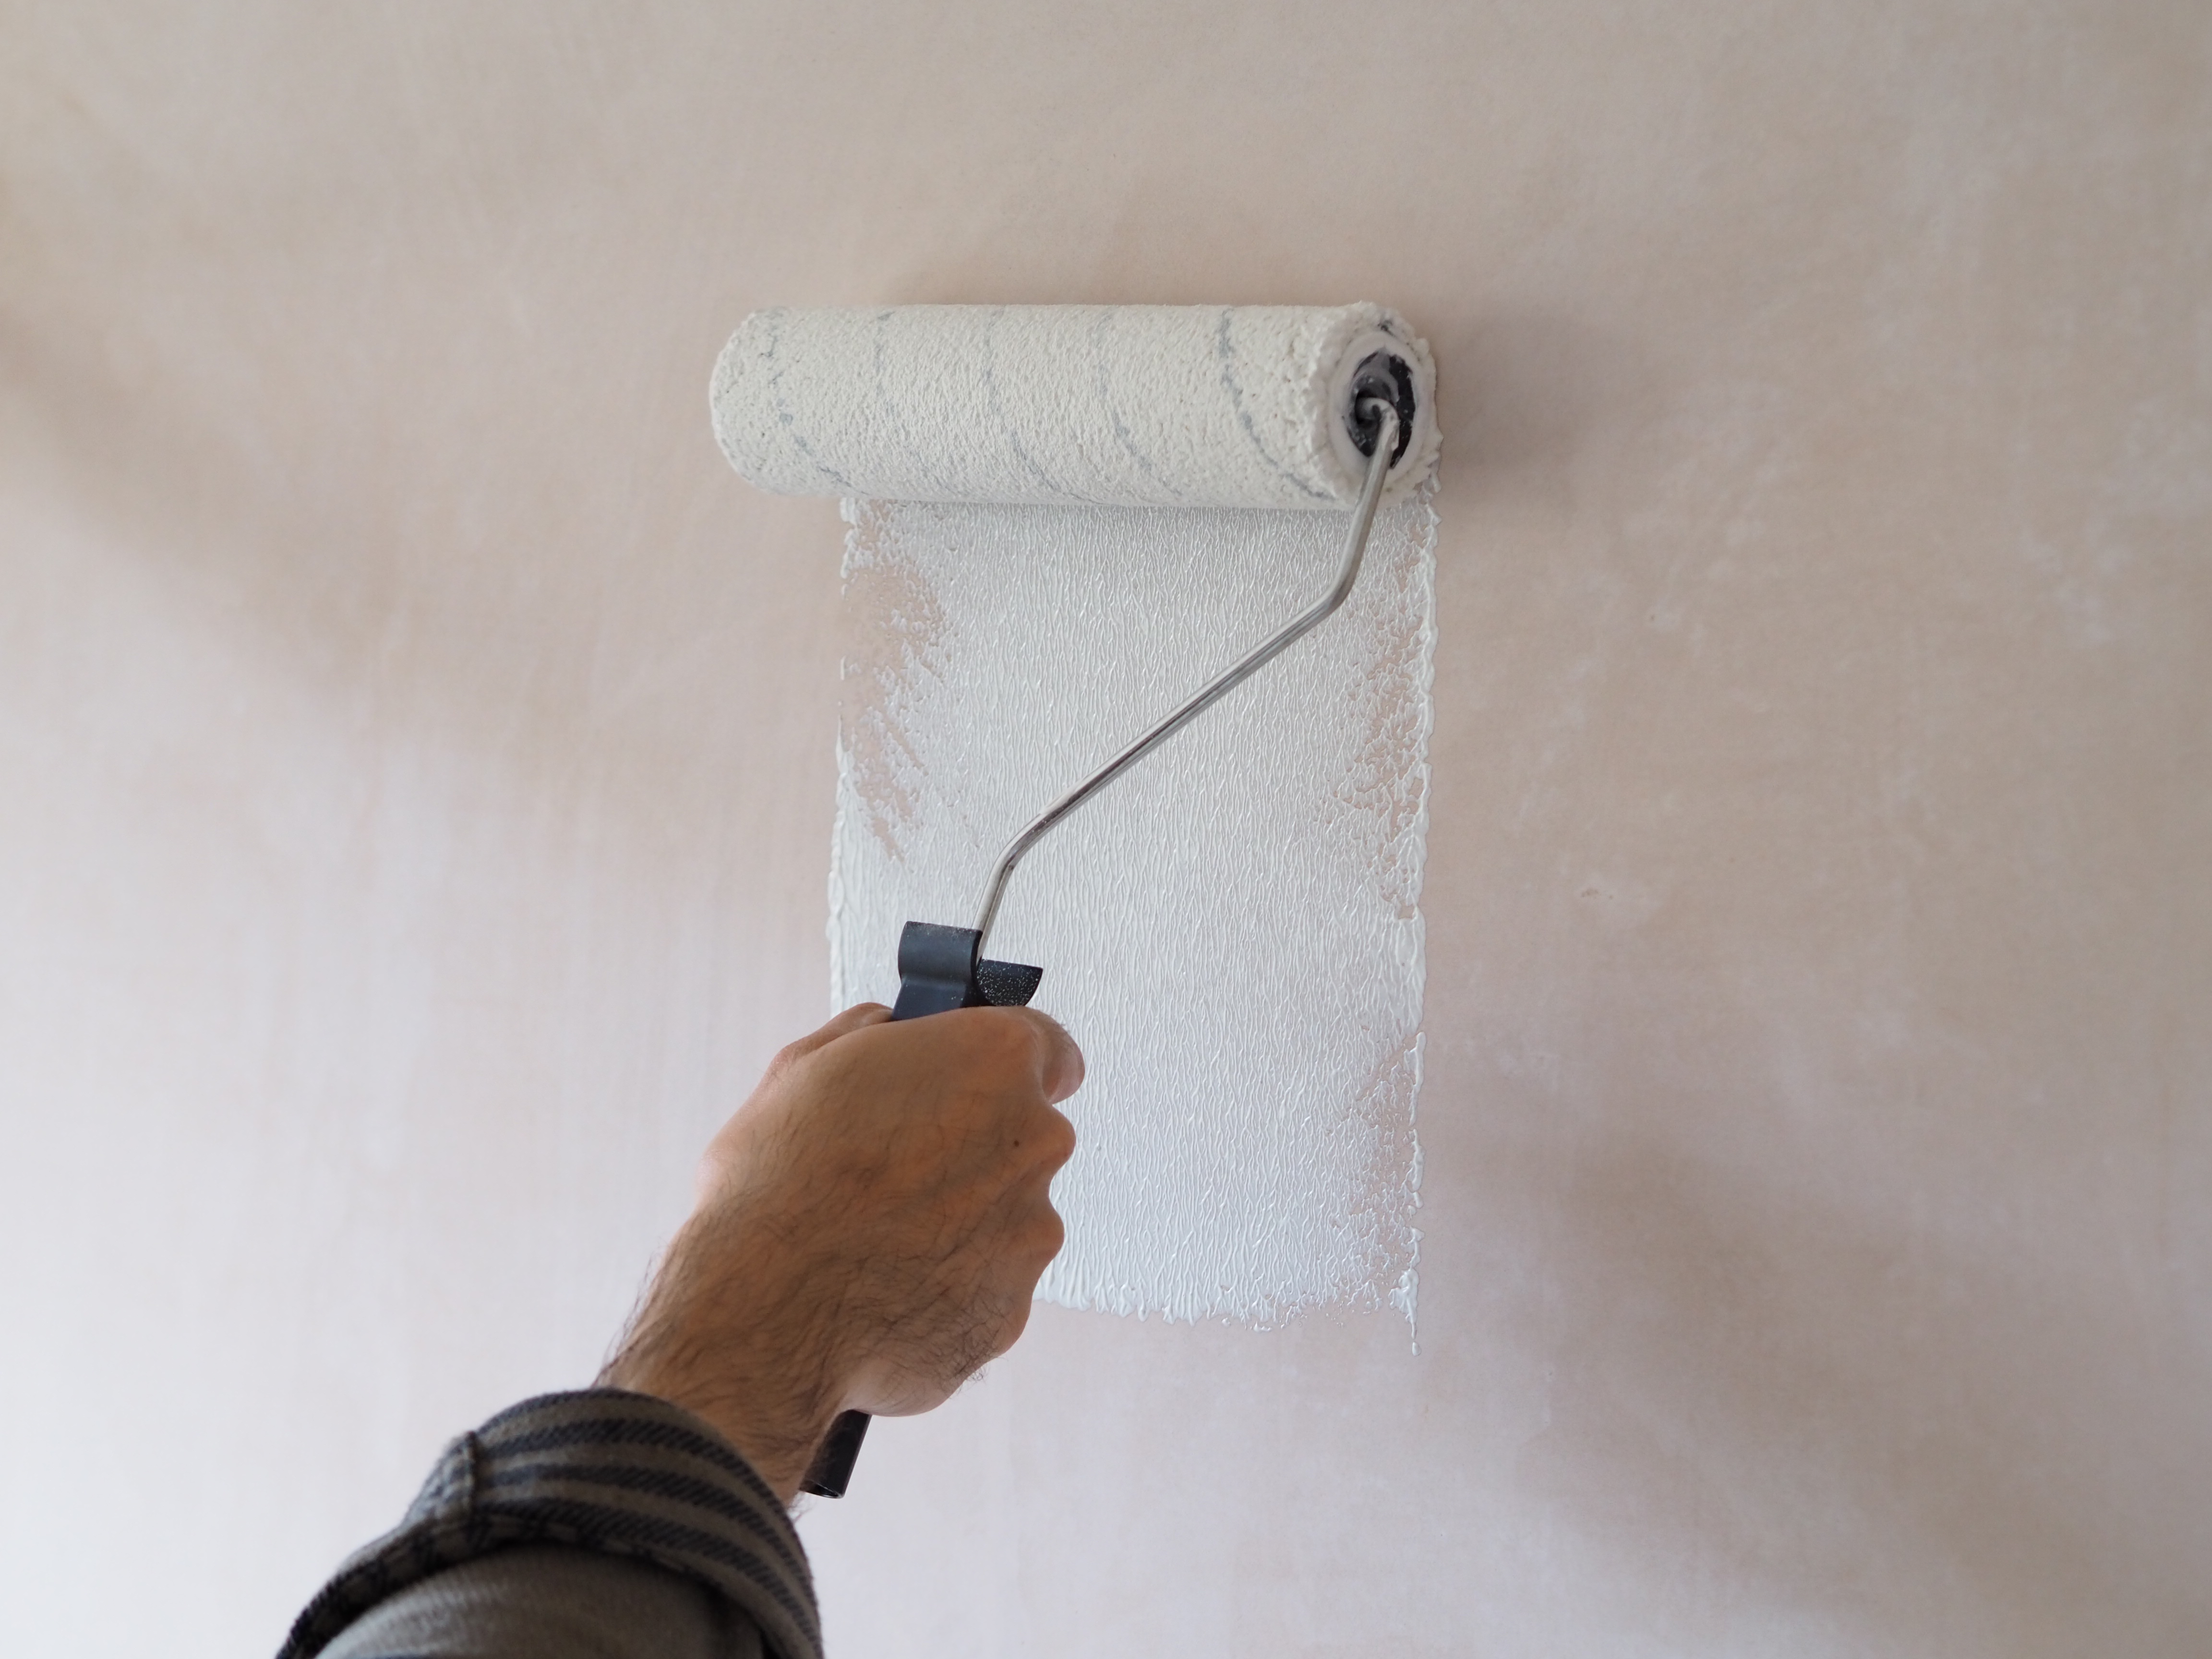
The best paint roller for painting new plaster is 9-inch roller. Pour the mist coat into the paint tray and coat the roller with paint, but don't overload. Using a smooth even motion start at the bottom and roll to the top until the wall is covered. Don’t roll over the same spot too often.
Once finished, leave to dry for 24 hours, check there are no damp spots. Once completely dry apply the top coat — typically you will need two.
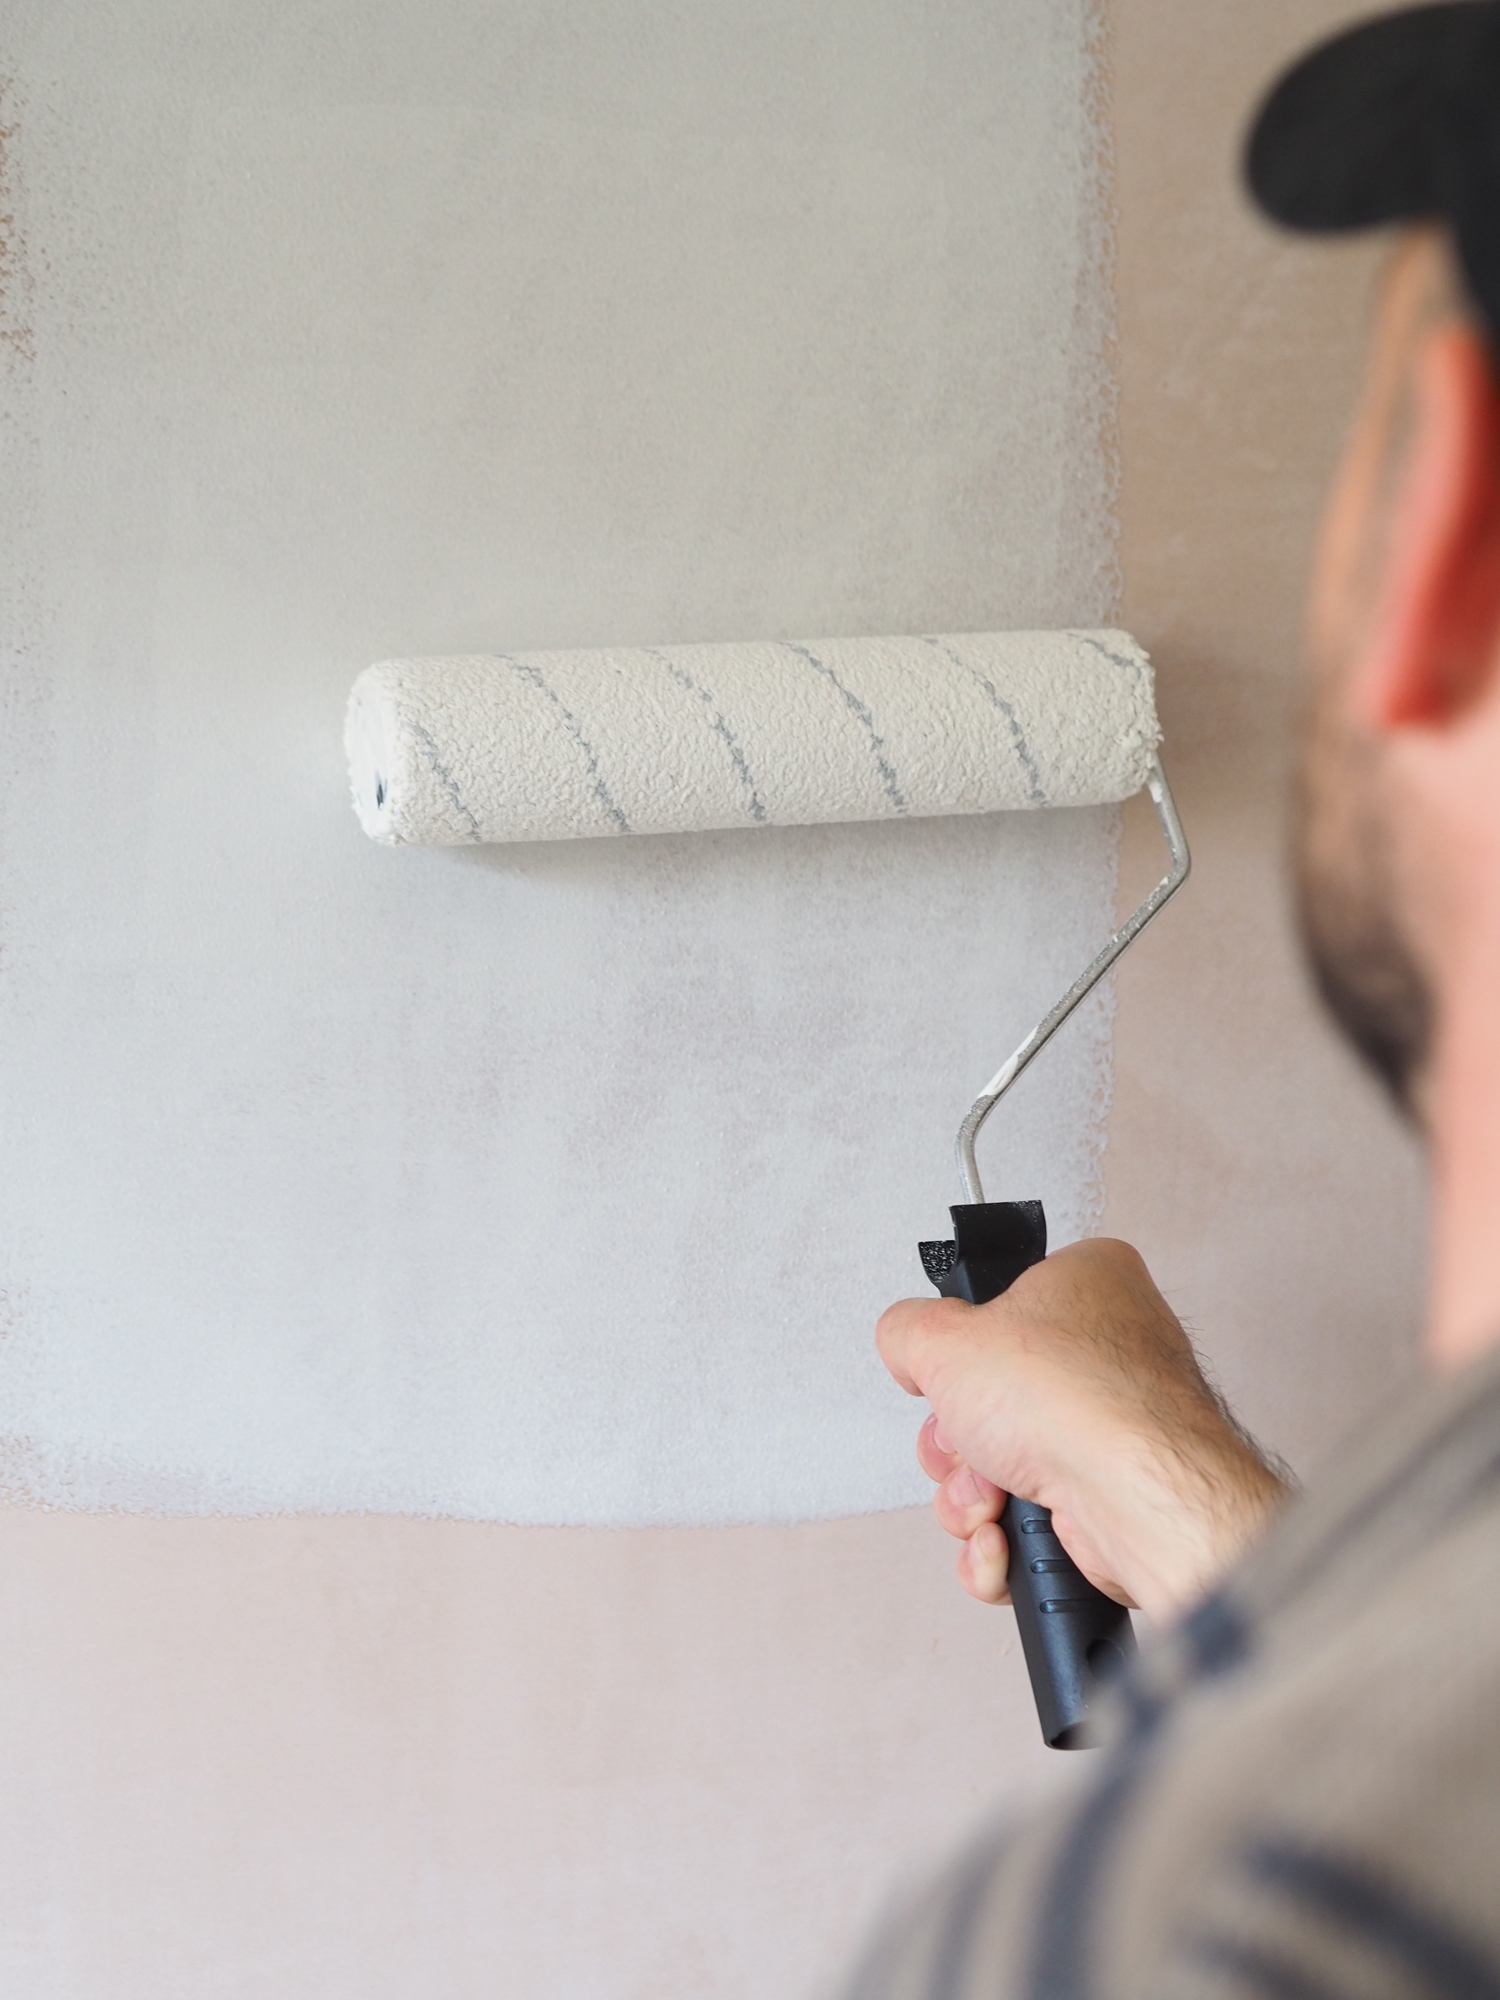
As soon as your mist coat is dry, get some expert insight on how to paint a wall with a roller and how to clean paint rollers to keep them in tip top condition ready for your next paint project.
Get the Homebuilding & Renovating Newsletter
Bring your dream home to life with expert advice, how to guides and design inspiration. Sign up for our newsletter and get two free tickets to a Homebuilding & Renovating Show near you.
Steve Jenkins is a freelance content creator with over two decades of experience working in digital and print and was previously the DIY content editor for Homebuilding & Renovating.
He is a keen DIYer with over 20 years of experience in transforming and renovating the many homes he has lived in. He specialises in painting and decorating, but has a wide range of skills gleaned from working in the building trade for around 10 years and spending time at night school learning how to plaster and plumb.
He has fitted kitchens, tiled bathrooms and kitchens, laid many floors, built partition walls, plastered walls, plumbed in bathrooms, worked on loft conversions and much more. And when he's not sure how to tackle a DIY project he has a wide network of friends – including plumbers, gas engineers, tilers, carpenters, painters and decorators, electricians and builders – in the trade to call upon.
