Why painting kitchen cabinets is a must for refreshing your old units and saving money
Painting kitchen cabinets the colours you want will give then a fresh new look in just hours. Here we tell you what you need to know.
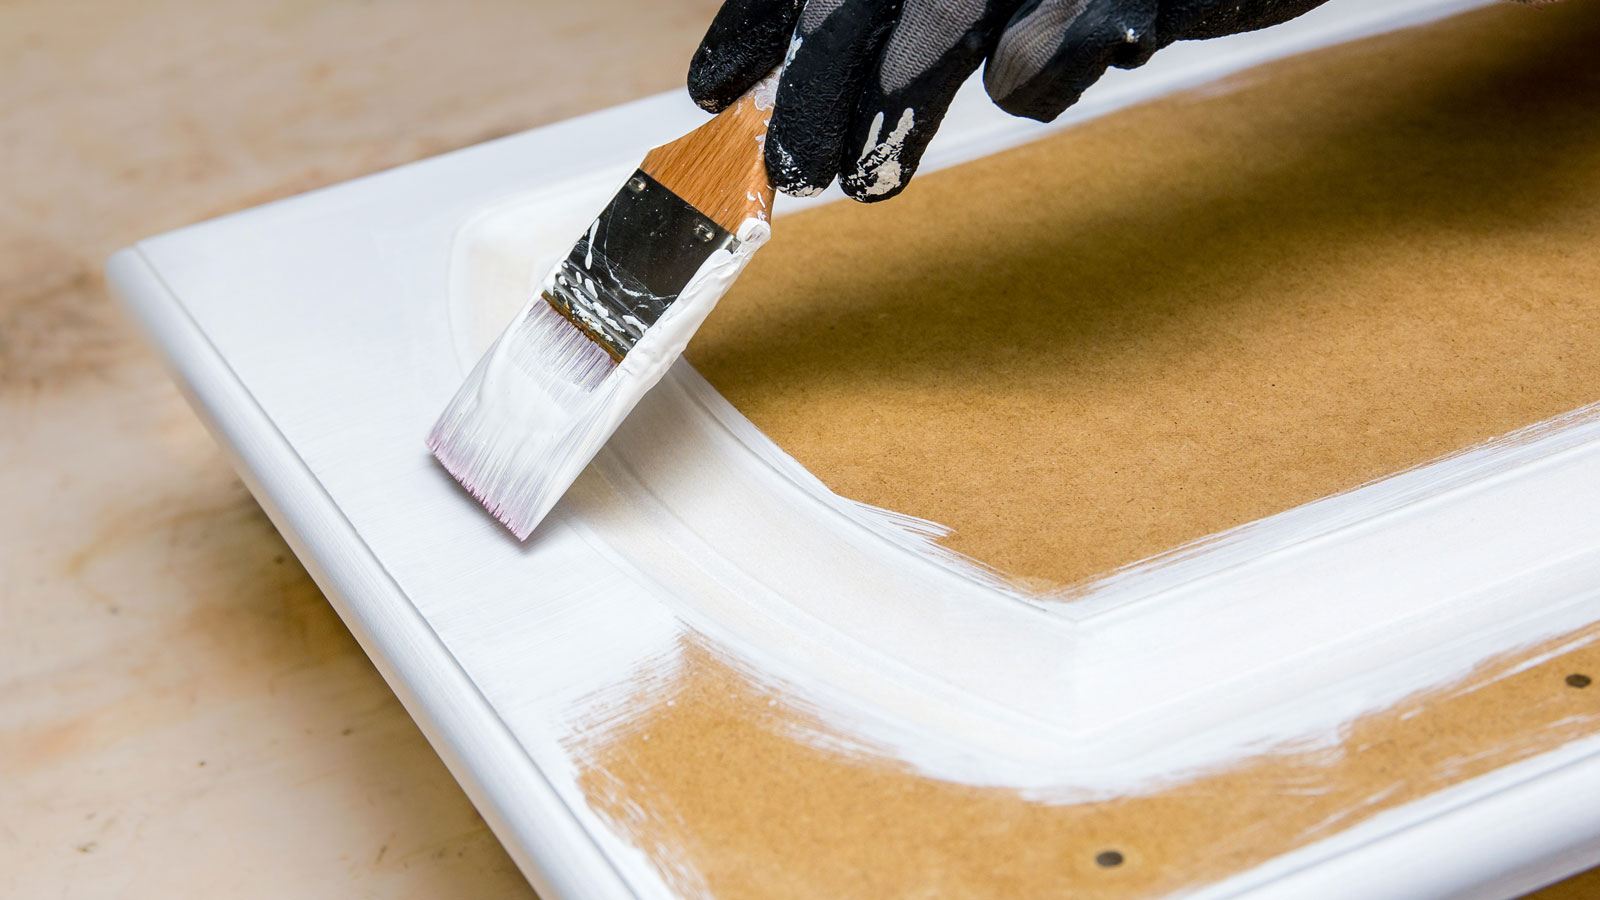
Painting kitchen cabinets is a quick and cost effective way to transform a dull, tired, or ugly kitchen. If you’re not ready to spend big on a kitchen renovation, a few tins of kitchen paint and the right prep can really make a difference.
Preparation is key to making sure that you’ll get a finish that won’t be in need of a repaint in a few months time. Poor preparation and the wrong paint are a bad combination. Another key step is choosing the right colour when designing a kitchen.
So get your prep right, pick a suitable paint and choose a contemporary colour and you are on the path to success.
Painting kitchen cabinets: Tools
- Brushes
- Mini roller and roller tray
- Dust sheets
- Sandpaper
- Painter tape or masking tape
- Cloth and bowl
- Sugar soap solution
- Overalls
- Primer
- Plus your chosen paint colour

Jimmy is the Senior Brand Manager at Ronseal, the UK's number one woodcare brand. Jimmy regularly provides insights and guidance on how to properly prepare wood for treatment, as well as handy tips and hints for decorating and general woodcare projects.
Choosing the right paint for painting kitchen cabinets
Regardless of whether you have solid wood, veneer and laminate kitchen units, you'll need to use a primer, followed by the right type of paint. This is crucial in determining your cabinets' finish and how long the paint job will last.
You can use emulsion and eggshell paints, but it won’t look good for long, and it won’t be long before your cabinets need painting again. For a longer-lasting – and good-looking – finish, the harder the paint, the better.
Try a specialist kitchen cabinet paint with the finish you want – gloss, semi gloss, or satin. These provide a durable and easy to clean surface and will work on all parts of your kitchen cabinets. Don't forget to paint your kickboards too. These take more knocks than the average cupboard door, so you should give these an extra coat of paint.
You can also use chalk paints on kitchen cabinets, but you will need to seal with wax or varnish to get the right finish.
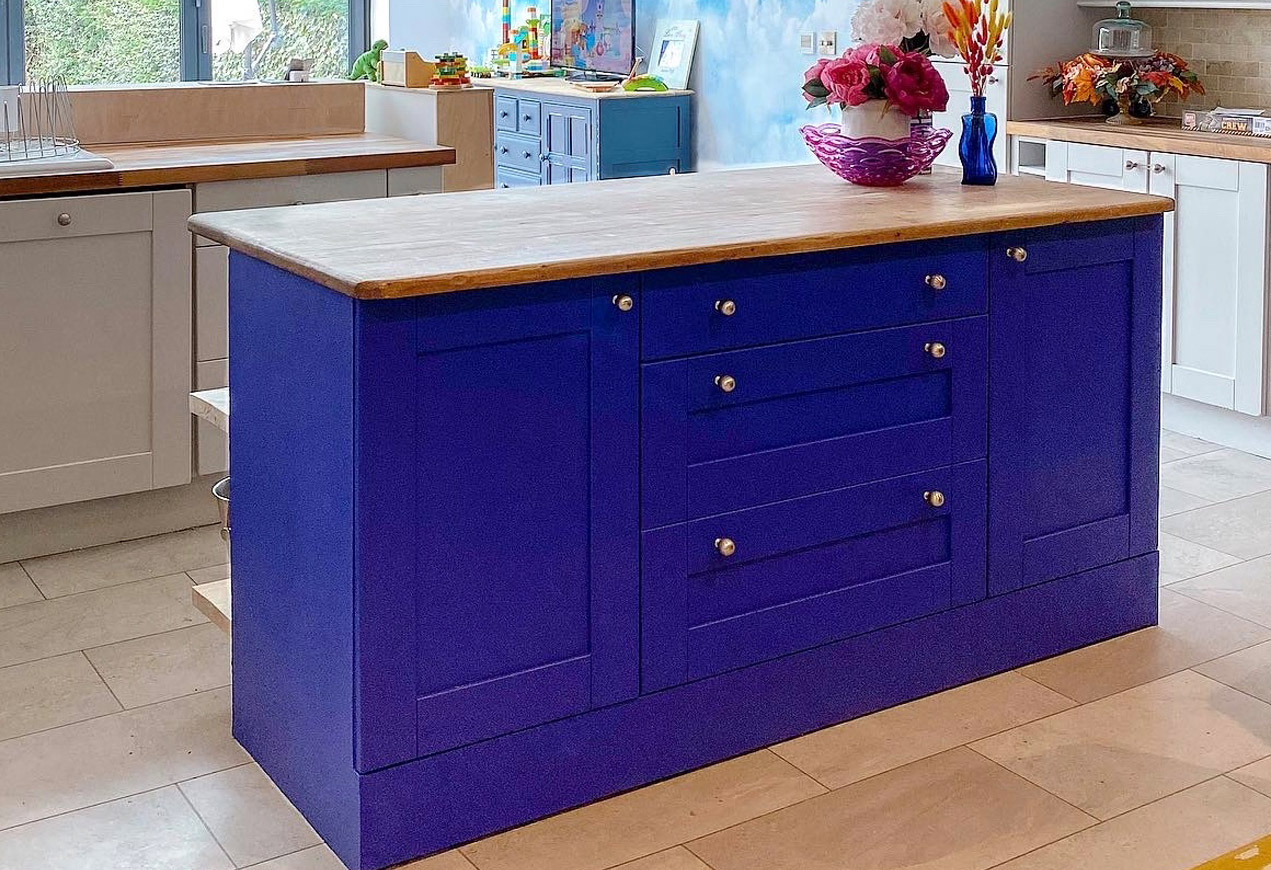
Don't forget about the colour, Jimmy Englezos, Senior Brand Manager at Ronseal says, "You might have grown tired of the original colour, or it doesn’t match your aesthetic anymore and painting them is more cost-effective and quicker than replacing" He adds, "Painting is also a great way to incorporate more colour into a plain space.”
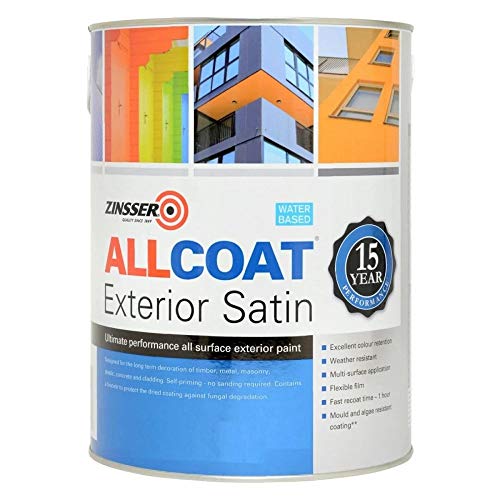
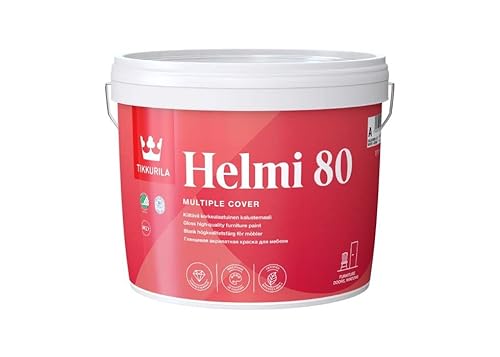
Try these paints for painting kitchen cabinets
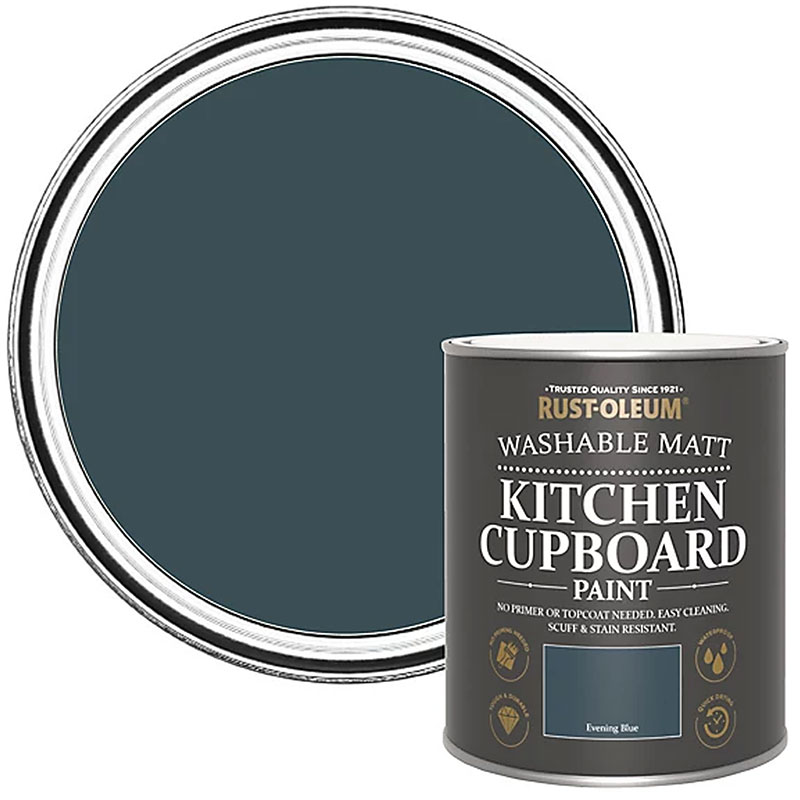
Apply to melamine, wood or gloss cupboards with a brush, roller or sprayer for a long-lasting matt finish. Dry in one hour, recoat in four hours.
5 steps to painting kitchen cabinets
1. Prepare your kitchen
Start by moving furniture and cover appliances. It’s always easier to work in a clutter-free zone when painting, but kitchens are often a little more difficult to deal with.
If you can, try and move as much furniture and white goods out of your kitchen. If you can’t move something e.g your fridge/freezer, cover with plastic sheets. It is also a good idea to cover any worktops – especially if you plan on painting wall cupboards.
Englezos says, "Remove everything from your cupboards and dust away any loose dust or dirt. Lay drop cloths over floors and surfaces and apply tape around the perimeter of the cabinets to protect the countertops, walls and backsplash areas.”
Use masking tape or blue painters tape to tape down the edges of the covers. Tape any edges that need covering. Also, cover the floors with dust sheets and tape up to kickboards (if needed). If you can, remove kickboards to paint.
Number your doors and drawers to make sure that you return them to the same place. Create a simple sketch of your kitchen and number the doors and drawers. Now add the corresponding number inside the hinge (on doors) and under the drawer bottom. Or use easy-to-remove stickers
2. Remove doors, clean and fill dents
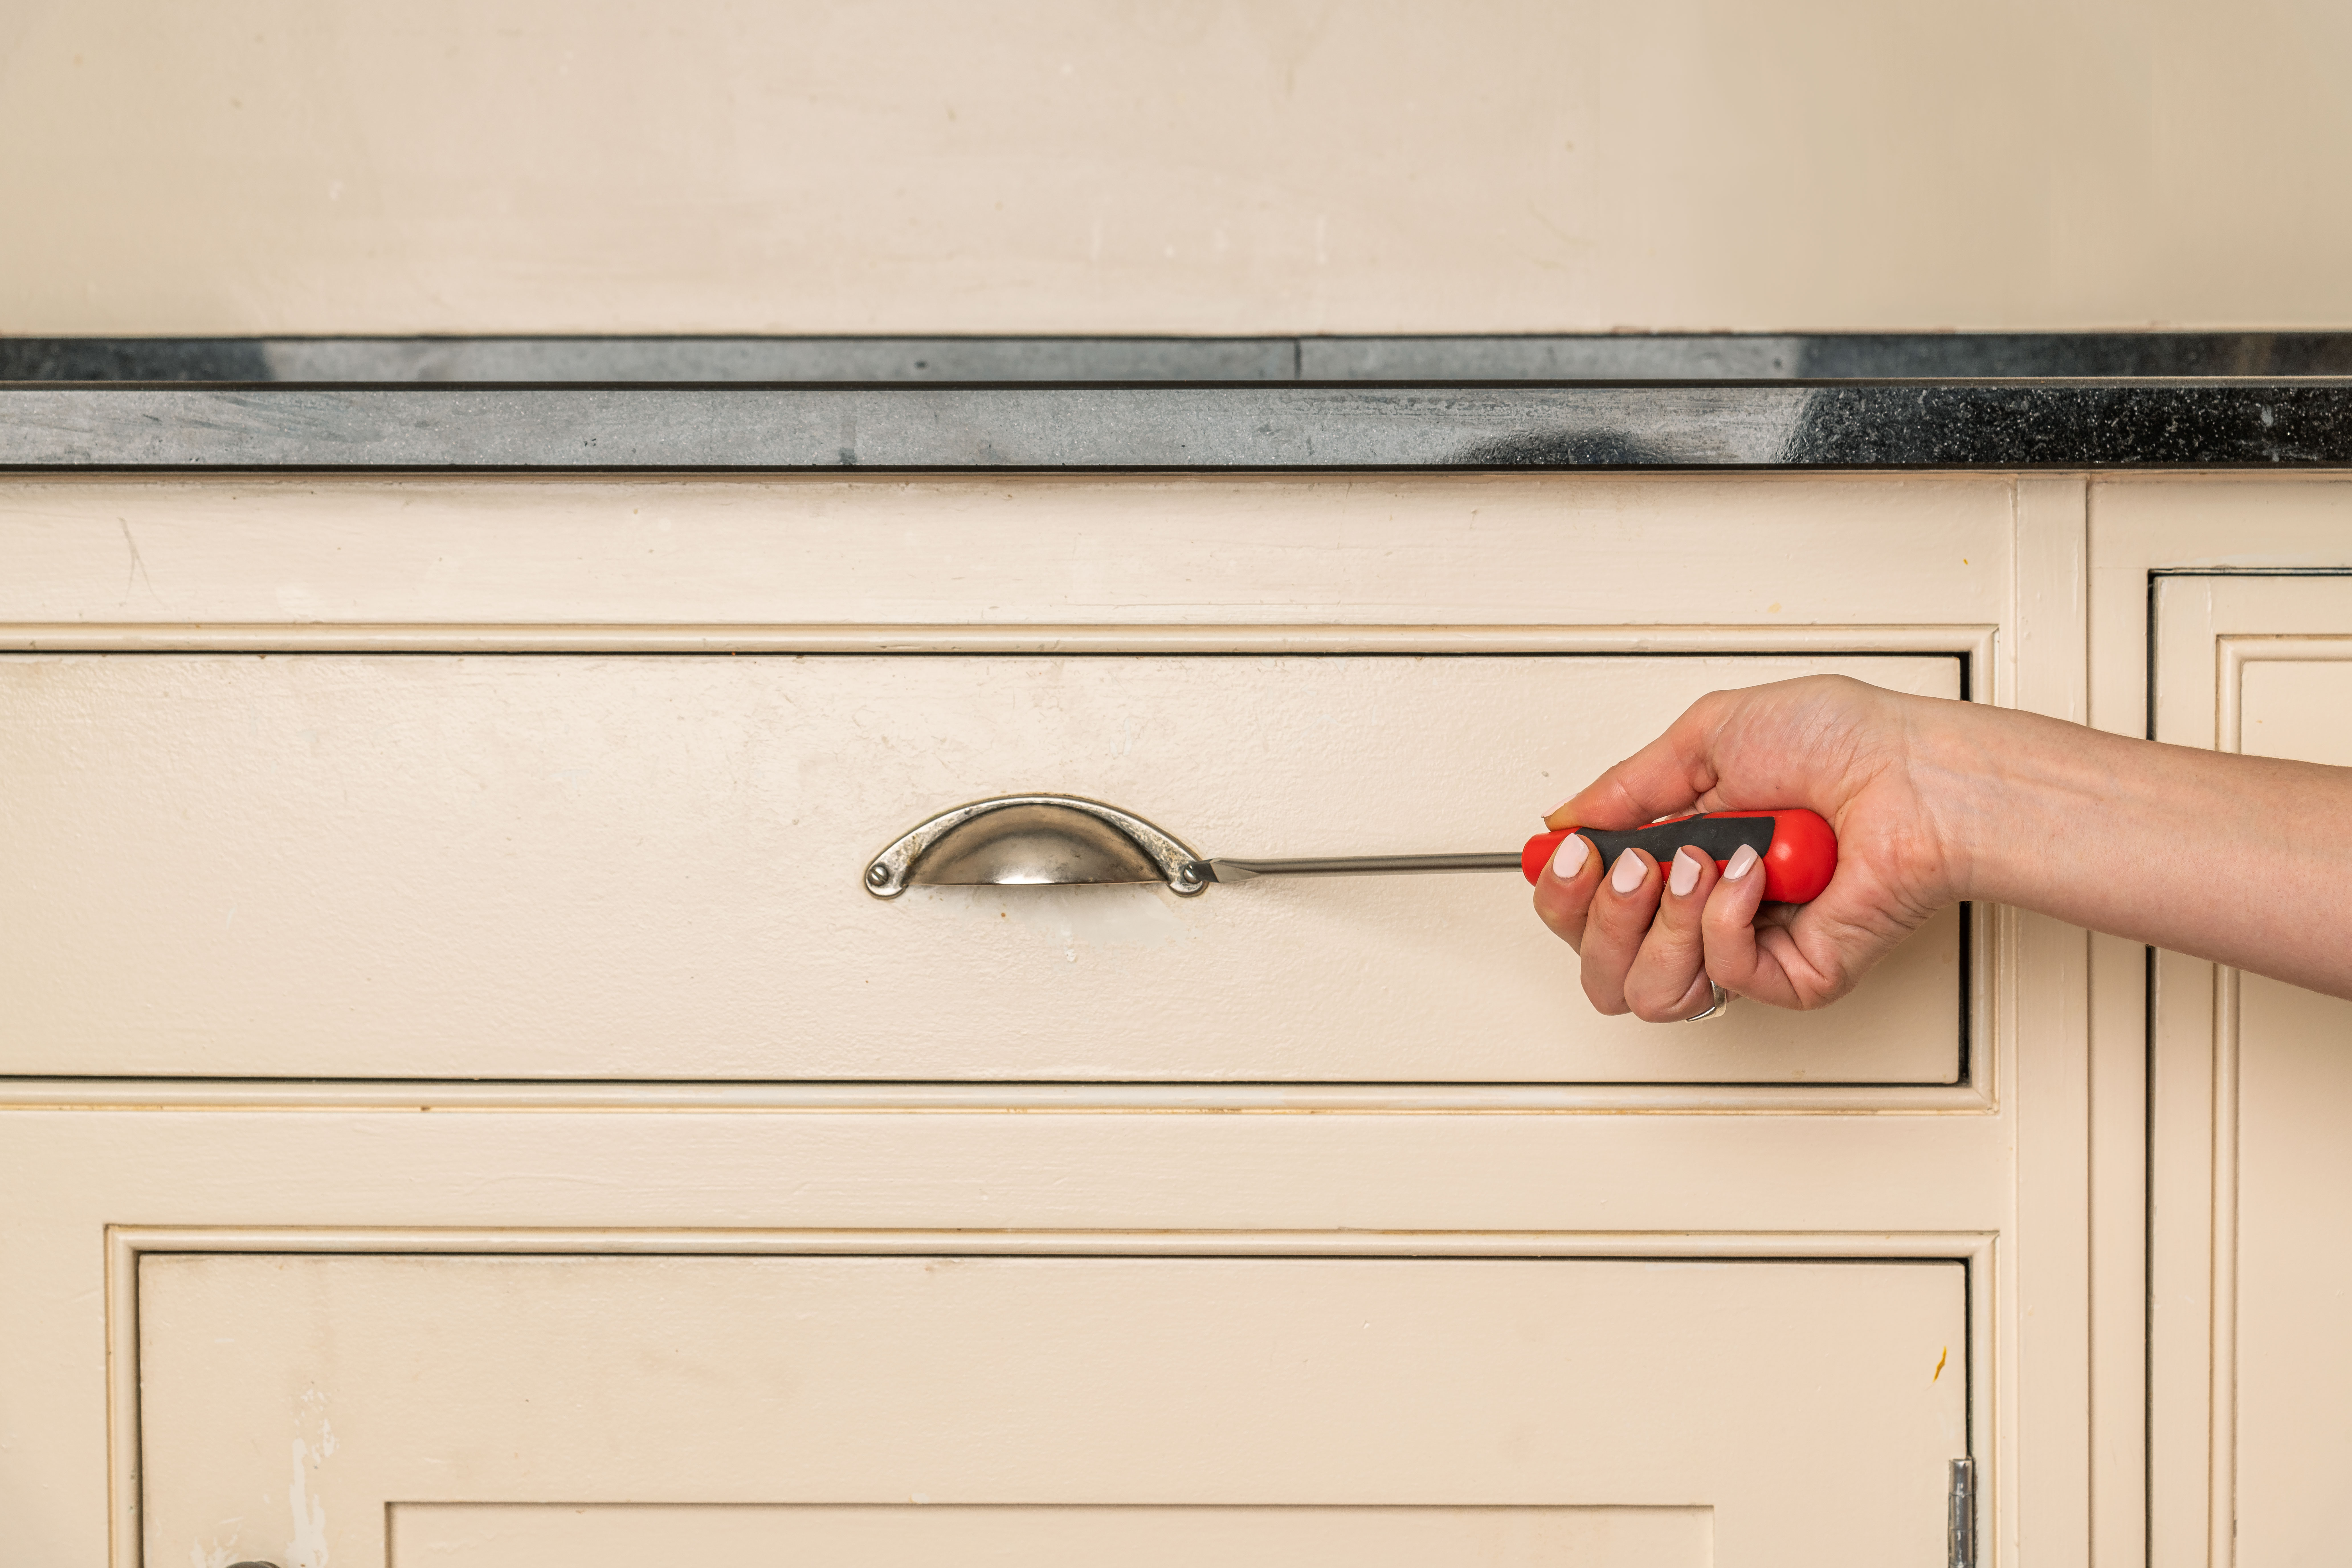
To get the best finish you will need to remove doors and drawers. Once you have done this remove any hinges and handles. This will make it much easier to paint – and keep hinges and handles free from paint.
Englezos says, “Clean the cupboard, otherwise, the paint could peel, bubble or easily rub off." He adds, "Clean the cupboards with a sugar soap solution and warm water as this will help disinfect the surfaces – removing dirt, grime and grease which gives you a clean and smooth surface to paint on. Allow the cupboards to dry fully.”
There’s a good chance that your cabinets/doors/drawers will have dents that need filling. You may want to add new handles when finished so need to fill the current handle holes.
Use a high-performance wood filler that will set rock hard and rub down. To help prepare the surfaces degrease with sugar soap and rub down. Use light grit sandpaper (120) if surfaces are reasonably smooth.
If you need to remove varnish or uneven paint use coarse sandpaper (80-100 grit) first and finish with light sandpaper. Use an electric sander for speed. Brush off any dust and wipe down with a damp cloth between coats for a dust-free surface.
3. Start with primer
The first step when painting cabinets/doors/drawers is to add a primer to create a strong surface for the paint to adhere to.
The pros like to use an oil-based primer. This levels well and hides brush strokes better, but usually takes longer to dry. Drying time can be up to eight hours. There are quick-drying primers, but they are typically harder to apply.
When dry gently rub down with fine-grit sandpaper, Englezos says, "Use 120 grit sandpaper to sand the laminate surface, making sure you get into all the areas. This will roughen up the smooth surface and give the paint something to stick to.”
Don’t forget to brush off any dust and wipe down with a damp cloth between coats.
Englezos adds, "Prime the area, using One Coat All Surface Primer and Undercoat and a paintbrush - making sure the tin is stirred beforehand." He adds, "The primer only needs one coat and wait two hours for it to dry and then it can be painted over. Be careful not to leave any brush strokes.”
4. Apply the paint
To get access to the front and edges of a door use a painters pyramid. These are pyramid shape stands that are used to keep doors off the ground. Alternatively, use a couple of books
Different door styles will require a different application technique. But before you add any paint, Englezos says, "Once the primer is dry, sand it again to smooth the surface. Take care not to sand too much as it will take off the primer applied. Clean off the dust with a cloth.”
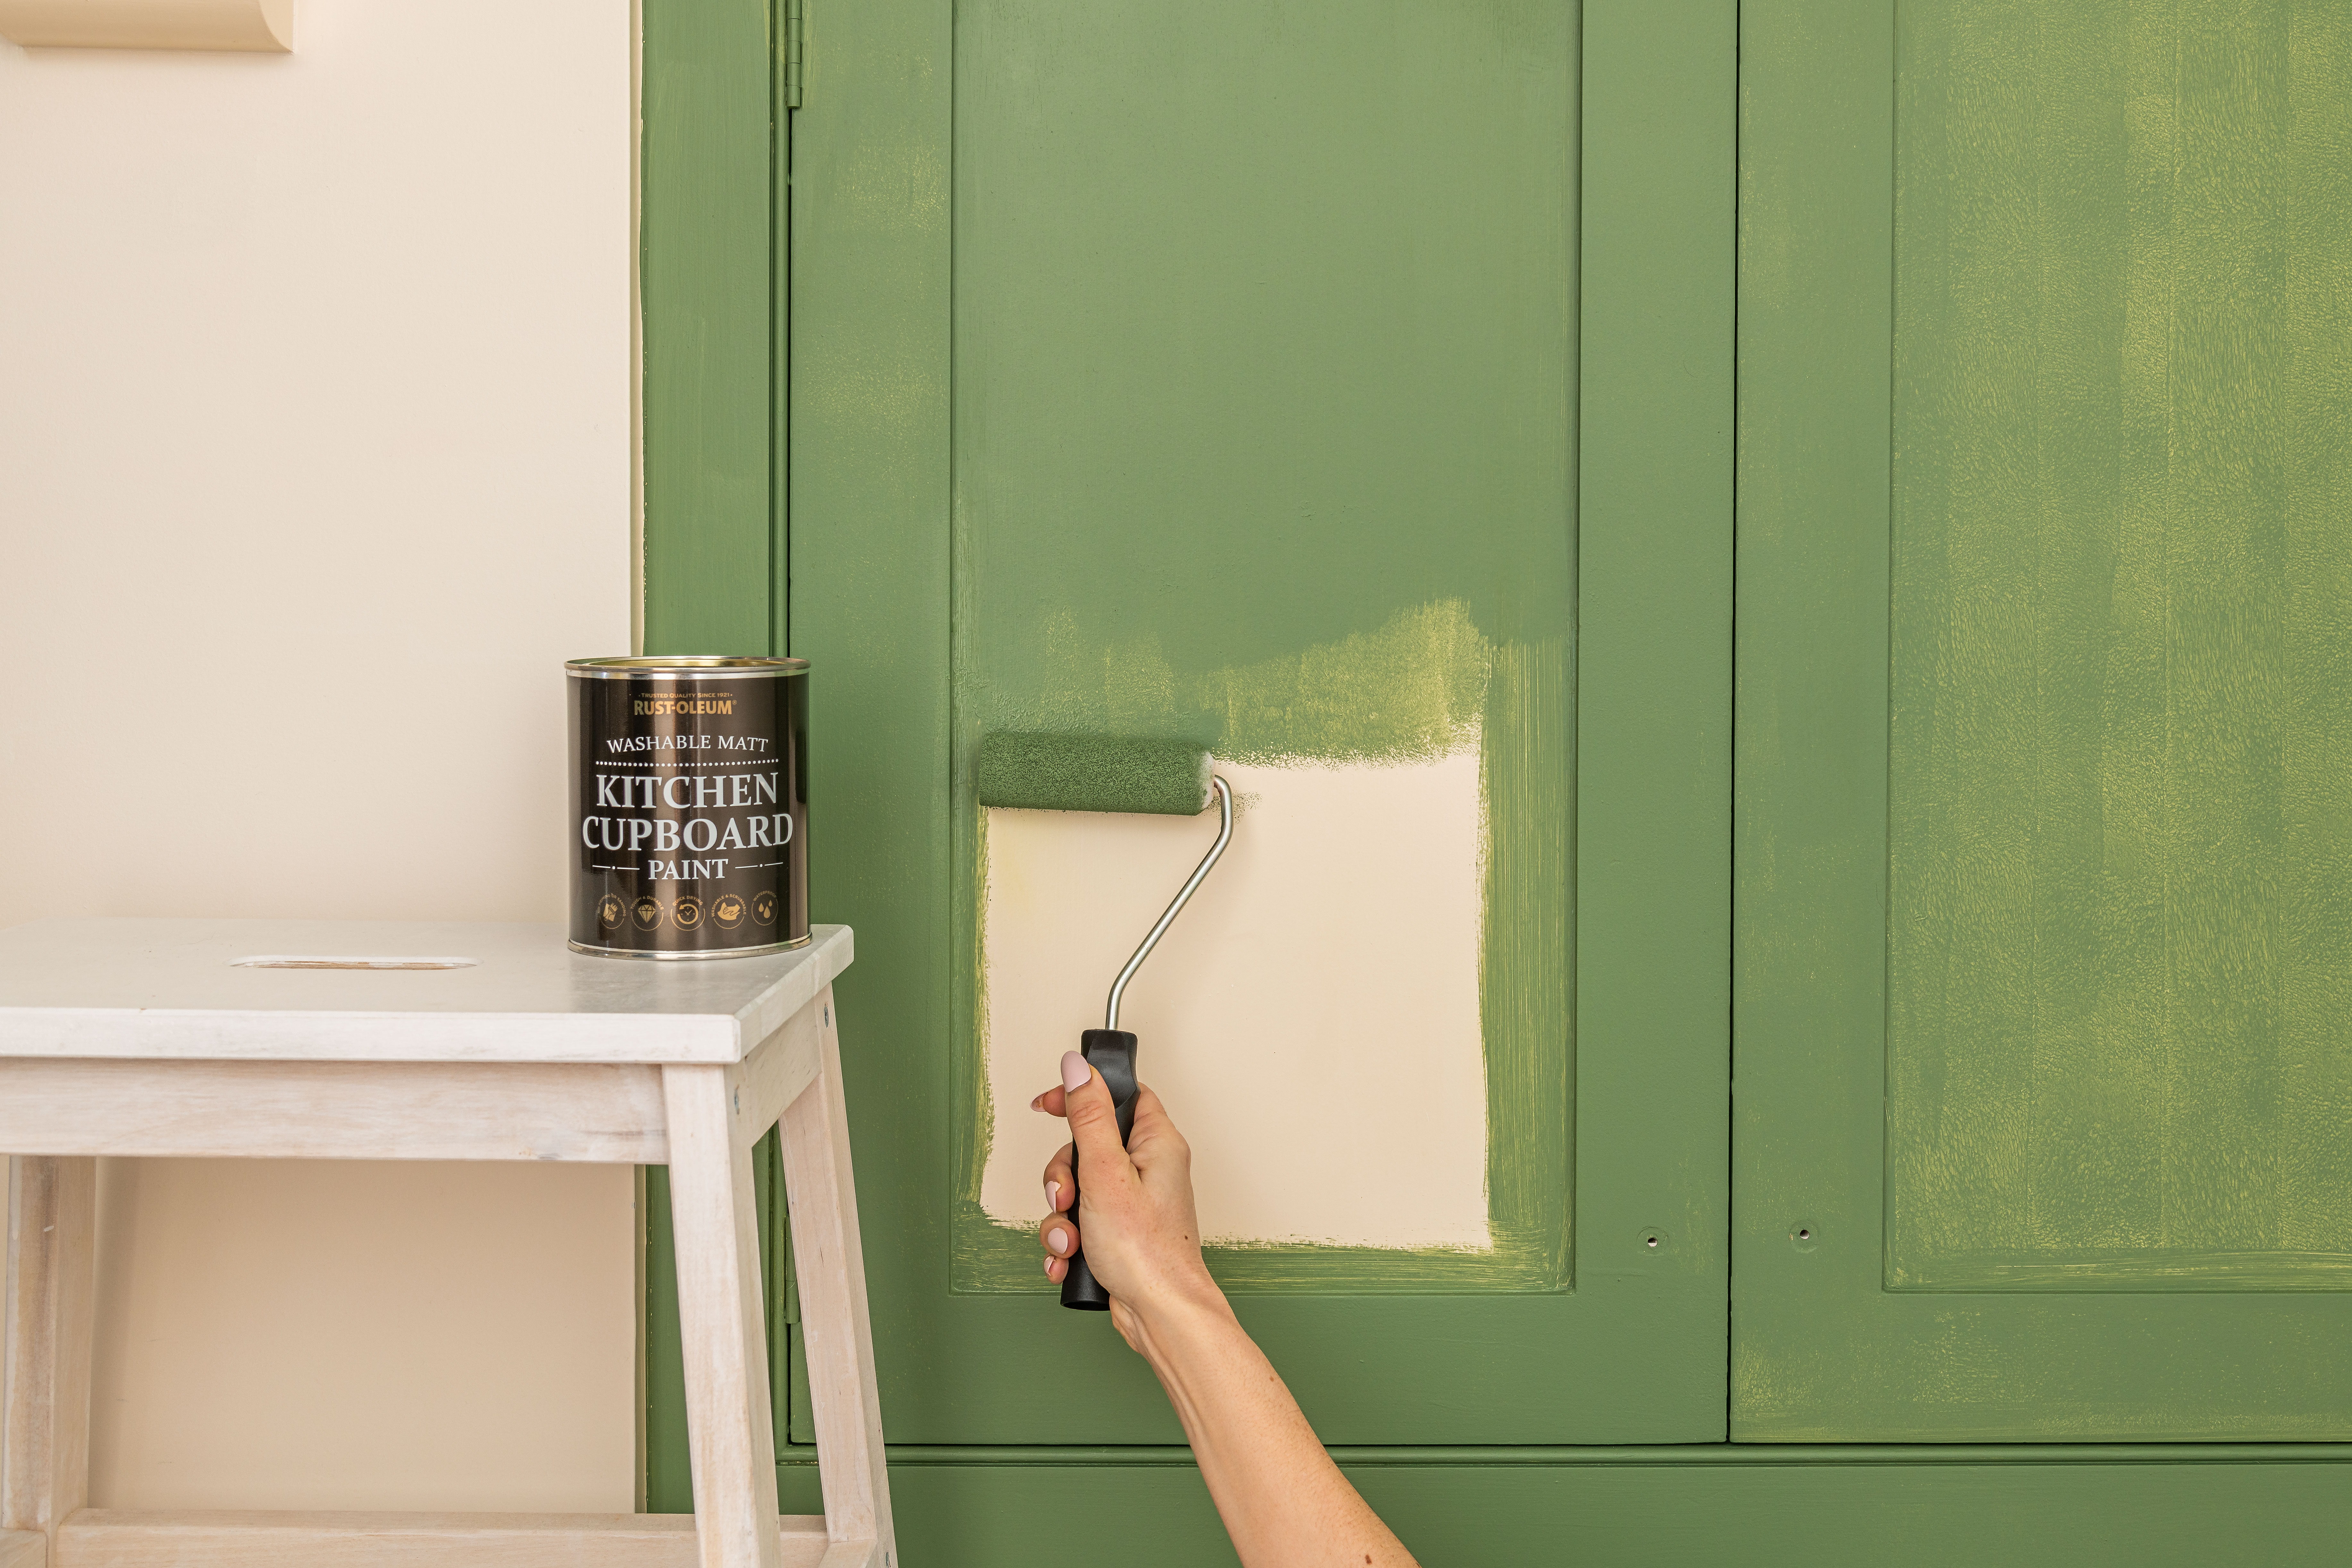
- Shaker style and raised panel doors/drawers need a brush and roller to apply paint Get a two-inch brush and work the paint into edges. Apply a light coat. The best paint roller for this is a mini foam roller for the flat surfaces and blend with a brush.
- For slab doors use a roller, going in all directions to cover – and get rid of runs. If needed, touch up any edges with a brush. When dry, lightly sand, wipe clean and add a second coat. Two coats should be enough. But if you are painting light on dark you might need another coat.
Typically, kitchen cabinets only have the front and edges painted. But, if you want to paint all sides and areas, prepare and paint as usual.
5. Add your hardware
When your doors are completely dry (add an hour or two to the manufacturer’s instruction just to make sure) put the hinges back on and hang.
Finally, add your handles to complete your new fantastic-looking kitchen.

FAQs
What about painting laminate kitchen cabinets?
When painting laminate kitchen cabinets you need to make sure that you do your prep work properly.
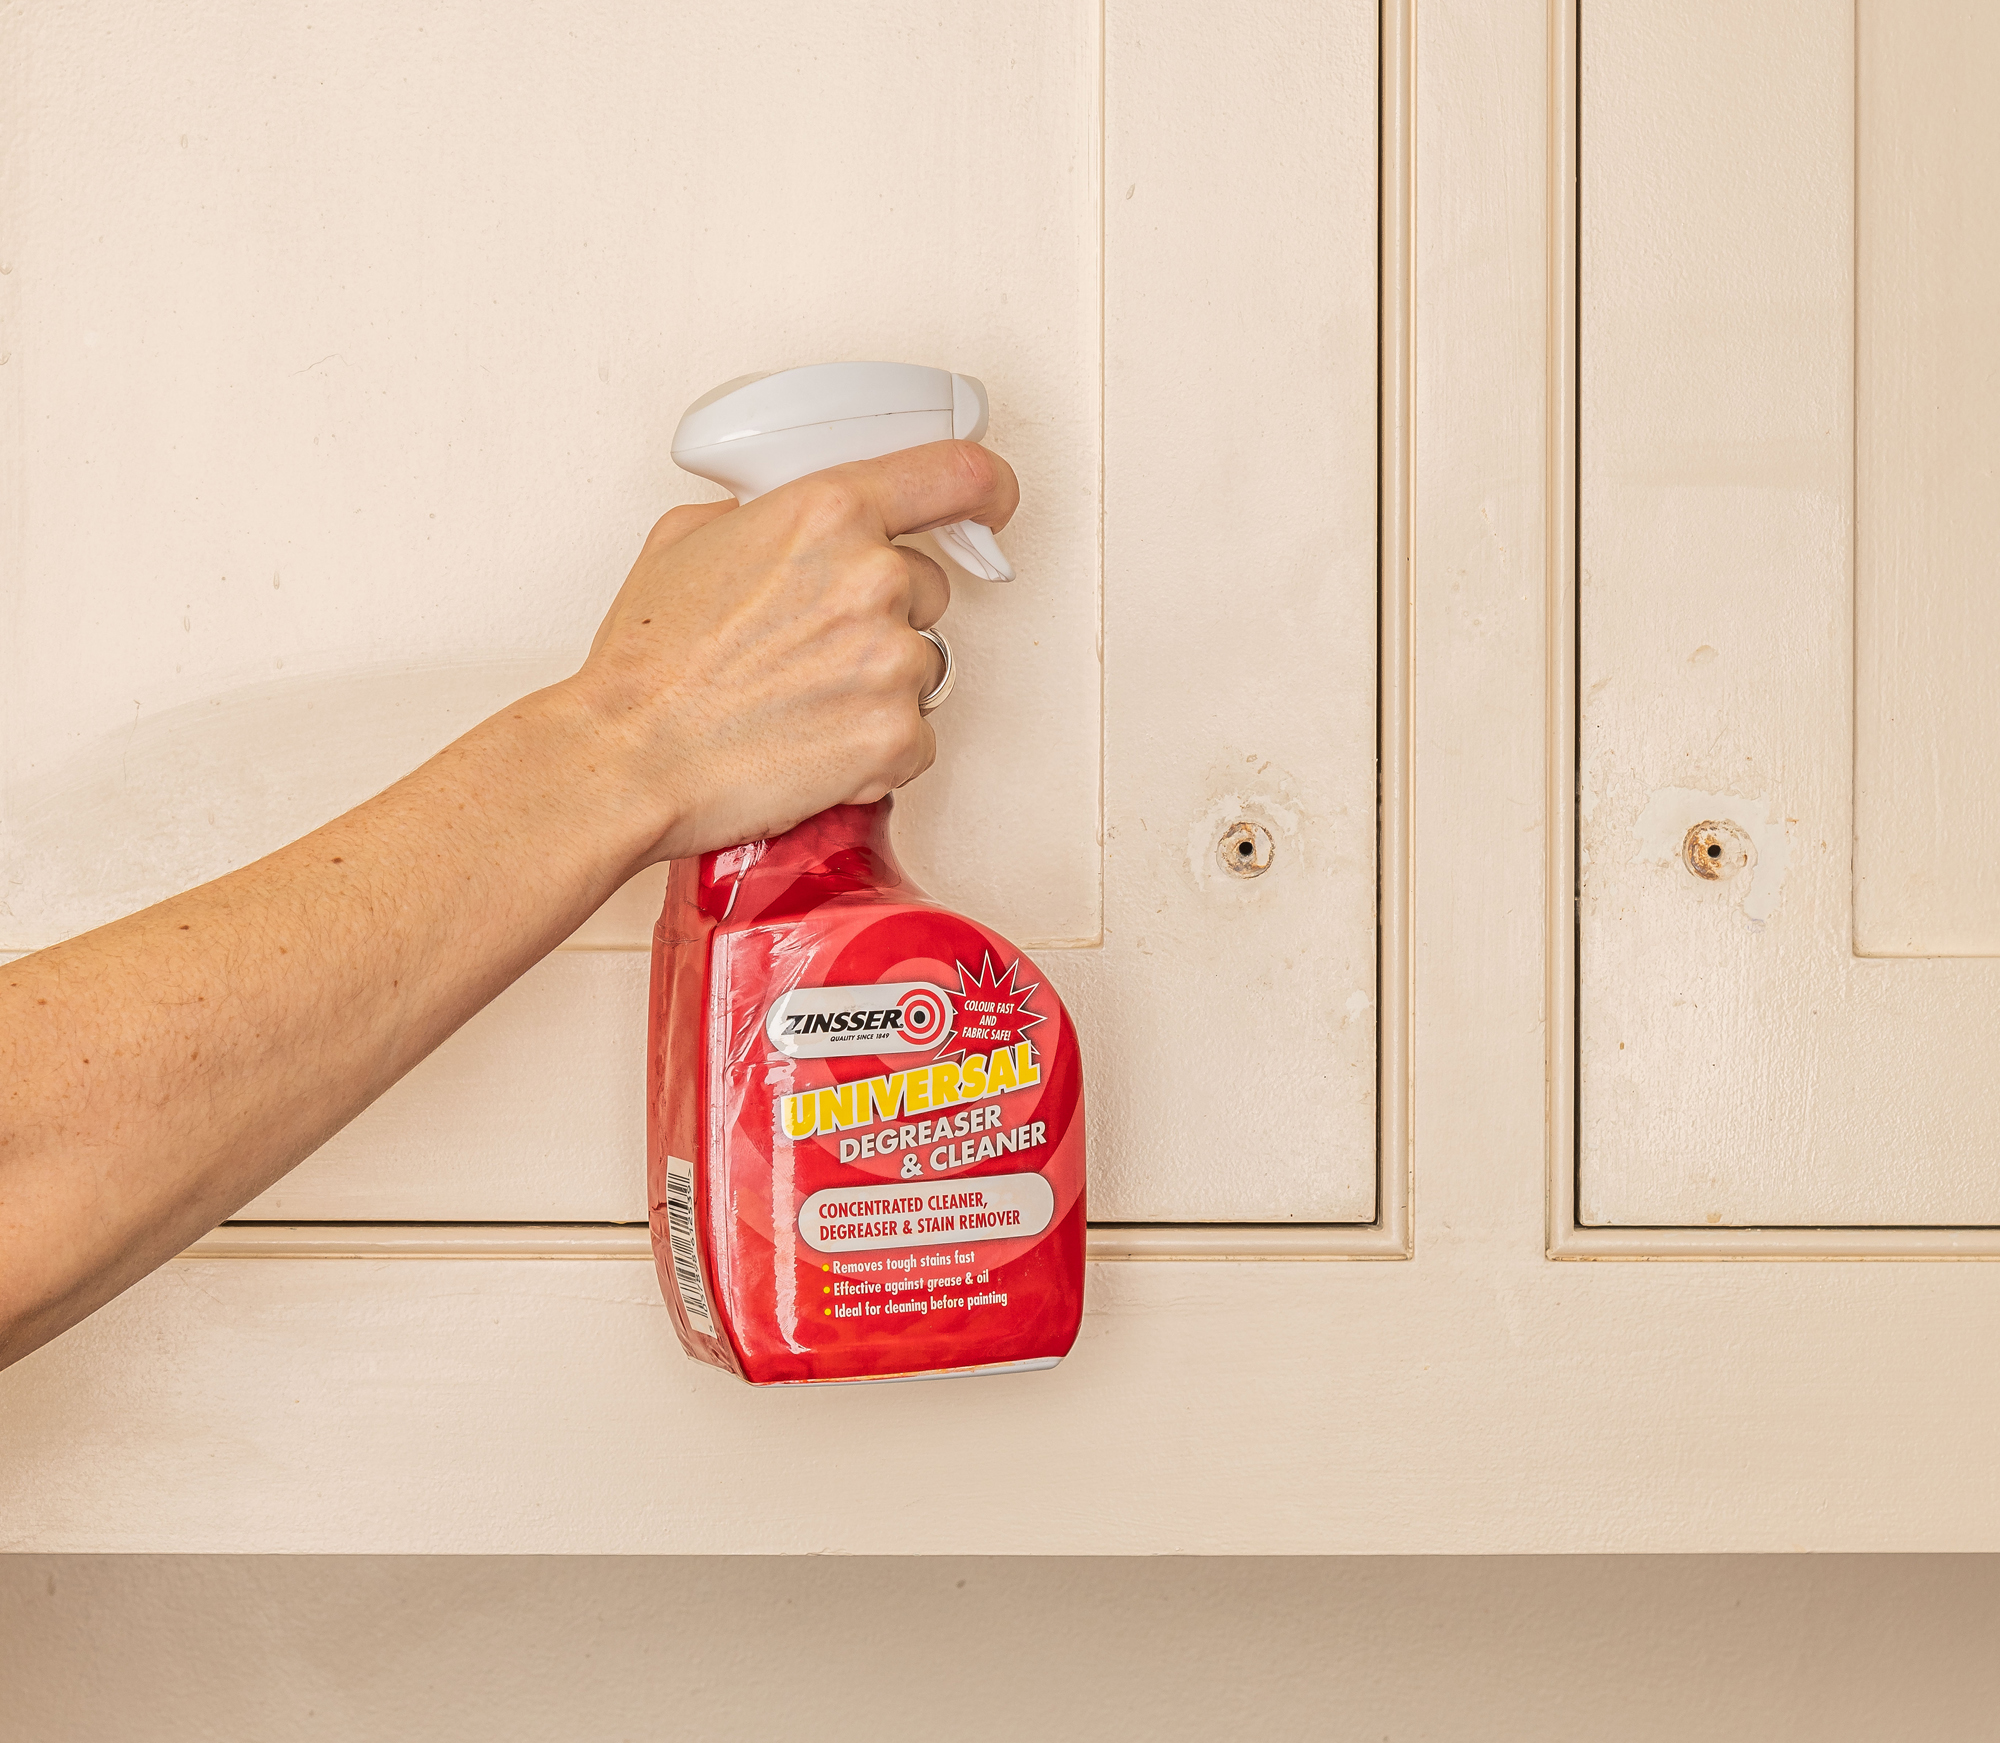
- Like before, remove doors and any hardware. Clean with sugar soap and use a fine sandpaper – around 100-200 grit – to give the surface better adhesion.
- You can use a water-based primer from well-known manufacturers such as Dulux. These are easy to apply and dry in around 4-6 hours. Alternatively, use a shellac-based primer such as ZINSSER B-I-N. This is harder to apply, but it dries really quickly. You will need a good brush cleaner to clean your brush and roller. Try to find a solvent-resistant foam roller. Or buy lots of them.
- Now you can apply your chosen paint. Pick a paint that is designed to work with laminate surfaces eg cupboard paint. These provide a durable, chip-resistant finish that is easy to clean.
- The best paint brush to get into grooves/edges is a two or three inch brush. Use a mini foam roller for larger areas. Alternatively, use a paint sprayer or aerosol can (if available).
How long does painting kitchen cabinets take?
Painting kitchen cabinets is not a quick fix. How long will it take? This depends on a few factors - the size of your kitchen, the paint you use and the hours you want to put in to it.
A minimum of two or three days for a smaller eight-cabinet kitchen and up to a week for larger kitchens. This will include prep time, painting and drying time.
It's difficult not having use of your kitchen on a daily basis. So, a good option is to do your kitchen in sections.
For example, if you have a kitchen island, concentrate on this. It is a good idea to do the cabinets first. And while these are drying you can do doors and drawers. Ideally, you will have a non-kitchen space where you can paint doors and drawers and let them dry.
Once your cabinets are done you can put everything back in them while the doors/drawers are drying. Then move onto the next section.
If you want to go all out, try moving the fridge/freezer, microwave and crockery out of the kitchen. Invest in paper plates, plastic cutlery and a few of your favourite take away services.
How do I keep kitchen cabinets clean
There is no question that kitchen cabinets will get dirty. One simple piece of advice is to clean them regularly.
Ideally, every time you use the kitchen you should give the surrounding area a wipe over to keep your cabinets clean and free from dust and grease.
Use a clean cloth and warm water for light dirt and grime. For slightly heavier dirt and grime use a clean, soft cloth, a mild detergent – this could be washing up liquid - and warm water.
Soak and wring out the cloth, then wipe down all surfaces. Leave for a minute – this makes it easier to remove any dirt - and then wring out the cloth again and wipe down again. Then dry with a dry cloth or tea towel.
For more stubborn dirt and grease use a combination of one cup vinegar and two cups of warm water. Add a tablespoon of baking soda if the vinegar/water combo isn’t doing the trick. Use a soft cloth. Try not to use a scouring pad as this will dull the surface and spoil your finish.
How do I paint chips?
If your kitchen cabinets/doors/drawers get chipped or are showing signs of wear and tear you will need to repaint them.
Ideally, you will need an exact match on the paint – colour and sheen. If you know what was used previously that's great. You might even have some leftover.
If not you will have to try and match as best as possible. Test with a small out of the way patch.
For small paint chips:
- Clean the immediate area, and rub down with fine grit sandpaper (around 200 is good)
- Dab on primer (if needed) with a small paint brush, let this dry and rub down
- Brush on cupboard paint thinly, let it dry, rub down and add the final coat
- Repeat and add another coat if needed and try to keep as close to the edge of the chip as possible when painting
If you have bigger areas with wear and tear it’s a similar process. Clean, rub down, prime (if needed), paint, rub down, paint again. Use a bigger brush or roller if the area to be painted is big enough.
While painting kitchen cabinets is a cost effective way to update your kitchen, it might be time to splash out on a new one. Check our How much does a kitchen cost and Second hand kitchen guides to help work out your budget.
Get the Homebuilding & Renovating Newsletter
Bring your dream home to life with expert advice, how to guides and design inspiration. Sign up for our newsletter and get two free tickets to a Homebuilding & Renovating Show near you.
Steve Jenkins is a freelance content creator with over two decades of experience working in digital and print and was previously the DIY content editor for Homebuilding & Renovating.
He is a keen DIYer with over 20 years of experience in transforming and renovating the many homes he has lived in. He specialises in painting and decorating, but has a wide range of skills gleaned from working in the building trade for around 10 years and spending time at night school learning how to plaster and plumb.
He has fitted kitchens, tiled bathrooms and kitchens, laid many floors, built partition walls, plastered walls, plumbed in bathrooms, worked on loft conversions and much more. And when he's not sure how to tackle a DIY project he has a wide network of friends – including plumbers, gas engineers, tilers, carpenters, painters and decorators, electricians and builders – in the trade to call upon.
